Happy Technique Tuesday!!! You all know what that means!!! I have a fabulous technique to share with you all today! I’m not really sure if there is an official name for this so I’m calling it Faux Embossing with Punches!!

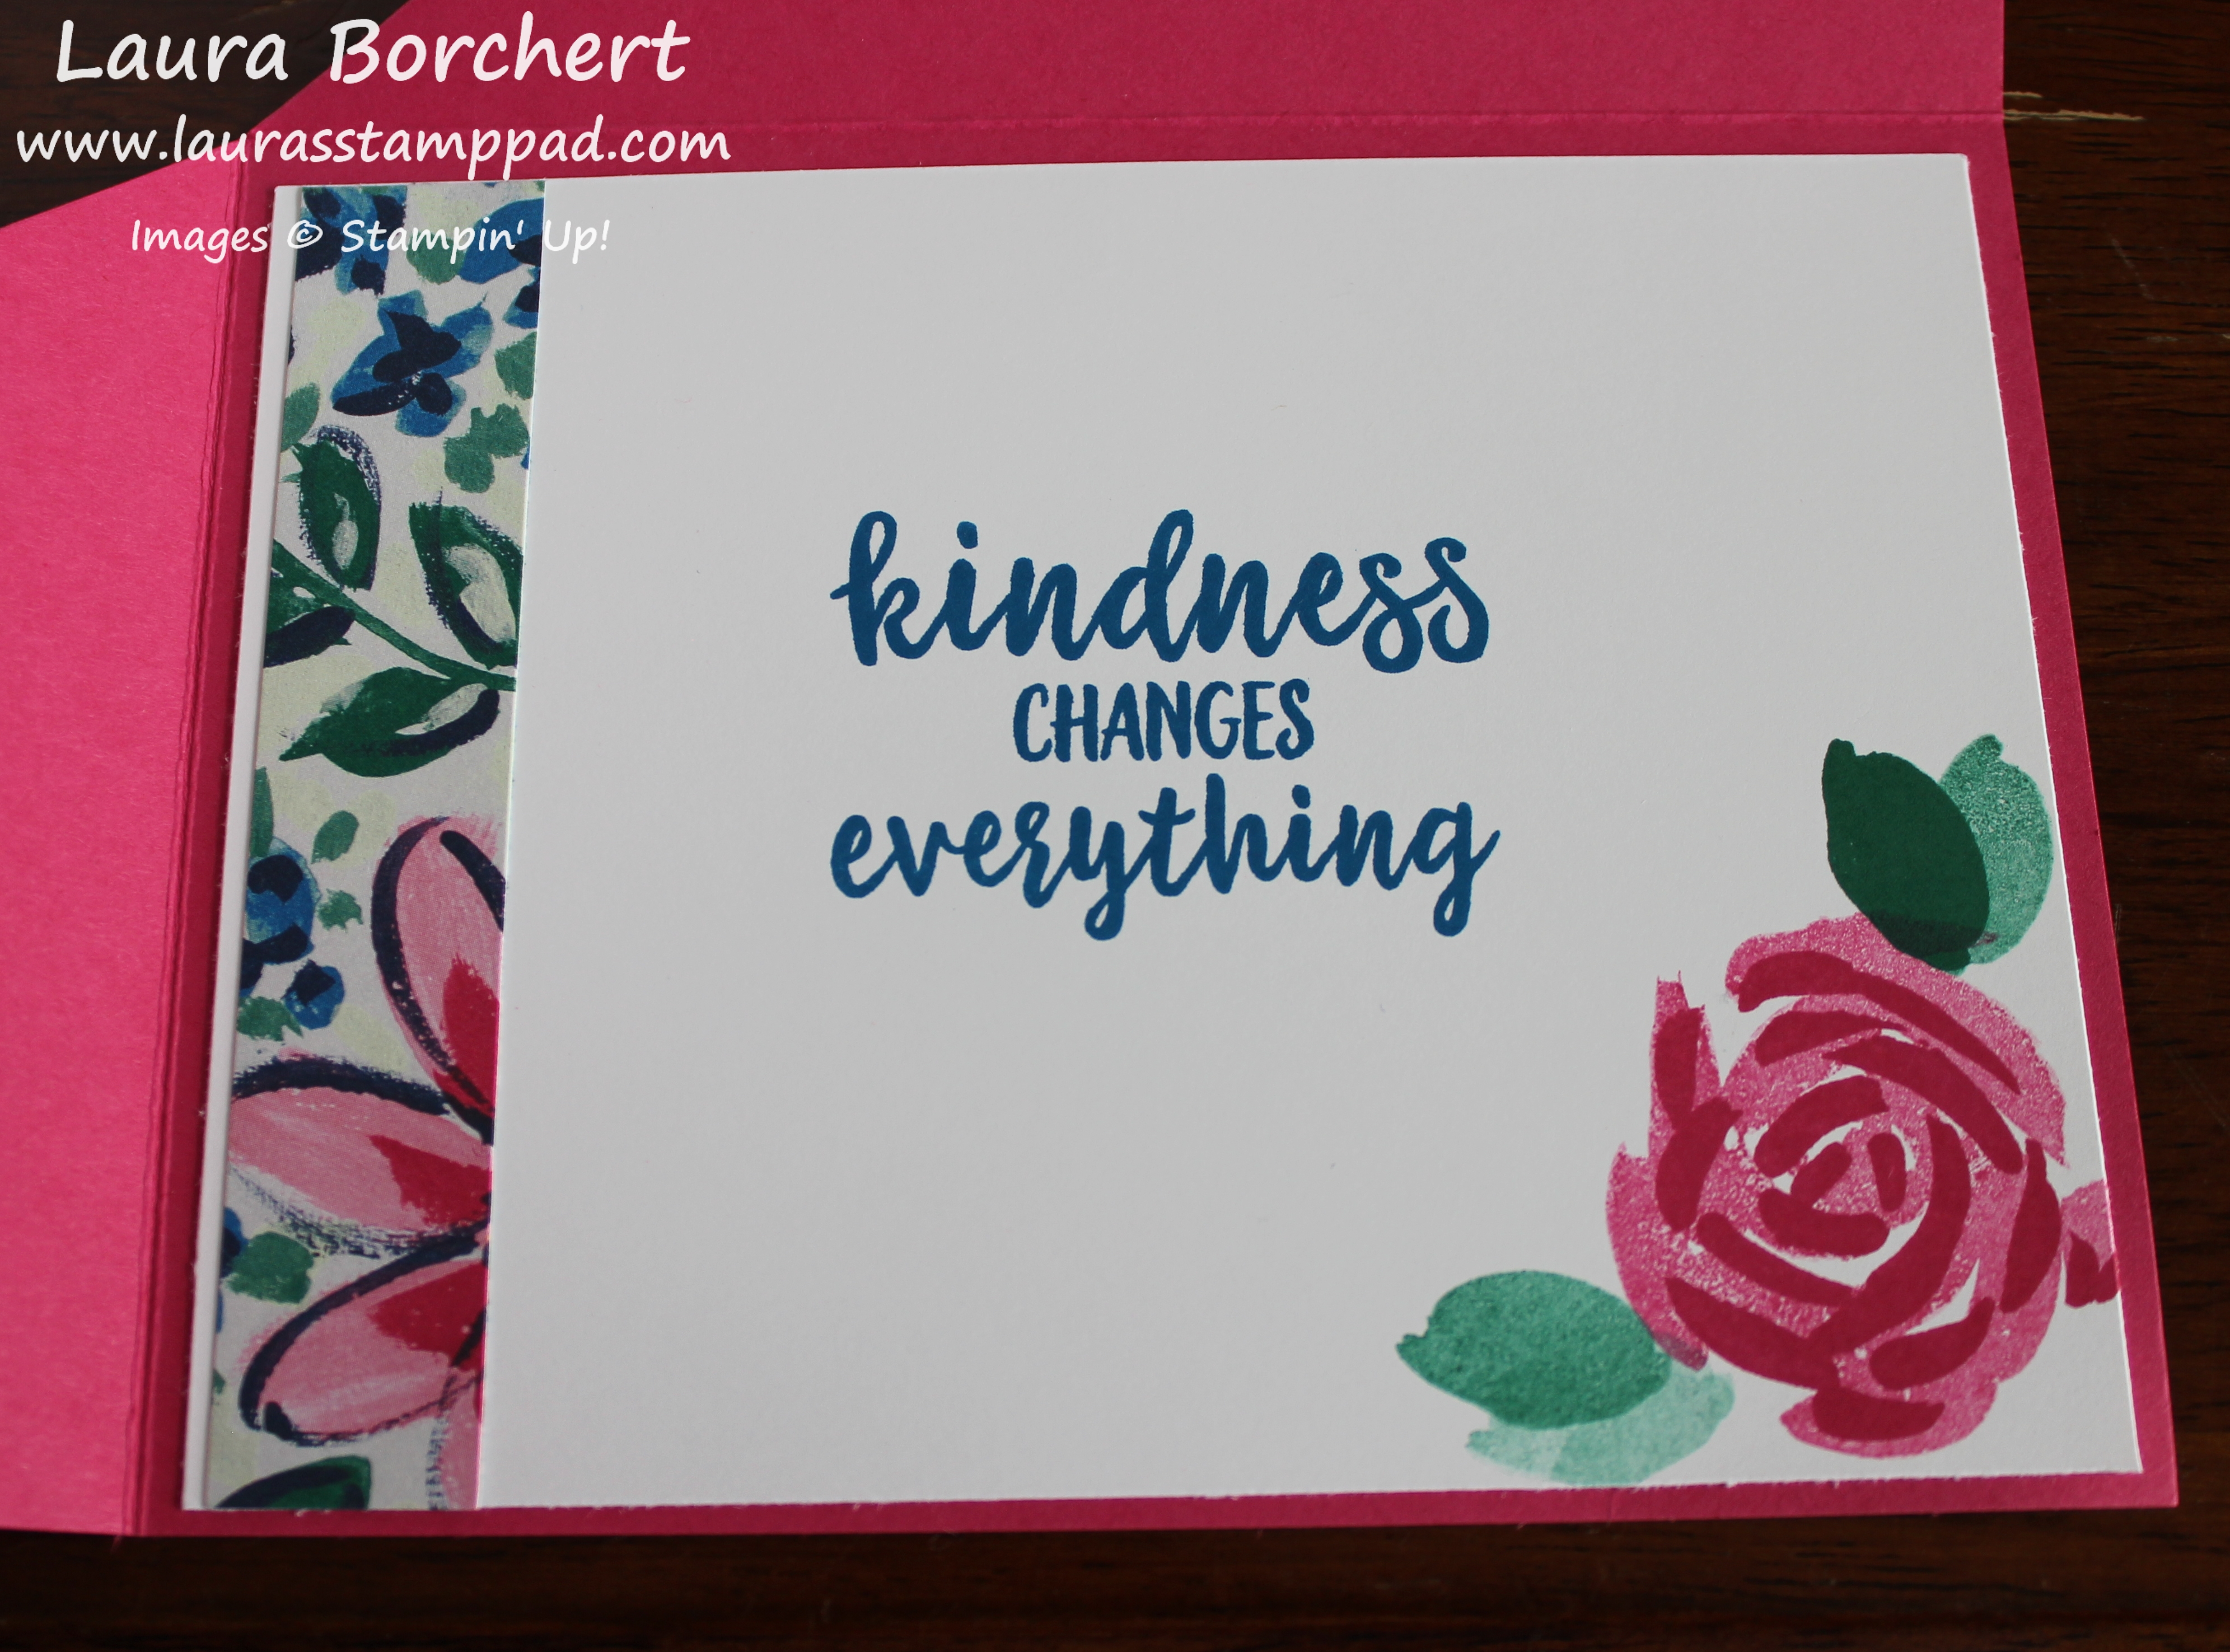
Look how fabulous that white panel looks with those butterflies all over. The awesome thing about this technique is that 1. it uses up scraps and 2. you can do it with any of your punches.
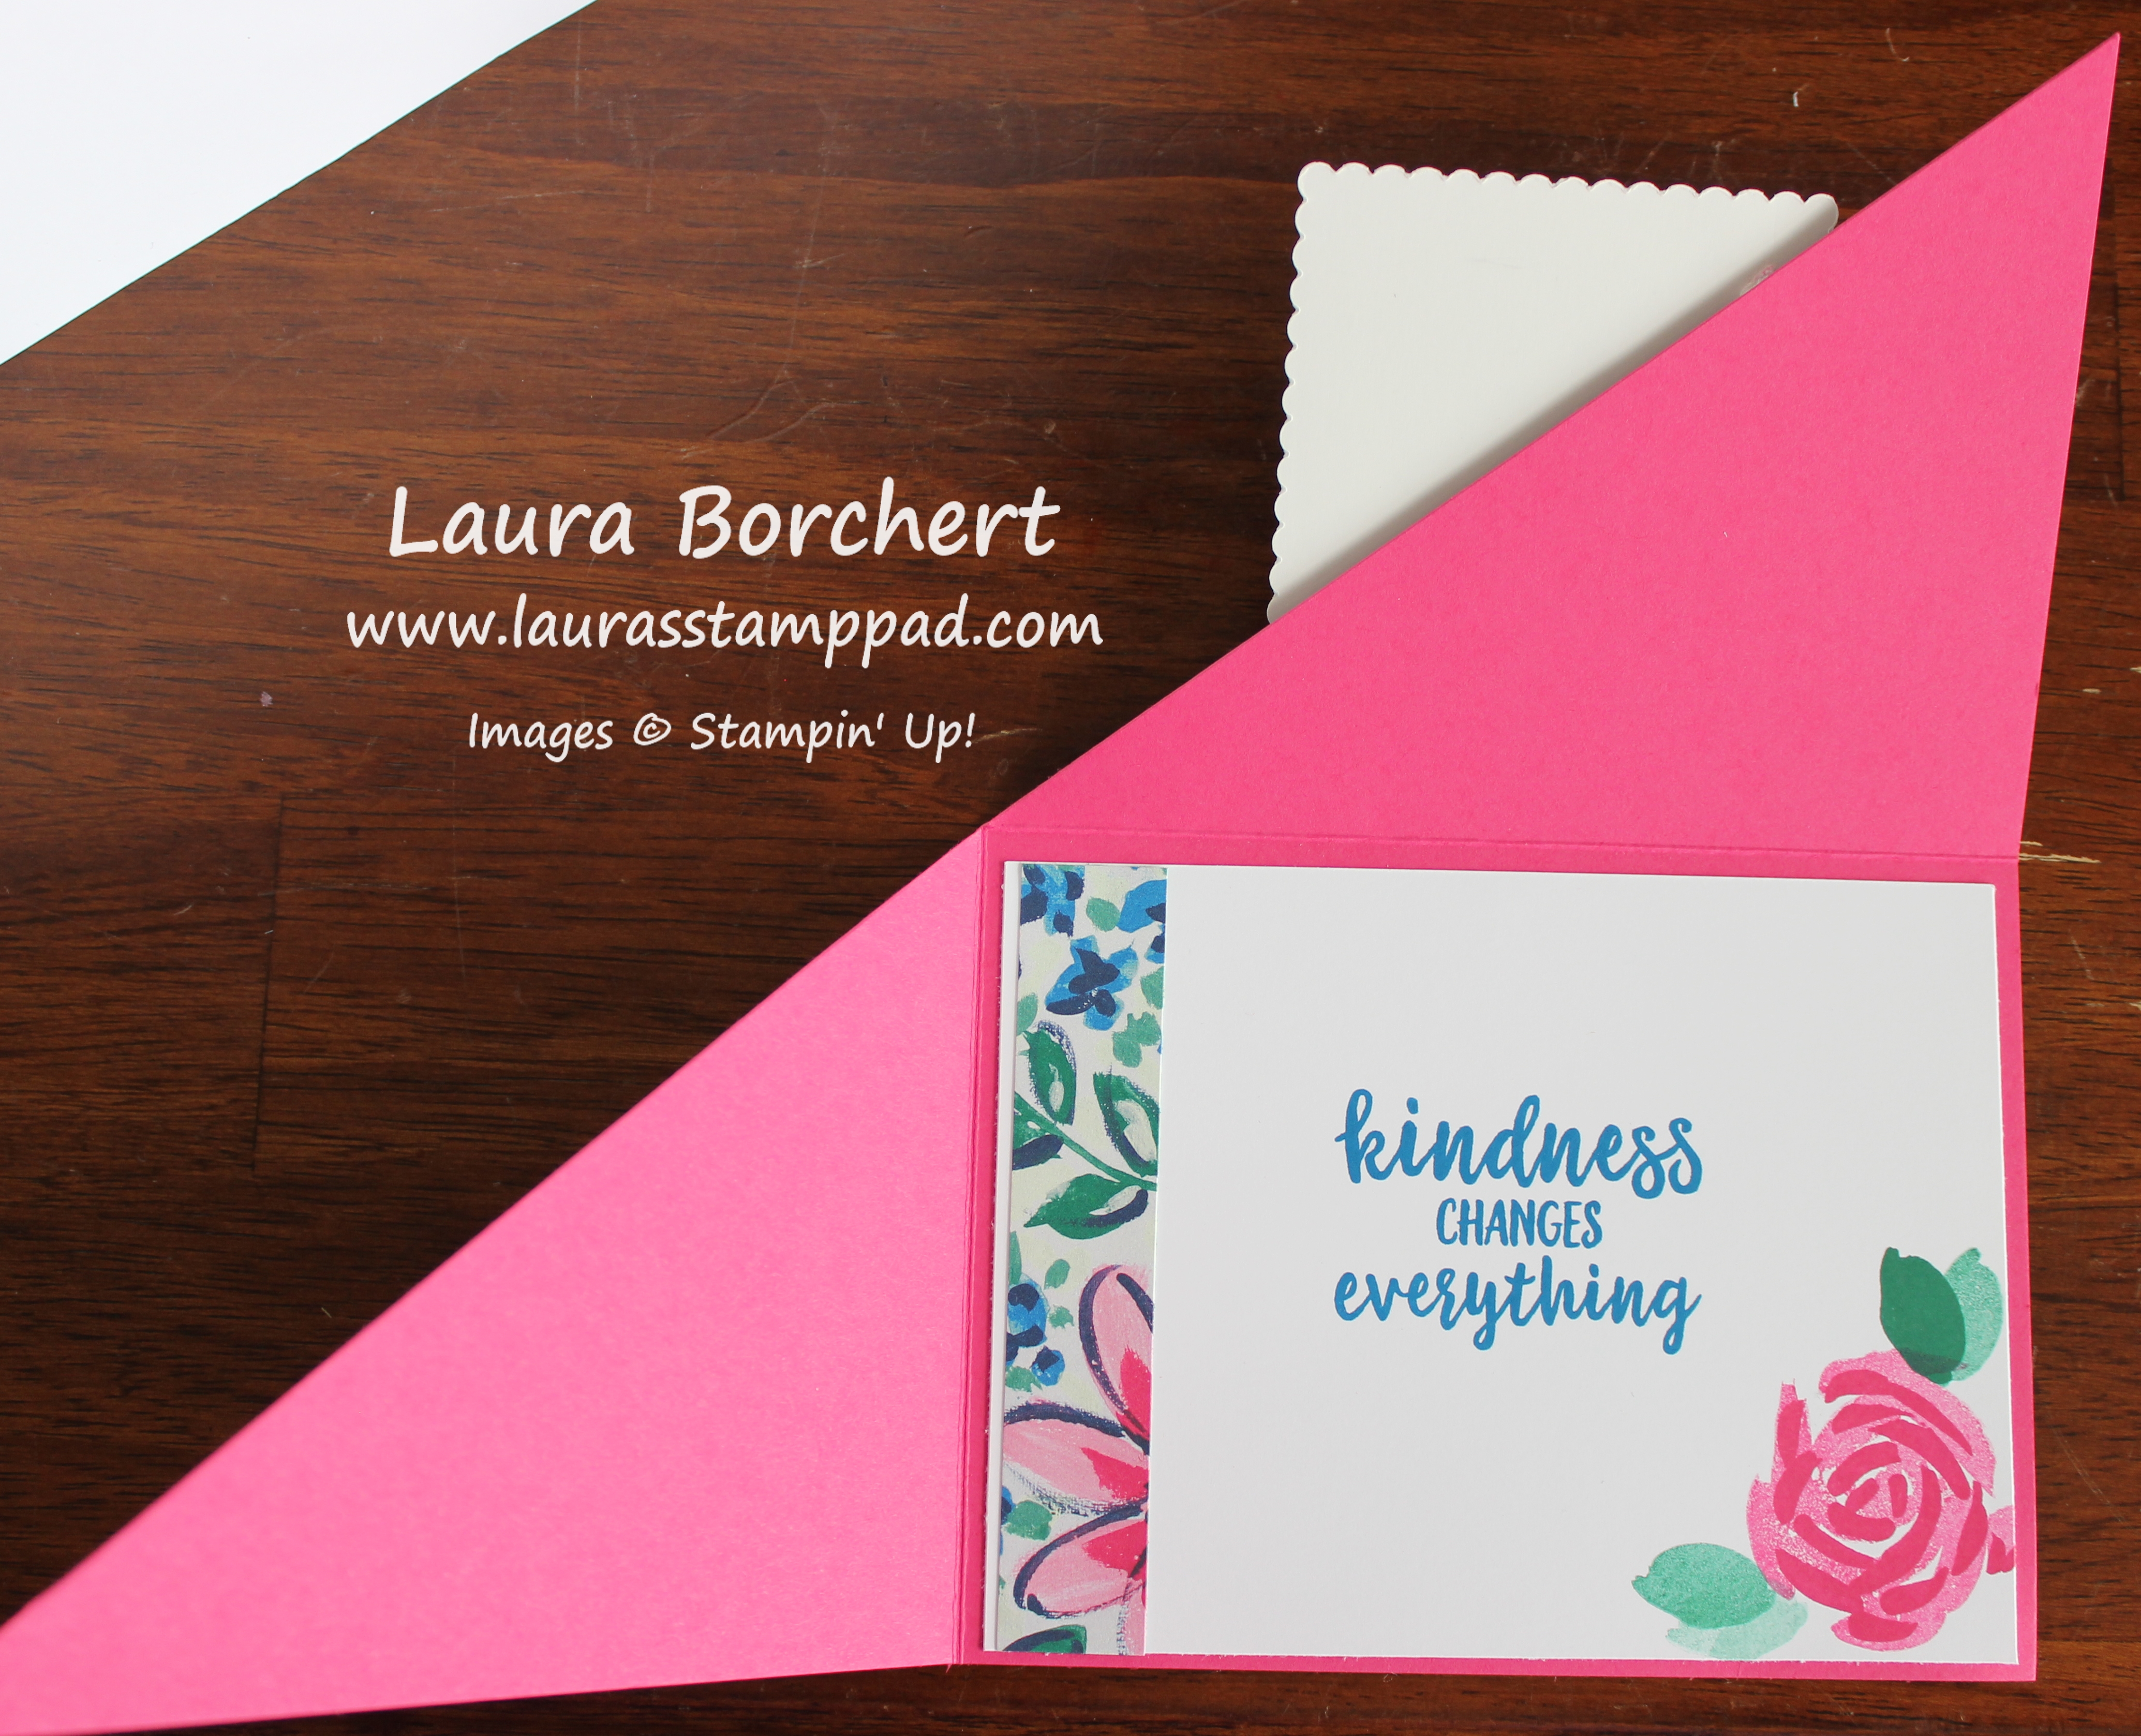
I started with a Grapefruit Grove card base. Next, I took a piece of Whisper White cardstock measuring 2″ x 5-1/4″ and placed a lot of punched butterflies all over it. I punched the butterflies out of scrap white cardstock using the Butterfly Duet Punch. Don’t worry! For those of you who haven’t had a chance to order this yet, it will be available again soon. The butterflies can be placed straight up and down or angled all over. Be sure to allow the butterflies to fall off the edges so it looks like the pattern continues.
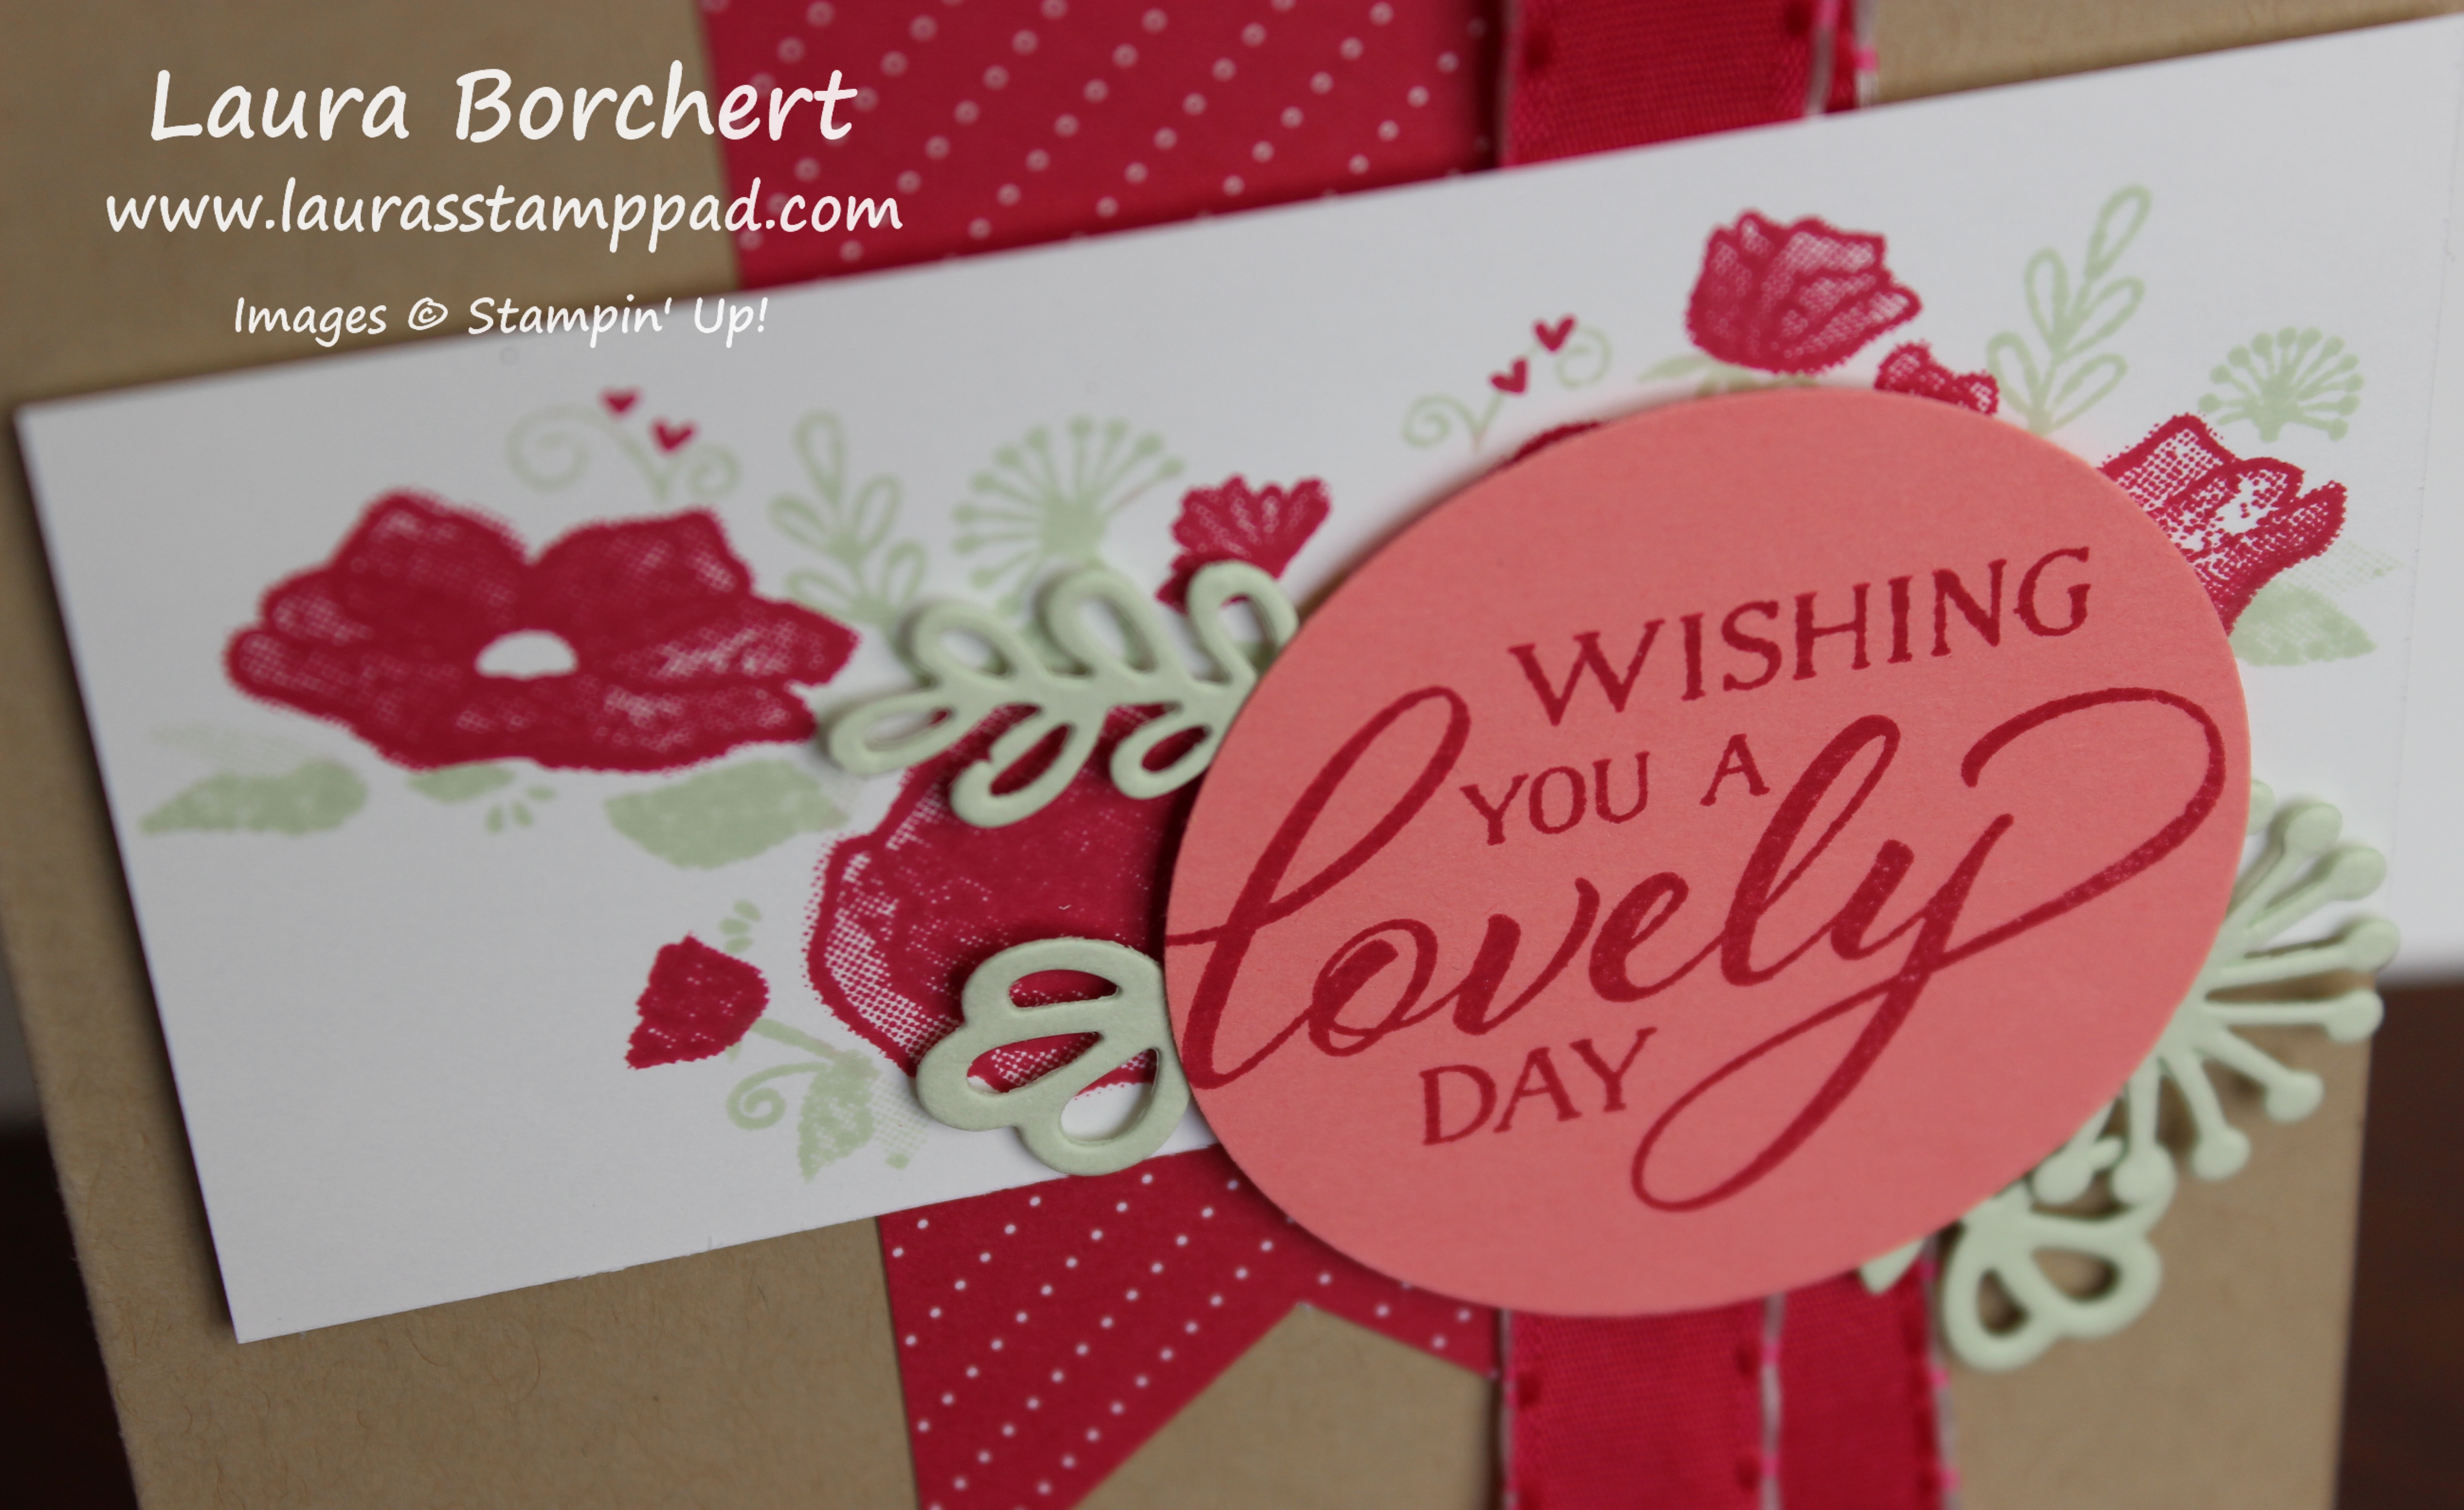
Once you have all the butterflies in place, simply turn it over and use the edge of the cardstock as a guide to trim off the butterflies hanging over the edge. Then I added this to the card front and tied some ribbon around it. Using the Butterfly Gala Stamp Set, I stamped the greeting in the lower right corner

For the butterflies, I stamped the outline in Grapefruit Grove full strength. Then the solid image was stamped off once for that lighter look. The centers and antennae were done in Memento Black Ink. TIP: To get the antennae in the right spot, place the butterfly where you would like it, then move it down a smidge. Stamp the antennae above the butterfly. Then attach the butterfly to the card correctly placed on the antennae. This is much easier than trying to stamp the antennae after the butterfly is placed down and hoping they look attached.
If you would like to see this all in action, check out the video below or click here! Be sure to give the video a thumbs up if you liked it and don’t forget to subscribe if you are new. If you would like a notification when I post a new video, be sure to click the bell right next to the subscribe!!!
Happy Stampin’
~Laura


 Striped Metallic Ribbon")


 Designer Series Paper")


 Designer Series Paper")


 Braided Linen Trim")
 Designer Series Paper")


 Designer Series Paper")


 Reversible Ribbon")


