Happy Tuesday!!! You all know what that means….I have a fabulous technique to share. Awhile back I showed off my Welcome Frame (check that out here) and today I’m sharing some Memorial Day & Summer decor.
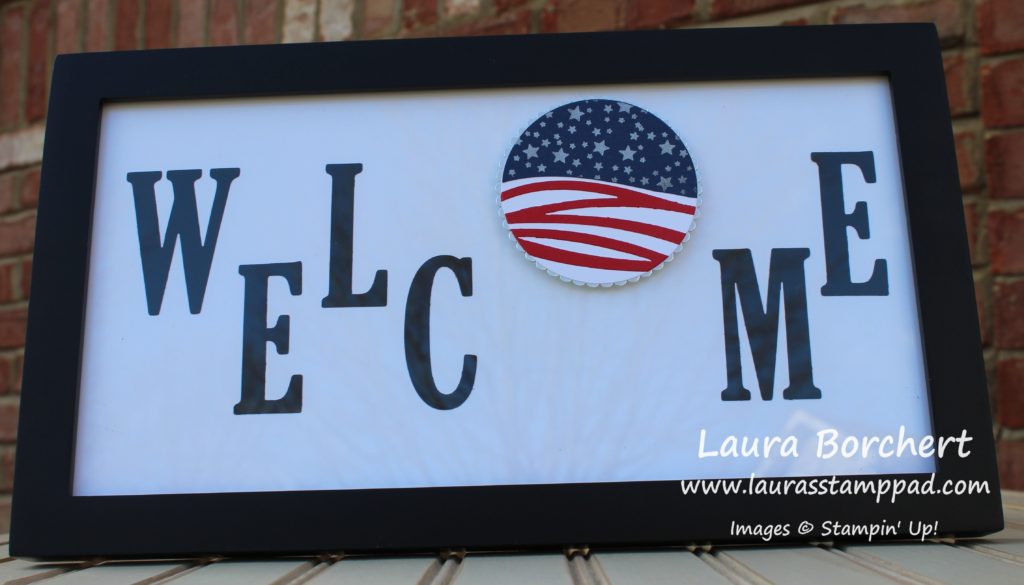
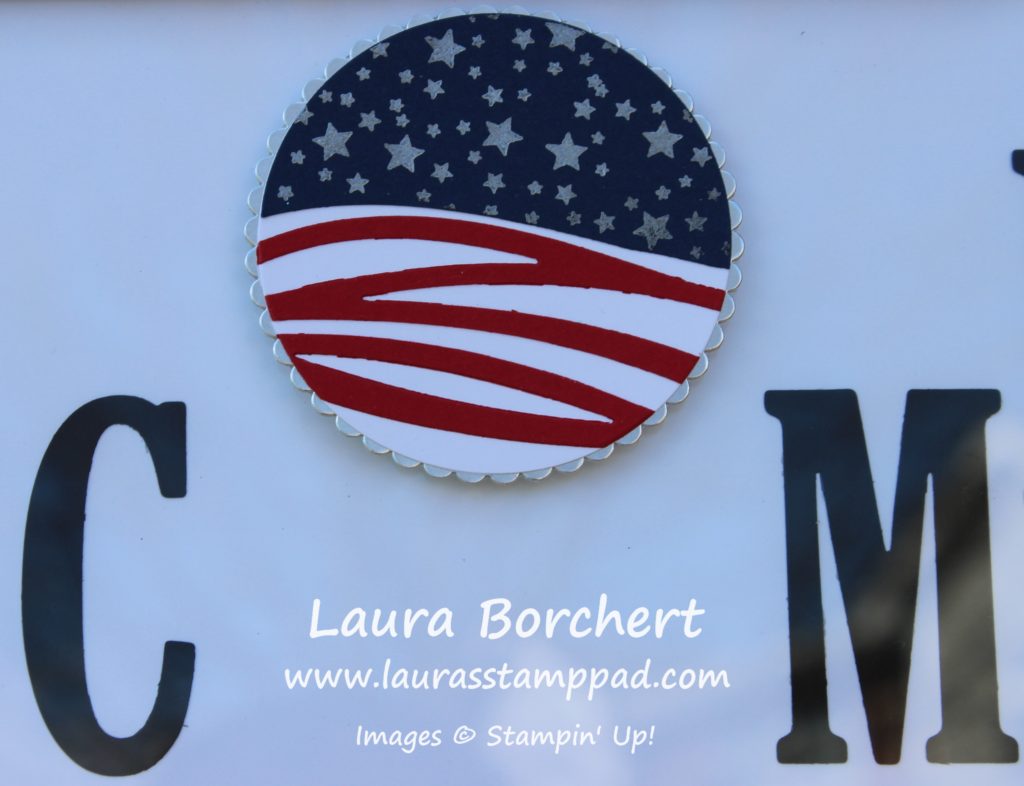
I love this flag decoration because it’s perfect for Memorial Day and 4th of July! Woot Woot! Let’s get started on how I created those amazing stars and stripes.
I started by die cutting Silver Foil with the Layering Circles Framelits. The bling and added texture of the scallop really made the flag pop, I thought! Next, I took the Swirly Scribbles Framelits and die cut out some Real Red for the stripes. I added this to a piece of scrap Whisper White that was big enough for the final circle to be die cut. The Fine Tip Glue Pen works wonders for small delicate images like this.
Then, for the stars, I tried two different ways. First, I stamped the stars from the Wood Words Stamp Sets in Night of Navy Ink all along the top of the white. Then I die cut out the circle. I thought it looked a little simple and wanted to step up my game with some silver bling! I took a piece of Night of Navy cardstock and stamped the stars in VersaMark Ink. Next, I heat embossed the stars in Silver Embossing Powder. Then to get that curve in the navy to match with my stripes, I used the outside edge of the Swirly Scribbles Framelit. Simply place it on the edge and run it through the Big Shot. It won’t come out perfectly the same but it gives a little swoop rather than being straight across. Check out the video below for more details on that as it’s a bit hard to explain! 🙂
Once I had the stars ready, I adhered them to the Whisper White and then die cut all of it with the Layering Circles Framelit. I did the circle at the end so that everything was cut out perfectly (the stars, stripes, and white base). Also, it was much easier than cutting the circle and trimming each piece that I layered on top!
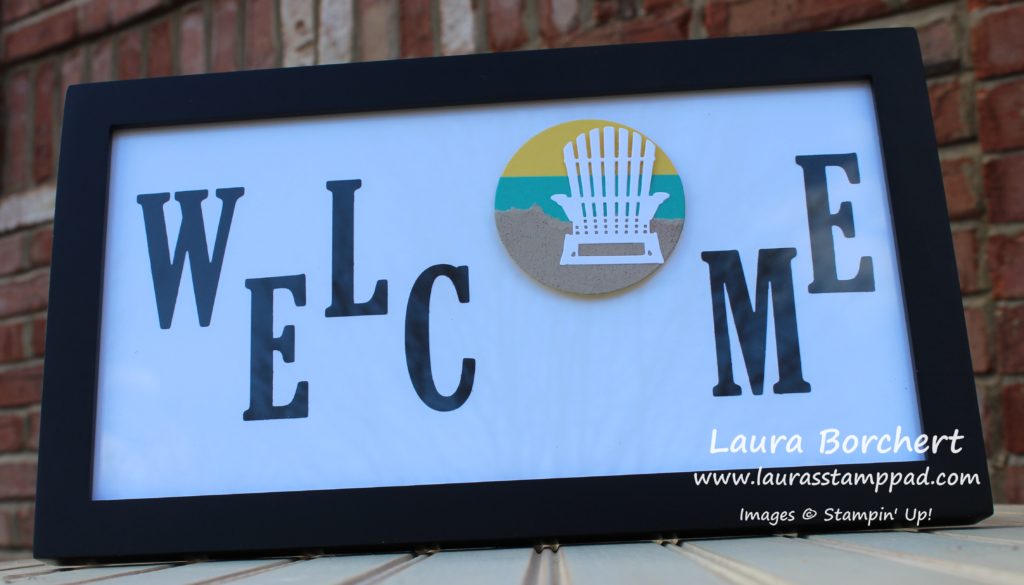
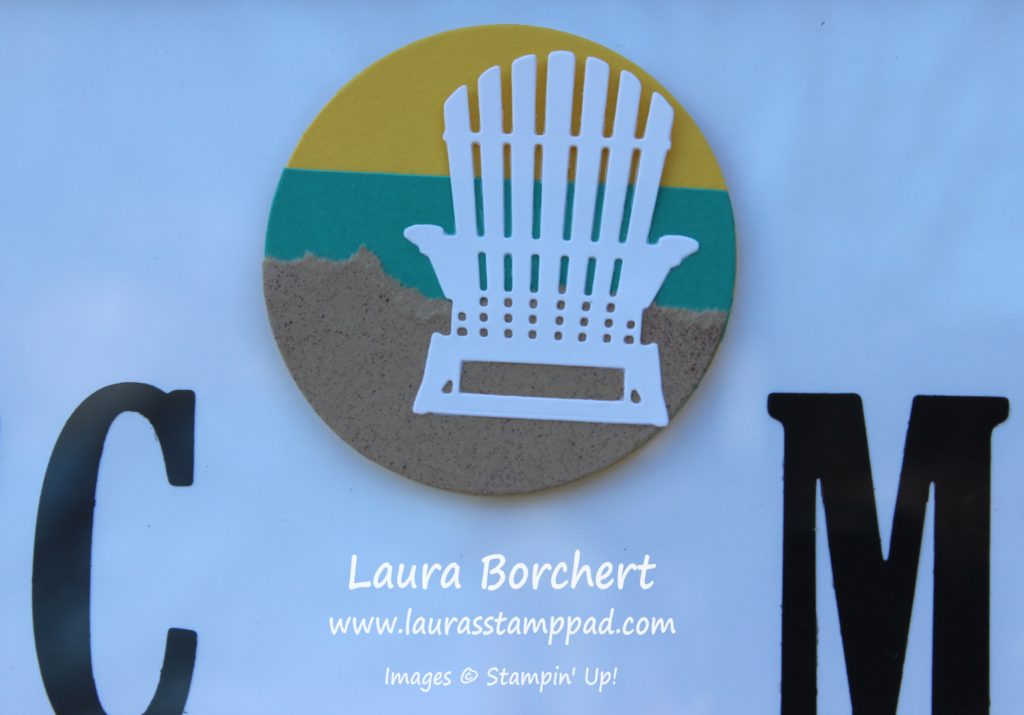
I’m so excited that Summer is right around the corner. Eeeee I just love summer! This decor was super simple and just required lots of circles die cut to get each layer. First, I started with a Daffodil Delight circle die cut with the Laying Circles Framelits. Then I die cut out a Bermuda Bay one and snipped off the top to allow my sun to show through. I showed in the video how I used a scrap piece of Bermuda Bay which die cut out more like a strip with rounded edges. That works too as long as you have enough “ocean water” showing. Layering the ocean onto the sunset with the same curve of the circle.
Finally, for the sand, I spritzed some Crumb Cake cardstock with Chocolate Chip ink refill mixed with rubbing alcohol. This gives a nice speckled, textured look for my sand. Then I die cut out a circle and ripped it along the top to look like a rough edge of the beach. This gives some texture to the scene! Then I added the die cut Adirondack chair from the Seasonal Layers Framelits with the Fine Tip Glue Pen. I only added glue to the bottom rectangle and the arms of the chair. This allows the top (back) of the chair to not be glued down for a more 3D look. I love it!
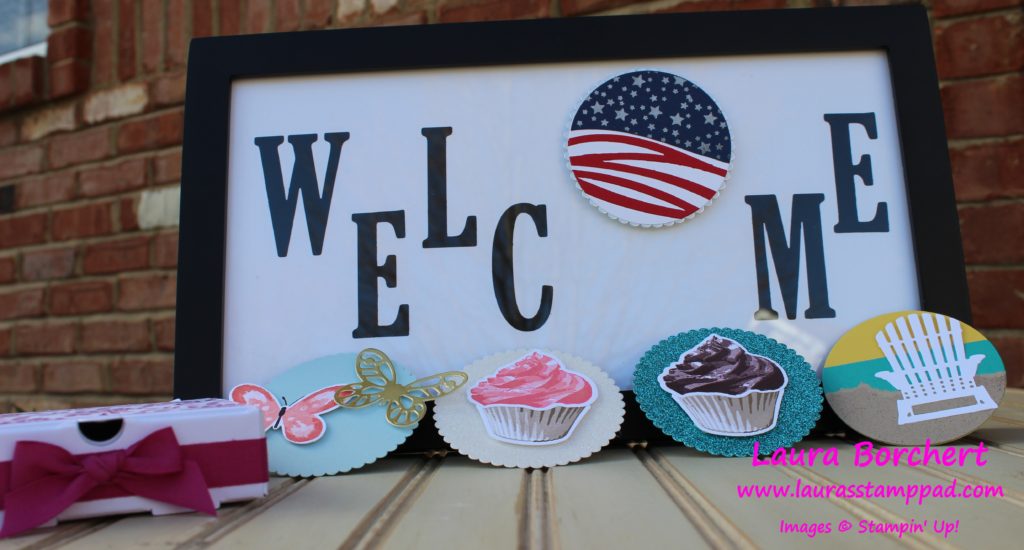
Here are all of the amazing decor pieces I have created so far. Click here to see more details on the frame, Spring decor, and Birthday decor. Click here to check out the adorable box to store all the pieces in. Stay tuned for more decor pieces to come as we move throughout the seasons and holidays of the year!
If you would like to see all of this in action, check out the Video Tutorial below or click here! Be sure to give the video a thumbs up if you liked it and don’t forget to subscribe if you are new. If you would like a notification when I post a new video, be sure to click the bell right next to the subscribe!!!
Happy Stampin’
~Laura
Product List


Such a neat idea, and you do a fabulous job!
Aww Thank you!!! ~Laura