You all know how I love organization and lists. When the New Stampin’ Up! Catalog came out, I loved it for all of the samples and information on creating! The one thing I did not like was the layout of products though! So I created this Catalog Helper – a nice little layout list of die cuts, punches, ribbons, and designer paper!
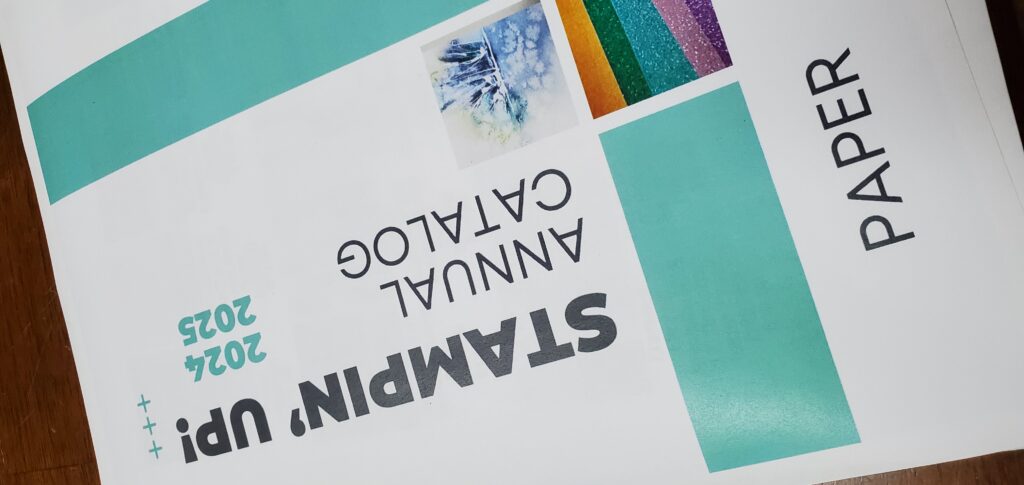
Here is the PDF Catalog Helper that I created for you to enjoy as well if you love organization like me. It is also great to shop with too! You can a complete snapshot of the items all in one spot!
If there is a category that you wish I did, let me know! Again, I want to make shopping easy and help out a fellow list/organizational person! 🙂
Happy Stampin’
~Laura


")


