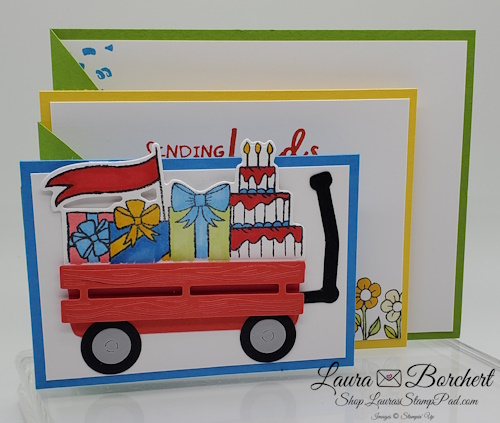
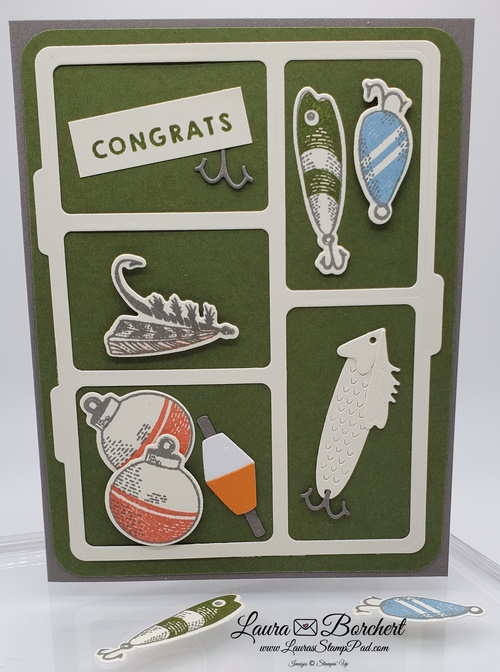
I really struggle with masculine cards but found the Frosted Forest to be super fun and fabulous for making some! What do you think?!?!

The shades of green and plaid really add to the fabulousness in this card! The paper is from the Seasons of Green and Gold Designer Paper! Perfect for the holidays and then also all year long for cards like this!
SUPPLIES & MEASUREMENTS:
~Thick Basic White Cardstock – 8 ½” x 5 ½”
~Basic White Cardstock – scrap for die cutting rectangle and tree
~Pecan Pie Cardstock – scrap for punching greeting
~Season of Green & Gold Designer Paper – 4” x 5 ¼” (plaid) and 2” x 5 ¼” (green speckles) and scraps for inside the card if you wish
CARD INSTRUCTIONS:
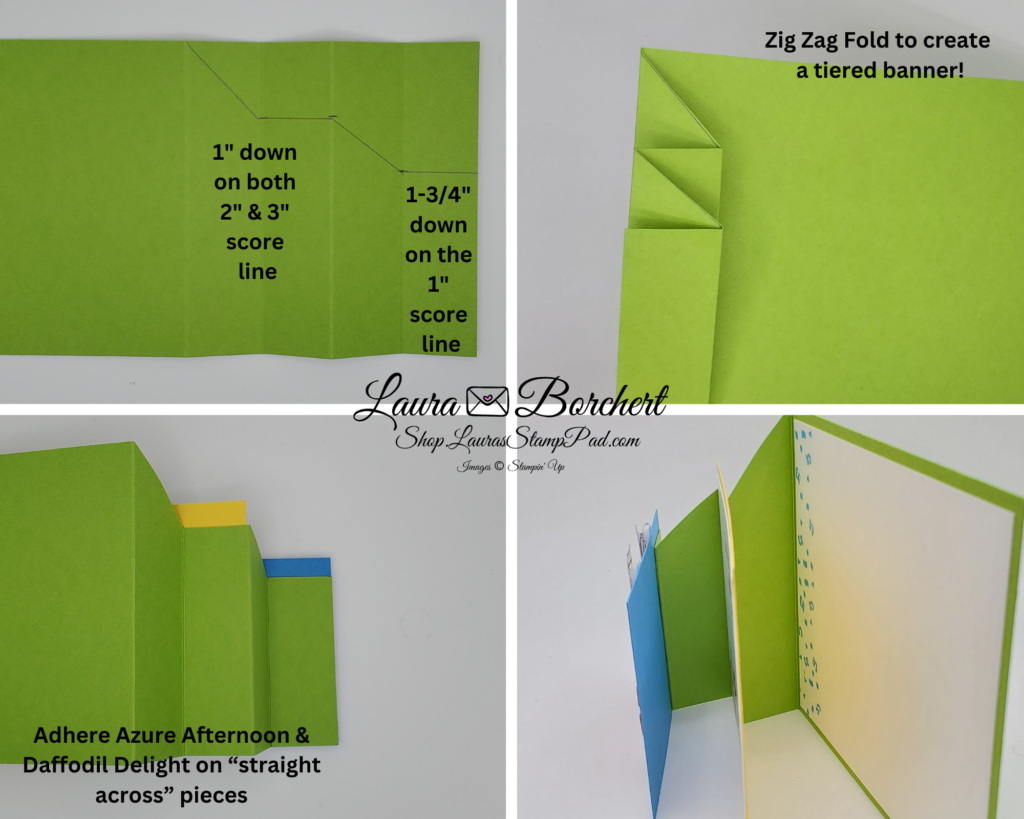
- Fold card base in half. Adhere plaid Designer Paper piece to the card front. Then add the green speckles Designer Paper down the center of the card front.
- Die cut a Deckled Rectangle or cut a rectangle (3” x 4 ¼”) and adhere to the card front.
- On another piece of scrap Basic White, create the large tree using the masks and Blending Brushes only (no stamping). I used Pecan Pie Ink for the base/#1 mask. Garden Green Ink was used for the leaves/#2 mask and Mossy Meadow Ink for the accent leaves/#3 mask. Then die cut the tree using the coordinating Frosted Forest Dies. Add the tree to the rectangle using Stampin’ Dimensionals only in the leaves (not on the trunk).
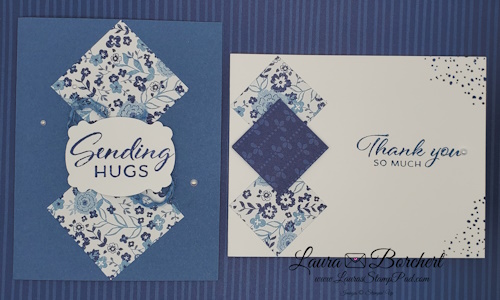
- Punch out a greeting label of your choice from Pecan Pie Cardstock and stamp a greeting of your choice onto it in Pecan Pie Ink. I used the Labeled With Love Punch. Adhere to the card front over the trunk using Stampin’ Dimensionals.
- Embellish with Faux Glass Dots as desired!
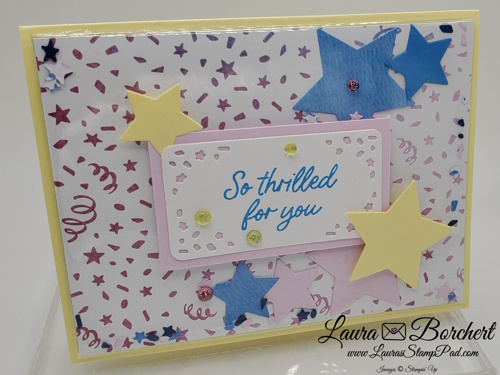
- Stamp or decorate the inside of the card as you wish!
If you loved this card and want to see more using the Frosted Forest Bundle (stamps, dies, and masks), check out the Video Tutorial here! You can also get the full Class PDF Tutorial here!
Happy Stampin’
~Laura
Product List")

 Specialty Designer Series Paper")


")
 Designer Series Paper")


")
 Designer Series Paper")


 Circle Punch")
 Circle Punch")
 Frayed Grosgrain Ribbon")
 Center Stripe Ribbon")

 Designer Series Paper")


")
 Designer Series Paper")


")


