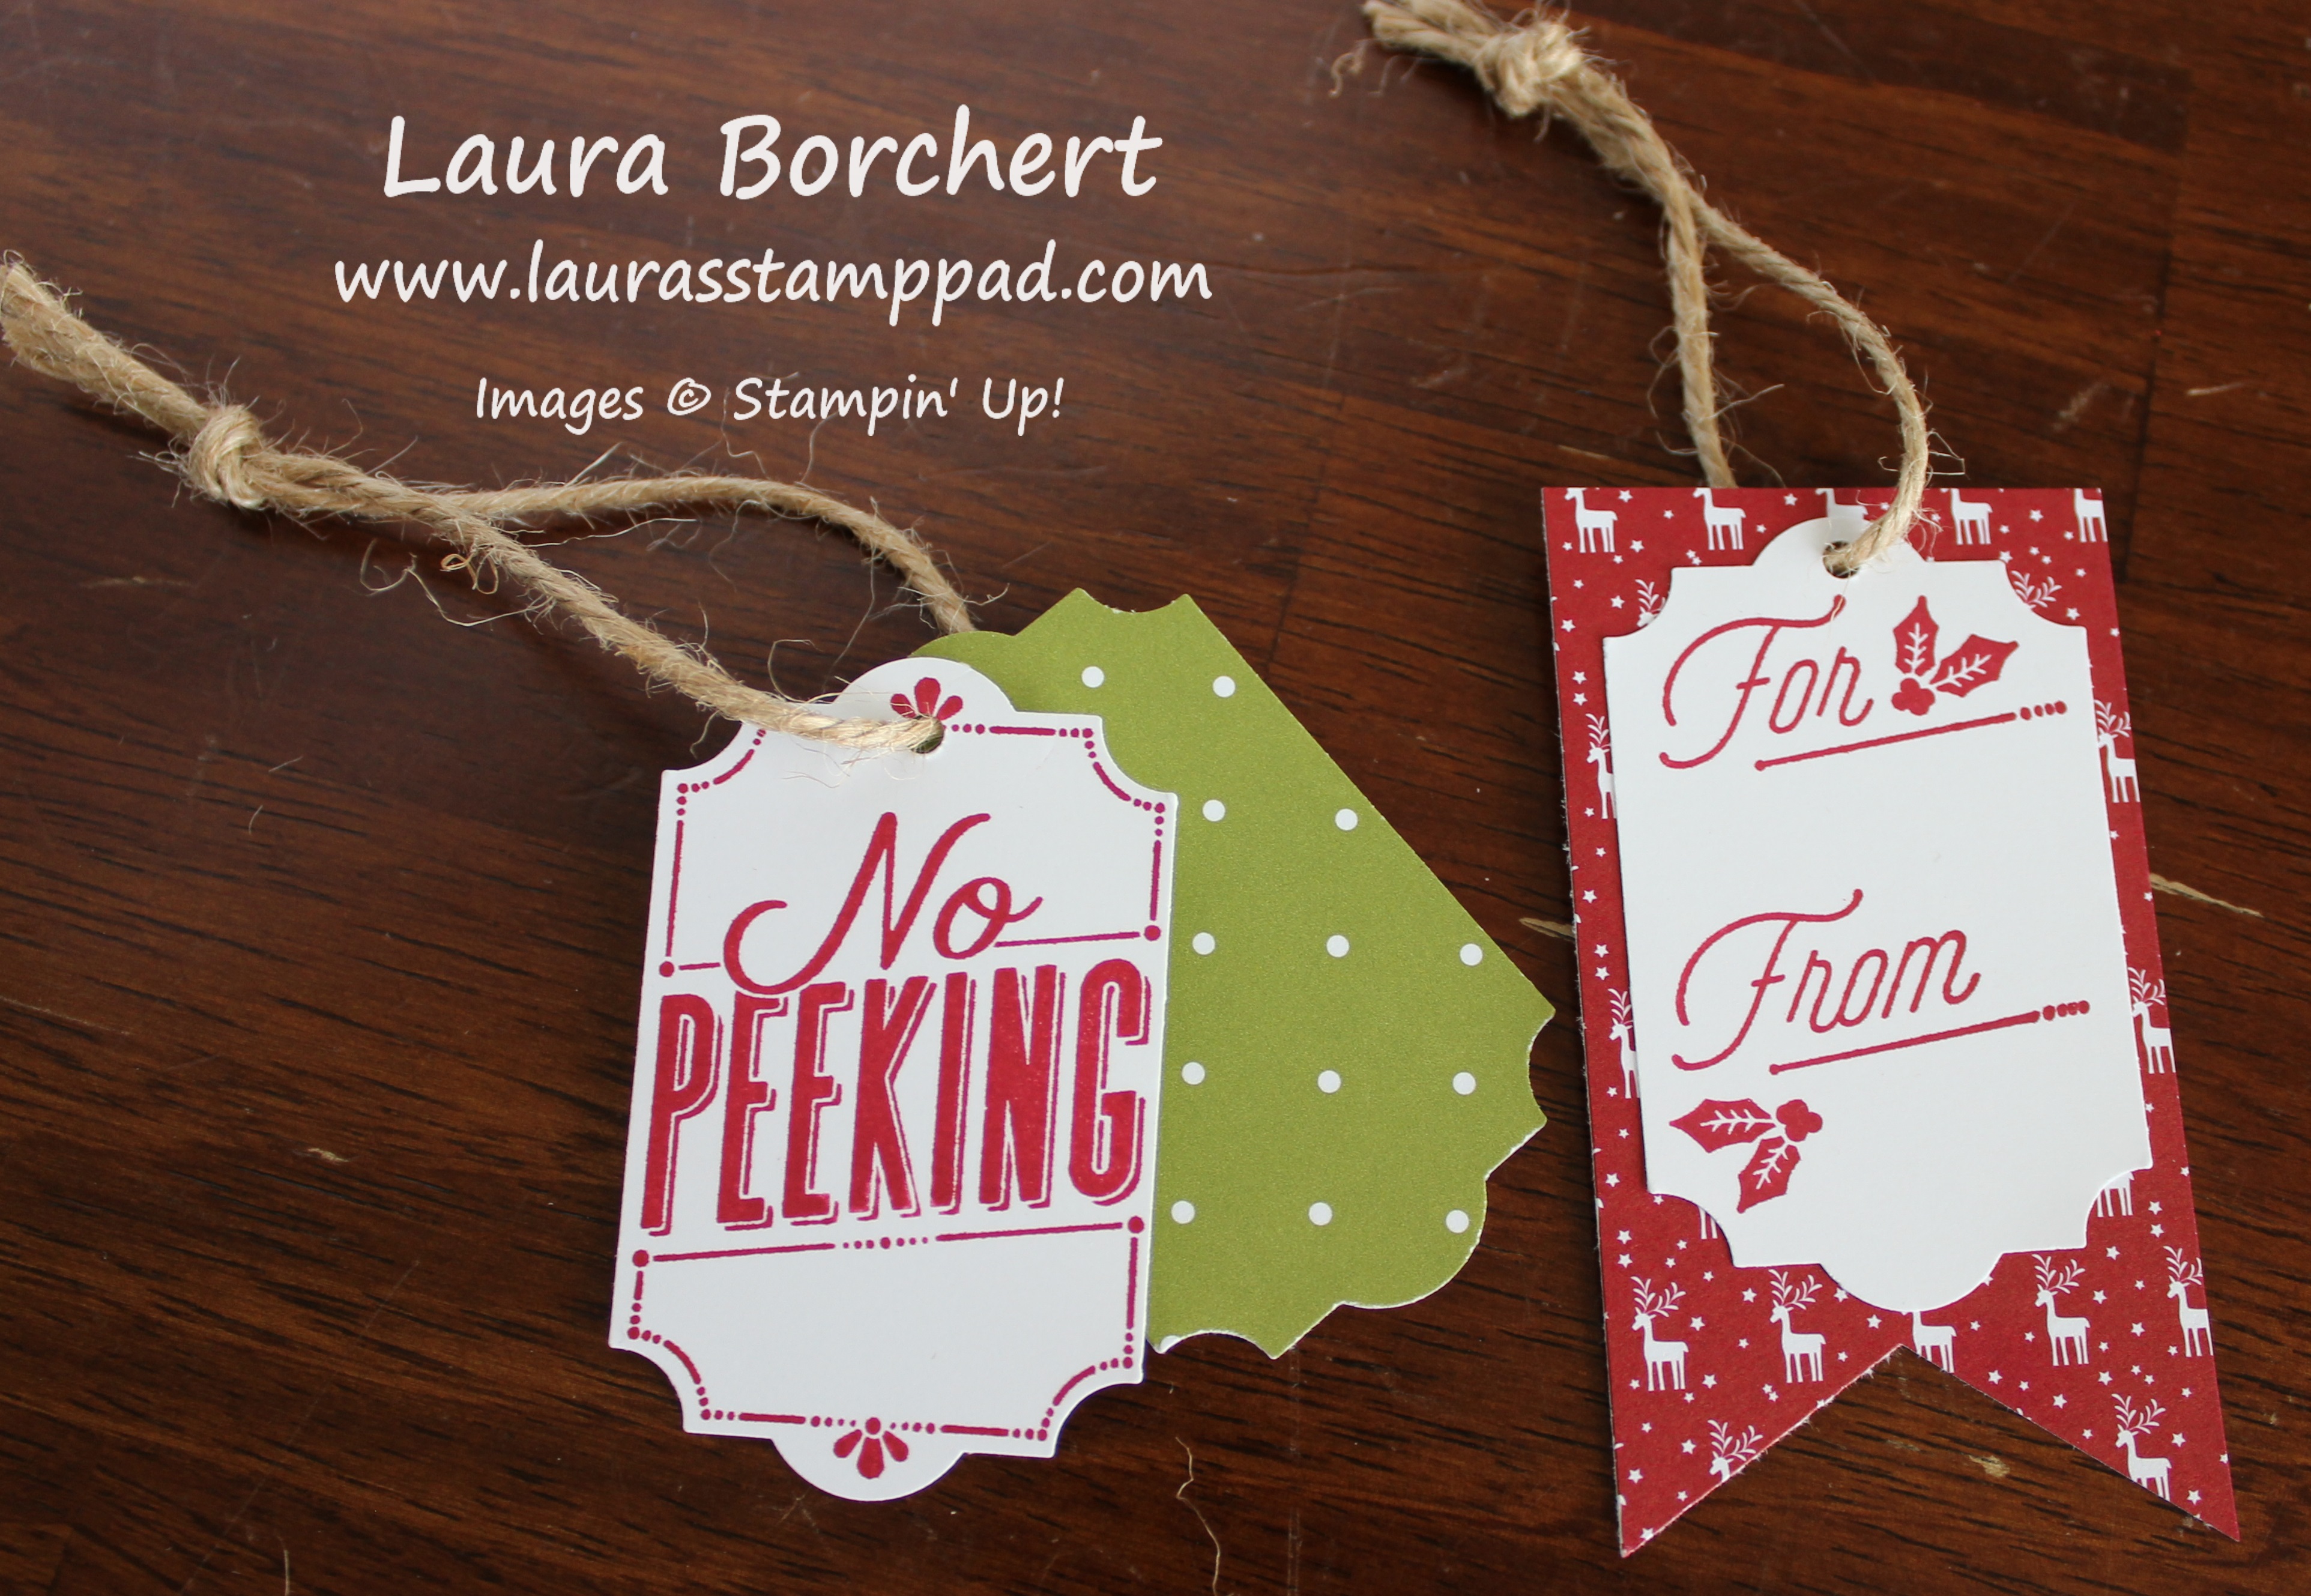
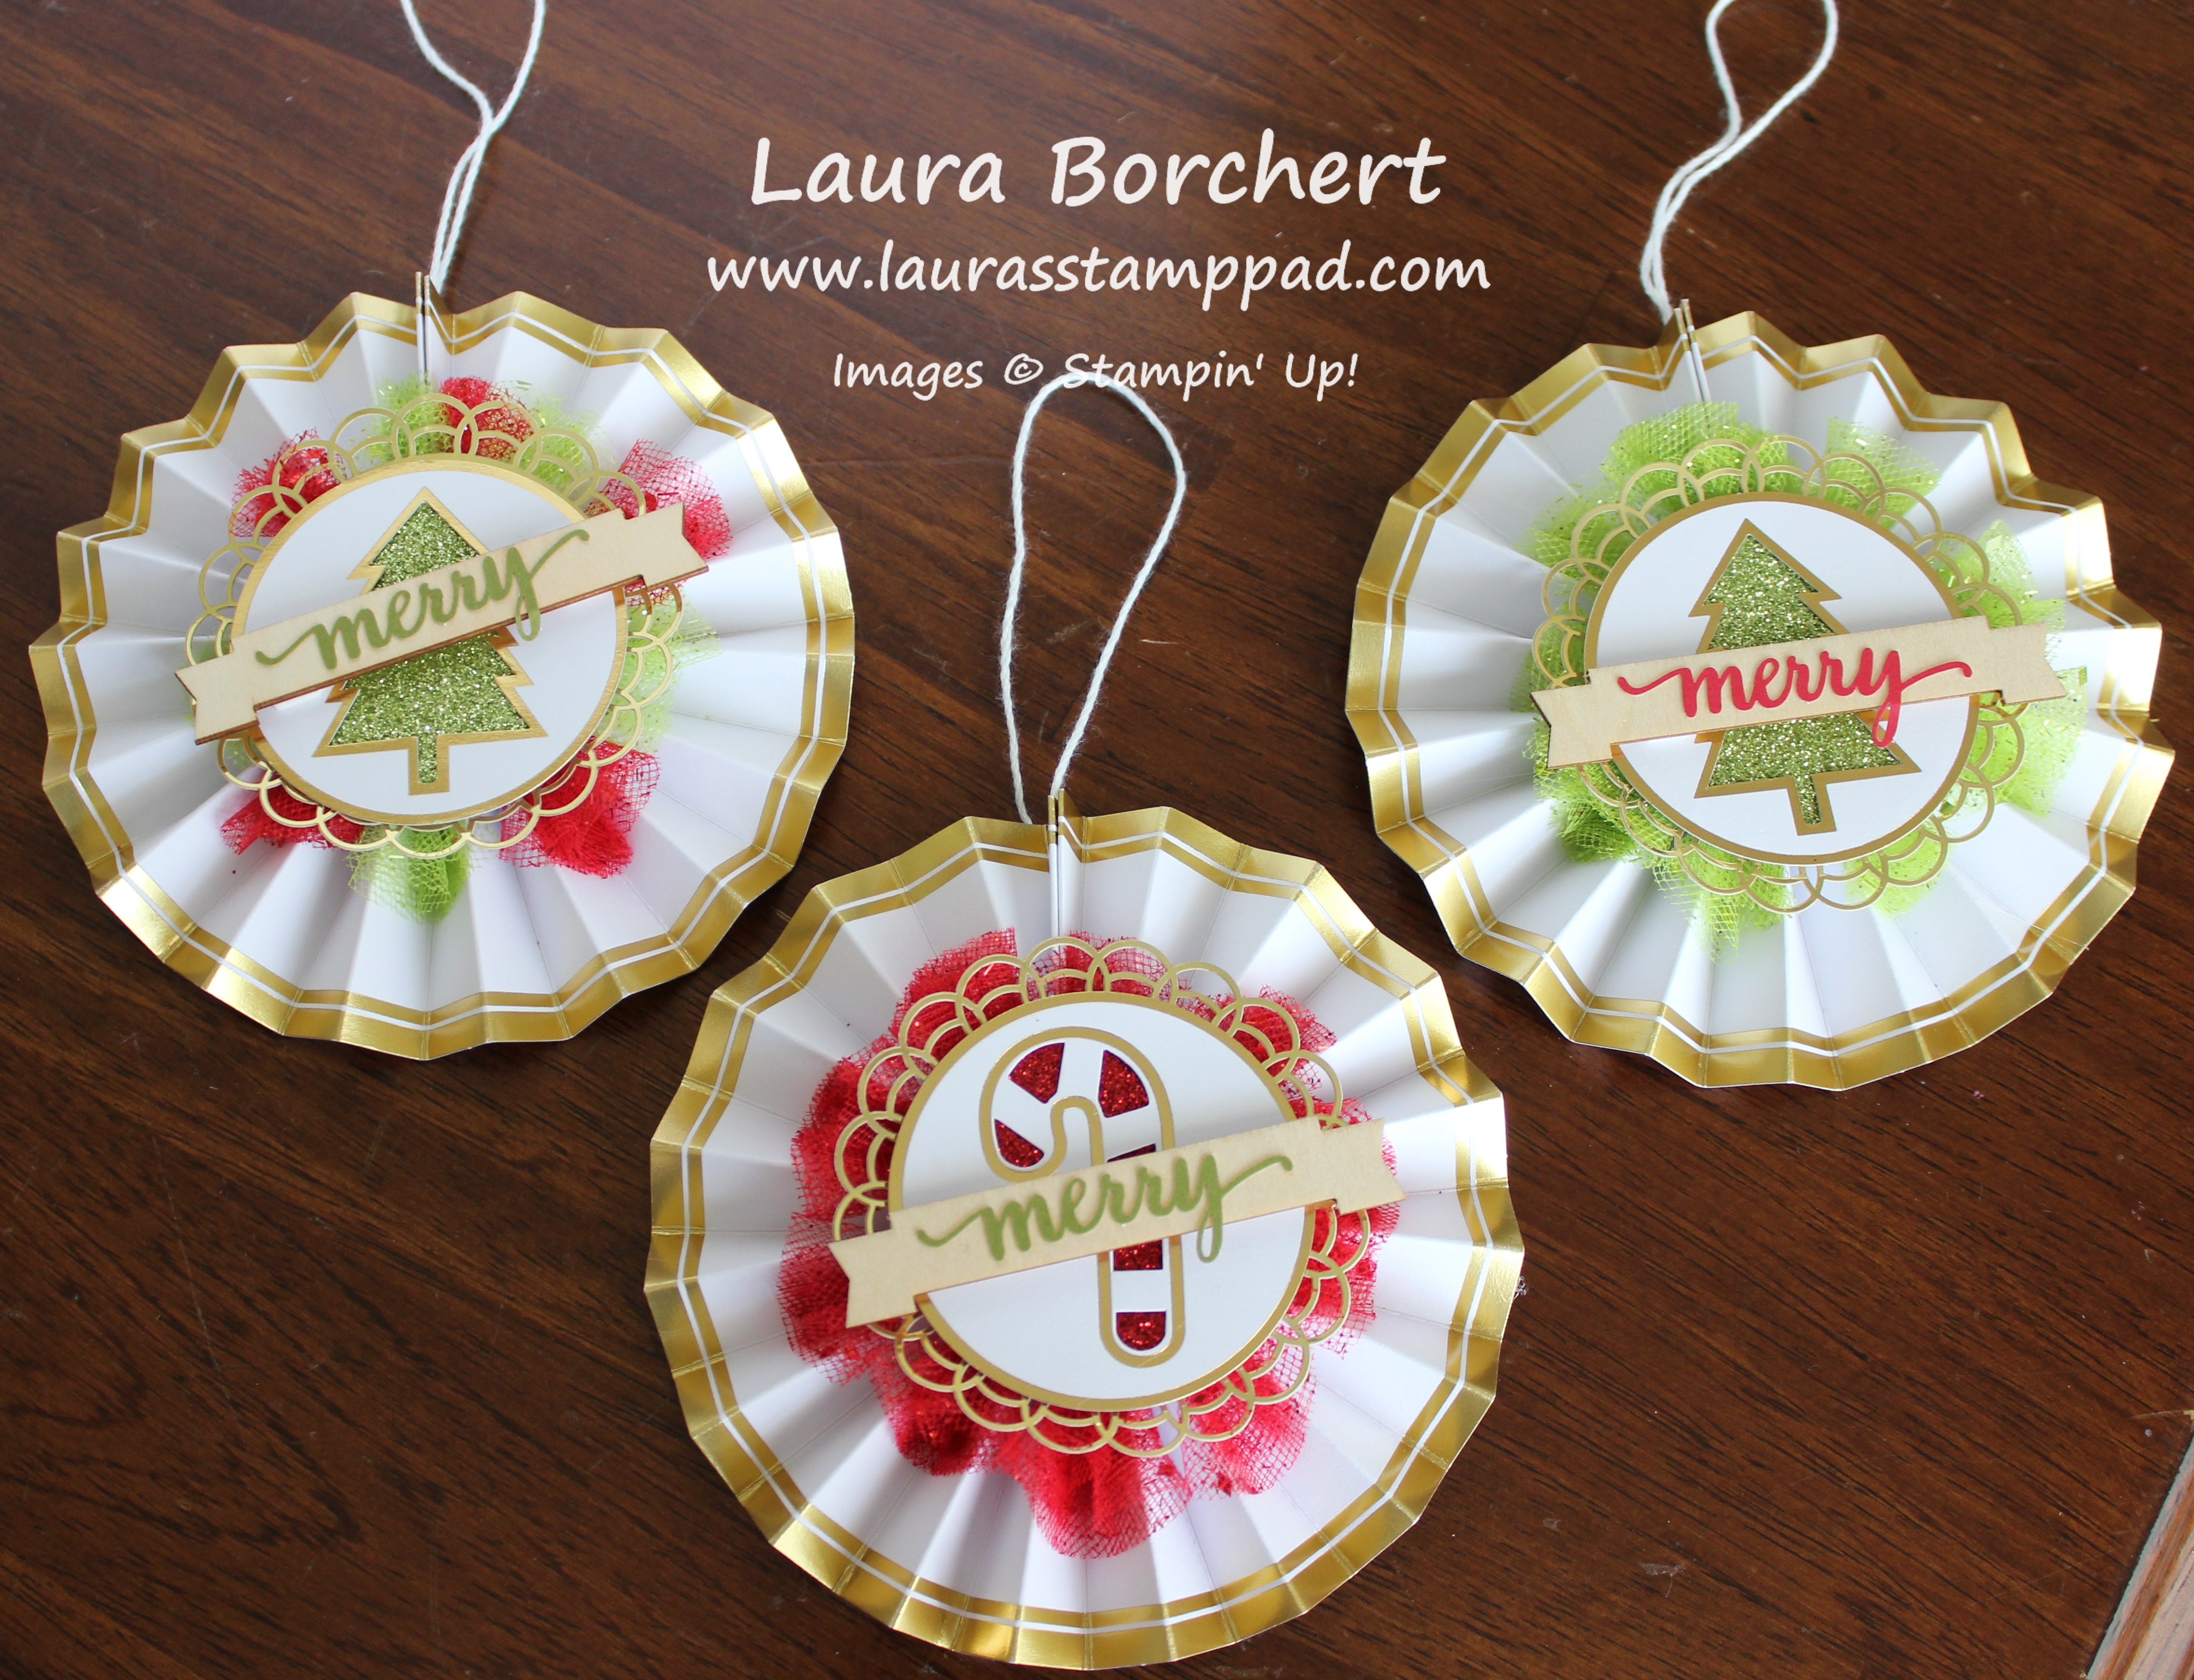
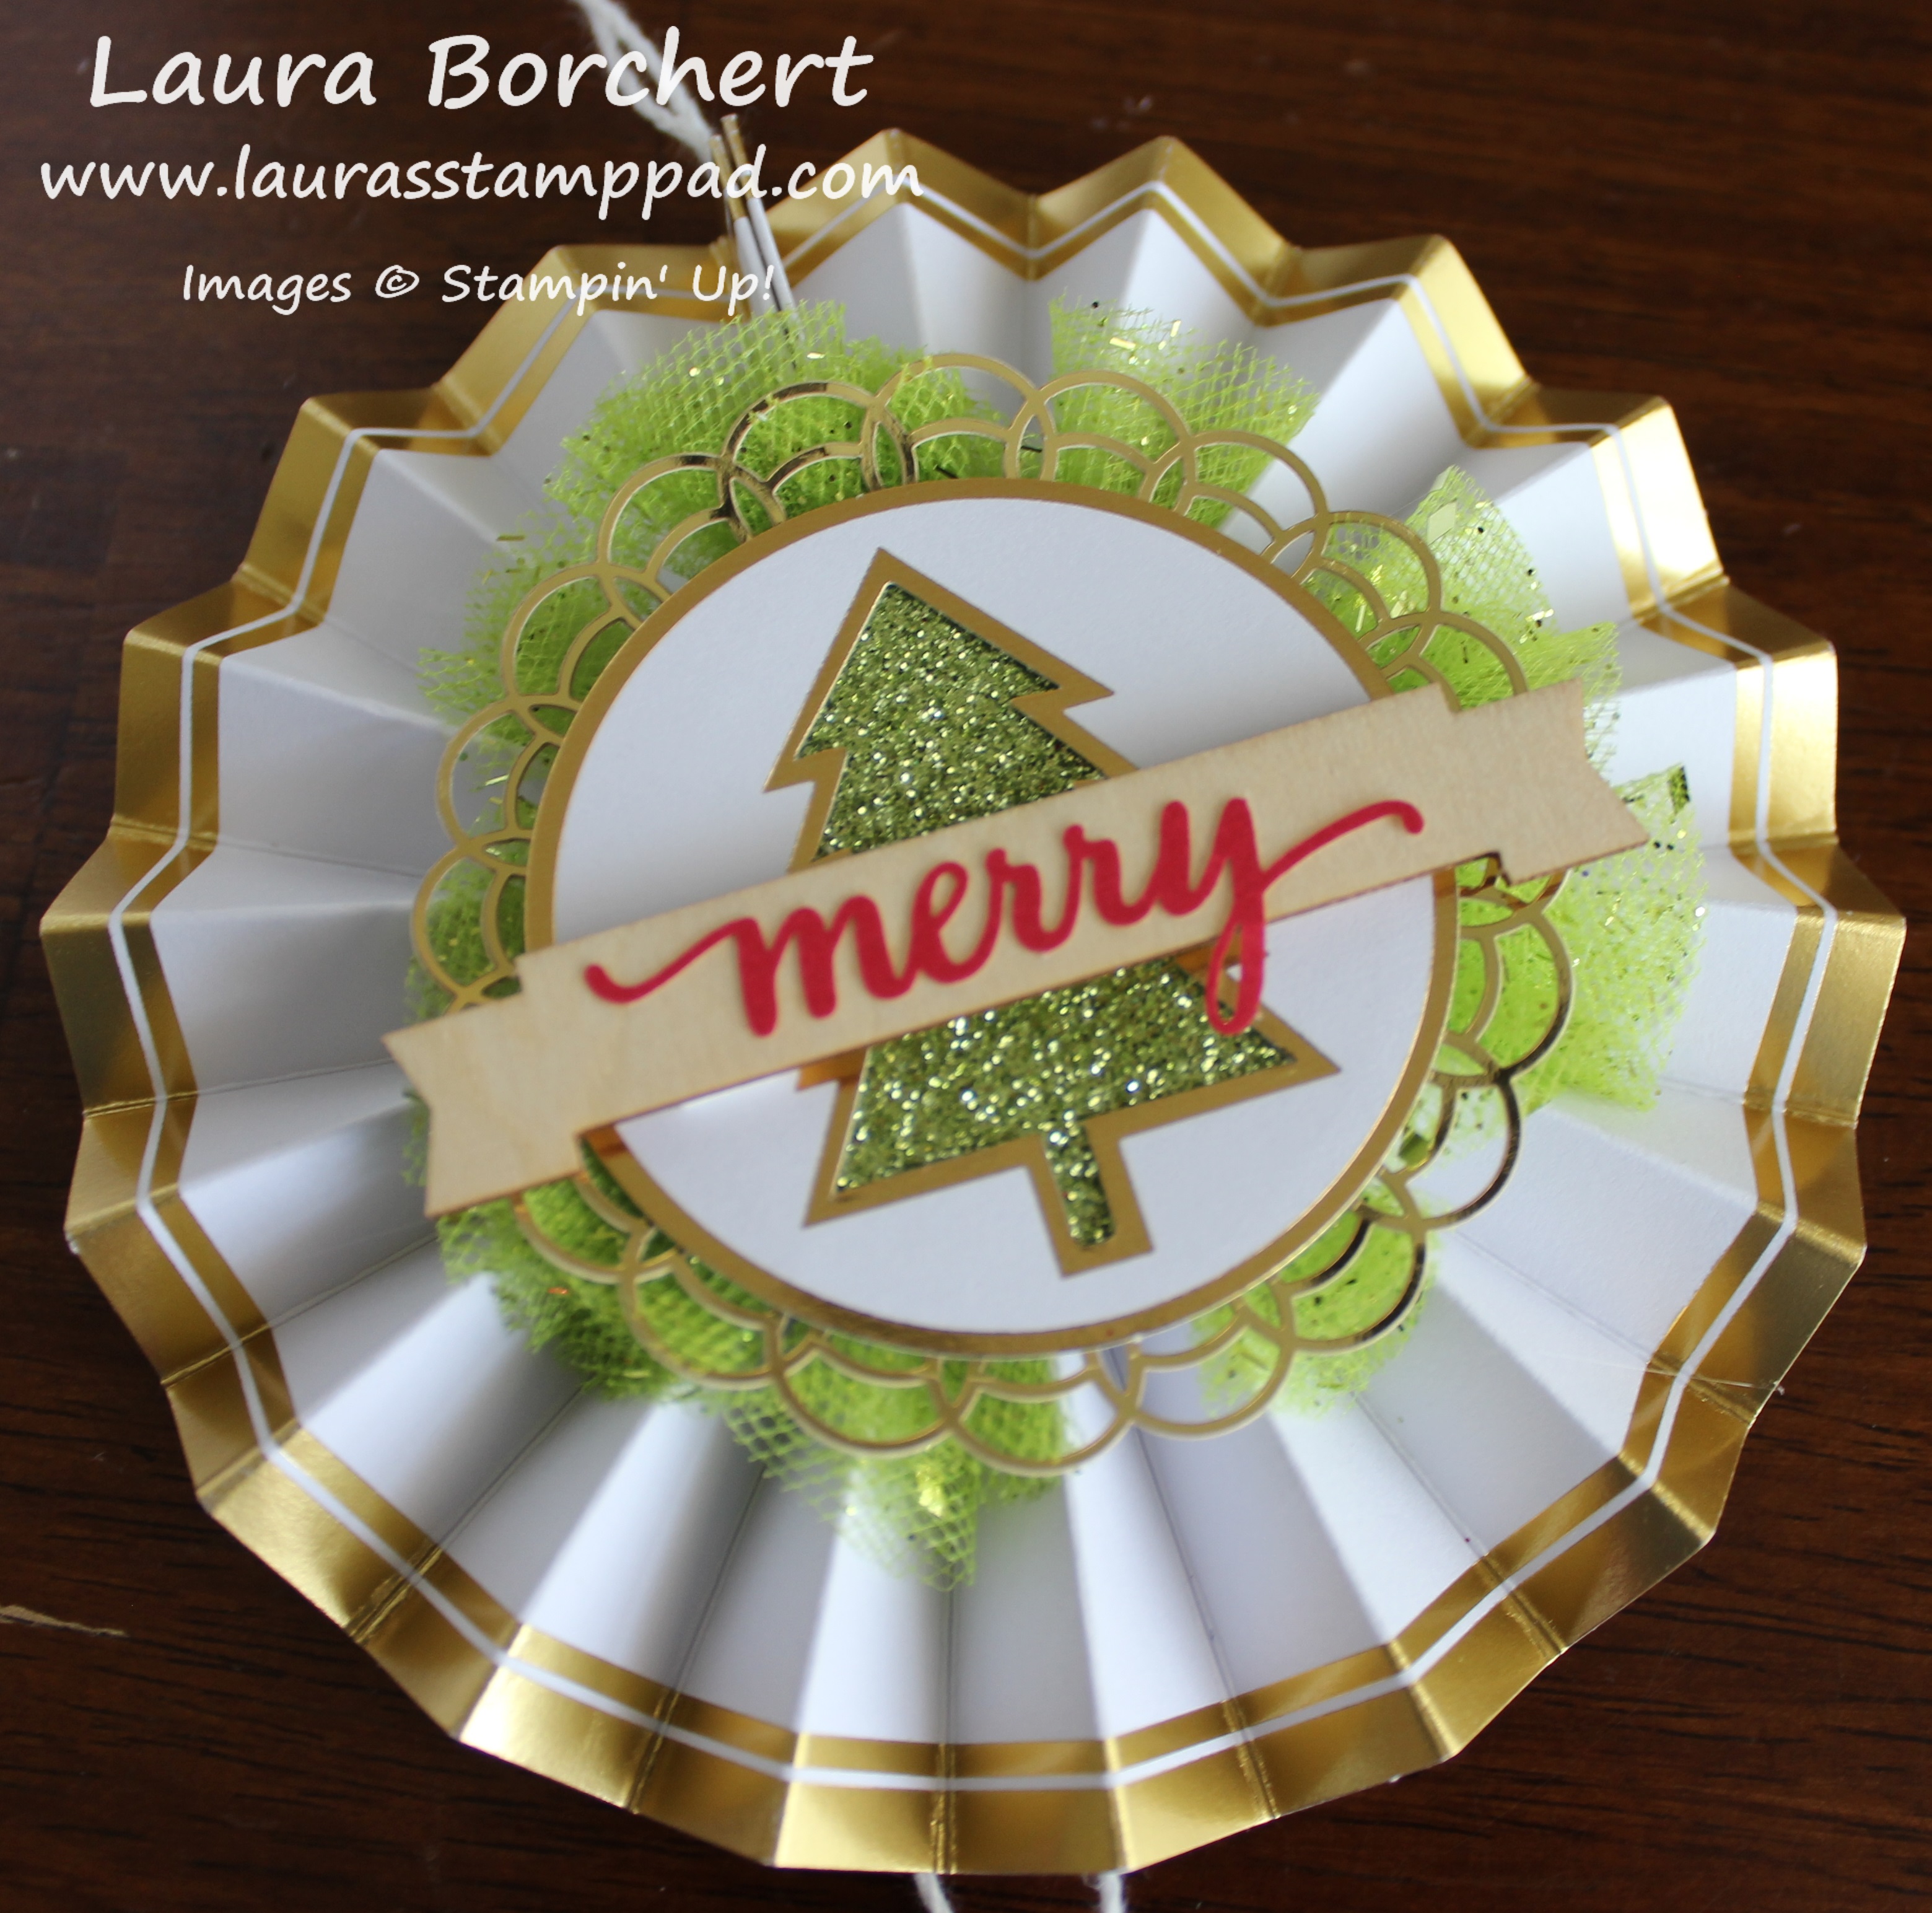
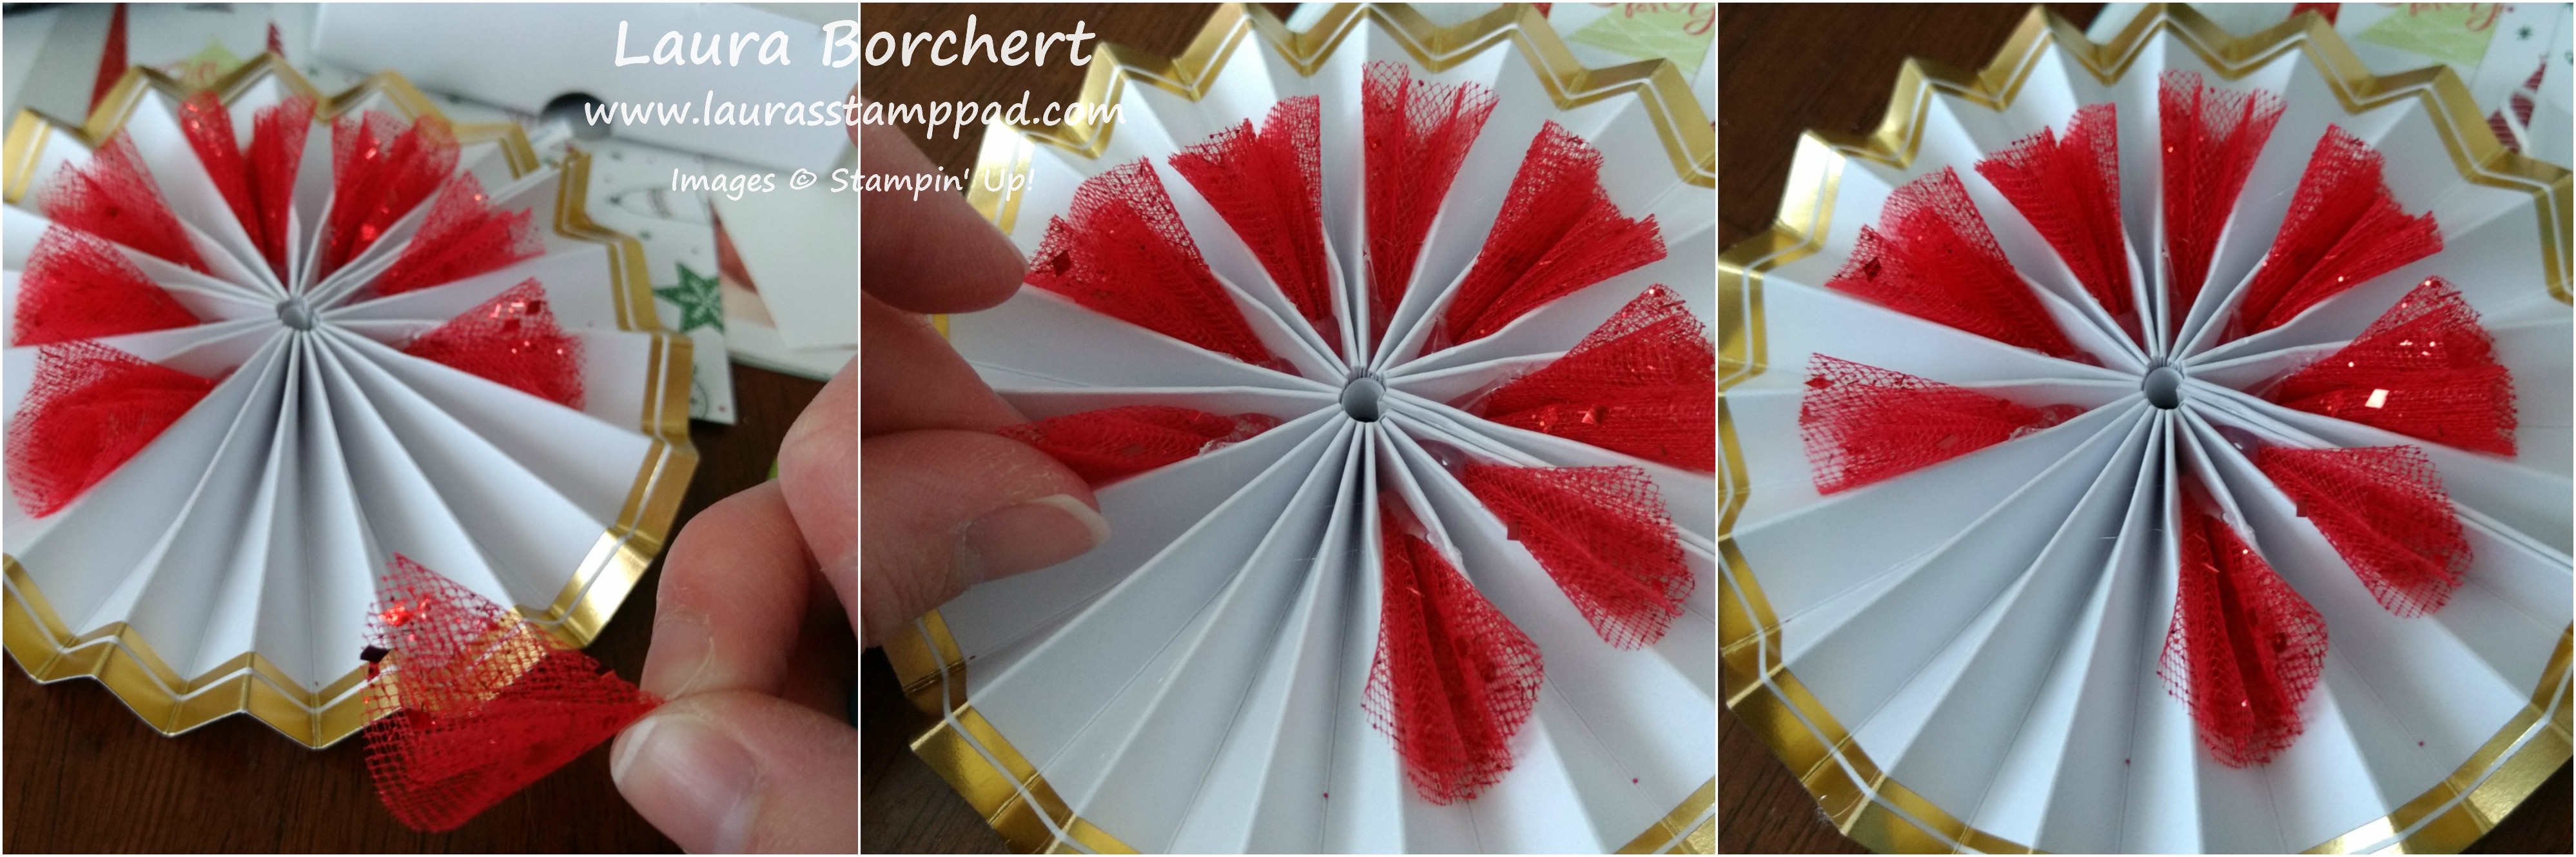
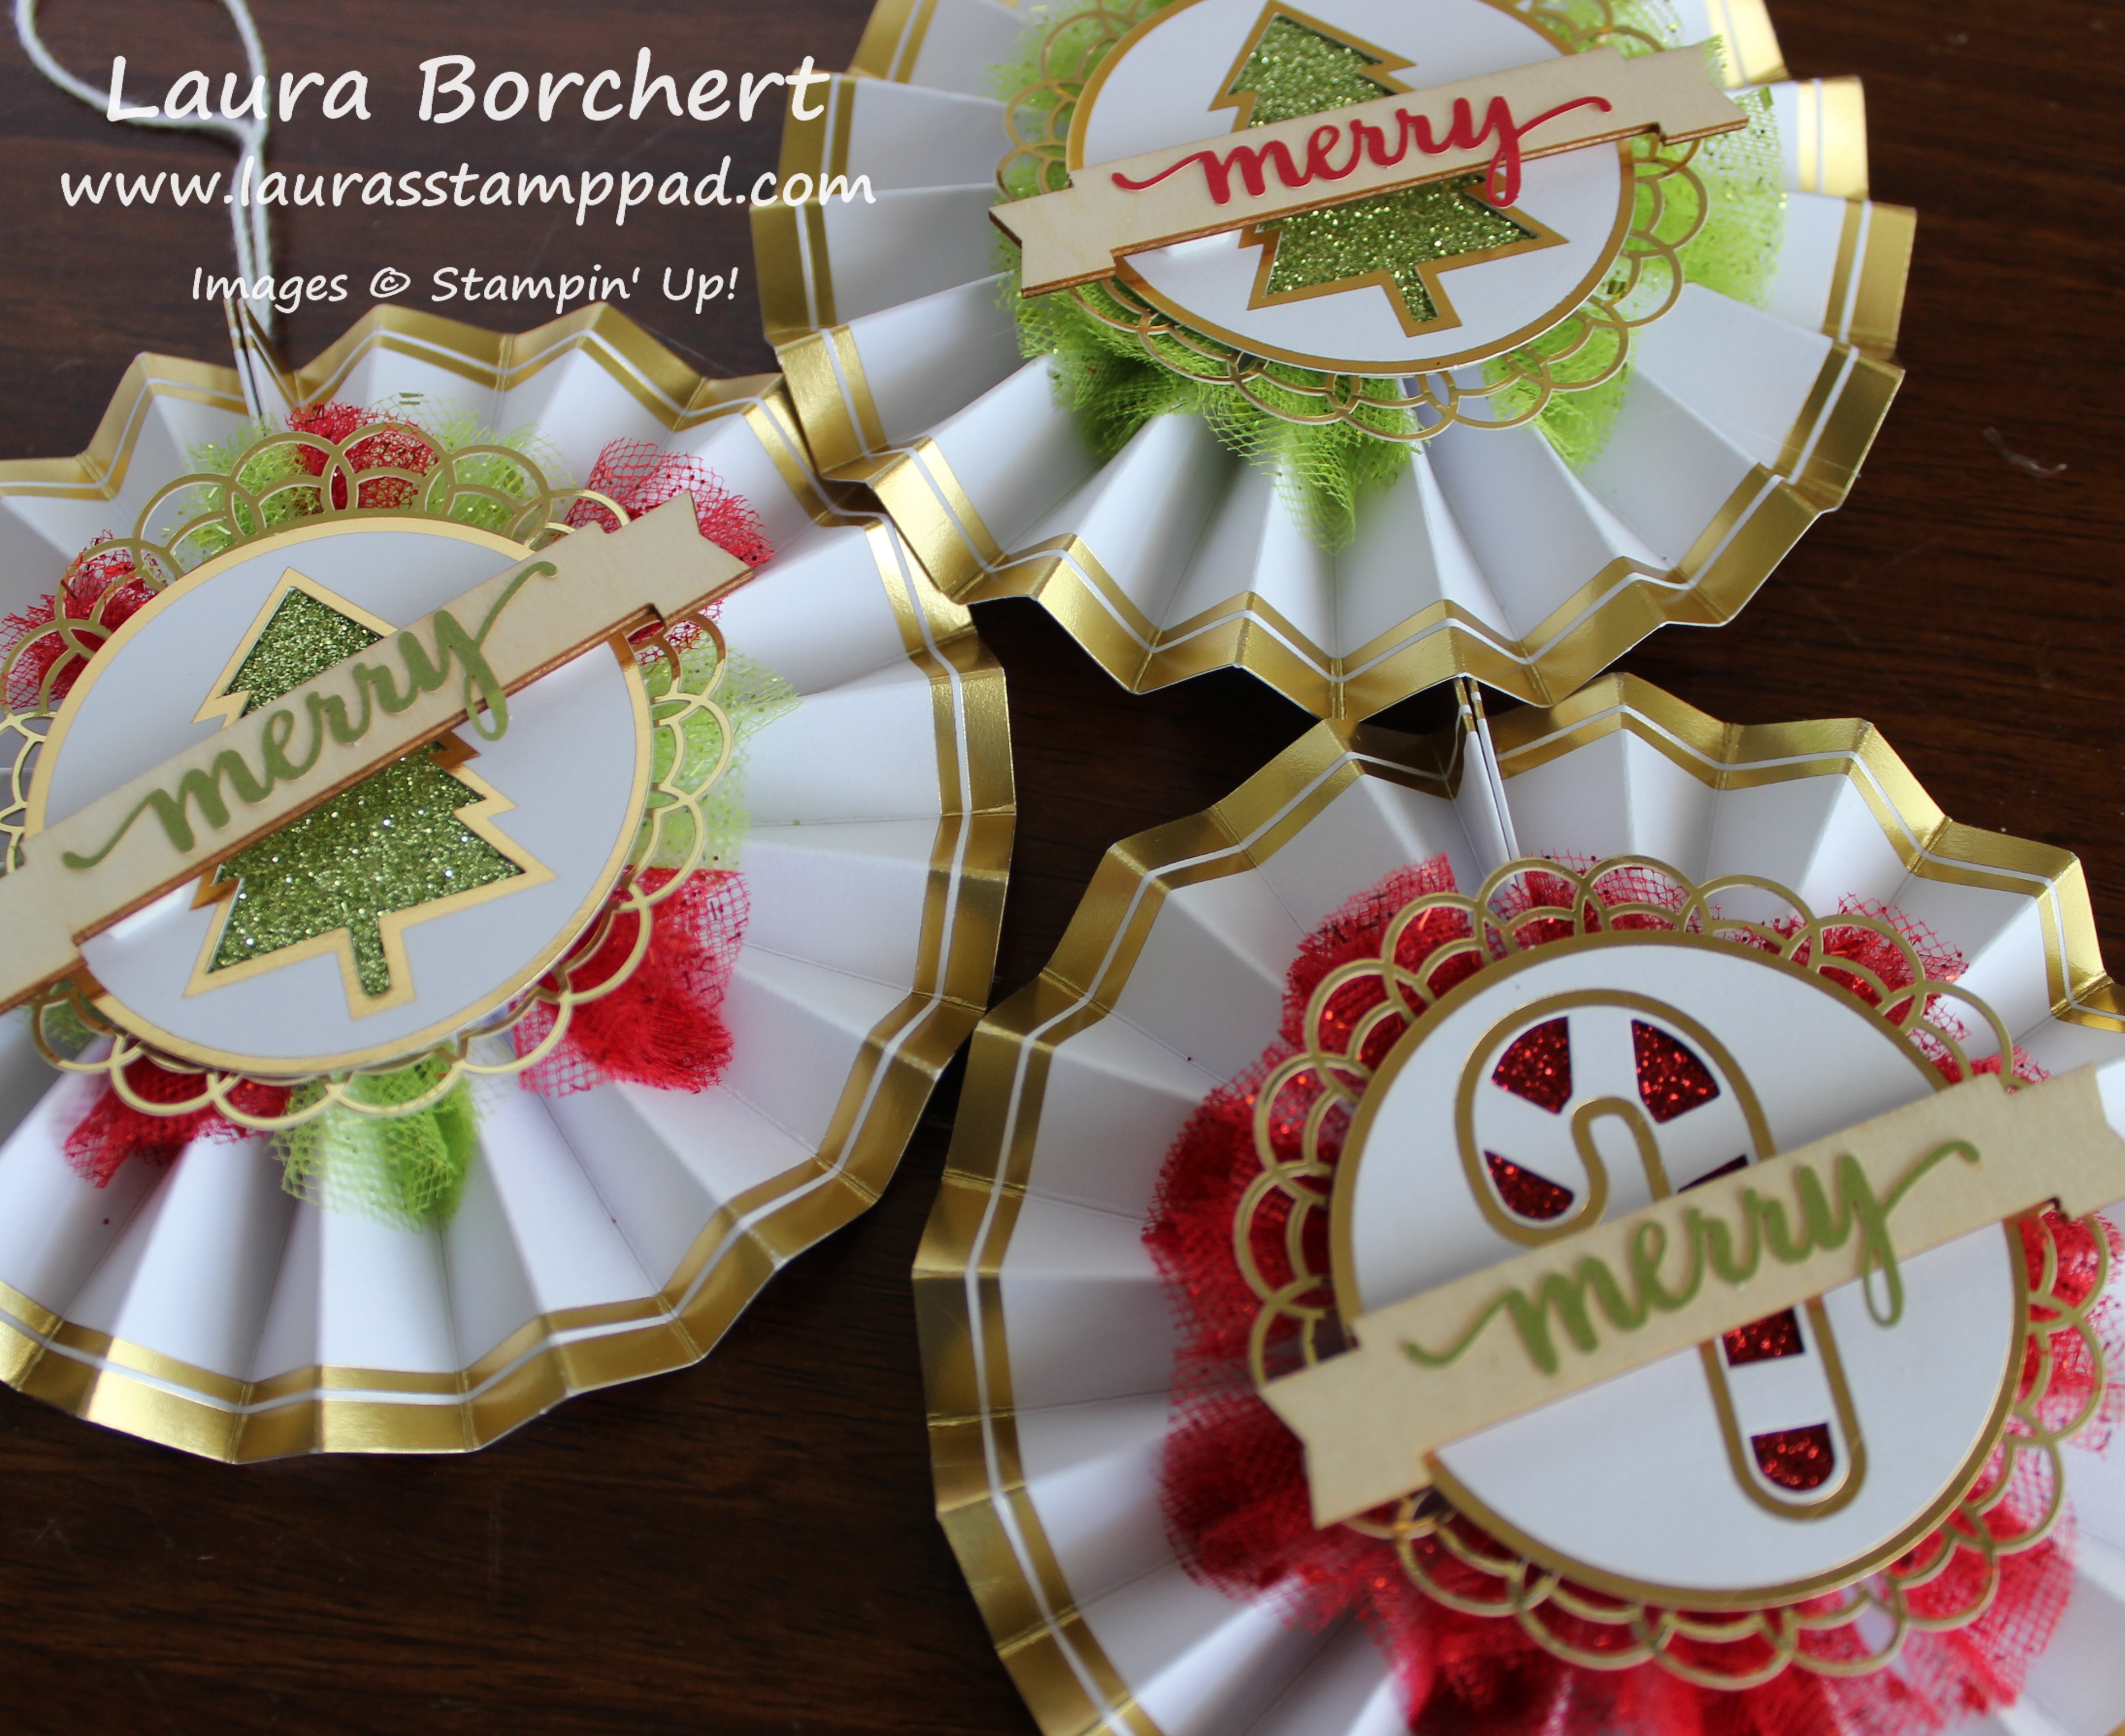
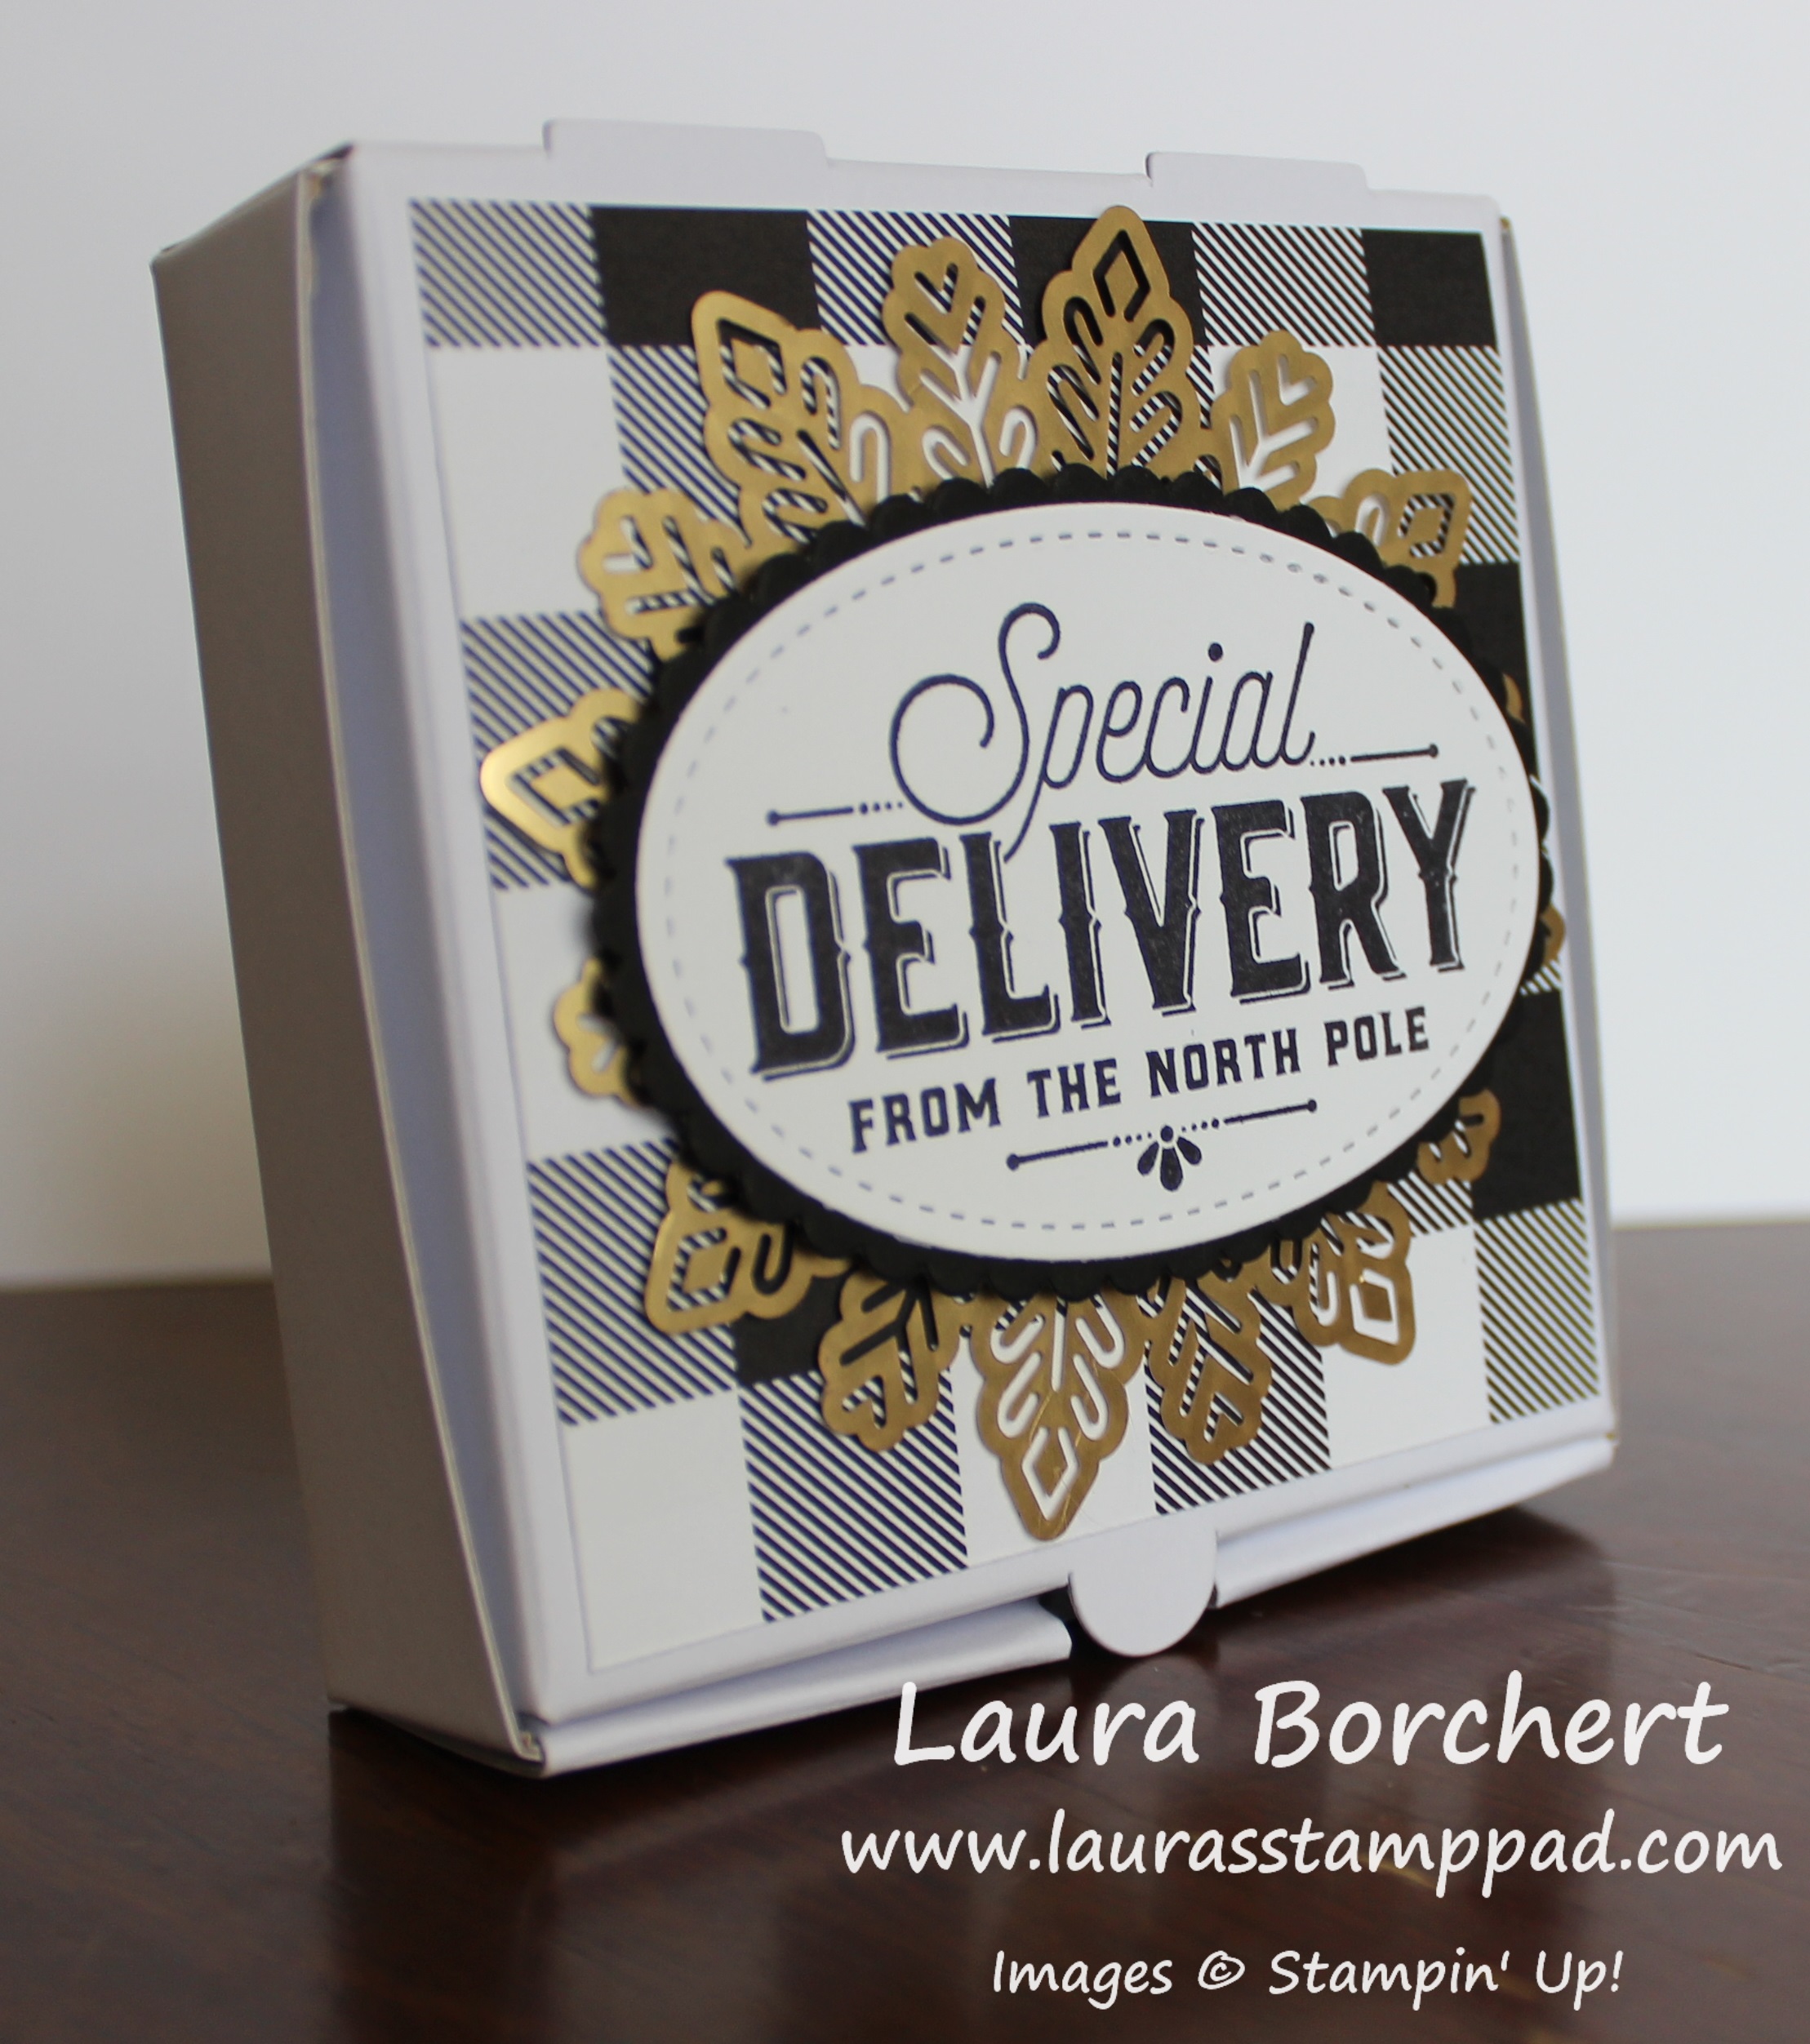
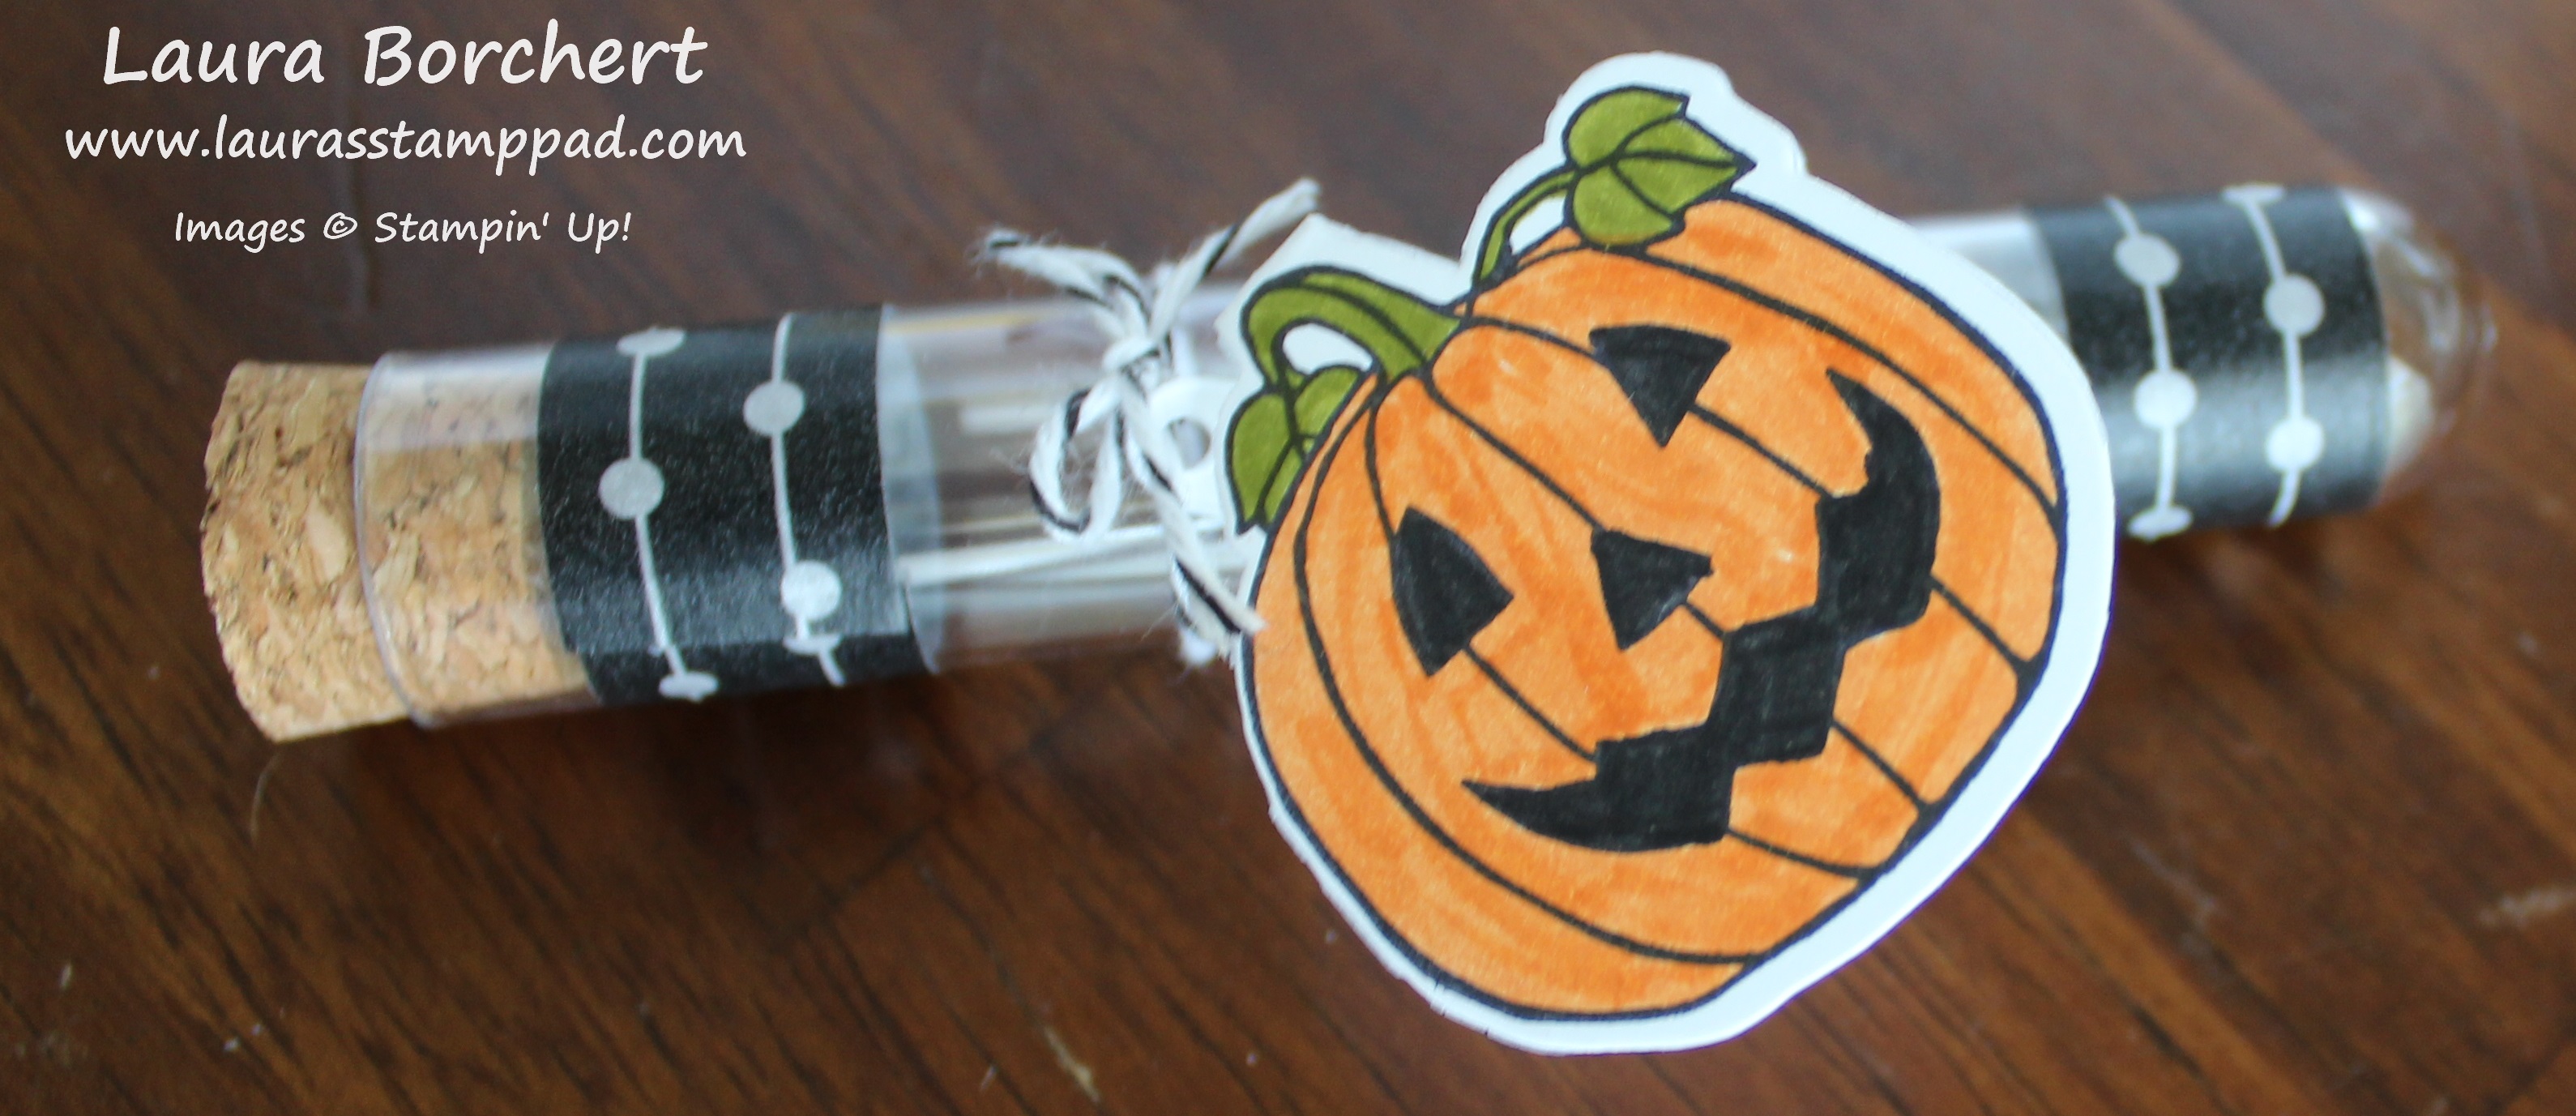
Hello Dear Friend!!!

Posted on

I love All Inclusive Kits because they are perfect for gifting to someone or for a beginner stamper to get their feet wet!! They come with everything you need to make the cards except scissors. The Hello Dear Friend Card Kit is my current favorite because of the flowers and the AMAZING GREETINGS!

Hello Dear Friend Stampin' Up All Inclusive Card Kit, www.LaurasStampPad.com

I love the greetings so much for #happymail cards or even thank you notes. My favorite actual card from the bunch is the mini purple thank you card! There is just something about the flower bunch in front of what looks like a window that I love!!!

Easy Mini Thank You Card, www.LaurasStampPad.com

Don’t you think it looks like a church window or something??? I just love it and it’s super simple. TIP: Be sure to stamp the greeting up high so that it fits. As you can see in my sample, the Y cuts off a bit at the bottom!

#happymail Card, www.LaurasStampPad.com

This card is my 2nd favorite because that greeting makes me smile!!! TIP: Add adhesive to the middle and lower left corner of the vellum so it will be covered up with the flowers and greeting! The purple flower was adhered on the card flat but the pink and yellow one are popped up with Stampin’ Dimensionals!

Hello Dear Friend Mini Card, www.LaurasStampPad.com

This card is quick and simple. The perfect size for a little note to drop with an item on someone’s porch, desk, or even hand it to them! Just a little something to brighten your day! Who wouldn’t love that?!?!?

Flowers & Diamonds Greeting Card, www.LaurasStampPad.com

I created this card with the vellum diamond both up and down. Honestly, I couldn’t really tell the difference like it should be one way or the other. It looks amazing both ways and the flower and greeting sort of take away from the fact that it’s a diamond shape!

Which one is your favorite?? Let me know in the comment below! If you would like to see me create all of these cards, check out this video! I’ll be honest evenings and this pregnancy made my stamping a bit of a hot mess but not every stamping session is perfect! LOL

Happy Stampin’

~Laura

Product List

Decorated Tiny Treat Boxes!!!

Posted on

Happy Friday!!! Today I’m sharing a cute gift packaging with the Tiny Treat Boxes!!! You can add some chocolates or other candy in there and so much more! Cute little gift for a hostess or at each spot at a party!

Tiny Treat Boxes, www.LaurasStampPad.com

Isn’t it adorable??? It’s super simple to create as well. Mix up the designer paper for any occasion too!

I started by popping up the Clear Tiny Treat Boxes. Next, I took a piece of the Be Merry Designer Series Paper (1-3/4″ x 10″) and wrapped it around the box. I started with the end in the middle of the bottom of the box. This makes the overlap on the bottom to seal it together. After wrapping it around, I slide it off and used my Bone Folder to create a strong crease on each edge. I prefer doing this over scoring it because I find it fits around the box better. When I score, sometimes it’s a little too big or a little too small. Be sure not to adhere the paper to the box or you won’t be able to open the box. If you adhere it around like a belly band, it just slides right off!

Be Merry Treat Box, www.LaurasStampPad.com

For the decoration, I used the 1-1/2″ Circle Punch to punch out Whisper White and stamp the To/From. I layered this one onto a Silver Foil Circle punched out with the 1-3/4″ Circle Punch! Using the Handheld Punch, I added a hole and tied on the box with some Silver Tinsel Ribbon. I finished it off with a little Season of Glitz Mini Gift Bow! These bows come in green, red, and white so there are lots of options to mix and match with other papers!

Product List

Don’t forget that the Basket of Wishes Stamp Set is the November Free Stamp Set from me for orders of $75 or more this month! Of course, all orders over $40, earn Laura’s Loyal Stampers Stickers!

Yesterday, Stampin’ Up opened up the reservations for the New Stamparatus and they were sold out in less than 20 minutes! I knew this item was HOT but I didn’t know it was going to go that fast. The next reservation date is December 5th!!! If you would like one, stay tuned and be ready on December 5th!

I hope you all have a fabulous weekend. See you back here on Monday! Happy Monday!

~Laura


No Peeking….You Have To Wait!!!

Posted on

Happy Friday!!! I thought I would share a little tag inspiration for the upcoming holidays! This is simple and easy to add a handmade touch to your holiday gifts! You can check out more gift packaging ideas here and here!

No Peeking, www.LaurasStampPad.com

This tag was created using the Merry Little Labels Stamp Set and coordinating Everyday Label Punch!!! This punch had me at HELLO since it is very similar to the retired Decorative Label Punch. I simply stamped the greeting in Real Red Ink and punched it out. Then using the 1/8″ Handheld Punch, I added a hole in the top. I used the New Jute Twine from the Holiday Mini Catalog. I love it!!!

Gift Tags, www.LaurasStampPad.com

Here I added in some Designer Series Paper as decoration. For the one on the left, I used some of the Merry Little Christmas Designer Series Paper. I just added Whisper White to the back side with the stamped image and glued the two together before threading them on the twine. The tag on the right was punched into banner tips with the Banner Triple Punch. There are lots of great ways to decorate tags for any occasion. These tags are perfect for gifts, gift bags,  or even to add with some ribbon on a bottle of lotion or bottle of wine! Simple and fabulous!

Product List

I hope you all have an amazing weekend. I am super excited because I’m spending it with family!!! My niece and nephew’s birthday party is tomorrow and the family reunion is on Sunday. There is nothing better than 100+ people gathering for a day of good food and great fun! I’ll see you all back here on Monday.

Happy Stampin’

~Laura

Pick A Pumpkin, www.LaurasStampPad.comDon’t forget that this stamp set – Pick A Pumpkin is the one you can earn for FREE with a $75 order! This offer is all month long. Check out all the details here!


Be Merry Project Kit!!!

Posted on

The Be Merry Project Kit is all inclusive and easy to assemble! These little rosettes make perfect ornaments or gift tag toppers! The best part is no stamping and quick assembly! The rosettes are already scored and ready to go!!! Woot Woot!

Be Merry Project Kit, www.LaurasStampPad.com

The awesome thing about these is that the rosettes are already scored and ready to go with the Baker’s Twine attached. Simply peel off the adhesive and attach one side to the other. If you want to make sure it gets a strong hold, just place a clothespin or binder clip on them. I didn’t have a problem with mine though but it’s a good idea. There are gold trim ornament and gold polka dot ones too!

Homemade Christmas Ornament, www.LaurasStampPad.com

Next step is adding in the tulle. These come in a big stack of pre-cut circles. Be sure to only use one thin little circle for each section. I folded it in half 3 times.

Tulle in Rosettes, www.LaurasStampPad.com

Simply add a glob of Hot Glue in the valley of the rosette and then press the pointed end of the folded tulle into it. One tip that I have for this is to not go in super deep to the center of the rosette. If you go in too deep, there is only a small edge showing after the center decoration is added. Notice how the green only peaks out a little in the sample above. I recommend doing a full ornament first to work the kinks out before doing the rest in an assembly line.

Rosette Gift Tag, www.LaurasStampPad.com

The fun thing about these is that you can do all green, all red, or mix the 2 colors! Super fun!!! The top decorations can all be mix and matched as well with green or red glitter peaking through and green or red Merry greeting. Make sure to adhere the greeting on that it is right side up to the string at the top. 🙂 There are also circles to place on the back of the rosette for a To/From greeting if you wish to use this as a gift tag.

Trees & Candy Canes, www.LaurasStampPad.com

If you would like to see the kit reveal, check out the Video Tutorial below or click here! Be sure to give the video a thumbs up if you liked it and don’t forget to subscribe if you are new. If you would like a notification when I post a new video, be sure to click the bell right next to the subscribe!!!

Happy Stampin’

~Laura

Product List


Mini Pizza Boxes are Amazing!!!

Posted on

These Mini Pizza Boxes are just fabulous and adorable!!! They are in the NEW Holiday Mini Catalog and they are perfect for a gift card, cookie, or little cards /tags. Anything could go in there….and it’s calorie-free!!! 😉

Mini Pizza Boxes, www.LaurasStampPad.com

These Mini Pizza Boxes are precious and decorating them is so simple! You can either just decorate the top square or wrap ribbon all around or do a belly band!

I folded the little Pizza Box on the score lines and popped it together. Be sure the shiny, plastic side is on the inside. This is to make it food safe! Next I added a piece of Merry Little Christmas Designer Series Paper. Then I placed one of the gold Foil Snowflakes in the center. For the greeting, I used the Layering Ovals Framelits and Stitched Shapes! I love layering these 2 styles together. They are just fabulous! The greeting was stamped in the middle from the Merry Little Labels Stamp Set! There are lots of great greetings in that set to pick from! I added the greeting to the box with Stampin’ Dimensionals!

Special Delivery, www.LaurasStampPad.com

Simple switch out the Designer Series Paper and the greeting and this would be perfect for any occasion! Check out other fabulous gift packaging idea in yesterdays post! There is a video tutorial as well!

Product List


What do you all think about the new product lists that I’m showing for each project shown? Do you like this better? Let me know in the comments below!

Happy Stampin’

~Laura


Pick A Pumpkin, www.LaurasStampPad.comDon’t forget that this stamp set – Pick A Pumpkin is the one you can earn for FREE with a $75 order! This offer is all month long. Check out all the details here!


Technique Tuesday – Treat Tubes For Every Occasion!

Posted on

Happy Tuesday!! That means I have a fabulous technique to share with you!!! Today, I’m showing you these fabulous Treat Tubes from the Holiday Mini Catalog!!!

Treat Tubes, www.LaurasStampPad.com

Here are 2 tubes that I decorated for Halloween and Christmas. Well actually that little red bow could be any occasion….like Valentine’s Day, Birthday, Baby, etc. That is what is so fun about these! They are cute, simple, and fun!

Pumpkin Test Tube, www.LaurasStampPad.com

For the little Pumpkin one, I used some of the Pick A Pattern Designer Washi Tape to wrap around the top and bottom. For the tag, I used the Seasonal Chums Stamp Set and coordinating Seasonal Tags Framelits (Bundle and Save 10%). I simply stamped it in Basic Black Archival Ink so it wouldn’t bleed when I colored it with the markers. I wanted that bold, bright color so I went with markers. Pumpkin Pie, Old Olive, and Basic Black were the colors I used!

Pumpkin Tag, www.LaurasStampPad.com

I love this set because it makes perfect little tags with the hole in it to tie it on and it’s a front and back tag. Isn’t that adorable??? I used Black and White Baker’s Twine to tie it on!

Red Bow Topper, www.LaurasStampPad.com

I went super simple with this one and placed a Mini Bow on top! Adorable!!! You could always add a tag if you wished!

A few tips for the inside goodies: Candy, Tic Tacs, M&Ms, Hot Cocoa, Coffee Beans, Single Serving Drink Packets (coffee, tea, lemonade, etc.), Bath Salts, Candles/Balloons/Confetti, Spice Mix, Glitter, Oats & Glitter for Reindeer Food, Marshmallows inside tied to a Hot Cocoa Packet. Let me know in the comments if you have any other great ideas!!!

If you would like to see these in action and lots of other Gift Packaging ideas, check out the Video Tutorial below. I will be posting more items from the video on here tomorrow so stay tuned! Be sure to give the video a thumbs up if you liked it and don’t forget to subscribe if you are new. If you would like a notification when I post a new video, be sure to click the bell right next to the subscribe!!!

Happy Stampin’

~Laura

Product List


We Celebrate On Fridays!!!

Posted on

We celebrate on Fridays because…..why not? We survived the week and made it to another weekend! For some that means relaxing and spending time stamping and for others that means enjoying the weather and spending time with family. What’s even better is when all of those things collide! Either way, we have a lot to celebrate!!!

August Laura's Loyal Stampers, www.LaurasStampPad.com

First, we have the August Laura’s Loyal Stampers Stickers!!! This is my reward program for all of my customers. I love giving back to those who love Stampin’ Up! as much as me. For every $40 order, you will receive a sticker and after 10 Stickers you get a $40 Gift Certificate. It doesn’t matter if it takes you 4 years or 4 months to earn this. I do all of the tracking for you! Just shop, earn, and enjoy!!!

We celebrate on Fridays, www.LaurasStampPad.com

Who else is loving those adorable little tags from the August Paper Pumpkin Kit??? I sure am! These have gone on lots of treats I’ve given out lately. I did a little Challenge for my Fabulous Friends Stamp Team and wrapped up their prizes!  Also, I used them for some of the prizes from the Virtual Girls Night Out Holiday Mini Catalog Party that I did on my Facebook Page earlier this week! It was so much fun and I hope everyone else enjoyed it as much as me.

Happy Stampin’

~Laura


Happy Birthday to ME!!! Let Us All Celebrate!

Posted on

Today’s MY BIRTHDAY!!!! Let Us All Celebrate together with some fabulous specials!!!

Birthday Bags, www.LaurasStampPad.com

Are you ready for all of this fabulous-ness!?!?!?

TODAY ONLY…..every order of $40 (before tax and shipping) will earn a FREE Gift from me as well as 1 Laura’s Loyal Stampers Stickers! I have tons of great prizes to give! Check them out! Click here to start shopping and enter the Hostess Code: A3AR6VYH when you are checking out!!!

Let Us All Celebrate, www.LaurasStampPad.com

Here are just a few of the goodies – Embossing Paste, Blender Pens, Ink Pads, Glitter Enamel Dots, Chalk Marker, Designer Series Paper Stacks, and more!

But wait there’s more……If you order $75 (before shipping and tax), you will get a Free Gift, One Laura’s Loyal Stampers Stickers, AND the Smitten Mittens Stamp Set for Free! This set is coming out in the Holiday Mini Catalog so you can earn it before it even comes out! Woot Woot!  Click here to start shopping and enter the Hostess Code: A3AR6VYH when you are checking out!!!

Not sure what to order or just getting started with stamping or just want to check it out……Paper Pumpkin is HALF PRICE for September for new subscribers. Click here to sign up and use the Promo Code: HALFOFF0917  (zero nine one seven). If you sign up TODAY, you will earn a Free Gift as well!

Birthday Gift Bags, www.LaurasStampPad.com

These gift bags were super fun to make with Embossing Paste! I got them at the dollar store, smeared some embossing paste over the template randomly. Since I had a ton of Berry Burst paste left over, I just did it over tons of scraps. Once it was all dry, I added those scraps to some tags and added the tag to the bags with Finely Woven Ribbon! I love how they turned out!

If you would like to see these items and ME, check out the Video Tutorial below or click here! Be sure to give the video a thumbs up if you liked it and don’t forget to subscribe if you are new. If you would like a notification when I post a new video, be sure to click the bell right next to the subscribe!!!

Have a wonderful day because it’s a Fabulous One!!! Happy Stampin’

~Laura


Technique Tuesday – Wooden Crate of Chocolate!!!

Posted on

Happy Tuesday!!! You all know that means I have a fabulous technique to share and this one is a wooden crate of chocolate!!! YUM!

Wooden Crate of Chocolate, www.LaurasStampPad.com

Aren’t these adorable and super real looking with that Wood Textures Designer Series Paper???

The Wood Textures Designer Series Paper comes in a 6″ x 6″ Stack and both sides of the paper are the same pattern. This is perfect so that the inside of  your box looks the same. I love that! I die cut out 2 of the box dies from the Wood Crate Framelits to create the box. This requires 2 sheets of  the Designer Paper but don’t worry we will be using the leftovers. 🙂 Using some of those leftover pieces, I die cut out the little tag for the treat bag.

Now for assembling the box, I scored on all of the lines and added Tear and Tape to the side and bottom tabs. I prefer Tear and Tape for this because you can apply it to the box in advance. Then reveal it as you need it without having sticky tabs in your way! Another tip for assembling the box is to press it flat to the tab rather that doing it in the air. This will make for a more square/even box and it won’t be off set.

v

For the decorations, I stamped the star from the Wood Words Stamp Set in Night of Navy and Real Red. Using the Wood Crate Framelit, I die cut them out and placed them on either side with Mini Stampin’ Dimensionals. (Bundle & Save 10%) I wanted to make sure the sticky wasn’t peaking through the slats. Now for the chocolate, I placed it into a 3″ x 6″ Gusseted Cellophane Bag and tied it up with some Night of Navy Gingham Ribbon. Next, I stamped the greeting onto the little tag and tied it around with Linen Thread. All of this rustic look is just precious!

Lindors in a Crate, www.LaurasStampPad.com

As you can see, 2 of the Lindor Truffle Chocolates fit perfectly on the bottom of the box. These could be sitting on a table for guests to enjoy or wrapped with as a little treat!

Stay tuned to see how I use the leftover pieces to create a flat crate on a card. I’ll be posting that on Thursday!!!

If you would like to see this all in action, check out the Video Tutorial below or click here! Be sure to give the video a thumbs up if you liked it and don’t forget to subscribe if you are new. If you would like a notification when I post a new video, be sure to click the bell right next to the subscribe!!!

Happy Stampin’

~Laura


March 2017 Paper Pumpkin – Bunny Buddies!!!

Posted on

You all know I LOVE Paper Pumpkin because of the fun surprise each month. The March 2017 Kit – Bunny Buddies is soooo amazing! Even more than I originally thought…..look at everything I made!!! Don’t forget today is the last day to sign up for the April Kit! There is a free gift in there to celebrate Paper Pumpkin’s 4th Birthday! I can’t wait to see what it is!!! Click here to sign up TODAY to get the April kit!

Bunny Buddies, www.LaurasStampPad.com

The kit came with all these amazing goodies to make 9 treat bags and 9 mini cards with envelopes. Bunnies are the theme which is perfect for Easter and Spring. The stamp set had lots of fun greetings so you could mix it up. Check out the reveal of the kit here! I made the 9 little bags for my nieces and nephews with candy inside! I didn’t add the little clothespin and greeting because I figured they wouldn’t care or even notice.

Easter Bunny Treat Bags, www.LaurasStampPad.com

Look how adorable these are!!! TIP: Press lightly with the stamp in the ink pad and onto the canvas bag or you will end up with a little extra gray than you anticipated! 🙂

Paper Pumpkin Desk Mess, www.LaurasStampPad.com

Then because I bought the biggest bag of candy possible and couldn’t resist wanting to eat it all, I thought I would make more treat bags using others I had on hand!

Bunny Bags, www.LaurasStampPad.com

Next, I used the small Gusseted Cellophane Bags, added some candy and stamped the bunny face! I used up the clothespins with some of the Baker’s Twine tied around it and when I ran out of those I used some Playful Palette Washi Tape. These were so simple and quick to create! I love them!

Glassine Bunny Treats, www.LaurasStampPad.com

When I ran out of the gusseted bags, I used a few of the Glassine Gift Bags I had. I just stamped right onto the bag and used some leftover bunny ear stickers!

Spring Bunny Cards, www.LaurasStampPad.com

Okay, I almost forgot the 9 cards from this kit as well! Now you know why I am blown away with everything I got out of this kit!! Aren’t these little cards adorable! I created the folded over bunny ear by stamping it on the sticker and cutting it out! Just like this…

HowToCutBunnyEars, www.LaurasStampPad.com

The March Kit is my favorite one of the year so far; love it!!! I can’t believe how much I was able to create with the products in this kit and the stamp set! I love how Paper Pumpkin comes with enough to complete the kit as well as extras to use on other projects! Don’t forget today is the last day to sign up for the April Kit! It is going to a fabulous one since Sara Douglas, Stampin’ Up CEO created it AND there is a free gift in there to celebrate Paper Pumpkin’s 4th Birthday! WOOT WOOT! Click here to sign up TODAY to get the April kit!

Happy Stampin’

~Laura

Don’t forget that Thursday is the last day to get in the Ink Pad Giveaway!!! Click here to learn more and click here to start shopping with the Hostess Code: FCCVREYF. I can’t wait to draw the winners name on Friday!!! I’m so excited!!