Top 5 Blog Posts From the 2016-2017 Catalog!!!

Posted on

I thought I would go through and see what the Top 5 Blog Posts are from the past year – 2016-2017 Annual Catalog!!!! I wonder if they are some of my favorites?!?! Do they include items that are retiring?!?!?!

Something Borrowed Card Set, www.LaurasStampPad.com

Something Borrowed One Sheet Wonder Set! Well I am not surprised to see this was #1!!!! I know that you all love this One Sheet Wonder so very much and look at this post a lot, everyday!

Top 5 Blog Posts, www.LaurasStampPad.com

December 2016 Paper Pumpkin – This one surprised me a bit because I posted 12 Paper Pumpkin Kits in the past year and this was the best. I think it was because I did an alternative to what the kit actually was intended for. I made cards rather than a mini album!

Flower OSW, www.LaurasStampPad.com

Flower Bouquet One Sheet Wonder – not surprised to see another One Sheet Wonder! Also, this paper was just stunning! I loved it so much because you all know how much I love flowers and all the color!

Work of Art Wreath, www.LaurasStampPad.com

Work of Art Holiday Cards! The Work of Art Stamp Set is so versatile and amazing! I’m excited this is one that you all love too! This set is not retiring which is super fabulous!

Fishy Shaker Card, www.LaurasStampPad.com

Fishy Shaker Card! This card is super cute and fun! Shaking all of the pieces around and seeing those little fish makes this card a major WOW!!!

The next few posts that were favorites included more of the One Sheet Wonders! I know how much you all love those. (SNEAK PEAK: I have another one coming next week!!!) 🙂

Let me know which of these is your favorite in the comments below! If your favorites wasn’t listed above, let me know which one it is! I can’t wait to share lots of samples with the 2017-2018 Annual Catalog! Until then, don’t forget that there are lots of retiring items in the current catalog. Some are even on super sale! Click here to start shopping!

I hope you all have a wonderful weekend and I’ll see you back here on Monday!

Happy Stampin’

~Laura


Thank You to Our Veterans Past & Present!!!

Posted on

Happy Veteran’s Day! Thank you for all of your hard work and dedication to those who served and those who are still serving! I recently created some cards for a friend of mine who is the National President of the American Legion Auxiliary! I thought today was the perfect day to share what I created! I made some samples up and asked her which one she liked and she said she liked them all so I created a few of each!!!

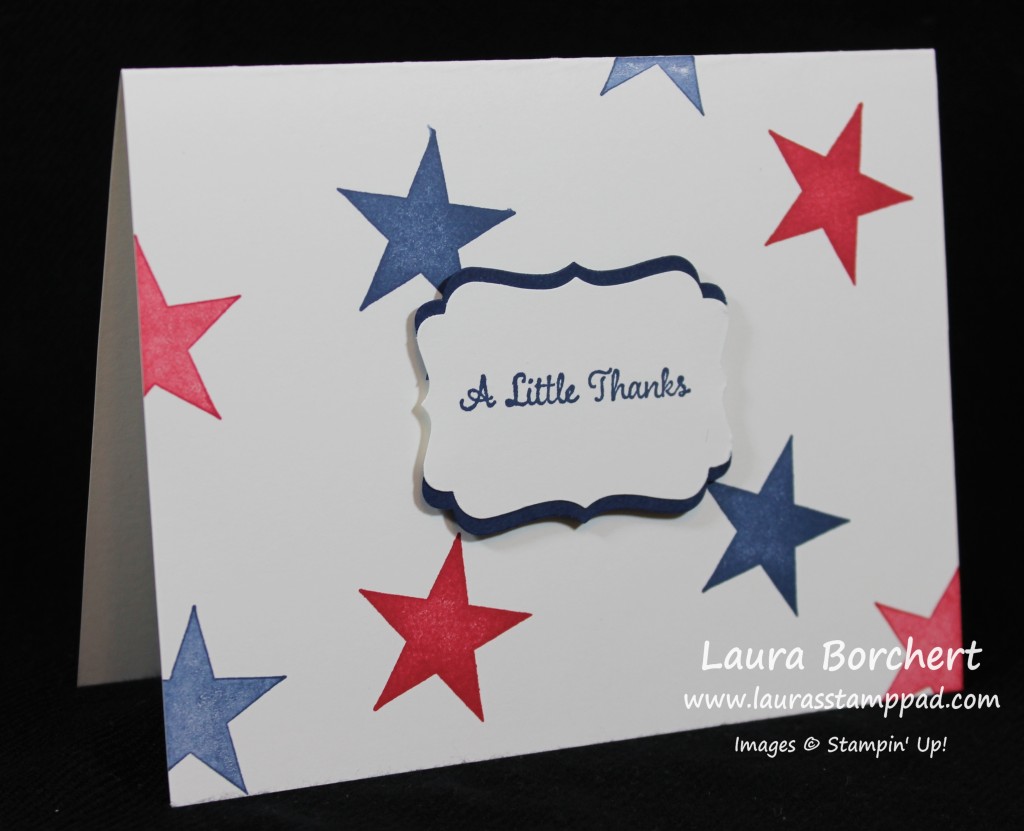
Star Background Thank You, www.LaurasStampPad.com

This one uses a Whisper White card base and I stamped the stars in the background in Real Red and Night of Navy from the Perfect Pennants Stamp Set! Some of the stars were stamped in full strength ink and some were the 2nd time stamping which is why there are a few that are lighter! The greeting is from the One Big Meaning Stamp Set and punched out with the Decorative Label Punch! Of course I added the greeting to the card with Stampin’ Dimensionals!

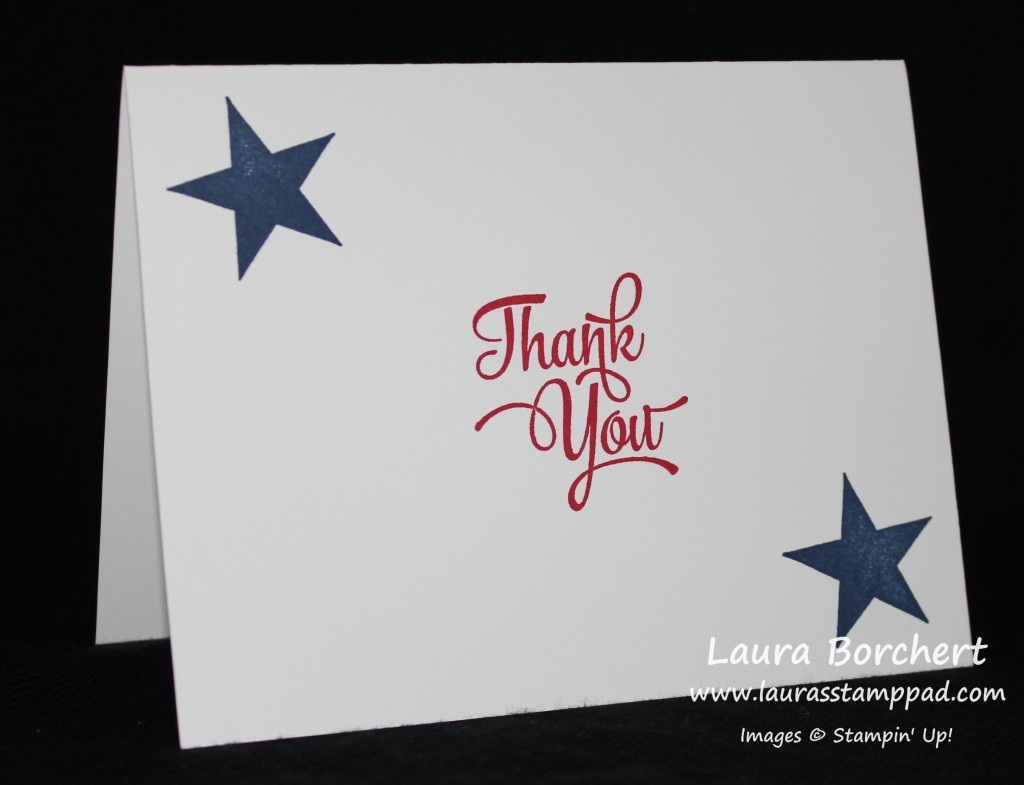
Veterans Thank You, www.LaurasStampPad.com

This one uses a Whisper White card base and I stamped the stars from the Perfect Pennants Stamp Set in Night of Navy on the corners! The greeting is from the One Big Meaning Stamp Set and I stamped that in Real Red! Quick and simple and no layers but yet still stunning!!Work of Art Thank You

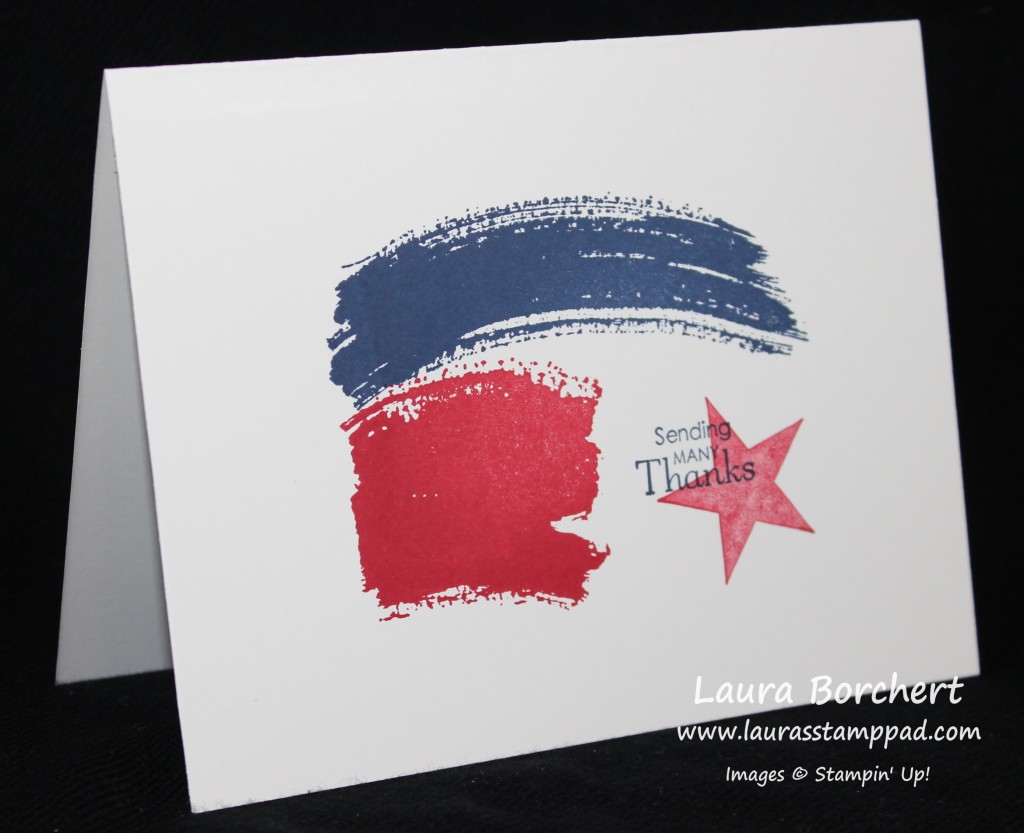
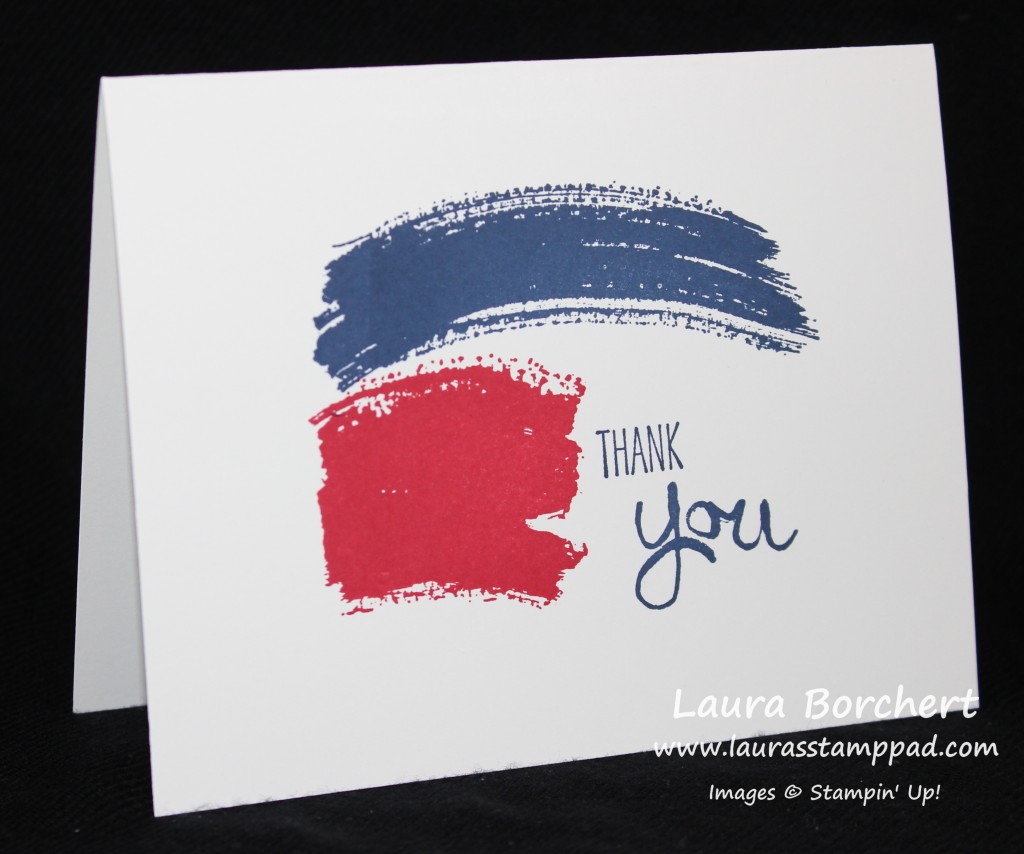
This one uses a Whisper White card base and I stamped the star from the Perfect Pennants Stamp Set in Real Red! I stamped off once on a piece of scrap paper so it wasn\’t so dark and the greeting would show up better. The long swish and the bigger swish are from the Work of Art Stamp Set! I love hoe versatile that set is! The greeting is from the Petite Pairs Stamp Set!

American Legion Thank You, www.LaurasStampPad.com

This card is on a Whisper White card base and uses all image from the Work of Art Stamp Set! That set is super popular and I know many of you out there have this set! Did you ever think you could come up with a fabulous card like this one?? Well now you can! I love it!! You can see more samples using this set here and here!

Stars Across America, www.LaurasStampPad.com

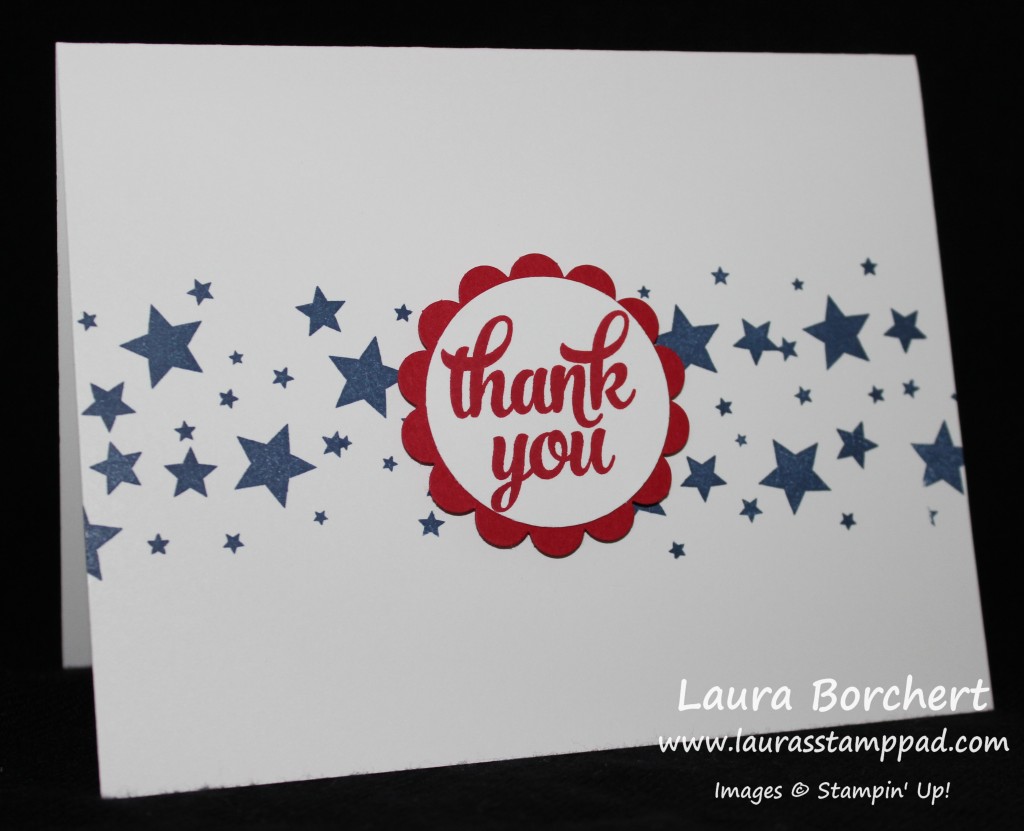
This one is my favorite!! I love those little stars and that amazing font on the greeting! This one uses a Whisper White card base and I stamped the star from the Perpetual Birthday Calendar Stamp Set in Night of Navy! The greeting is from the Tin of Cards Stamp Set. I stamped it onto Whisper White and punched it out with the 2″ Circle Punch and layered it onto a 2-3/8″ Scallop Circle Punch! Of course I added the greeting to the card with Stampin’ Dimensionals! I love it!!!

Let me know which one your favorite is in the comments below!

Happy Veteran’s Day!

~Laura


An Abundance of Thanks!!!

Posted on

Thank You Cards, www.LaurasStampPad.com

I create LOTS of Thank You cards because I send out a lot of thank you cards. There is just so much to be thankful for and I want people to know that I really appreciate them! I appreciate all of you for following my blog and my YouTube Channel. You are all so amazing and if I had all of your addresses I surely would send you a Thank You Note! I send thank you notes each month to those who have placed an order with me, when I receive a gift, when someone reaches out to help me and sometimes just because someone was there for me! 🙂

All of these Thank You notes were created for my Bridal Fairs!!! We all know that when planning a wedding, there are many times when you need a Thank You note so I pass these out with my contact information to all of the Brides! It is a Thank You for stopping by to see me and also a gift that they can use as well! Since I am making hundreds of these cards, I need them to be very quick and simple so here they are!!!

Ombre Thank You, www.LaurasStampPad.com

This is a simple Whisper White card base measuring 5-1/2″ x 8-1/2″ and I stamped the Work of Art image down the right hand side. I inked it up once and then just kept on stamping to achieve that Ombre look! The greeting was stamped in Black from the Tin of Cards Stamp Set!

Flourish Thank You, www.LaurasStampPad.com

This card base measures 4-1/4″ x 11″ (cut in half the other way) and I stamped the image from the Flowering Flourishes Stamp Set on opposing corners! Again, I used the greeting from the Tin of Cards Stamp Set!

Butterfly Thank You, www.LaurasStampPad.com

Okay, I will admit that this one wasn’t all that quick since it is a 5-step stamping routine for each butterfly but when making multiples it really did go fast and wasn’t all that bad! I used the butterfly from the Watercolor Wings Stamp Set and the greeting from the Tin of Cards Stamp Set! You can check out color combinations and some tips for stamping the perfect butterfly here!

Perpetual Birthday Calendar Background, www.LaurasStampPad.com

For these cards, I simply took an image from the Perpetual Birthday Calendar Stamp Set and stamped a strip! There are so many options with this one from leaves to flowers to dots and starbursts! Again, I used the Tin of Card Stamp Set for the greeting……okay I didn’t realize I used that one for each of these cards. I guess I was too lazy to dig out another set like One Big Meaning or the now retired Lots of Thanks which was used in some of the samples above! Also, in the samples above, I used strips of Washi Tape as another option! This is a great way to get rid of those styles or colors that you have just a little bit left on the roll or that you have an over abundance of! 🙂

I hope you enjoyed these quick and simple ideas for making Thank You cards. You could always change up the greeting for any occasion! Sometimes less is more and a card like this is really stunning! Next time you need lots of cards, look no further! Pin it to your Pinterest Board to save for later! Again, Thank YOU all for your love and support to me and my love for stamping! 🙂

Happy Stampin’

~Laura


Shades of Green!!!

Posted on

Ombre Lovely As A Tree, www.LaurasStampPad.com

Happy July!!! I can’t believe it is July already….where does time go??

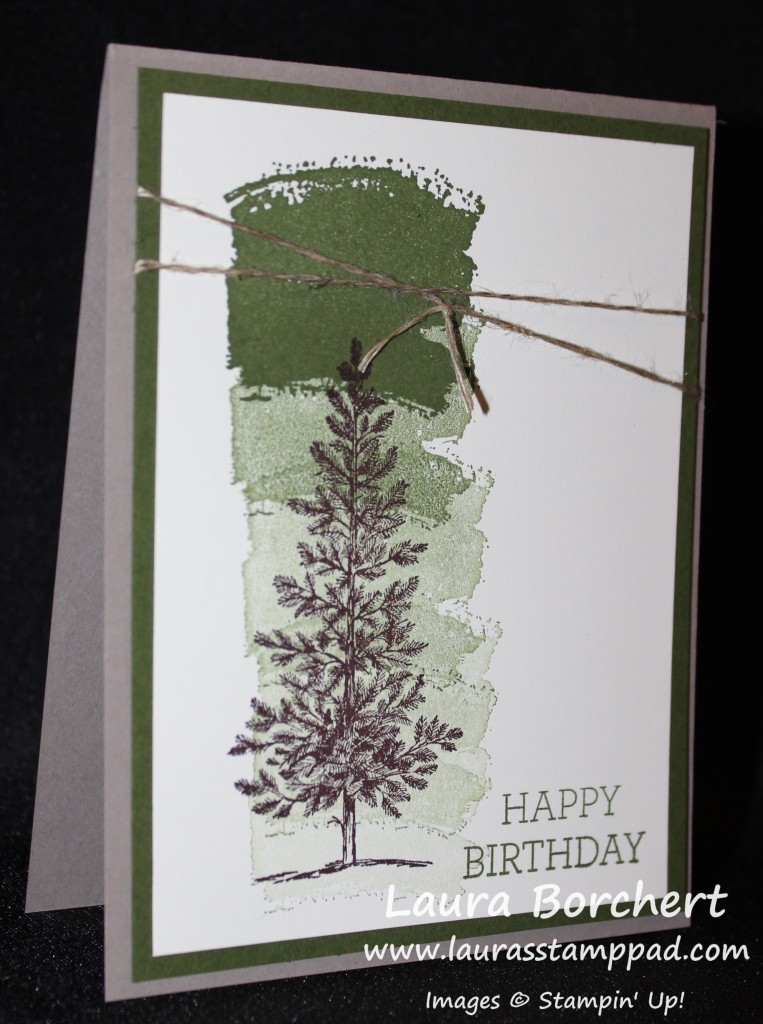
Today I’m sharing one of my “Man Cards” with you! This one is basic and could be used for any occasion for a guy! I started with a Crumb Cake base and then added a piece of Mossy Meadow cardstock measuring 4″ x 5-1/4″. Then I took a piece of Very Vanilla cardstock (3-3/4″ x 5″) and stamped on it. For the ombre look, I used the image from the Work of Art Stamp Set and inked it up in Mossy Meadow. Starting at the top, I stamped it and then continued to move down and stamp again without ever returning to the ink pad. So simple and yet super amazing looking!! I also stamped the greeting in Mossy Meadow. It is from the Crazy About You Stamp Set. The tree from Lovely As A Tree was stamped in Chocolate Chip! I added the stamped piece to the Mossy Meadow and wrapped some Linen Thread around it twice and tied a knot (not a bow, since it’s a man card). I added this to my card base with Stampin’ Dimensionals!!! Simple and yet fabulous and not flowers, pink or girlie!!! Love it!!!

Happy Stampin’

~Laura

Splash of Pinks!!!

Posted on

Work of Art, Shades of Pink, www.LaurasStampPad.com

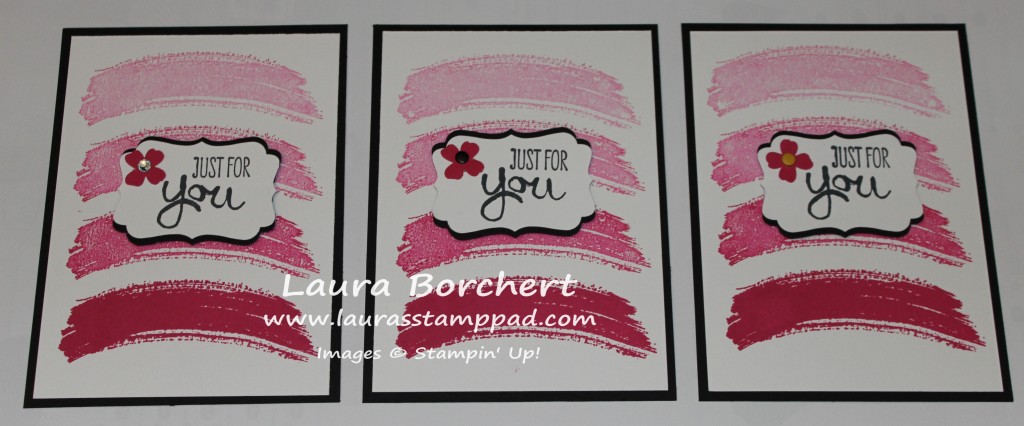
You know I love my Work of Art Stamp Set and I love the color Pink!!!! Check out this quick and simple card that I created for my Swap Cards at the Spring Into Stampin’ Event I added this past weekend (click here for more on that)!!! I love it! I started with a Basic Black card base. Then using Melon Mambo ink, I stamped the swish image from the Work of Art Stamp Set four times without re-inking between stamps. Those beautiful shades of pink make the perfect background! I attached that piece to my card front and created the greeting. For the greeting, I stamp Just For You from the Work of Art Stamp Set on some scrap Whisper White cardstock and punched it out with the Decorative Label Punch. Then I punched out another one from Basic Black. I cut the black one in half (hamburger style) and adhered it to the greeting leaving a little popping out of the top and popping out the bottom! Love it! I added this to the card with Stampin’ Dimensionals! I added a little Melon Mambo flower which I punched using the Itty Bitty Punch Pack. Then it came time for the flower center and I just couldn’t pick a favorite. I added a Rhinestone for some bling and loved it! I added a Daffodil Delight Candy Dot and loved the pop of color. Then I tried a Black Candy Dot and loved that too! TIP: You can color any Candy Dot with a Black Sharpie to get a black one! Which is your favorite?? Leave me a comment down below!

Happy Stampin’

~Laura


My Two Favorites…

Posted on

…Flowers and the Work of Art Stamp Set!!! You can actually add in bright colors to all of that as well!!!! Love love love it!!!!

Flower Shop Work of Art, www.LaurasStampPad.com

This card just has so many fabulous parts to it! I started with a card base of Pear Pizzazz. Then I took a piece of Whisper White cardstock measuring 4″ x 5-1/4″ and stamped the zig zag image from the Work of Art Stamp Set on the bottom using my markers to color it in (Bermuda Bay, Crushed Curry, and Calypso Coral)! Then for the flowers, I stamped them from the Flower Shop Stamp Set in Memento Black Ink on some scrap Whisper White cardstock and colored them with my Blendabilities. I used the lightest color to come in the entire flower and then took either the Medium or Dark marker to color the lines in the flowers! You can use which ever you prefer based on how dark you want it. I like dark bold colors!!! 🙂 Then I punched the flowers out with the coordinating Pansy Punch! I added some leaves which were punched in Pear Pizzazz with the Bird Builder Punch. The blue flower is flat on the card and the other two are adhered with Stampin’ Dimensionals! I finished it off with the greeting stamped from the Work of Art Stamp Set and some pearls on the flowers! I love it because of the amazing colors, springy feel, flowers, pearls and some of my favorite stamp sets!

If you would like to see more samples using the Work of Art Stamp Set, click here! To see some samples using the Flower Shop Stamp Set and Blendabilities, click here and here!

Happy Stampin’

~Laura

Valentine’s Tic Tac Toe!!!

Posted on

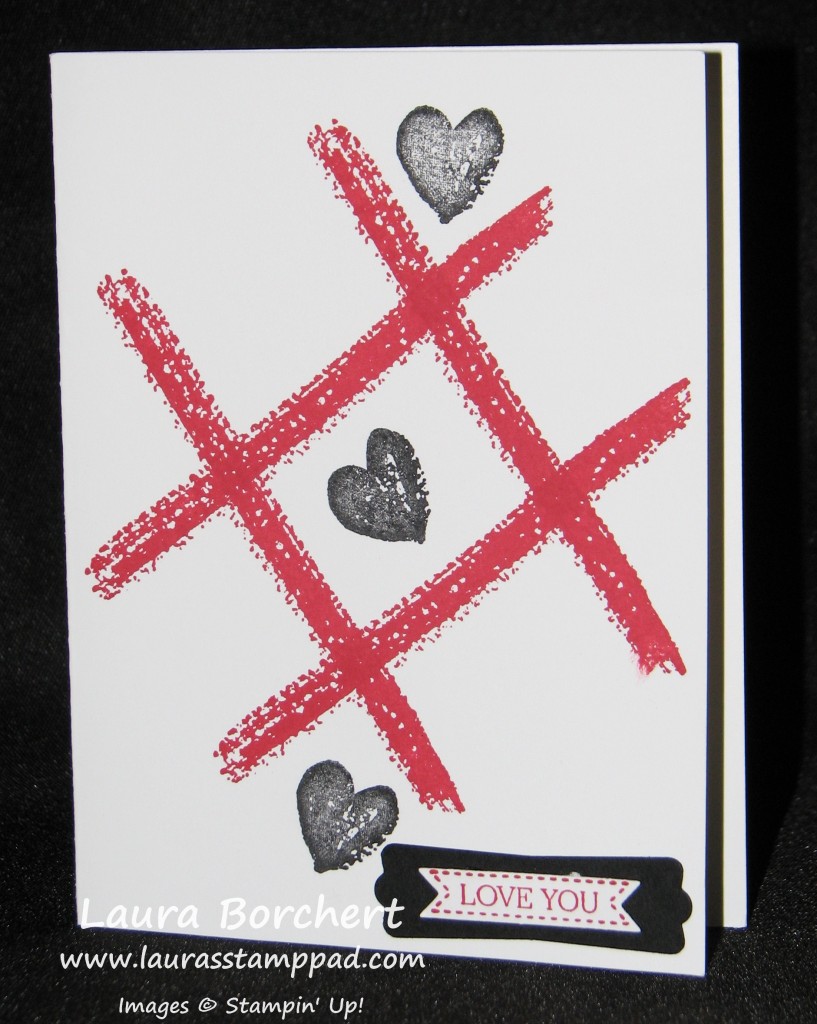
Tic Tac Toe Love, www.LaurasStampPad.com

Still need a Valentine’s Day card? This one is quick and simple! You can create it with a piece of Whisper White cardstock (5-1/2″ x 8-1/2″) or you can use a Note Card & Envelope! Then using my Work of Art Stamp Set, I stamped the long image in Real Red and the heart in Basic Black! You could always mix it up and use Pinks & Reds and really any color scheme! I added the little greeting at the bottom from the Itty Bitty Banners Stamp Set and cut it out with the coordinating Bitty Banners Framelits (Bundle & Save!) Then I layered it onto a piece of Basic Black punched out with the Modern Label Punch! You could always use the Happy Valentine’s Day from the Teeny Tiny Wishes Stamp Set or any other greeting you like! I love how quick and simple this card is and it is also very gender neutral!

Just 11 more days till Valentine’s Day!!!

Happy Stampin’

~Laura

New Works of Art – PART 2

Posted on

Happy Monday!!!! I’m sharing more fabulous Work of Art samples!!! Did you see the ones I posted last Thursday? Check those out here! Now lets get started!!!

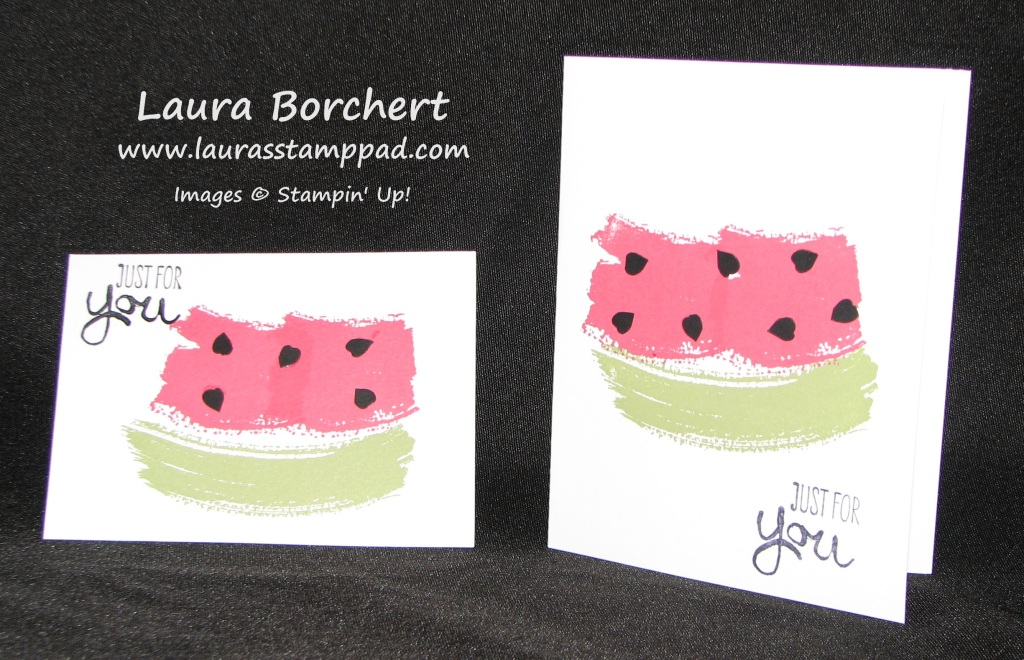
Watermelon Work of Art, www.LaurasStampPad.com

I think these are my favorite….and I’m not even a fan of watermelon. They are just so cute and summery! Ahhh summer weather. Sorry I was dreaming again. 🙂 I created this with the large swoop in Pear Pizzazz as the rind. For the watermelon, I used Strawberry Slush. I giggles at using Strawberry Slush for watermelon and Blackberry Bliss for Grapes…..anyone else think that is funny? I used the large square swoosh twice for the watermelon. Then for the seeds, I punched Basic Black with my Itty Bitty Punch Pack flower and then cut the petals off. Each petal is a seed!

Tic Tack Toe Work of Art, www.LaurasStampPad.com

Valentine’s Day is right around the corner and this is a quick and simple cut card option! I stamped the long image in Bermuda Bay (bottom one) and Real Red (top corner). Then I stamped the heart in a row (Melon Mambo – bottom and Basic Black – top) Precious!

Lovely As A Tree Work of Art, www.LaurasStampPad.com

This one is just amazing! It would make a great guy card but it is also calming and serene so it would make a great Thinking of You, Sympathy, Get Well Card too! I used the long piece and inked it in Mossy Meadow. I stamped it three times without re-inking and be sure they are really close together. Then using Lost Lagoon do the same thing but stamp 5-7 times without re-inking. Then taking the tree image from the Lovely As A Tree Stamp Set and your Chocolate Chip ink, stamp it at the top of the green! AMAZING!

Work of Art Butterfly, www.LaurasStampPad.com

This beautiful butterfly was created with Strawberry Slush for the body and head. The wings are Blushing Bride and Wisteria Wonder! You could do this in so many different color combinations! I added the antennas with a marker….I think I should add two little eyes and a smiley face too! What do you think?

Want to see these cards in action? Check out this Video Tutorial!

Which one is your favorite? Leave me a comment down below!

Happy Stampin’

~Laura


New Works of Art!!!

Posted on

I still can’t put down my Work of Art Stamp Set and have created some new ones!!!! You can check out some others here, here and here! This will be broken down into a few posts because there are just so many amazing ones! Be sure to check back again next Monday OR you can subscribe in the upper right corner and then you will never miss a post!

Work of Art Grapes, www.LaurasStampPad.com
How fabulous is the bunch of grapes??? This would make a super cute card for a Hostess when you bring a bottle of wine or for someone’s Birthday who enjoys wine as well!!!! I used Pear Pizzazz and the small swish for the stem. I stamped twice in full ink and then up a little with the stamped off image. For the grapes I used Blackberry Bliss and stamped about 5 times before going back to the ink! Love it!

Sailboats Work of Art, www.LaurasStampPad.com

Adorable and perfect for a little boy’s birthday or baby shower!!!!! This sailboat uses lots of blues! I used the chevron image in Lost Lagoon for the water. Then I took the large swoop and used Pacific Point to make the bottom and side sail. The second sail was stamped in Bermuda Bay. Lastly I added the mast in Chocolate Chip. You may want to lay a piece of scrap paper down in you wish to have a shorter mast like the one on the left! The clouds were created with the small swoosh and stamped off Bermuda Bay!

Pine Tree Work of Art, www.LaurasStampPad.com

This tree is quick and simple. I used Chocolate Chip and the long piece for the trunk of the tree. Then with Mossy Meadow and the large swoosh upside down you will stamp them angled down for the branches. I’m done with my Christmas Cards so I added a Birthday greeting from Remembering Your Birthday but this would look amazing with a star on top and Cherry Cobbler Dazzling Details as ornaments. So many options! I love it!

Want to see this in action? Check out this Video Tutorial!

Which one is your favorite?? Leave me a comment down below and don’t forget to check back on Monday for more!

Happy Stampin’

~Laura


Happy Thanksgiving!!!!

Posted on

Happy Thanksgiving everyone!!! This is one of my favorite holidays because it is low key and there is just so much to be thankful for today and everyday throughout the year!!!! I am so very thankful to each and every one of you who visit my blog, comment, share, and pin! Thank you all very much! You are all fabulous!!!

Today I thought I would share a quick and simple little project!

Gift Tags Cookies, www.LaurasStampPad.com

I get told by many people that my Chocolate Chip Cookies are pretty good so I usually whip up a batch for any and all special occasions – family visits, friends visits, when visiting my new niece and nephew in the hospital, and many other times! It is always more fun to give the cookies in an adorable package too! Here I used some of the Gusseted Cellophane Bags to put 13 (Baker’s Dozen) cookies into. I tied them up with some Whisper White Satin Ribbon and then added a tag. These tags are quick and simple and can probably use some of the scraps you have laying around! You need a piece that is 2″ wide and the length can be whatever you wish. I go with about 2-1/2″ but sometimes a little shorter or longer if I have a scrap piece that measures just so. I used my Scallop Tag Topper Punch for the adorable top. Then I used a piece of scrap Whisper White measuring 1-3/4″ x 1-3/4″ and decorated it. For the one up front, I used the Work of Art Stamp Set and Bitty Butterfly Punch. For the two in the back, I used the Embellished Events Stamp Set! Quick and Simple Gift Packaging! Check out this tag here to use this Holiday Season!

I hope you have an amazing day today celebrating Thanksgiving! I know I will as I will be spending lots of time with Family!

Happy Thanksgiving!

~Laura