This baby bunny is just precious and I used Basket Bunch Stamp Set which is Easter themed! I love using a stamp set in out of the box way! To see a few other samples with this set, click here and here!

You could always create this little baby bunny card in pink, blue, or even yellow. Go with the color that you enjoy the best!
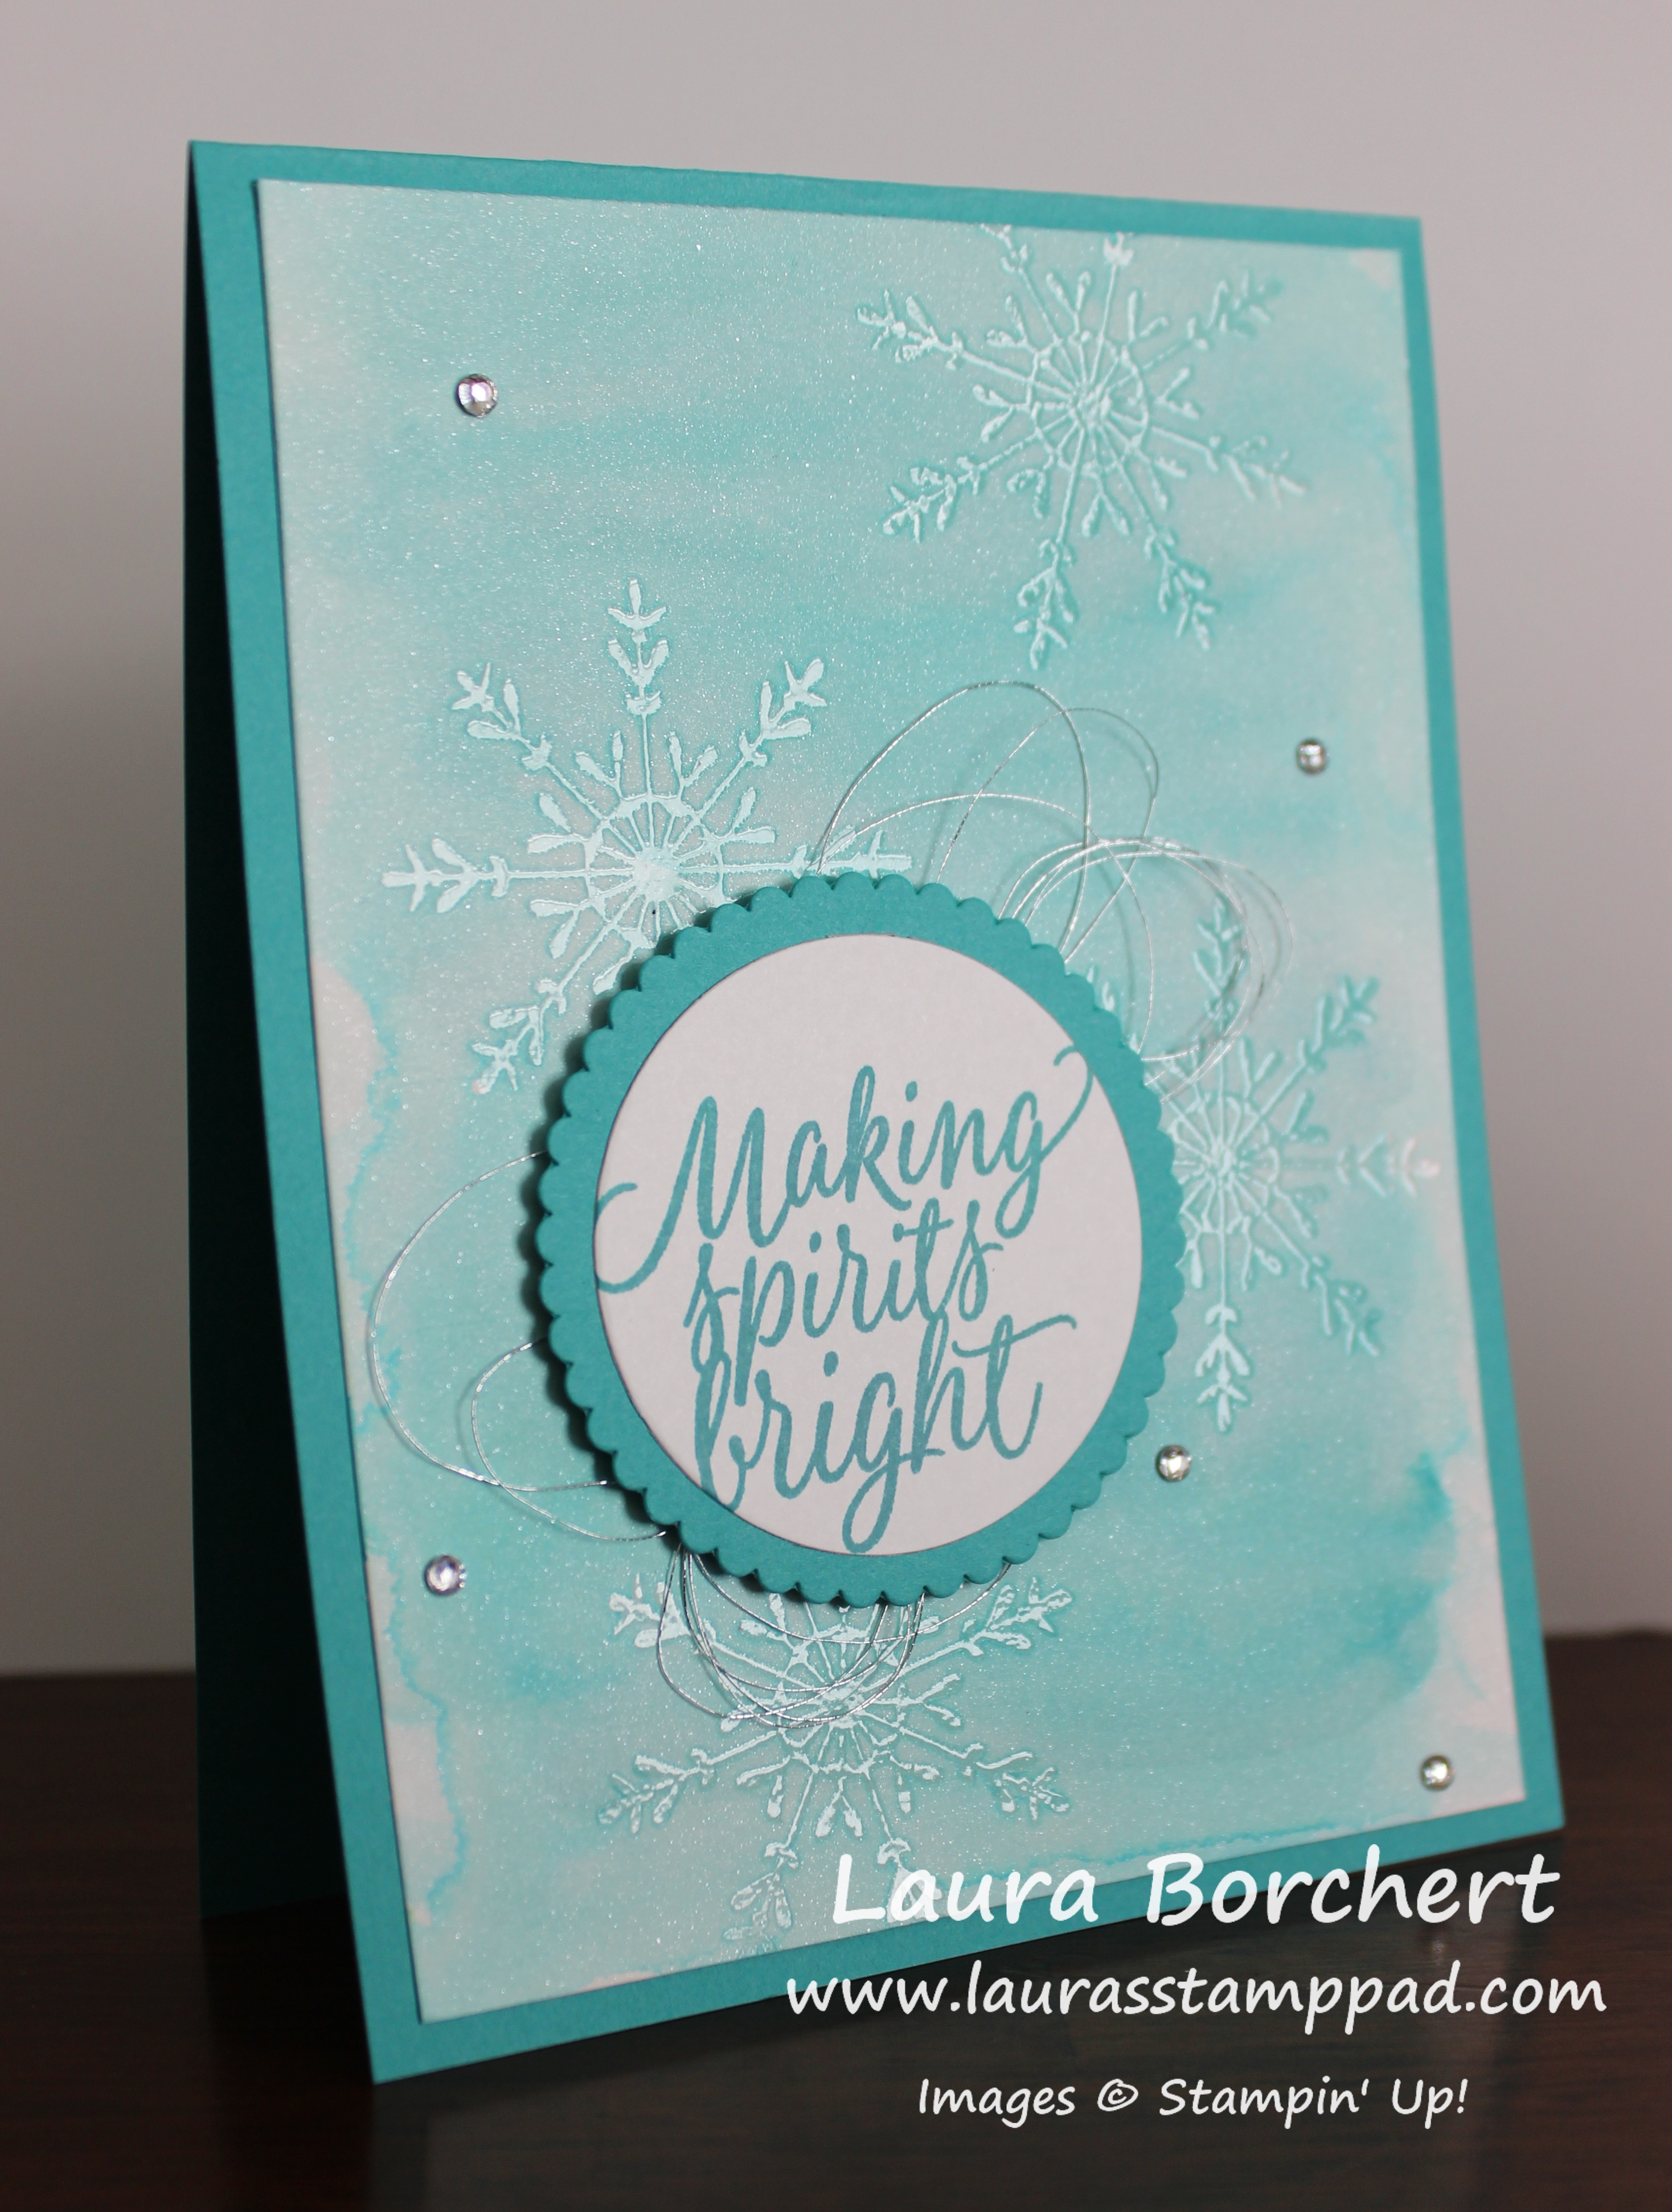
I started with a Whisper White card base! Next I die-cut a scallop oval and smooth oval using the Layering Ovals Framelits. With the smooth oval and the card base, I pounced the Embossing Buddy over the top to reduce any static on the paper before heat embossing. Next, I stamped the greeting from the Tin of Cards Stamp Set and bunny from the Basket Bunch Stamp Set in Versamark Ink. I poured Gold Embossing Powder over the top and heated it with the Heat Tool. Oh how I love watching the powder melt! It’s so magical every time! Check out this Video for the basic on Heat Embossing!
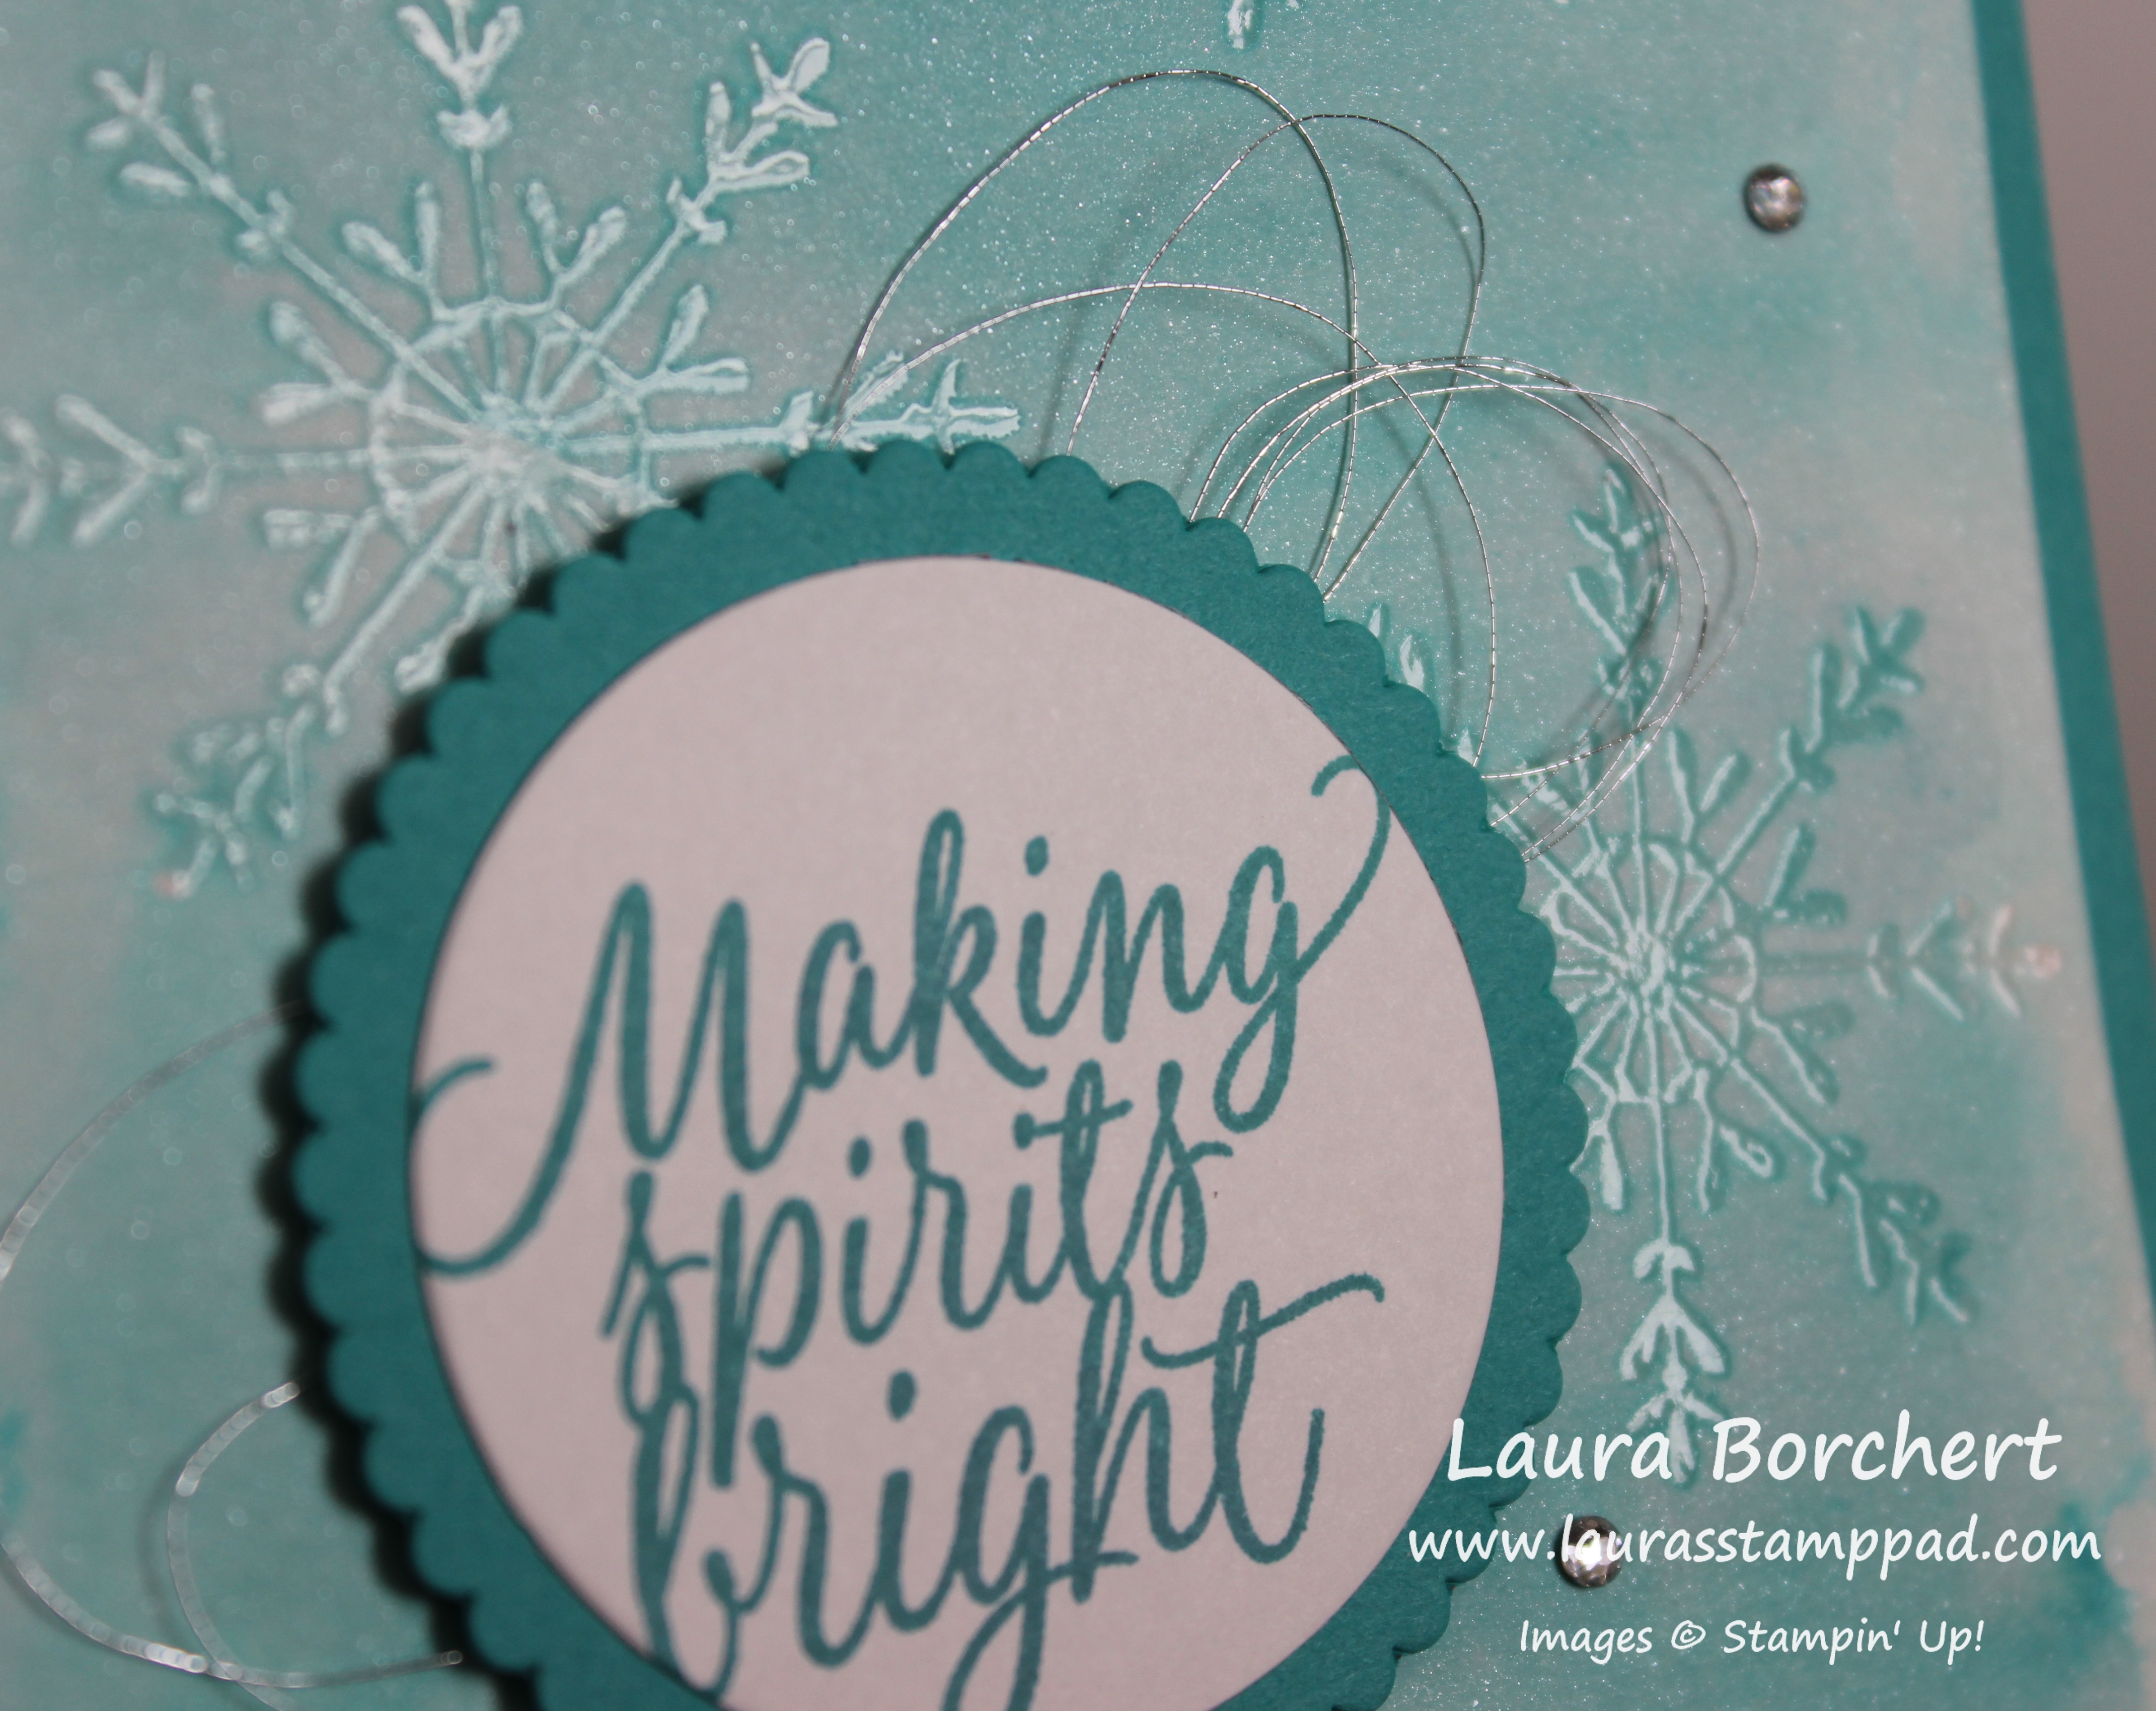
Now that the heat embossing is all complete, it’s time to add color! I stamped the dotted splatter on the background twice in Melon Mambo Ink using the Happy Celebrations Stamp Set. To color in the bunny, I used some Melon Mambo Ink and an Aqua Painter. I love how the embossed image acts like a little barrier to keep the ink/water in! To assemble the card, I layered the bunny oval onto the scallop oval. Then I took some Gold Thread and wrapped it around my fingers a few times (10-12), slid the loops off my fingers and twisted in the middle. Next, I placed this on the back of the scallop oval and secured it with some Stampin’ Dimensionals. I always like to add more dimensionals to really make my gold thread fan out just so. Peel the backs off of the Stampin’ Dimensionals and adhere to the card! It’s just so precious!!!
I know today is Thursday and I normally do a Video on Thursday but I did a special one yesterday for my Stampin’ Anniversary. You can check that out here!
Don’t forget that the Stampin’ Up! Retired List is out and items are selling out fast! You can check out the complete list here:
Some of these items are sold out already so you can just start shopping here! Not only do you get to enjoy getting some great products before they are gone (and at a discount for some), you will also be able to earn Laura’s Loyal Stampers Stickers!!!
Happy Stampin’
~Laura