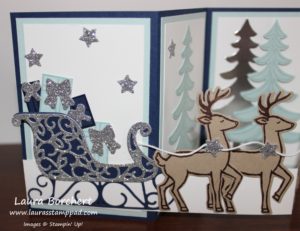
Happy Tuesday!!! That means I have a fabulous technique to share with you today!!! Sometimes it’s the little things that make the biggest impact and that’s how I feel about this card today!!! But if you like an even bigger impact…..stay tuned….I have something for you too! Sneak peak below!
Simplistic and yet stunning!!! The Santa’s Sleigh Bundle (Save 10%) has simple images that can be used in so many different ways alone but also can create the most beautiful masterpiece when paired together!
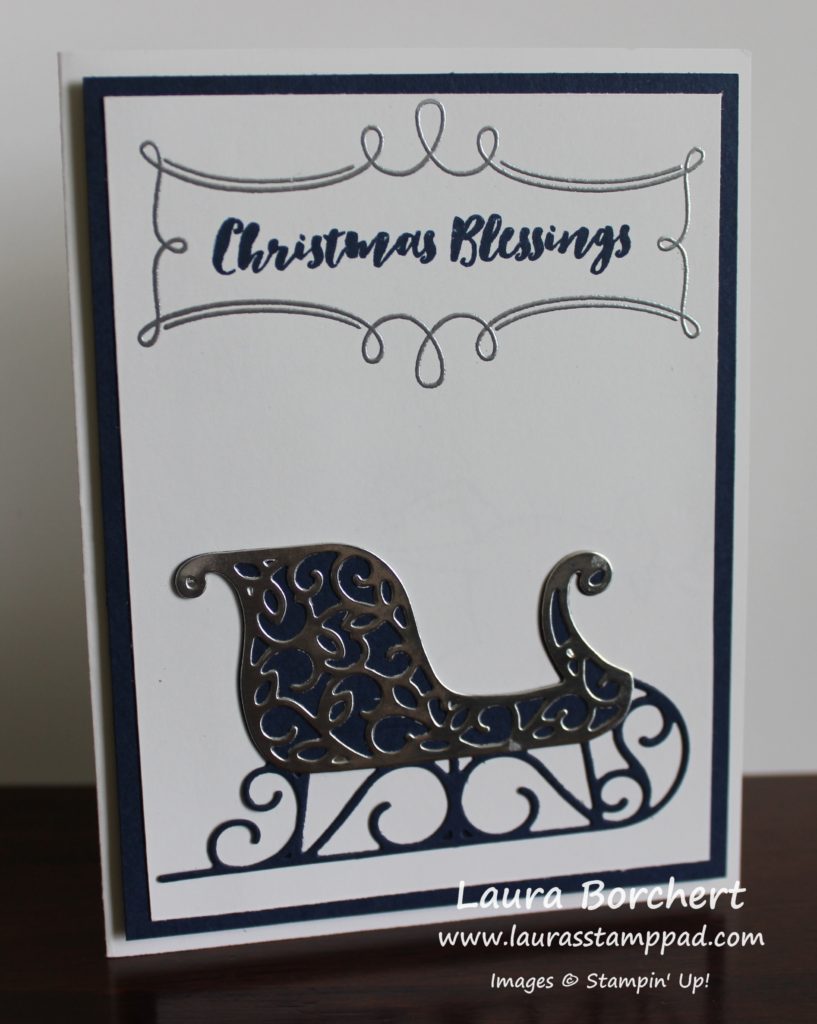
For this card, I started with a Whisper White card base. Then I took another piece of Whisper White (3-3/4″ x 5″) and stamped the label from the Christmas Pinecones Stamp Set in VersaMark Ink. I added Silver Embossing Powder and heated it with the Heat Tool! I really wanted the greeting to shine and look a little more fancy to match the fabulous sleigh! Check out more on heat embossing here! Then I stamped the greeting from the Christmas Pinecones Stamp Set in Night of Navy in the center of the label. Now for the sleigh, I die cut the main piece in Night of Navy with the Santa’s Sleigh Thinlits. I used the Precision Base Plate with the Big Shot so each of those intricate pieces would be cut perfectly! Then after running it through, I used the Big Shot Die Brush to pop it out of the die and pop out all of those little pieces so easily! Those are my 2 favorite tools for the Big Shot!!! Love!!! For the overlay on the sleigh, I used Silver Foil Paper to die cut it out!
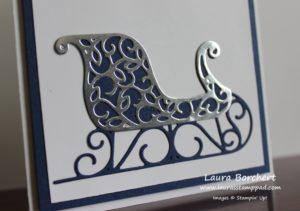
The overlay lines up so perfectly over the top of the sleigh and I used the Fine Tip Glue Pen to adhere them together. You just need a little bit of glue so I add it on the edges and in the larger sections in the middle. Just a light little bit so it doesn’t squeeze out onto your project! I used that same glue to adhere the sleigh to the card front. Once you have added the glue, place it on your project and lay your hand over the top, pressing firmly. Hold for about 15 seconds and to allow the glue to take hold and then you are golden! If you see a few spot pop up, just carefully place the tip of the glue underneath to add a smidge more!! Once I have the sleigh on, I layered this piece onto Night of Navy cardstock (4″ x 5-1/4″). Then I layered it onto the card base with Stampin’ Dimensionals to give it some dimension.
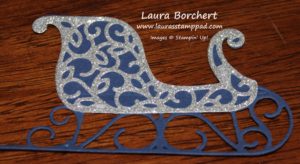
You can also do it in Silver Glimmer Paper or even Gold or Red!! So many fun ways to create with the Santa’s Sleigh Thinlits. If you would like to see this in action and more on the Santa’s Sleigh Bundle, check out the Video Tutorial below or click here! Don’t forget to give it a thumbs up if you liked it and be sure to subscribe if you are new!!!
Now for the sneak peak……
Happy Stampin’
~Laura
Check out my Cut For Christmas Offer this season! The perfect holiday helper during this busy time of the year!!!


Pingback: Christmas Morning!!! | Laura's Stamp Pad