Pretty Petals Card Bundle!!!

Posted on

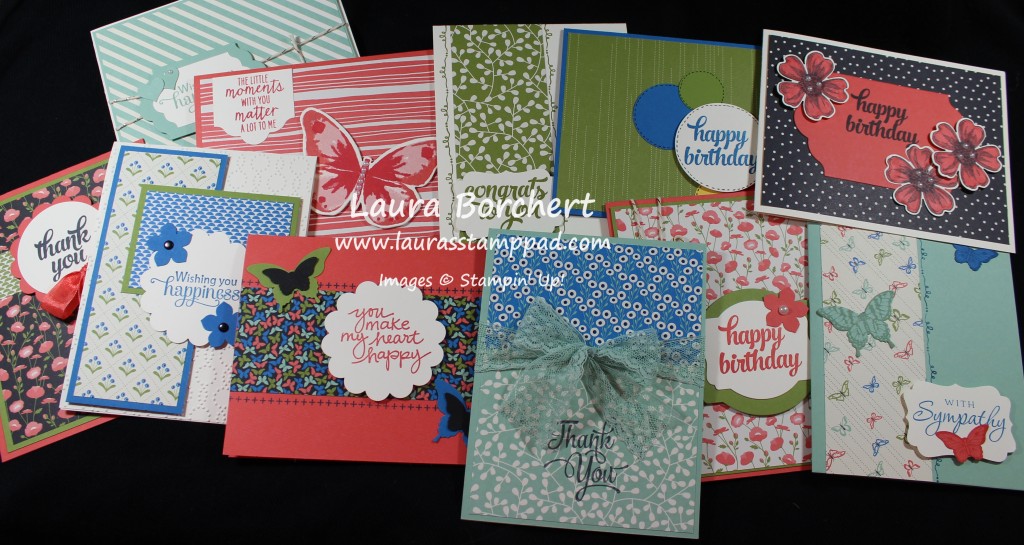
Yesterday, I shared how you can create over 70 cards with the Pretty Petals Designer Series Paper Stack! Today I’m going to share the rest of the samples with you! Let’s get started!

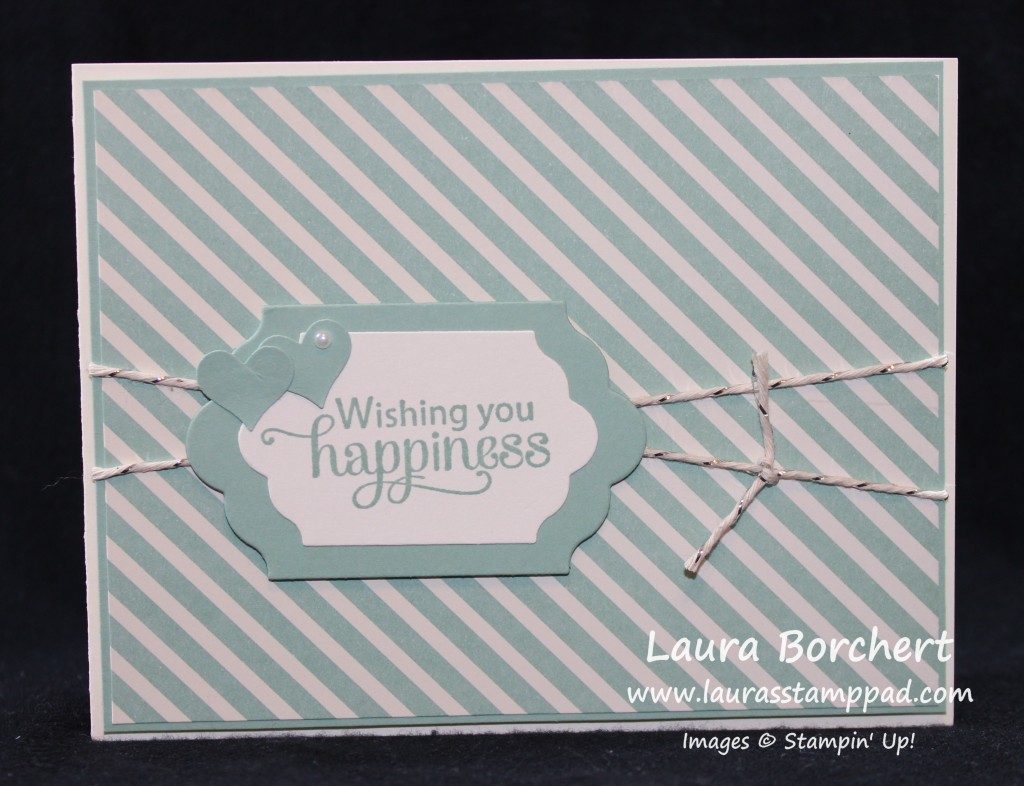
Anniversary Card, www.LaurasStampPad.com

This card uses a Very Vanilla card base. The Pretty Petals Designer Series Paper measures 5-1/4″ x 4″. You can get 1 of these from one sheet and since there are 4 sheets of this pattern, that is 4 cards like this! The Designer Series Paper is layered onto a piece of Mint Macaron measuring 5-3/8″ x 4-1/8″. I wrapped some Silver Baker’s Twine around the paper and tied it into a knot. The greeting is from the Blessed By God Stamp Set and die cut with the Lots of Labels Framelits. I added the greeting to the card with Stampin’ Dimensionals. To finish it off, I punched out two hearts with the Itty Bitty Accents Punch and added a Pearl to one of them. It is so cute! It makes it look like a little girl and boy heart! This card would be perfect for an Anniversary or Wedding!

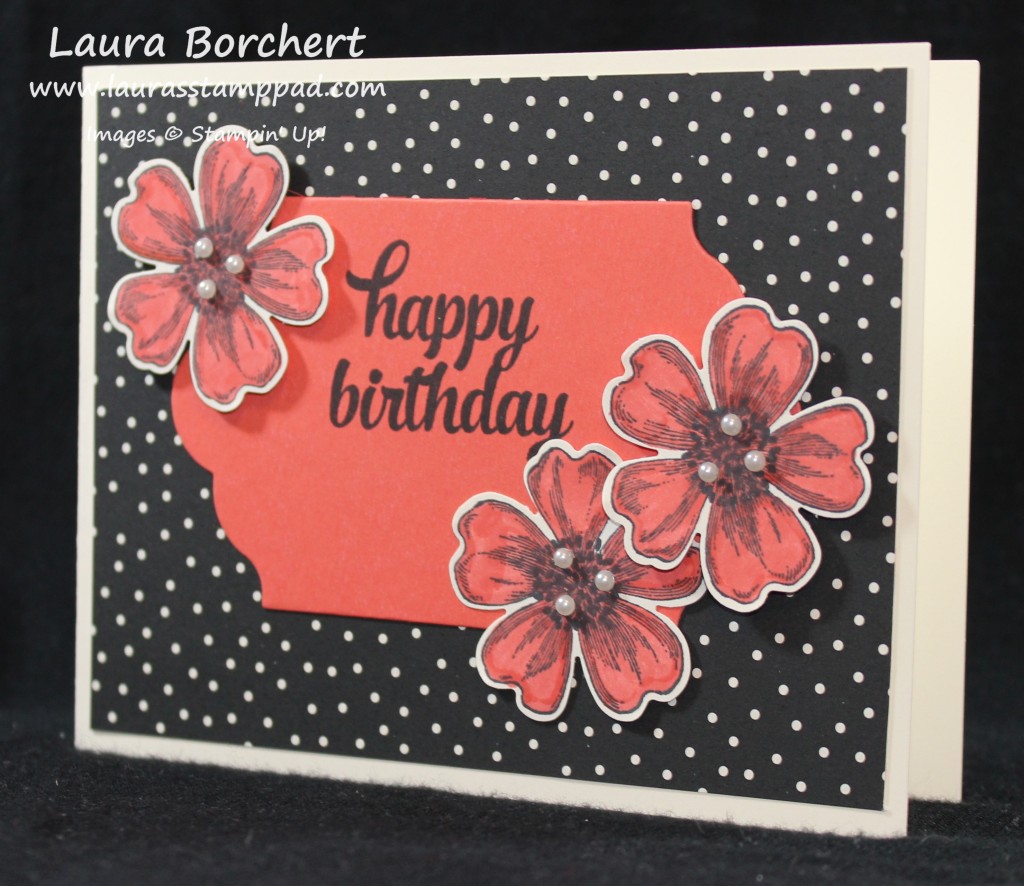
Polka Dots and Flowers, www.LaurasStampPad.com

This card uses a Very Vanilla card base. The Pretty Petals Designer Series Paper measures 5-1/4″ x 4″. You can get 1 of these from one sheet and since there are 4 sheets of this pattern, that is 4 cards like this! The greeting is from the Tin of Cards Stamp Set and die cut with the Lots of Labels Framelits. I added the greeting to the card with Stampin’ Dimensionals. The flowers were stamped with the Flower Shop Stamp Set and punched out with the coordinating Pansy Punch (Bundle & Save 15%). I added the flowers to the card with Stampin Dimensionals and placed a few Pearls on each! I love the Black and White with a pop of color!

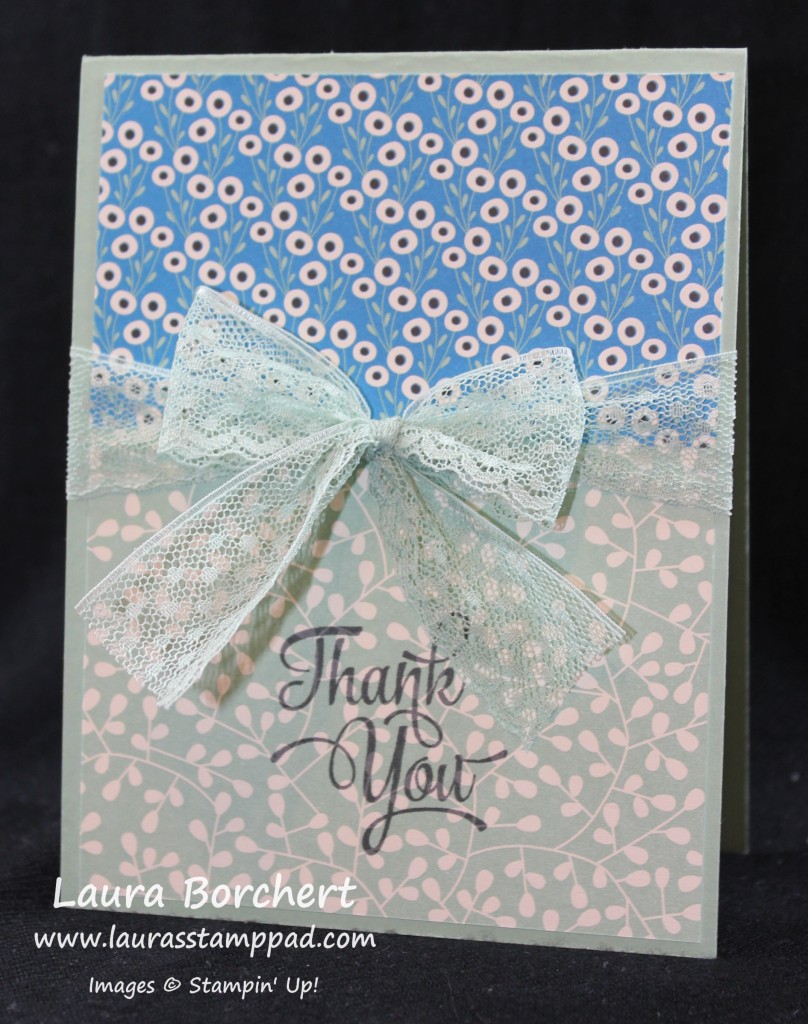
Lace - Thank You, www.LaurasStampPad.com

This card uses a Mint Macaron card base. The Pretty Petals Designer Series Paper measures 4″ x 5-1/4″. You can get 1 of these from one sheet and since there are 4 sheets of this pattern, that is 4 cards like this! I cut the piece of Designer Series Paper into 2 pieces so I could use both sides. The top piece measures 4″ x 2-1/4″ and the bottom measures 4″ x 3″! I tied a bow at the spot that the paper comes together with the Mint Macaron Lace Trim! I stamped the greeting from the One Big Meaning Stamp Set!

Pretty Petals Thank You Note, www.LaurasStampPad.com

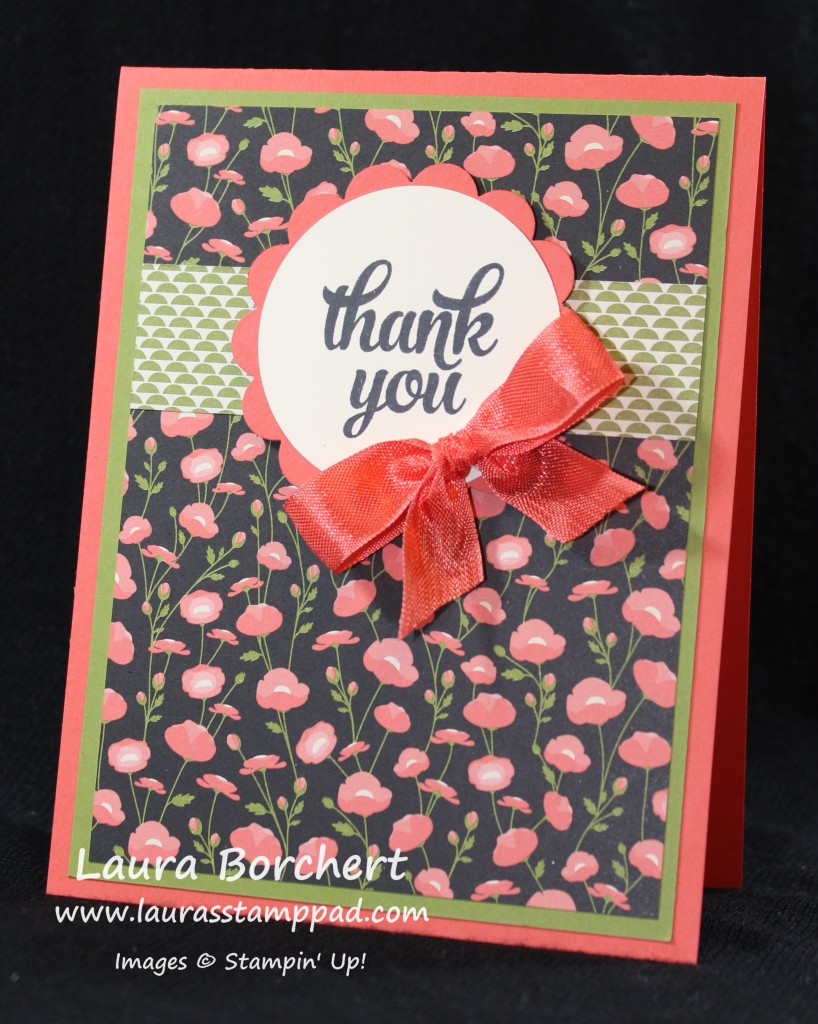
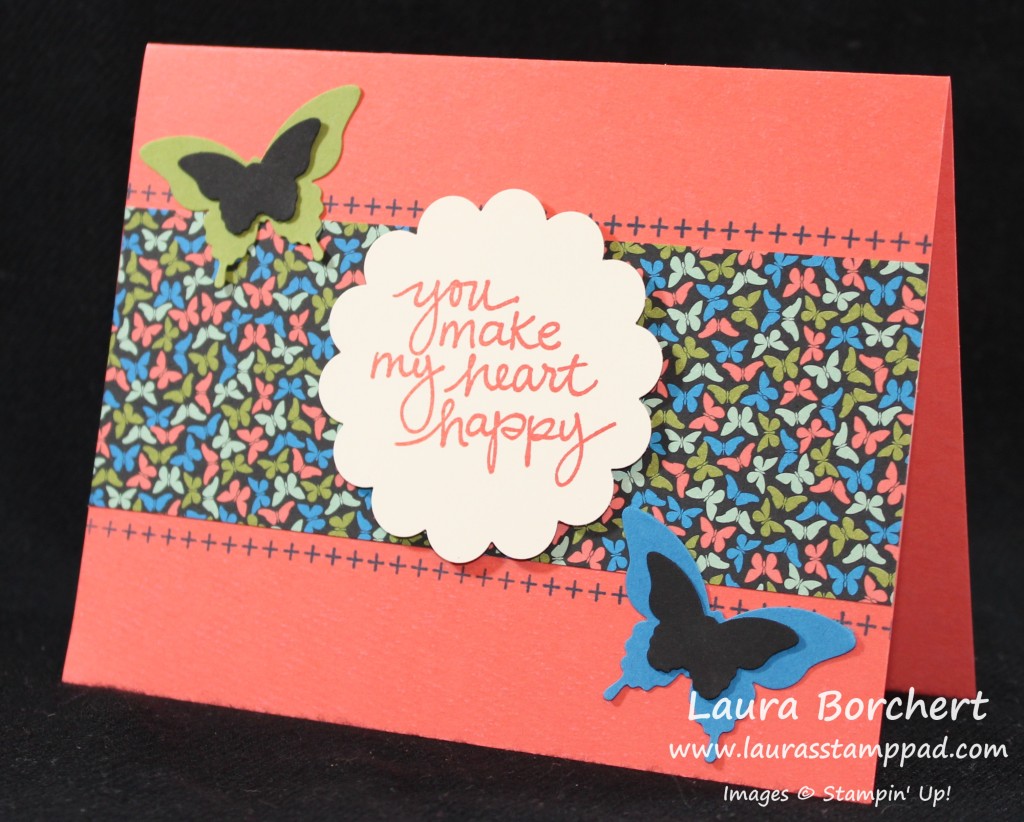
This card uses a Calypso Coral card base. The Pretty Petals Designer Series Paper measures 3-3/4″” x 5″. You can get 1 of these from one sheet and since there are 4 sheets of this pattern, that is 4 cards like this! With some of the leftover pieces, I cut a 3-3/4″ x 1″ piece to use the back side pattern for that strip under the greeting. The greeting is from the Tin of Cards Stamp Set and punched out with the 2″ Circle Punch, then layered onto a 2-3/8″ Scallop Circle Punch! I layered the Designer Series Paper onto a piece of Old Olive measuring 4″ x 5-1/4″ and then placed the other strip of Designer Series Paper on the top half! I attached the greeting with Stampin’ Dimensionals. To finish it off, I tied a bow with some Calypso Coral Seam Binding!

Butterfly Moment, www.LaurasStampPad.com

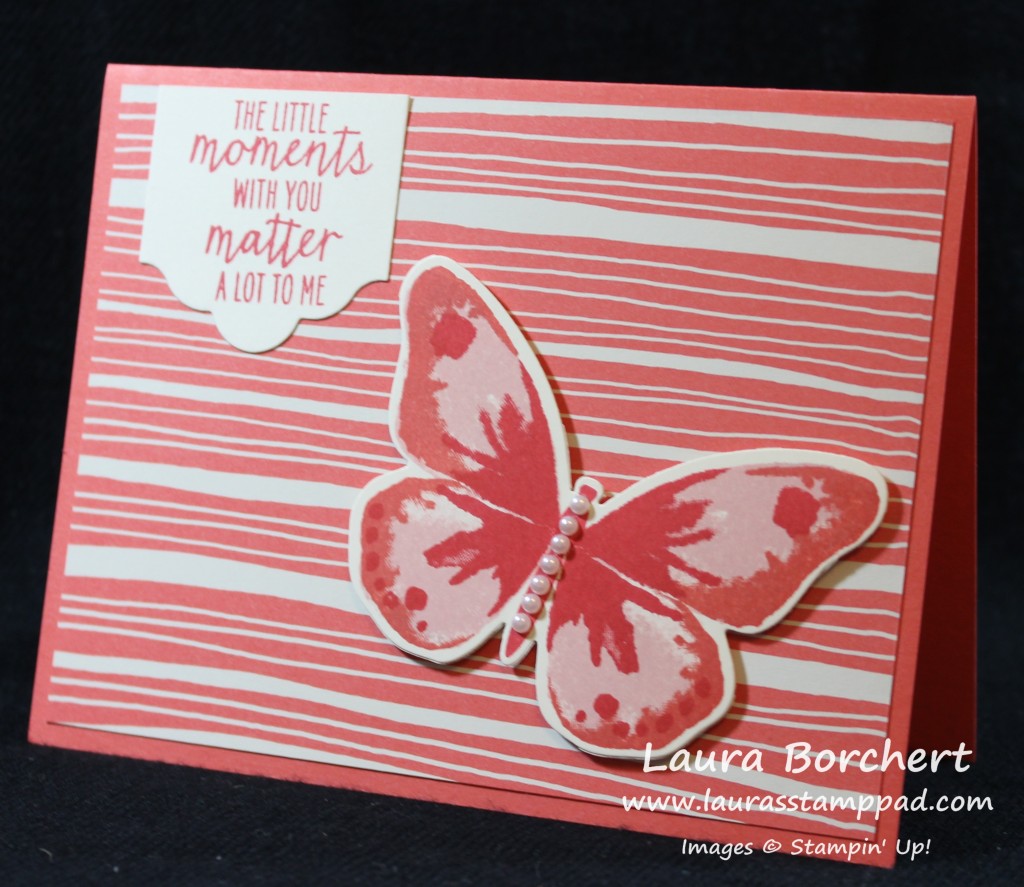
This card uses a Calypso Coral card base. The Pretty Petals Designer Series Paper measures 5-1/4″” x 4″. You can get 1 of these from one sheet and since there are 4 sheets of this pattern, that is 4 cards like this! I stamped the butterfly from the Watercolor Wings Stamp Set in Pink Pirouette, Calypso Coral and Watermelon Wonder! Click here to see a tutorial on that. I die cut the butterfly with the coordinating Bold Butterfly Framelits (Bundle & Save 15%). I added the butterfly to the card with Stampin’ Dimensionals and finished it off with a few Pearls. For the greeting, I used the Watercolor Wings Stamp Set on a Lots of Labels Die Cut that was cut in half. I love the look like it’s a banner coming down!

Cross Over Happiness, www.LaurasStampPad.com

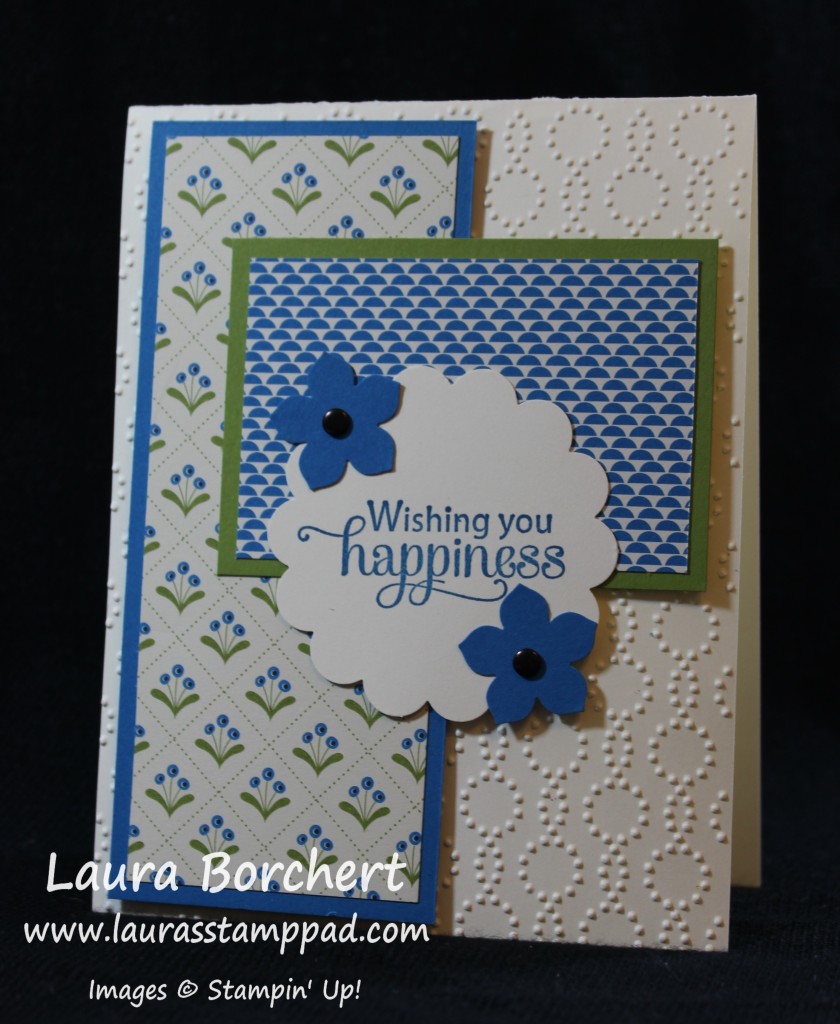
This card uses a Very Vanilla card base and I embossed the front with the Elegant Dots Embossing Folder. The Pretty Petals Designer Series Paper measures 2″ x 5″ and 3″ x 2″. You can get 1 of the big pieces and 3 of the little pieces from one sheet. Since there are 4 sheets of this pattern, you can create at least 6 cards like this! The larger piece is layered on a piece of Pacific Point measuring 2-1/4″ x 5-1/4″ and adhered to the card front with Stampin’ Dimensionals. The smaller piece of DSP was layered onto a piece of Old Olive measuring 3-1/4″ x 2-1/4″. I added this to the card with Stampin Dimensionals on the right hand side and Snail Adhesive on the left. This makes it level across! I stamped the greeting from the Blessed By God Stamp Set and punched it out with the 2-3/8″ Scallop Circle Punch! I finished the card off with a few punched flowers with the Petite Petals Punch and some Black Candy Dots! TIP: If you run out of black, you can always color in any of the other colors with a black sharpie!
Technique Tuesday – 70+ Cards from 1 Stack!!!

Posted on

Happy Tuesday!!! You know what that means!!! I have a fabulous technique to share with you today. I will show you how to create over 70 Cards from a Designer Series Paper Stack! I used the Pretty Petals Stack and created cards for every occasion – man, women, sympathy, birthday, anniversary, wedding and more!!! I love it!
Pretty Petals Card Set, www.LaurasStampPad.com

Here are the cards that I created with each sheet in the Pretty Petals Designer Series Paper Stack! You can get multiples of each of these cards and then use the leftover scrap pieces to create quilt cards like these samples! I will be posting a few of these today and the rest tomorrow!!! 🙂 Let’s get started!

Butterfly Lovely Amazing You, www.LaurasStampPad.com

This card uses a Calypso Coral card base. The Pretty Petals Designer Series Paper measures 5-1/2″ x 2″. You can get 3 of these from one sheet and since there are 4 sheets of this pattern, that is 12 cards like this! The border on the top and bottom is from the Tin of Cards Stamp Set. I stamped the greeting from the Lovely Amazing You Stamp Set and punched it out with the 2-3/8″ Scallop Circle Punch! The butterflies were punched out from the Elegant Butterfly Punch and Bitty Butterfly Punch!

Sympathy Card, www.LaurasStampPad.com

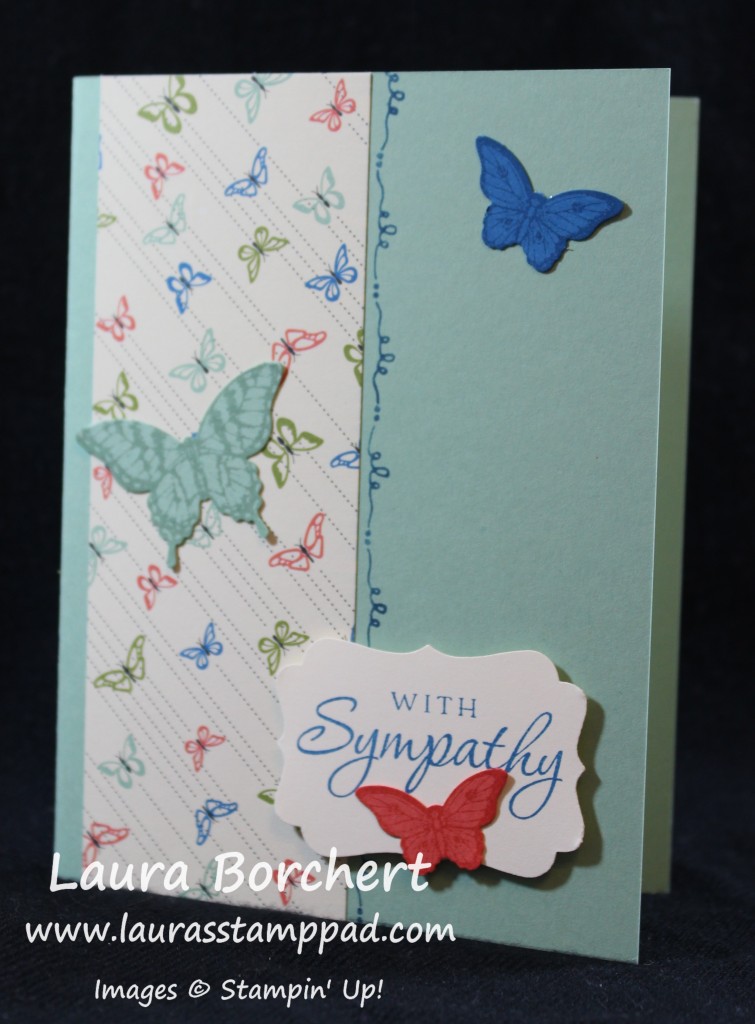
This card uses a Mint Macaron card base. The Pretty Petals Designer Series Paper measures 2″ x 5-1/2″. You can get 3 of these from one sheet and since there are 4 sheets of this pattern, that is 12 cards like this! The border along the side is from the Tin of Cards Stamp Set. I stamped the greeting from the August Paper Pumpkin Kit and punched it out with the Decorative Label Punch! The butterflies were stamped from the Papillion Potpourri Stamp Set and then punched out from the Elegant Butterfly Punch and Bitty Butterfly Punch!

Coral Flowers, www.LaurasStampPad.com

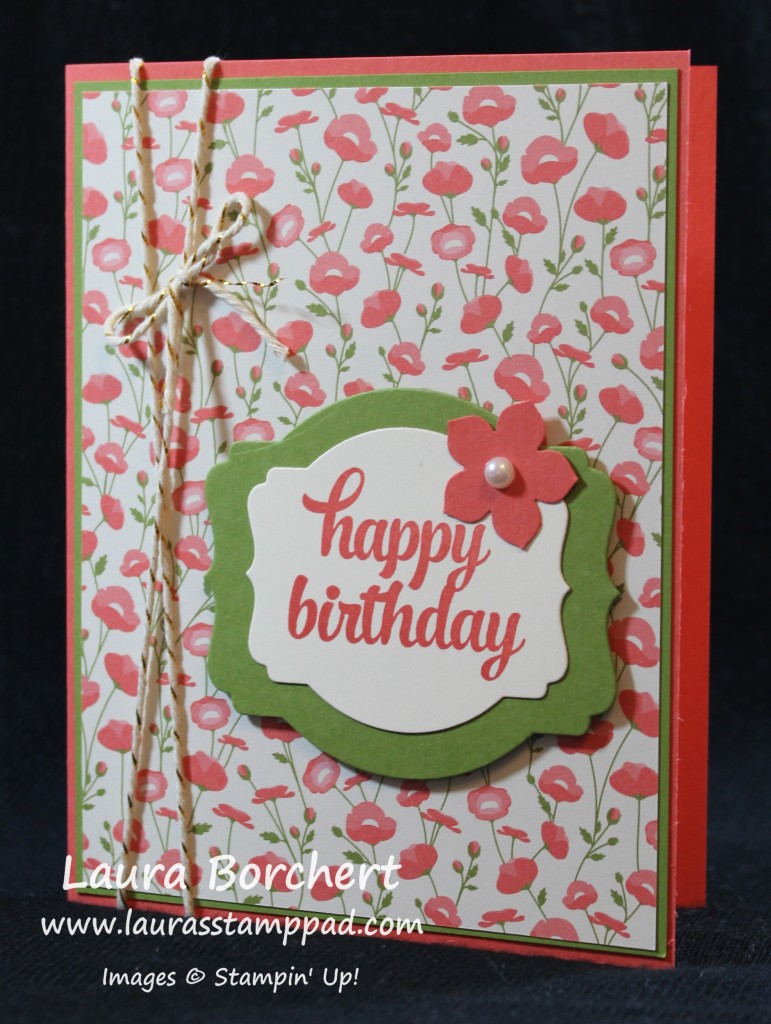
This card uses a Calypso Coral card base. The Pretty Petals Designer Series Paper measures 4″ x 5-1/4″. You can get 1 of these from one sheet and since there are 4 sheets of this pattern, that is 4 cards like this! The Designer Series Paper is layered onto Old Olive measuring 4-1/8″ x 5-3/8″. I wrapped some Gold Baker’s Twine around the left edge and tied it into a bow! The greeting is from the Tin of Cards Stamp Set. I die cut the greeting out with the Deco Label Framelits and added a layer of Old Olive with the next frame size up! I added a flower that was punched out with the Petite Petals Punch and I placed a Pearl in the center!

Quick Simple Card, www.LaurasStampPad.com

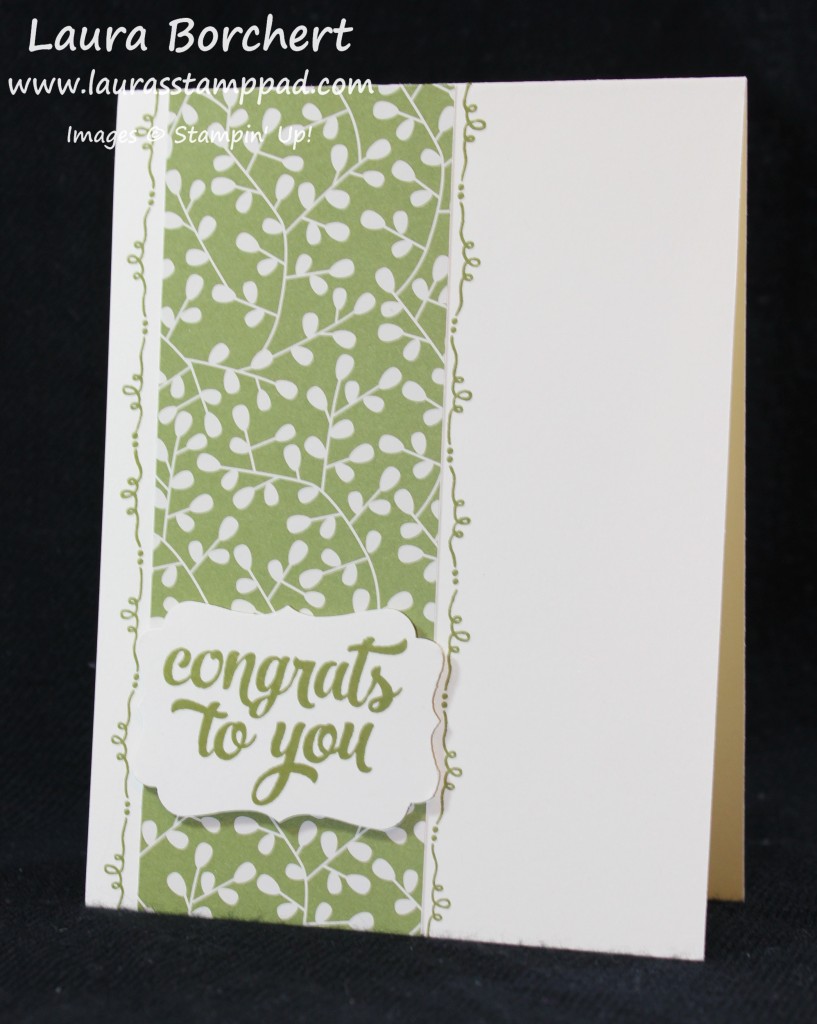
This card uses a Very Vanilla card base. The Pretty Petals Designer Series Paper measures 2″ x 5-1/2″. You can get 3 of these from one sheet and since there are 4 sheets of this pattern, that is 12 cards like this! The border on the left and right of the DSP is from the Tin of Cards Stamp Set. I stamped the greeting from the same set and punched it out with the Decorative Label Punch!

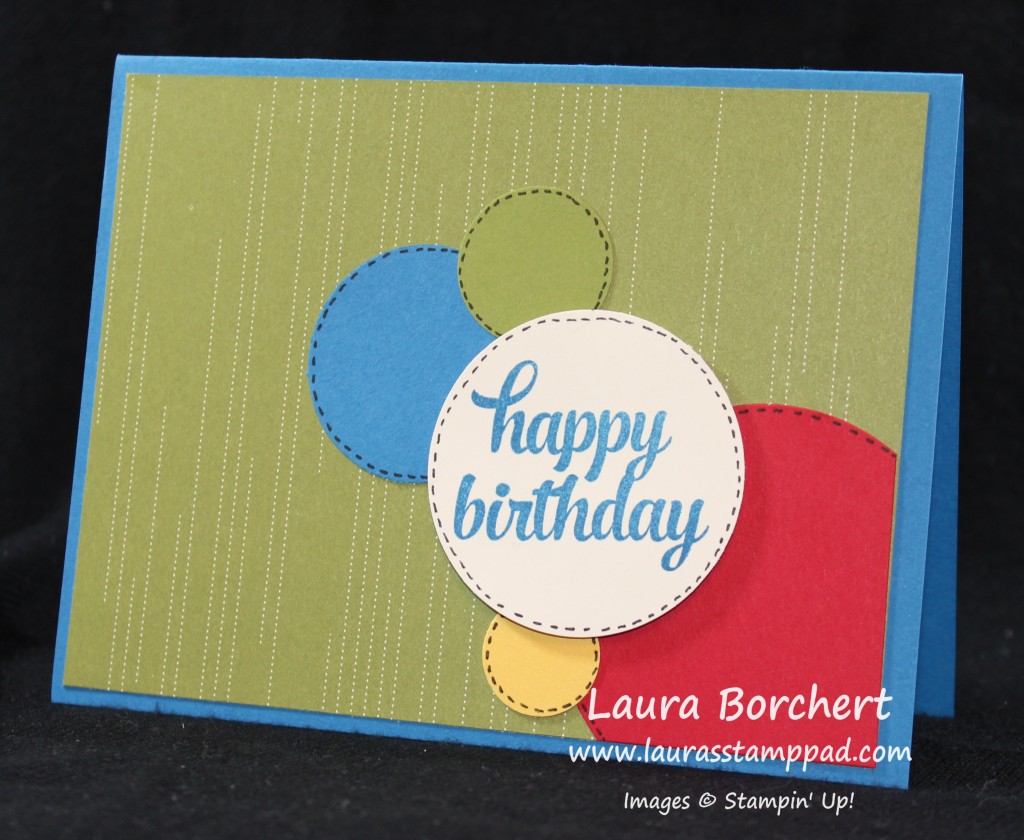
Birthday Circles, www.LaurasStampPad.com

This card uses a Pacific Point card base. The Pretty Petals Designer Series Paper measures 5-1/4″ x 4″. You can get 1 of these from one sheet and since there are 4 sheets of this pattern, that is 4 cards like this! I used some of my scraps of cardstock in Real Red, Daffodil Delight, Old Olive and Pacific Point. I used various sizes of circle punches. The greeting is from the Tin of Cards Stamp Set. I thought the circles looked a little plain at first so I added the little stitches around the edges and I think it really makes them pop! Love it!! This would make a fabulous kid’s card!

I will be posting the rest of the cards in the set tomorrow! If you would like to see all of this in action, check out the Video Tutorial below or by clicking here! If you liked the video, be sure to give it a thumbs up! Don’t forget to subscribe to my blog so you don’t miss tomorrow’s post! 🙂

See you tomorrow! Which one of these is your favorite so far? Let me know in the comments below!

Happy Stampin’

~Laura


Technique Tuesday – Card In A Box!!!

Posted on

Happy Tuesday!!! I have a fabulous technique to share with you today!!! It is super fabulous and has a major WOW factor! This card is for sure one to put on the mantel or desk to display!!!

Card In A Box, www.LaurasStampPad.com

How amazing is this card? It is like a flower bouquet but in 3D. If you want a flat flower bouquet, click here! Now you can see why I said this card is one to display for sure!!! LOVE IT!! You can create in with flowers, butterflies, balloons, stars and so much more!!! Now lets get started on how to create it!!!

SUPPLIES NEEDED: Cardstock, Scoring Tool (either your Stampin’ Trimmer or Simply Scored), Sticky Strip, Designer Series Paper, Stamps, and Embellishments

You will start with a piece of cardstock measuring 5-1/2” x 9”. I used Bermuda Bay in the sample above. Now using your scoring tool on the Paper Trimmer or the Simply Scored Tool, you will score along the 9” end at 2 1/8”, 4 ¼”, 6 3/8” and 8 ½”. Rotate the cardstock 90 degrees and score at 2 ¾”.  Now using scissors, cut down to that 2-3/4″ along each score line to create flaps on the top half. Trim off the tiny strip left over at the end (this leaves a tab on the bottom half). Fold on the creases and use sticky strip to adhere the box together with that little flap. The best way to do this is to fold the card flat and stick the tab to the other side. By laying it flat you know it will adhere flat rather than trying to do it in the air and having it not lay flat. (I hope that didn’t super confuse you.) Now to create the tabs for inside the box which your decorations will be adhered to, you will need 2 pieces of cardstock measuring 1” x 3-1/8” and you will score at both ends at ½”. Fold the tabs to form a “z” and adhere sticky strip to the ends (opposite ends) and set aside. Now to decorate!!!!

For the back of the box, add cardstock for writing your message – this piece is 5 1/4” x 1-7/8”. Be sure to stamp before adhering it to the back of the card since it isn’t smooth. For decorating the flaps, you can use Designer Series Paper or cardstock for the top four panels. In my sample, I used Blackberry Bliss measuring 2″ x 2-5/8″ and then the Painted Blooms Designer Series Paper measuring 1-7/8″ x 2-1/2″. To add your two “Z” strips to the inside of the box, you will adhere them with one tab towards the back and then close the box and let the other tab attach to the other side of the box. For the other one, you will put it towards the front of the box and then close it to attach the other tab. See the video tutorial for more on this because I’m sure if I try to explain any more, I will only confuse you more! 🙂 Now you can embellish as desired. I used the Flower Shop Stamp Set and Pansy Punch. I also stamped a few butterflies from the Papillon Potpourri and Bitty Butterfly Punch! For the leaves, I used the Bird Builder Punch! I used little strips of Mossy Meadow to stand my flowers taller and for the butterflies, I used little strip of Window Sheet!

Card In A Box, www.LaurasStampPad.com

The other awesome thing about this card in a box is that it folds flat and fit into a regular envelope!!! Woot Woot! For the back, I used the Sale-A-Bration Stamp Set – Simply Wonderful! LOVE IT!!!!

Okay so what you have been waiting for….the Video Tutorial! I know this can be a bit confusing which is why I just had to film it. If you liked it, be sure to give it a thumbs up!!!

You can see another sample I created before by clicking here and here! I hope you enjoyed this and try it out! I would LOVE to see what you come up with so please share with me!!!

Happy Stampin’

~Laura


My Two Favorites…

Posted on

…Flowers and the Work of Art Stamp Set!!! You can actually add in bright colors to all of that as well!!!! Love love love it!!!!

Flower Shop Work of Art, www.LaurasStampPad.com

This card just has so many fabulous parts to it! I started with a card base of Pear Pizzazz. Then I took a piece of Whisper White cardstock measuring 4″ x 5-1/4″ and stamped the zig zag image from the Work of Art Stamp Set on the bottom using my markers to color it in (Bermuda Bay, Crushed Curry, and Calypso Coral)! Then for the flowers, I stamped them from the Flower Shop Stamp Set in Memento Black Ink on some scrap Whisper White cardstock and colored them with my Blendabilities. I used the lightest color to come in the entire flower and then took either the Medium or Dark marker to color the lines in the flowers! You can use which ever you prefer based on how dark you want it. I like dark bold colors!!! 🙂 Then I punched the flowers out with the coordinating Pansy Punch! I added some leaves which were punched in Pear Pizzazz with the Bird Builder Punch. The blue flower is flat on the card and the other two are adhered with Stampin’ Dimensionals! I finished it off with the greeting stamped from the Work of Art Stamp Set and some pearls on the flowers! I love it because of the amazing colors, springy feel, flowers, pearls and some of my favorite stamp sets!

If you would like to see more samples using the Work of Art Stamp Set, click here! To see some samples using the Flower Shop Stamp Set and Blendabilities, click here and here!

Happy Stampin’

~Laura


Happy New Year!!!!

Posted on

Welcome to 2015! Let’s make it the best year yet!!! I am looking forward to all of my events, classes, stamp parties, meeting new people, laughs and fun that will take place in 2015! Be sure to check out my Upcoming Events to see when you can stamp with me next!!! Can’t wait!!!

One Sheet Wonder, www.LaurasStampPad.com

Today I thought I would share some more fabulous samples using the One Sheet Wonder Technique. This technique is so much fun and pretty simple! You take a piece of Whisper White cardstock (8-1/2″ x 11″) and stamp all over it. I used the Flower Shop Stamp Set and Crushed Curry, Elegant Eggplant, and Melon Mambo Ink. Then you will put the piece up into the following pieces:

One Sheet Wonder Template, www.LaurasStampPad.com

Then you take each piece and make it into a card! You can follow the ways I used them or create your own! I used Melon Mambo, Crumb Cake, Elegant Eggplant, Crushed Curry, Wild Wasabi, and Whisper White cardstock for my cards. I brushed some edges with my Sponge Daubers of course! You know how I love my Sponge Daubers. The greetings I used came from the A Dozen Thoughts Stamp Set. I even stamped a few flowers from the Flower Shop Stamp Set on additional cardstock and punched them out with the coordinating Pansy Punch! I added these with Stampin’ Dimensionals and some of them have some Dazzling Details to add a little bling! 🙂 Here are the rest of the samples!

One Sheet Wonder, www.LaurasStampPad.com

I hope you all try out this technique! You can see other samples here, here and here! If you would like to see these cards in action, check out my Video Tutorial here! I apologize for the poor lighting.

Happy Stampin’

~Laura


Ways to Use Your Blendabilities!!!

Posted on

I am loving my Blendabilities Markers! They make coloring so much fun and there are so many ways to use them!!!

Blendabilities Flower Shop, www.LaurasStampPad.com

How many ways did I use my Blendabilities on the card above? If you guessed 4 then you are correct! I colored my ribbon, my rhinestones, my flower and created the polka dots! How fabulous is that!

For the Ribbon, I started with a piece of Whisper White Organza Ribbon and the lightest Rich Razzleberry Marker. Start coloring on the right side to about half way in, then take the darkest marker and start on the left and color to the middle where it meets the lightest color. Now take your medium marker and color the middle section overlapping over both the dark and light shades. This gives a fabulous ombre look to your ribbon! You know how I love me some ombre! 🙂

For the Rhinestones, just color one rhinestone with each of the 3 markers! It is as easy as that!

For the Flower, I stamped this one from the Flower Shop Stamp Set with my Memento Pad. Then starting with the darkest color, I started coloring the tips of all of the petals, then I grabbed the lightest color and colored the center of the flower and a little out. Finally, take your medium marker and color the middle, overlapping both the dark and lightest colors. I have also done it where I color with the darkest and lightest marker only and use the lines in the flower to color one section light, the next dark. Once I was done coloring, I took the Color Lifter and ran it along those tight lines. The Color Lifter sorta bleaches out the area so this gave a lighter look in those areas! Of course after coloring the flower, I used my Pansy Punch to punch it out!

For the Polka Dots, I adhered my flower to the Whisper White square with Stampin’ Dimensionals. Then using the lightest marker start dotting all around the flower with a few farther out. Then take your medium marker and dot around the light dots and a few father out. With the darkest marker, dot randomly farther out. This will give the look that the dots fade out. I’m not the best with random so mine doesn’t really give that illusion but some come out better than others! 🙂

I put it all together with some Melon Mambo and Rich Razzleberry cardstock with a layer of Sweet Taffy Designer Series Paper in there! I love the bright colors and the way the flower pops! So cute! What is your favorite way to color with your Blendabilities? Leave me a comment down below!

Happy Stampin’

~Laura


Flower Fun Mini Cards!!!

Posted on

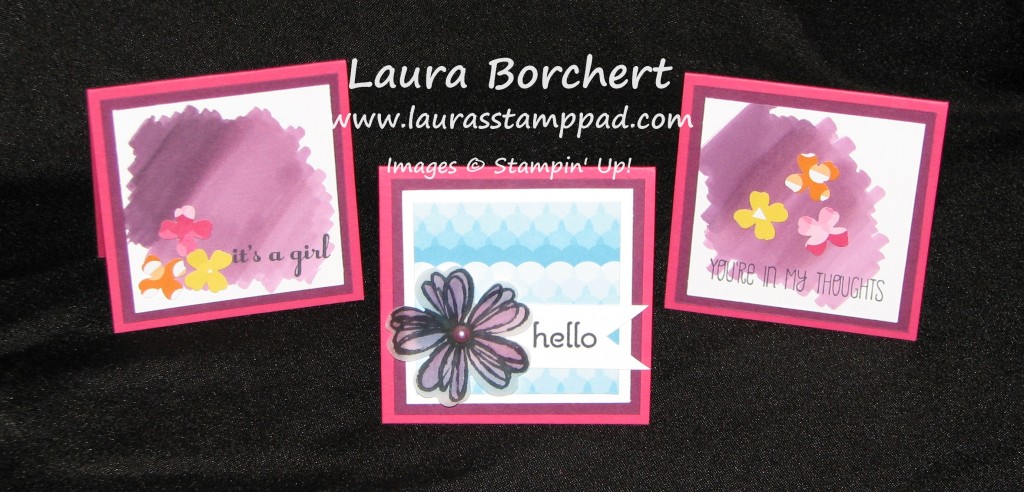
Mini Cards with Blendabilities, www.LaurasStampPad.com

These cards are just little 3″ x 3″ ones! Decorating them is so much fun because you only have a little area to work with! I used my Rich Razzleberry Blendabilities for the background on the right and left! Starting with the lightest color, move back and forth like you are making a splotch of color. You will go about half way across the 2-1/2″ x 2-1/2″ piece of cardstock. Then taking the darkest color and start from the top coming down to the middle. Finally with the medium color blend in the middle on top of the dark and light colors. This will give you a nice ombre look fading from light to dark. Then you will layer that onto a piece of Rich Razzleberry measuring 2-3/4″ x 2-3/4″ and then onto the card base of 3″ x 6″ (folded in half). I stamped the greetings from A Dozen Thoughts with my Memento Pad. I punched a few flowers from the Itty Bitty Punch Pack our of the Sweet Taffy Designer Series Paper.

For the middle card, I started with my Melon Mambo base (3″ x 6″) and layered Rich Razzleberry (2-3/4″ x 2-3/4″) and then Sweet Taffy Designer Series Paper (2-1/2″ x 2-1/2″). For the greeting, I stamped on a piece of 3/4″ x 2-1/4″ Whisper White Cardstock with Memento and the A Dozen Thoughts Stamp Set. For the banner tips, I cut straight down in the middle and then from both corners diagonally to that center cut. This helps you get even tips and not have one longer. For the flower, I stamped the flower from the Flower Shop Stamp Set onto Vellum, punched it out with the Pansy Punch and colored the back side with my Rich Razzleberry Blendabilities! I used the darkest and lightest marker! I didn’t blend as much as I usually do but instead just did certain petals light and others dark. I attached it to my card with a Stampin’ Dimensional and then added a Pearl which I also colored with my Blendabilites! I love how you can color so many different materials with your blendabilities. Be sure to check out this post to see even more way!

Happy Stampin’

~Laura


Technique Tuesday – Masking, Coloring, & More!!

Posted on

Happy Tuesday!!! I have an amazing technique or tip for you today! It is SUPER simple and the outcome is amazing! You will think, why didn’t I think of that!

Flower Shop Blendabilities, www.LaurasStampPad.com

So you may be looking at this card thinking it is Pink and includes Flowers so it looks like Laura’s favorite card. But that’s not the fabulous part! Look closer at the flower – both the purple one and the black background ones! The black ones don’t overlap and have this amazing garden/3D effect. The purple one has some fabulous shading which was done with my Rich Razzleberry Blendabilities and those leaves are just another flower punched out in Old Olive! How fabulous! Not let’s get started on how I got this amazing look!

For the background, all you do is stamp your first flower (Flower Shop Stamp Set) on the piece of Whispe White cardstock! Now taking the coordinating Pansy Punch, punch a flower from a piece of scrap paper and place it on top of the stamped flower. Now stamp all around the flower. This mask prevents the stamped image from overlapping and creates that amazing look. Move your mask around to cover up other flowers as you move across the paper! Yep, it’s that easy to get that amazing look! 🙂 For the card below, I created an entire background because I just couldn’t get enough of this amazing look!

Flower Shop Blendabilities, www.LaurasStampPad.com

For the flower, I stamped it with my Memento Pad onto a piece of Whisper White cardstock and punched it out with the Pansy Punch. I used my Rich Razzleberry Blendabilities but only the lightest one and darkest one. I colored the entire flower with the lightest one and then went over the lines of the stamped image with the darkest one. I love using the Blendabilities on my Flower Shop images because I find the images to be so easy to color. This image already has the lines for shading dark and a few of the other images have perfect lines or petals that make shading simple! I’m not the best artist with coloring unless I have these images that make it super easy! 🙂 Love it!

For the leaves, all you need to do is stamp the same flower image that you used for the flower onto a piece of Old Olive cardstock. Punch out the flower with your Pansy Punch and then cut 2 petals out and attach it to the back of your flower! It’s that simple!

To see all of these techniques in action, check out the Video Tutorial that I created! be sure to give it a Thumbs up if you enjoyed the video and want to see more! Also, don’t forget to subscribe to My Channel so you don’t miss out on any future videos!

Happy Stampin’

~Laura


Technique Tuesday – Post It Note Holders!!!

Posted on

Happy Tuesday!!!! I know it kind of feels like Monday since yesterday was a Holiday but trust me it’s Tuesday! Woot Woot for skipping on Monday!!!! I have a fabulous technique to share with you today! These items make perfect gifts for co-workers, teachers, friends and just about anyone!

Post-It Note Holders, www.LaurasStampPad.com

Of course you can make more masculine ones for those teachers and co-workers who are men but everyone uses Post-It Notes!!!

SUPPLIES NEEDED: Post-It Notes, Cardstock, Embellishments (Whisper White Organza Ribbon, Window Sheet, Vintage Faceted Buttons, Heat Tool, Stazon, Blendabilities)

Starting with a piece of cardstock that measures 3-1/4″ x 7″, you will score along the 7″ side at 3-1/4″ and 3-3/4″. These are the folds to wrap around your post-it note. Go ahead and add some adhesive to the back of your post-its and stick them inside your base! Now for the decoration on the front, I layered a piece of Sweet Taffy Designer Series Paper (2-3/4″ Square) onto a piece of Old Olive (3″ Square). Then I took 2 pieces of Whisper White Organza Ribbon that were 4″ long and placed them in a “T” pattern on top of my Designer Series Paper! Wrap the ends to the back and adhere to the front of your Post-It Holder base. For the flower, I stamped a flower from the Flower Shop Stamp Set with my Stazon onto a piece of Window Sheet. Be careful not to wiggle or smear your image and be sure to set this aside for a minute to dry. Once it is dry, flip it over to the backside and using your Blendabilities Markers, you will color the flower! I used the Rich Razzleberry Blendabilities and used the darkest color! Once that is complete, punch out your flower with the Pansy Punch. While waiting for it to dry a bit, you can stamp the same flower with Stazon onto a piece of Old Olive cardstock and punch it out. Then with a pair of Paper Snips, cut out 2 of the petals and these will be use as leaves for your flower! For a faux glass look and to have your petals curl up a bit, you can heat your window sheet flower with your heat tool. Hold your heat tool about 1-2 inches away from the flower and after a bit (first it needs to heat up) you will start to see the Window Sheet melt and curl. Be careful not to burn yourself. Now it is time to assemble your flower. Attached your leaves with a little bit of Snail or a Mini Glue Dot and then attach your flower to your card with a Mini Glue Dot. Now you can attach your Vintage Faceted Button with a Mini Glue Dot as well. If you wish to color your button first, you may do so with your Blendabilities! Then I colored a pearl with my Blendabilities and placed that in the center of the button! Don’t you just love all the things and way you can color with your Blendabilities! LOVE IT!!! Super cute and a great gift to give!

I hope you enjoyed this technique and try it at home!!! Let me know what you think or how yours came out in the comment below!

Happy Stampin’

~Laura