Technique Tuesday – Flip Flop Card

Posted on

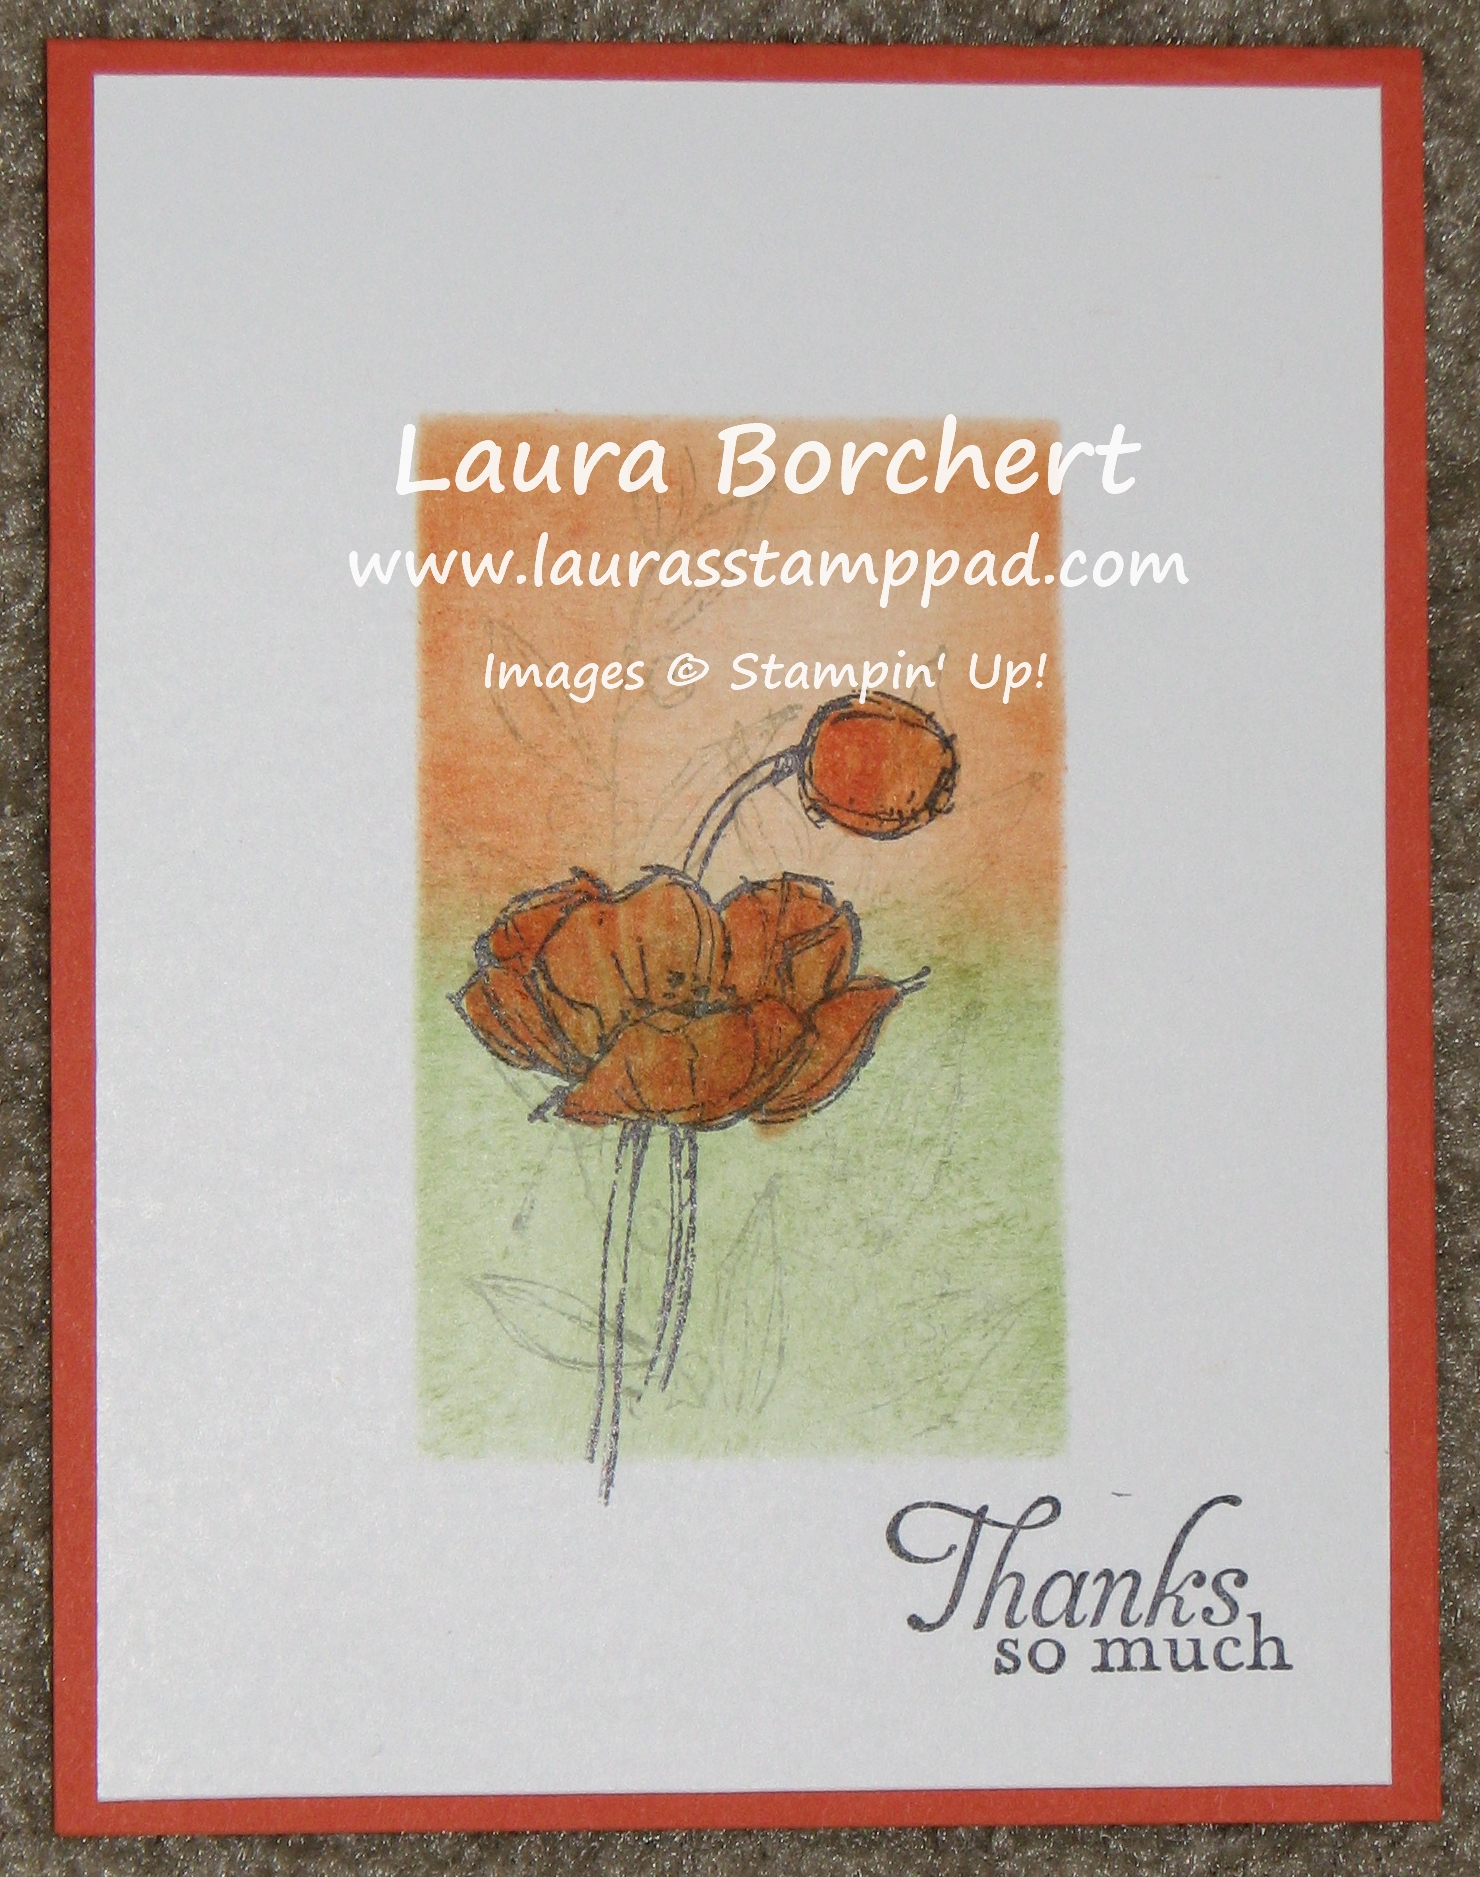
It is Tuesday and so I’m sharing a fabulous technique with you!!! This week it is the Flip Flop Cards!!!

Flip Flop Card, www.LaurasStampPad.com

Okay so Stampin’ Up came out with these amazing Thinlit Dies which makes making Flip Flop cards super easy! But I have some tips for using the Thinlit Dies and a little extra trick to show you! The card above was created in Gumball Green and I used the Birthday Basics Designer Series Paper to decorate it. The circle is a 2-1/2″ Circle Punch from Whisper White and the cute little chameleon is from the Tag It Stamp Set! I just wish you all could Flip Flop the card in person since it is so much fun!Stampin' Up Thinlits, www.LaurasStampPad.com

The Thinlits are available in two different styles and check out all the amazing goodies you get with each one! You will notice that the dimensions for the card are 6-1/4″ x 5-1/2″. In the card above, you can see there really isn’t a spot to write your greeting. Although I have used the back for that which works perfect (and then you are using all of the card 🙂 ). But here is a trick for you to have an extra spot to write your greeting! Cut your cardstock to 5-1/2 x 8-1/2″ (regular card size) and you will put it in the Big Shot with the Thinlit but on the end you will pop it through and leave the “tail” on the top side so it doesn’t get cut when running it through the Big Shot. See photo below and how the cardstock is above the Thinlit on the right side.

Flip Flop Thinlit, www.LaurasStampPad.com

Dimensions: Card – 5-1/2 x 8-1/2″, Candle Designer Series Paper Piece – 1-7/8 x 5-1/4″, Inside Polka Dot Designer Series Paper – 2-3/4 x 5-1/4″, Whisper White Greeting Piece – 2-3/8 x 5-1/4″, Outer Flap of Polka Dot Designer Series Paper – 2-3/8 x 5-1/4″. And when you have assembled your card, you get this! The extra little flip for your message! Super cut and still fits in a regular envelope!!! LOVE IT!

Flip Flop Card, www.LaurasStampPad.comI know my instructions can sometimes be confusing so post a comment below if you have any questions.

Happy Stampin’

~Laura


Technique Tuesday – Tips and Tricks

Posted on

It is Tuesday and so I’m sharing some fabulous tricks and tips with you today!!!

  • You can get 2 regular sized cards from an 8-1/2 x 11″ sheet of cardstock. You either cut at 4-1/4″ on the 8-1/2″ side or you will cut at 5-1/2″ on the 11″ side.

Paper Dimensions, www.LaurasStampPad.com

  • If you want to create a mini card, it is best to use a sheet of 12″ x 12″ cardstock and you will cut 3″ x 6″ rectangles (making a 3″ x 3″ card). Since 12 is divisible by 3 and 6, you will get the most out of your cardstock this way.
  • When using Glimmer Paper or Designer Series Paper (or any cardstock for that matter), you can use 2 little strips to back your image instead of wasting a full piece underneath. Notice the Glimmer Paper in this example (the orange card)- I used two mini strips on the top and bottom! Makes your paper go further this way!
  • When using Mini Glue Dots, leave the dot on the paper strip that is comes on and press your piece of ribbon or cardstock onto the dot rather than trying to pull off the little clear sticky dot and placing onto your project.
  • When assembling your stamps, be sure to pull off the paper on the stamp and on the clear label! Then leaving the clear label on the piece of paper that is arrives on, lay the stamp over it and then pull them both up together!
  • When using ribbon on your project, you can cut a piece of ribbon that lays across your piece of cardstock and wrap the ends to the back side. Then take another smaller piece of ribbon making a “t” and tie a knot around your first strip of ribbon. This will give the look of tying the ribbon around but it uses less ribbon and your knot isn’t as thick. Ribbon Technique, www.LaurasStampPad.com
  • Always use Sticky Strip when making a Box or any other 3D item because it holds super strong. TIP: It is not forgiving though so once you place it down, it’s there!

I hope you found these tips and tricks helpful!! I will be posting more in a few weeks! Leave me a comment if you have a tip to share!

Happy Stampin’

~Laura


Technique Tuesday – Shaker Cards

Posted on

It is Tuesday and so I’m sharing a fabulous technique with you!!! This week it is Shaker Cards!!!!

Leaf Shaker Card, www.LaurasStampPad.com

I so wish that you all could shake this card while reading this post so you could really see how cool these cards are! But since you can’t, you are just going to have to take my word for it! The Champagne Glass Glitter that you see covering part of the leaf actually shakes around inside a little sealed area! Super cute and fun! And Stampin’ Up has these things called Shaker Frames so it’s super simple too!

You will need: Cardstock, a Punch to create your window, Window Sheets, Shaker Frames, and confetti of some sort (Glitter Glass, small punched out shapes, anything)

Basic Instructions: Stamp your image onto a piece of cardstock (this will be the image in the window). Place a Shaker Frame around the image (could be the entire image or just part of it). Pour in your confetti and place the Window Sheet on top to seal the confetti in. Take another piece of cardstock and punch an image out (this will be your window) and place on top of the window sheet to hide the window sheet edges and shaker frame.

Butterfly Shaker Card, www.LaurasStampPad.com

You can use all kinds of punches and images and confetti! The possibilities are endless and they are super fun the shake around and admire! I hope you try out shaker frames and share your thoughts or questions in the comments below!

Happy Stampin’

~Laura


Flutter by Butterfly!

Posted on

I love butterflies so much! As a kid I remember watching them, running after them, trying to catch them, and caging caterpillars in hopes to watch it turn into a butterfly! And now as an adult, I still enjoy them! Butterflies are colorful and beautiful and I think they can brighten anyone’s day!

Butterfly Photo Frame


I made this fabulous Butterfly Frame with the Beautiful Wings Embosslits! I used lots of my paper scraps (who doesn’t have a million of those around) and used every Stampin’ Up! color! I love how it turned out and then I added a few pearls in there too! Gotta have some bling! This is hanging right inside the door to my stamp room! I love it!


Multi Colored Butterfly, www.LaurasStampPad.com

This fabulous card is super quick and simply. Just take a few markers in any colors and start inking up your butterfly, stamp it down, layer it onto your card and Voila! You are all done and have just created a beautiful, bright and simple card! This card doesn’t even need a greeting so it could be used for any occasion! This card uses the Swallowtail Stamp!

Butterfly Shaker Card, www.LaurasStampPad.com

This last card is actually a shaker card! The bling in that center butterfly moves around under a clear window sheet! Check out my Technique Tuesday next week to learn more about Shaker Cards! This card uses the Papillion Portpouri Stamp Set and Elegant Butterfly Punch!

There are lots of other butterfly items too – Beautiful Butterfly Bigz DieBitty Butterfly Punch and wheels and more!! And don’t forget about the Butterfly Bundle this month! You get 15% off when you purchase the bundle this month!!!

Hope you have a bright and cheerful day after seeing all these butterflies!

Happy Stampin’

~Laura


Technique Tuesday – Core’dinations Cardstock

Posted on

It is Tuesday and so I’m sharing a fabulous technique with you!!! This week it is Core’dinations Cardstock!!!!

Coredinations Card Technique, www.laurasstamppad.com

So I don’t feel like the picture above showcases the Core’dinations Cardstock very well but I can tell you it’s super cool! This cardstock is different from the regular Stampin’ Up! cardstock. The Core’dinations cardstock is a little bit thicker and the center of the cardstock is a lighter shade of the cardstock. This way when you use the Sanding Blocks on the cardstock to rough it up, you will get a dual color look. You can also run it thought the Big Shot with an embossing folder and then rough up those embossed edges and really get a fabulous textured look! Check out this post with a great man card using the Woodgrain Folder!

Step Up Christmas Card, www.laurasstamppad.com

This photo shows the Core’dinations cardstock much better! I did this Christmas Card twice but I “stepped up” the one card by using the Core’dinations Cardstock rather than regular cardstock. You can see that the card on the left has a lighter color around the mosaic image and it gives the card a little more texture and color. The card on the right was embossed with the same embossing folder and while it looks amazing too, it doesn’t have that antiqued look and texture.

So all you need for this technique is the Core’dinations cardstock!!!!! You can use it alone and tear the edges to show the lighter color underneath! You can also use it with your Sanding Block and Embossing folders! I hope you try it out soon!

Happy Stampin’

~Laura


Technique Tuesday – Inking with Your Sponge Daubers!

Posted on

It is Tuesday and so I’m sharing a fabulous technique with you!!! This week it is Inking with Your Sponge Daubers!!!!

Tie Dye Technique, www.LaurasStampPad.comOkay if you don’t have these fabulous sponge daubers in your craft collection, CLICK HERE! You totally need them! I probably use mine…..daily! I love love love these things. I brush the edges of my cardstock to give that softened look. I create this fabulous technique. I used them for Reverse Masking in last week’s post! You can use them with your Build A Banner Templates! And I can go on and on! Trust me these are amazing and you get 12 in a pack!!!! Okay onto this fabulous technique!

All you need are your sponge daubers, a few ink pads, and a stamp! You can either ink up your image with the lightest color and then add the other ink colors with the sponge daubers or you can add all of the ink colors with your sponge daubers. In the Happy Birthday sample above, I used the Happy Birthday greeting from the Delightful Dozen Stamp Set. I used Gumball Green, Raspberry Ripple, Bermuda Bay and Summer Starfruit! Always start with your lightest color and just pounce in the ink and pounce or rub in random places on your stamp! Move to the next color and keep going until you have applied all colors and the stamp is covered. Sometimes you might want to rub your dauber on paper before going back into the ink just in case you might have picked up another dark color. This helps keep your daubers clean too!!! Huff on your stamp (Ha Ha like the stamp is hot) and then press onto your cardstock!!! Here is another sample:

Dauber Coloring Technique, www.LaurasStampPad.comFor this fabulous colored leaf, I inked the Magnificent Maple in Crushed Curry and then used my dauber to ink the Pumpkin Pie around going just about a dauber width in and then I took my Chocolate Chip dauber and did just the edges. Doesn’t that leaf just look so amazing and it has that perfect fall look! I have to admit when I first did it I was afraid it wasn’t going to come out and then BOOM onto the paper, lift the stamp and AMAZING! You can try this out with flowers, other greetings and so much more!!! Don’t forget to go order your daubers today!

Have fun and Happy Stampin’

~Laura


Technique Tuesday – Reverse Masking!

Posted on

It is Tuesday and so I’m sharing a fabulous technique with you!!! This week it is Reverse Masking!

Reverse Masking Technique www.LaurasStampPad.com

Reverse masking is a technique that I recently tried out and fell in love!!! It gives such an amazing look! In the card above I feel like it makes a perfect scene for this Poppy. It give me a feeling of evening sunset. I have done many more of these cards using the Sympathy greeting in the Simply Sketched Stamp Set – so elegant and uplifting!!!

Butterfly Reverse Masking www.LaurasStampPad.com

This second card was created using the same technique! I created the template with the Oval Framelits! I cut out an oval for the template and then I used that oval and the next size up to create the Black frame! Also, the fabulous Butterflies came from the Papillon Potpourri Stamp Set! Check out the special on that Stamp Set this month here! You could really create a fabulous window look with this technique too! I want to try it out with a rainbow of colors next! To create your template, use the cardboard backing used in your Designer Series Paper Packaging, cut out your image (oval, rectangle, Circle, etc) and then you are good to go!!!

Frames for Reverse Masking www.LaurasStampPad.com

I hope you enjoy this technique and try it out soon!

Happy Stampin’

~Laura


Technique Tuesday – Color Blocking!

Posted on

It is Tuesday and so I’m sharing a fabulous technique with you!!! This week it is Color Blocking!!!

Color Blocking SetPin It!

I had so much fun with this technique and every time I did it it came out different so you end up with lots of different looks! All you need is some Ink Pads, Clear Block, and Watercolor Paper! Take your ink pad and press it onto the clear block, if using more Block Imagethan one color, just apply color to one spot starting with the lightest color and slowly going darker as you fill in the block! Then the next part of the technique can be done differently!! !You can spritz the inked clear block with alcohol, water, or even Stamp Cleaner (it was handy and I couldn’t find my alcohol spritzer). You can spritz the Watercolor Paper until it is moist or you can do neither of these! I never really found a huge difference. Although when you spritz the clear block, if you tilt the block, the colors will run and blend a little (could be a good look or could become ehh). Also, be sure to hold the clear block to the paper for a good 30 seconds, allowing time for the ink to soak into the paper. I did this technique on a few scraps of Watercolor Paper and then on some full size pieces. After I was done, I just cut them into pieces for all of these different cards I made above! The colors I used were Calypso Coral, So Saffron, Pool Party and Early Espresso!!! Another tip, when I stamped the FABULOUS stamp on the Watercolor Paper, I had a hard time getting the image to come out clear because of the texture in the paper. But that’s when the markers come in handy!!! I just colored in the lettering in spots that were lighter than I wanted! I hope you try out this fabulous technique! Enjoy!

Happy Stampin’

~Laura


Technique Tuesday – Ombré Style Stamping

Posted on

It is Tuesday and so I’m sharing a fabulous technique with you!!! This week it is the Ombré Look!

Happy BirthdayI’m not going to lie, when I first heard of the Ombré Technique I had no clue what it was and had to look up the word Ombré.  Ombré is a French word meaning to shade. In art it means beautiful color gradation!

So there you have it! And now I’m loving this technique! You all know I’m a huge fan of bright colors and whats even better….lots of Bright Colors! Color is an amazing thing! It sets a mood, shares a feeling, and can even brighten your day. Here are a few samples using a variety of ombré techniques. It’s an easy technique that offers impressive results.

Hang In ThereThe Birthday Card above is my #1 Man Card right now! You can make that card in shades of blue like I did or shades of green, or neutrals! And as my husband says, no ribbon on a man card but Linen Thread is okay! So all in all the perfect Man Card and it uses scraps of cardstock too!!!!! (For other Man Cards, check out this post!)

This little 3″ x 3″ Mini Card is super cute and perfect for a little Birthday Gift Tag or pick me up card to pass along to a co-worker! Quick and simple to put together and again a great use for scraps! I used the 1″ Circle Punch, Modern                                                                                                               Label Punch and Word Window Punch! Oh                                                                how I love my punches!

This too Shall PassThis last card here was created with Watercolor Paper! All you do is pick up some reinker with an Aqua Painter and swish back and forth on your paper starting with the lightest color! How fabulous is that?? Then the image was heat embossed with white embossing powder and cut out with the Labels Collection Framelits! And isn’t this saying just perfect?!?!

I hope you have enjoyed this technique and try it out in your next stamping project!

Happy Stampin’

~Laura


Technique Tuesday – Painter’s Tape!

Posted on

It is Tuesday and so I’m sharing a fabulous technique with you!!! This week it is the Painter’s Tape Technique!

4 Painters Tape

I have had lots of fun with this technique, trying it with different colors and patterns! Here is how to get this look:

Supplies Needed: Cardstock, Ink Pads, and Painter’s Tape (optional: gloves)Painters Tape Demo

Rip off a piece of painter’s tape a little bit longer than the ink pad (the longer side is what I use). The first time I do it, I stick it to the sides of the ink pad and grab a pen to make markings on the tape to show where the ink begins and ends. This way when I go back to the ink pad I line those up so I’m using the same area of the tape. Press the tape into the ink with your fingers or a sponge and then pull it off and press it onto your cardstock. Pull it off your cardstock and repeat. If using multiple colors, start with your lightest color first and work your way to the darkest. If using different colors, you might need multiple pieces of tape.

This picture was taken when I did the Painter’s Tape Technique as my demonstration at an event in April! I had so much fun and my fingers were purple for about 2 days because I didn’t wear gloves and I did the technique over and over! Nothing says crafty fun like inky fingers! 🙂

Happy Stampin’

~Laura