This card has been the favorite in all of my Christmas Card Classes this year! The funny this is……it is not even a Christmas Stamp Set – it’s Lovely As A Tree!!! While I am not a fan of the color brown, I do really like this card and that POP of color with the Cherry Cobbler Seam Binding!
For the card base, I used a piece of Soft Suede measuring 4-1/4″ x 11 and I ran that through the Big Shot with the Decorative Dots Embossing Folder. TIP: You will want to fold your cardstock in half first so that you know where your crease is and won’t put the card in too deep on the folder! If so, you will end up with a few dots on the back of your card. Then you will take a piece of 2-1/2″ x 5-1/2″ Very Vanilla cardstock and stamp the tree towards the top and the greeting towards the bottom; leaving space in between for your ribbon. The tree is from the Lovely As A Tree Stamp Set and the greeting is from the October Promotional Set – Good Greetings. You can always use the Teeny Tiny Wishes Stamp Set or any other favorite greeting of yours. Now you will adhere this to a piece of Crumb Cake measuring 2-3/4″ x 5-1/2″. Once those two pieces are together, you will tie your Cherry Cobbler Seam Binding around them both. I just did a knot but you could always do a bow if you wish. Now you will place this piece onto your card front with Stampin’ Dimensionals! DONE! This is a fairly simple card so you can crank out many of them in a little amount of time!
I hope you enjoyed this sample! Let me know your favorite Holiday Card that uses a non-holiday Stamp Set in the comments below!
Happy Thanksgiving everyone!!! This is one of my favorite holidays because it is low key and there is just so much to be thankful for today and everyday throughout the year!!!! I am so very thankful to each and every one of you who visit my blog, comment, share, and pin! Thank you all very much! You are all fabulous!!!
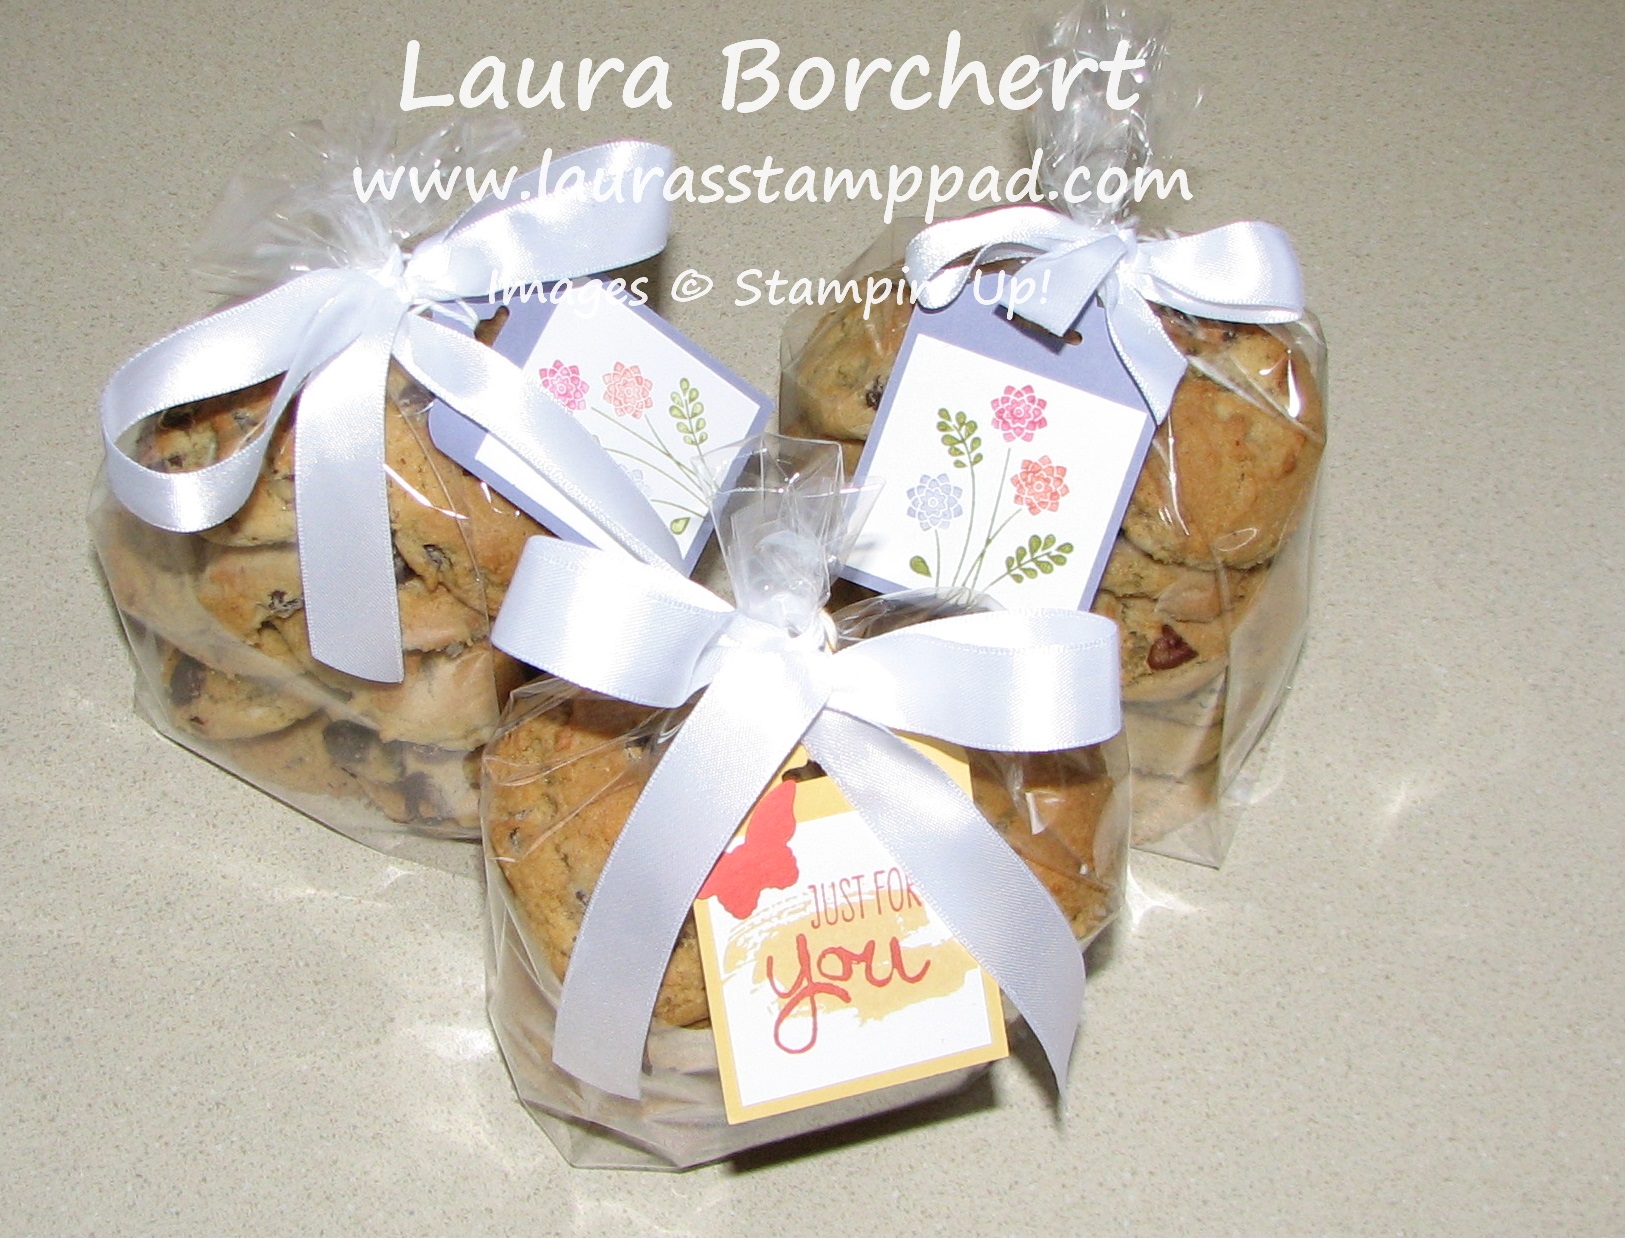
Today I thought I would share a quick and simple little project!
I get told by many people that my Chocolate Chip Cookies are pretty good so I usually whip up a batch for any and all special occasions – family visits, friends visits, when visiting my new niece and nephew in the hospital, and many other times! It is always more fun to give the cookies in an adorable package too! Here I used some of the Gusseted Cellophane Bags to put 13 (Baker’s Dozen) cookies into. I tied them up with some Whisper White Satin Ribbon and then added a tag. These tags are quick and simple and can probably use some of the scraps you have laying around! You need a piece that is 2″ wide and the length can be whatever you wish. I go with about 2-1/2″ but sometimes a little shorter or longer if I have a scrap piece that measures just so. I used my Scallop Tag Topper Punch for the adorable top. Then I used a piece of scrap Whisper White measuring 1-3/4″ x 1-3/4″ and decorated it. For the one up front, I used the Work of Art Stamp Set and Bitty Butterfly Punch. For the two in the back, I used the Embellished Events Stamp Set! Quick and Simple Gift Packaging! Check out this tag here to use this Holiday Season!
I hope you have an amazing day today celebrating Thanksgiving! I know I will as I will be spending lots of time with Family!
Happy Tuesday!! You all know what that means….I have a fabulous technique to share with you today! You have seen over the past few weeks lots of samples using the Wondrous Wreath Stamp Set and coordinating Wonderful Wreath Framelits! Well I have another out of the box way to use this amazing pair!
How adorable is this? It would be fabulous at your dinner table, on your mantel, on an end table and so many other places! You could use the Fall colors and use this at your Thanksgiving Dinner too!Now lets get started on how to make this!
You will want to stamp three of the wreaths onto Whisper White cardstock and cut them out. Here is a video tutorial on how to stamp and cut! Now it is time to assemble. I started with a Scallop Circle punched piece of Garden Green as my base; you could always use any circle or scallop circle you wish! Add some Snail Adhesive around the edges of the scallop circle and place your first wreath down! Add some adhesive around the inner circle of the wreath. Take your second wreath and cut it apart on one side and overlap the wreath about 1/4″ to 1/2″ and press it into your adhesive. Now you will repeat with your last wreath but overlap it just a little bit more so that you have that gradual tapering affect. You could always use a Hot Glue Gun for this project as well. Now for your candle, measure your candle so you know how much Red Glimmer Paper you will need (all candles vary). I used Sticky Strip to adhere the Red Glimmer Paper to my candle. Now you can add a bow to your candle to help cover the crease of the glimmer paper and for some added flare. I used Cherry Cobbler Seam Binding and attached it with a Stampin’ Dimensional. Be sure not to adhere your candle to your wreath because the on/off switch for the candle is on the bottom! (Thought I would mention that since I almost did that. 🙂
You will start with a piece of Garden Green cardstock measuring 4-1/4″ x 11″ and score along the 11″ side at 2-3/4″ and 8-1/4″ and fold those in. This created your gate fold card base! Next you will need 2 piece of the Plaid Designer Series Paper from the Trim the Tree Paper Stack measuring 2-1/2″ x 4″. Put some adhesive on the back of one piece of Designer Series Paper and attach one end of your Cherry Cobbler Sheer Linen Ribbon (7″) to the edge (outside edge, centered from top to bottom, see photo above). Now add additional adhesive and place it on the left side panel of your card base. Adhere the right side panel as well. Now you will pull the ribbon around to the front and next to the edge of the inside portion of the panel you will apply 2 strips of Sticky Strip as shown below! Cut the end of the ribbon diagonally or with banner tips!
Now it is time to create the window! Just like on Monday’s sample, you will start with a 3-1/2″ x 3-1/2″ piece of Early Espresso cardstock and run it through the Big Shot with your Woodgrain Texture Embossing Folder! This adds a little texture to your window! Then place four 1″ Square Punched pieces on top to resemble a window! These will be your guide! You can punch your squares out of Post-It notes on the sticky end or just use some scrap paper and add a small dab of Snail Adhesive. Now using your 1″ Square Punch, you will slide the white square in and line up those scrap squares and punch! Now you have your window!
Now to create the curtain you will need some of the Garden Green checked Designer Series Paper from the Trim the Tree Designer Paper Stack. You will need three Large Oval Punches and you will cut one in half! Turn your Window frame over (face down) and apply Snail adhesive to the back side! You will place the two full ovals on the top two windows diagonally with the green check face down and then you will add the halves to the two bottoms. These bottoms ones are only slightly diagonal. Turn over your window and it should like to curtains (see photo above). Now you can pull the Sticky Strip backs off of your card base and center your window to the front of your card. Your window should only be adhered to your card on the left side so that your card can still open!
Now for the planter, you will need a piece of Garden Green cardstock measuring 3/4″ x 3″ and you will cut a diagonal from both ends to give the shape of the planter. Then using your Sponge Dauber, brush the edges of the planter with Early Espresso. Place two Stampin’ Dimensionals on the back of the planter (towards the bottom, so your holly and be tucked under) and place it on your window. You will need 1 wreath for all of the holly in the planter. I used Wild Wasbi, Garden Green, and Cherry Cobbler for my wreath and Cherry Cobbler for the Ribbon! Check out this Video Tutorial to see how to stamp and die-cut your wreath!
Now you will cut the wreath into sections about 1″ or less long. You will want to cut along the leaves so it looks like real holly and leaves. Place 2-3 of your pieces in the planter (left, center, right) with Snail Adhesive. Then take the other 2 pieces and place them in between with Stampin’ Dimenionals to add texture and dimension. Adhere the ribbon to the center of your planter and you are all done!!!
I hope you enjoyed this technique on another way you can use your Wondrous Wreath Stamp Set! Be sure to check back on next week to see more fabulous ideas!
Tis the Season for gifting and why not make the packaging just as special as the person you are giving it to!? You can check out some of my other posts and videos in this Gift Packaging Series by clicking here, here, and here! Today I’m going to show you how to decorate a Hershey Chocolate Bar (or any other large candy bar)!
How cute are these? They would make a cute, yet affordable gift for teachers, neighbors, co-workers, friends and family! Also, great stocking stuffers! I started out with a piece of Real Red cardstock measuring 5-1/2″ x 6-1/2″. You will place Sticky Strip along the 6-1/2″ side and wrap it around the Hershey Bar. WAIT….before wrapping it around, run it over your Bone Folder or over the edge of a table to break down the fibers of the paper a little and allow it to curve better. Then you will take a piece of Whisper White cardstock measuring 1-3/4″ x 5-1/2″ and using your Scallop Border Punch, punch both sides! Adhere this piece to the front of your Hershey Bar with Snail Adhesive. Using your 1/2″ Circle Punch, you will punch out 4 in Basic Black and adhere to your Whisper White piece (3 on top, 1 on the bottom) and you will leave space between the 3rd and 4th one for your Santa Belt. For the Belt, you will need a piece of Basic Black measuring 3/4″ x 6-1/2″. Again you will want to run it over your Bone Folder to break down the fibers and attach it to the Bar with Sticky Strip. I overlap the ends in the front so I can hide it behind the buckle, but you can put it in the back as well. Now for the buckle, I prefer the one of the right which was a piece of Silver Glimmer Paper punched out with the Curly Label Punch. Then I took the Petite Curly Label Punch and punched a black one to layer on top! The bar on the left was done with a square piece of Crushed Curry that has the Petite Curly Label Punch punched out of the middle. I did a few like that and then was browsing Pinterest and saw the other option on a project and fell in love. You know me and my bling! 🙂 You are all set now!!! To see this in action, check out the Video Tutorial below! Don’t forget to give it a thumbs up if you liked it!
Happy Tuesday!!!! You know what that means….I have a have technique for you…..or trick/tip for you! So let’s get started on this amazing tip!
So the trick I have for today focuses on the JOY in this card! These small little word Framelits can be difficult to pop out of the die because they are so thin and delicate. Of course there are little holes that you can use to poke through to pop it out but sometimes that leaves little dots on your letters. TIP: Lay a piece of wax paper on top of your Silver Foil Sheet and then the Die on top of that. Run it through the Big Shot and when it comes to popping it out – Easy Peasy! 🙂
Of course you can use this trick for all of your little Framelits and not just the Wonderful Wreath ones! Let me know what you think of this trick and if it worked well for you in the comments below!
Also, I can’t do this post with making sure to say Happy Veterans Day! Thank you so much to all of the men and women who fight for our country!
Happy Tuesday!!! You know what that means…..I have a fabulous technique to share with you today (with a Video Tutorial)! Woot Woot!!!! These little boxes are so adorable and super easy to assemble (I was surprised at how easy)!
You will need a piece of cardstock (vellum or Designer Series Paper) measuring 9″ x 5-1/2″. This is enough to cut out 2 pieces with the Curvy Keepsake Die. Place the Die on your paper, run it through your Big Shot and repeat! Now that you have your piece die-cut pieces, you will fold on the score lines (3 per die-cut). If you are using cardstock and would like to stamp on it, now is the time. It is much easier to stamp now then after it is assembled! 😉 Now I like to run the tabs on each die over my bone folder a bit to break those fibers a little and allow the box to curve. Using Sticky Strip or Fast Fuse, you will apply adhesive to one of the squares on the die (don’t go super close to the edge). Now you will take the die-cut that doesn’t have adhesive and lay it on top, matching up the corners to the edge of the score line. Your squares will not overlap exactly (if they do, your corners will not lay correctly). Here is a photo showing you what I mean!
Now you just need to pull the 2 tabs together and slip the other ends over the tabs are you are all done! You can always add some ribbon, charms, tags, or punched pieces to decorate as you wish!!!! The box on the left in the top photo was done with Whisper White cardstock and I stamped snowflakes from the Endless Wishes Stamp Set all over it using Night of Navy, Lost Lagoon, and Pool Party Ink. The box on the right was done with All is Calm Designer Series Paper and I added some Silver Ribbon and Pool Party Cotton Ribbon to the top. I also added a little tag using the circle tag die from the Curvy Keepsake Die Set and added a little All is Calm Snowflake Embellishment!
This one is super fabulous because you can use it like a lantern. It was created with the Silver Fancy Foil Designer Vellum (it comes in Gold as well, after all Gold is In!) It was created the same way but in the end I added a little tea light inside for a glow! This would be amazing on a Christmas Tree, in a window, on a table place setting, mantle, wedding decoration and so much more!
I saved the best for last. Ohhhhh Ahhhhhh I know I know! It is PRECIOUS! This would be the cutest thing ever for a Baby Shower or Birthday Party or a Spring Party (oh I’m dreaming of spring already)! I created the box with Real Red Cardstock, added 1/2″ Circle Punch black dots (5 on each side). For the body, I used a 1-3/4″ Circle Punch in Black and 1-3/8″ Circle Punch in Smoky Slate. For the head, I used a 1″ Circle Punch in Black! The eyes and antenna were created with the Cupcake Builder Punch and Owl Builder Punch. Yep those are cherries you see upside down as the antenna! I did brush the edges of the Smoky Slate with my Basic Black Sponge Dauber to soften the edges and I dotted the eyes with my Chalk Marker! 🙂 Love it!!!!!
To see the Curvy Keepsake Die in action, check out my Video Tutorial below! Don’t forget to give it a Thumbs Up if you like and be sure to Subscribe so you don’t ever miss out on any of my videos!
I have a fabulous Gift Packaging idea to share with you today and it will look amazing Under the Tree!!!
The Under the Tree Specialty Designer Series Paper in the Holiday Mini Catalog is perfect for boxes. It is heavier than typical Designer Series Paper so it holds up much better (and you stylus will punch through the paper)! It is beautiful as well. One side is kraft and white patterned and the other side has a color (Cherry Cobbler, Garden Green & Early Espresso)!
See isn’t it beautiful! I used my Gift Box Punch Board to create these boxes! The one pictured above is the largest box which uses a 12″ x 12″ piece of paper and the box is 4″ x 4″ x 4″. I used some Cherry Cobbler Chevron Ribbon to wrap around the box. For the tag, I used a piece of Cherry Cobbler cardstock and punched the end with the Scallop Tag Topper Punch. On the Whisper White cardstock, I stamped a few snowflakes in Cherry Cobbler Ink as well as the greeting from Endless Wishes Stamp Set. I took my Sponge Dauber and added a little bit of Garden Green to the edges! I attached the tag to the Chevron Ribbon with some Whisper White Baker’s Twine!
I made a Video Tutorial for you so you can see these boxes made in action! Be sure to give it a thumbs up if you like and don’t forget to subscribe to My Channel so you don’t miss any other videos in this series!
If you missed yesterday’s post, be sure to check that out here! Today I’m going to share the other 2 cards in the kit as well as a few other samples and ideas! Have I said I loved these cards yet? I love these cards! 🙂
Watercoloring this little sled in Cherry Cobbler was super fun! It brought back memories of sledding down the hills on our runner sled as a kid! 🙂 Ahhhh! The card base already had the white dots on the upper half of the card. I adhered the vellum snowflake from the kit with some Snail Adhesive in the center. I didn’t worry about putting a lot of adhesive on it because I wanted it to flare on the ends and it was going to be on the bottom layer. Next you will add the sled and then the Bermuda Bay banner. I stamped the greeting from the Watercolor Winter Too Stamp Set! Then I added the gold strip and the Baker’s Twine that comes in the kit! Finish it off with a few sequins for a little bling!
Many of my stampers who come to my classes say mine is always perfect and how come their’s doesn’t look like mine…..can you find my mistake? The snowflake is cut off on top! See everyone makes mistakes and I would say most don’t even notice! I forgot to add the vellum snowflake until after I put the letters on and there was no way I was adjusting them since it took me a year and half to put them on! This was my favorite card in looks but least favorite in patience. Wowza those letters weren’t easy! The directions say to color them with Bermuda Bay and then while they are still intact on the sheet, add adhesive and lay the twine down. Then you can pop the letters through and they are all set on the twine. I’m going to bet I used too much glue, didn’t wait to let it dry long enough or all of the above but that didn’t work. 🙂 Once it was all over though it created a fabulous card!
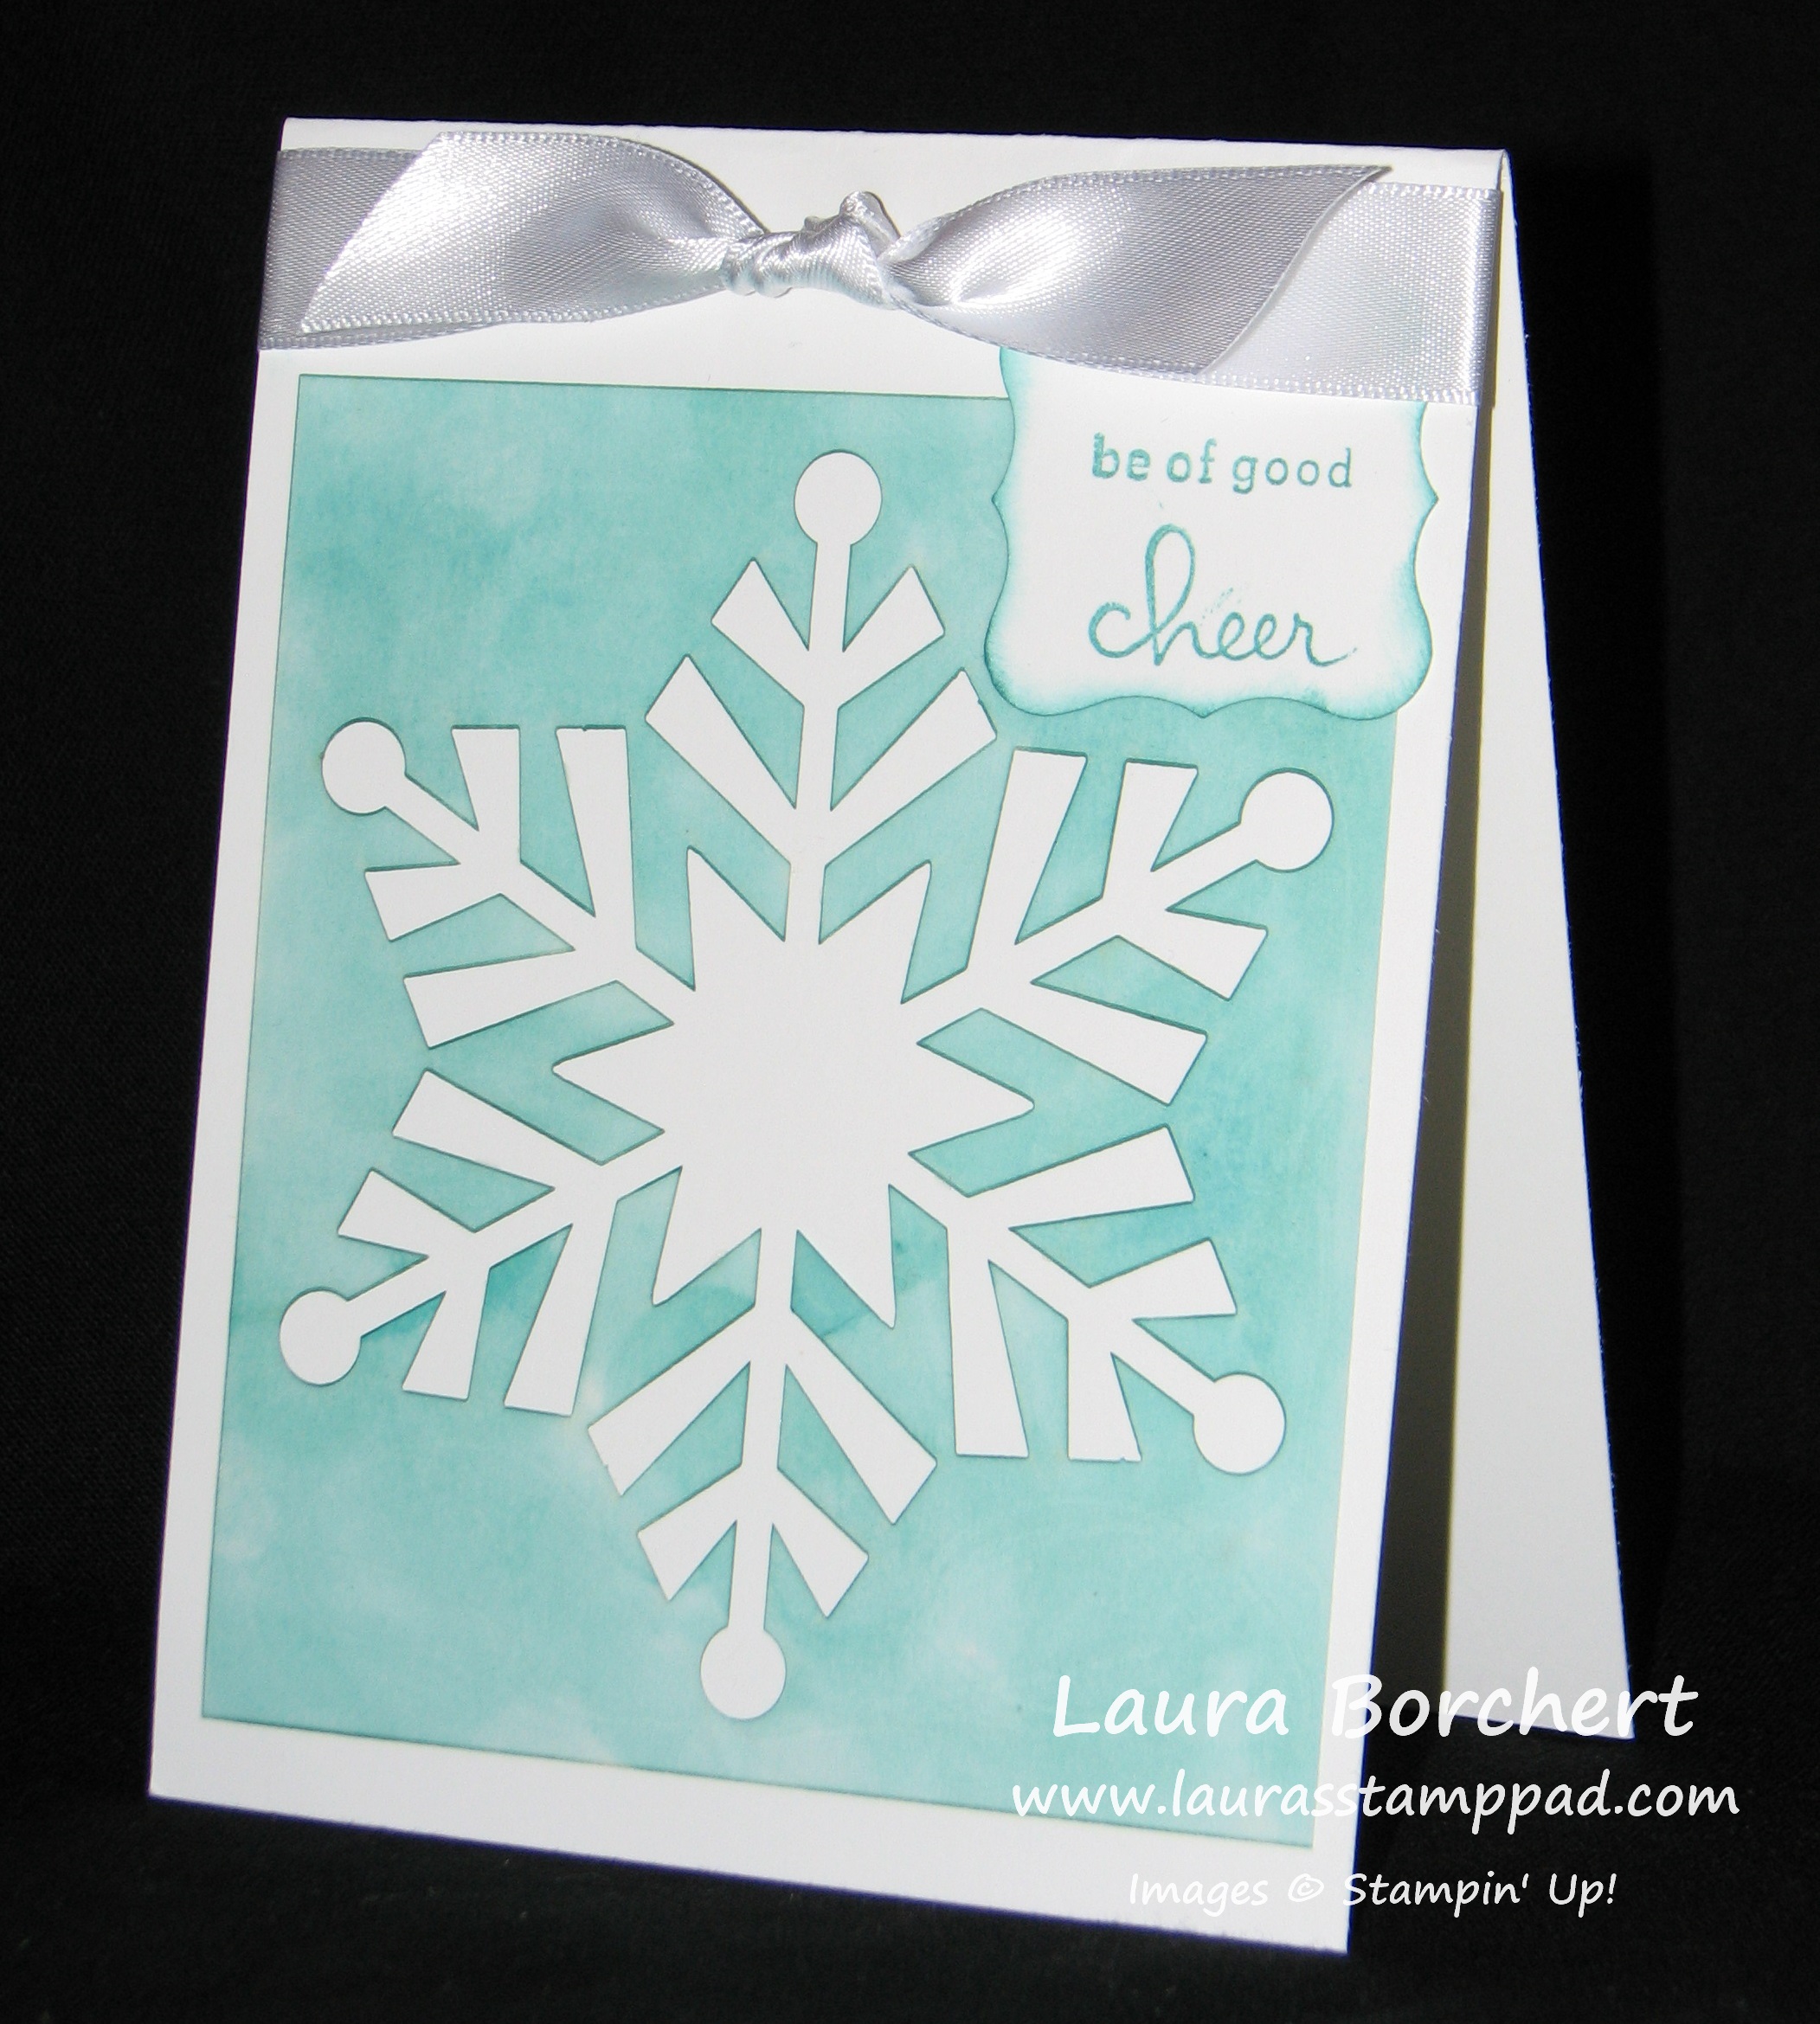
Now this card I created with the leftover vellum piece that the snowflake was cut out of. I used my Sponge Dauber to color it with Bermuda Bay Ink and it turned out fabulous! Be gentle around the tips of the snowflake. I adhered that to a Whisper White card base, added some White Satin Ribbon and a greeting from Endless Wishes Stamp Set!!! Love it!
Here are few other cards that I created a little differently. To be honest, I didn’t like that the twine was more vanilla and the cards were white so I didn’t use it and will save it for another project! I love how these all turned out!!!! I hope that you try out the Watercolor Winter Simple Created Kit and please share your ideas and samples with me! I would love to see what you come up with!
How many punches did I use for this card??? You have 1 minute!
Times up! If you guessed 6 then you are correct!
I love the bright colors of this card because they are sure to brighten anyone’s day! That is why it is perfect for a Thinking of You, Get Well or Sympathy card! It really could be used for anything though – Birthday, Anniversary, etc. I started with a Crushed Curry card base and added some Night of Navy cardstock which I Scallop Punched the bottom border! I layered some Color Me Autumn Designer Series Paper onto that. For the tag, I punched the top with my Scallop Tag Topper Punch and since the top corners were rounded, I thought I would Round the bottom ones too! I stamped the beautiful branch from the Thoughts & Prayers Stamp Set onto my tag in Night of Navy! I wanted some pops of color so I took my flower from the Itty Bitty Punch Pack and punched some scrap pieces of Crushed Curry and Calypso Coral! I added those to the branch as well as a few Rhinestone! For the ribbon, I looped a piece of Calypso Coral Seam Binding through the punched slot and then tied a bow around it with some Whisper White Baker’s Twine! The seam binding is not tied, it is just held on with the Baker’s Twine! For the greetings, I used the stamp from the Thoughts & Prayers Stamp Set, punch it out with my Oval Punch and layered it onto a Scallop Oval Night of Navy piece! Of course I added the tag and greeting with Stampin’ Dimensionals! 🙂 Love it!!!!
Here and here and here are some more samples I have created with the Thoughts & Prayers Stamp Set! I have made multiples of each of these to have on hand, just in case!