Technique Tuesday – The Wonderful One Sheet Wonder!!!!

Posted on

Happy Tuesday!!!! You know what that means…..I am sharing a fabulous technique with you!!!! Every time I have had a One Sheet Wonder Class, everyone goes crazy for it!!!! I mean look at these fabulous cards!!!

One Sheet Wonder Designer Series Paper, www.LaurasStampPad.com

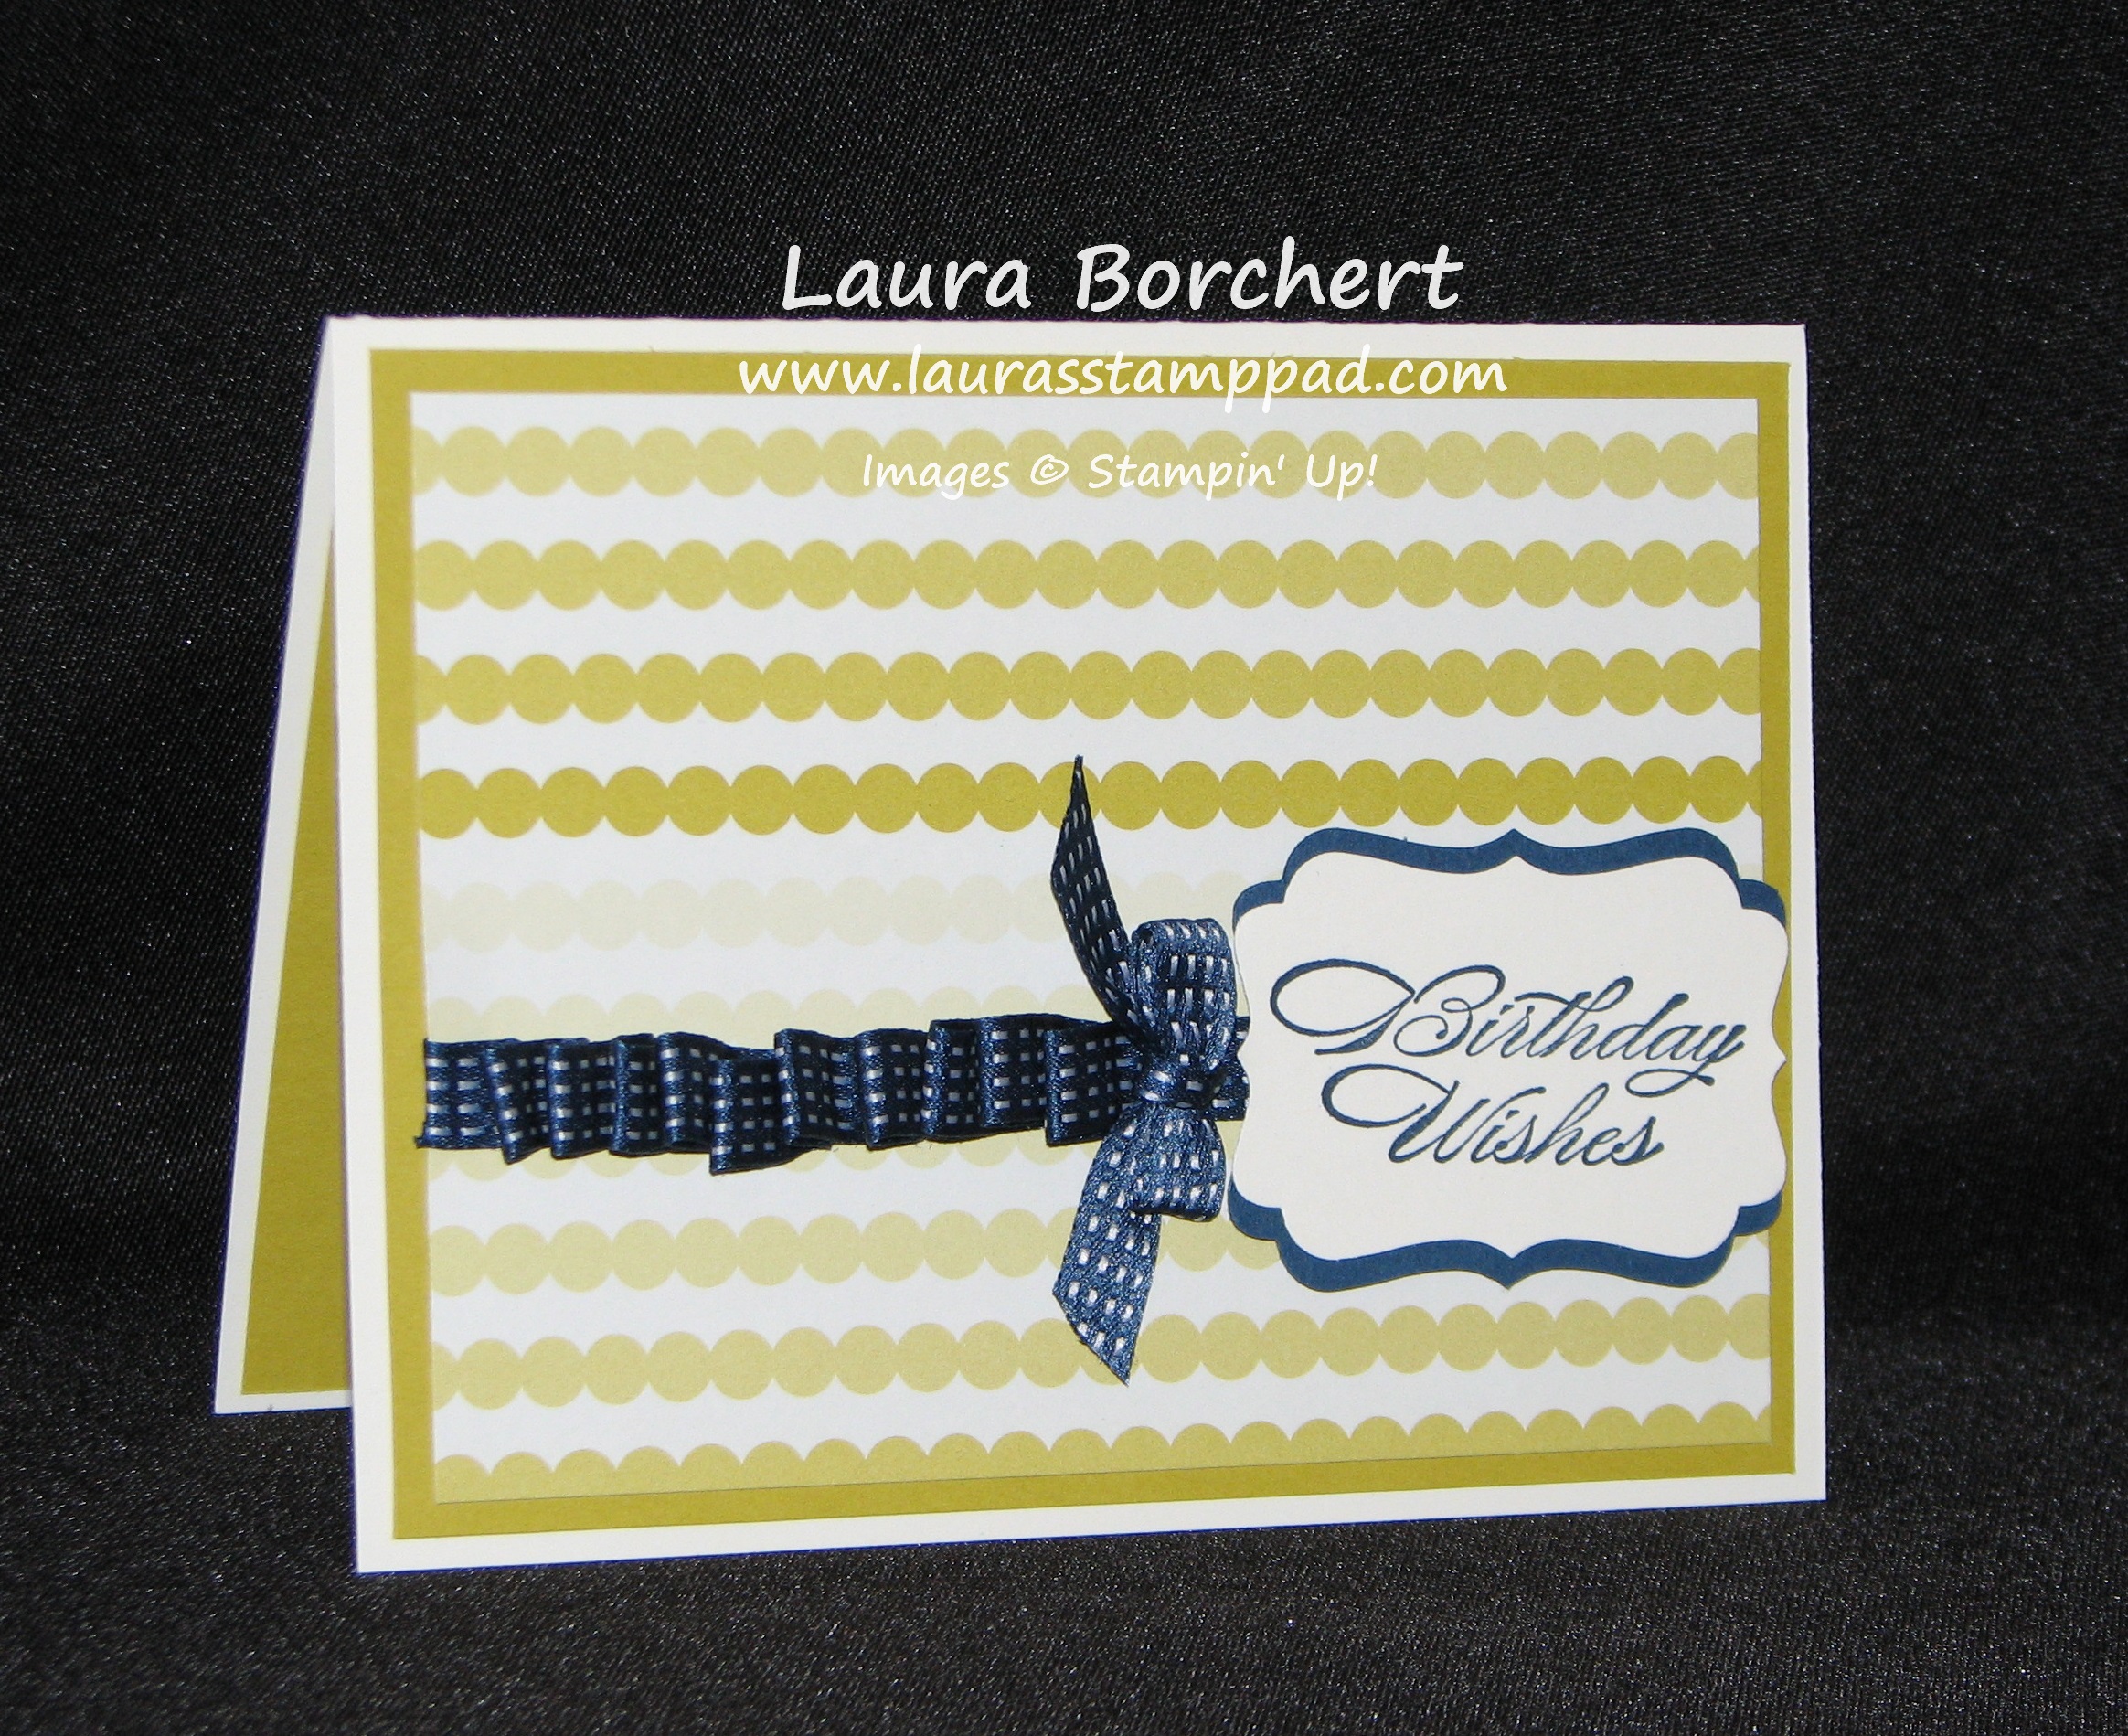
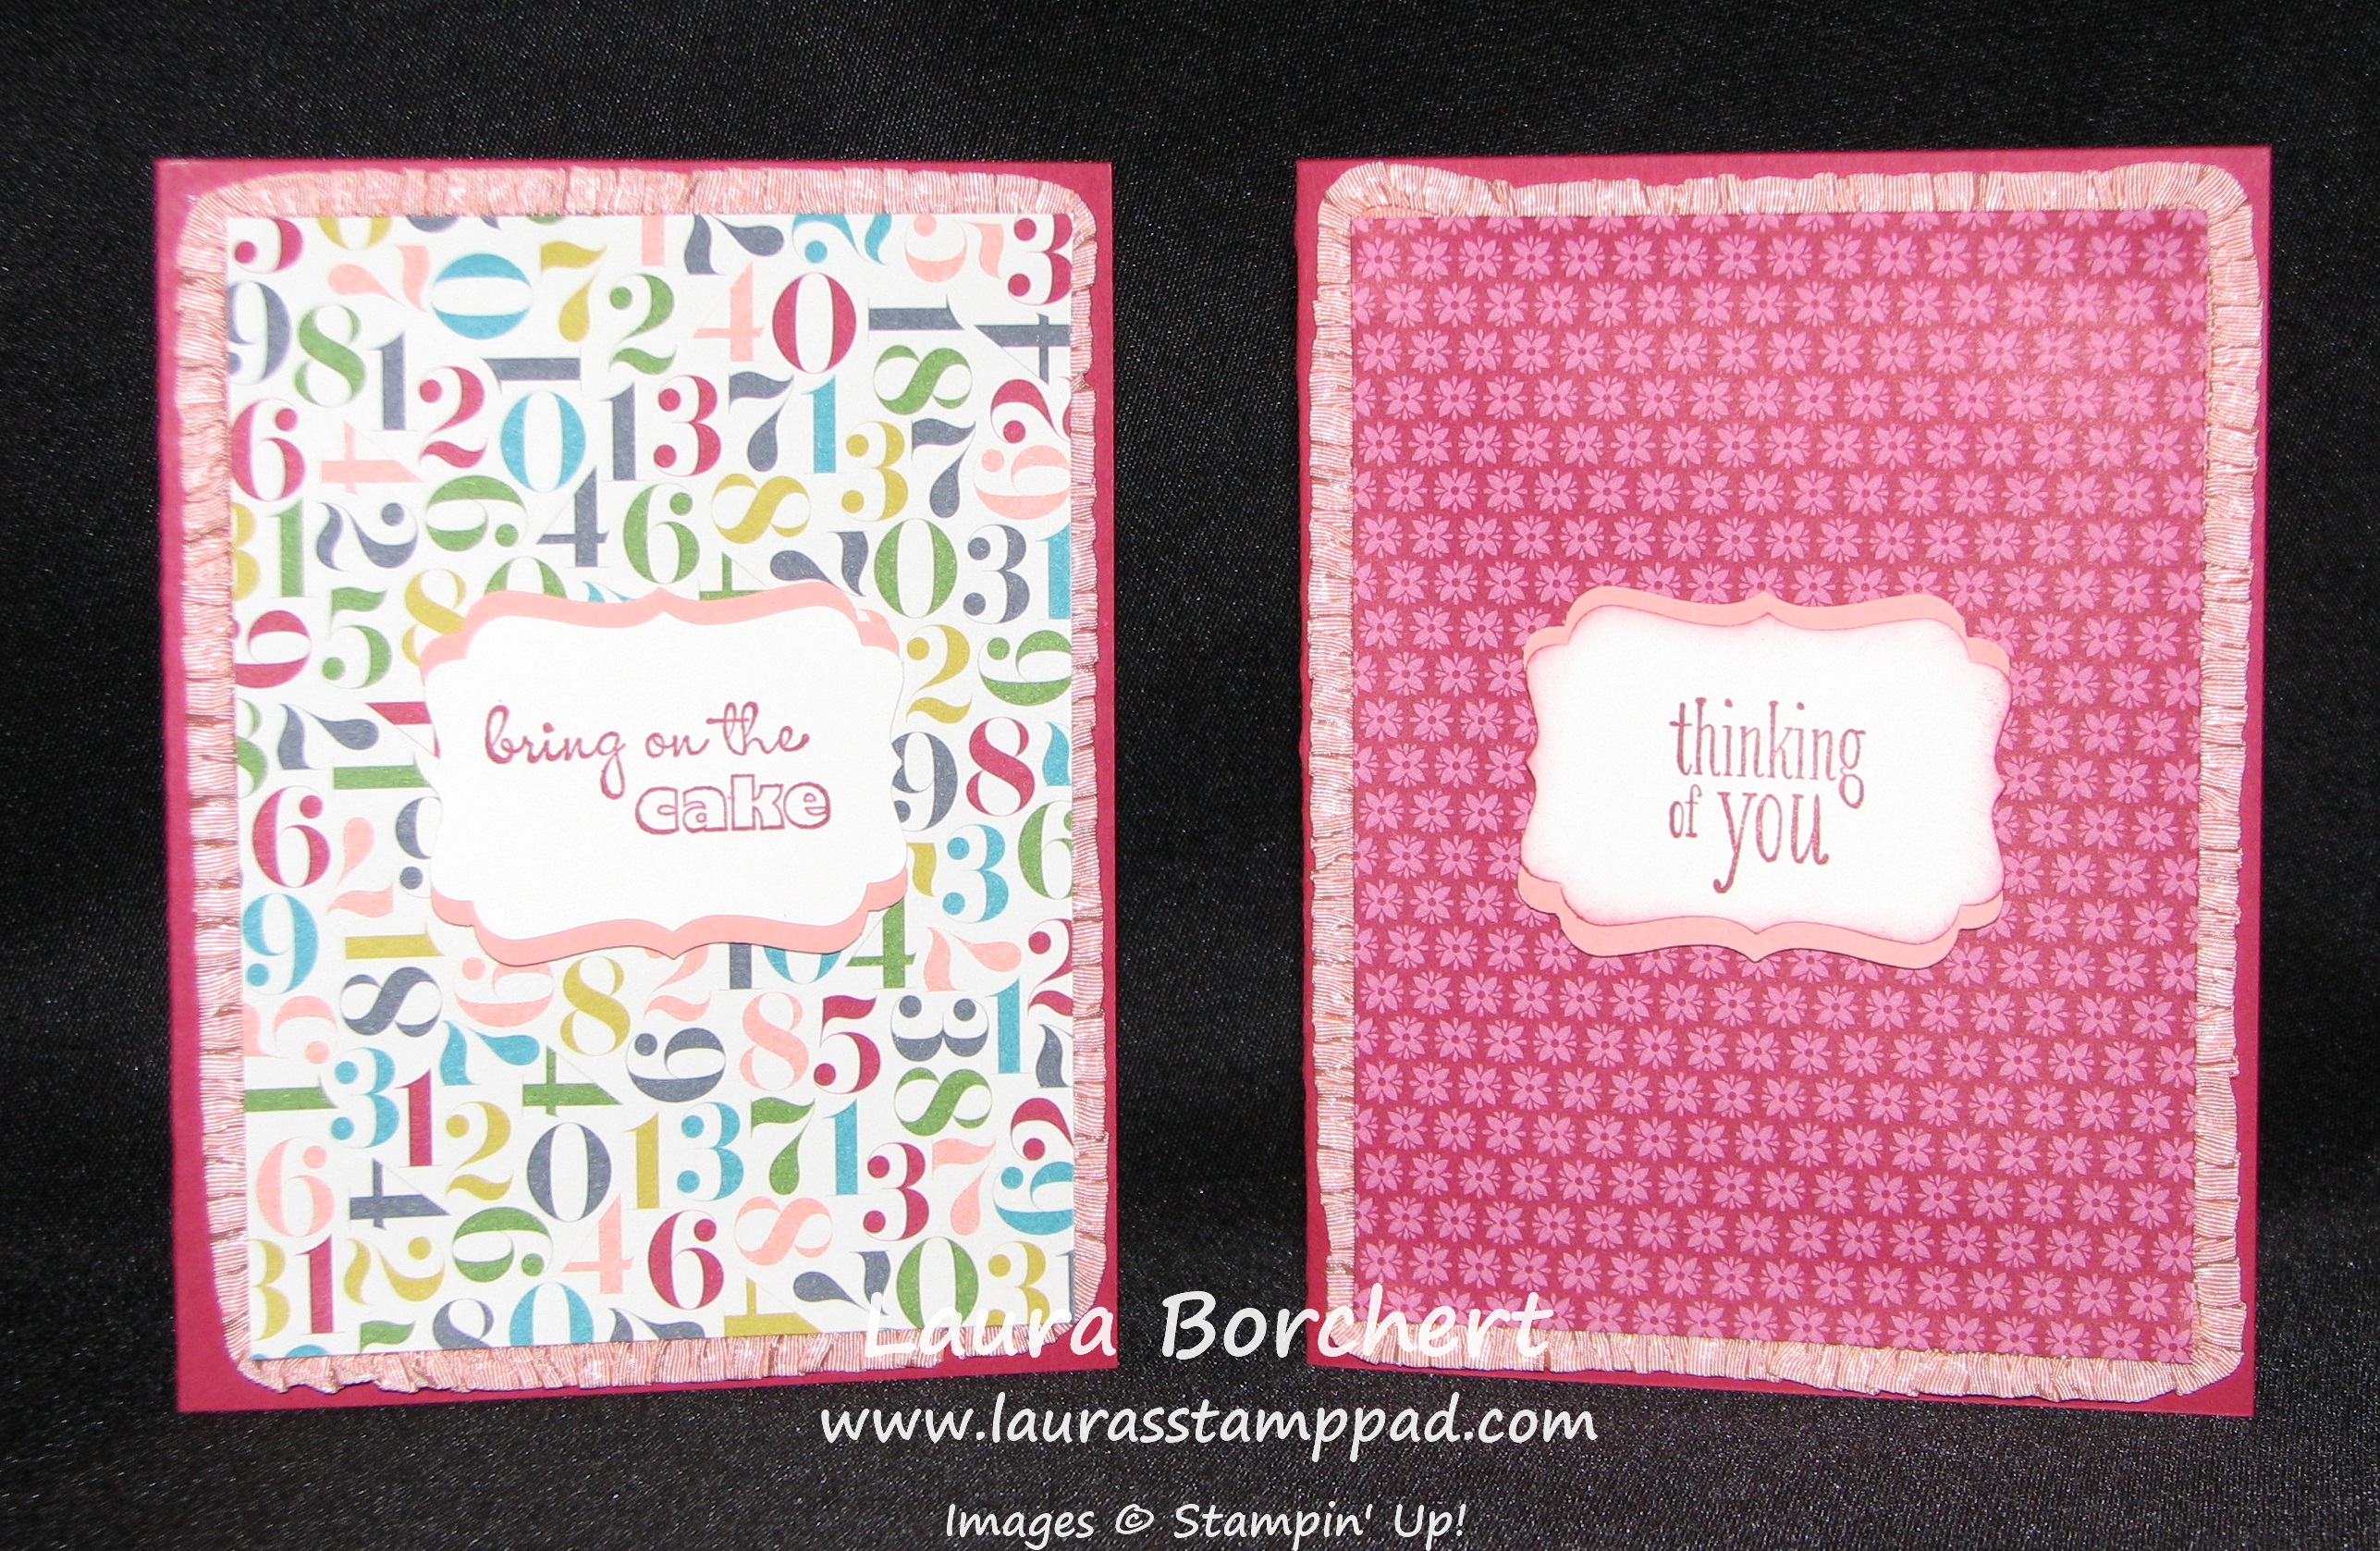
The reason it is called One Sheet Wonder is because you only use One Sheet!!! I used one sheet out of the Watercolor Wonder Designer Series Paper Pack (You can only get this for 12 more days, click here to order NOW!) I will be so sad when this paper is gone because I LOVE IT!!!! I created 12 cards with my One Sheet of Designer Series Paper but there are some leftover pieces so you could probably get about 14 or more out of the one sheet!

One Sheet Wonder Designer Series Paper, www.LaurasStampPad.com

After you cut your Designer Series Paper, pick one or more colors of solid cardstock for your card bases and start assembling!!! It is that easy!!! I used various greetings for all of my upcoming occasions!!!

One Sheet Wonder Designer Series Paper, www.LaurasStampPad.com

I used Island Indigo, Gumball Green and Smoky Slate!!!! I used greetings from Label Love, Lots of Thanks, and Bring On The Cake (retiring)! Then I used my Artisan Label Punch and Decorative Label Punch!!! For more on these cards and the dimensions, check out this Video Tutorial!!!

Be sure to check back tomorrow for more samples!!!! You can also check out a One Sheet Wonder Stamped Sheet by clicking here and here!!!

Happy Stampin’

~Laura


Going for Gold!!!

Posted on

Gold Vellum, Washi, Twine & More, www.LaurasStampPad.com

How many different Gold items can you put on a card??? I think this fabulous card answers that question!!!! I used the Gold Fancy Foil Designer Vellum! I have found that the best way to adhere vellum to your project is to put Mini Glue Dots or Snail Adhesive behind the gold dots or behind the greeting tag. If you put adhesive on the vellum, you can see it show through to the front! Then I used my Watercolor Wonder Washi Tape on Brushed Gold Cardstock! I love Brushed Gold because it gives a subtle shimmer that is amazing! I used my Scallop Tag Topper Punch on the Brushed Gold and used Gold Baker’s Twine to tie to the two tags together (could I use another “T” word in that sentence 🙂 ) Then I used my Banner Framelits for my greeting tag and stamped an image from Perfect Pennants with GOLD ink! What other ink would I use on this Gold Card? I really love that saying too! It just means so much! It’s perfect! Here is another photo of this card so you can really see some of the shimmer!

Gold Vellum, Washi, Twine & More, www.LaurasStampPad.com

You can really see it shine! I hope you like this card and try it some of the gold products! I hear gold is IN! You can check out some other samples here and here!!!

Happy Stampin’

~Laura


Technique Tuesday – Pull Out Card!!!

Posted on

Happy Tuesday!!! You know what that means…..I have a fabulous technique to show you!!!! I love this technique because there is a major WOW factor and it still fits into a regular sized Medium Envelope (A2 sized card)!!! Also, I think this card would be super fun and cute for kids but also for adults! I know I love it!!!

Pull Out Card Papillion Potpourri, www.LaurasStampPad.com

See this card looks like a normal card….but it is not!!! 🙂 It isn’t super easy to see in the photo but when you pull on the left side, the card opens up!!!! (Check out the video below to really see how amazing this is!) This idea came from a fellow stamper friend, Julie Davison! You can check here out here!

Supplies Needed: Cardstock, Stampin’ Trimmer, and stamps and embellishments to decorate

  1. Starting with a 4” x 9-3/4” piece of Whisper White Cardstock and the 4” at the top of your Stampin’ Trimmer, line the cardstock up at 1-1/2” and CUT from 3” to 7-1/2”.
  2. Turn the cardstock 90 degrees. Line up the cardstock at 3” and SCORE to the cut line at 2-1/2”.
  3. Move the cardstock over to 5-1/4” and SCORE all the way.
  4. Move the cardstock over to 7-1/2” and SCORE from the 2-1/2” score line to the edge.
  5. Fold on all score lines. From left to right, the first score line will be folded “mountain” style and second score line will be folded “valley” style.
  6. Now you can decorate as you wish with Stamps, Designer Series Paper, etc. The DSP on the bottom measures 1” x 5-1/4”. I used some of the Birthday Basics Designer Series Paper! I also stamped with the Papillion Potpourri Stamp Set! For the greeting, I used the border image from the Label Love Stamp Set in Summer Starfruit and then “Sending Many Thanks” came from the Petite Pairs Stamp Set! I love this stamp set because it has coordinating greetings. When you pull open the card, it says “for everything you are to me.” 🙂
  7. Fold the card. Apply adhesive on the very back (not the part that will pull out) and adhere to the card backing (4-1/4” x 5-1/2”).

Pull Out Card Papillion Potpourri, www.LaurasStampPad.com

Also, be sure to check out this Video Tutorial on this Pull Out Card Technique! Like and Subscribe to the video because that would be amazing!!!

Happy Stampin’

~Laura


One In A Minion!!!

Posted on

My sweetie and I celebrated our 3rd Wedding Anniversary last week and I thought I would show you the card that I had for him!

One in A Minion Anniversary Card, www.LaurasStampPad.com

I love making cards for loved one and even more when I can customize the card for the specific occasion or person!!! Brad and I are and always will be kids at heart so I thought this card was perfect for our Anniversary! You can check out some of our past cards here and here! I love minions and Despicable Me (2 more than the first one)! Here are some tips on how I made this adorable card!

I used Crumb Cake as my base, Daffodil Delight as my Minion, and Night of Navy for his overalls. To get the rounded head, I took one of my Circles Framelits and laid it on top as a template to cut! For the eye, I used my Circle Punches (3/4″, 1″, 1-1/4″, and 1-3/8″) To create his eye piece, I actually punched out Crumb Cake with my 1-1/4″ Circle Punch and then using the negative (leftover piece and not the circle, I punched with my 1-3/8″ Punch. This gives me that ring! I did raise the ring up with Stampin Dimensionals!! I didn’t have any black buttons on hand so I just created paper ones! I used the 3/4″ Circle Punch and then took my Chalk Marker and created the holes! I used my Designer Type Photopolymer Stamp Set for the greeting! I love how the photopolymer stamps are completely clear so you can see your placement perfectly (even though I’m still not the best at stamping in a perfect line 😉 ….I stamp crooked on purpose.)

Of course, Brad walked in and said a MINION! I love it! I call that a success! 🙂

Happy Stampin’

~Laura


More Birthday Basics Designer Series Paper!!!

Posted on

So yesterday I was telling you how amazing the Birthday Basics DSP is because it is bright and cheery on one side and elegant and beautiful on there other! Check out the samples from yesterday here! And here are some more amazing ones….

Ribbon Ripple on Birthday Basics DSP, www.LaurasStampPad.com

This piece of the Birthday Basics DSP is Summer Starfruit in this amazing ombre look! I then added some Midnight Muse Stitched Satin Ribbon to it by adding a line of Sticky Strip and then sticking the ribbon to it (just a little bit), loop it, then press into the sticky, loop, press, loop press until you are at the end! Don’t worry if you don’t get it the first time, you can always pull it off and start again! While sticky strip is amazing for the strong hold, since the ribbon is kind of slick it comes off without ripping like paper!!! I then used my Decorative Label Punch and Bring on the Cake Stamp Set for the ribbon. Super simple card but a wonderful look!

Ruffled Ribbon Edge, www.LaurasStampPad.com

Here I used both a fun side and elegant side to make this style of card! See how amazing it is for a Birthday card but also as a Thinking of You card! I added the Ruffled Ribbon all along the edges of the DSP for a layered ruffly look! Again, I used my Decorative Label Punch for both greetings and Bring on the Cake (left side) and Peaceful Petals (right side).

I hope you have enjoyed all of these samples using your ribbon and Birthday Basics Designer Series Paper! You could always use the style of these cards with any type of DSP! Also, don’t forget that many of the items used for these samples are retiring so get them before they are gone – Bring on the Cake :(, Birthday Basics DSP, Ruffled Ribbon, 2012-2014 In-Colors, Stitched Satin Ribbon!

Happy Stampin’

~Laura


Birthday Basics Designer Series Paper!!!

Posted on

The Birthday Basics Designer Series Paper is unlike any other….it is bright and cheery and playful on one side and the other side is very elegant, rich, and beautiful! I love that in a pack of paper because there are so many ways to use it – kids birthday cards, anyone’s birthday card, sympathy, Mother’s Day, Wedding, etc. Here are a few samples I have made showing both sides of this amazing paper!!!!

Mother's Day Card with Birthday Basics DSP, www.LaurasStampPad.com

Love this card with those rich colors and beautiful flowers! I used the Delightful Dozens Stamp Set for the greeting and the Decorative Label Punch! For that amazing ribbon, I just took some Seam Binding and pulled one of the middle strings which then makes it begin to gather! Be sure not to pull too hard because the entire sting with pull out. Once you get half way across, stop and pull a different one on the opposite side. This will help it to not pull out. For the bow, I made loops and then secured the center with a Antique Brad!

Birthday Basics Card, www.LaurasStampPad.com

I love the bright and cheery look of this card! I used the Decorative Label Punch and Bring On The Cake Stamp Set for the greeting! For the bow, I placed a piece of 4-1/2″ Organza Ribbon across my card and adhered the ends to the back of the Designer Series Paper. I then took another 4″ piece and added a dab of adhesive in the middle and then brought the 2 ends that middle dab of glue and stuck them down! Then taking another ~2″ piece, wrap it around the center to cover those ends! Perfect little bow and it won’t add any bumps to your card for mailing!!! Here is another close up photo of the bow!

Birthday Basics Card, www.LaurasStampPad.com

Come back tomorrow for more samples using the Birthday Basics Designer Series Paper!!!

Happy Stampin’

~Laura


Technique Tuesday – Shaker Card!!!

Posted on

Happy Tuesday!!! You know what that means – I have a fabulous technique to share with you!!! This week I am showing you how to make a fabulous Shaker Card with Emboss!

Shaker Card with Washi Tape, www.LaurasStampPad.com

How cute is that? I’m loving the bling (even though honestly, I’m more of a silver girl)!

Supplies Needed: Washi Tape, Cardstock, Window Sheet, Shaker items like glitter, punched circles or flower, etc, or sequins

You will need to cut your cardstock and Window Sheet to be the same size! This card is a 3″ Square! Then you will lay your 2 squares together and add Washi Tape (Watercolor Wonder Washi Tape) along the edges half way so that the other half can fold over to the back (holding your 2 pieces together). Trim off an access on the corner. Before putting Washi Tape on the 4th side, be sure to add in your shaker items. For this card, I placed Washi Tape on a scrap piece of Very Vanilla and then punched out 1/2″ Circles. You can use anything as your shaker items – punched circles, hearts, flowers, glitter, sequins, etc. After your shaker items are in there, you will seal up the final side with Washi Tape. Then you can put it on your card and decorate as you wish! As for the greeting, you can either stamp on your cardstock that is layered behind the Window Sheet or you can use Stazon and stamp on the window sheet or you can emboss a greeting onto the window sheet! I took the easy, quick drying route and stamped on my cardstock! 🙂

Shaker Card with Washi Tape

Once you have created your shaker piece, you can put it on your decorated card! For the one pictured above, I used Coastal Cabana and Whisper White Cardstock. I embossed the Whisper White with my Stripes Embossing Folder and added little banner tags! The banner tags were created with the Gold Fancy Foil Designer Vellum and Sequin trim! The stamp set I used for my greeting was Delightful Dozens (this one is retiring so get it before it is gone)! To watch a video tutorial on this technique, click here!

I, also, wanted to give a shout out and THANK YOU to everyone to participated in my Anniversary Special!!! Your goodies are on their way!!!!

Happy Stampin’

~Laura


Technique Tuesday – Tag Topper Punch Closure on a Card!!!

Posted on

Happy Tuesday!!!!! Did that title catch your eye? That’s right, I used the Tag Topper Punch as a way to close my card!!!! Oh how I love using the punches in “out of the box” ways! It makes the punch sooo much more worth it! I won’t lie, I first looked at the Tag Topper Punches (Angled and Scalloped) and thought, “I don’t make tags that often to need a special punch.” Then I saw this adorable box, and this cute bookmark, and this amazing closure below and just HAD TO HAVE IT!

Tag Topper Punch Closes Card, www.LaurasStampPad.com

How beautiful is that??? I am loving the colors and the closure AND the Watercolor Wonder DSP!!!! 🙂 For this amazing card, all you need is a standard card base (5-1/2″ x 8-1/2″) and then with a pencil you will mark 1″ up from the bottom on the left and right side (shorter side). Then slide your piece of cardstock into the punch. You will not be using the guide but going over top of it and down into the blade area. Looking at the backside of the punch, find your little 1″ mark and line that up with the edge of the punch and PUNCH! Do this on the other side as well. Then you will put it into your Stampin’ Trimmer and cut the tabs above and below your punch. Score one of the tabs so that it will fold in and then score your card from that same scored tab side in (to the left) 4-1/4″. This will then make your card standard side and all folded and ready to decorate!!!!

Tag Topper Punch Closure Tutorial, www.LaurasStampPad.com

I hope this helps a little better! I am more of a visual person so I know it helps me!!! 🙂 I  hope you enjoyed this Tutorial and try it out! I would love to hear what you think and see some of you projects using this technique! Post in the comments below!

Tag Topper Punch Closes Card, www.LaurasStampPad.com

Had to post one more!!! Here is the card opened up!!!! Don’t forget about my Anniversary Special that I’m running! Check it out here! It ends on Friday!!!!

Happy Stampin’

~Laura


Congratulations Graduate!!!!

Posted on

Graduation is around the corner so I thought I would share my favorite Graduation Card! This is an occasion that can happen in December, May or anytime of the year. You may know of 5 graduates one year and only 1 the next. So because of this, I don’t tend to purchase graduation specific stamp sets, but I do LOVE all occasion stamp sets like Teeny Tiny Wishes (greatest stamp set ever)!!! I think played around with my punches and some cardstock and came up with this AMAZING card!!!!

Graduation Cards, www.LaurasStampPad.com

I love this card so much because it can easily be customized to each recipient. I really enjoy giving a card when I know it fits that person so perfectly. I have done these graduation cards in school colors, degree colors, and so much more! I LOVE IT!!!

Cardstock Dimensions:

Card Base (whisper white) – 4-1/4″ x 11″
Layered Color – 4″ x 5-1/4″
Hat: 1-1/2″ Square
Largest Triangle for Neckline (whisper white) – 2-1/4″ Square cut diagonally
Color Triangle – 2″ Square cut diagonally
Smallest Triangle (whisper white) – 1-3/4″ Square cut diagonally and then cut a “V” out of the center to show the color through

I brushed the edges of the hat with my sponge daubers (HEART) in the same color as the cardstock to give it that darker edge look and make it POP from the gown since it is all the same color! I also adhered it with Stampin’ Dimensionals!  For the tassel, I used Whisper White Bakers Twine and just wrapped it around the square hat four times, then cut the twine on both the top and bottom on your square. This gives you eight little pieces of twine. Then take a longer piece of twine and tie the little pieces together in the center. Trim one of the tails to be the same as your little pieces and leave the other one longer to poke through the hole of your hat using your Paper Piercing Tool. Then add a Silver Brad over the time and you are all done!

Nurses Graduation Card, www.LaurasStampPad.com

Sorry for the horrible lighting in this picture but I snapped it quickly before sealing the envelope and dropping it in the mail. This one I did for my Best Friend when she graduated in Nursing! Super Cute! I hope you try this out for some of the Grads that you know this May!!! If you have any questions or would like to share your fabulous Graduation card, leave a comment below! I would love to hear from you!!!

Happy Stampin’

~Laura


Easter is Coming!!!

Posted on

Embossing Foil, www.LaurasStampPad.comI know Easter is still a few weeks away but now is the time to start making your cards and gift projects! Here is a quick and simple Easter Card but you could always change out the greeting and this card would be perfect for any occasion! I used the Summer Picnic Designer Series Paper which has perfect Spring colors! I love it! Then I stamped a flower from the Mixed Bunch Stamp Set and punched it out with the coordinating Blossom Punch! I stamped one flower in Wisteria Wonder and then another one in Pear Pizzazz. After punching them out, I cut off two petals from the Pear Pizzazz flower and attached it to the back of the Wisteria Wonder flower to make it look like leaves! I added a little Candy Dot in the middle of the flower for a little POP! Also, have you noticed the shiny foil in the background? That’s right, I embossed some of the Silver Foil with the Argyle Embossing Folder! It gives a little shine, texture, and dimension. Perfect!!! For more samples with Foil, click here and here! I hope this gives your some inspiration for your Spring or Easter projects!

Happy Stampin’

~Laura