Technique Tuesday – Treat Boxes with the Tag Topper Punch

Posted on

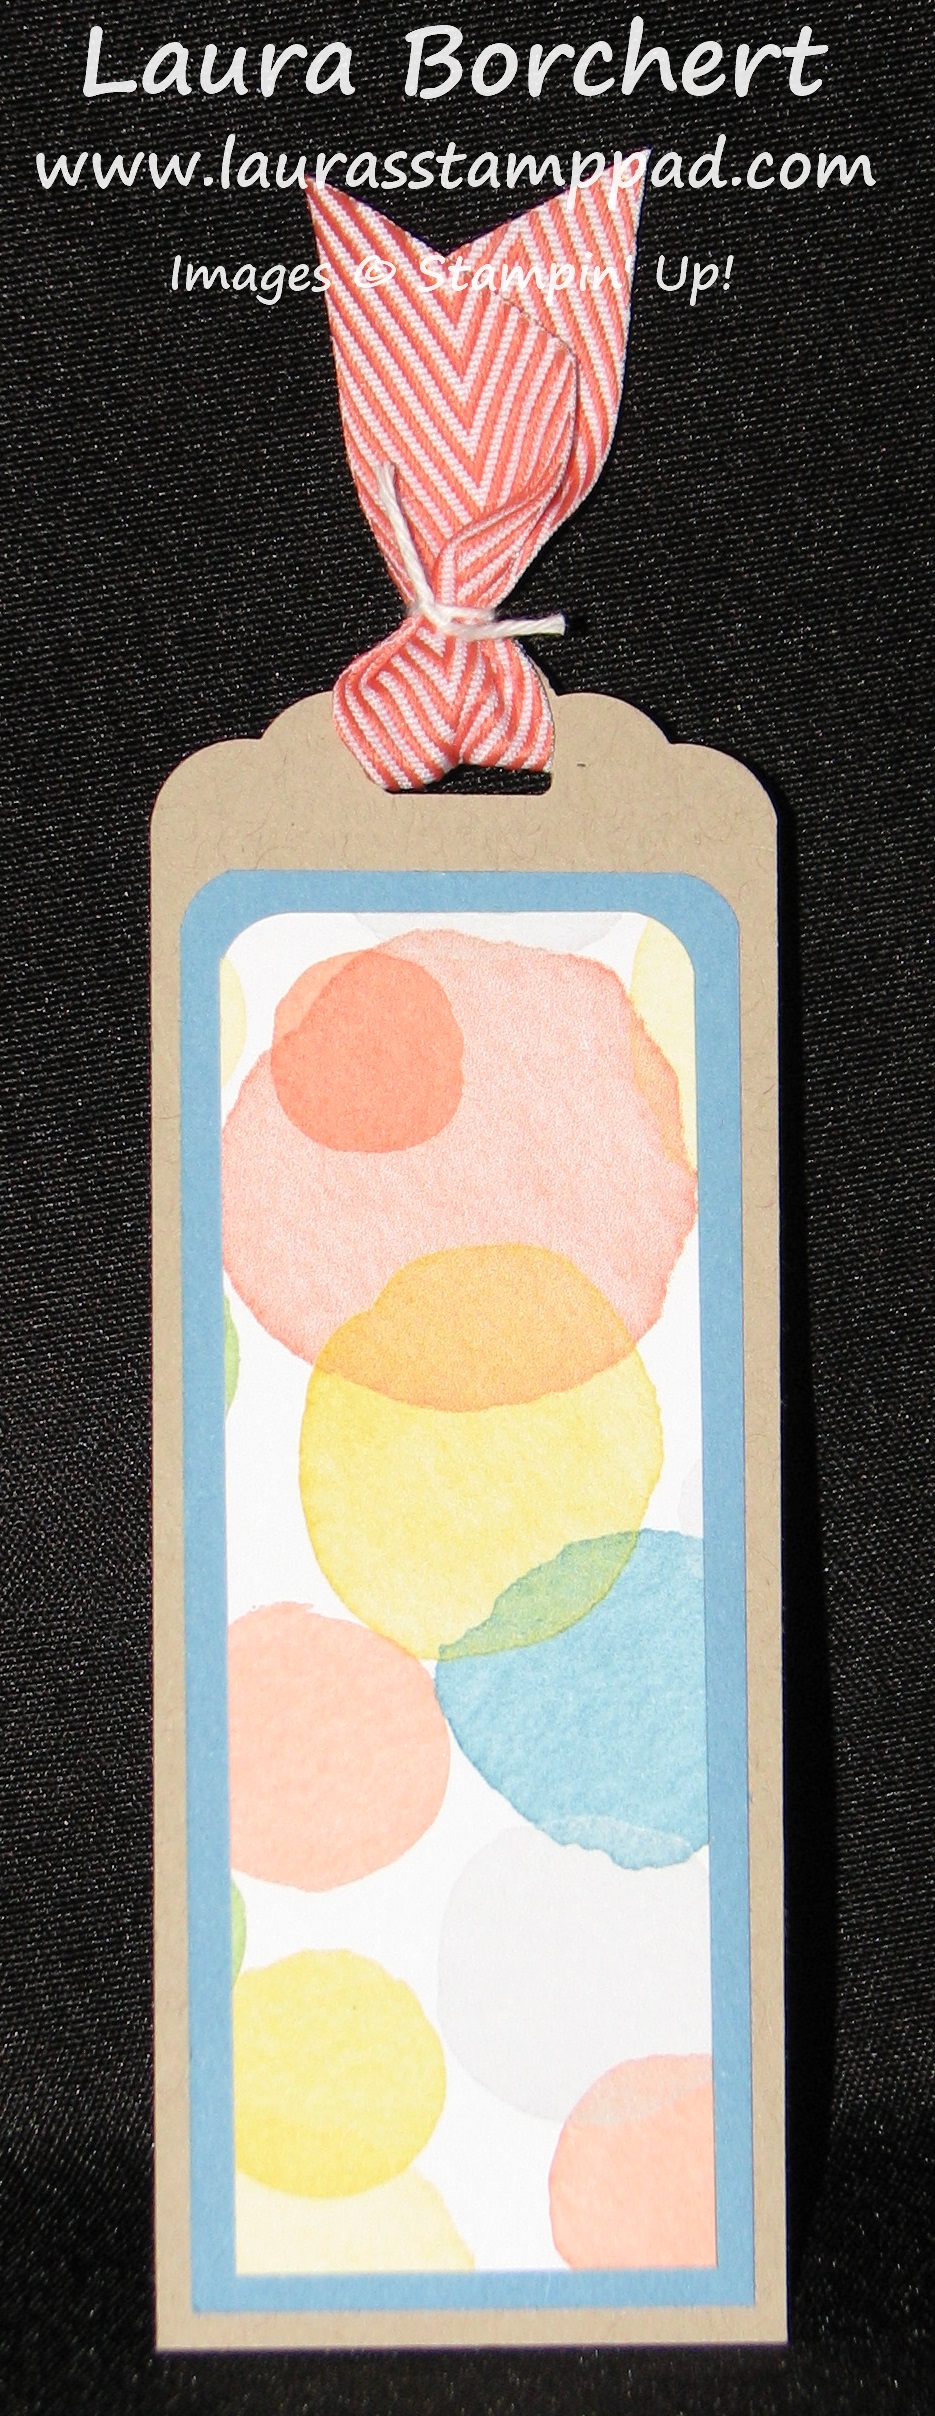
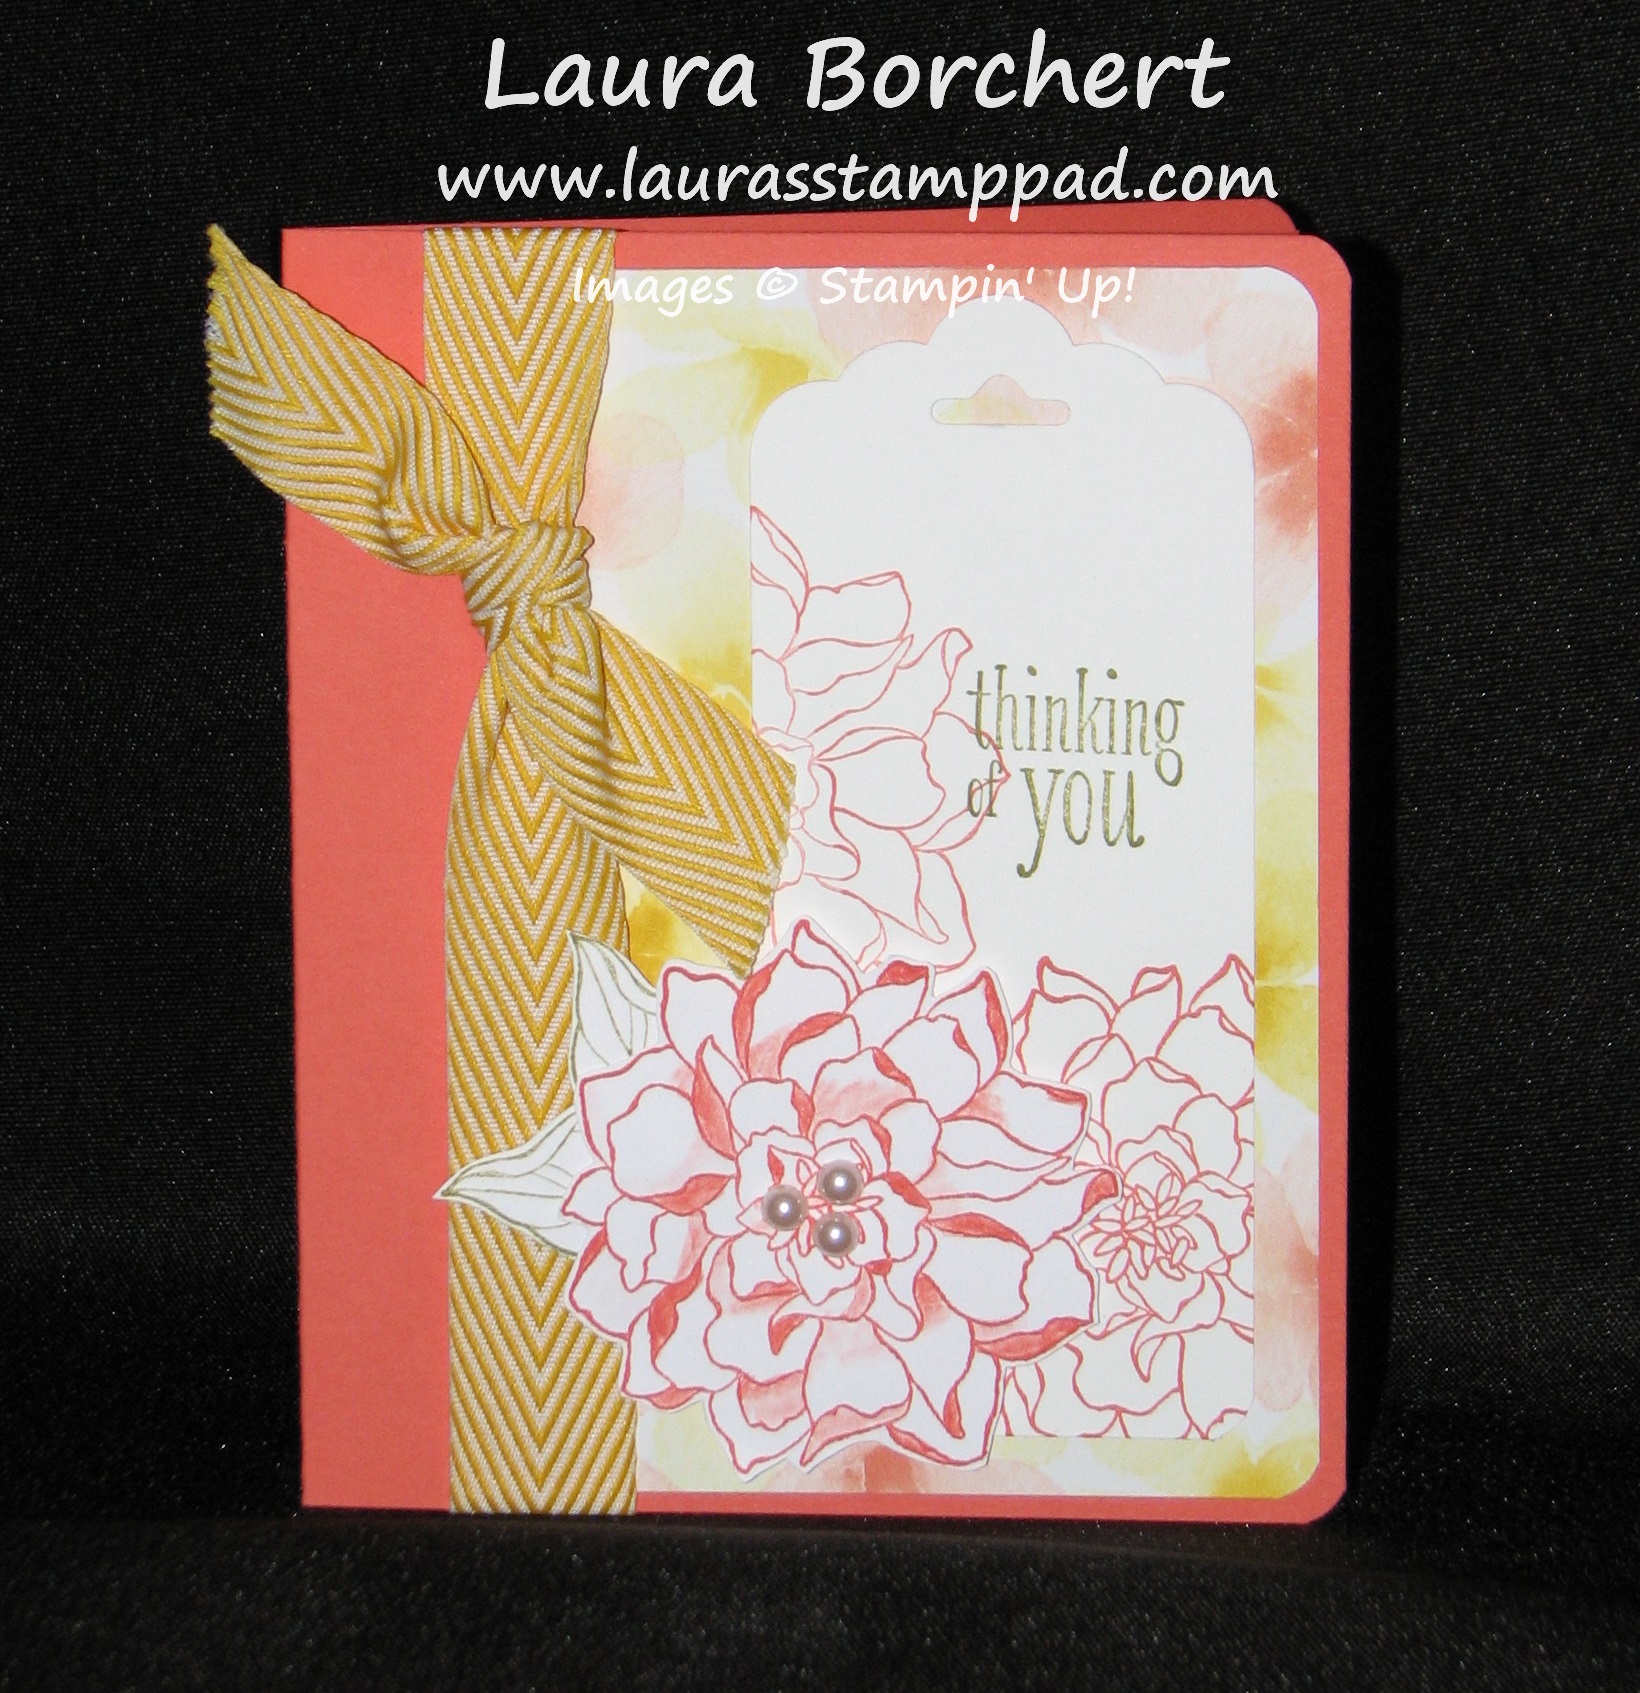
Happy Tuesday!!! You know what that means – I have a fabulous technique to share with you today!!! I love using products in more ways than the obvious use. The Tag Topper Punch is for making fabulous tags or bookmarks like these!!! But now I can fabulous little treat boxes too!!!

Tag Topper Punch Treat Box, www.LaurasStampPad.com

Isn’t it cute??? And the best part is it was super simple (and quick) to make and we all know that you always need more than one treat box when you are making them!!!!

Supplies Need: Cardstock, Tag Topper Punch (Scallop or Angled), Sticky Strip, and any kind of decoration (Stamps, Designer Series Paper, Ribbon, etc)

For my little box (which holds about 8 Hershey Kisses), I started with a piece of cardstock measuring 2″ x 6-1/2″. Then you will score that piece long ways at 2-3/4″ from each end (that will leave an inch between the two score lines). Then you will punch both ends with your Tag Topper Punch and fold on the score lines. Then you will need two 1-1/2″ squares which you will score on two opposite sides 1/4″ in. (Score lines are marked in pen for you to see!)

Tag Topper Punch Box Template, www.LaurasStampPad.com

Now you will add Sticky Strip (best hold for boxes) to the scored tabs on your 1-1/2″ Squares! You will then attach those to the ends of your box!!! Now your box is complete and you can decorate and add goodies! I decorated mine with the Kaleidoscope Designer Series Paper belly band and stamped my greeting from the Label Love Stamp Set in Crushed Curry and punched it out with the Artisan Label Punch!!! Then I added a little bit of Whisper White Taffeta Ribbon on the top to hold the kisses in!!!

Tag Topper Treat Box, www.LaurasStampPad.com

You can make your boxes as big or small (long) as you need but they will always be 2″ wide in order to fit into the punch. With this one I made it with only 1/2″ long to fit the little Hershey Bars (fits 2 perfectly). I also didn’t put sides on this one and instead let my belly band be the sides and what holds it together! So many fun little boxes you can create with this punch!!! I hope you try it out and let me know what you think in the comments below! I love hearing from you all!!!

Happy Punchin’

~Laura


Scallop Tag Topper Punch!!!

Posted on

The NEW Tag Topper Punches that are in the Occasions Mini Catalog are super cute and fun to use! There is the Scallop Tag Topper Punch and then Angled Tag Topper Punch!!! Here are a few samples using them to make tags….the obvious use! Check back tomorrow to see some super cool ways to use these AMAZING punches!

Tag Topper Bookmark, www.LaurasStampPad.com

Look how cute and simple this bookmark is! All you need is a 2″ wide piece of cardstock (it can be as long as you wish) and punch the top and decorate! I used the Corner Rounder Punch for my layers so it would match the rounded corners of the tag. I added some of my favorite Designer Series Paper – Watercolor Wonder!!!! (LOVE!) For the Ribbon top, I used some Calypso Coral Chevron Ribbon and rather than making a knot, I just took some Baker’s Twine and tied the ends! Super cute and knot (hehe) as bulky! This is super simple that you could make tons of them for Teacher Gifts, Bible Study Groups, as a gift with a Cookbook or together with a child or group of children!

Flower Tag Topper Punch, www.LaurasStampPad.com

Here is another fabulous project – this card has a stamped tag on the the front. I used more Watercolor Wonder DSP and my Peaceful Petals Stamp Set! I stamped the image in Calypso Coral and then added a little color on some petals with my Blender Pens. I cut out one of the flowers, added some leaves, and used Stampin’ Dimensionals to make it pop out!!! Love love love the colors of this one! Be sure to check back tomorrow for another fabulous way to use this punch! And remember this adorable card using this punch? I LOVE when one punch can do so many different things! It really gives you more bang for you buck!!!

Happy Stampin’

~Laura


Foil Flowers!!!

Posted on

Embossing Foil, www.LaurasStampPad.comThe color combination for this card is not your typical combination but it goes soooo well together! Do you ever sit down and see colors together and think “WOW those go so well together?” No, just me? Okay! Well this fabulous color combination is Crushed Curry, Wisteria Wonder, Coastal Cabana, and Basic Gray! I used my Mixed Bunch Stamp Set to randomly (make a squiggle line since I can’t do random) stamp my flowers in all of the colors. Then I took the coordinating Blossom Punch to punch out a Silver Foil Flower! Then I ran the flower through the Big Shot with the Decorative Dots Embossing Folder which is one of the Sale-A-Bration items that you can earn for FREE before March 21st! Of course I used Stampin’ Dimensionals to adhere that to my card. You always have to have a little POP and I love how dimensionals make that happen! For the little embellishment, I used my Coastal Cabana marker to color Whisper White Taffeta Ribbon! How cool is that? You can create any color you need for a project this way! Love it! Then I tied it through a Vintage Faceted Designer Button. Now I know this makes it un-mail-able (is that a word? 😉 ) but it is super cute and this one I can hand deliver to my Mom on Mother’s Day! When we created this card in Stamp Class, many of the attendees used Antique Brads, Candy Dots, or punch cardstock in place of the Faceted Designer Button. So many possibilities!!! I hope you enjoyed this and you can check out more samples using Silver Foil here and here!

Happy Stampin’

~Laura


Band-Aid Boo Boo!

Posted on

Bandaid Card with Embossing, www.LaurasStampPad.comThis Band-Aid Card is sure to cheer up anyone with a boo boo! Isn’t is just the cutest card ever??? It was super fun to make as well. I used my Embossing Folders and Punches! These two things are some of the greatest tools ever because there are so many ways to use them and you can get a completely different look! I used Baked Brown Sugar and Crumb Cake for my Band-Aids and I rounded the corners with the Corner Rounder Punch. Then I ran it through the Big Shot – Baked Brown Sugar embossed with the Adorning Accents Folder with the hearts one and the Crumb Cake was done with the Perfect Polka Dots (the dots are “bump” against the card rather than out). These look super cute and just like a Band-Aid, don’t you think? For the middle of the band-aid, I used my Curly Label Punch! The stamped hearts came from the Hearts A Flutter Stamp Set! You may look at this set and think it can only be used for Valentine’s Day – I love finding out ways to use stamp sets!!! Let me know what you think in the comments below! Also, let me know what stamp sets you have found other ways to use them with! I would love to hear the ideas!

Happy Stampin’

~Laura


Man Card Madness!!!

Posted on

So I have a horrible time coming up with “Man Cards” because I love ribbons and flowers and bling and my husband says all of those things make the card “not for men.” BUT I have been playing with the Silver Foil Sheets and embossed it and it looks like Diamond Plate. Check out yesterday’s post about this! So I tried it out as a “Man Card”….what do you think??

Embossed Foil - Man Card, www.LaurasStampPad.com

What do you think? I thought that the Argyle Embossing Folder looked like diamond plate but then I think the Chevron looks more like diamond plate! What do you think? Put your answer in the comments below!

For both of these I ran the Silver Foil through the Big Shot with the embossing folder and then layered that on Basic Black and Garden Green! I think it just screams JOHN DEERE! (I’m a farm girl and we are all GREEN! 🙂 ) I think these cards would be perfect for my farmer family – Dad, Brother, Uncles, Cousins, etc! I did add a little ribbon – 1/8″ Basic Black Taffeta Ribbon!  For the greeting on both of them, I used my favorite punch, the Decorative Label Punch and the greeting is from Bring On The Cake Stamp Set! This will for sure be my go-to card for awhile for the men in my life! Let me know what you think!

Happy Stampin’

~Laura


Technique Tuesday – Fun with Foil!!!!

Posted on

HAPPY TUESDAY!!! You know what that means….I have a fabulous Technique to share with you! This week it features the NEW Foil Sheets (Silver & Gold) in the Occasions Mini Catalog! I have had so much fun with these sheets and achieved some many fabulous looks!!!! Check it out!

Embossing Foil, www.LaurasStampPad.com

How fabulous is this?? The added texture and pattern and shine is soooo fabulous! All you have to do is run it through your Big Shot with any of your Textured Impressions Embossing Folders! I used the Argyle Texture Impressions Folder! Emboss with metallic side facing up towards the side of the folder with the Stampin’ Up! logo for the image to pop-up on the shiny side! If you would like the image to be reversed, place the metallic side down, away from the logo. I added this piece of Foil onto my card with Summer Picnic Designer Series Paper on the bottom portion! I love the colors and patterns of this paper!!! I think stamped the flower from the Mixed Bunch Stamp Set and punched it out with the coordinating Blossom Punch! I cut 2 pieces of the Designer Series Paper for my little banner flags hanging out the bottom and then added a third one in Very Vanilla for my greeting which was stamped from the A Dozen Thoughts Stamp Set! What do you think? I also think that the Argyle Foil looks like diamond plate (you know those silver boxes in the back of trucks?) so I think it would make a great “man card”! More to come on that…..

Happy Stampin’

~Laura


Fabulous Foil Fun!

Posted on

Foil Greeting Frame, www.LaurasStampPad.comHere is a fabulous sample using the Foil Sheets! ! I have had lots of fun with this foil – embossing it, heat embossing on it, and now stamping on it! It really makes it look like a metal tag or something. I do have to say it can be tricky though because the stamp can slide and then it make this fun smeary look (okay maybe not so fun). I stamped the greeting from the Bring On The Cake Stamp Set and then used my Deco Label Framelits to cut it out! The card base was done in Crushed Curry and using the Summer Picnic Designer Series Paper! Then I stamped the flower from the Mixed Bunch Stamp Set and punched it out with the coordinating Blossom Punch. The leaves came from the Little Leaves Sizzlit but I also used the leaf from the Bird Punch! Some of my class attendees actually added the bird to their card too! I think you should try out this technique and let me know in the comments below how you created your card or project! I would love to hear what you come up with! Be sure to check back often for more samples using Foil Sheets!

Happy Stampin’

~Laura


Circle Circus!!!

Posted on

Perfect Pennants, www.LaurasStampPad.comSome days I feel like I need to join the circus….guess that is why that title came to mind for this blog post. 🙂 But on to this amazing card that is just so fun!!!! I used my super favorite Watercolor Wonder Designer Series Paper (click here and here for more samples) and Perfect Pennants Stamp Set (click here and here for samples)!! I added a little Ruffled Ribbon which is super cute and fun to use! I always use sticky strip with the Ruffled Ribbon just to make sure it holds well since I usually pull mine a little tight! I used my Circle Punches to make the greeting pop and added a few candy dots! Remember that just because a stamp set has a matching framelit or punch, you can always just do your own thing! I love the Perfect Pennants Stamp Set for the greetings and heart and star but yet sometimes I feel a little “banner-ed” out! Here I used the stamp set and circles! Always trying to think outside the box! Let me know what you latest thought outside the box was in the comments below!

Happy Stampin’

~Laura


Sparkly and Beautiful Wedding Card!!!!

Posted on

Wedding Card, www.LaurasStampPad.comIsn’t this wedding card just beautiful??? Almost as beautiful as the Bride! A few weekends ago, we attended a wedding and I wanted to make a special card for the Bride and Groom! Seeing that red was used on the invitation, I decided to incorporate that into my card! I love how the Silver Glimmer Paper just makes it so blingy and eye-catching! And then I added some texture to the Real Red cardstock by running it through the Big Shot with the Beautifully Baroque Embossing Folder. A little texture, a little bling….all the ingredients for an amazing card! For the greetings, I stamped the image from Lovely Labels in Real Red and then punched it out with the coordinating Artisan Label Punch. Then I punched my Silver Glimmer Paper with the Artisan Label Punch, cut it in half and added the top half peaking out the top of my greeting and the bottom half peaking out the bottom of my greeting! See….no need for multiple punches to add a layering effect! 🙂 Next time you are invited to a wedding or party, steal inspiration from the invitation for your custom hand-made card!!!!

Happy Stampin’

~Laura


More Cards in a Box!!!

Posted on

Yesterday I shared with you how to make these amazing Cards In A Box!!! Today I thought I would share with you some of the different Cards In A Box that my Stamp Club attendees created! These ladies are sooooo talented and I love their different styles!! If you are interested in joining Stamp Club, you can check out more information here!

Card In A Box Samples, www.LaurasStampPad.com

Card In A Box Samples, www.LaurasStampPad.com

I hope you enjoyed all of these samples! Post in the comments below of other ideas besides flowers that you think would be great for Cards In A Box!!

Happy Stampin’

~Laura