More Wonderful One Sheet Wonder!!!!

Posted on

There was just too many amazing cards to make just one post about these amazing One Sheet Wonder cards so I am sharing more with you today!!!!

One Sheet Wonder Designer Series Paper, www.LaurasStampPad.com

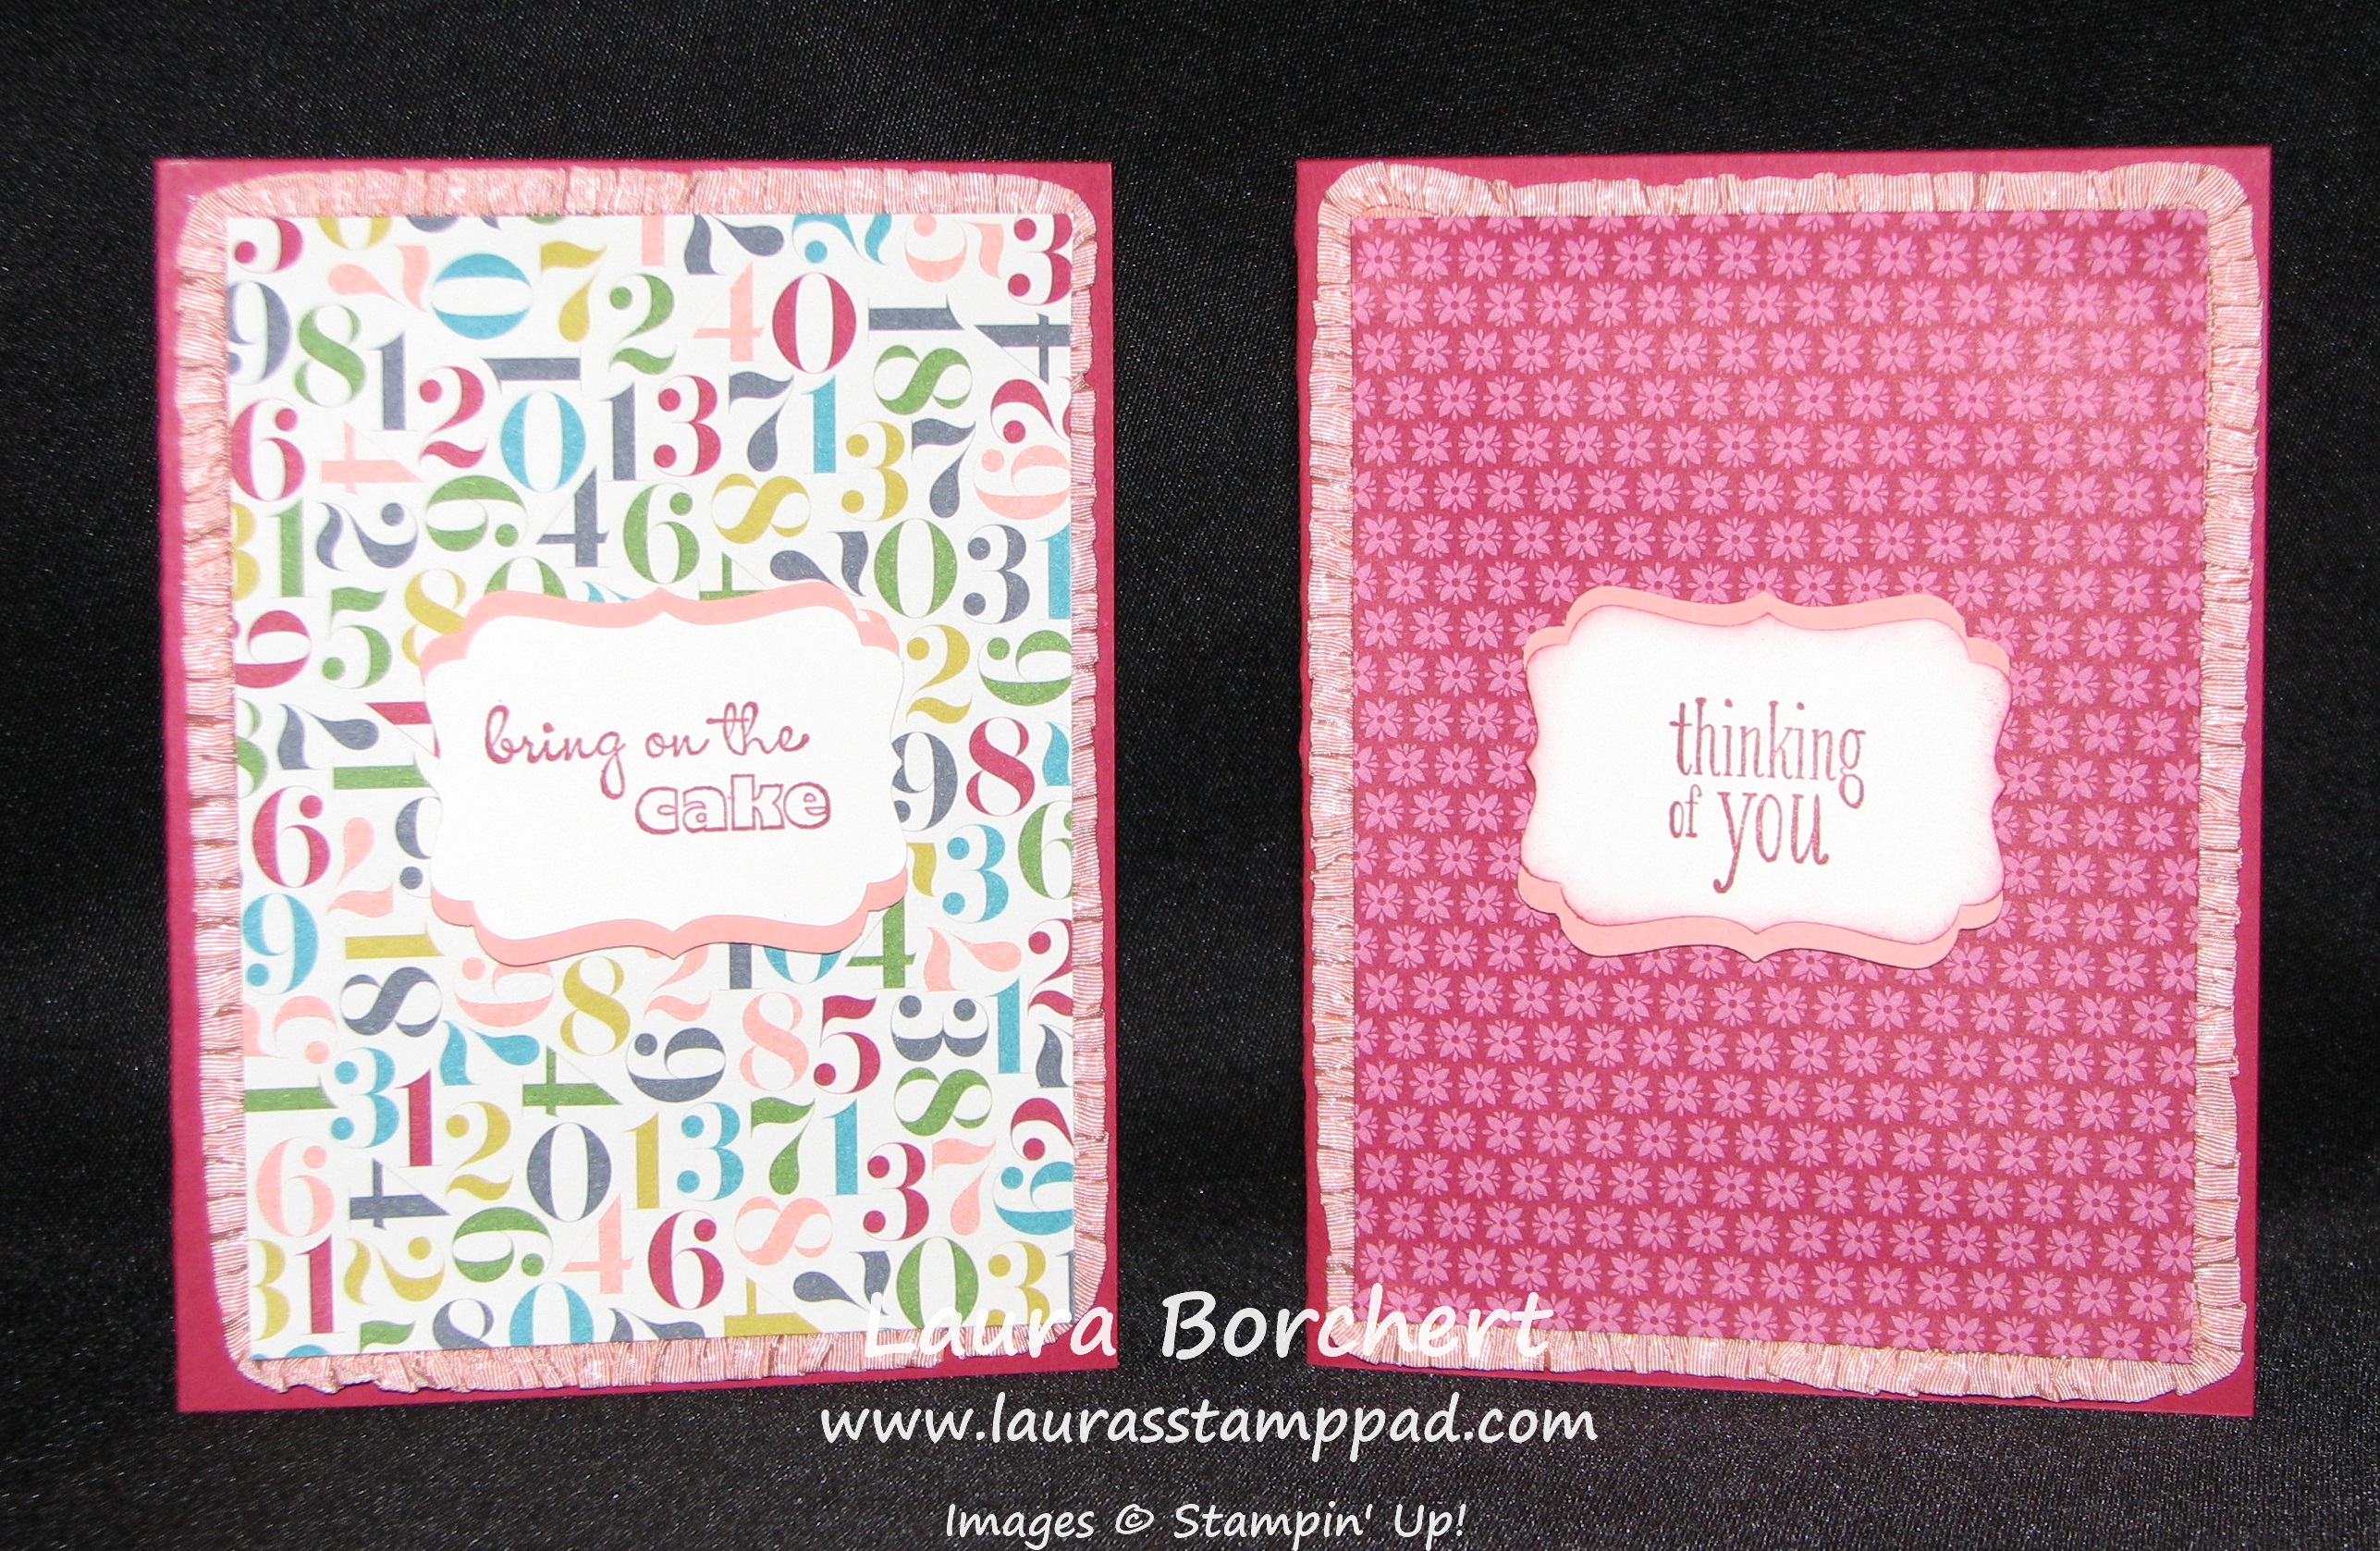
The card on the right is the only one that I used the other side of the paper! I just LOVE those blue and green flowers and could hardly bare to cover them up even though the polka dots are fun too!!!

One Sheet Wonder Designer Series Paper, www.LaurasStampPad.com

I am loving the ripped paper look on these cards! See how they are all similar but just a bit different!!!

One Sheet Wonder Designer Series Paper, www.LaurasStampPad.com

It’s like a puzzle! I love how the image matches up and has just a bit of spacing between the pieces of Designer Series Paper!

One Sheet Wonder Designer Series Paper, www.LaurasStampPad.com

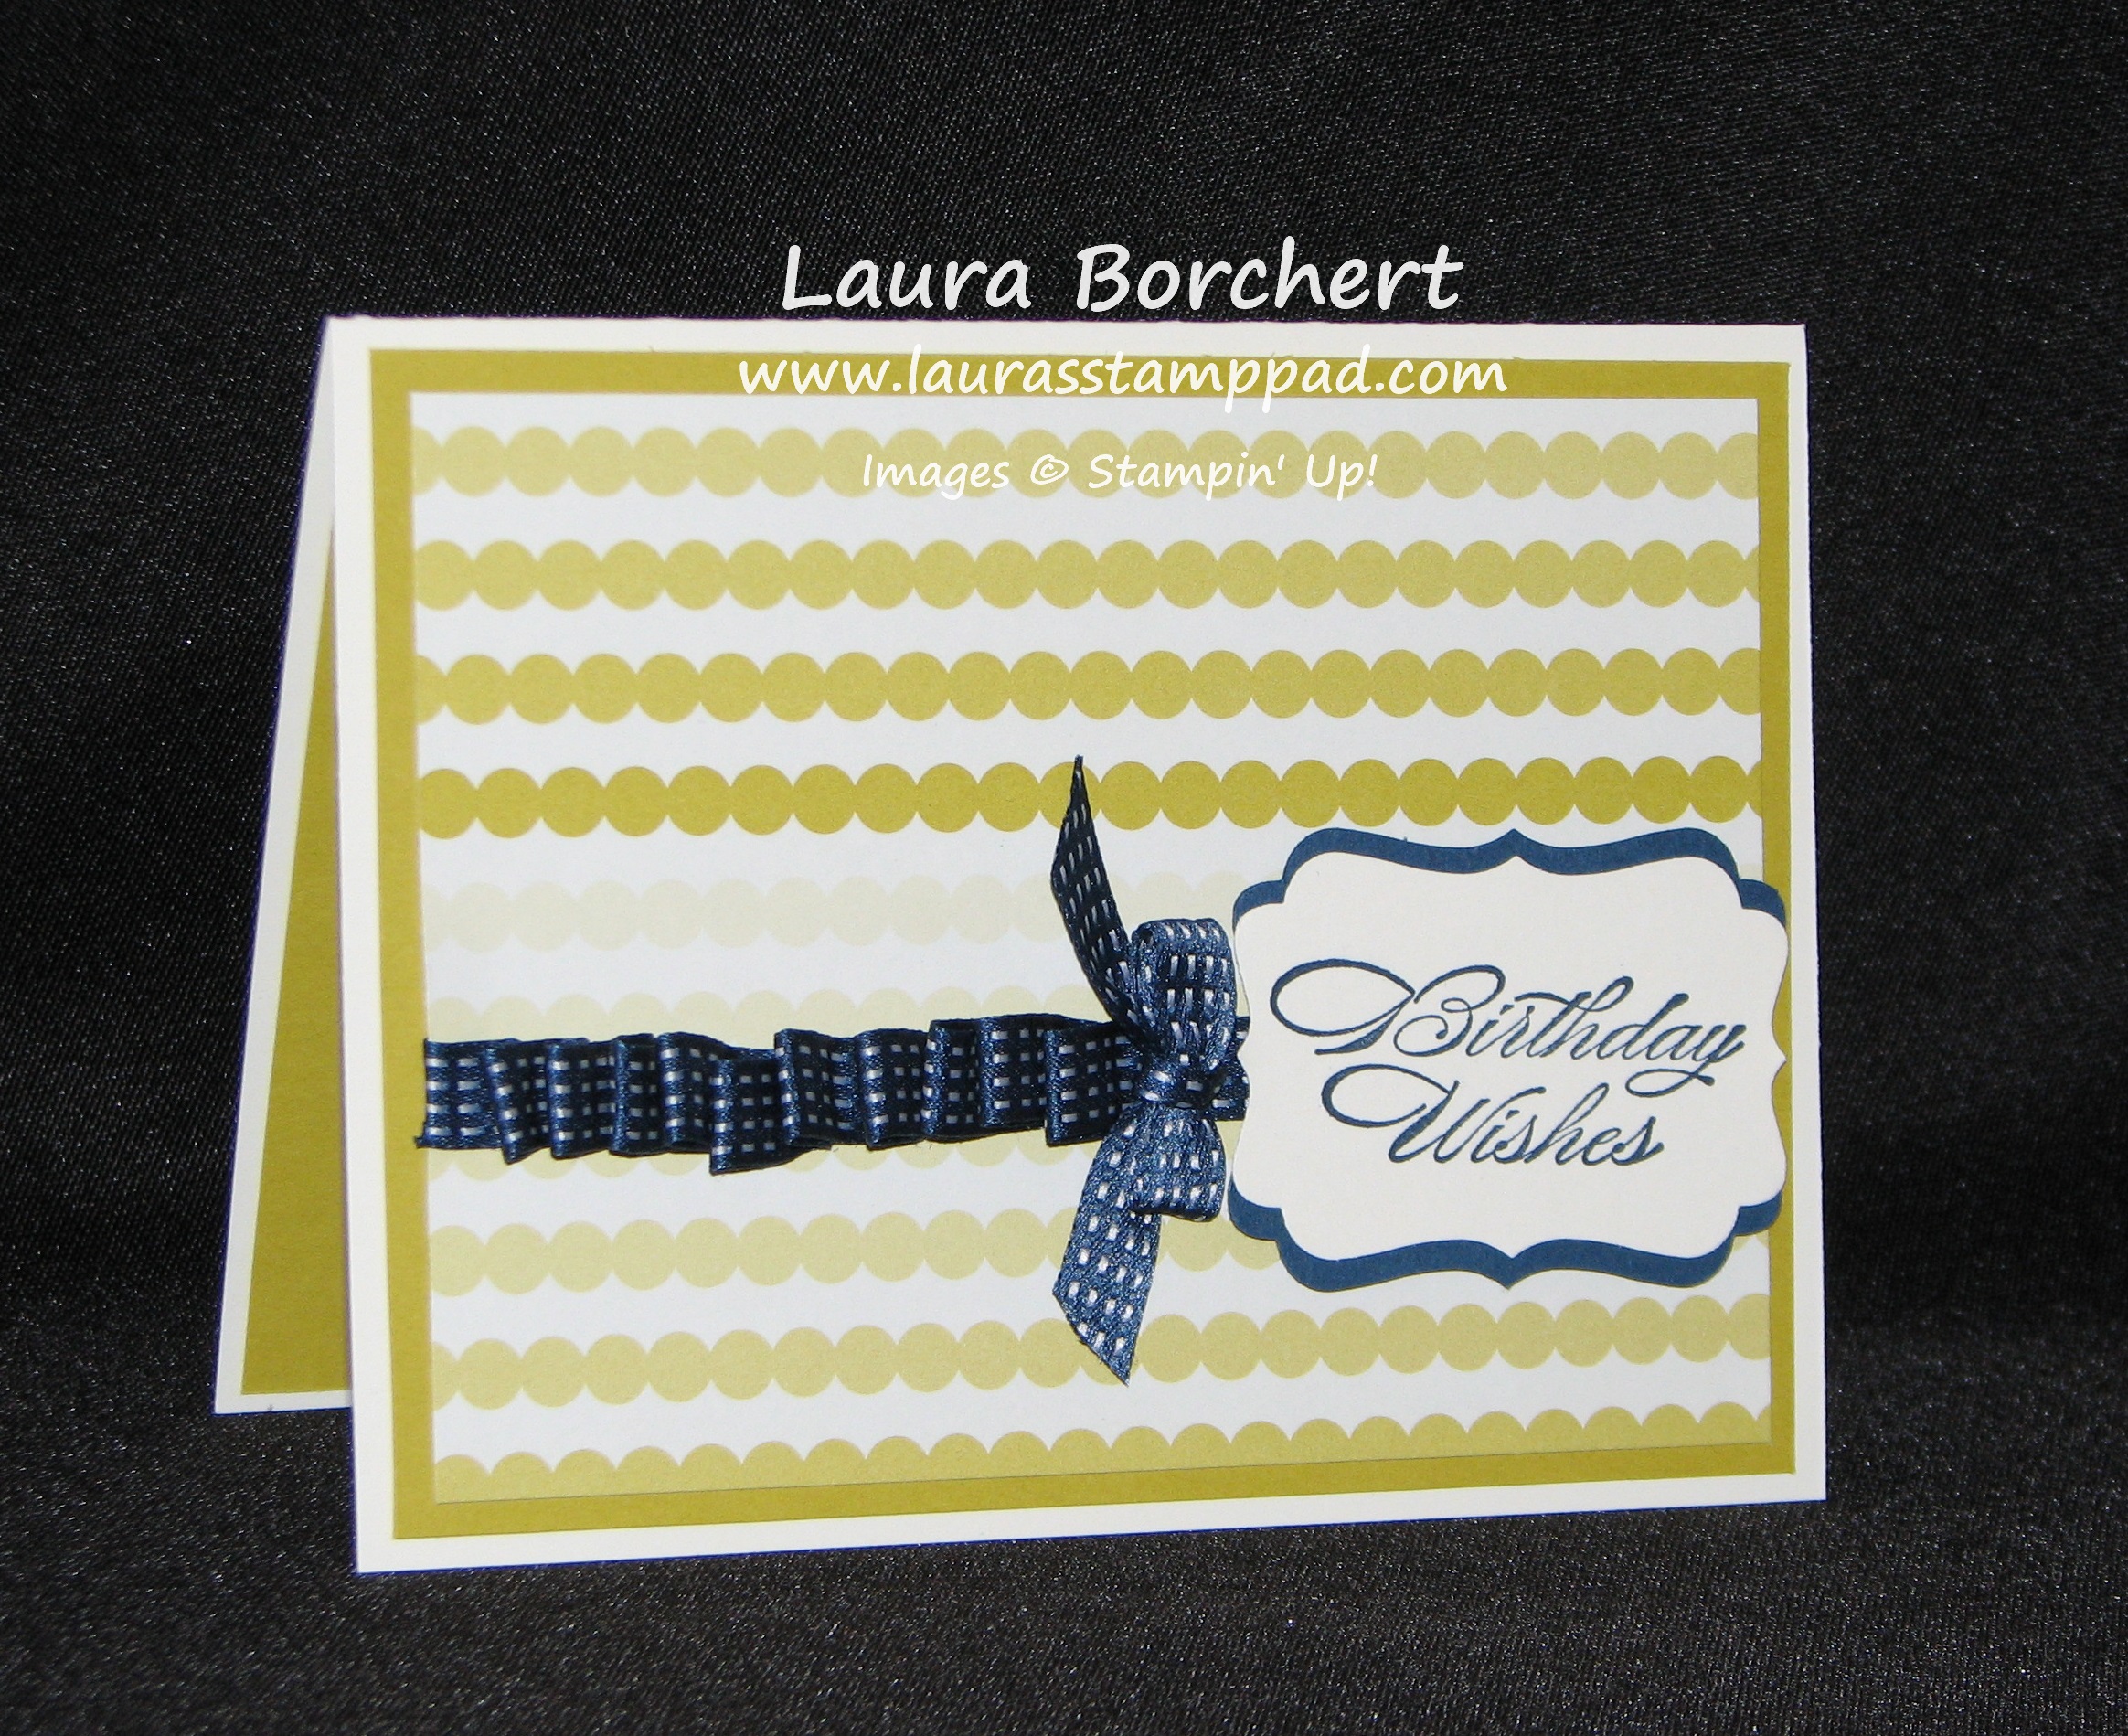
This card is so simple yet elegant – perfect for a Wedding, Bridal Shower or Engagement (I like how I went backwards with that one.) 🙂

I used Island Indigo, Gumball Green and Smoky Slate!!!! I used greetings from Label Love, Lots of Thanks, and Bring On The Cake (retiring)! Then I used my Artisan Label Punch and Decorative Label Punch!!! Click here to check out the Video Tutorial which has all the dimensions and information in it!!! Be sure to “LIKE” and “SUSCRIBE” to my videos to show some love!!!

You can check yesterday’s post for more samples!!!! You can also check out a One Sheet Wonder Stamped Sheet by clicking here and here!!!

Happy Stampin’

~Laura


Technique Tuesday – The Wonderful One Sheet Wonder!!!!

Posted on

Happy Tuesday!!!! You know what that means…..I am sharing a fabulous technique with you!!!! Every time I have had a One Sheet Wonder Class, everyone goes crazy for it!!!! I mean look at these fabulous cards!!!

One Sheet Wonder Designer Series Paper, www.LaurasStampPad.com

The reason it is called One Sheet Wonder is because you only use One Sheet!!! I used one sheet out of the Watercolor Wonder Designer Series Paper Pack (You can only get this for 12 more days, click here to order NOW!) I will be so sad when this paper is gone because I LOVE IT!!!! I created 12 cards with my One Sheet of Designer Series Paper but there are some leftover pieces so you could probably get about 14 or more out of the one sheet!

One Sheet Wonder Designer Series Paper, www.LaurasStampPad.com

After you cut your Designer Series Paper, pick one or more colors of solid cardstock for your card bases and start assembling!!! It is that easy!!! I used various greetings for all of my upcoming occasions!!!

One Sheet Wonder Designer Series Paper, www.LaurasStampPad.com

I used Island Indigo, Gumball Green and Smoky Slate!!!! I used greetings from Label Love, Lots of Thanks, and Bring On The Cake (retiring)! Then I used my Artisan Label Punch and Decorative Label Punch!!! For more on these cards and the dimensions, check out this Video Tutorial!!!

Be sure to check back tomorrow for more samples!!!! You can also check out a One Sheet Wonder Stamped Sheet by clicking here and here!!!

Happy Stampin’

~Laura


More Birthday Basics Designer Series Paper!!!

Posted on

So yesterday I was telling you how amazing the Birthday Basics DSP is because it is bright and cheery on one side and elegant and beautiful on there other! Check out the samples from yesterday here! And here are some more amazing ones….

Ribbon Ripple on Birthday Basics DSP, www.LaurasStampPad.com

This piece of the Birthday Basics DSP is Summer Starfruit in this amazing ombre look! I then added some Midnight Muse Stitched Satin Ribbon to it by adding a line of Sticky Strip and then sticking the ribbon to it (just a little bit), loop it, then press into the sticky, loop, press, loop press until you are at the end! Don’t worry if you don’t get it the first time, you can always pull it off and start again! While sticky strip is amazing for the strong hold, since the ribbon is kind of slick it comes off without ripping like paper!!! I then used my Decorative Label Punch and Bring on the Cake Stamp Set for the ribbon. Super simple card but a wonderful look!

Ruffled Ribbon Edge, www.LaurasStampPad.com

Here I used both a fun side and elegant side to make this style of card! See how amazing it is for a Birthday card but also as a Thinking of You card! I added the Ruffled Ribbon all along the edges of the DSP for a layered ruffly look! Again, I used my Decorative Label Punch for both greetings and Bring on the Cake (left side) and Peaceful Petals (right side).

I hope you have enjoyed all of these samples using your ribbon and Birthday Basics Designer Series Paper! You could always use the style of these cards with any type of DSP! Also, don’t forget that many of the items used for these samples are retiring so get them before they are gone – Bring on the Cake :(, Birthday Basics DSP, Ruffled Ribbon, 2012-2014 In-Colors, Stitched Satin Ribbon!

Happy Stampin’

~Laura


Birthday Basics Designer Series Paper!!!

Posted on

The Birthday Basics Designer Series Paper is unlike any other….it is bright and cheery and playful on one side and the other side is very elegant, rich, and beautiful! I love that in a pack of paper because there are so many ways to use it – kids birthday cards, anyone’s birthday card, sympathy, Mother’s Day, Wedding, etc. Here are a few samples I have made showing both sides of this amazing paper!!!!

Mother's Day Card with Birthday Basics DSP, www.LaurasStampPad.com

Love this card with those rich colors and beautiful flowers! I used the Delightful Dozens Stamp Set for the greeting and the Decorative Label Punch! For that amazing ribbon, I just took some Seam Binding and pulled one of the middle strings which then makes it begin to gather! Be sure not to pull too hard because the entire sting with pull out. Once you get half way across, stop and pull a different one on the opposite side. This will help it to not pull out. For the bow, I made loops and then secured the center with a Antique Brad!

Birthday Basics Card, www.LaurasStampPad.com

I love the bright and cheery look of this card! I used the Decorative Label Punch and Bring On The Cake Stamp Set for the greeting! For the bow, I placed a piece of 4-1/2″ Organza Ribbon across my card and adhered the ends to the back of the Designer Series Paper. I then took another 4″ piece and added a dab of adhesive in the middle and then brought the 2 ends that middle dab of glue and stuck them down! Then taking another ~2″ piece, wrap it around the center to cover those ends! Perfect little bow and it won’t add any bumps to your card for mailing!!! Here is another close up photo of the bow!

Birthday Basics Card, www.LaurasStampPad.com

Come back tomorrow for more samples using the Birthday Basics Designer Series Paper!!!

Happy Stampin’

~Laura


Bring On The Cake is Retiring.

Posted on

Birthday Basics & Bring On The Cake, www.LaurasStampPad.com

I’m still in morning over finding out that Bring On The Cake is retiring. (Notice no exclamation point in the title) I LOVE LOVE LOVE this stamp set. I send out lots of Birthday cards and this is my go-to set. I use it….probably daily. I just can’t get over it retiring so I HIGHLY suggest you order your’s today because this set is beyond amazing. I love coloring in the greeting above. I have colored it all one color or multi-colored and event stripes and polka dots. There is something that makes be beyond giddy when I colors it in something besides solid. (It’s the little things!) Here I made a quick a simple Birthday card using the Birthday Basics Designer Series Paper (also retiring) and the Basic Gray Stitched Ribbon (also retiring). 🙁 But have no fear, I know Stampin’ Up will have an amazing Birthday Stamp Set that I will love when the NEW catalog comes out on June 2nd! Until then, Bring On The Cake to help me feel better!

For the complete list of retiring items, click here! Don’t forget about my Anniversary Special going on through Friday!!

Happy Stampin’

~Laura


Man Card Madness!!!

Posted on

So I have a horrible time coming up with “Man Cards” because I love ribbons and flowers and bling and my husband says all of those things make the card “not for men.” BUT I have been playing with the Silver Foil Sheets and embossed it and it looks like Diamond Plate. Check out yesterday’s post about this! So I tried it out as a “Man Card”….what do you think??

Embossed Foil - Man Card, www.LaurasStampPad.com

What do you think? I thought that the Argyle Embossing Folder looked like diamond plate but then I think the Chevron looks more like diamond plate! What do you think? Put your answer in the comments below!

For both of these I ran the Silver Foil through the Big Shot with the embossing folder and then layered that on Basic Black and Garden Green! I think it just screams JOHN DEERE! (I’m a farm girl and we are all GREEN! 🙂 ) I think these cards would be perfect for my farmer family – Dad, Brother, Uncles, Cousins, etc! I did add a little ribbon – 1/8″ Basic Black Taffeta Ribbon!  For the greeting on both of them, I used my favorite punch, the Decorative Label Punch and the greeting is from Bring On The Cake Stamp Set! This will for sure be my go-to card for awhile for the men in my life! Let me know what you think!

Happy Stampin’

~Laura


Fabulous Foil Fun!

Posted on

Foil Greeting Frame, www.LaurasStampPad.comHere is a fabulous sample using the Foil Sheets! ! I have had lots of fun with this foil – embossing it, heat embossing on it, and now stamping on it! It really makes it look like a metal tag or something. I do have to say it can be tricky though because the stamp can slide and then it make this fun smeary look (okay maybe not so fun). I stamped the greeting from the Bring On The Cake Stamp Set and then used my Deco Label Framelits to cut it out! The card base was done in Crushed Curry and using the Summer Picnic Designer Series Paper! Then I stamped the flower from the Mixed Bunch Stamp Set and punched it out with the coordinating Blossom Punch. The leaves came from the Little Leaves Sizzlit but I also used the leaf from the Bird Punch! Some of my class attendees actually added the bird to their card too! I think you should try out this technique and let me know in the comments below how you created your card or project! I would love to hear what you come up with! Be sure to check back often for more samples using Foil Sheets!

Happy Stampin’

~Laura


Technique Tuesday – Flip Flap Fold Card

Posted on

Happy Tuesday!!! That means I have a fabulous technique for you and this one is super easy but has a BIG WOW factor!!!

Flip Flap Birthday Card, www.LaurasStampPad.com

This card fits in a regular Medium Envelope which is awesome! And the top flap flips open for you to write your greeting on the inside!!! Here is how it was made:

Supplies Needed: Cardstock, 2-1/2″ Circle Punch, 1-3/4″ Circle Punch, 2-3/8″ Scallop Circle Punch, Embossing Folder, Scallop Border Punch, and Stampin’ Dimensional

Your card base is 4-1/4” x 10-7/8” (by cutting the end off a little bit your card won’t bow) and you will score at 2-1/2” and 6-3/4”. Then on the small flap end, you will use any border punch to add a little decorative edge. Then you will take your 2-1/2” Circle Punch and push it all the way in with the 2-1/2” score line centered in the punch. This creates the peek-a-boo part of your card. For your decoration part, you will use your 1-3/4″ Circle Punch and 2-3/8″ Scallop Circle Punch. Be sure to only put adhesive on the bottom half of your layered decoration so you don’t have any sticky showing. I used the Bring On The Cake Stamp Set and Birthday Basics Designer Series Paper! You will then want to add a little decoration on the bottom portion of the card front. I created little balloons (click here to learn how to make the balloons) and attached them with Stampin’ Dimensionals, so that your flap will have something to slide under and hold closed.

Flip Flap Birthday Card, www.LaurasStampPad.com

 I hope you enjoyed this technique and try it out yourself!!! Leave me a comment on what you think!

Happy Stampin’

~Laura


Technique Tuesday – Birthday Candle Card

Posted on

Happy Tuesday!!! You know what that means – I am sharing a fabulous Technique with you!!!! This card is beyond amazing!!!! It looks fabulous and you use lots of scraps….who doesn’t have a million of those hanging around?

Birthday Candles, www.LaurasStampPad.com

Supplies Needed: Basic Black Cardstock, Whisper White Cardstock, scraps of color cardstock, ribbon, Embossing Folder, Decorative Label Punch and Bird Punch

I cut strips 1/2 inch by 2-3/4 inches in various colors and then ran them all through the Big Shot in an embossing folder. You can pick whichever one you have handy or your favorite. I used the Beautifully Baroque Embossing Folder. I then started placing them on the card. I placed the 2 end candles down and then the middle one and then filled in. This helped me with spacing each of them! I used my Basic Black Marker (pen tip) to make the wicks. Then using So Saffron cardstock, I punched out the wing from the Bird Punch! I brushed the rounded (bottom) part of the flame with my Sponge Daubers and Pumpkin Pie ink. I adhered each of them to the card with a Stampin’ Dimensional on the back. Then I took my Dazzling Details (love this because it adds bling without the powder going EVERYWHERE) and added a little to the tips of each of the flames. I did this after assembly so it could be set aside to dry for a bit. The greeting is from the Bring On The Cake stamp set and punched out with the Decorative Label Punch. Then I punched another Decorative Label in Basic Black, cut it in half long ways and adhered it to my other punched piece. This gives the perfect little layering affect. LOVE IT! The little red dots bordering my greeting were created with my Real Red Marker….just dot dot dot dot and a million more dots. 🙂 I hope you have enjoyed this technique for making a amazingly adorable card with lots of scraps!!! Try it out yourself and send it to me! I would love to see what you have created!

Happy Stampin’

~Laura