On the 12th Day of Stamps-Mas!!!

Posted on

On the 12th Day of Stamps-Mas, my true love gave to me……..A Big Shot, Framelits, and Thinlits!!!! My Big Shot is one tool that I have had for years and would buy another one instantly if something ever happened to it!! Love this tool for die cutting, embossing, and so much more!!!

12thDayofStamps-Mas, www.LaurasStampPad.com

This picture if my little Big Shot Station in my craft room. I have all of my Embossing Folders, Dies and Big Shot all in one place! I love that it is all super handy and easy to use! I have had this Big Shot for about 7 years I think! It’s been forever it seems! It still works amazing and that is what I call a great product!!

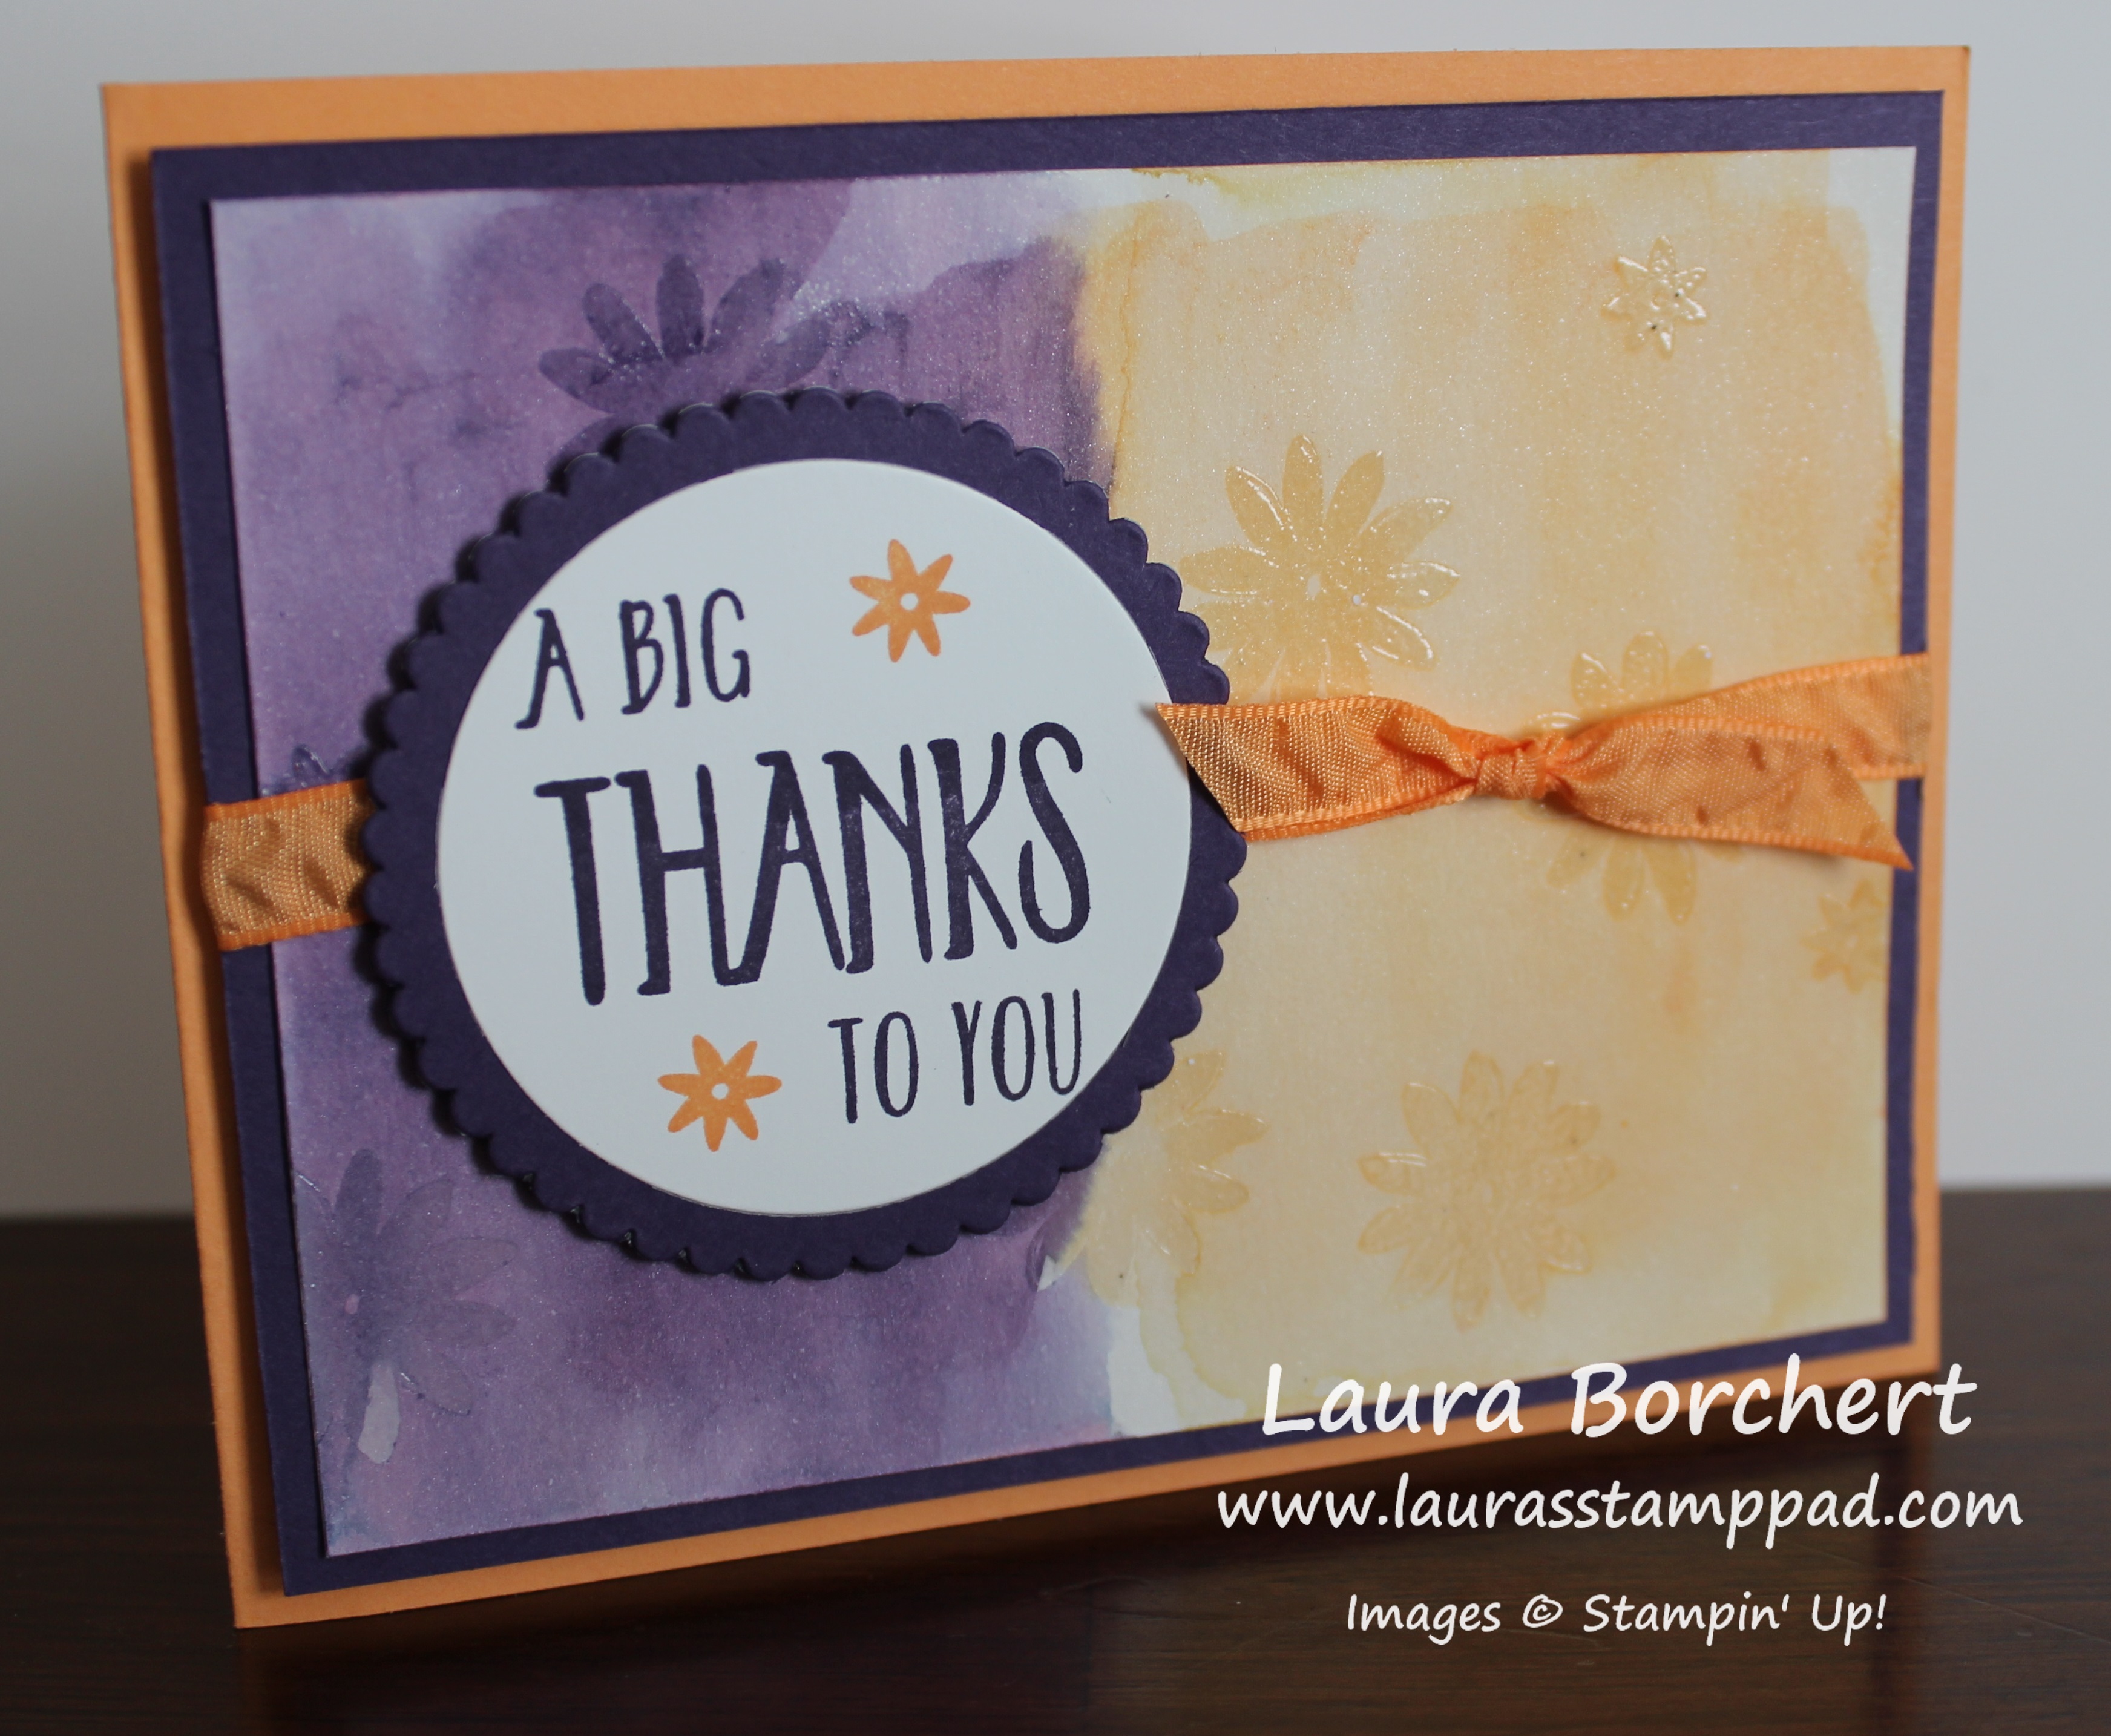
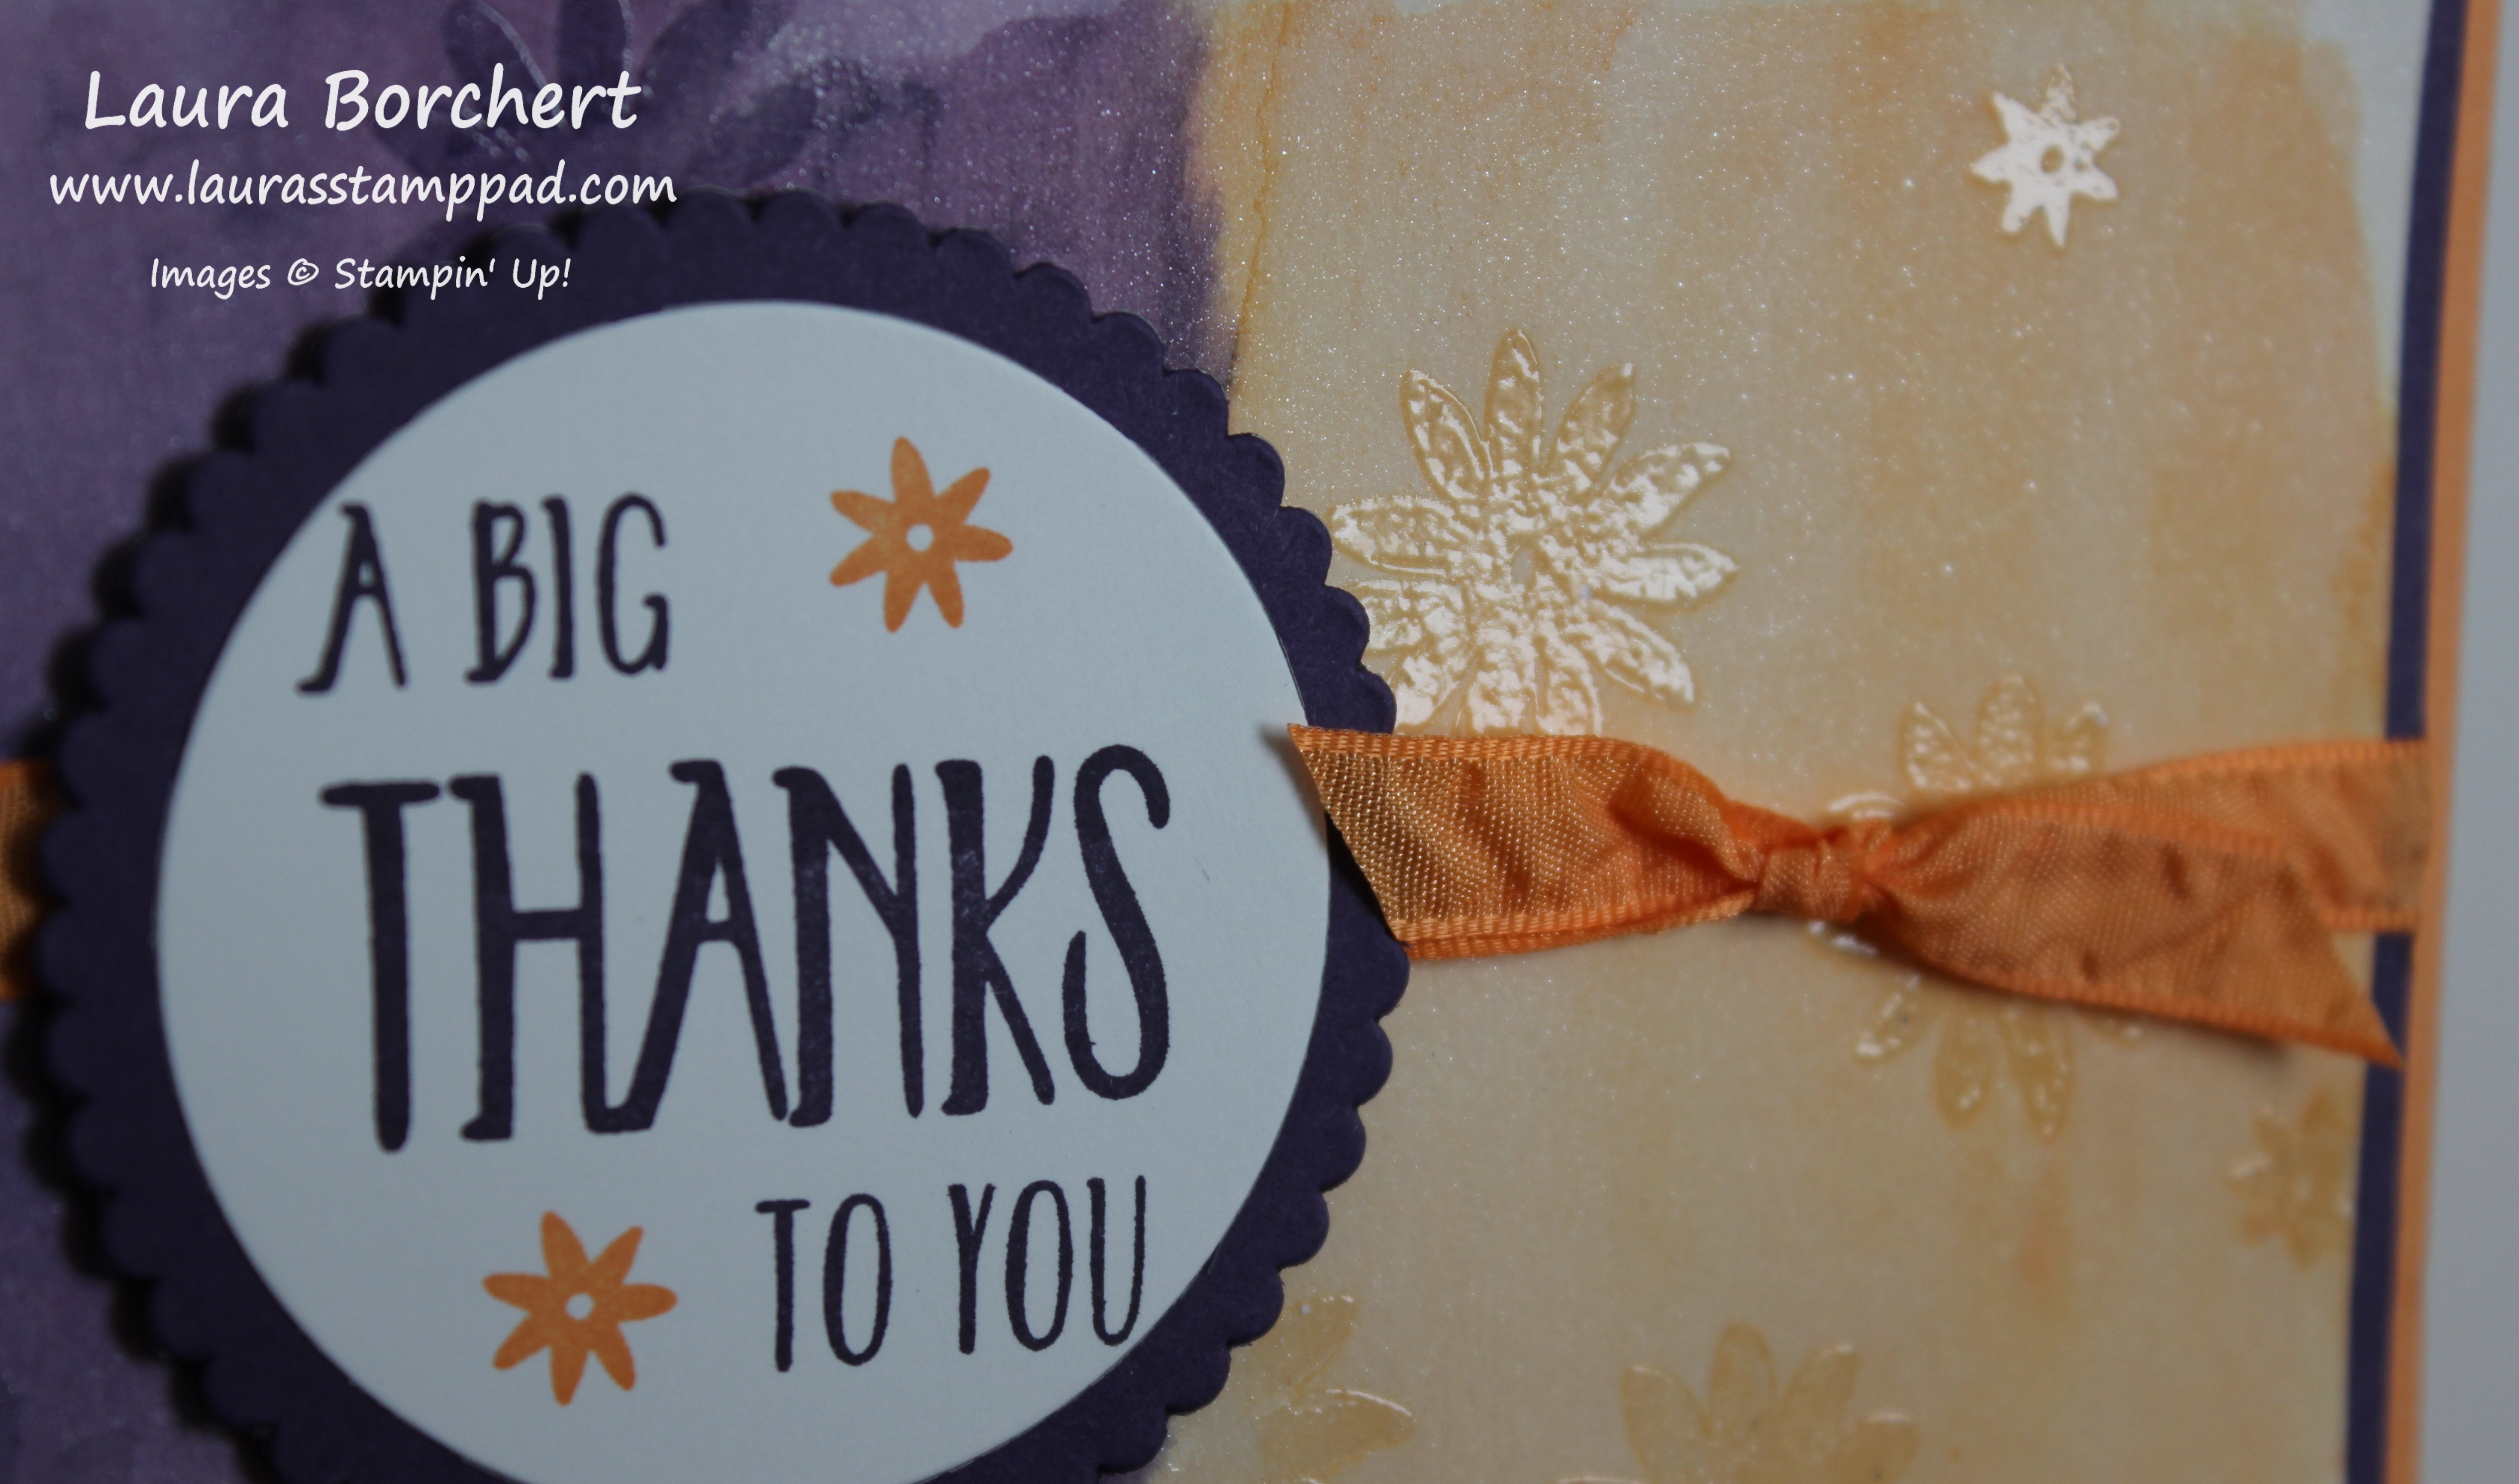
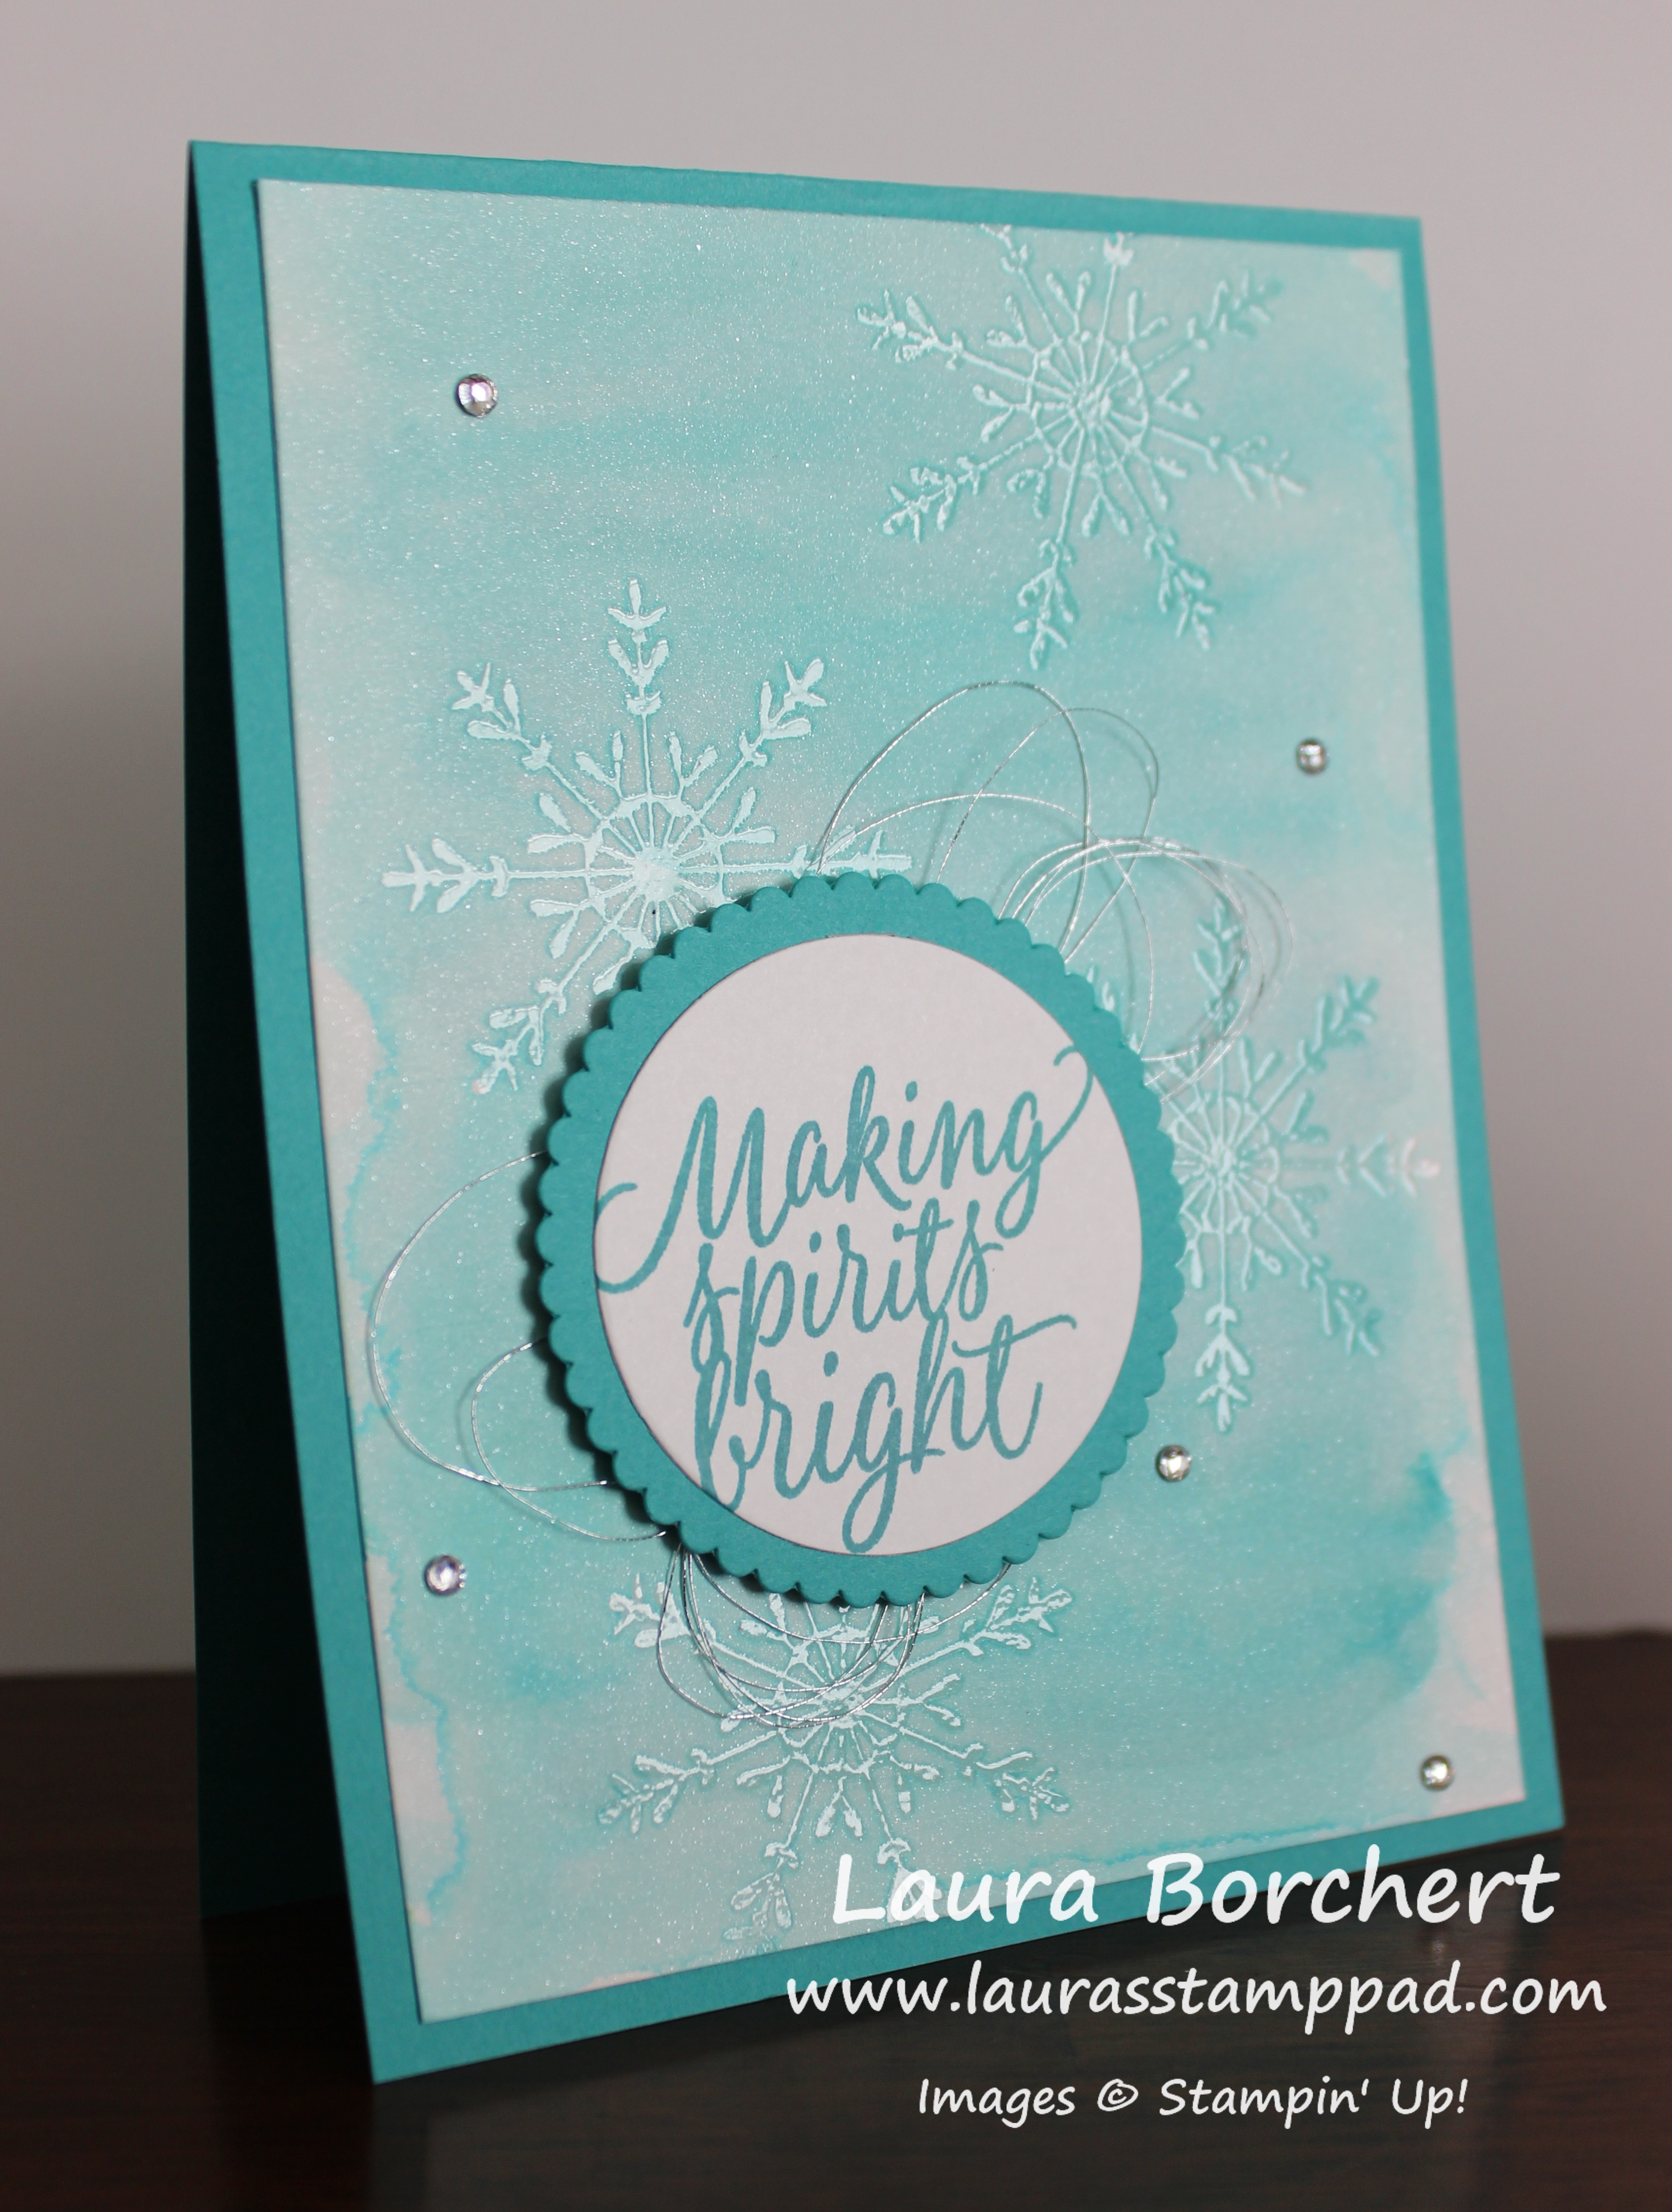
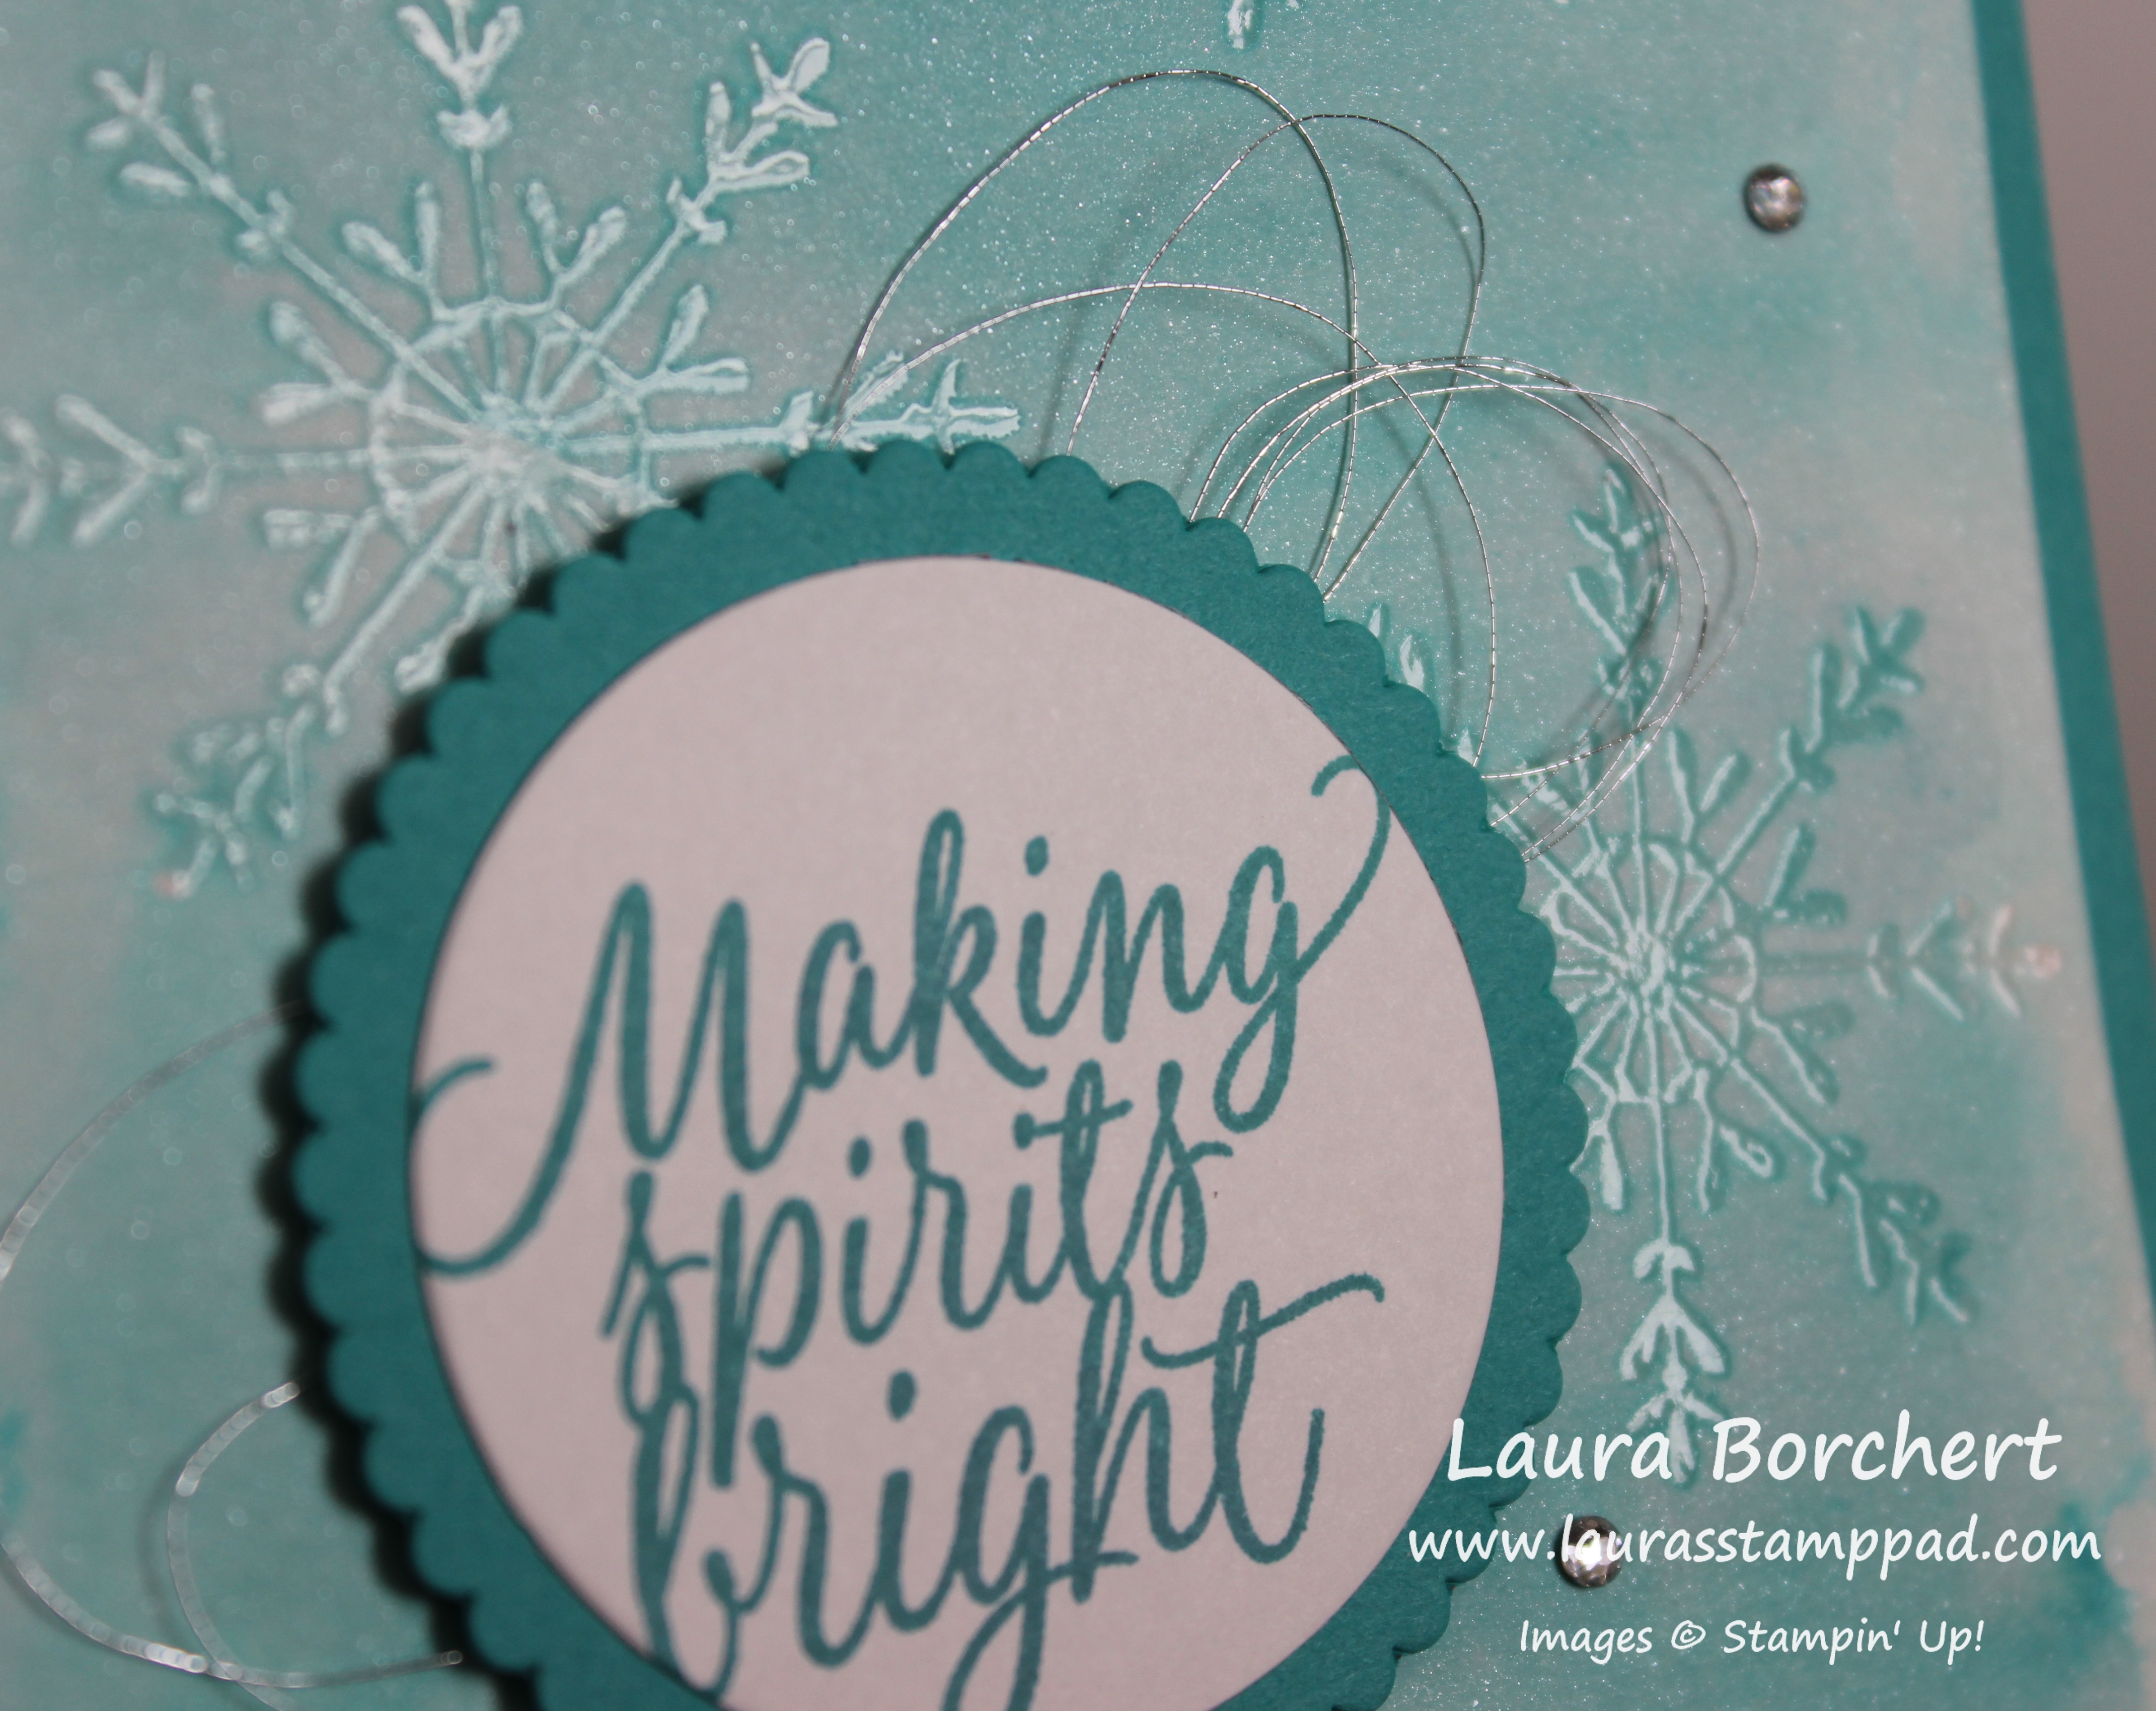
Embossing Folders are super easy to use and add texture to your project. I love this look because it adds so much to your project with extra product or embellishments. Just crank your cardstock through the Big Shot and you already have a WOW on your project.

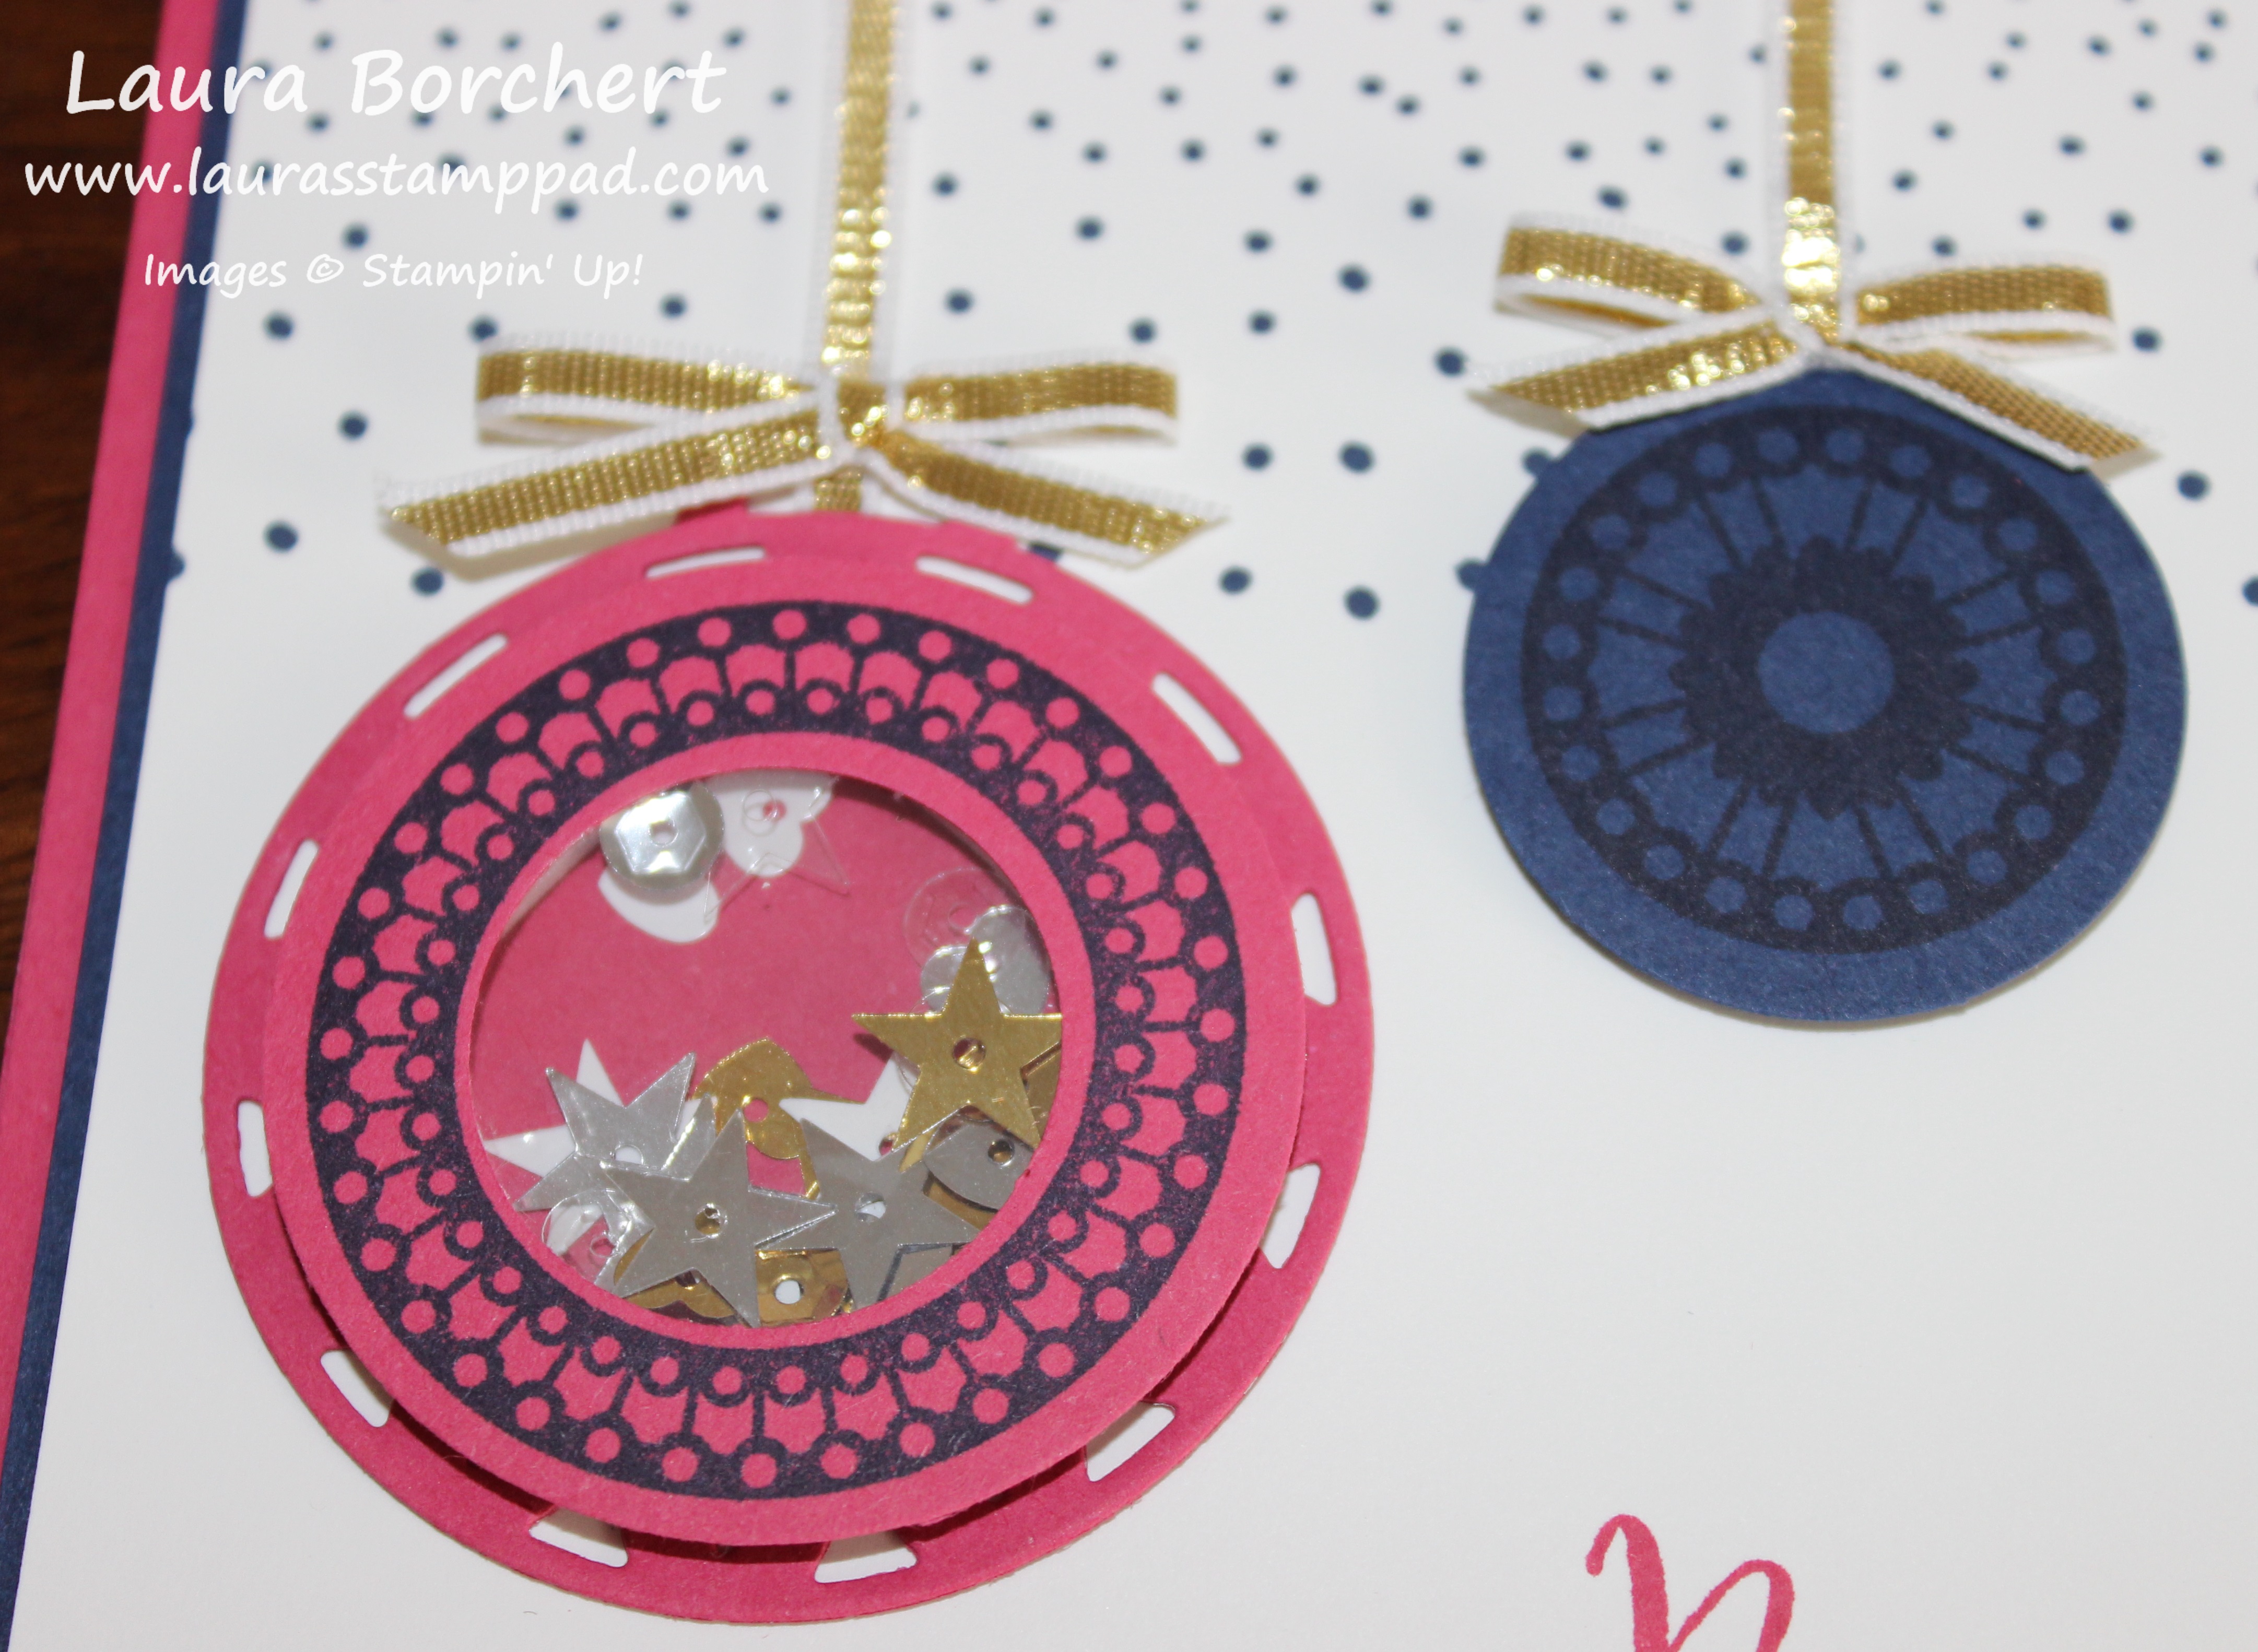
Framelits & Thinlits are the metal dies that cut out images that coordinate with stamp sets so that you don’t have to fussy cut. They create detailed images that you can layer on your cards or build together to create an amazing project! I can’t believe how detailed some of these are. They are fabulous and no one likes to fussy cut! Also, where there is a Stamp Set and coordinating Framelit Set, you can always Bundle & Save 10%! That’s super fabulous because it’s a deal every day, you don’t need to wait for a special!

Big Shot Die Brush is a lifesaver when it comes to the intricate detailed dies. You can place the die and cardstock onto the foam provided and run the brush over the top and it will pop out all of the pieces. You can see all of the details about this on the Video Tutorial here!

What are some of your favorite embossing folders or dies? Let me know in the comments below!!! My favorite Embossing Folder is probably Festive Texture….as of recently. It changes often! 🙂 My favorite dies right now have to be the Layering Circles Framelits!!

If you have missed out on the past days of Stamps-Mas, you can check them out here – Day 1, Day 2, Day 3, Day 4, Day 5, Day 6, Day 7, Day 8, Day 9, Day 10 and Day 11. I hope you enjoyed the 12 Days of Stamps-Mas!!! Wishing you all a very Merry Christmas!!! May you have an amazing holiday season filled with joy and love!!! 

Happy Stampin’

~Laura


All of the Ornaments!!!

Posted on

All this Ornaments, www.LaurasStampPad.com

Happy Monday!!! Can you believe that Christmas is in 13 days?? That’s crazy!!! Here is a fabulous card that you could create with all of the ornaments on there using the Merriest Wishes Bundle (Save 10%)!!!!

I started with a Cherry Cobbler card base. Then I took a scrap piece of Very Vanilla cardstock to stamp all kinds of ornaments on it from the Merriest Wishes Stamp Set. I used Cherry Cobbler Ink and Garden Green Ink. Using the Merry Tags Framelits, I die cut out all of the ornaments. To keep with the theme of the colors, I used the Baker’s Twine Trio Pack which has Gold, Cherry Cobbler, and Garden Green Baker’s Twine in there. I tied little knots around the loops of the small ornaments. For the large ornaments, I placed the Gold Baker’s Twine through the loop and secured it on the back with a Stampin’ Dimensional. Then I tied a small bow with the Gold Baker’s Twine and attached it with a Mini Glue Dot. All of the ornaments were attached with Stampin’ Dimensionals to give that 3D look! I wrapped the tops of the twine around the top of the Very Vanilla cardstock (4″ x 5-1/4″) and secured it to the card front!

Merriest Wishes, www.LaurasStampPad.com      I love the traditional colors and amazing look of this simple card! The greeting is one of the ornaments so no need to save room for one! Super fun!!!

Are you Christmas Cards in the mail yet? Do you still need inspiration? Check out all of my samples this season here! Reach out if you need help with anything as I am happy to assist you! 🙂

Happy Stampin’

~Laura

yearendcloseout_shareables_eng_2

Don’t forget to shop the Year End Clearance Sale!!! Click here to check out the fabulous products!!!


Shaker Card Ornaments!!!

Posted on

shaker-ornament, www.LaurasStampPad.com

Shaker cards are so much fun so why not combine shaker cards with holiday ornaments and create lots of FUN! The color combination, the fun greeting, and the shaker card magic make this card so wonderful!!!

I started with a Rose Red card base. Then I took a piece of Night of Navy (4″ x 5-1/4″) and Whisper White (3-7/8″ x 5-1/8″) for the next layers. I stamped the greeting from the Merriest Wishes Stamp Set in Rose Red Ink on the bottom right corner. I used the dotted image from the same set and stamped it in Night of Navy Ink twice along the top to look like snow falling….or just a cool background! For the ornaments, I used various images from the same stamp set. I stamped the large circle in Night of Navy Ink onto Night of Navy cardstock and die cut with the circle frame from the coordinating Merry Tags Framelit Set (Bundle & Save 10%). I stamped the large circle image (the one without a center) in Night of Navy Ink onto Rose Red cardstock. You can either punch these out or use your Layering Circles Framelits to do the center and the outside circle. Be sure to keep that inside circle though!!! Die cut out the large ornament from the Merry Tags Framelits and place the stamped circle over top of it. Place the punched out center back in the middle of the ring you created. Now remove the ring but hold the middle circle in place. You should be left with the middle circle in the middle of the large ornament. This is so you can find the spot on your ornament for the shaker pieces so you don’t have to flip it over later when the sequins are inside. Now you will want to trace the punched out circle with a pencil. I lightly trace out farther rather than close to the circle so I am wide enough and the adhesive doesn’t show in the window. Now that you have your traced circle you can remove it and place some Foam Adhesive Strip around your pencil mark. If you traced right next to the circle, make sure your adhesive strip is out farther than that circle. Next I filled the open hole with all the sequins from the Metallic Sequin Assortment.  You can use punched pieces, sequins, or silica gel colored to match your project. It is all up to you. You can see other samples using those items here and here as well as Video Tutorials! Now that you have your goodies in there, I placed a circle of Window Sheet over the top to seal in the sequins. You can use the same punch or Framelit you use for the larger circle. Then I added the ring that I stamped and punched out over the top as decoration!

Shaker Sequins, www.LaurasStampPad.com

For the ribbons attached to the ornaments, I used Gold Ribbon and adhered the end behind the ornament and then wrapped it over the top of the cardstock. I tied little bows and added those on top with a Mini Glue Dot. Now you can add this layer to the Night of Navy and the card base!!! Fun little holiday card with non-traditional colors!!!

Today I did an Up Close & Personal look at the Layering Circles and Layering Ovals Framelits, you can check that out below or click here! I have been loving these for greetings and so much more. The scallops are just perfect for adding a little pop of fabulousness! Be sure to give it a thumbs up if you liked it and don’t forget to subscribe if you are new! Let me know in the comments below if there is a product you would like to see Up Close & Personal and I will do my best to make it happen!

Happy Stampin’

~Laura

yearendcloseout_shareables_eng_2

Don’t forget to shop the Year End Clearance Sale!!! Click here to check out the fabulous products!!!


Technique Tuesday – Star of Light!

Posted on

Happy Tuesday everyone!!! I hope you are having a fabulous week so far! Today I have a fabulous card to share with you! It’s odd that this was the first Holiday card I made this season and yet I have waited this long to share it with you!! This card is also part of my Cut For Christmas Special Offer!!!
Staroflight, www. LaurasStampPad.com

I made this card with the Star of Light Bundle (Save 10%) and I loved it so much I put the set back away and moved on to the next set I had. It was like I had made the perfect card and didn’t need to make more. I have since pulled this one back out and played with it some more!! 🙂

SUPPLIES NEEDED: Heat Tool, Silver Embossing Powder, VersaMark, Star of Light Bundle, Silver Metallic Thread

I started with a Whisper White card base. Then I took a piece of Dapper Denim cardstock (4″ x 5-1/4″) and brushed it over with the Embossing Buddy to reduce any static before embossing. I used the large swirl image from the Star of Light Stamp Set and inked it up in VersaMark. I stamped at an angle from the left bottom corner up and the top right corner down so that it looks like it is going across your card. After stamping the swirl, pour the Silver Embossing Powder all over it and then heat it with the Heat Tool to set the powder. Remember to focus the heat on one section until it melts and then move it around rather than swinging it all over the entire image. When you do that, it just disperses the heat and takes longer. Once it is all set, you can take a paper towel or your shirt (like me) and wipe over the top to take off an extra powder from the Embossing Buddy! I stamped the greeting from the Star of Light Stamp Set in Dapper Denim in the lower right corner and added this to my card base. Next up, I stamped the large star image from the Star of Light Stamp Set onto a piece of Whisper White and die cut it out with the coordinating Starlight Thinlits. Then I took some of the Metallic Silver Thread and wrapped it around my fingers a few times. I usually do it about 8-10 but I forget about half way through so it can be as many times as you wish! Slide the loops off of your fingers and twist them in the middle to create a figure eight. Now place the loops onto the back of the die cut star and secure in the middle with a Stampin’ Dimensional. Fan out the loops and add more dimensionals securing the loops in the desired location. Now you can add this to the card front and you are all set!

That silver embossing shine and the texture of the metallic thread but makes this card POP! Plus, I always love silver and dark blue whether it be Dapper Denim or Night of Navy. If you would like to make these for your holiday cards, you can get a head start by having me do all of the cutting. Check out my Cut For Christmas offer as this is one of the cards in the selection!!

If you would like to see this in action, check out the Video Tutorial below or click here! Don’t forget to subscribe if you are new and be sure to click the Like button!!!

Happy Stampin’

~Laura


Golden Stockings!!!

Posted on

gold-purple-stockings, www.LaurasStampPad.comFor some reason when I first saw the Hang Your Stocking Bundle (Save 10%), I saw rich, elegant stockings that had to be done in gold and purple! I’m not really sure where that came from but this was the result!!! While it isn’t my favorite card this holiday season, I really like how it turned out!

I started with an Elegant Eggplant card base. Then I took a piece of Perfect Plum measuring 4-1/4″ x 5″ and rounded the bottom 2 corners with the Corner Punch. I liked the soft look of the rounded corners and I picked this length because it was the same as the Noel Thinlit. For all of the pieces, I used the Christmas Stockings Thinlit Set. I die cut the Noel, stocking top, heel, and toe, and the swirly overlay in Gold Foil Paper. Then I did 2 solid stockings and the stocking top in Elegant Eggplant. I adhered all of the pieces to build the stocking with the Fine Tip Glue Pen. I added a little loop of Gold Thread from the Baker’s Twine Trio Pack to the corner of the stockings and secured it on the back under a Stampin’ Dimensional. I added more on the heel and toe to help secure the stockings to the card. Now to add all of this to the card front, I slide the loop of gold thread over the Noel die-cut and added that to the card front with the Fine Tip Glue Pen. Then I pulled the backs of the dimensionals off and placed the stockings down.

purple-stocking-inside, www.LaurasStampPad.com

Since the Elegant Eggplant is such a dark color, I added a Whisper White piece (4″ x 5-1/4″) to the inside. I rounded the corners with Corner Punch and stamped the greeting from the Hang Your Stocking Stamp Set on the inside. That is the only stamping I did on this card! Love it!!!

You can check out more samples using the Hang Your Stocking Bundle by clicking here and here!

Happy Stampin’

~Laura

Cut For Christmas, www.LaurasStampPad.com

Need help getting your Christmas Cards complete this year! Let me do all of the cutting for you! I have 5 cards in my Cut For Christmas Offer to pick from to help you get started!


Hang Your Stockings!!!

Posted on

hangyourstockings, www.LaurasStampPad.com

Warm and cozy is how I would describe this card!!! These little stockings are just so cute and I love the soft, warm colors. I used the Hang Your Stockings Bundle (Save 10%) for this one and it was super simple!

I started with a Wild Wasabi card base. Then I took a piece of Very Vanilla measuring 4″ x 5-1/4″ and ran it through the Big Shot in the Festive Embossing Folder. You could use any folder you wish but I thought this one was cute. I added this piece to the card front. For the greeting, I took a piece of Very Vanilla (5″ x 3/4″) and stamped the greeting from the Cookie Cutter Christmas Stamp Set in Chocolate Chip Ink. I needed a long and skinny greeting and that one just went with the cozy theme of this card! I layered this piece onto Chocolate Chip cardstock (5″ x 1″) and added it to the card front with Stampin’ Dimensionals. I like to use dimensionals when adhering things to embossed images because they sink into the grooves and give a smooth look to your card….and I just love them!!! For the stockings, I used the Hang Your Stocking Stamp Set and stamped one in Marina Mist, one in Wild Wasabi, and one in stamped off once Cherry Cobbler. I wanted a more subtle red look so I just stamped off once and then onto my Very Vanilla and got the perfect look. I used the coordinating Christmas Stocking Thinlits (Bundle & Save 10%) to cut out the stockings. I added each of the stockings to the card with Stampin’ Dimensionals as well. To finish it off, I added a little Enamel Shape to the corner to look like a little peg holding them up. You can use the hearts, stars, or dots for your cards……or mix and match to use them up!

If you would like to see this in action, check out the Video Tutorial below or click here. Be sure to subscribe if you are new and don’t forget to hit the like button!!!

Happy Stampin’

~Laura


More Reverse Watercoloring!!!

Posted on

Reverse Watercolor, www.LaurasStampPad.com

So yesterday I showed you how to do Reverse Watercoloring with snowflakes and all winter/holiday themed! You can check that out here. Today, I’m bringing bright and cheery flowers to you with the Reverse Watercolor Technique!!!

SUPPLIES NEEDED: Shimmery White Cardstock, Aqua Painter, Clear Embossing Powder, Heat Tool, VersaMark, Stamp Set of your choice and embellishments

I started with a Peek-A-Boo Peach card base. Then I took a piece of Shimmery White Cardstock (3-3/4″ x 5″) and went over the entire piece with the Aqua Painter to wet it down a little. This will help the color bleed and sort of prime the paper. You don’t need to soak it but just a little brush of water over the top. Now pick up some Peek-A-Boo Peach Ink and watercolor wash over half of the paper. Clean off the brush and do the other half in Elegant Eggplant. You can go to the edge or leave a border. That is all up to you! Now allow this to dry by setting it aside or using the Heat Tool!

Side Notes while it dries……I use Shimmery White cardstock because of the fabulous shimmery look but also because it is a little bit thicker than Whisper White but not as thick and textured as Watercolor Paper. Watercolor Paper has too much texture so it won’t get a nice stamped image for clear embossing. Also, when you are using the Aqua Painter, you can either press your ink pad into the lid and use that as your color palette or you can press a clear block into the pad and use that. I prefer using the clear block because it isn’t as messy and I can easily clean it up. You could also drop re-inker onto the clear block and do it that way as well!

Once it is dry, you will stamp all over in a solid image stamp set with VersaMark Ink. I used a large and small flower from the Perfectly Wrapped Stamp Set. Apply Clear Embossing Powder over the top and set it with the Heat Tool. You can see a tutorial on Heat Embossing here. Now that your embossed image are set, they will hold the color underneath. Using your Aqua Painter, you will gently brush over the entire cardstock like you did in the beginning but this time with no color on your brush. You are just adding water which is taking some of the watercolor wash off that you applied earlier. The color is still being held under the images so they are popping more now. That is the Reverse Watercolor Technique!!!

Color Lifting, www.LaurasStampPad.com

Once your watercolor is dry, I added this piece to some Elegant Eggplant measuring 4″ x 5-1/4″! I used Fast Fuse for a strong hold since the cardstock is warped a little. Then I wrapped some of the Peeka-A-Boo Peach Ruched Ribbon around it and tied it in a knot. For the greeting, I used the Perfectly Wrapped Stamp Set and stamped onto Whisper White. I added a few flowers to the greeting as well to really pull it all together! Using the Layering Circle Framelits, I die cut the greeting as well as a scallop in Elegant Eggplant. I added the greeting to the card front with Stampin’ Dimensionals.

See you can use this fabulous technique for holidays, all occasion, and so much more! I hope you have really enjoyed this technique as much as I have. You can see the complete Video Tutorial on this technique here!

Happy Stampin’

~Laura


Technique Tuesday – Reverse Watercoloring!!!

Posted on

Happy Tuesday everyone!!! I hope you have survived the fabulous turkey feast and shopping craziness! Now it is back to the craft room to prepare for the next holiday!!! This technique is super fabulous for Christmas Cards and cards all year long!!!

Watercolor Lifting, www.LaurasStampPad.com

I just love the shades of blue this card has and, without the snowflakes, I can dream of blue water and white sand on the beach! I said I can dream…..I know that doesn’t exist in Illinois especially this time of the year!!! Let’s get started on this amazing technique!

SUPPLIES NEEDED: Shimmery White Cardstock, Aqua Painter, Clear Embossing Powder, Heat Tool, VersaMark, Stamp Set of your choice and embellishments

I started with a Bermuda Bay card base. Then I took a piece of Shimmery White Cardstock (4″ x 5-1/4″) and went over the entire piece with the Aqua Painter to wet it down a little. This will help the color bleed and sort of prime the paper. You don’t need to soak it but just a little brush of water over the top. Now pick up some Bermuda Bay Ink and watercolor wash over the paper. You can go to the edge or leave a border. That is all up to you! Now allow this to dry by setting it aside or using the Heat Tool!

Side Notes while it dries……I use Shimmery White cardstock because of the fabulous shimmery look but also because it is a little bit thicker than Whisper White but not as thick and textured as Watercolor Paper. Watercolor Paper has too much texture so it won’t get a nice stamped image for clear embossing. Also, when you are using the Aqua Painter, you can either press your ink pad into the lid and use that as your color palette or you can press a clear block into the pad and use that. I prefer using the clear block because it isn’t as messy and I can easily clean it up. You could also drop re-inker onto the clear block and do it that way as well!

Once it is dry, you will stamp all over in a solid image stamp set with VersaMark Ink. I used the snowflake from the Tin of Tags Stamp Set. Apply Clear Embossing Powder over the top and set it with the Heat Tool. You can see a tutorial on Heat Embossing here. Now that your embossed image are set, they will hold the color underneath. Using your Aqua Painter, you will gently brush over the entire cardstock like you did in the beginning but this time with no color on your brush. You are just adding water which is lightening the watercolor wash that you applied earlier. The color is still being held under the images so they are popping more now. That is the Reverse Watercolor Technique!!!

Snowflake Tin of Tags, www.LaurasStampPad.com

Once your watercolor is dry, you can add it to your card base. I used Fast Fuse for a strong hold since the cardstock is warped a little. For the greeting, I used the Tin of Tags Stamp Set and stamped onto Whisper White. Using the Layering Circle Framelits, I die cut the greeting as well as a scallop in Bermuda Bay. I adhered these together and added loops of Metallic Silver Thread to the back and then placed it on the card front. For the Metallic loops, just wrap it around your finger as many times as you wish (8-12 times). Then twist the loops in the middle to create a figure 8 and place it on the back of the greeting. Using Stampin’ Dimensionals to secure it to the back of the greeting and then add it to the card front! I still thought it needed a little bit more bling so I added some Rhinestones all over! Love it!!!

Be sure to check back tomorrow as I will be sharing another sample using this technique! Tomorrow’s sample is a card for any time of the year!

If you would like to see this in action, check out the Video Tutorial below or click here. Don’t forget to give it a thumbs up if you liked it and be sure to subscribe if you are new!!

Happy Stampin’

~Laura


Be Joyful!!!

Posted on

be-joyful-washi-tape, www.LaurasStampPad.com

This greeting is so perfect and I love using it. I have reached for it so much! It is from the Merriest Wishes Stampin’ Up! Stamp Set! It is perfect to use all year around too!!! Change up the colors and washi tape and you have the perfect card for any season!

I started with an Emerald Envy card base. Then I layered on Cherry Cobbler (4″ x 5-1/4″) and Whisper White (3-3/4″ x 5″). Using the Presents & Pinecones Designer Washi Tape, I added 3 strips in the middle. I just laid them down and ripped the ends for that torn look and it’s easier! 🙂 There are 5 different patterns/rolls in the set so you can have fun mixing and matching them when making multiples! For the greeting, I used the Layering Ovals Framelits in Whisper White and Mint Macaron. I am loving the Layering Ovals and Layering Circles. There is something about that small scallop that I just love and it really makes a greeting pop! I used the greeting from the Merriest Wishes Stamp Set and stamped it in Cherry Cobbler Ink. I added the greeting to the card front with Stampin’ Dimensionals for a little texture! Simple and fabulous!

If you wanted to make this card even more simple, you could leave off the Cherry Cobbler layer or create the card base with Whisper White! You can do as much or as little as you wish! Love it!!!

Don’t forget today is the last day of the Online Extravaganza and there are fabulous Door Busters as well! Get these great sales before they are gone! Click here to shop the Online Extravaganza and click here to shop the 25% Stamp Sale.

Happy Stampin’

~Laura


Ornaments on the Tree!!!

Posted on

Tree Ornaments, www.LaurasStampPad.com

I love how embossing folders can make a quick and fabulous card! The texture and image just have such a WOW factor and I love that! Besides cranking the Big Shot twice, this card is so simple. Just do all of the Big Shot work while watching your favorite show or a Christmas movie and you will be done in no time at all! Let me know in the comments what your favorite Christmas Movie is! I think mine is either Elf or National Lampoon Christmas Vacation!

For this card I started with a Cherry Cobbler card base. Then I took a piece of Whisper White cardstock (4″ x 5-1/4″) and ran it through the Big Shot with the Pine Bough Embossing Folder (on sale this week!). I stamped the greeting from the Merriest Wishes Stamp Set in the bottom right corner in Cherry Cobbler Ink. You can use any of your favorite greetings! Then I die cut the ornament from the Merry Tags Framelit Set (Bundle & Save 10% with the Merriest Wishes Stamp Set). There are a few other ornaments that you could use on your card as well to mix it up or to die cut more with each crank through the Big Shot. The Big Shot Die Brush is your best friend on popping the cardstock out of the framelit! I love that little tool! I tied some Cherry Cobbler Baker’s Twine around the top of the ornament and added it to the card front with Stampin’ Dimensionals. You know how I love those little things!!! Now you are all done! How simple was that?!?!?

Don’t forget to check out the Online Extravaganza going on this week! Lots of fabulous product on sale up to 40%!!!

Happy Stampin’

~Laura