Happy Tuesday!!! You know what that means…..I have a fabulous technique to share with you today! It is a 6″ x 6″ One Sheet Wonder as I know how much you all love One Sheet Wonders!
Quick and simple pattern and super easy to change up the greeting to whatever you need the most. I made up this style of One Sheet Wonder to use up some Designer Paper I had on hand but also ribbon and embellishments! I love how they all turned out. Today, I’m sharing this pattern but tomorrow I will be showing a more options with different colors, paper, and embellishments!
Starting with a 6″ x 6″ piece of Designer Series Paper, cut at 2″. Then trim that 2″ x 6″ piece at 5-1/4″ for a nice long detailed piece which I cut a laying piece to match measuring 5-1/4″ x 3″. Next, with the 4″ x 6″ piece, I cut along the 6″ at every 1-1/2″. This creates 4 pieces measuring 4″ x 1-1/2″ and then I cut layering pieces to match measuring 4″ x 2″. This creates 5 pieces for 5 cards with the only waste being a small 2″ x 3/4″ piece. How amazing is that?? If you are using a 12″ x 12″ sheet, that means you can get 20 cards from the full piece. If you are using a 6″ x 6″ Designer Series Paper Stack, it’s 5 cards per sheet!
I made up these packets so I could use up supplies and have cards ready to create. I used some Fresh Fig Finely Woven Ribbon and Perfect White Accents for this set of cards! The greeting is from the Love What You Do Stamp Set which is in the Share What You Love Bundles available this month! One ink pad and one stamp set makes these cards even more quick and simple! I love it!
If you would like to see all of this in action, check out the Video Tutorial below or click here! I hope you found this super useful. Be sure to give the video a thumbs up if you liked it and don’t forget to subscribe if you are new. If you would like a notification when I post a new video, be sure to click the bell right next to the subscribe!!!
Happy Monday!!! Today, I’m sharing this adorable card that is fulled with stuffed animal sweetness. Aren’t these little things just precious?!?!?
While this card did require some coloring, it was a fairly quick and simple card to make multiples of! Probably out of the 3 different baby Thank You notes, this one was the easiest. You can check out the others here and here!
I started with a Whisper White card base. Next, I layered on a piece of Powder Pink patterned paper from the Fresh Florals Designer Series Paper Stack (retiring) measuring 4″ x 5-1/4″. For the focal point, I stamped the stuffed animals from the Baby Moon Stamp Set (retiring) in Memento Black Ink. Using the Stampin’ Blends, I colored the little ones in. I didn’t really do any special blending, just colored and had fun. I did use both the light and dark marker on the bear for his face. Then I stamped the greeting below the animals from the One Big Meaning Stamp Set (retiring). Finally, I layered this piece onto a piece of Powder Pink and added it to the card front using Stampin’ Dimensionals. You know I need a little texture on my card and I just love Stampin’ Dimensionals. 🙂
Since I made a lot of these, I needed lots of the designer paper. The Fresh Florals pack is perfect because there are lots of sheets in each of the In Colors so I just picked out all of the Powder Pink sheets and used the different designs. Which one do you like best – more Powder Pink with the fan pattern or more Whisper White with the floral pattern? Let me know in the comments below!
Many of the items I used for this card are retiring at the end of the month. Don’t wait too long or they will be sold out. Some of the retiring items are even on sale up to 50% off! Woot Woot! Click here to check out all of the items and shop!
Today, I wanted to share another card that I made for baby thank you notes. This Thank You Beary Much card is just so precious!!! Baby Bear looks so real and soft and cuddly! 🙂
Isn’t this teddy just adorable??? He is a 3 step stamped image but I used the Stamparatus and it was smooth sailing! I love that tool!
I started with a Crumb Cake card base. Next, I took a piece of the Springtime Foils Designer Series Paper from Sale-A-Bration (no longer available) and cut it into a 4″ x 5-1/4″ piece. Then, I took a piece of Whisper White measuring 3-1/2″ x 3-1/2″ and stamped the teddy bear from the Baby Bear Stamp Set! I used the Stamparatus for perfect placement especially since I was making multiples. I started with image #3 in Early Espresso Ink. Next, I used Soft Suede for image #2 and then Crumb Cake for image #1 (more solid image).
I was able to do 2 images at the same time and then I ran through for the last stamped bear image. It went fairly fast actually since I didn’t have to focus and line up each bear myself. This way I could watch a movie while stamping or let me mind wander. 🙂 After all, stamping should be relaxing and fun and not stressful! Once the bear was stamped, I layered it onto a piece of Powder Pink cardstock and added it to the card front with Stampin’ Dimensionals for some texture!
For the greeting, I cut out some Powder Pink and stamped the greeting in Early Espresso Ink. Using the Triple Banner Punch, I punched both ends and added a little knot of ribbon. I love that Powder Pink Shimmer Ribbon for a little bit of bling and shine! The greeting was added with Stampin’ Dimensionals too!
Since I made so many of this style of thank you note, I used different sheets from the Springtime Foils Paper Pack. Which is your favorite – dots, stripes, or floral?? Mine is the dots! I just like that random dotted look and the rose gold color! Leave your favorite in the comments below!
Happy Monday!!! I hope you all had a wonderful weekend! Let’s start off the week with this quick and simple Sweet Soirée card! I love this card because you can add any greeting and it uses up every bit of the 12″ x 12″ sheet of paper! Woot Woot!
This is a great card template to have on hand because it can work with any designer paper, ribbon, and greeting! Also, with all the colors in the paper, you can use any one of them as the card base. The same goes for the ribbon. I used up lots of different styles of ribbon making this card!
I started with a Marina Mist card base measuring 4-1/4″ x 11″. Next, I took a piece of the Sweet Soirée Specialty Designer Paper and cut it into 4″ x 4″ squares. One sheet of the designer paper will get you 9 squares! How awesome is that?!?!? Now for the greeting, I cut a piece of Whisper White measuring 4″ x 2″. Using the Special Celebrations Stamp Set, I stamped the greeting in Rich Razzleberry Ink.
To assemble the card, I added the greeting piece to the top portion of the card, leaving a nice border around the top and sides. Next, I took the designer paper and added it to the bottom portion, again leaving a border all around. There will be a little bit of overlap. Then, I tied some Calypso Coral Sheer Ribbon around the card to the inside on that overlap. I finished the card off with a few Subtles Enamel Shapes!
TIPS: I like to tie the ribbon to the inside of the card so that I can use less Whisper White. If I tied it around the front layer, I would need a full 4″ x 5-1/4″ piece of Whisper White to stamp and layer the designer paper on. This way I’m saving on paper and thickness of the card. Another bonus is that when I do tie my ribbon to the inside, I like to make the card base 4-1/4″ x 11″ so I’m using less ribbon than if I went 5-1/2″ x 8-1/2″!
I hope you enjoyed this quick and simple card. Also, a few little tips on saving product is always a plus! 🙂 Don’t forget that the Sweet Soirée Designer Paper is retiring at the end of the month (or while supplies last). Click here to check out all of the retiring items before they are gone!
Happy Tuesday….May…..Ziggy Arrival Month!!!! Today, I’m taking a break on Technique Tuesday to share with you the Share What You Love Early Release Bundles!!!! This suite of products will be in the New Catalog coming out on June 1st. Stampin’ Up is releasing some fun bundles a month early though. The only way to purchase these items is as a bundle and there are FREE ITEMS too! Woot Woot!
Of course, I LOVE this suite of items because there are flowers and the color combination is just amazing. I am super loving those Pearlized Doilies as well. I love a good doily but for a clean, elegant, white look and not a rustic, antique look so these are perfect!!! Let me know which you prefer in the comments below! Am I alone here or do others prefer it that way?
For this card, I started with a So Saffron card base. Next, I took a 4″ x 4″ piece of the Share What You Love Specialty Designer Series Paper. I added adhesive along the right edge for the doily. I cut a Pearlized Doily in half and attached it to the adhesive on the designer paper and added it to the card front. Cutting doilies in half or pie shaped pieces is an awesome way to get even more fabulous projects out of each one. I did add a few Mini Glue Dots to a few scallops of the doily to really secure it down too!
For the greeting, I die cut a square from the Stitched Shapes Framelits. Using the Love What You Do Stamp Set, I stamped the greeting in Rich Razzleberry Ink. Then I stamped the leaves in Old Olive Ink. Before adding the greeting, I put a little Snail Adhesive across the center of the card and placed 2 strips of the Rich Razzleberry Velvet Ribbon down. After placing the ribbon down, I cut the tips to create that fun look. Then, I added the greeting over the top with Stampin’ Dimensionals. Be sure not to put dimensionals in the center where the ribbon will be and your greeting will lay much smoother.
There are 4 NEW Bundles of goodies that are available starting today!!! The Share What You Love Suite comes in 3 Bundles – Just Getting Started, A Little More, Please, and Gotta Have It All. Each tier of bundles has one or more FREE items in it and of course all of the products coordinate together. This month only is when you can purchase these products as a bundle and get the FREE item. The 4th Bundle option is the New 2018-2020 In Color Collection of Ink Pads. Woot Woot!!!!! Click here to see all of the items and order yours today!!!
If you would like to see all of the products in action, check out the Video Tutorial below or click here! Be sure to give the video a thumbs up if you liked it and don’t forget to subscribe if you are new. If you would like a notification when I post a new video, be sure to click the bell right next to the subscribe!!!
Yesterday I showed off a fabulous home decor Welcome sign with interchangeable images for seasons and occasions. You can check that out here. In order to store the little decorations when not in use, I decorated a pizza box. This adorable thing is just pizza box perfection and great to use on gifts and so much more!
It’s just so fabulous and super super easy to make!!!! Just some ribbon and designer paper!!! It looks amazing too and perfect for gift giving! Gift cards, money, tags, mini cards, jewelry, food, and more fits in there. The box is food safe so putting in a cookie or something would be fabulous!
First I folded on all of the score lines for the Pizza Box. The plastic side goes inside the box (food safe liner). Once the box was assembled, I actually went ahead and added some Tear And Tape to the back inside flaps to keep the box from laying open. This is because the ribbon holds the frame of the box and I wanted it to be extra secure and not pulling on that ribbon. Then I cut 3 pieces of the Fresh Florals Designer Series Paper Stack measuring 3-1/4″ x 3-1/4″. That means I can get 9 squares (3 boxes) from one sheet of Designer Paper. Woot Woot! I added one to the top, one to the bottom and one to the inside lid!
For the ribbon, I added a strip of Tear And Tape all around the box. Then I pressed the Berry Burst Finely Woven Ribbon into the tape starting and ending in the front where the bow is. I picked this spot to start and end so that my bow would cover up the meet up point. Next, I made a little bow and added it to the front of the box with Mini Glue Dots! I just love it!!! Super cute and simple!
Do you like to make fun gift packaging? Let me know your favorite in the comments below! Also, stay tuned for more details on that cute summer decor in the box! It’s one for my Welcome Frame!
To purchase any of the items used today, click the images below! The Designer Paper is retiring and while supplies last!
Happy Monday!!! I feel like this card is so heart warming and the greeting is so powerful – Live Every Moment, Laugh Every Day, Love With All of Your Heart. This card is perfect for any occasion or day!!!
Shades of pink, sweet hearts, and that amazing greeting makes me love this card so much!
I started with a Powder Pink card base. Next, I took a piece of Whisper White measuring 4″ x 5-1/4″ and stamped hearts on the top half. The hearts are from the Ribbon of Courage Stamp Set and were stamped in Powder Pink and Berry Burst Ink. Be sure to fall off the edges of the cardstock so it looks like the pattern continues. On the bottom portion, I added a piece of the Powder Pink Fresh Florals Designer Paper (2″ x 5-1/4″). Then I tied some Berry Burst Crinkled Seam Binding around the middle to cover up the seam of the paper.
For the greeting, I stamped it from the Ribbon of Courage Stamp Set onto Powder Pink cardstock. Then I punched it out with the Everyday Label Punch and added it to the card front with Stampin’ Dimensionals. To finish off the card, I added some Rhinestones to the top and bottom of the greeting for a little bit of bling. I also die cut a few Berry Burst hearts with the coordinating Support Ribbon Framelits (Bundle & Save 10%). I added the hearts with the Fine Tip Glue Pen! The die cut hearts are super necessary as I did another sample without them and loved it just the same!
If you would like to purchase any of the items used in this card, click on the supplies below!
Today is my 14th Anniversary with Stampin’ Up and I just can’t believe it!!! That is a long time and I have loved every minute of it. In fact, I almost feel like it just keeps getting better and better! The more people I meet, the more lives I touch, and the more fun I have makes it so much fun and fulfilling! In honor of my 14th Anniversary, I’m sharing my 14 Favorite Stampin’ Up Products right now!
These are my 14 Favorites right now! Of course you can check out my past anniversary favorites here and here! I try not to pick the same items each year but there is some similarity because I love brights and flowers! 🙂
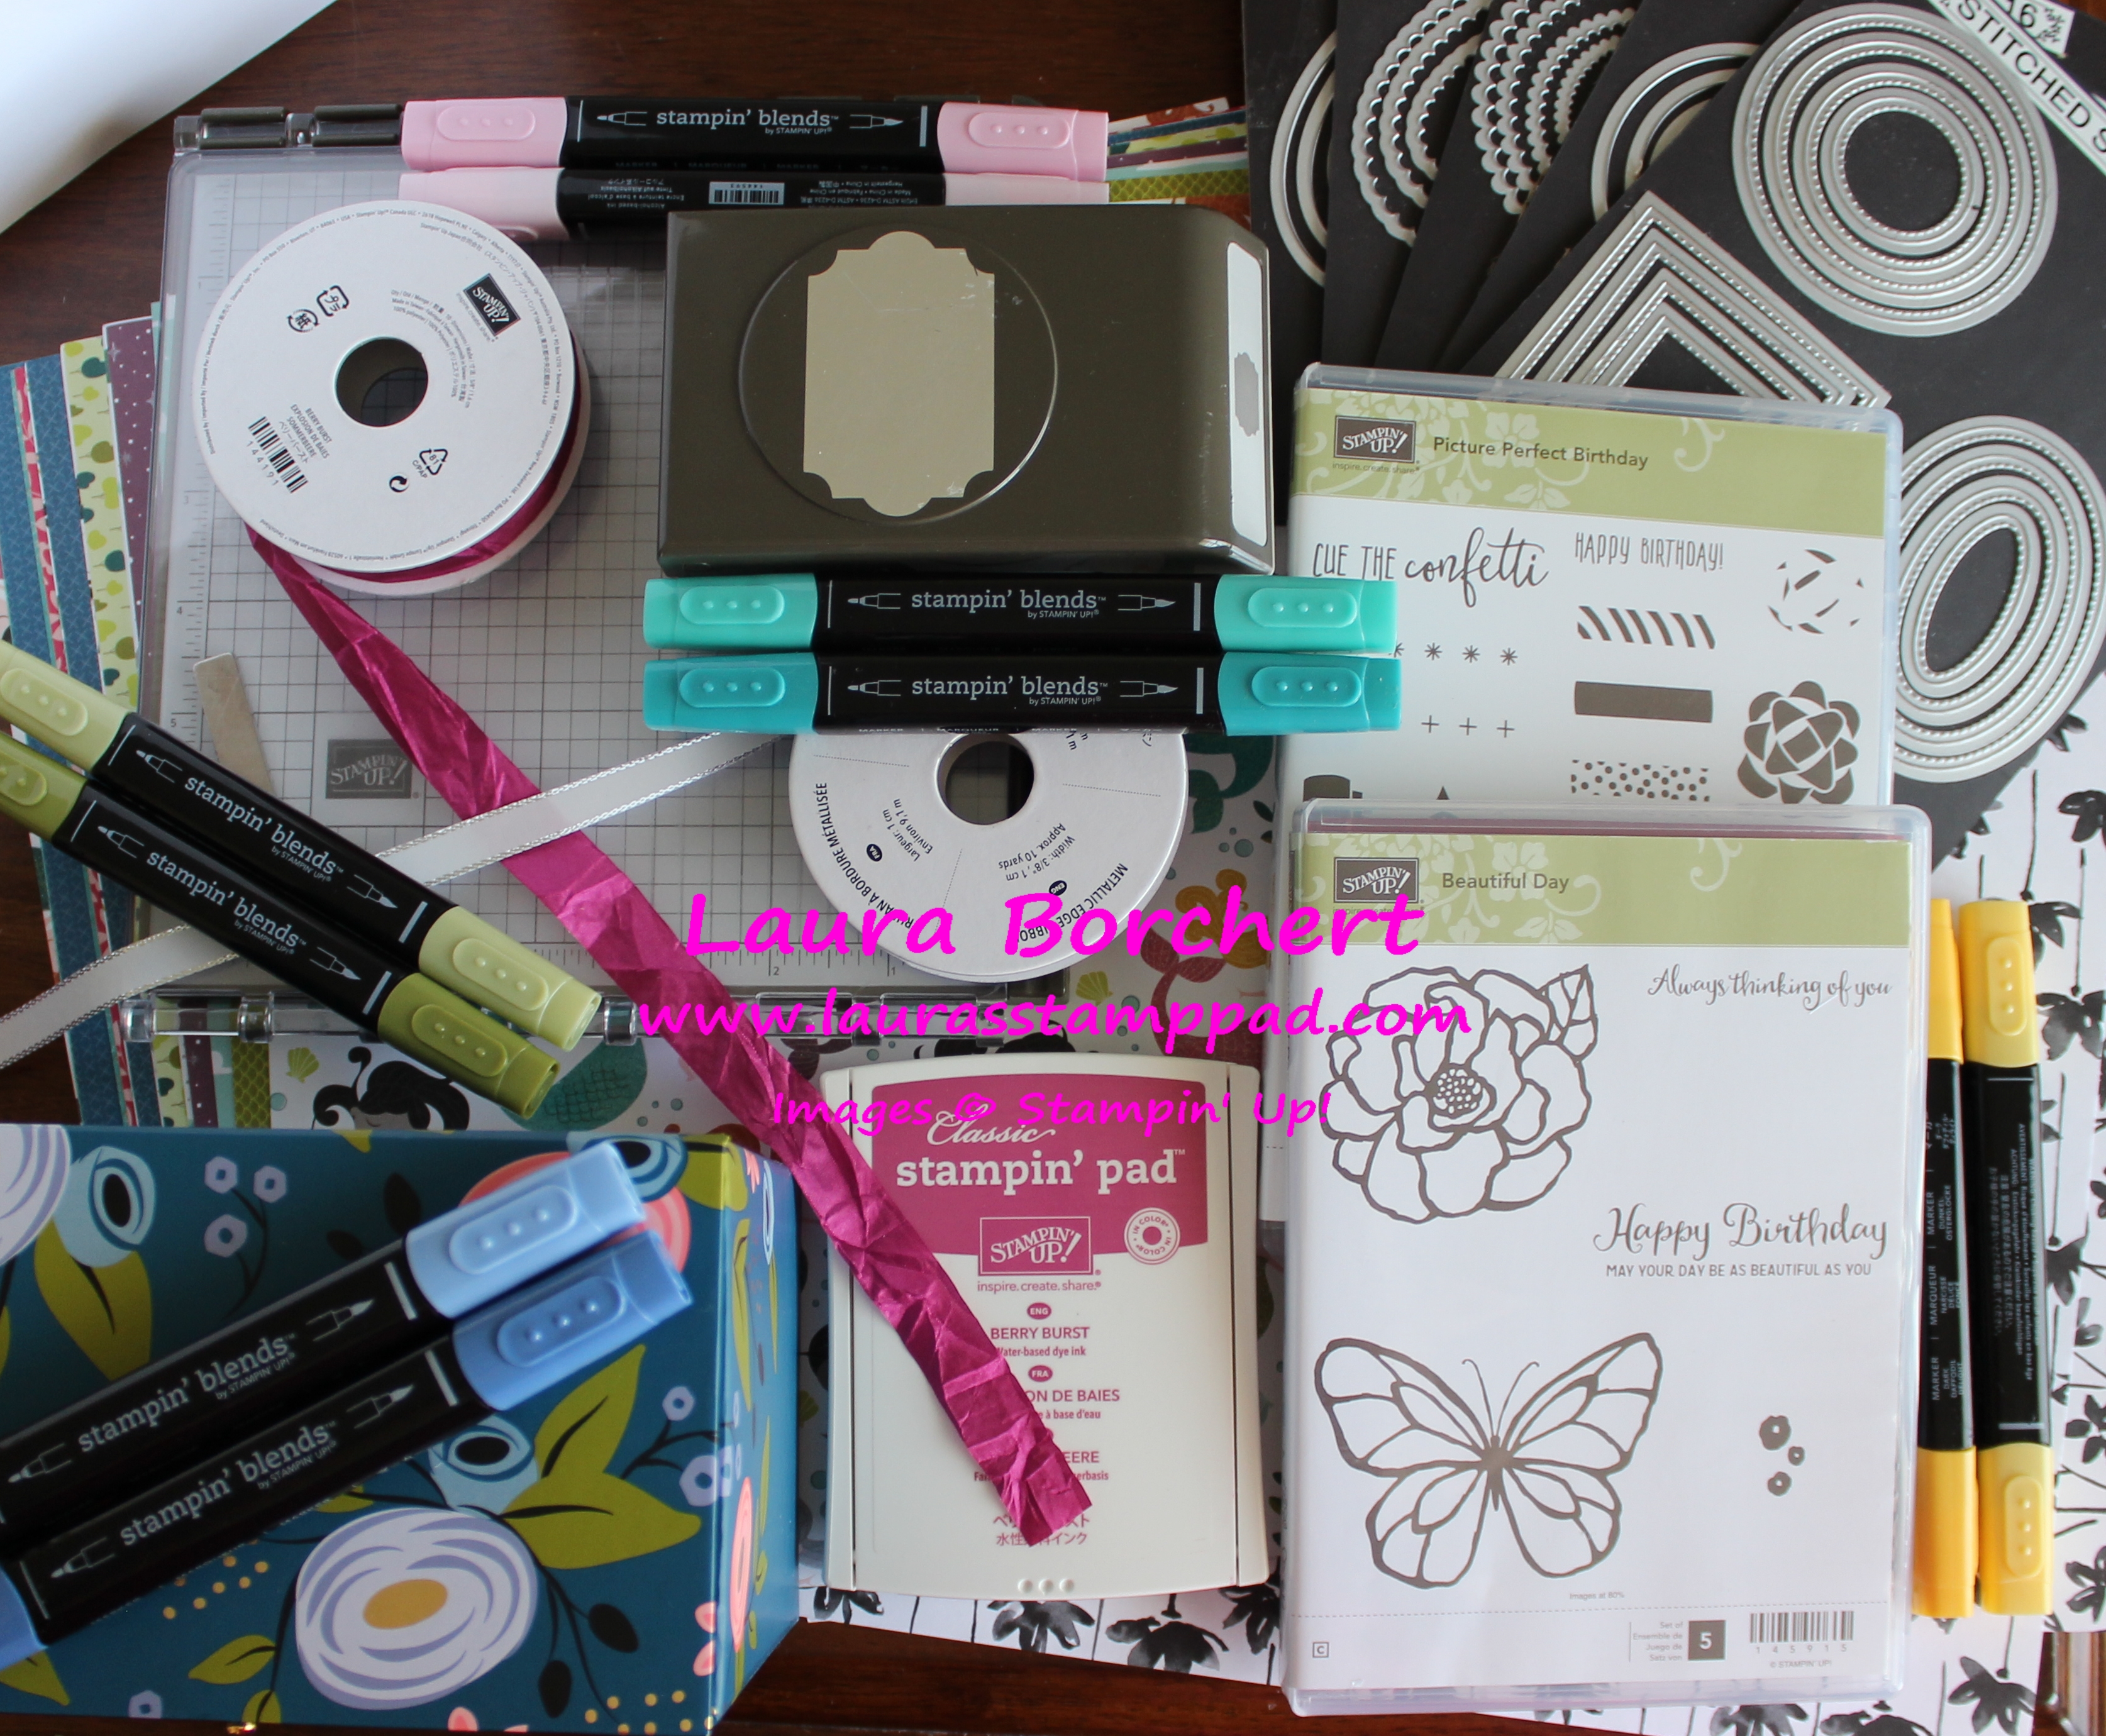
Beautiful Day Stamp Set – I am loving the big bold butterfly and flower for coloring and the full focal point on your card. These images are large and make the perfect focal point and all you need! Here and here are some samples using this!
Picture Perfect Birthday Stamp Set – I send lots of birthday cards and this set is super fun! I love how you can build candles and so much more. Also, that bow is super fun. Candles are great for all ages too! Love it!!! Here and here are some samples using it!
Berry Burst – This is my favorite color right now. I just love the deep pink and all the colors that coordinate so well with it!
Crinkle Seam Binding – This is a ribbon that I am so surprised I love because I hated normal seam binding in the past. I love the hint of shine and that texture of the crinkle. Also, this seam binding doesn’t fray as much as the old seam binding did. Here and here are some samples of me using this!
Silver Metallic Edge Ribbon – I just love bling and this white ribbon is perfect for any project. Add color with Stampin’ Blends or re-inker and you have any color! AMAZING!
Petal Passion Designer Series Paper – I love black and white designer paper and flowers! You can color this paper with Sponge Daubers, Stampin’ Blends, or leave black and white! This paper is fabulous! Here and here are some samples using it!
Myths & Magical Designer Series Paper – I have super fallen in love with this paper because its super fabulous! Use it as a background or fussy cut out the little mermaids or unicorns for a focal point. Also, one side of each sheet has a glitter bit on it! Here and here are some samples using this paper!
Stampin’ Blends – I’m not a huge fan of coloring and I don’t really consider myself an artist but these markers make it fun and easy! I love the beautiful color, no streaks, and blending ability! Have no fear as they will be back in stock soon! 🙂 Here and here are some samples using Stampin’ Blends!
Layering Ovals, Layering Circles, & Stitched Shapes (3) – I find that I use one or multiples of these for almost each project. Layering a Stitched Circle with a Scallop Circle is just amazing! I can’t put these down. Scroll through my blog and you will see I use this ALL THE TIME!!!
Everyday Label Punch – While I love framelits, I still find punches so handy because punch punch punch and you are golden. It is so much faster than a crank through the Big Shot. This one is perfect for greetings and punch a second one, cut it in half, and layer with it. LOVE IT! Check that out here!
Perennial Birthday Card Kit – This kit is so fabulous because the box is adorable. It comes with 16 all occasion cards inside and the amazing birthday calendar dividers. This kit is perfect to give as a gift too! Click here to see it all!
Stamparatus – This thing is a miracle tool for multi-step stamping. It makes it such a breeze. I have also been using this for when I stamp on a plastic table at different events. Plastic tables have give in them and so sometimes you don’t get a nice solid image because of this. Using the Stamparatus is perfect because it’s so hard and solid. Perfect! Also, have you ever stamped in black but the image didn’t come out perfect and solid? Using the Stamparatus makes it easy to stamp it, ink it again and stamp it for a more solid smooth look! If you didn’t get this in a pre-order, don’t worry. It is coming June 1st!!!!
Those are my 14 favorites right now! Are any of them your favorites as well?? Let me know in the comments below if we share some favorites or what some of yours are. I would love to hear from you! Check out all of this in my Video by clicking here or the video below! There is also a Bump Shot in the video of little Ziggy! Enjoy! 🙂 Be sure to give the video a thumbs up and don’t forget to subscribe so you don’t miss out on future videos and Ziggy when she arrives!
Whether you like the Little Mermaid Disney Movie or not, these mermaids under the sea on this card are just adorable!!! I love the layers, texture, and fun in this card so much!!!
There is just so much fabulous-ness going on with this card. I’ll let you continue to stare at it or you can keep reading for all the details to make your own!
I started with a Pool Party card base. Next, I took another piece of Pool Party (4″ x 5-1/4″) and ran it through the Big Shot in the Seaside Embossing Folder. I added this layer to the card front. Then, I took a piece of the Myths & Magic Designer Series Paper (blue bubbles) measuring 2″ x 4-1/2″ and punched the banner tips with the Banner Triple Punch. This piece was added to the card front as well.
I took the sheet of mermaids from the Myths & Magic Designer Series Paper and cut out by hand 2 different mermaids. I wanted them going in different directions so that they fit on the square better. Since I’m not a huge fan of fussy cutting, I just did a basic around the body and didn’t get into all the details. Next, I stamped the bubbles from the Magical Day Stamp Set in Bermuda Bay all over a Stitched Shape die cut square. Then I added the mermaids to the front and added this to a layer of Bermuda Bay Glimmer Paper. I liked to use Tear And Tape to add layers to glitter to make sure it has a nice strong hold.
Using the coordinating Magical Mates Framelits (Bundle & Save 10%), I die cut out some seaweed in Lemon Lime Twist and Tranquil Tide. Then I added these along the side of the glimmer square, securing them on the back side with Stampin’ Dimensionals. I finished off with a few more dimensionals and then added it to the card front! For the greeting at the bottom, I stamped it from the Picture Perfect Birthday Stamp Set onto Lemon Lime Twist cardstock. Then I punched it out with the Classic Label Punch and added it to the card front with Stampin’ Dimensionals. On either end of the greeting, I added an Epoxy Dot for even more shine and texture!
I told you there were lots of layers and fun in this card but isn’t it just so magical?!?!?! I love it even if I only make 1…or maybe 2. 🙂 The Myths & Magical Suite is retiring at the end of the May which makes me sad. Be sure to stock up on these amazing products before they are gone. To see more samples using these products, click here, here, and here! Shop all of the products by clicking the items below!
Happy Monday! Let’s Celebrate!!! I hope you all had a wonderful weekend and survived April Fools Day! 🙂 I still have a few more Sale-A-Bration samples to share with all of you so bear with me. Sale-A-Bration is over but these are just too fabulous not to share! I got the idea for this card from fellow stamper, Karla E. Thanks for the beautiful card idea!
I have really been loving Berry Burst lately and this card just adds in a few other favorites of mine too! Loving the color combination for sure!
I started with a Whisper White card base. Next, I layered on a piece of Berry Burst (4″ x 5-1/4″) and a piece of Bubbles & Fizz Designer Paper (1-1/2″ x 5-1/4″) to the left side. Then I die cut out the squares for the greeting using the Stitched Shapes Framelits and Layering Squares Framelits! Using the Amazing You Sale-A-Bration Stamp Set, I stamped the sun burst in Peekaboo Peach Ink. Then I stamped the greeting over the top in Berry Burst Ink.
I layered the squares together and added the greeting to the card front with Stampin’ Dimensionals for some texture. Then, I made a bow with the Peekaboo Peach Crinkle Seam Binding and stuck it on the corner with Mini Glue Dots. To finish off the card, I added a few Tutti Frutti Sequins! These things are fabulous because they come with adhesive on the back already! Woot Woot!
Don’t worry if you don’t have the Amazing You Sale-A-Bration Stamp Set, you can always swap out the greeting for your favorite! The card concept is still a fun one to play with!!!


")


