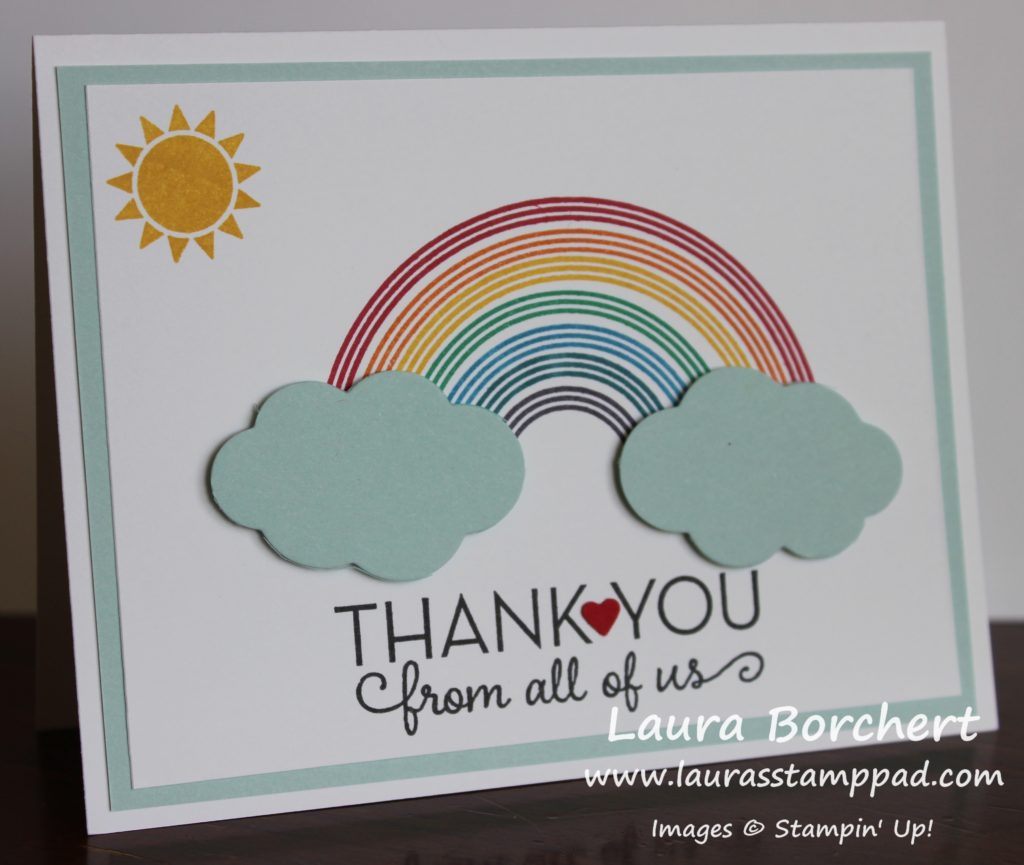
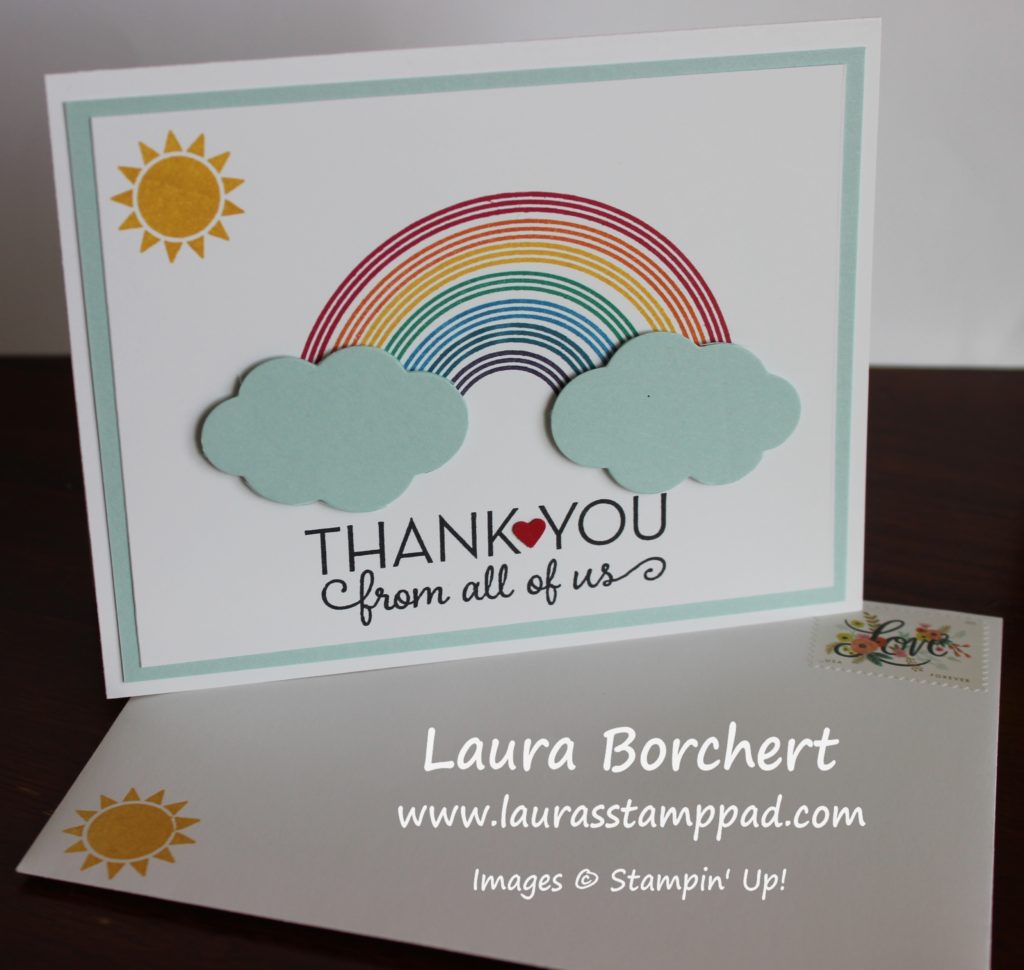
I love bright colors and seeing the Sunshine & Rainbows Bundle made me super happy! This beautiful shining rainbow card is what I created for our Baby Shower Thank You Notes and I’m in love!!!
Isn’t it just precious??? I am loving how they turned out!!!
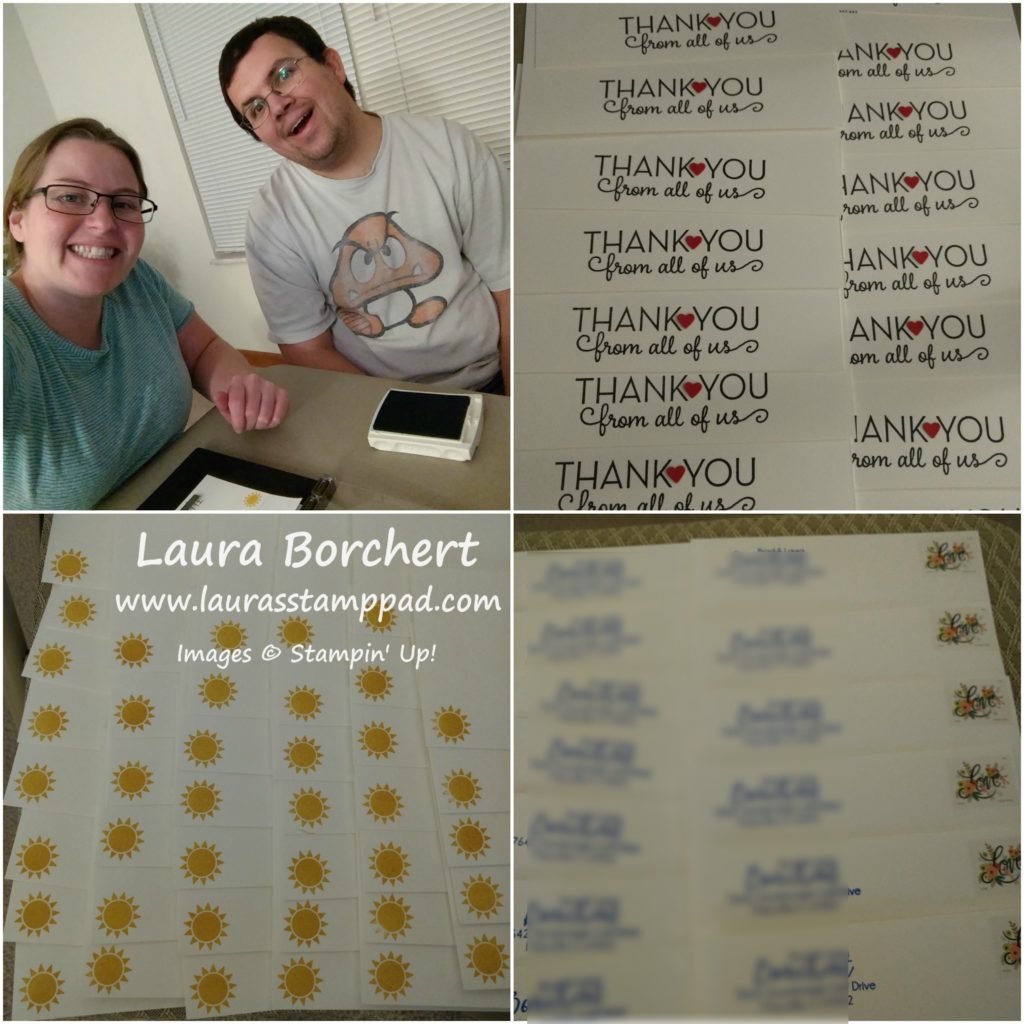
I started with a Whisper White card base and then I layered on a piece of Soft Sky measuring 4″ x 5-1/4″. Next, I took a piece of Whisper White (3-3/4″ x 5″) and did all of the stamping!!! I used the Sunshine & Rainbows Stamp Set from the Occasions Mini Catalog for the sun and rainbow. The greeting is from the One Big Meaning Stamp Set! Since I was making multiples I did these cards in an assembly line and each piece in a section. First, I stamped the greetings in Basic Black Ink and the sun in Crushed Curry Ink. Then, using the Stamparatus, I got started on the rainbows!!! I did 2 of the…….rays? bows?…..colors at a time. I started with smallest ones first and I’m not sure if it really would have mattered whether I started with the smallest or largest!
A few tips for the Stamparatus that I want to share since I used it a lot and over and over. I put one color on the platform at the top and one at the side. Making sure I didn’t get the colors mixed up, I tried to keep one ink pad to the left and one to the right. Most of this stamping was done while watching the Olympics so I had my husband help me out. He inked up one of the rainbow rays while I did the other one and it went much faster!
While there is not a problem with getting ink all over the platform and having that end up on your cardstock, it is a problem with getting it on the magnets. I realized that when I stamped down and ink got onto the magnet, then it got onto my hand when I moved the magnet off the cardstock. This resulted in a nice red fingerprint on one of the cards. That card just has a few more clouds on it! 😉
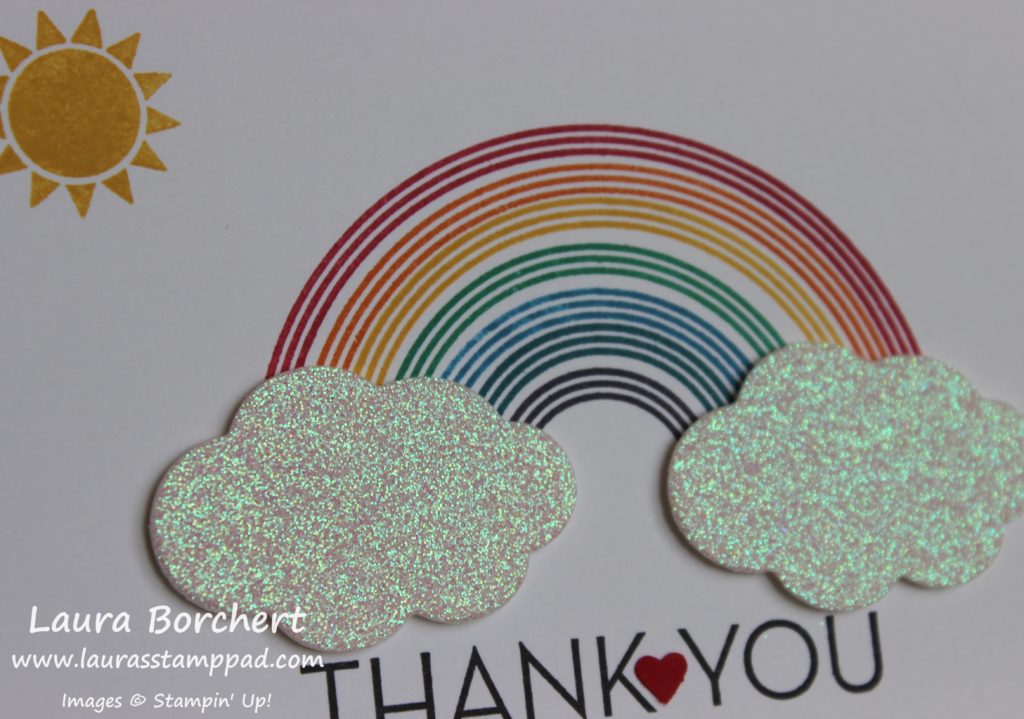
To finish off the card, I added the clouds that were die cut using the coordinating Rainbow Builder Framelits (Bundle & Save 10%). Some of the clouds I did in Soft Sky cardstock and some I did with the Myths & Magic Glimmer Paper! I’m not sure sure which I like better. Some of the clouds got a little shimmer from the Wink of Stella Pen as well! Let me know which one you would use in the comments below!!! Also, the little heart in the greeting was punched out with Cookie Cutter Builder Punch and added with the Fine Tip Glue Pen.
I added a little sun to the envelope as well!!! I was super excited with how they turned out and can’t wait to use them!
If you would like to see this all in action and my tips and tricks, check out the Video Tutorial below or click here! Be sure to give the video a thumbs up if you liked it and don’t forget to subscribe if you are new. If you would like a notification when I post a new video, be sure to click the bell right next to the subscribe!!!
Happy Stampin’
~Laura
Product List


You are just adorable!!!!!!!! I enjoy your cards and ideas so much. You will make a terrific Mom!
Awww Thank you so much! That is super sweet and means a lot to me! 🙂 ~Laura
Adorable…they are both so cute, but I really like blue clouds with a hint of Wink-a-stella, of course.
Love that Wink of Stella for sure!!! 🙂 ~Laura
I love the card and for sure the Wink of Stella!
Looks like Wink of Stella is the way to go!!! Loving your suggestions!! ~Laura
Thanks Colin nice post.
Glad you enjoyed it! ~Laura
Pingback: The Stuffed Animal Sweetness runs high with this adorable card!Laura's Stamp Pad