Today’s MY BIRTHDAY!!!! Let Us All Celebrate together with some fabulous specials!!!

Are you ready for all of this fabulous-ness!?!?!?
TODAY ONLY…..every order of $40 (before tax and shipping) will earn a FREE Gift from me as well as 1 Laura’s Loyal Stampers Stickers! I have tons of great prizes to give! Check them out! Click here to start shopping and enter the Hostess Code: A3AR6VYH when you are checking out!!!

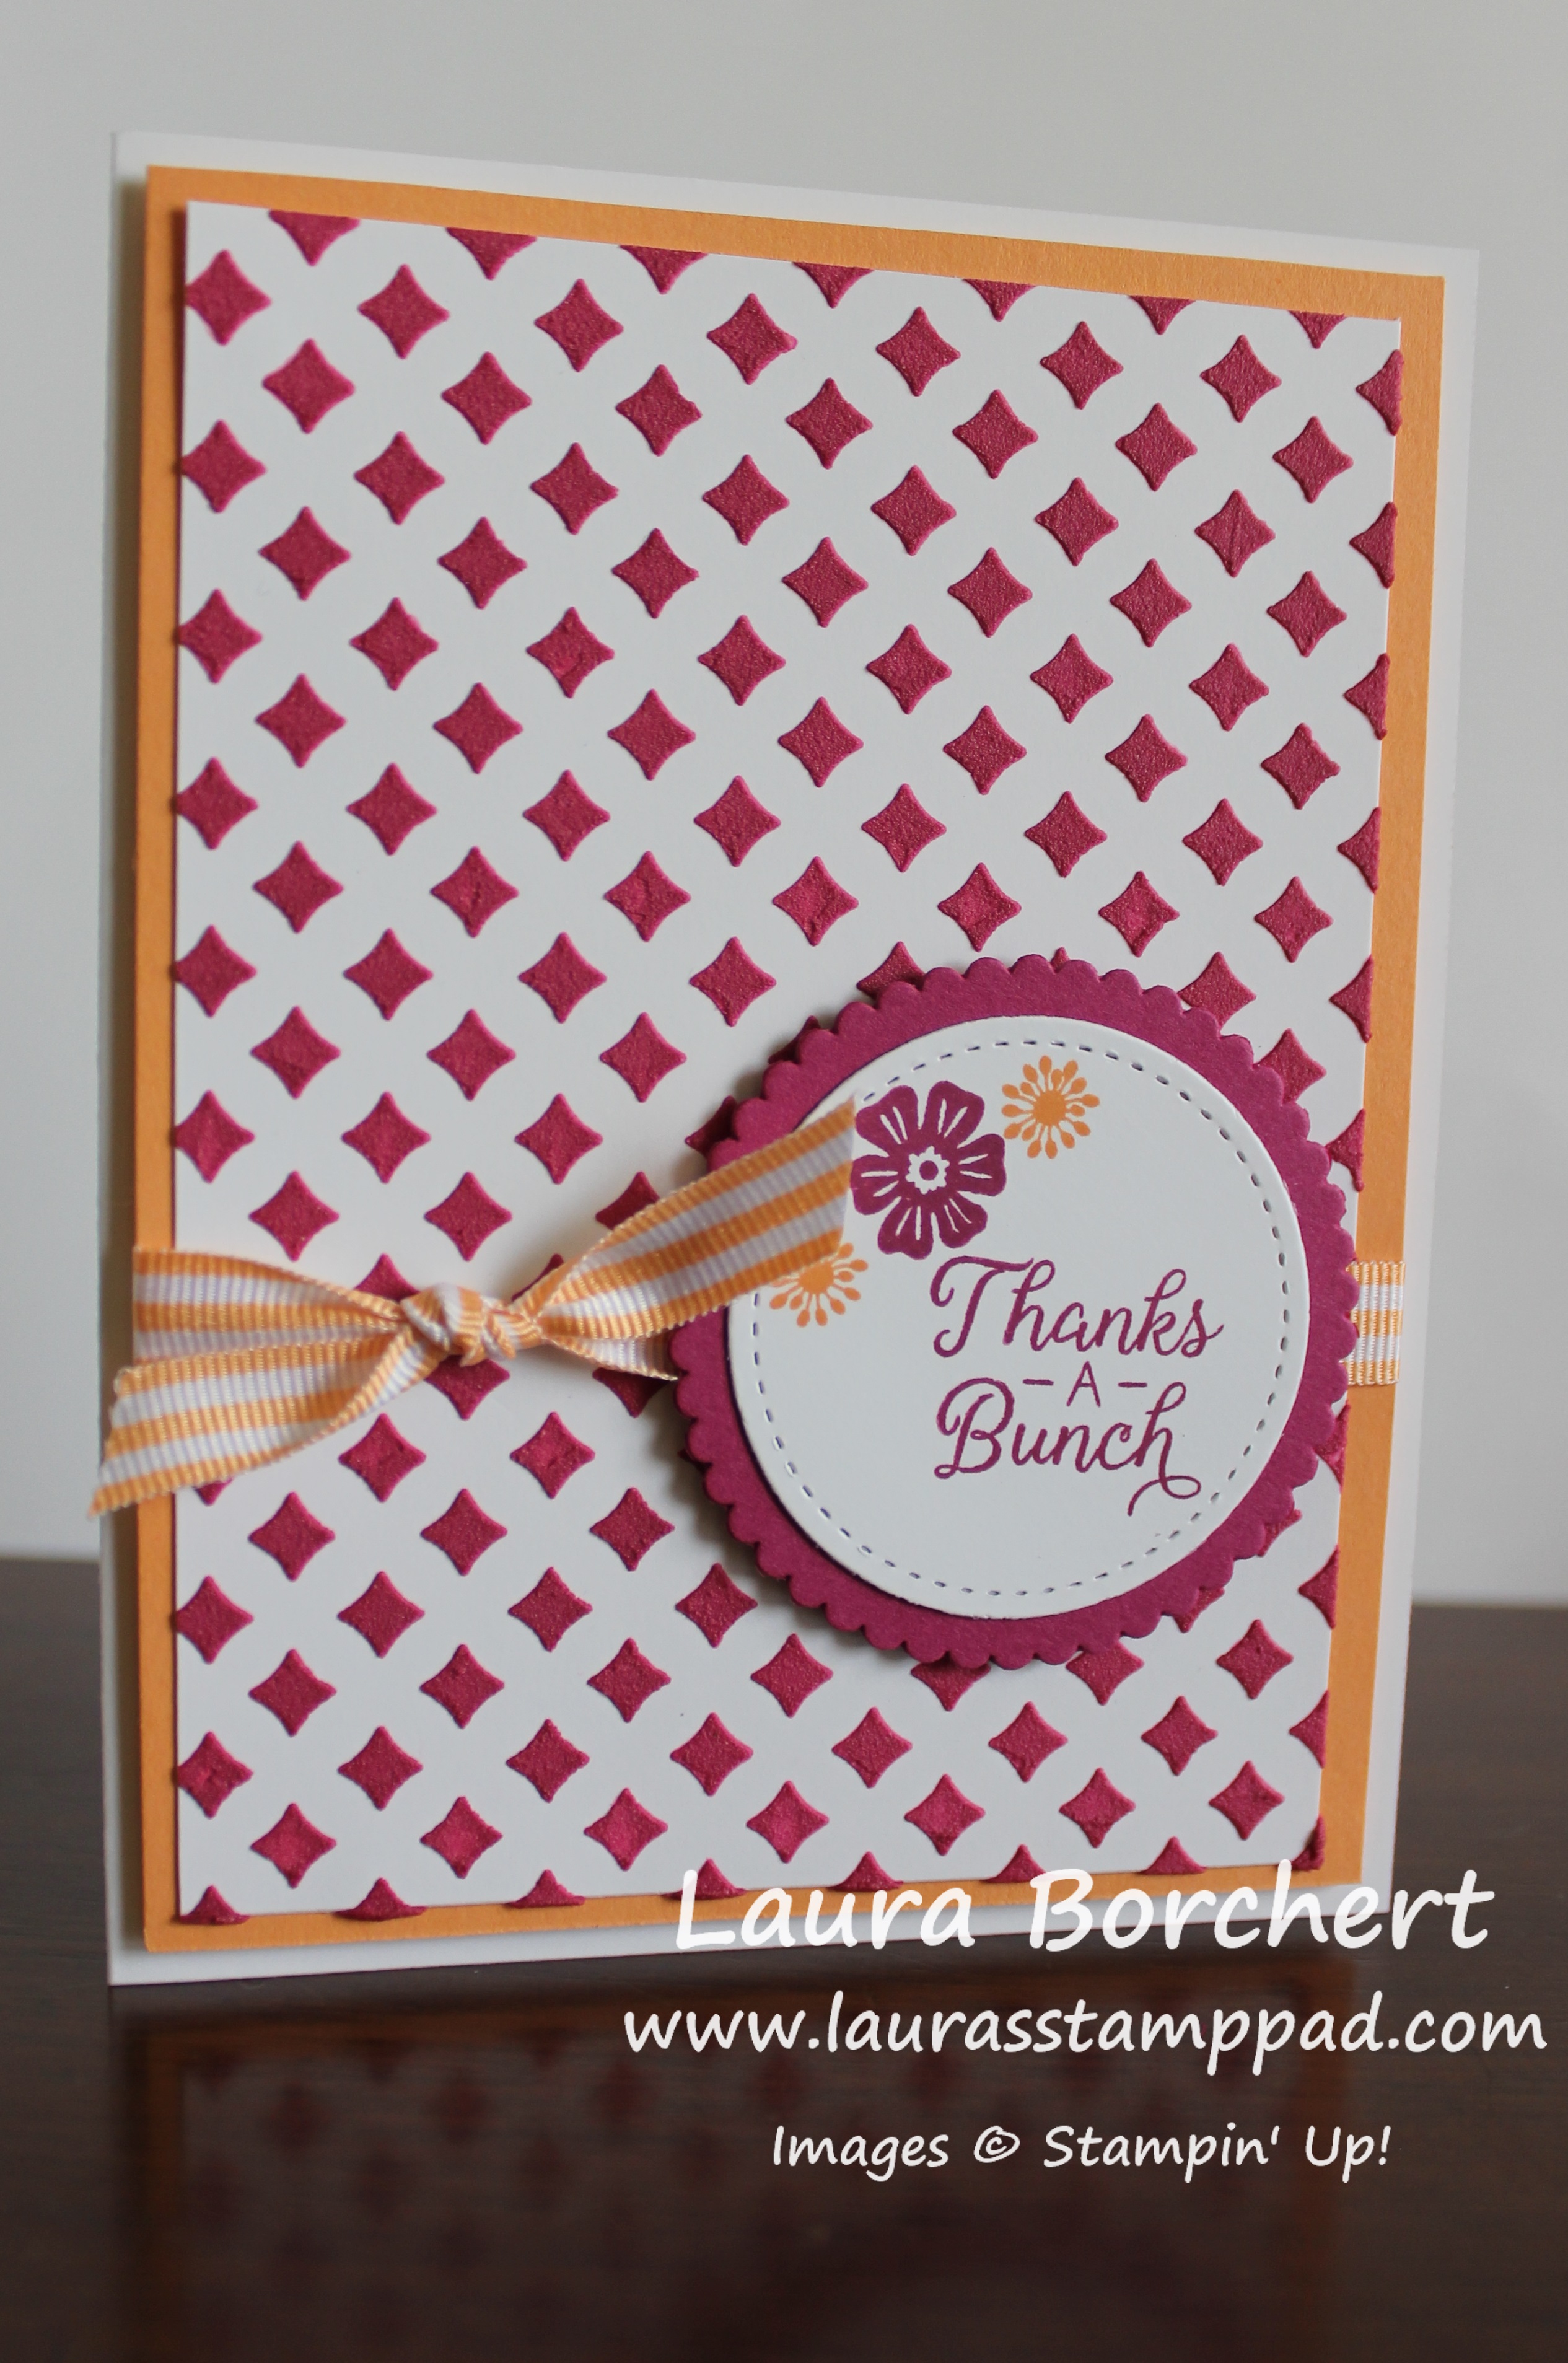
Here are just a few of the goodies – Embossing Paste, Blender Pens, Ink Pads, Glitter Enamel Dots, Chalk Marker, Designer Series Paper Stacks, and more!
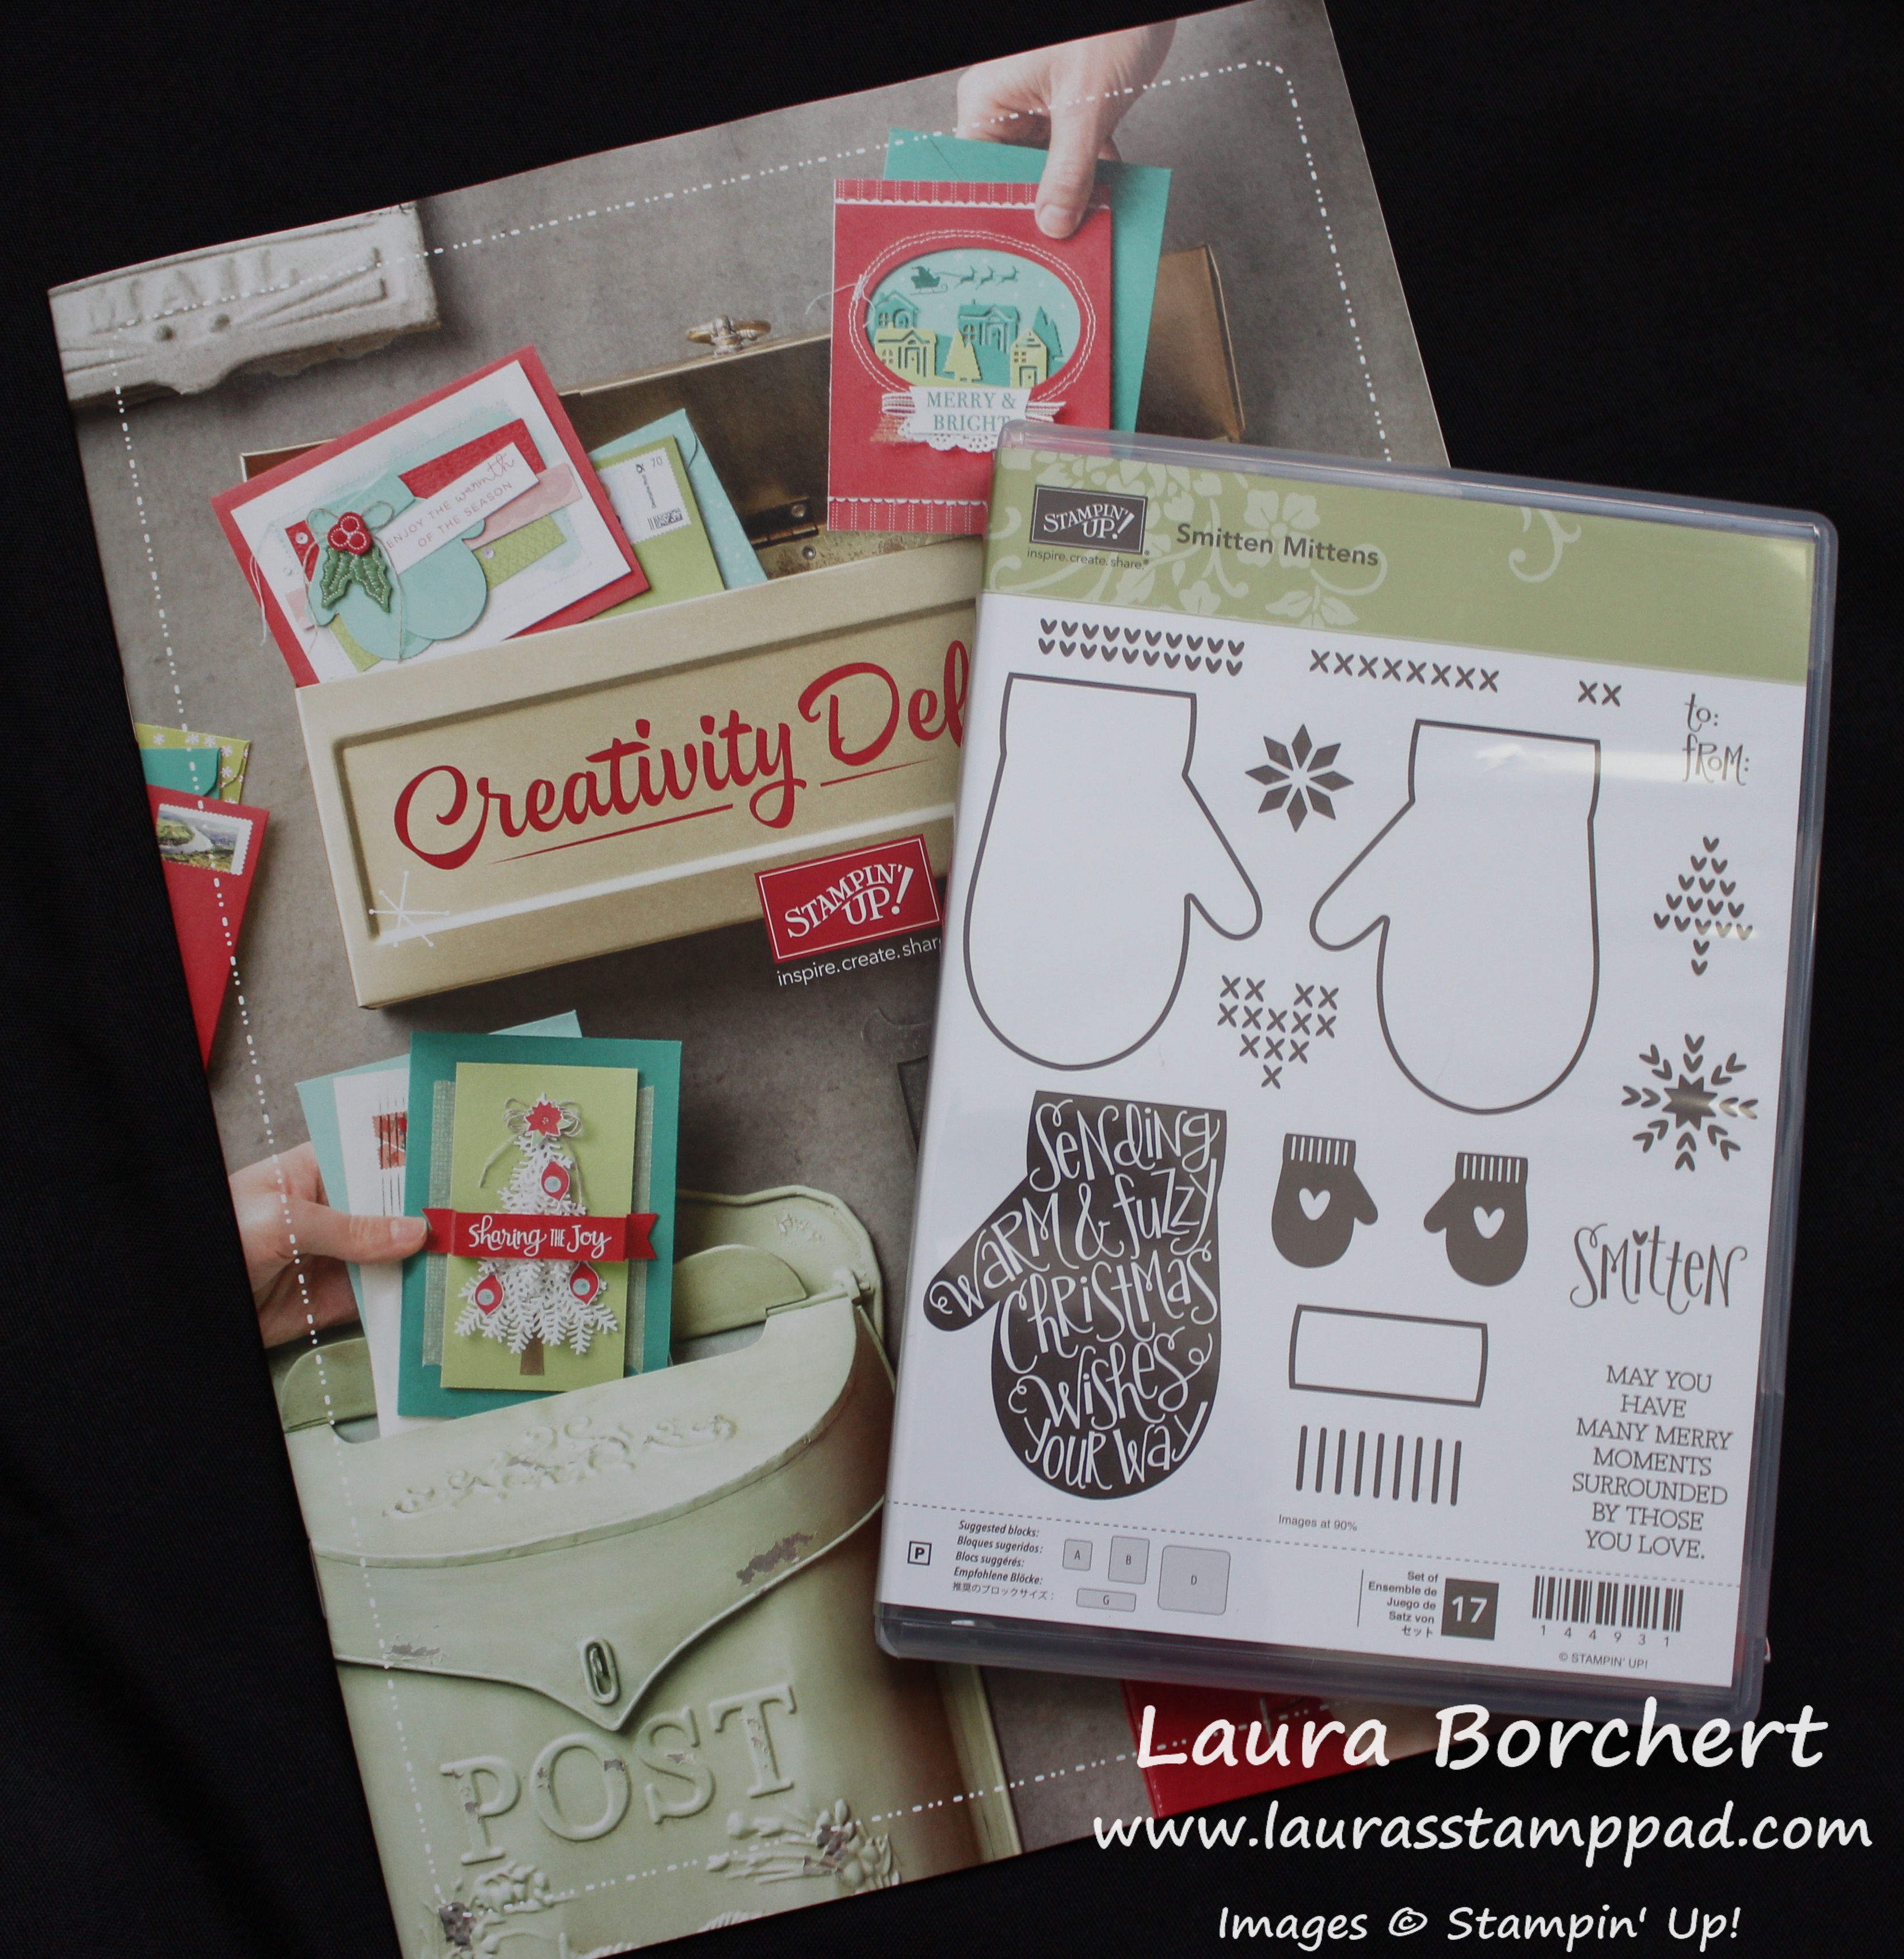
But wait there’s more……If you order $75 (before shipping and tax), you will get a Free Gift, One Laura’s Loyal Stampers Stickers, AND the Smitten Mittens Stamp Set for Free! This set is coming out in the Holiday Mini Catalog so you can earn it before it even comes out! Woot Woot! Click here to start shopping and enter the Hostess Code: A3AR6VYH when you are checking out!!!
Not sure what to order or just getting started with stamping or just want to check it out……Paper Pumpkin is HALF PRICE for September for new subscribers. Click here to sign up and use the Promo Code: HALFOFF0917 (zero nine one seven). If you sign up TODAY, you will earn a Free Gift as well!

These gift bags were super fun to make with Embossing Paste! I got them at the dollar store, smeared some embossing paste over the template randomly. Since I had a ton of Berry Burst paste left over, I just did it over tons of scraps. Once it was all dry, I added those scraps to some tags and added the tag to the bags with Finely Woven Ribbon! I love how they turned out!
If you would like to see these items and ME, check out the Video Tutorial below or click here! Be sure to give the video a thumbs up if you liked it and don’t forget to subscribe if you are new. If you would like a notification when I post a new video, be sure to click the bell right next to the subscribe!!!
Have a wonderful day because it’s a Fabulous One!!! Happy Stampin’
~Laura


 Metallic-Edge Ribbon")