Lemon Cupcakes Are My Favorite!!! There is just something about that tang and the sweetness! Cupcakes are heavenly to me anyway!!! Let me know in the comments…..cake or cupcakes???
When I decided to make cupcakes with embossing paste icing, I knew I wanted yellow for a lemon look!!! I think I nailed it! 🙂
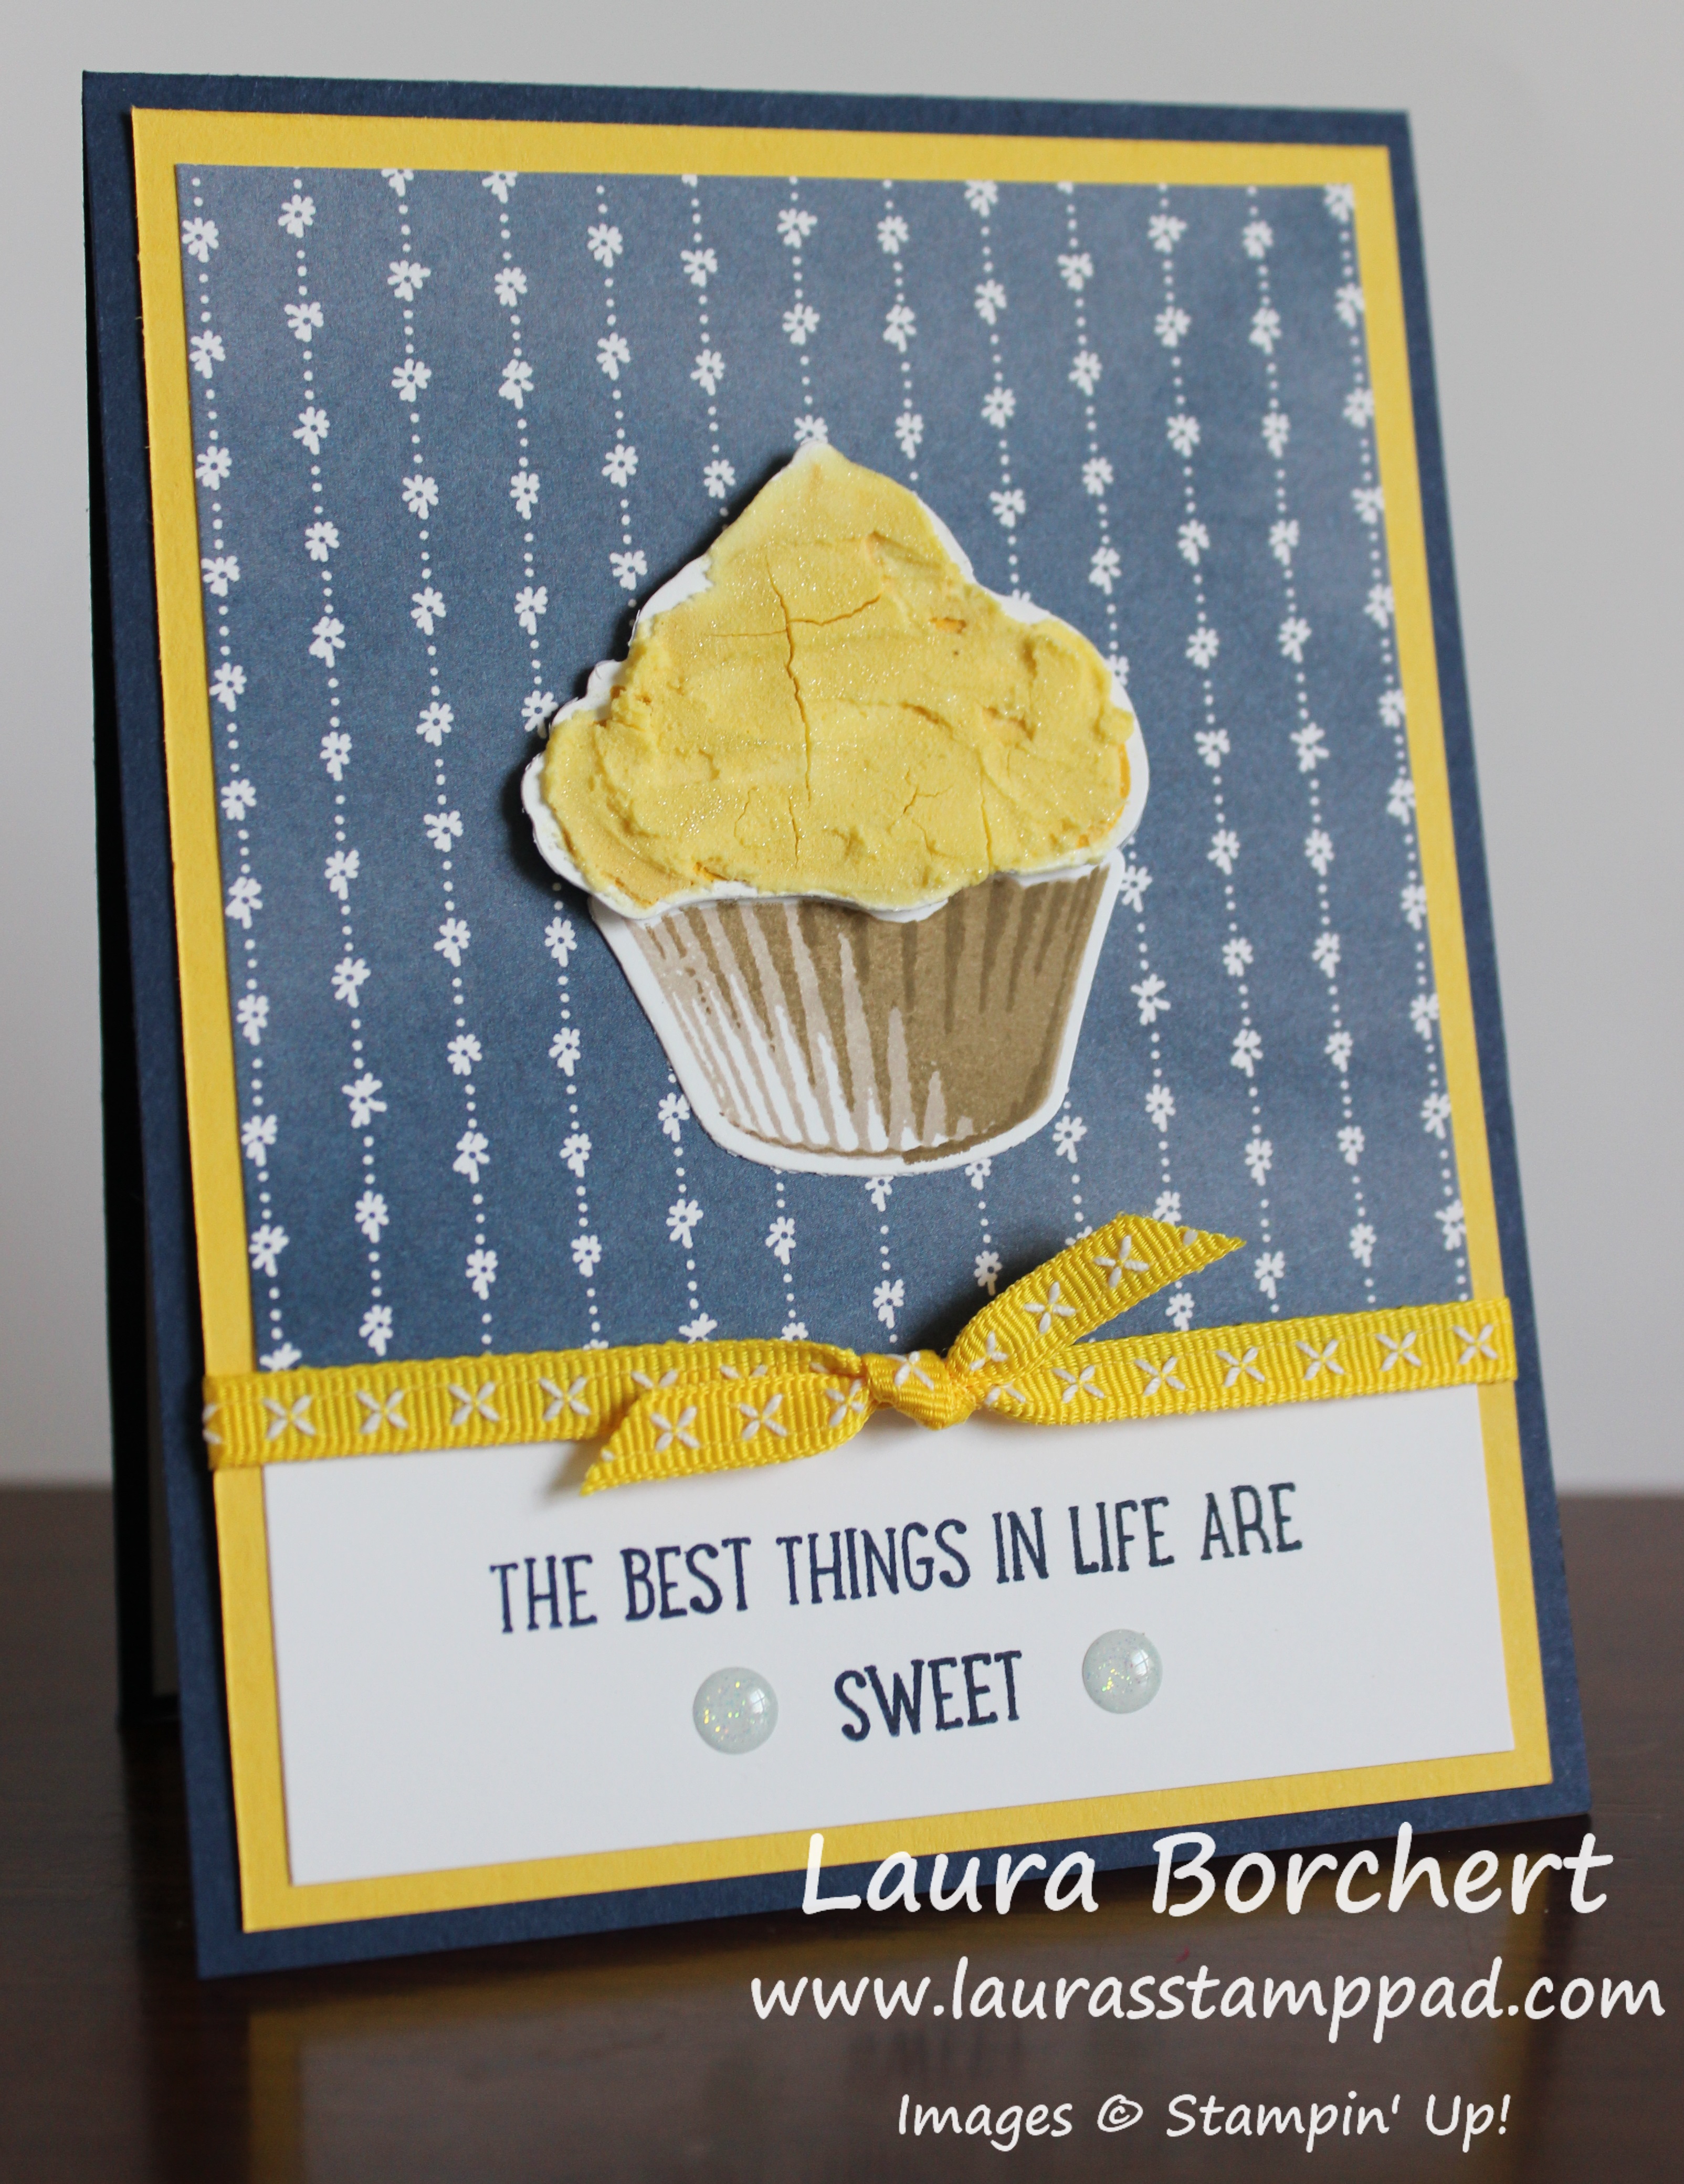
I started with a Night of Navy card base (4-1/4″ x 11″). Next, I took a piece of Whisper White measuring 3-3/4″ x 1-3/4″ and stamped the greeting from the Sweet Cupcake Stamp Set in Night of Navy. Be sure to stamp it on the lower portion so the Designer Paper doesn’t cover it! I layered this onto the bottom of a piece of Daffodil Delight (4″ x 5-1/4″). On the top portion, I layered on a piece of Delightful Daisy Designer Series Paper (3-3/4″ x 3-3/4″). The designer paper till overlap over the top of the greeting piece. I tied some Daffodil Delight Double Stitched Ribbon around the piece, covering the overlap of papers. This piece was then added to the card front with Stampin’ Dimensionals.
For the cupcake, I used the Sweet Cupcake Stamp Set and coordinating Cupcake Cutouts Framelits. The liner is a 3 step stamping image. I stamped the largest image in Crumb Cake Ink. The next image was stamped in Soft Suede (stamped off once) and the smallest final image in Soft Suede (full strength). The icing was stamped with the largest (most solid) image in Crushed Curry. I decided on using a darker yellow so it would really pop! I added the liner to the card front with Snail Adhesive but I used Stampin’ Dimensionals for the icing! It is easier to ice the cupcake when it is adhered on already. Plus, this way you don’t have to touch it again while it dries.

For this icing, I added a few drops of Daffodil Delight Re-inker to some Embossing Paste. Using the Palette Knives, I mixed it in and then added a fine layer to the cupcake icing. Go thin so it doesn’t take forever to dry and there is less curling and cracking of the cardstock. A few things I did to finish off the card were add some Glitter Enamel Shapes to either side of the greeting and Wink of Stella on the icing! Be sure the embossing paste is completely dry and just brush some glitter all over for a hint of shine! I just love how this turned out!!!
Product List


Happy Stampin’
~Laura
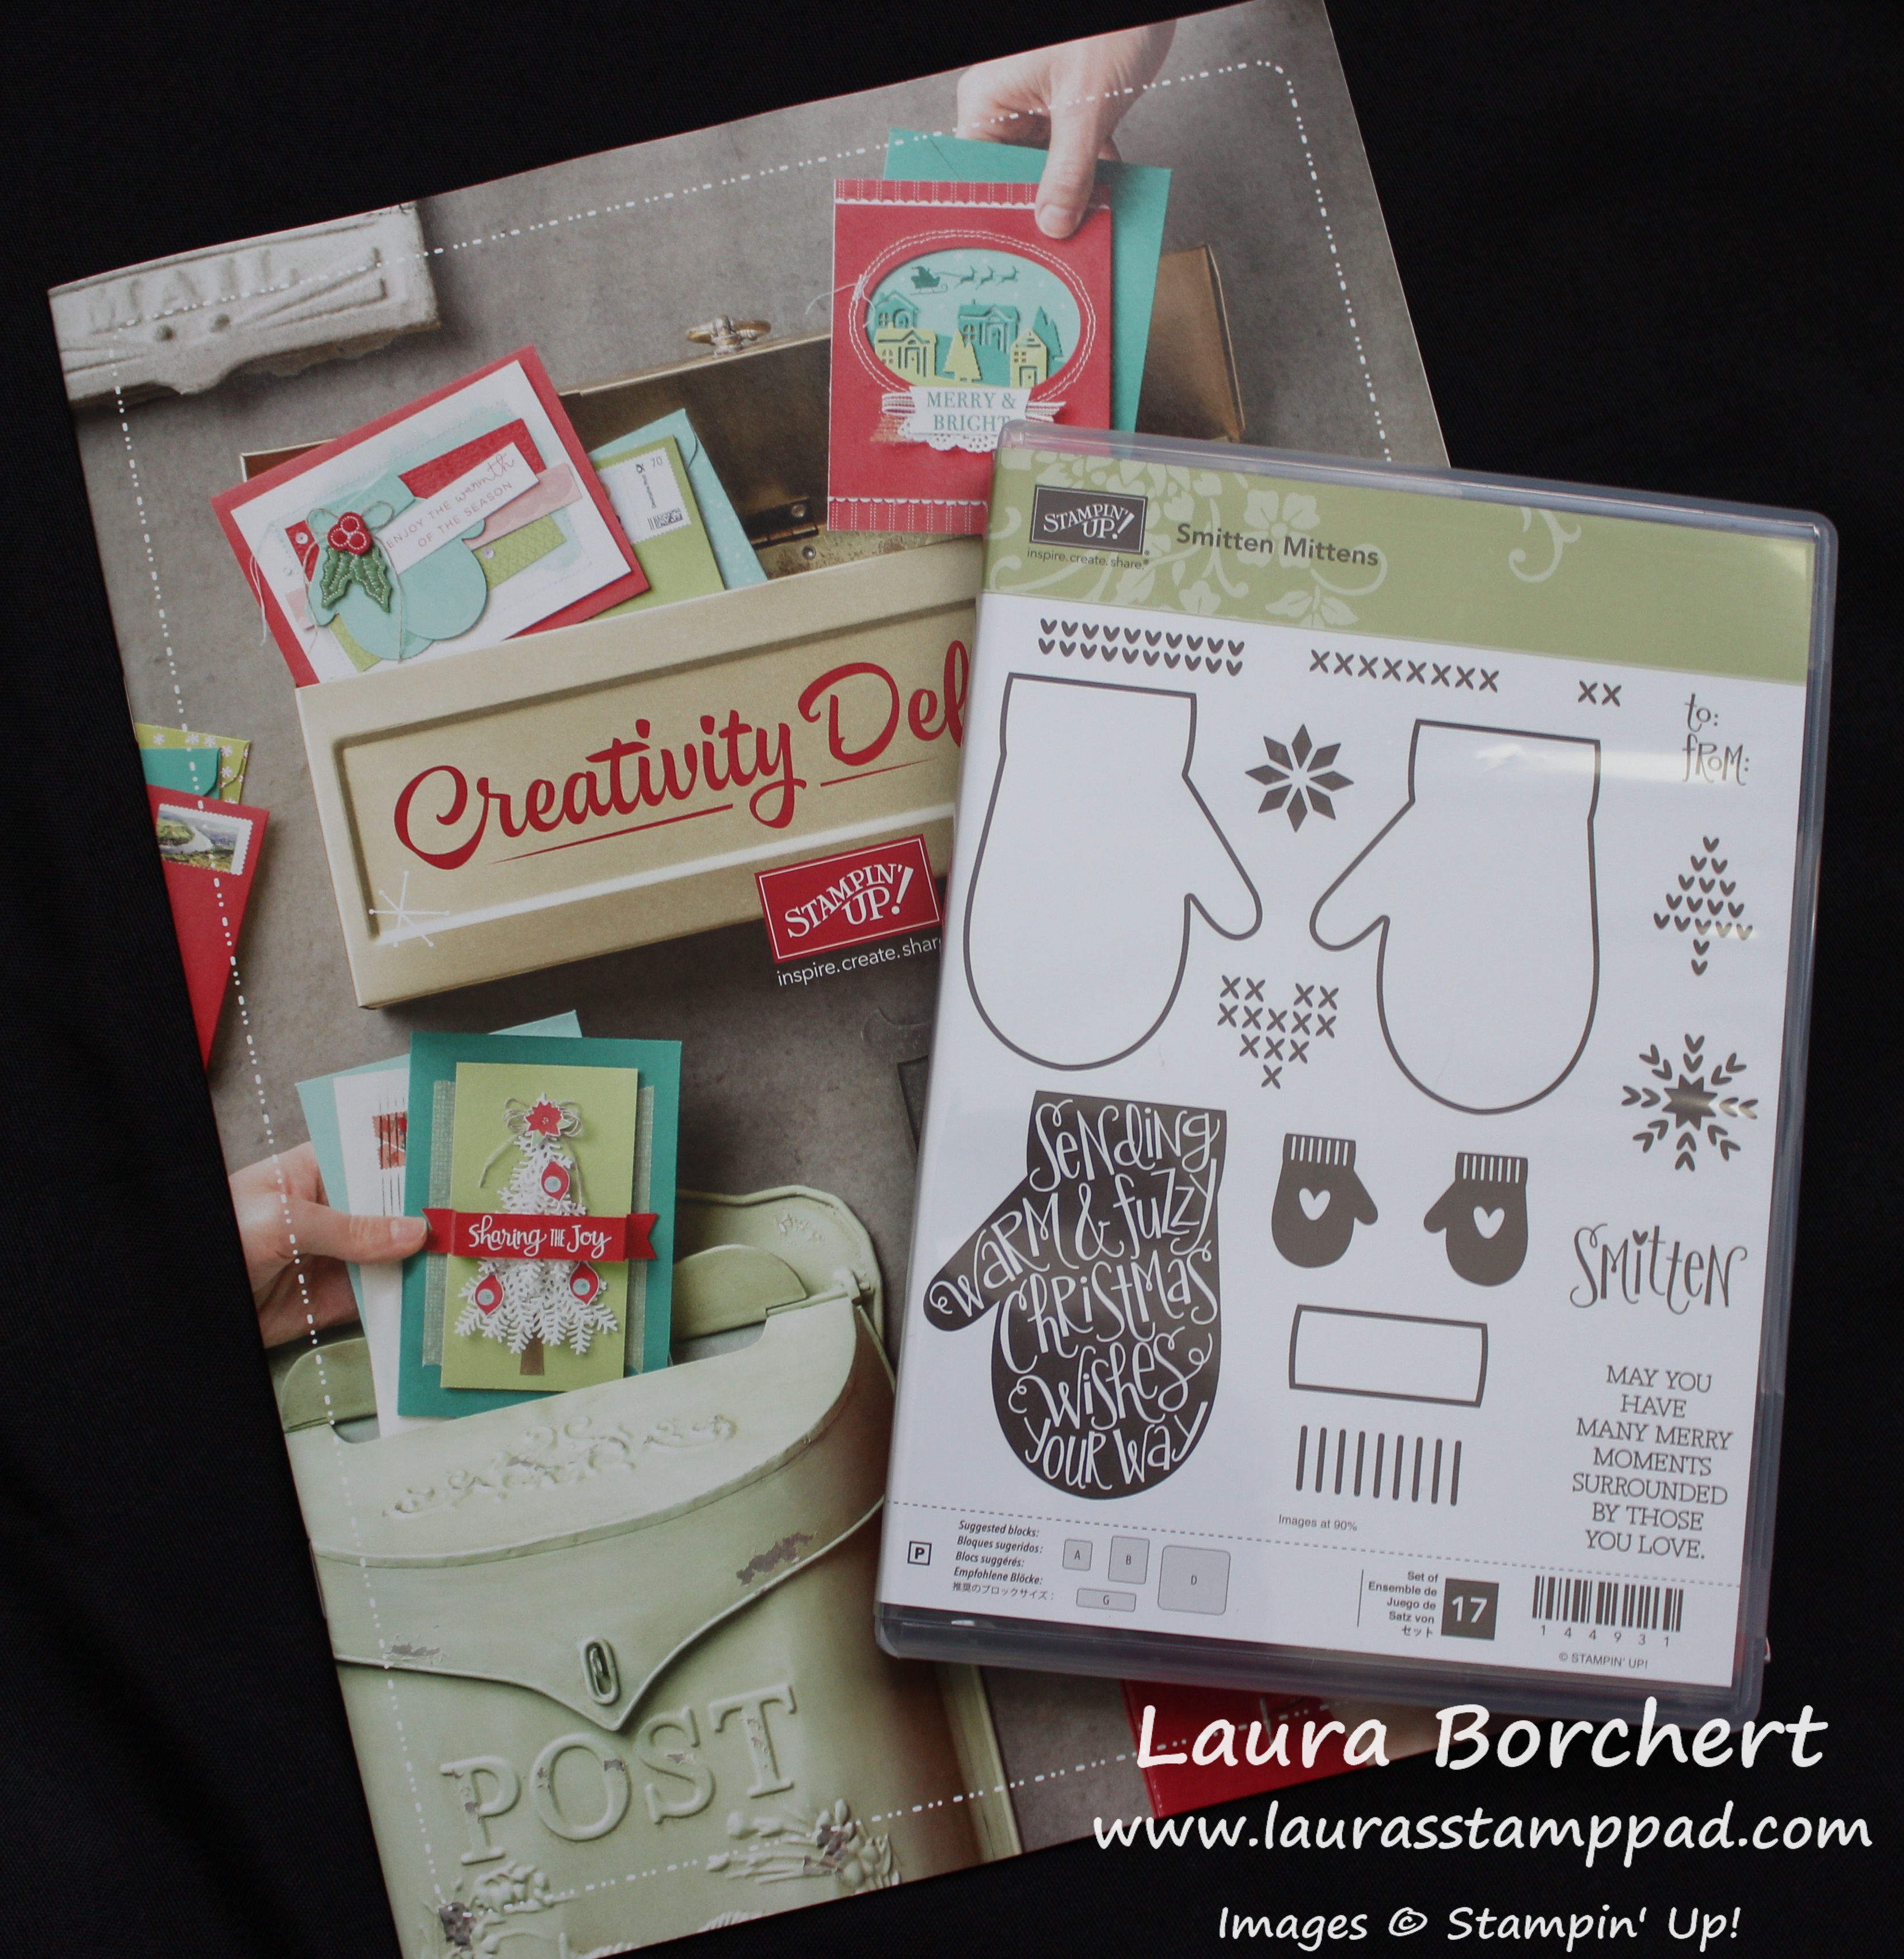
Don’t forget you can get the Smitten Mittens Stamp Set for FREE with a $75 order placed before August 31st!!! Click here for more details!