Happy Tuesday!!! That means I have a fabulous technique to share with you today! This Peek Through Quilt Card is super cute and perfect for Christmas. Change up the colors and it would be great for many other occasions too!

From the front, it just looks super cute but then when you open it, the real WOW factor is shown off!!!
I started with a Real Red card base measuring 11″ x 4-1/4″. After folding it in half for the card base, open it back up and place it in the Big Shot with the square quilt framelit on top. This is from the Quilt Builder Framelits. I eyeballed it for placement from the top and then used Post It Notes to hold the frame in place with markings on either side to center it. Check out the video below. I did this a few times and sometimes I just eyeballed the entire placement. It still works! Just go for it!
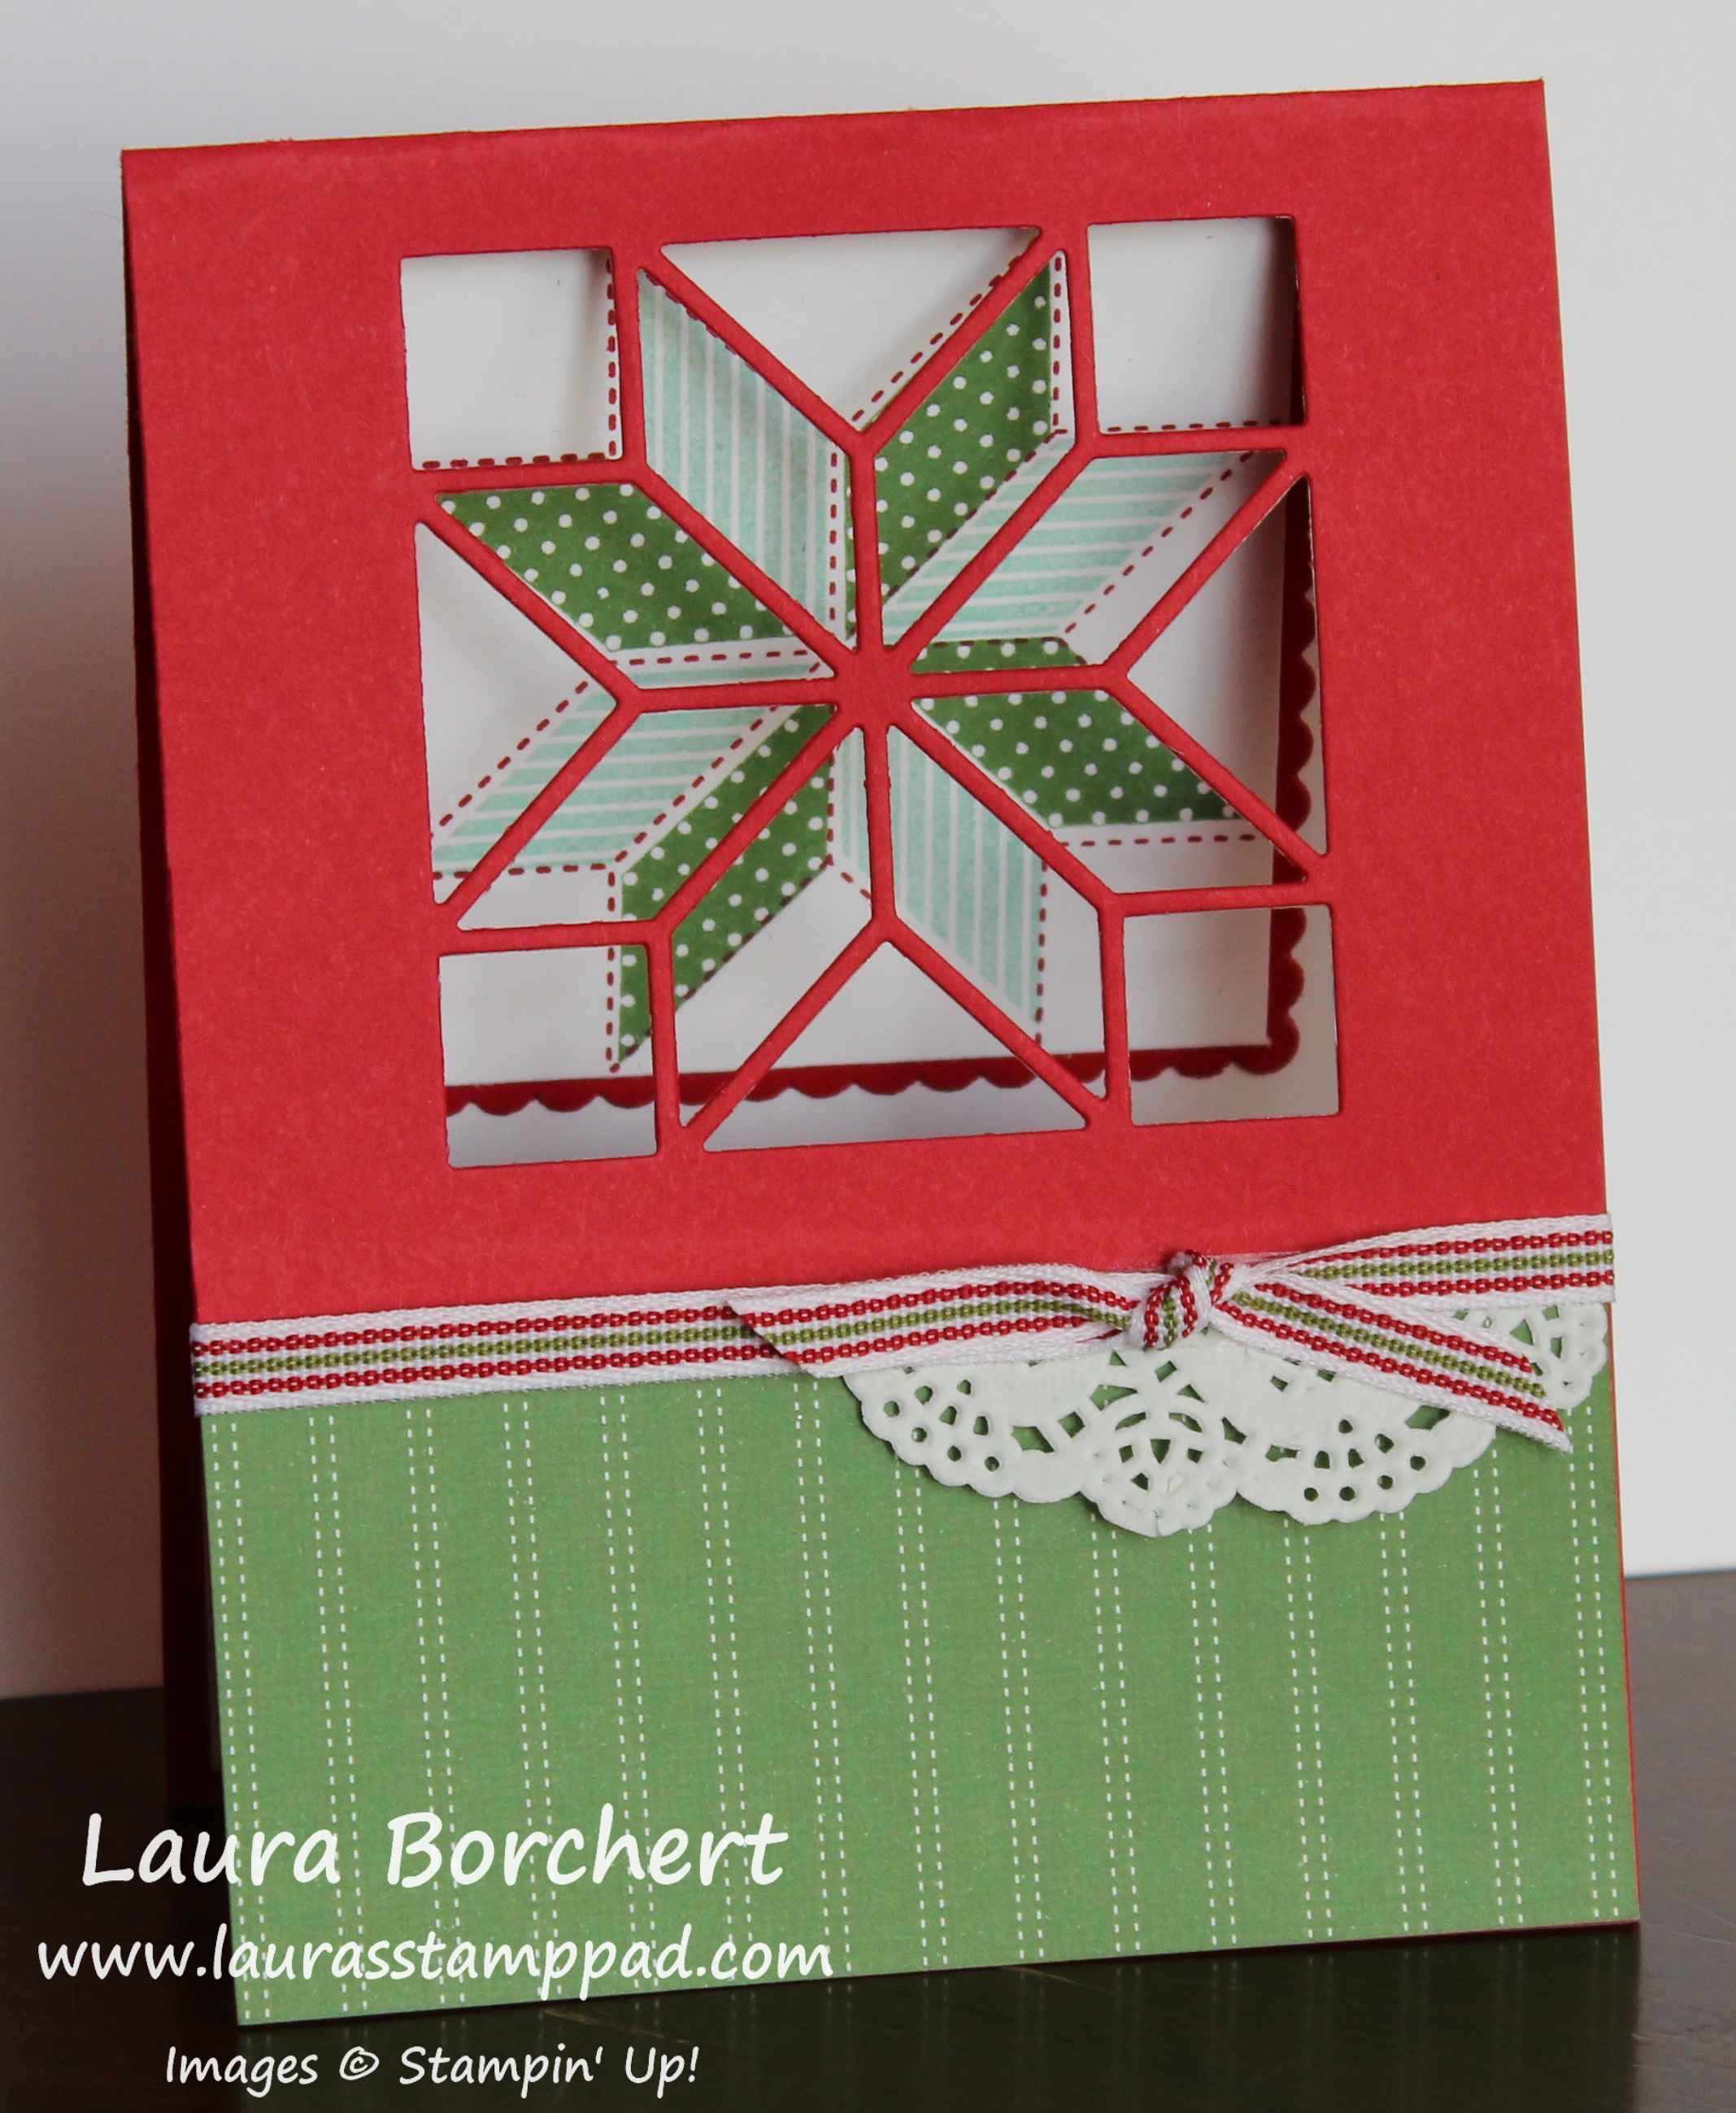
For the decorations on the front, I used a piece of the Quilted Christmas Designer Series Paper on the bottom. Next, I placed just a small piece of the Delicate White Doily on the right hand side. I was able to get 3-4 of these pieces from each doily depending on how I cut it. Simply add just a hint of adhesive at the top of the designer paper and press the doily into it. Then I tied some of the Quilted Christmas Ribbon around the card front and into a knot.

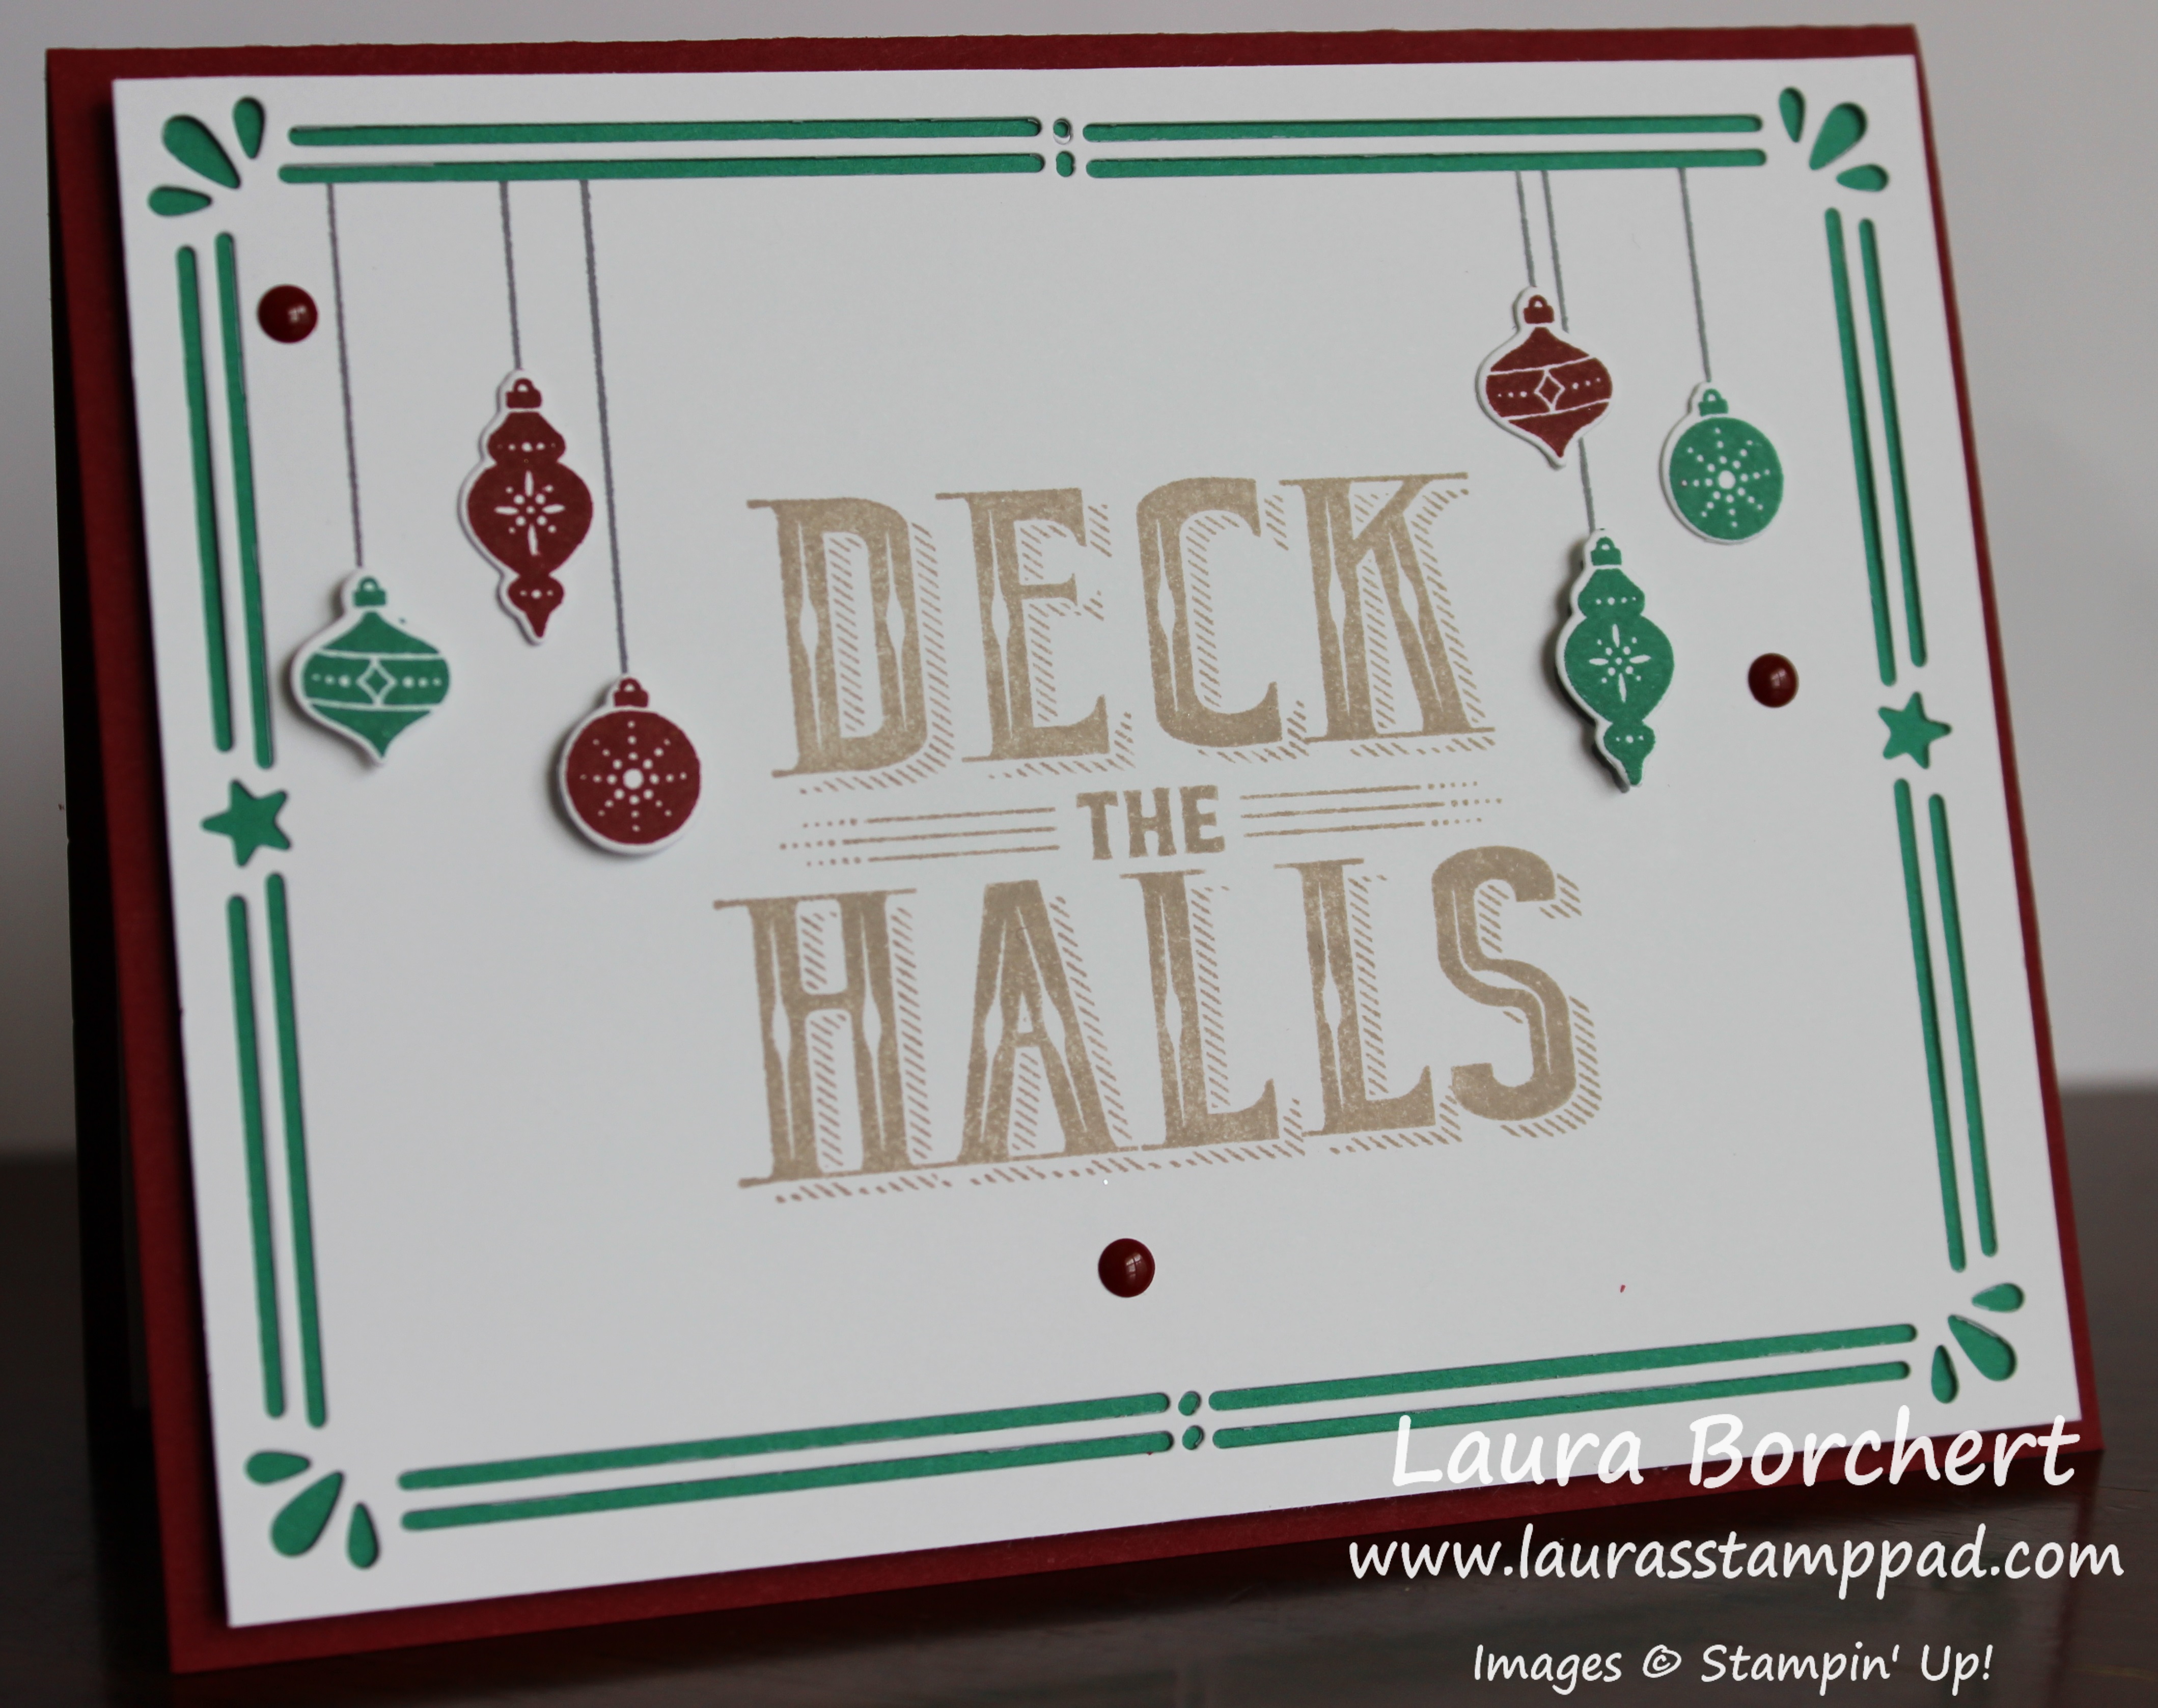
Now for the inside where all the magic is! I placed a piece of Whisper White in the center and stamped the greeting from the Christmas Quilt Stamp Set (Bundle & Save 10%) in Real Red Ink. Make sure the greeting is low enough that your greeting doesn’t get covered by the quilt square. For the quilt square, I used the Layering Squares Framelits. That scallop edge just adds even more to this warm and cozy sweet card. First, I stamped the dotted image in Real Red Ink. Then, I stamped the inserts in Pool Party and Garden Green Ink. After stamping, I added this piece to the scallop red square.
Now for the placement to the inside of the card and yet still making sure it peeks through correctly. I added adhesive to the back of the scallop and held it in front of the die cut window. Holding it there, all lined up, I shut the card and slowly pulled my fingers out. You will notice that the sample above is a hint tilted but I’m okay with that because it still lines up perfectly when closed.
If you would like to see this all in action, check out the Video Tutorial below or click here! Be sure to give the video a thumbs up if you liked it and don’t forget to subscribe if you are new. If you would like a notification when I post a new video, be sure to click the bell right next to the subscribe!!!
Don’t forget the Online Extravaganza going on all week!
Happy Stampin’
~Laura
Product List

 Designer Series Paper")
 Ribbon")