In preparation for the Occasions Mini Catalog and Sale-A-Bration Promotion starting tomorrow, I’m not doing Technique Tuesday today! Instead, I’m sharing with you the Mixed Medallions Card Kit that can be earned for FREE with a $50 order tomorrow through the end of March!
I was super excited to see a kit like this again this year! The kit requires no stamping and it’s quick to assemble. I created these cards within minutes. Fun, pretty, and ready to use in no time at all!
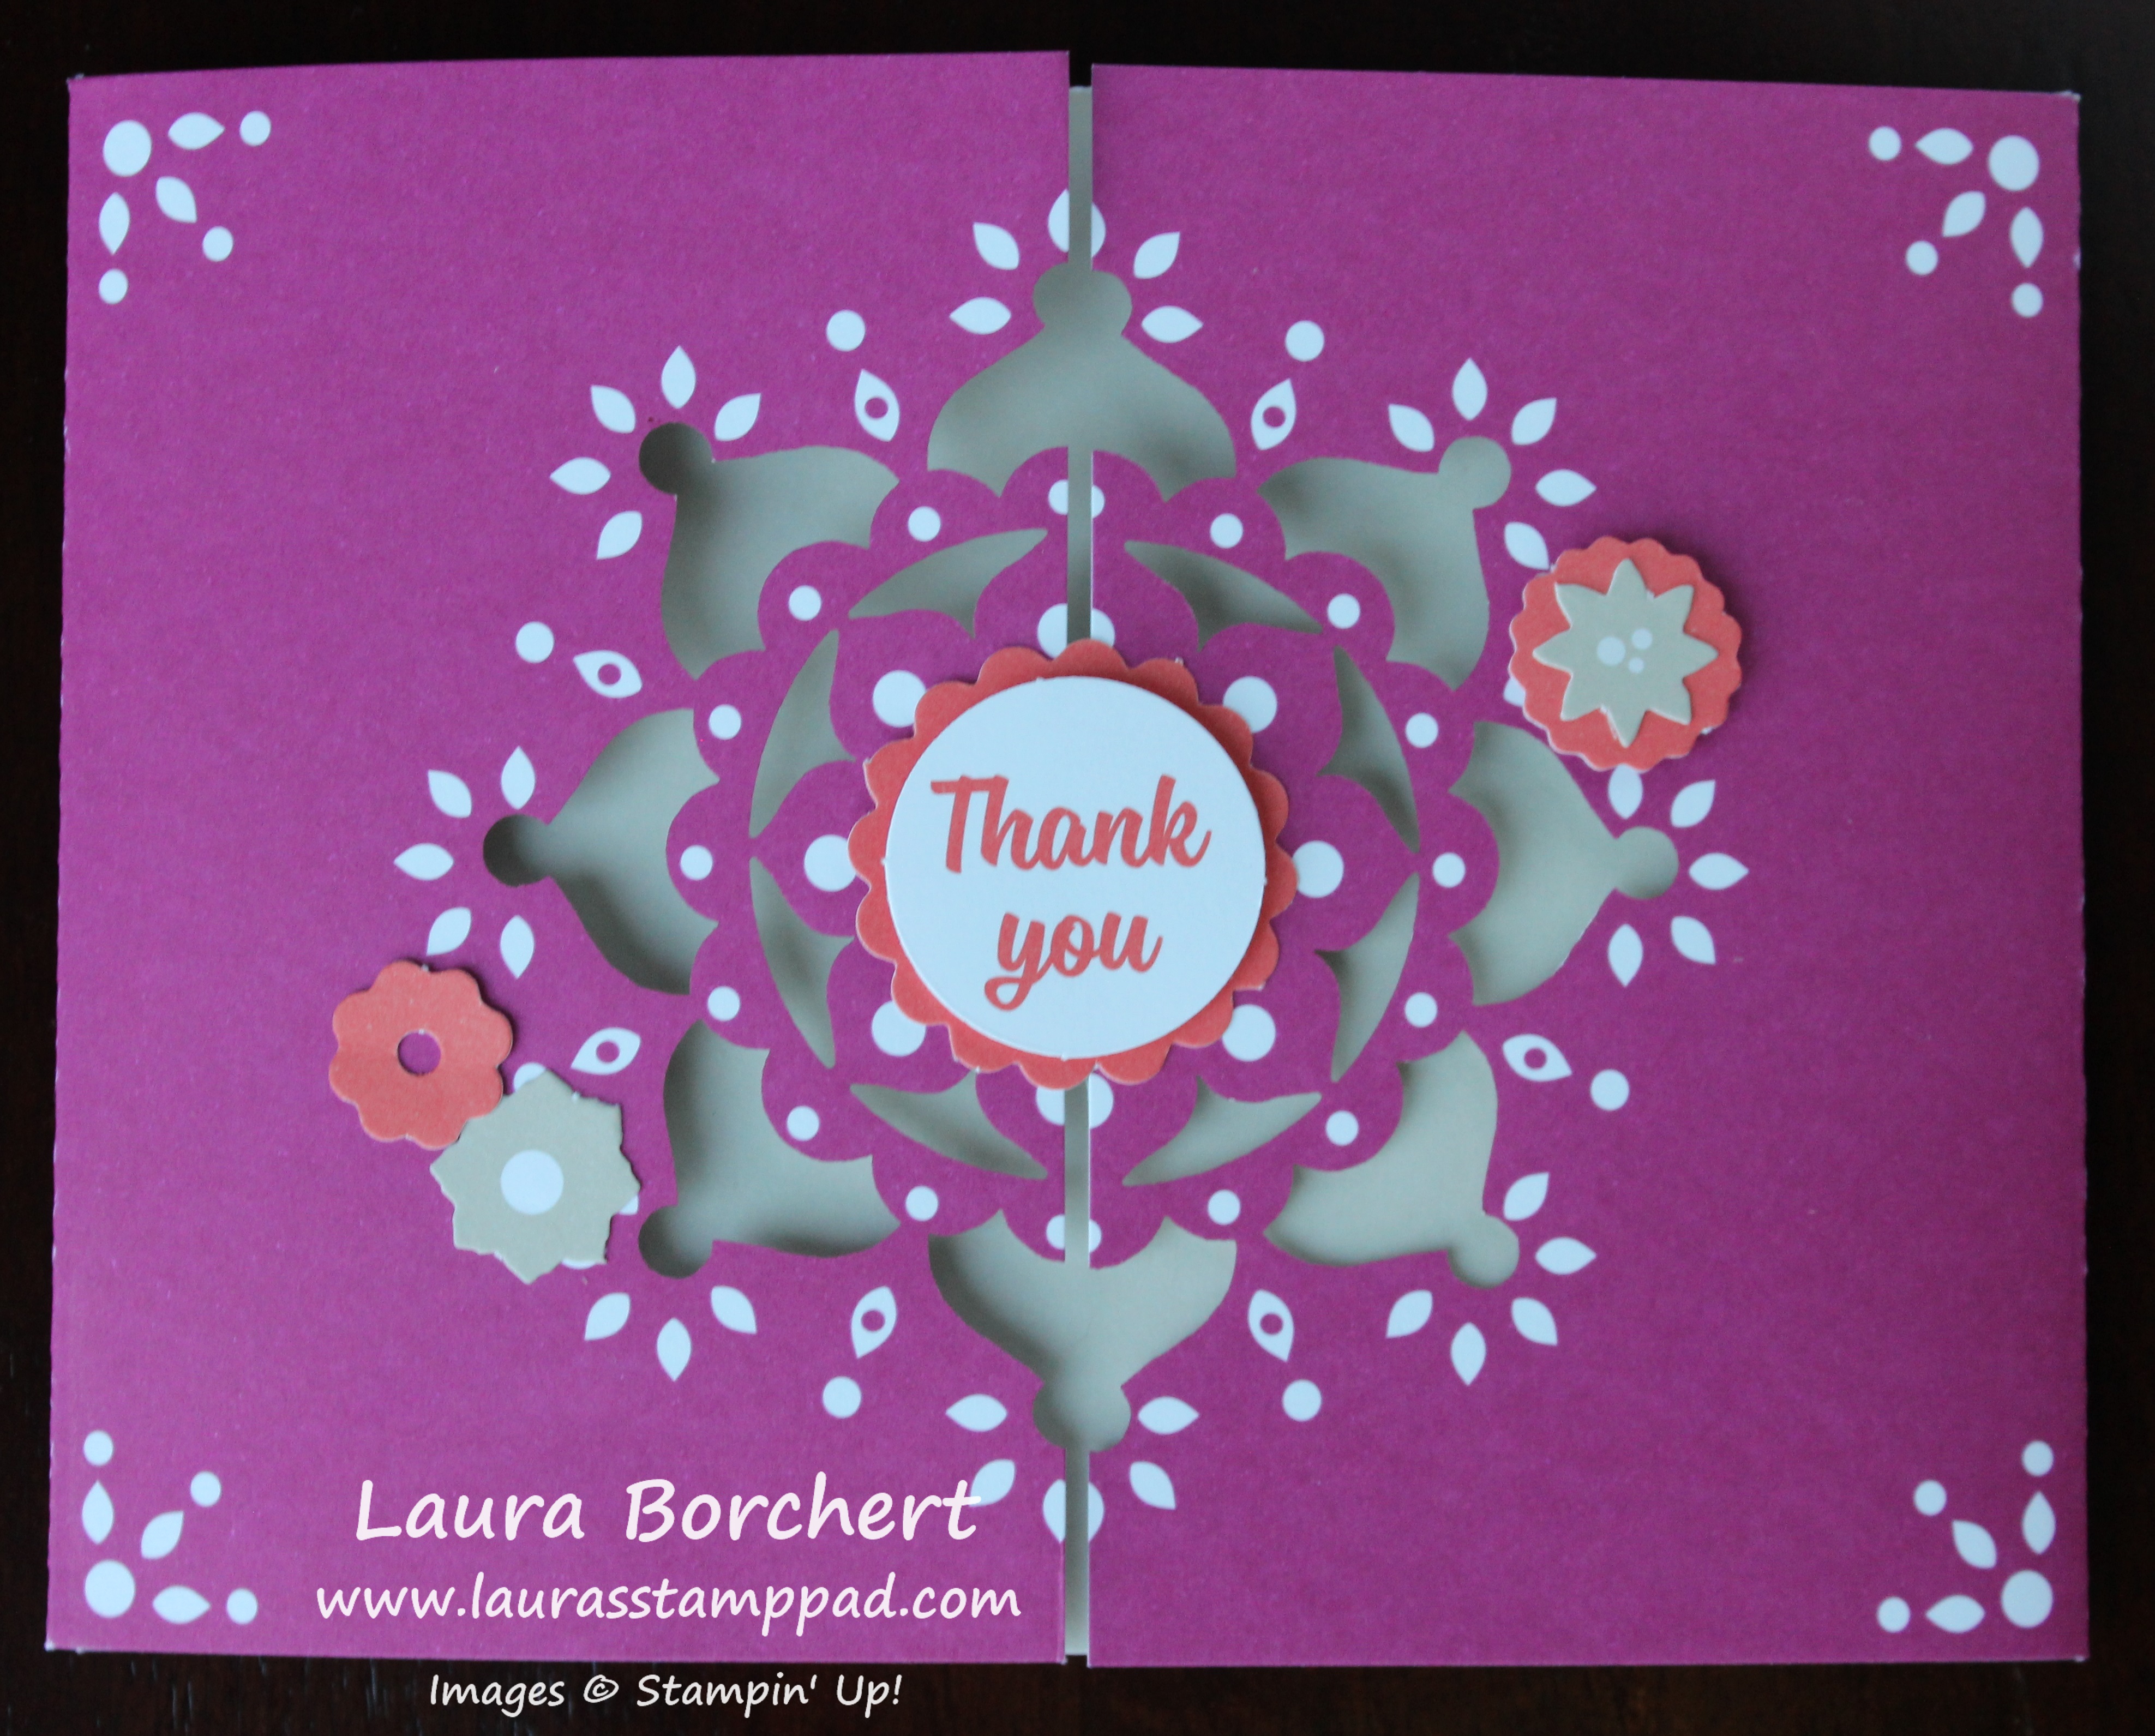
First, I folded on all of the score lines to create this gate-fold card. The only tip that you need to know is that you don’t seal the card shut with the decorations!!! The greeting goes in the center and there are various flower combinations to add all around!
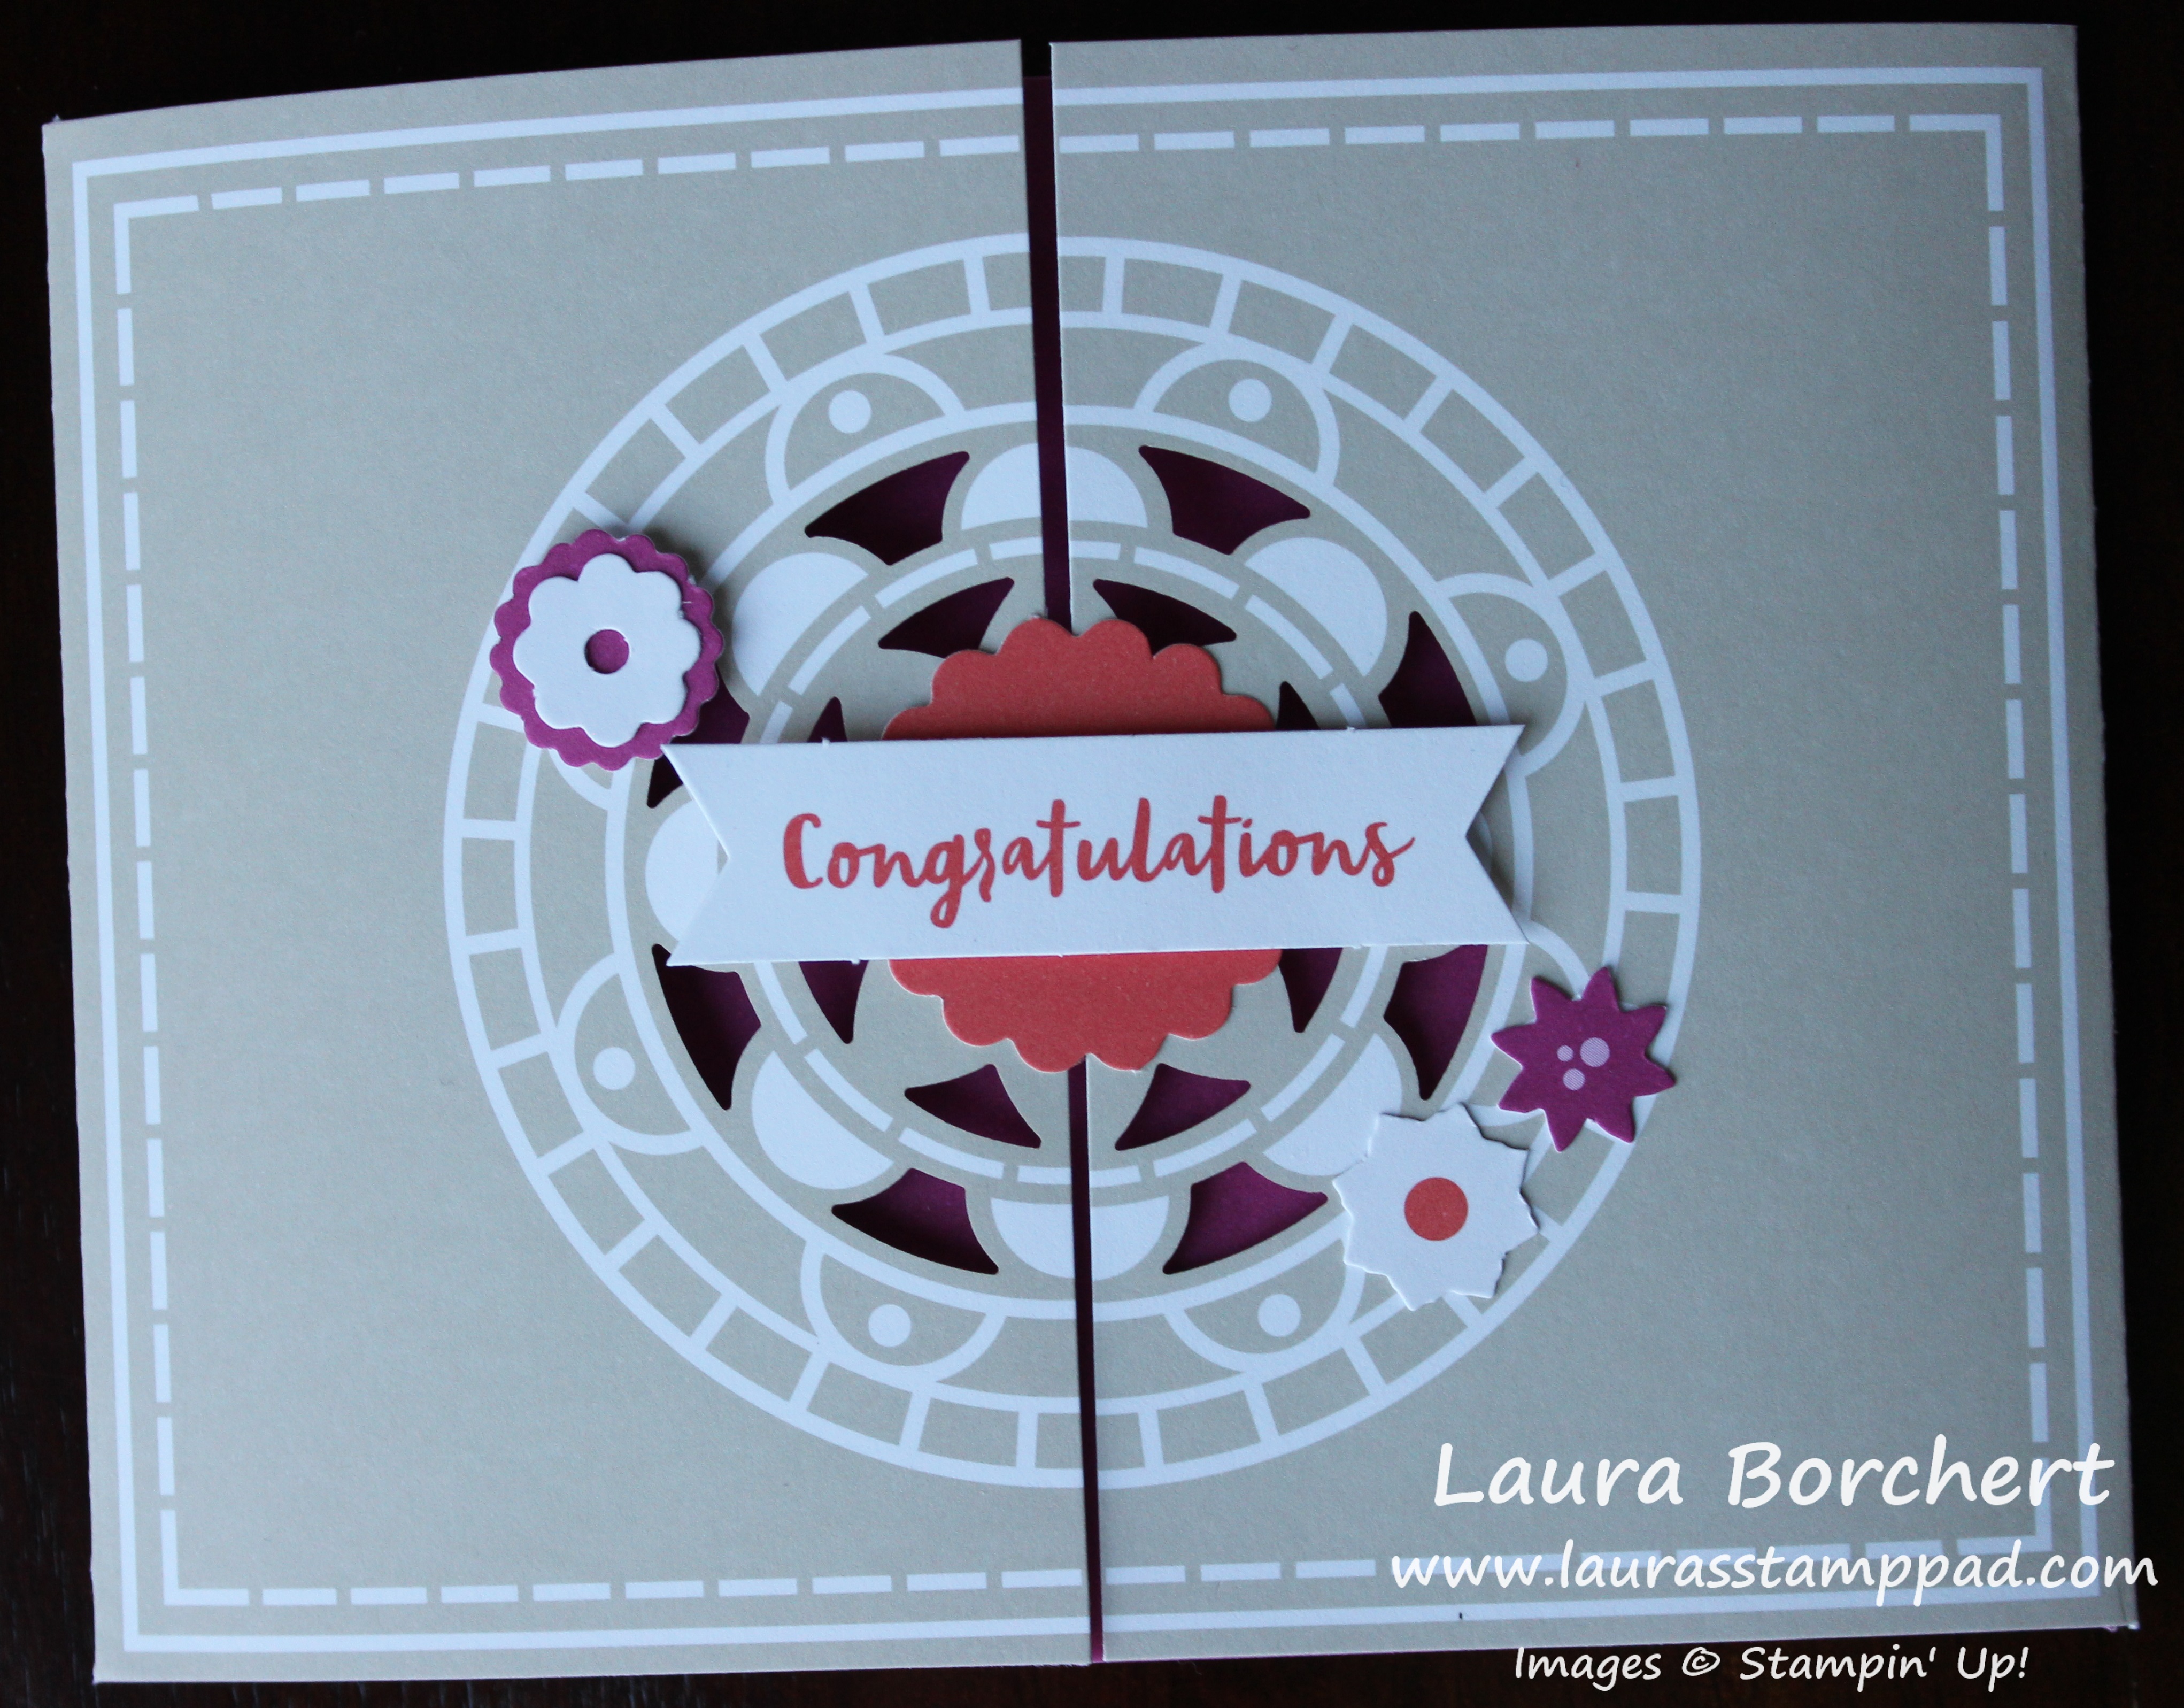
The Crumb Cake, Berry Burst, and Calypso Coral combination is subtle and fabulous! Also, have you noticed how the inside color peaking through is solid?? Stampin’ Up thought of everything with this kit!
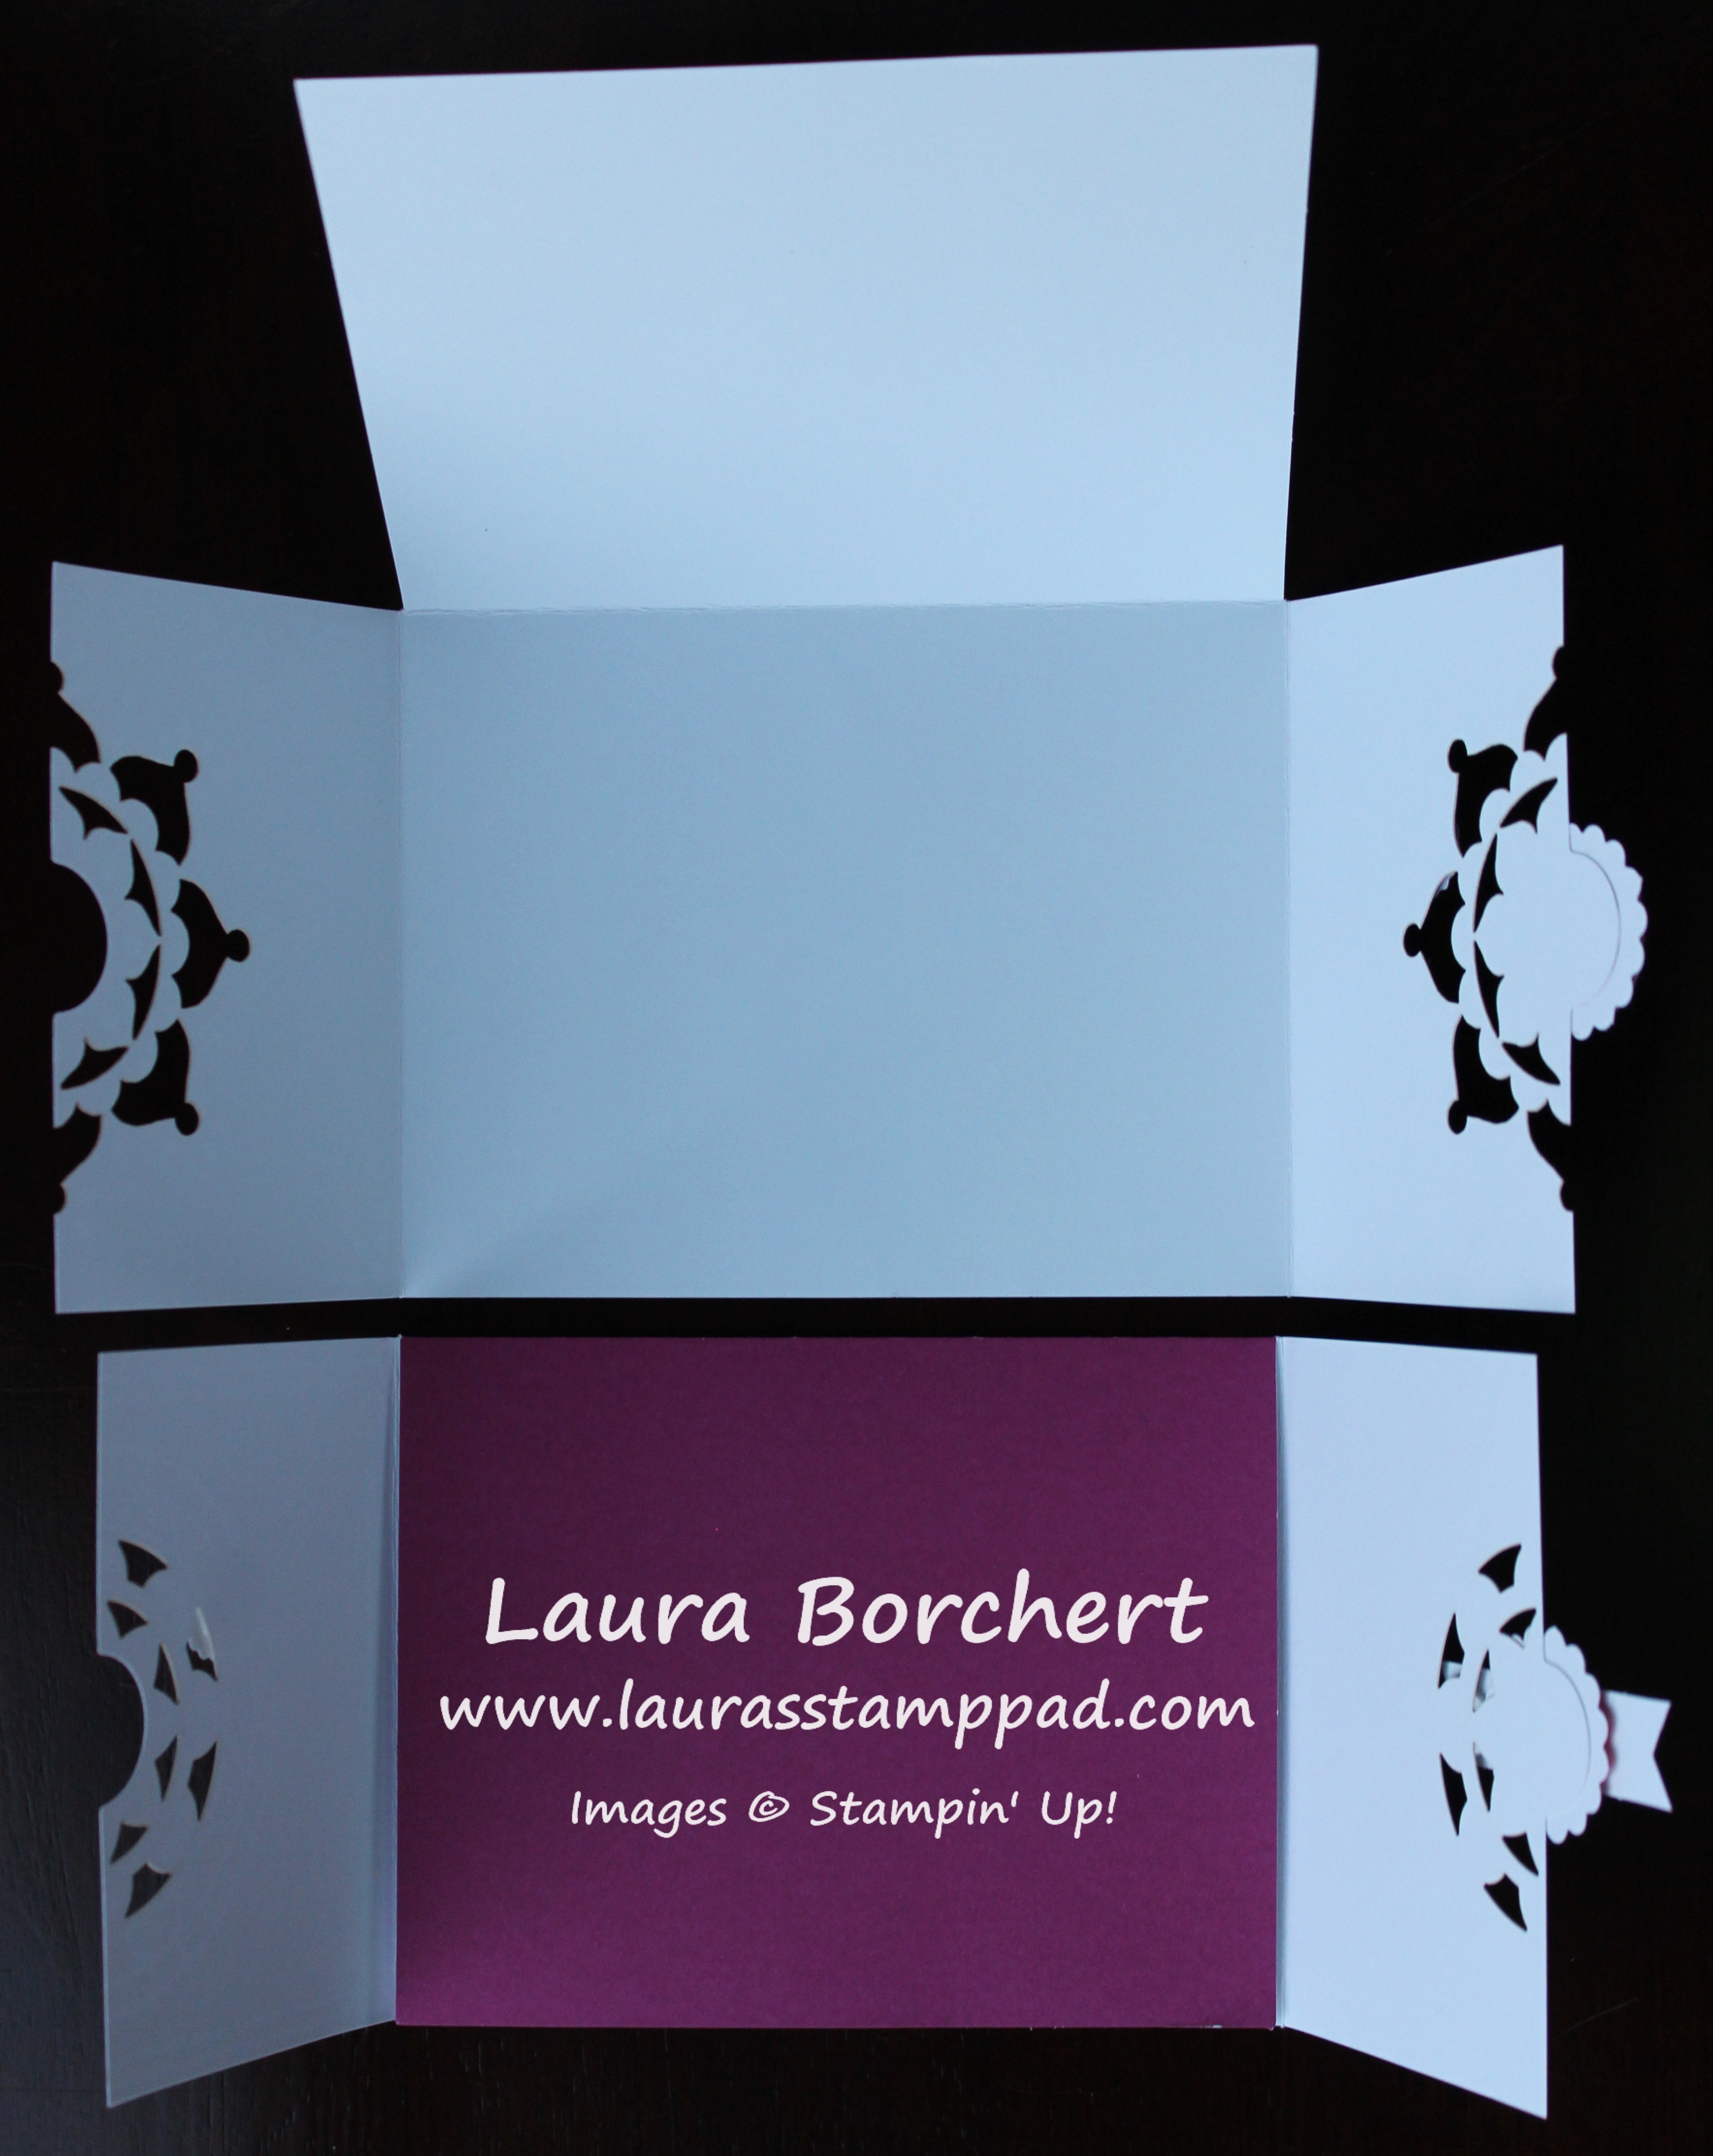
There is a panel popping down from the top that covers up the written greeting on the inside. How fabulous is that?!?!?! This way you have that perfect clean look from the outside with the color peaking through. You don’t see your stamping or writing peaking through! I love that. It’s perfect!! Do you like quick and simple card projects like these or do you prefer the more detailed kits? Let me know in the comments below!
You can check out the unboxing and reveal of this kit below or click here! Don’t forget to give it a thumbs up if you are excited about this kit as much as I am! Be sure to subscribe to my Channel it you are new because I have lots of other products from the Occasions Mini Catalog and Sale-A-Bration Promotion to share. Also, Technique Tuesday will return next week!
Happy Stampin’
~Laura


