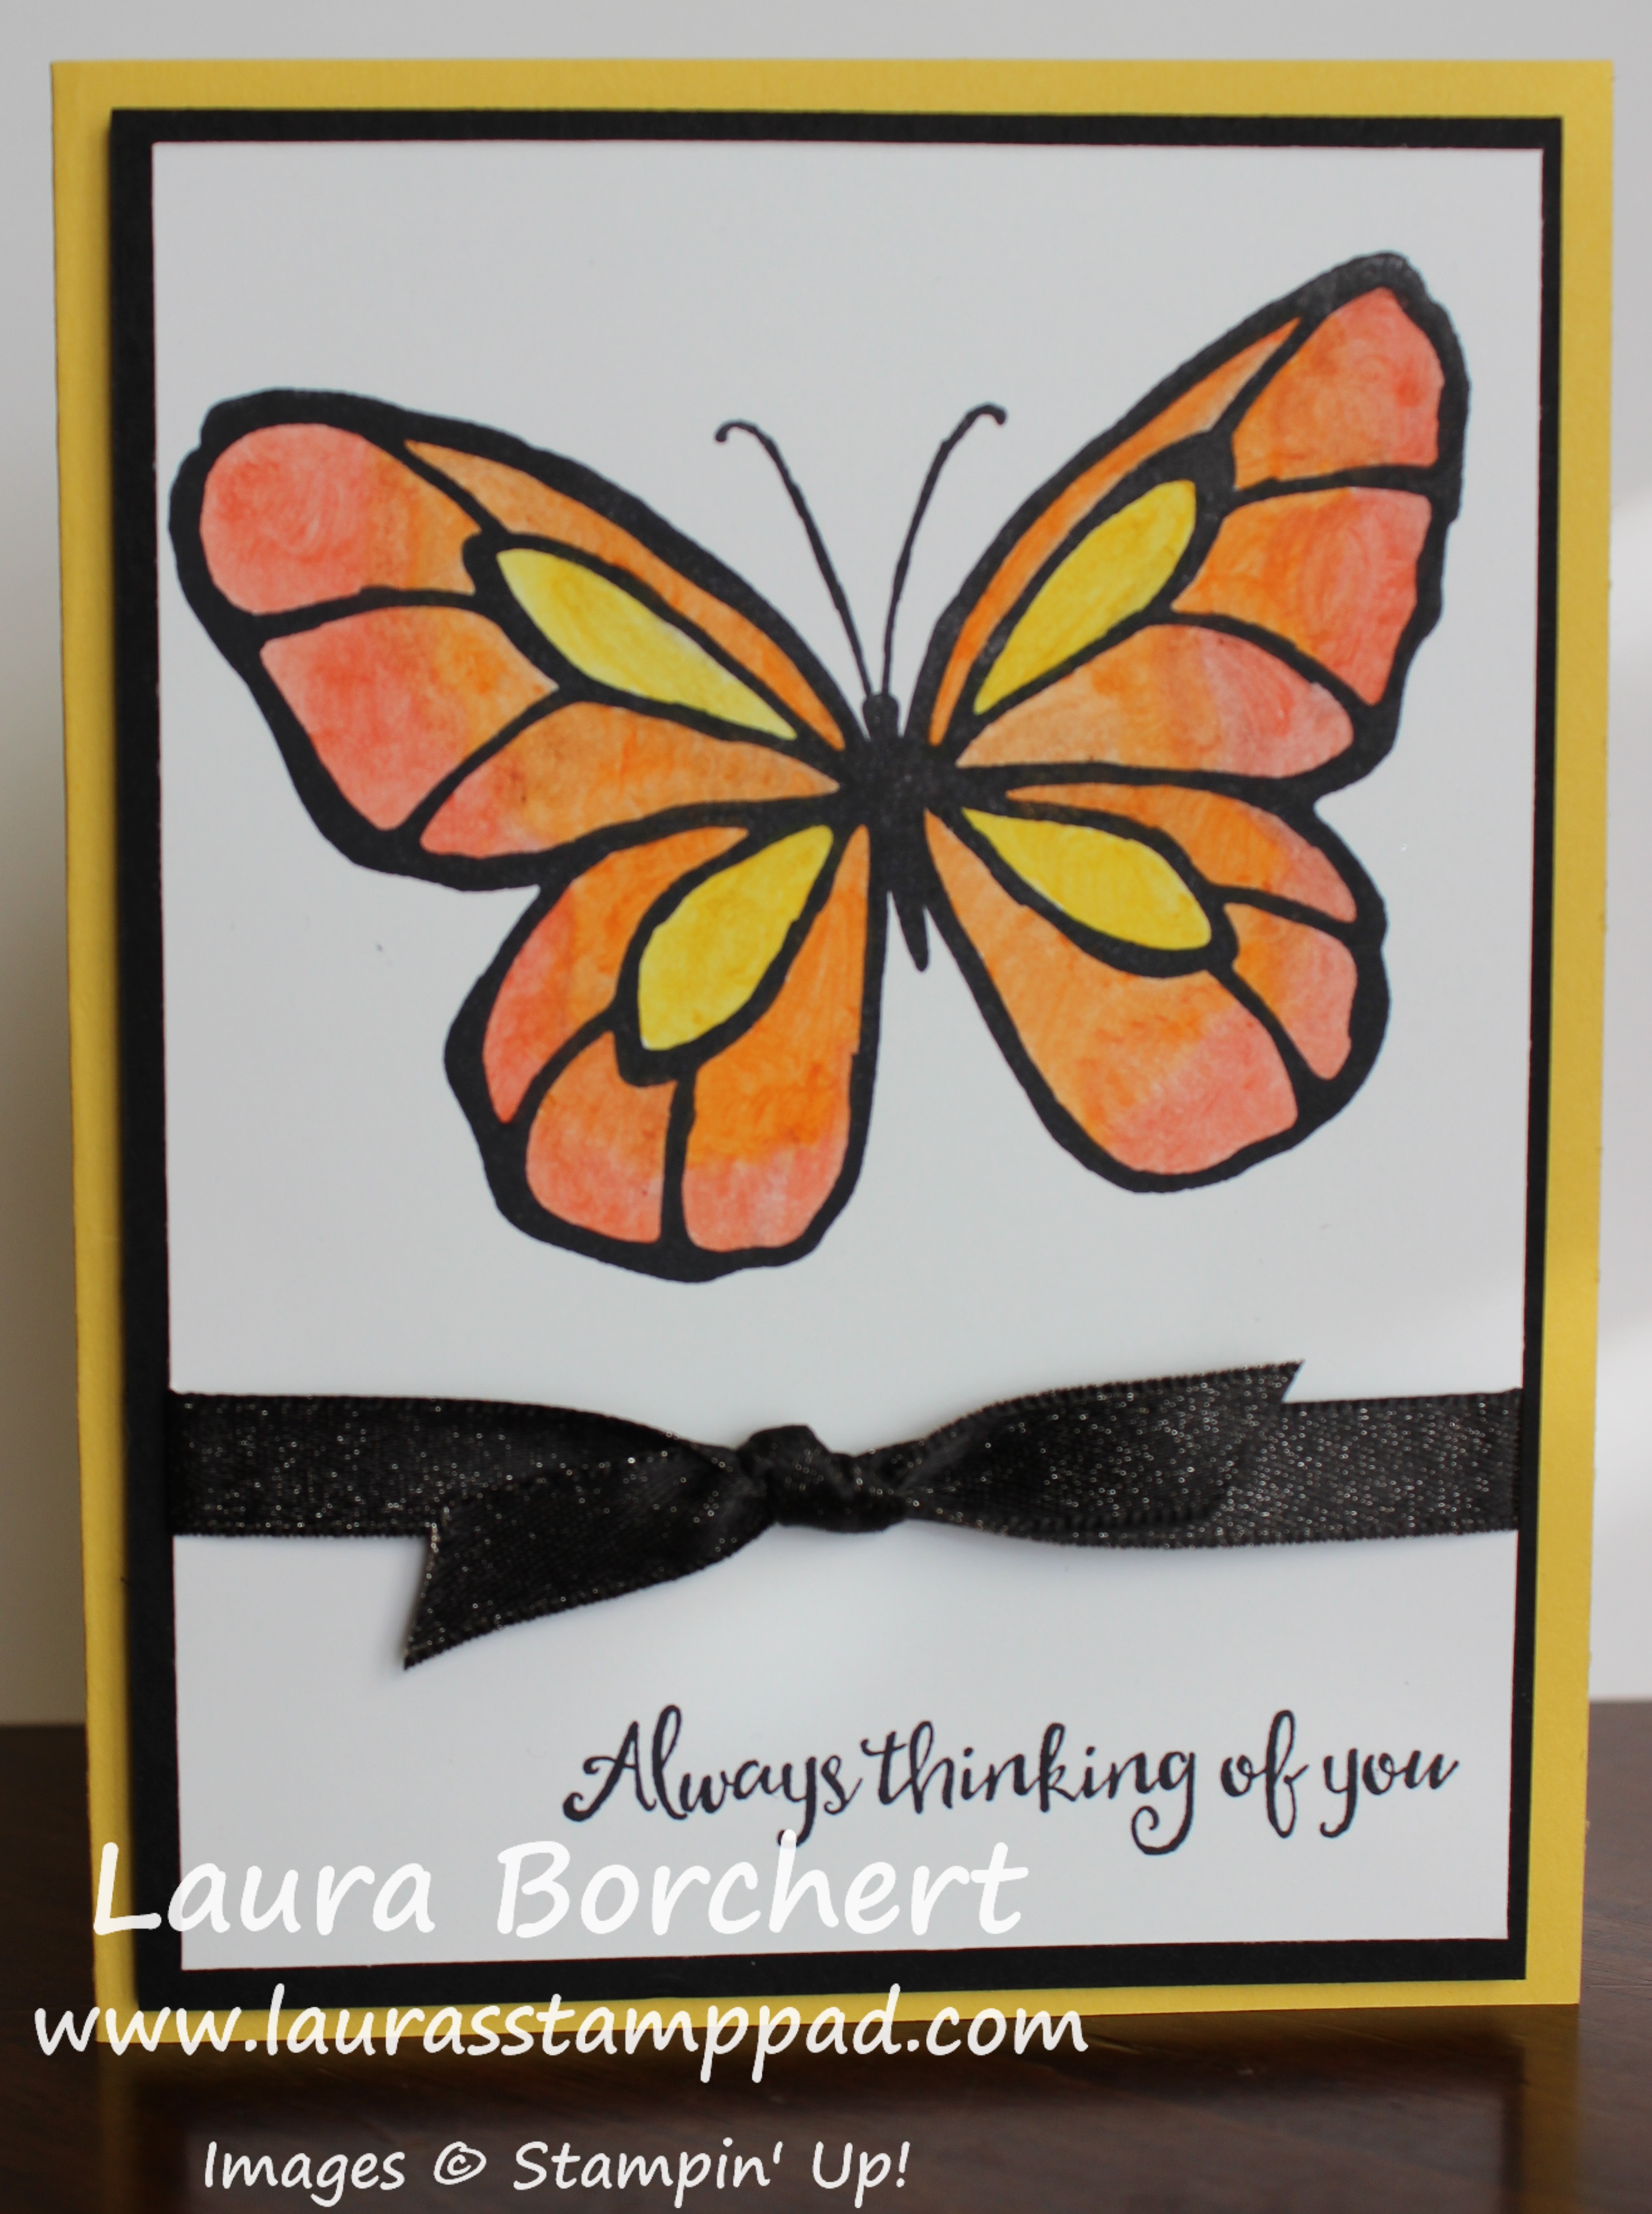
Happy Tuesday!!! You all know what that means…..I have a fabulous technique to share with you today! I’m blending butterflies with Watercolor Pencils and a Blender Pen and oh how stunning do they look……
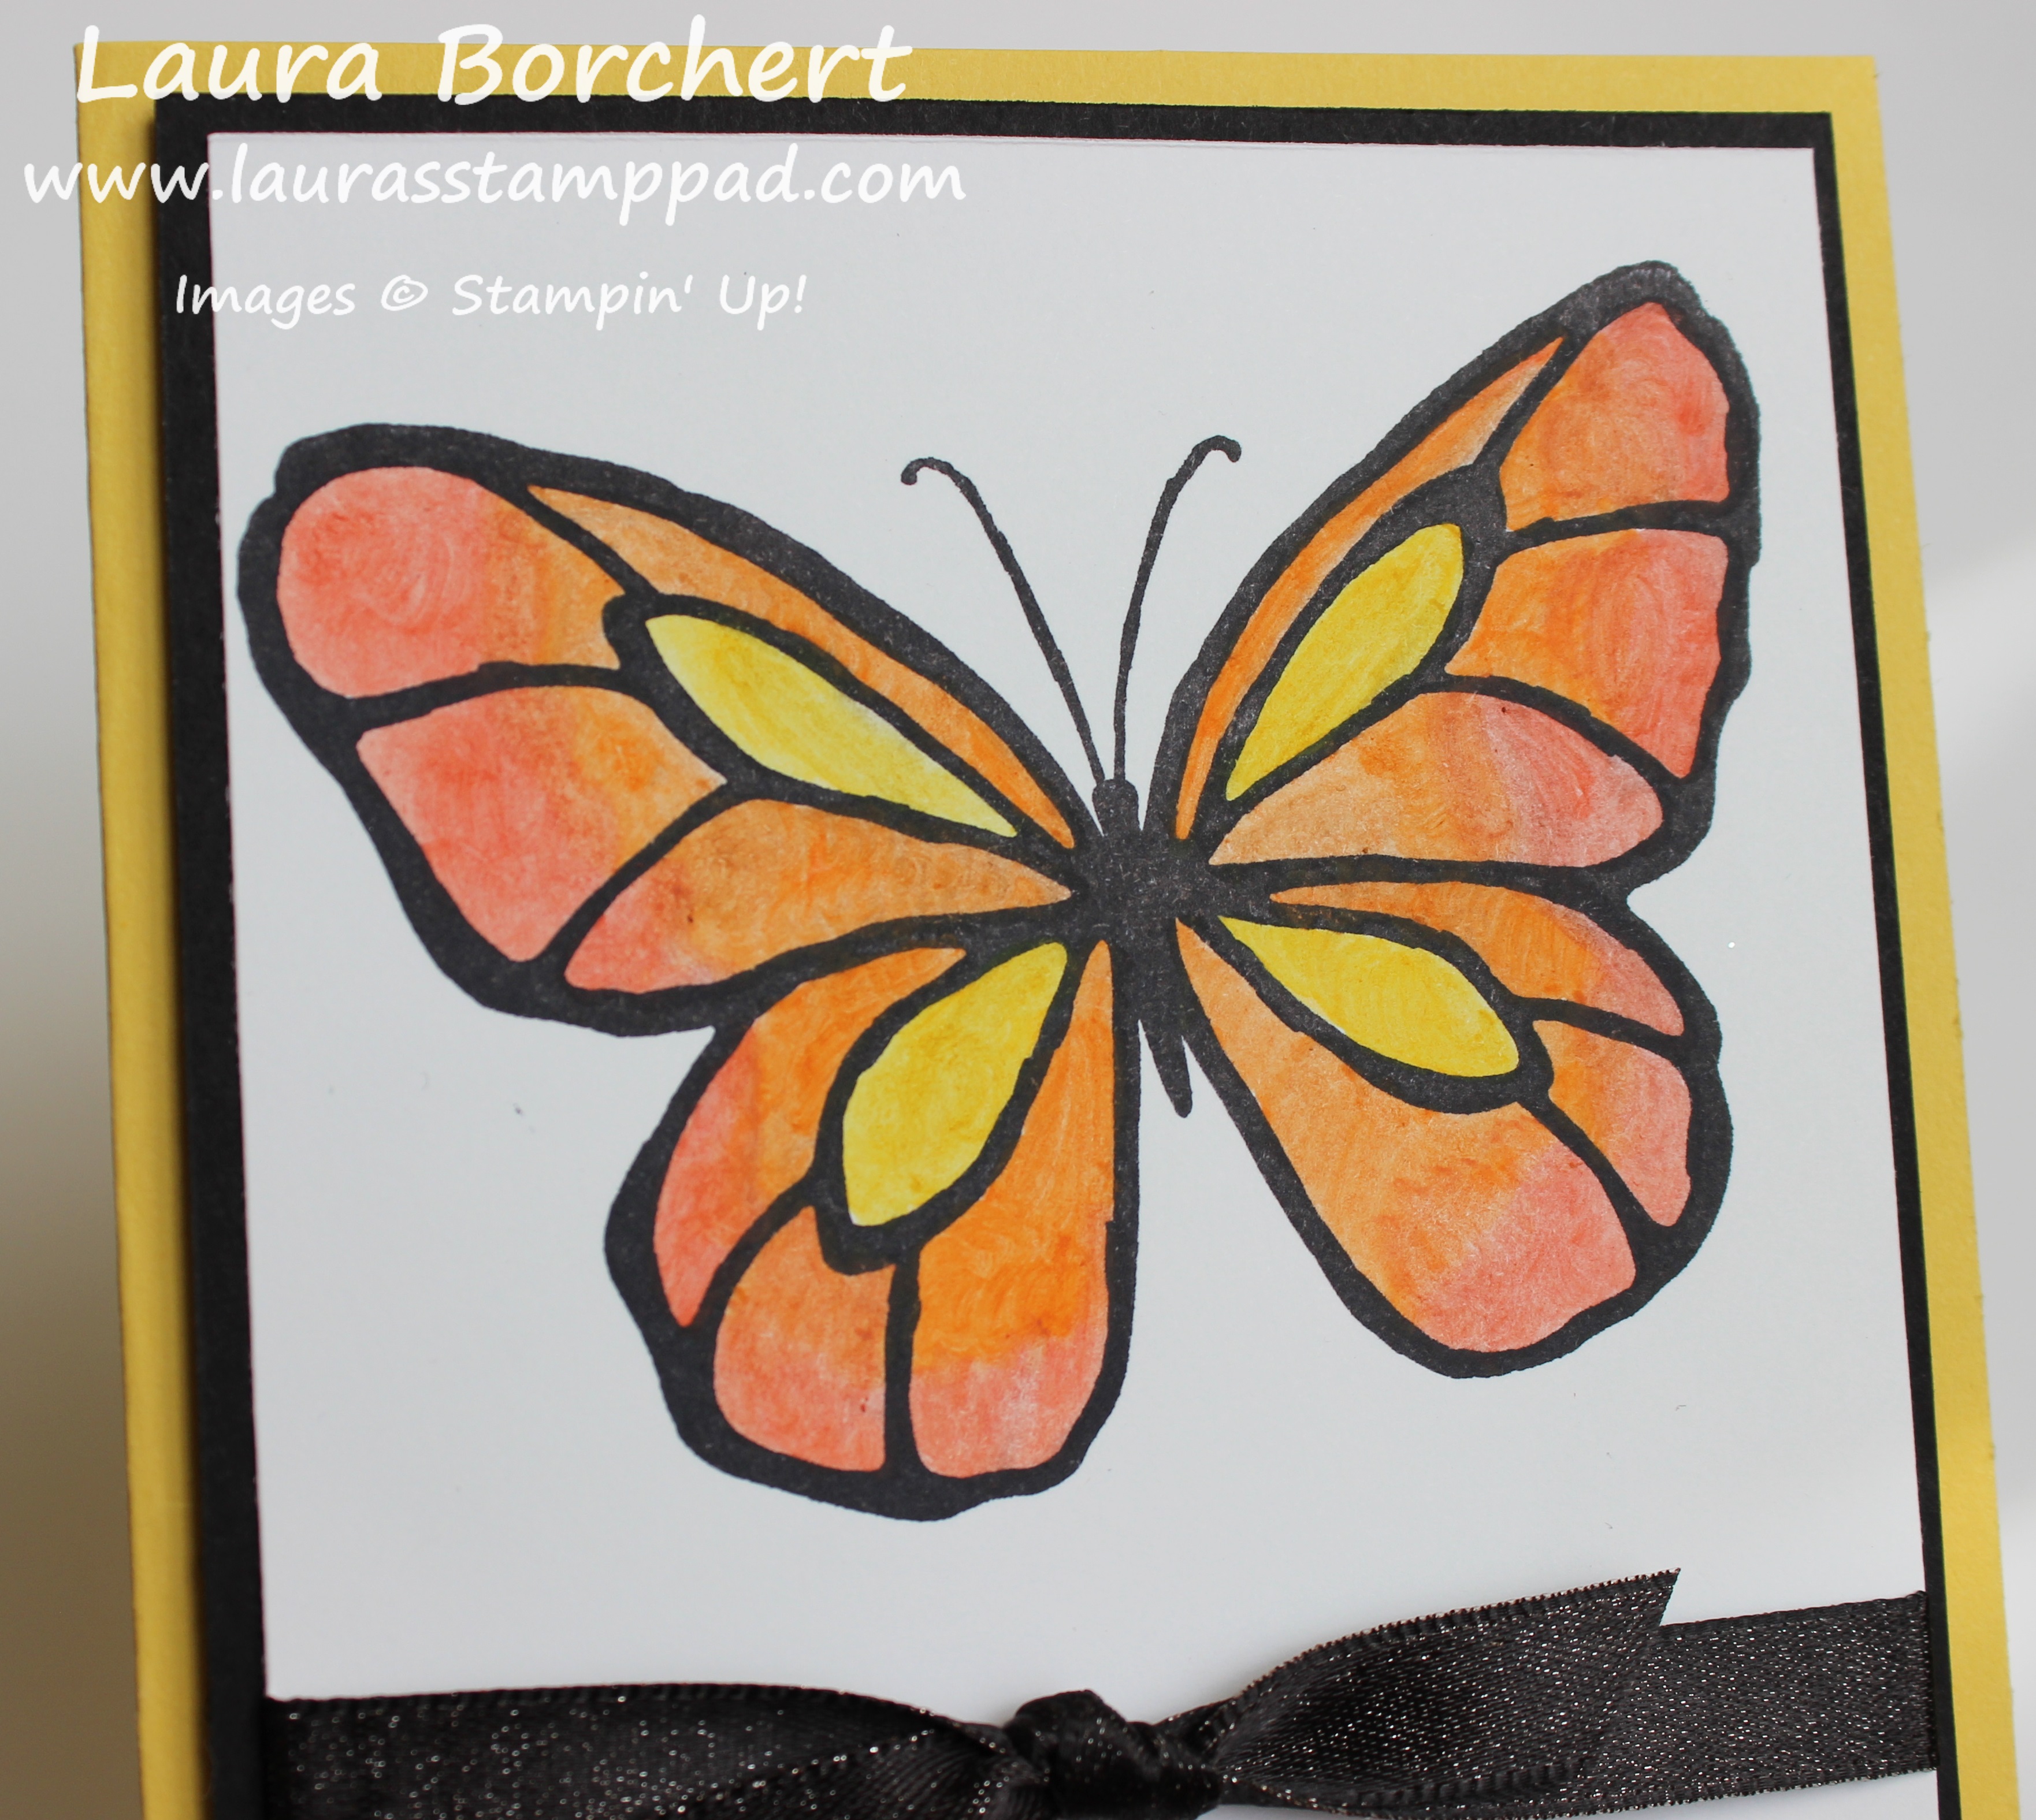
Don’t you think this looks super real and gorgeous?? I love it! Then I did the blue/purple one for the video and fell deeper in love!!! There are so many ways to color stamped images and while the latest one is fun, sometimes its great to play with your favorite. I have colored this butterfly with the New Brusho Crystal Colour (see here) and now I did this one. Honestly, I think I prefer Watercolor Pencils! I try to mix things up and try it all to show you!
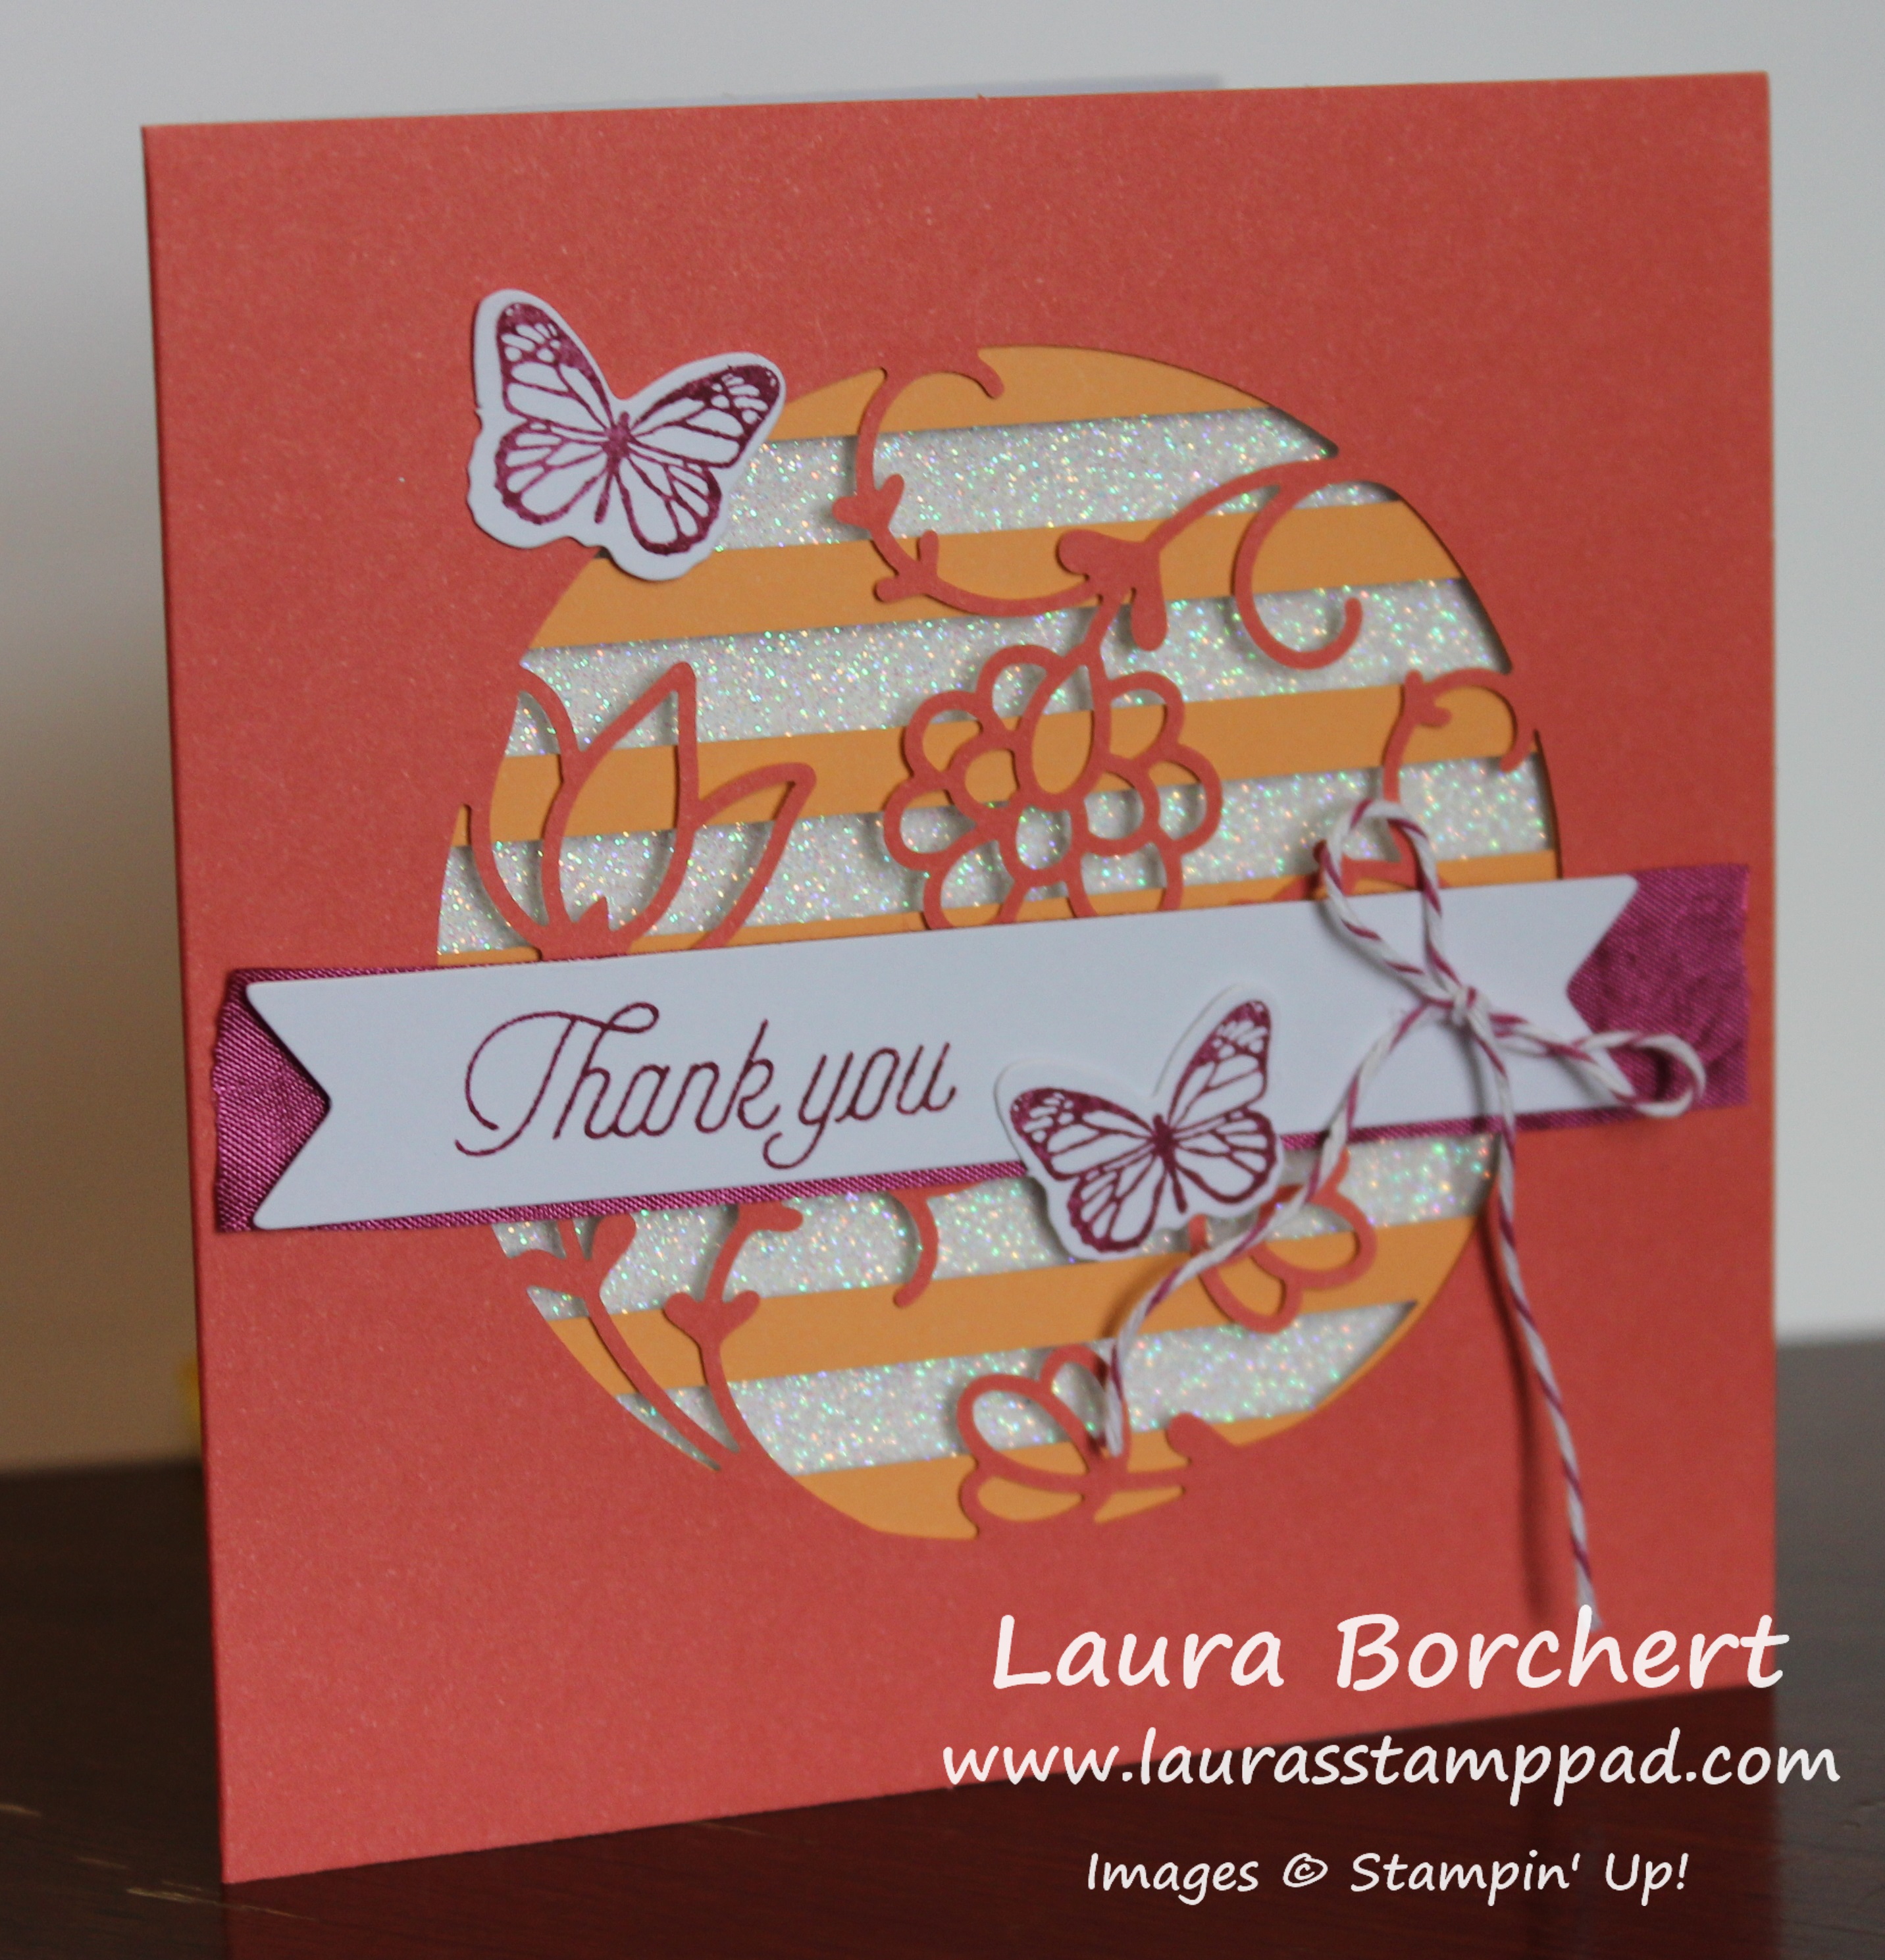
The card base is Daffodil Delight. Then, I took a piece of Whisper White (3-7/8″ x 5-1/8″) and stamped the butterfly and greeting from the Beautiful Day Stamp Set from the Occasions Mini Catalog! I used Archival Black Ink since I am watercoloring. Next, I used the Watercolor Pencils and just added in some color. I used Real Red, Pumpkin Pie, and Daffodil Delight for this card!

After adding all the color, I started with the lightest and blended with the Blender Pen. I kept the yellow in place in the center. Then I blended and smeared around the Pumpkin Pie. Making sure to clean the pen tip in between so the color didn’t super mix together. Then I blended the red starting on the outside and then smearing with the orange in middle. I just love how it turned out!
Next, I layered this piece onto some Basic Black measuring 4″ x 5-1/4″. I tied some Basic Black Shimmer Ribbon around it between the butterfly and greeting for a little pop and texture. Then I added this piece to the card front with Stampin’ Dimensionals!!!
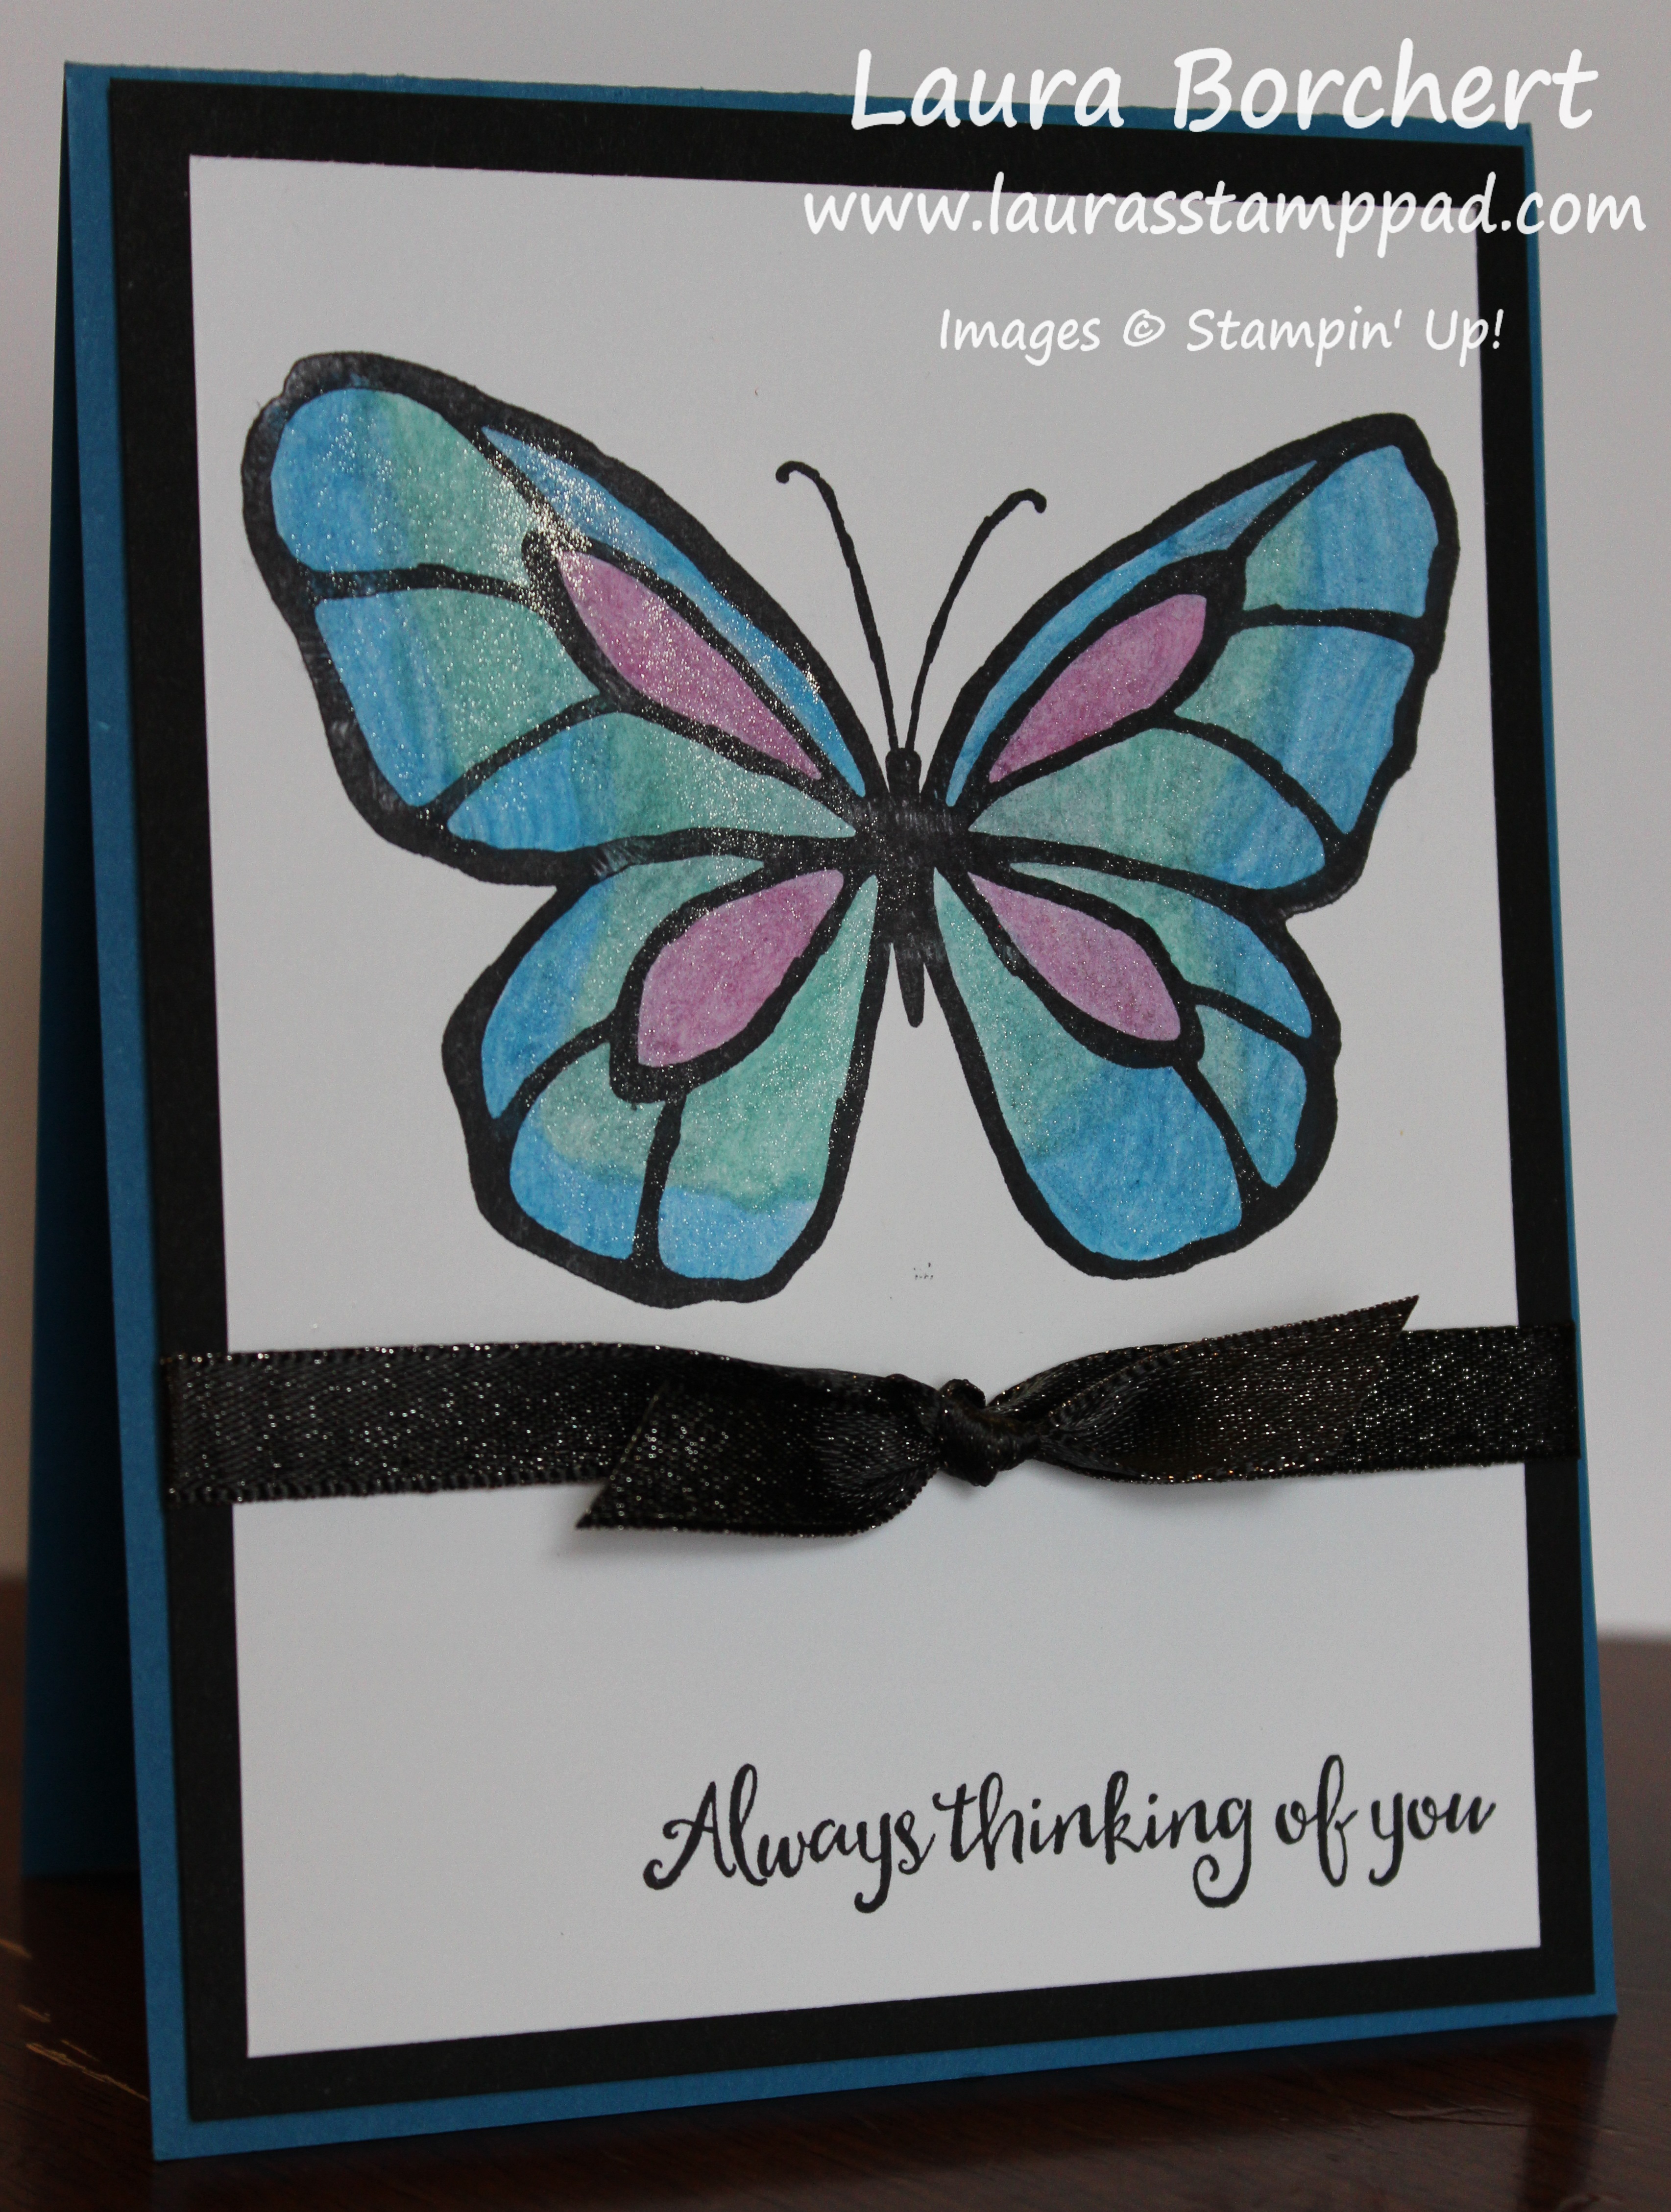
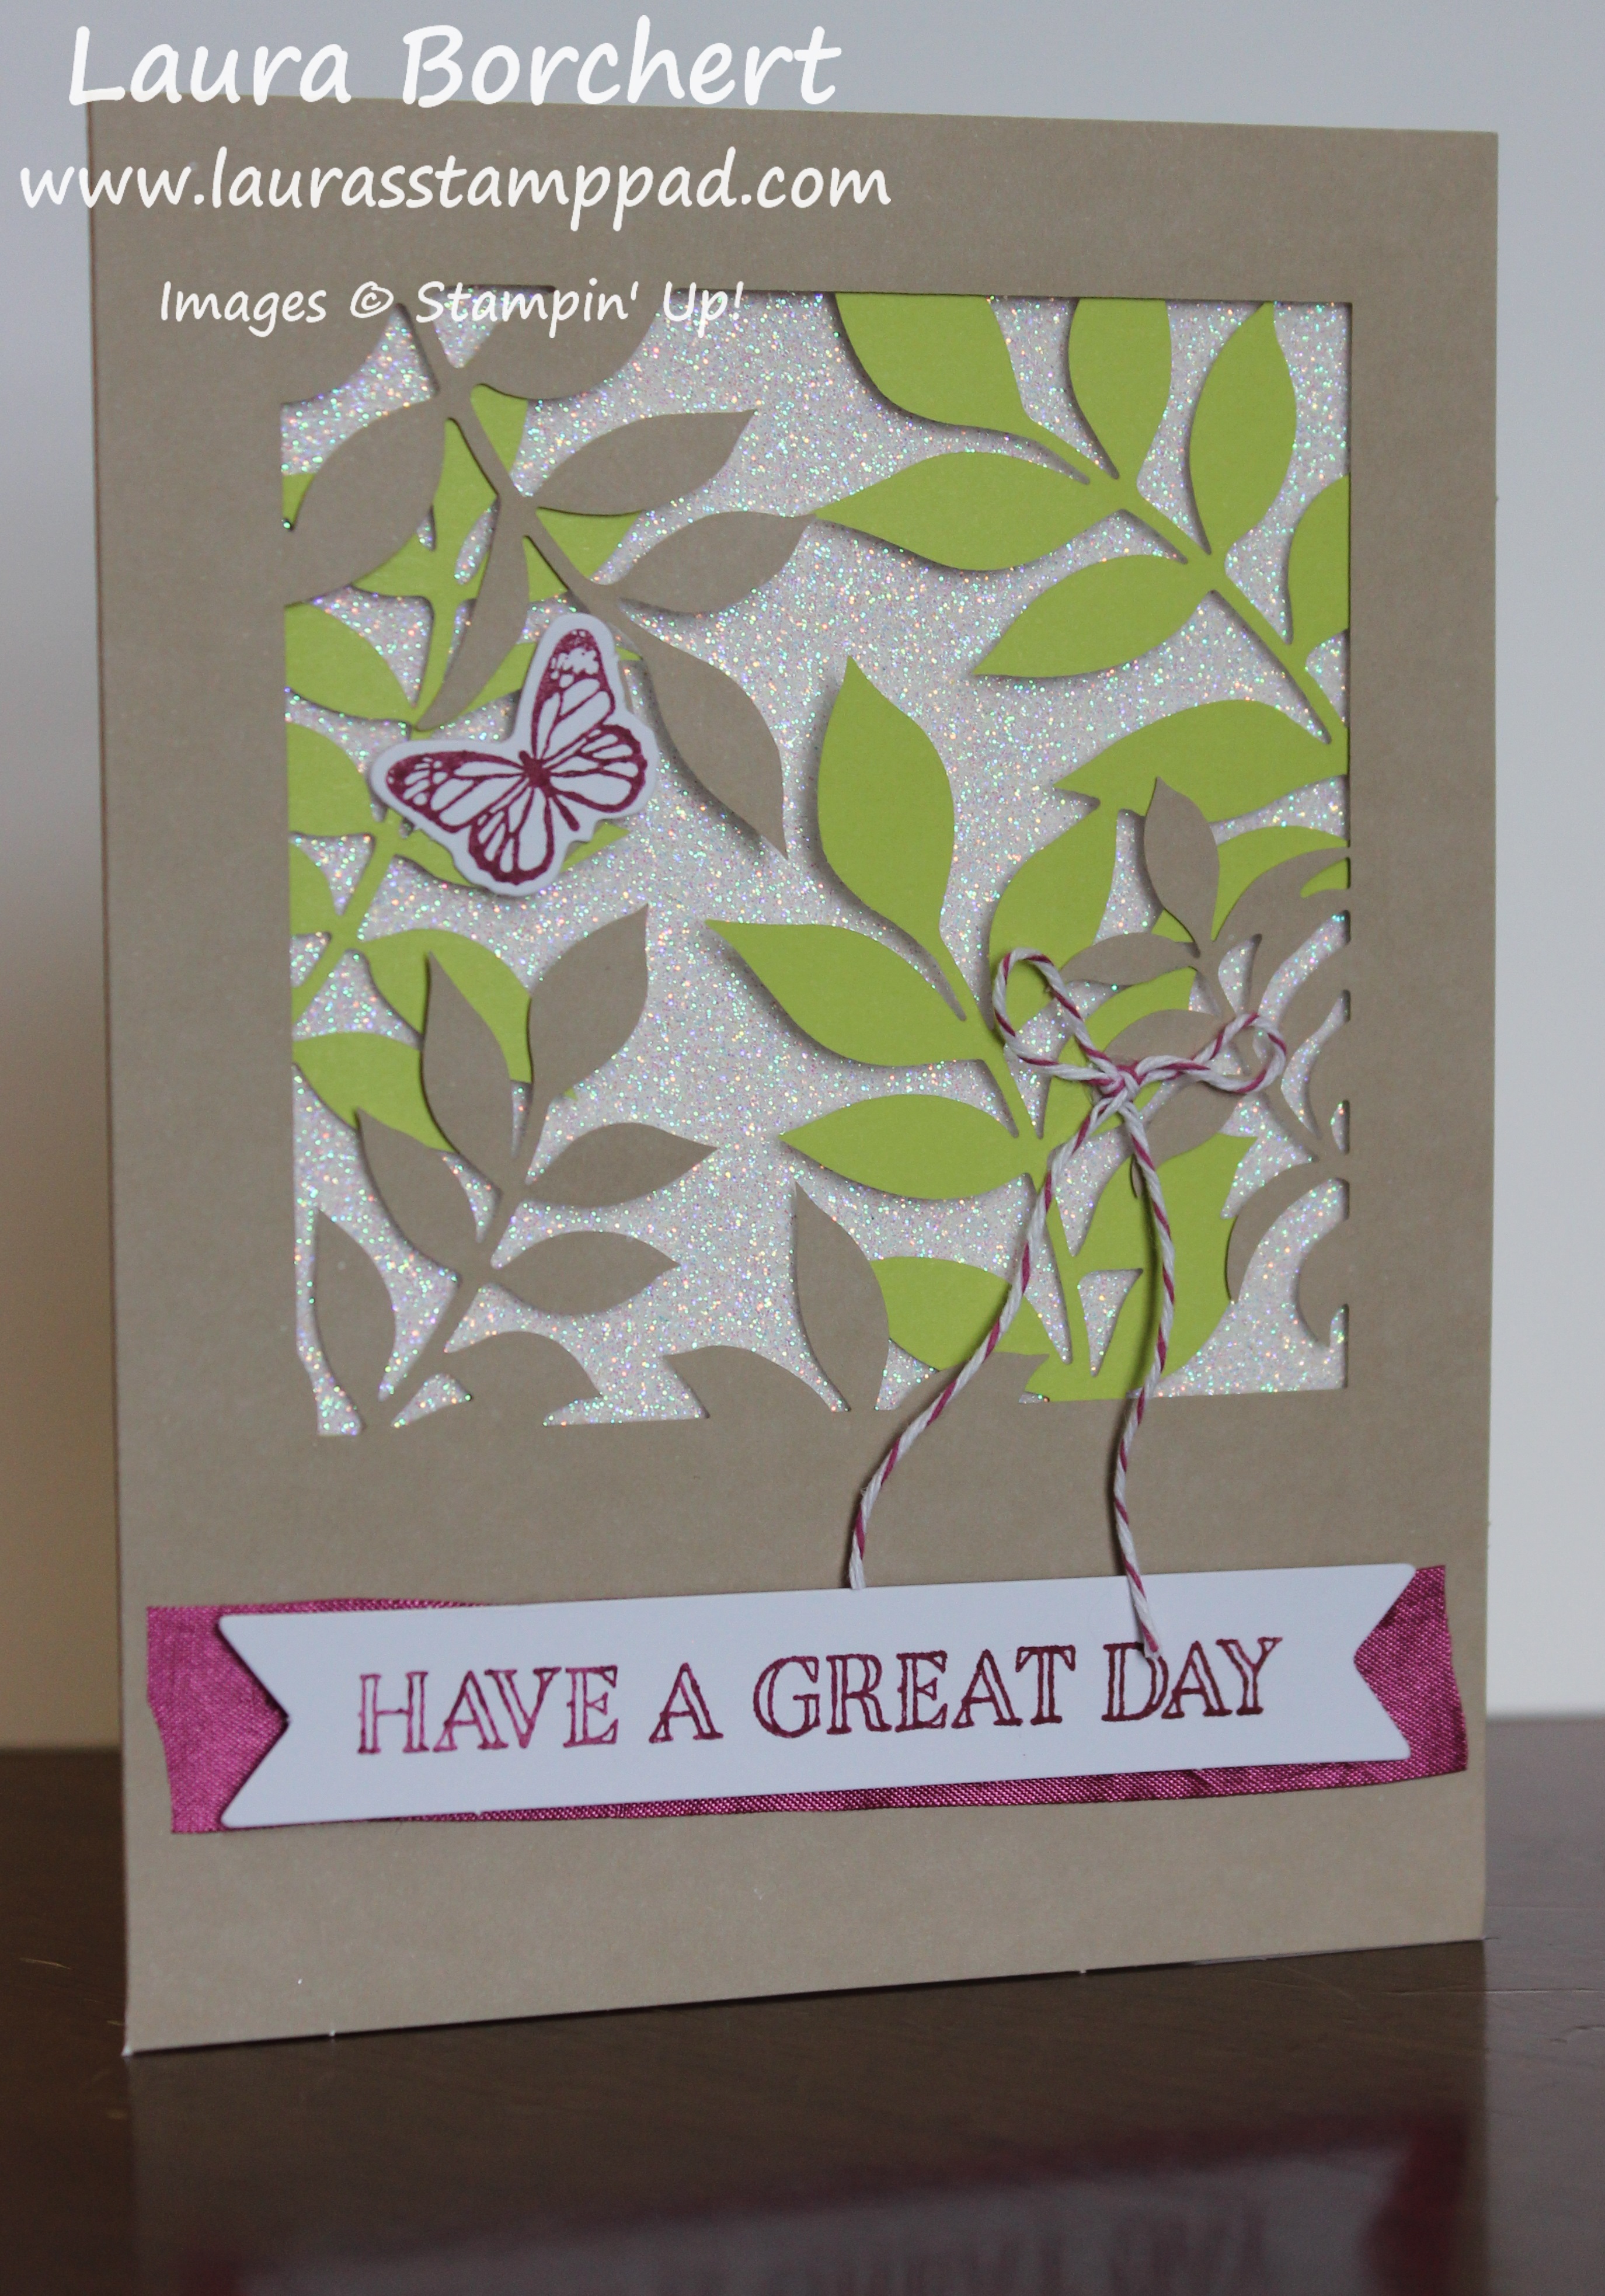
Here is the finished card from the one I did on the video below! I used Pacific Point, Bermuda Bay, and Rich Razzleberry for this one! LOVE IT!!! Which one is your favorite – Yellow/Red/Orange or Blues/Purple?? Let me know in the comments below!
If you would like to see this all in action, check out the Video Tutorial below or click here! Be sure to give the video a thumbs up if you liked it and don’t forget to subscribe if you are new. If you would like a notification when I post a new video, be sure to click the bell right next to the subscribe!!!
Happy Stampin’
~Laura
Product List


 Designer Series Paper")