Happy Monday!!! Today, I’m sharing this adorable card that is fulled with stuffed animal sweetness. Aren’t these little things just precious?!?!?

While this card did require some coloring, it was a fairly quick and simple card to make multiples of! Probably out of the 3 different baby Thank You notes, this one was the easiest. You can check out the others here and here!
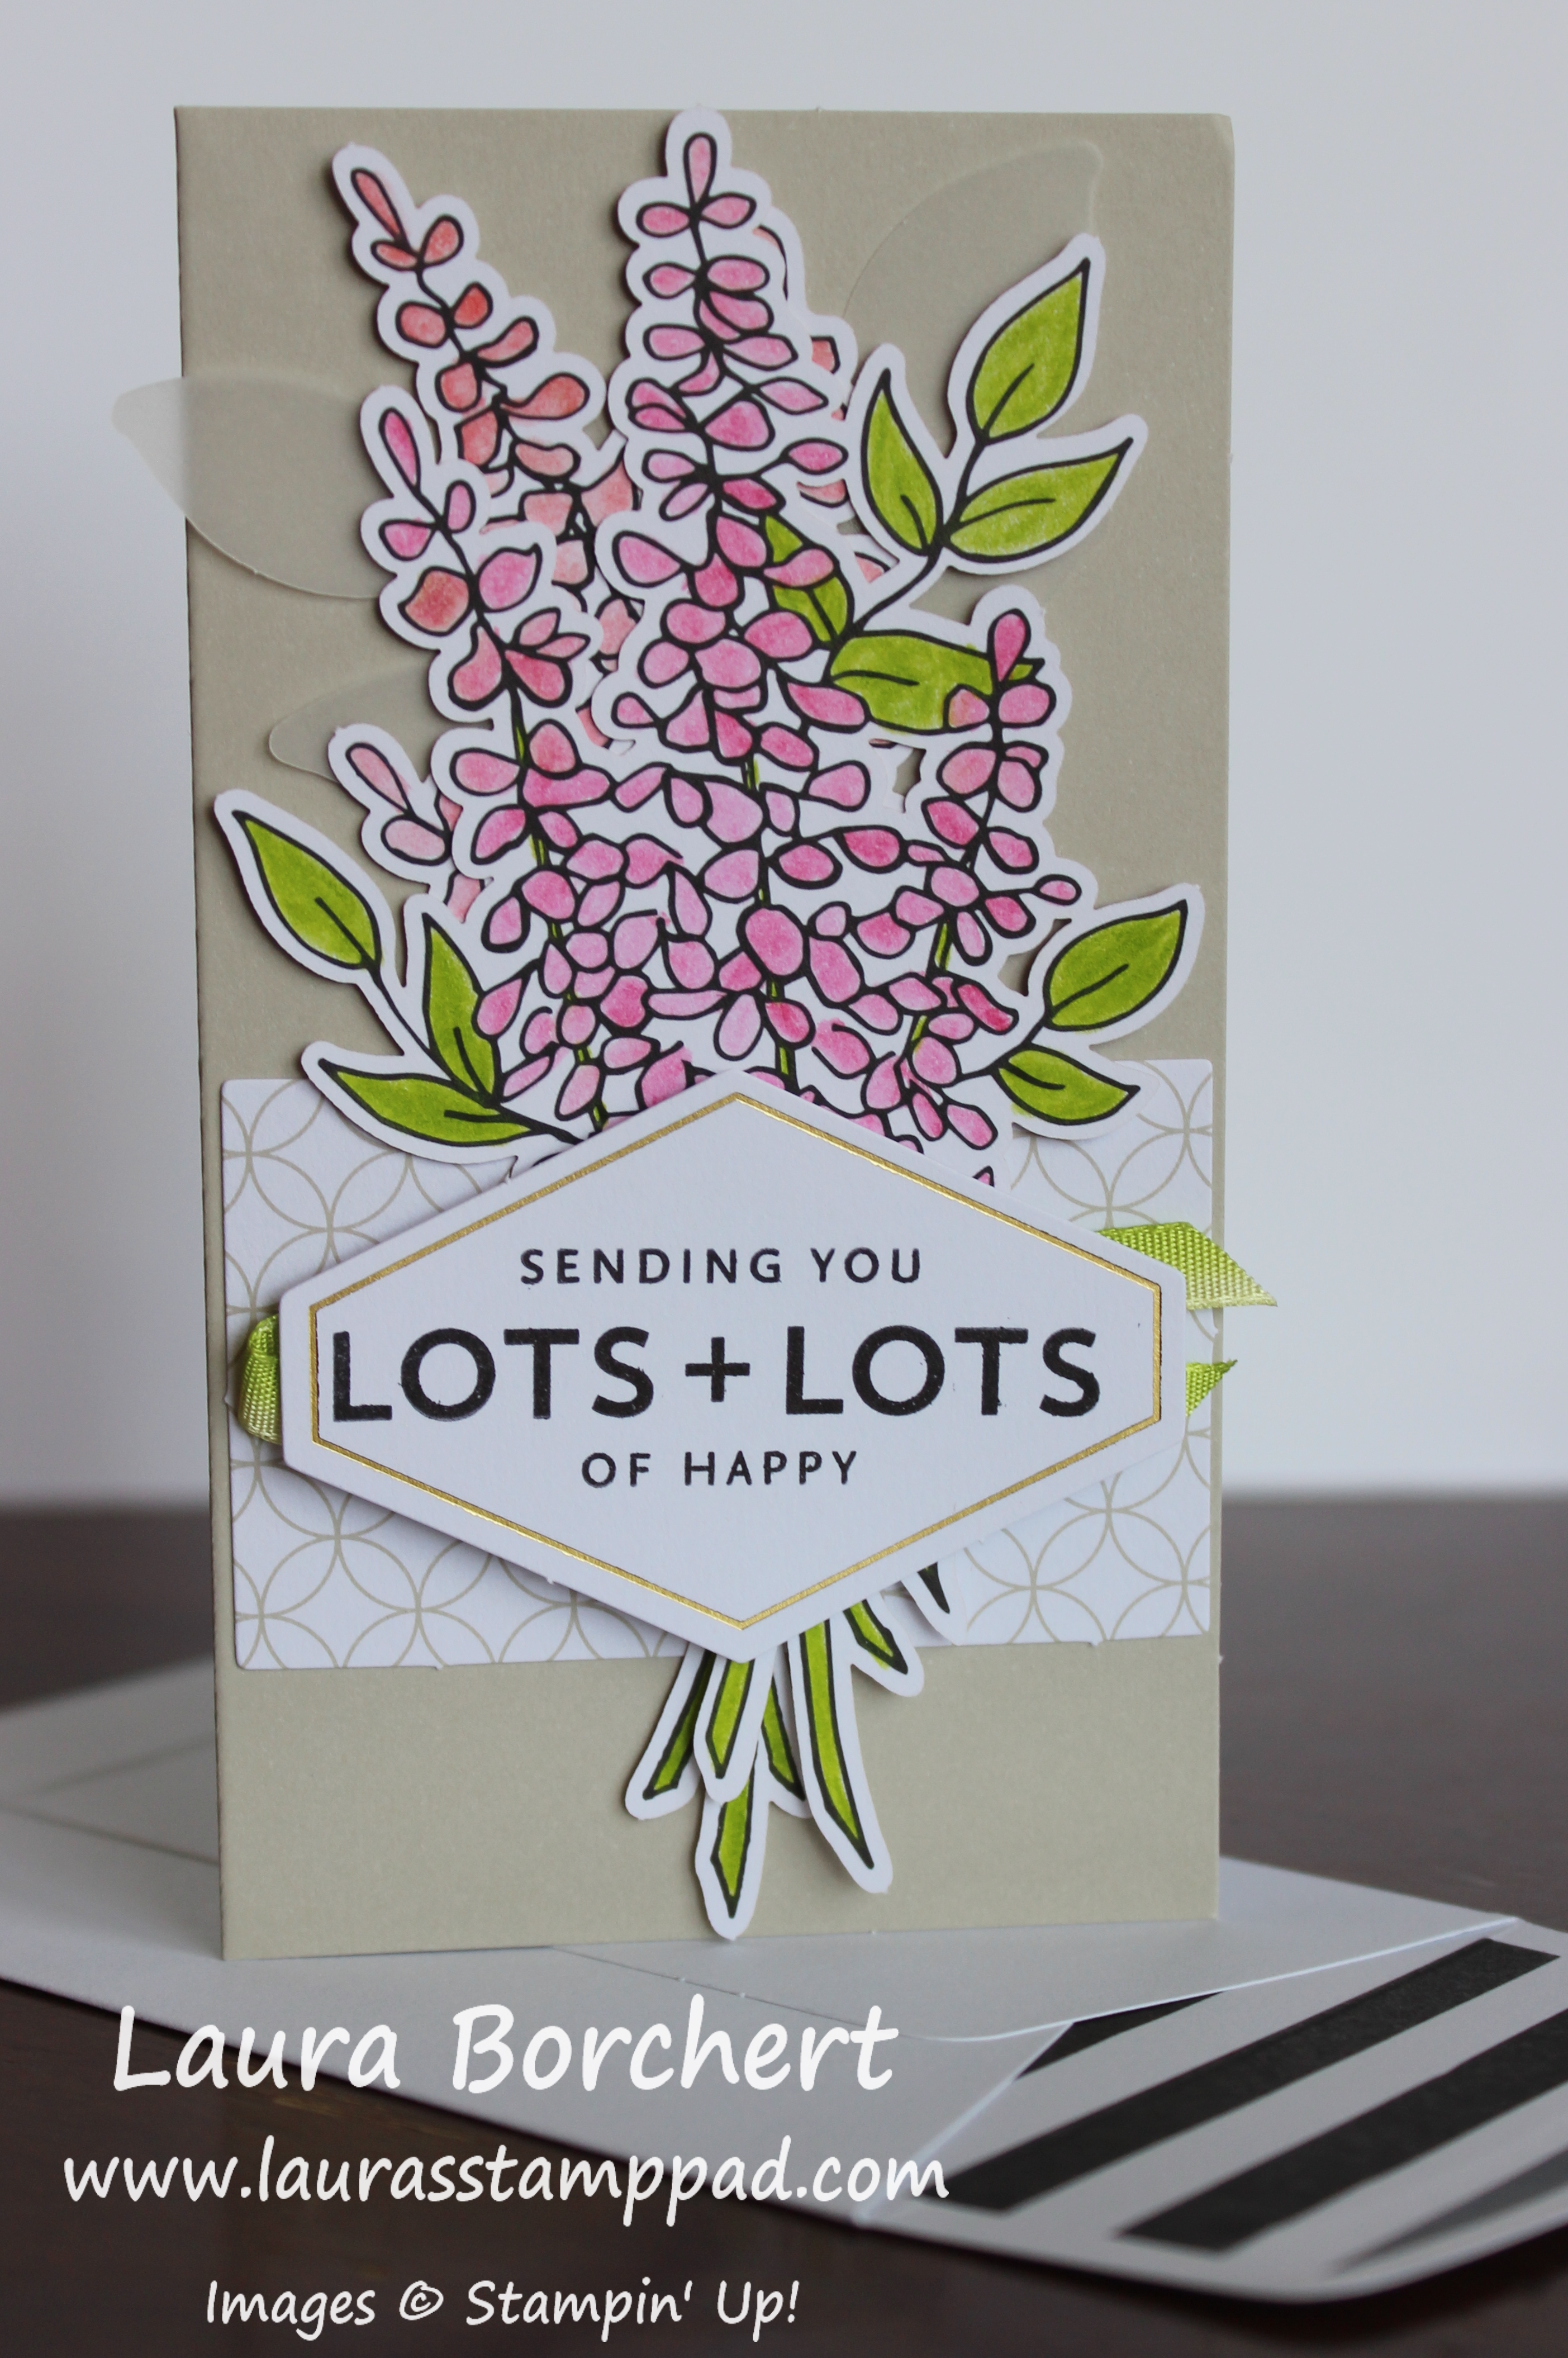
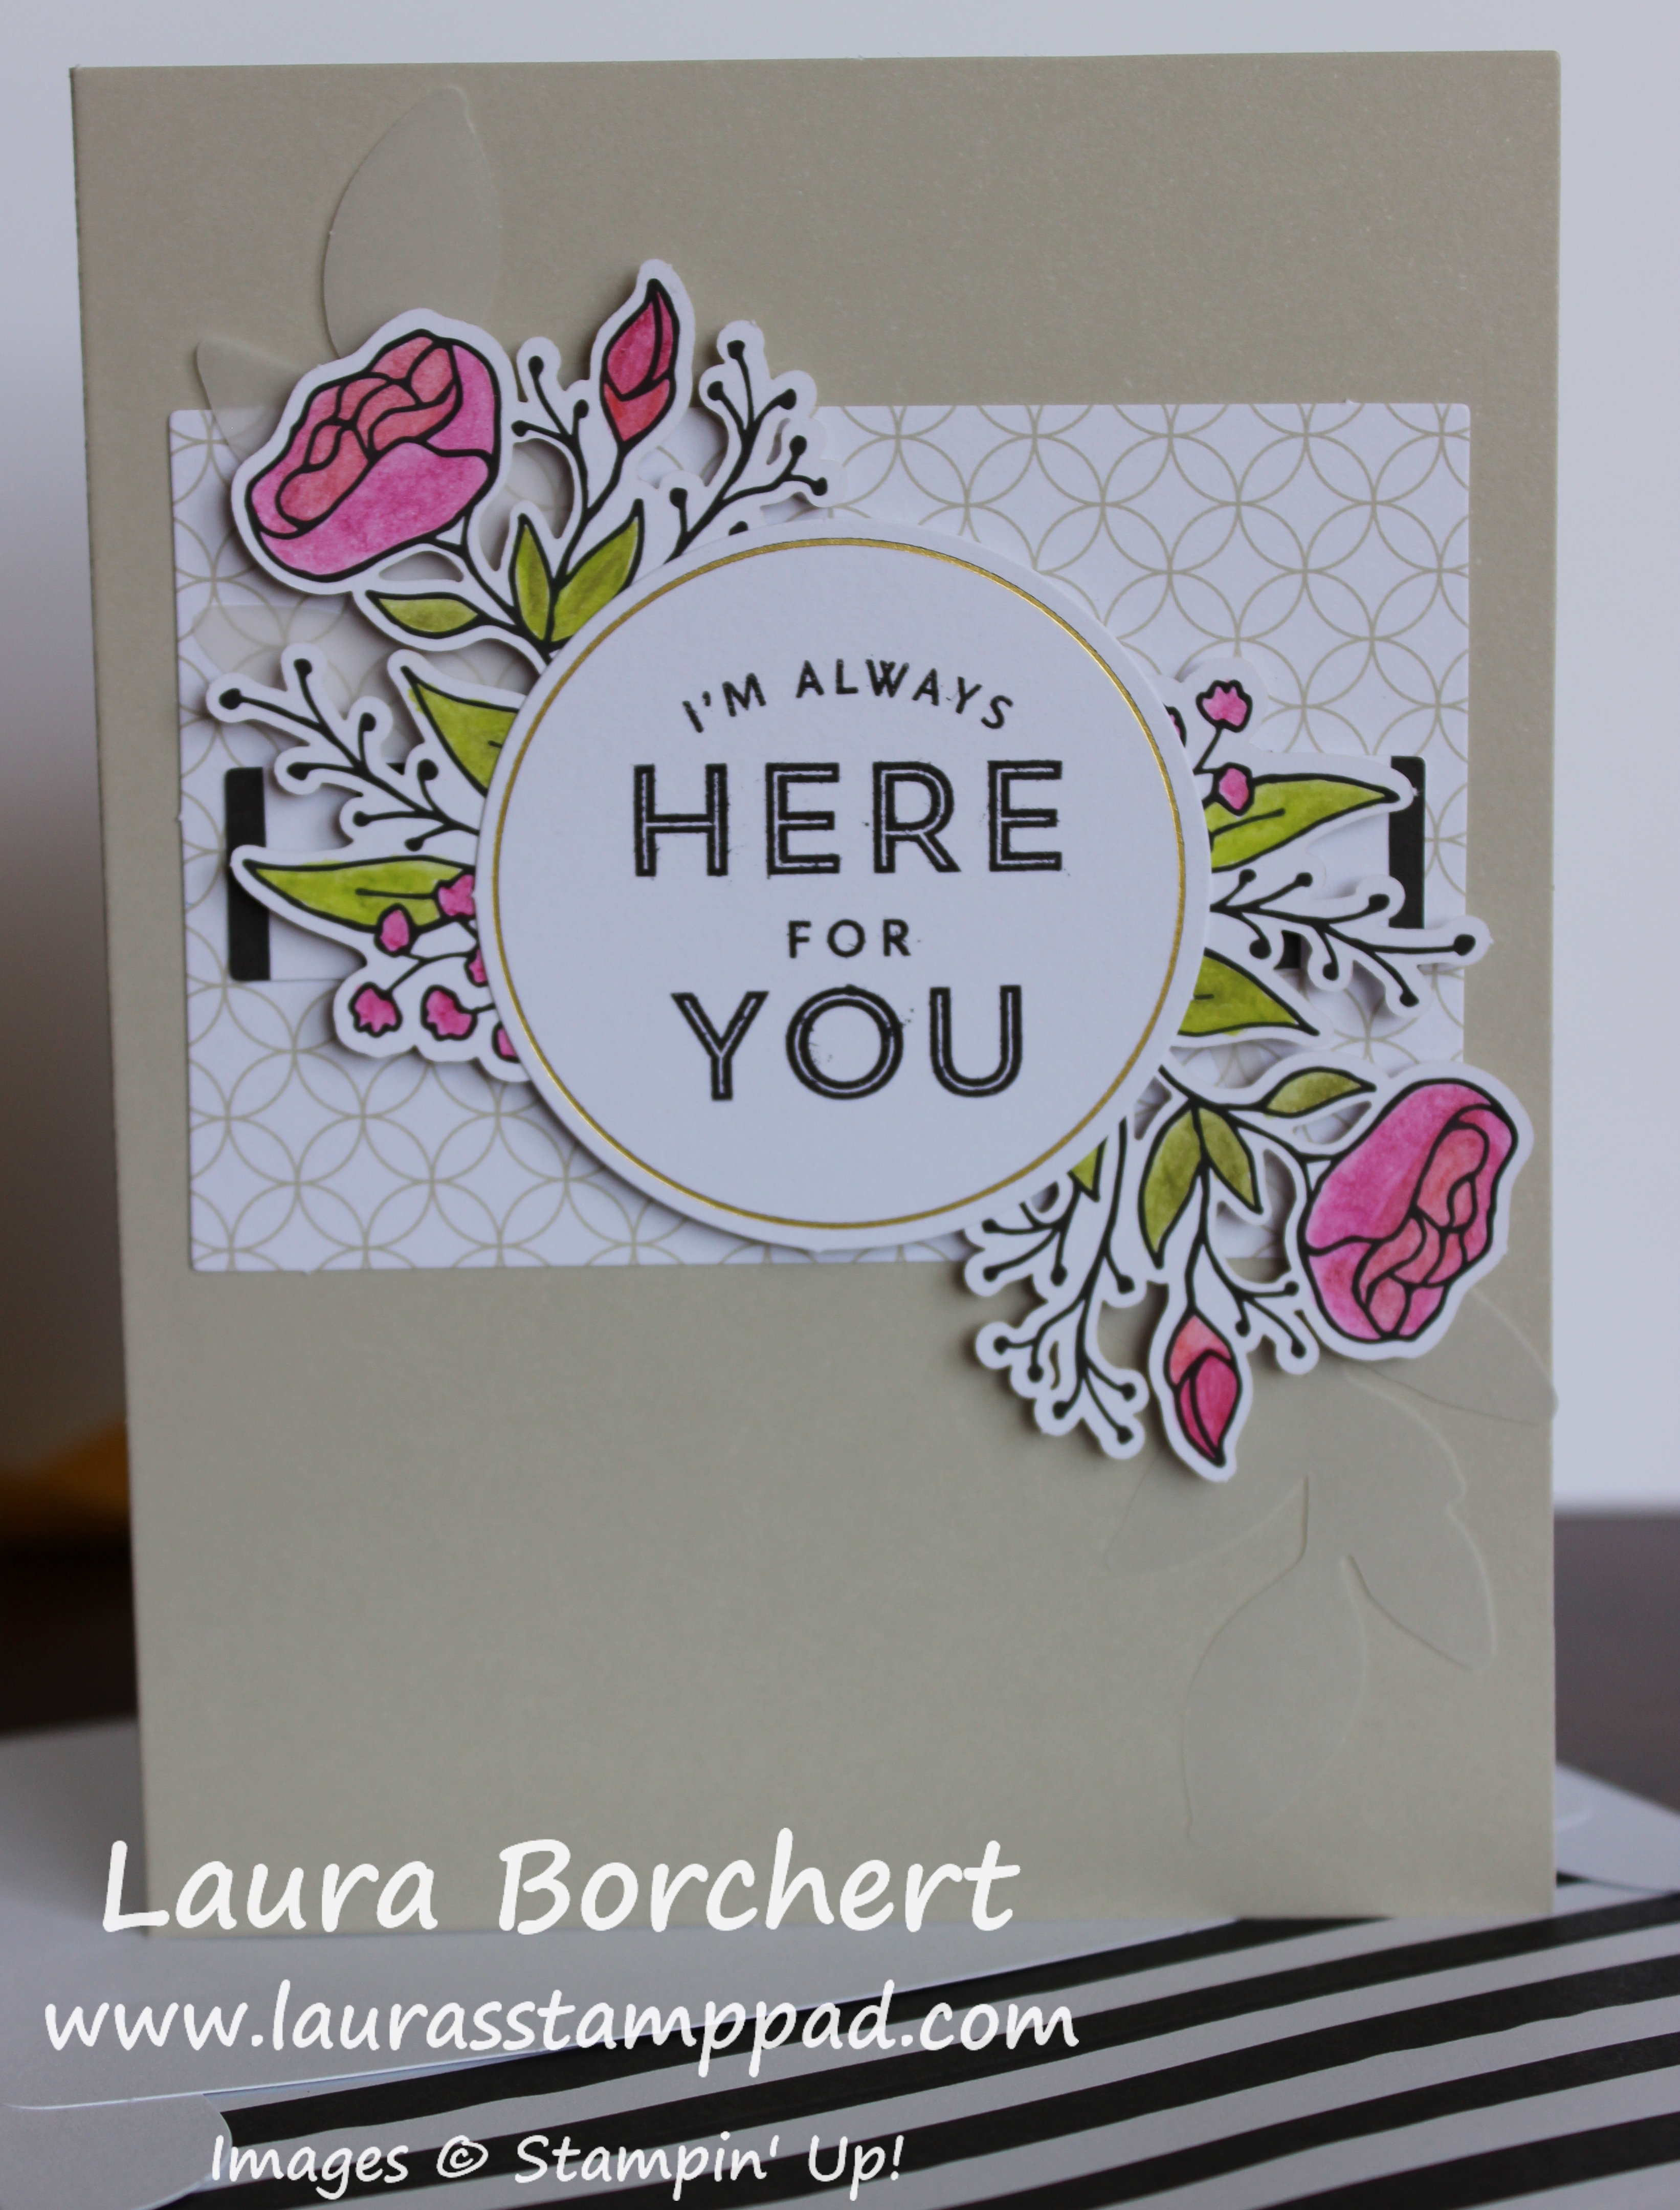
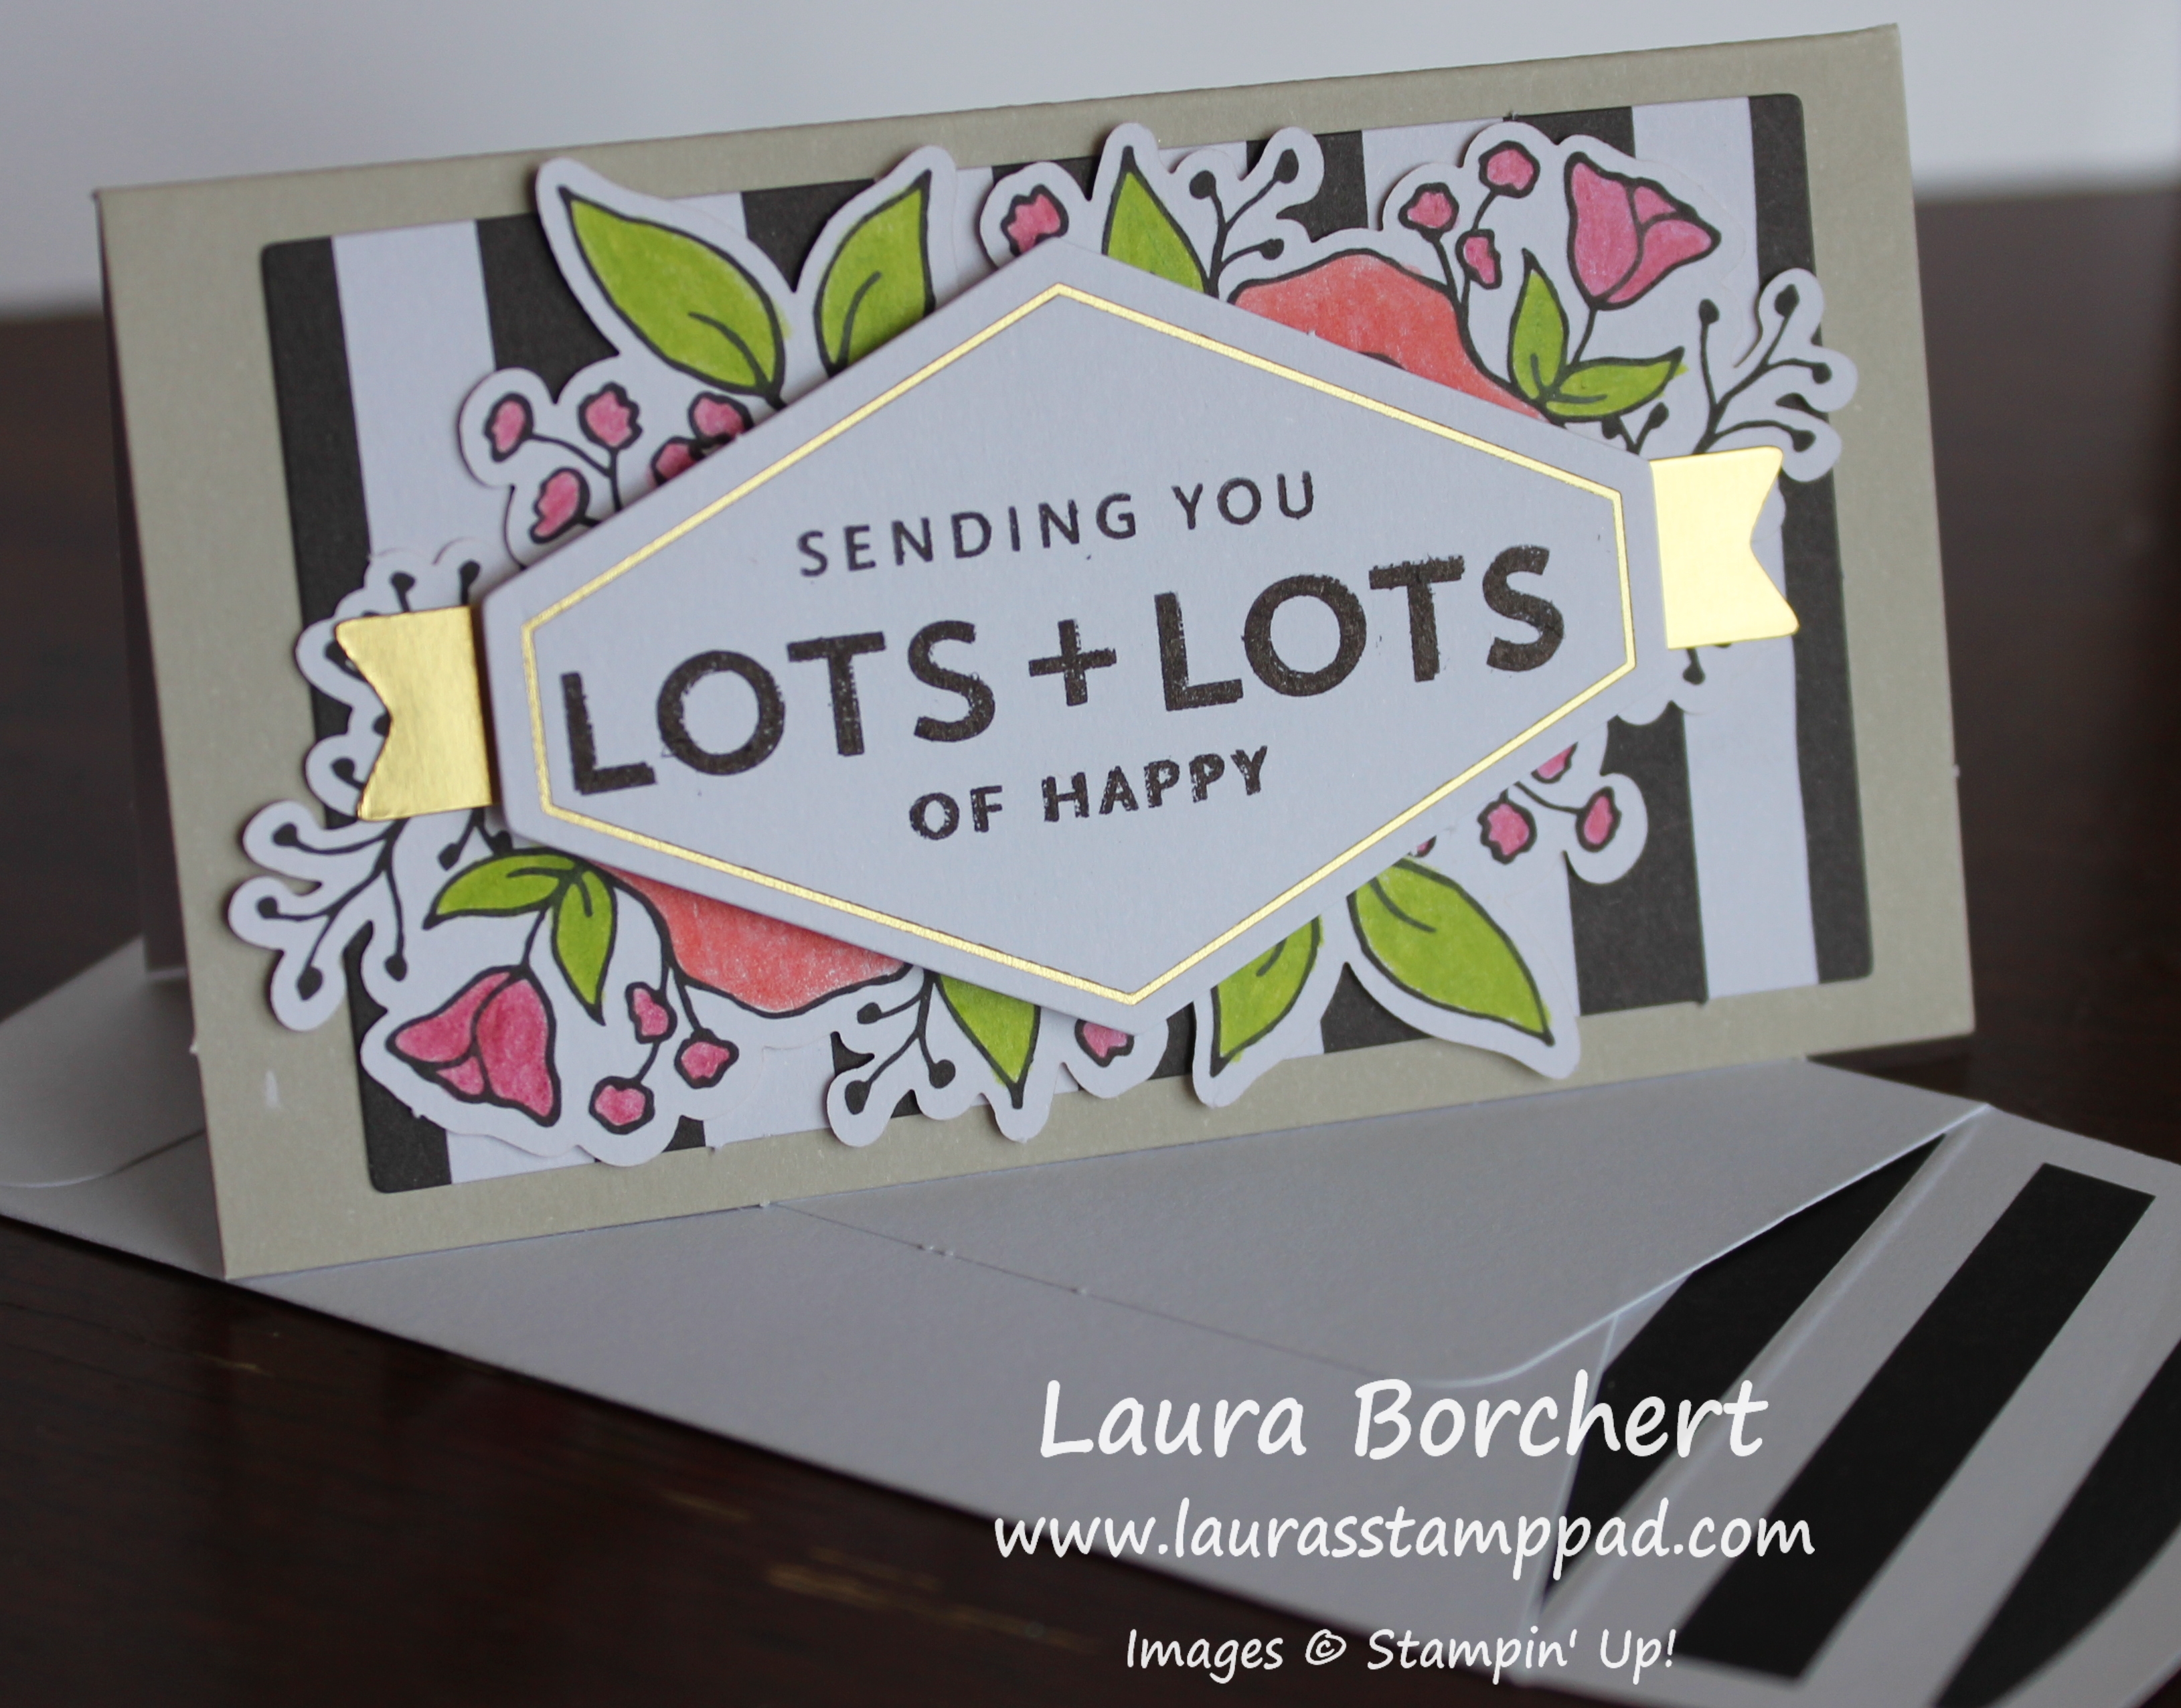
I started with a Whisper White card base. Next, I layered on a piece of Powder Pink patterned paper from the Fresh Florals Designer Series Paper Stack (retiring) measuring 4″ x 5-1/4″. For the focal point, I stamped the stuffed animals from the Baby Moon Stamp Set (retiring) in Memento Black Ink. Using the Stampin’ Blends, I colored the little ones in. I didn’t really do any special blending, just colored and had fun. I did use both the light and dark marker on the bear for his face. Then I stamped the greeting below the animals from the One Big Meaning Stamp Set (retiring). Finally, I layered this piece onto a piece of Powder Pink and added it to the card front using Stampin’ Dimensionals. You know I need a little texture on my card and I just love Stampin’ Dimensionals. 🙂

Since I made a lot of these, I needed lots of the designer paper. The Fresh Florals pack is perfect because there are lots of sheets in each of the In Colors so I just picked out all of the Powder Pink sheets and used the different designs. Which one do you like best – more Powder Pink with the fan pattern or more Whisper White with the floral pattern? Let me know in the comments below!

Many of the items I used for this card are retiring at the end of the month. Don’t wait too long or they will be sold out. Some of the retiring items are even on sale up to 50% off! Woot Woot! Click here to check out all of the items and shop!
Happy Stampin’
~Laura
Product List