Happy Monday!!! It’s always great to start off the week with a fun special – Paper Pumpkin FLASH SALE!!
Stampin’ Up! is offering a limited number of October Paper Pumpkin Kits for just $5.00 to new subscribers. Just enter the code: FLASH1018 This offer is only valid while supplies last or until October 10th which is the last day to get signed up for the October Kit.
Click here to get signed up with this special offer! Already a Paper Pumpkin subscriber? Pass this special off on to a friend and then you can create your kits together!!! Stamping is always more fun with a friend. Of course, you always get a special card for me each month as well! 🙂
Also, now is a great time to be a Paper Pumpkin Subscriber because the November kit will be holiday-themed and I’ve been told it’s going to come in a specially designed box. I love the cool printed boxes because it just makes getting the mail even more special. Who doesn’t want to open their mailbox and see that fabulous box in there??? It is so much better than bills! I like to call it Happy Mail!!!
The October 2018 Free Stamp Set of the Month is………drum roll……
I have been loving this stamp set so when it came time to pick the October Free Stamp Set of the Month I just knew it had to be this one!!! I love the greenery and simple images that could be used all winter long. Also, it’s always good to get sets with images and greetings….it’s like 2 for 1. 🙂
All orders placed this month online, via email, or at one of my events of $75 or more (before tax and shipping) will get this set for FREE. This offer is exclusively through me – Laura Borchert. Click here to start shopping!
Have you ever wanted an image stamped in each corner of your greeting or project?? Today, I’m going to show you how stamping perfect corners is super easy!!!
I am loving this greeting and it was super simple to create. Remember last week when I showed you Stamping In The Round??? We are going to use that same template for this card only this time, you just need to use the squares and not the diamonds on it!
I started with a Blackberry Bliss card base. Next, I took a piece of Tranquil Tide measuring 4″ x 5-1/4″ to layer on top. First, I thought it looked too plain so I stamped on it with the greenery from the Peaceful Noel Stamp Set in Tranquil Tide Ink. See the photo above. My husband said it looked too busy so I tried embossing it with the Swirls & Curls Embossing Folder. See the photo below!
Next up, I layered on a piece of the Joyous Noel Designer Series Paper measuring 4″ x 3″. I used this size so I could use up every inch of the fabulous paper! 🙂 I like to add this layer with Stampin’ Dimensionals when placing it on an embossed layer because I feel it is more secure in the grooves of the embossing. If you go the stamped route like the sample up top, you could layer it on with regular Snail Adhesive.
Using a 2-1/2″ square, I placed it in my Stamparatus using the square template. Then I stamped down the corner image in Sahara Sand Ink. After, I stamped, I rotated the cardstock around so a new corner was placed in the stamping spot and stamped it down. Once I had all 4 corners stamped, I stamped the greeting in the center. All of these images are from the Peaceful Noel Stamp Set. I layered this piece onto Blackberry Bliss.
Using the Tranquil Tide Mini Ruffled Ribbon, I flipped over the greeting and placed it along the top with a bit of a tail hanging off. I secured it in place with Stampin’ Dimensionals placed half on the ribbon, half on the cardstock. Then I looped it around and secured the middle section, made another loop and ran the the last piece across the bottom. Once you have it all set, add a few more dimensionals for good measure. After all they are on sale today and I love them so much! Then I added this piece to the card front!
Which one do you like best – embossed or stamped Tranquil Tide layer?? Let me know in the comments below!
If you would like to see this all in action, check out the video below or click here! Be sure to give the video a thumbs up if you liked it and don’t forget to subscribe if you are new. If you would like a notification when I post a new video, be sure to click the bell right next to the subscribe!!!
Are you ready to celebrate World Card Making Day 2018??? Stampin’ Up has select card making items on sale this week only – October 1st – 7th!!!
Let’s celebrate with Stampin’ Dimensionals ON SALE!!!! You bet your bottom dollar I will be stocking up on those. If you have been following me for a hot second, you know I love love love Stampin’ Dimensionals.
I’m also super excited about the fact that there are All Inclusive Card Kits on sale. These are awesome to give as gifts because they include everything you need to create the cards in the kit. Anyone could do these kits. Don’t forget about the Holidays coming up as well!
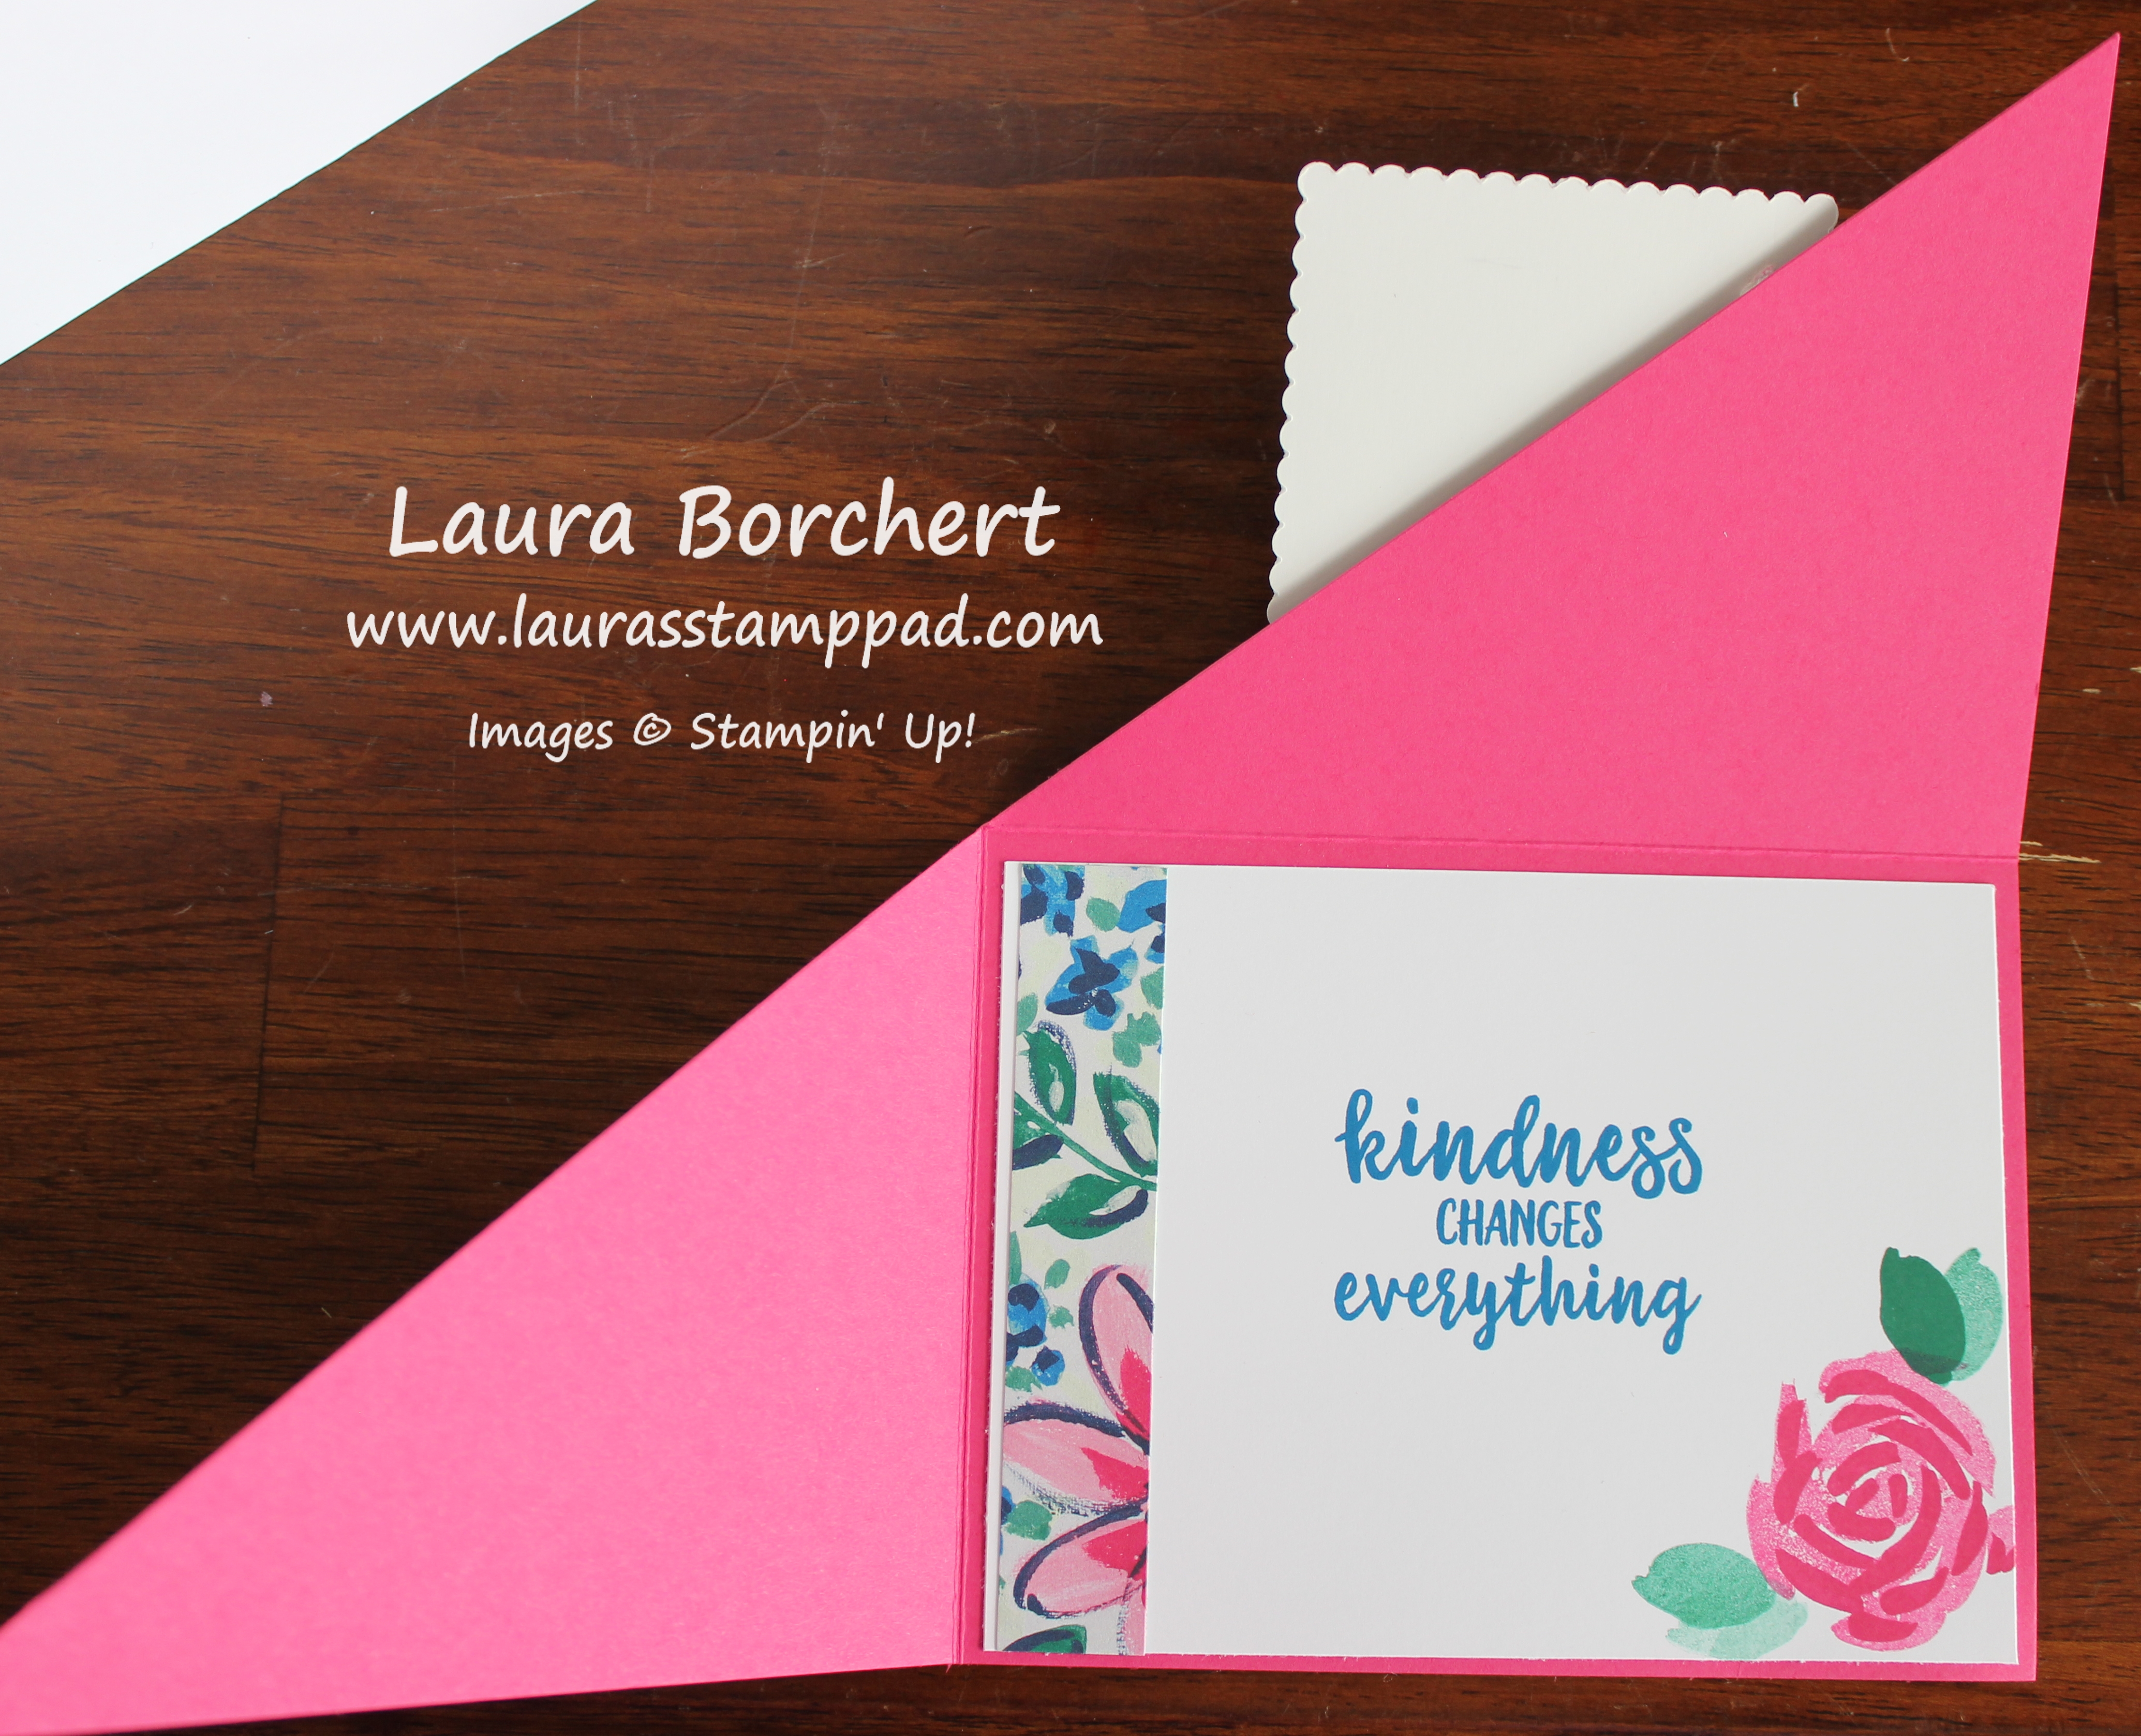
Happy Tuesday!!! You all know that means I have a fabulous technique to share. This one might not look cool at first but then when you open it you see the real magic. This diagonal opening card is super fun and the concept can be used for any occasion! Thank you to Margo Richardson for the amazing idea!
At first, I started with an 8-1/2″ x 11″ piece of Melon Mambo cardstock. I cut it diagonally from corner to corner using the Stampin’ Trimmer. Be sure to take out the scoring blade and then the cutting blade will be able to cut all the way to the ends. Also, I recommend starting in the middle and pushing out so you don’t crinkle the corner tips. Now that you have a giant triangle, it’s time to score. Score from the corner over to 5-1/2 and up at 4-1/4″. This will create a 4-1/4″ x 5-1/2″ rectangle in the corner and two triangle flaps to fold over as the front of the card!
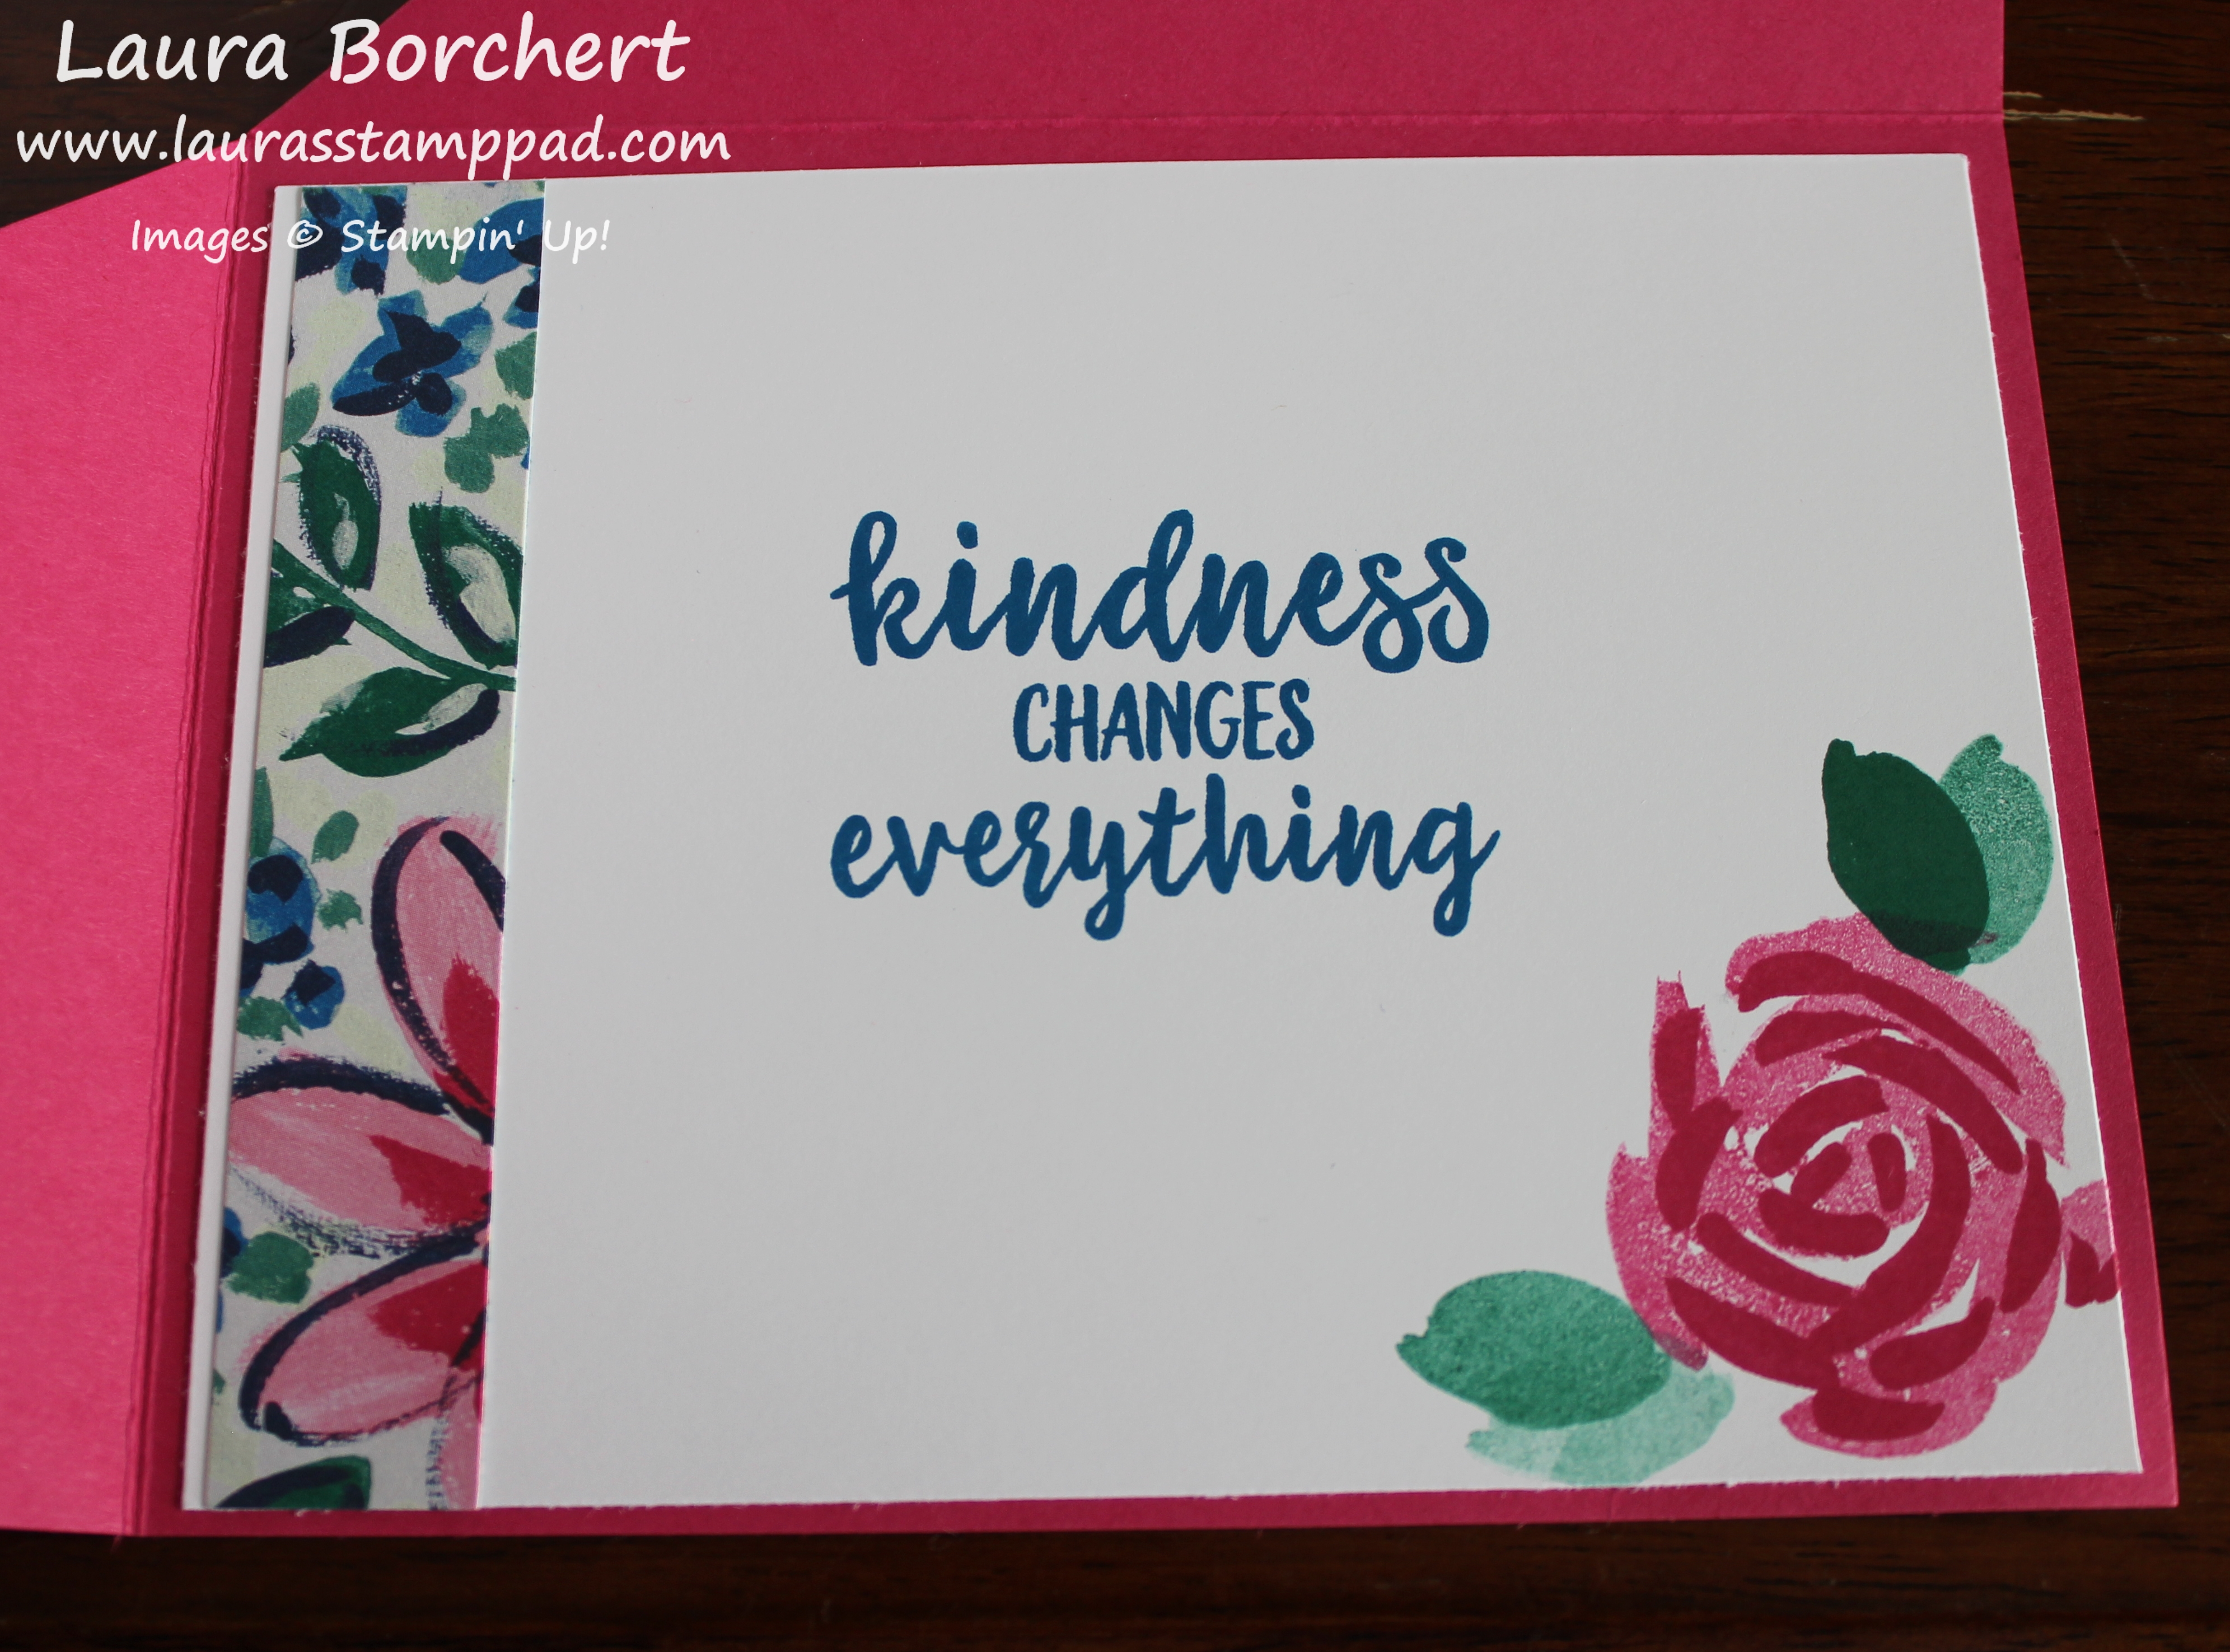
Now that we have the card base complete, it’s time to decorate. For the inside, I added a piece of Whisper White measuring 4″ x 5-1/4″. I stamped the greeting and flower from the Abstract Impressions Stamp Set. The greeting was done in Pacific Point Ink and the flower was Melon Mambo and Emerald Envy Ink. On the left hand side, I added a little piece of the leftover designer paper after cutting for the front of the card!
For the front of the card, I cut a piece of Pacific Point cardstock into a 4″ x 5-1/4″ rectangle and then I cut it diagonally from corner to corner. Making sure I had the piece positioned correctly for the card, I placed it into the Garden Trellis Embossing Folder. There is only one way the paper can go on the card. These weird sized triangles make that part a little tricky. Using a piece of the Garden Impressions Designer Series Paper, I cut it into a 4″ x 5-1/4″ piece and cut it diagonally as well. The greeting was stamped in Pacific Point Ink from the Abstract Impressions Stamp Set. I inked it up and then stamped three times without going back to the ink for that ombre look. This piece was layered on to a scallop square of Silver Foil Paper. I used the Layering Squares Framelits to die cut it out. When placing the greeting on the front of the card, be sure to only add adhesive to the one corner/triangle so that it doesn’t seal the card closed! 🙂
If you would like to see this all in action, check out the video below or click here! Be sure to give the video a thumbs up if you liked it and don’t forget to subscribe if you are new. If you would like a notification when I post a new video, be sure to click the bell right next to the subscribe!!!
Gold and Silver have been around forever….or it seems to me…but Copper hasn’t and I’m in love lately. I just can’t get enough Copper!!! The Joyous Noel Suite from the Holiday Mini Catalog has lots of Copper!
The texture and shine on this card is just stunning!!! It’s also super easy too so this is a great card to make multiples for Christmas!
I started with a piece of Sahara Sand for my card base. Next I cut a piece of Copper Foil Paper (2″ x 5-1/4″) and ran it through the Big Shot with the Tufted Embossing Folder. That is my favorite folder right now as well as the Tin Tile Embossing Folder. Also, I cut a piece of the Joyous Noel Designer Series Paper in a 2″ x 5-1/4″ piece. Then I added these two pieces to the card front!
For the greeting, I die cut an oval using the Stitched Shapes Framelits and stamped the greeting in Merry Merlot Ink. The greeting is from the Peaceful Noel Stamp Set. I added the greeting with Stampin’ Dimensionals. To finish it off, I added a bow made from the Merry Merlot and Copper Ribbon. I used Mini Glue Dots to adhere it to the card front. I love it!
Are you a big Copper fan? Or do you like Silver or Gold more? Let me know in the comments below!
After posting the wreath card on Tuesday using the Stamping In The Round Technique, I had lots of people request a template tutorial! I’m always happy to help you all out so here it is – a template for the Stamparatus!!!
This template I created on Stampin’ Up Grid Paper but you can also use just a piece of printer paper like the one below. First up, I found the center from both sides and created that cross line in purple. Next, I took a scrap piece of paper in a square and placed it in the center. You can start with whatever size of square you would like. This square is the size of cardstock you will be stamping on for your project. The one above is a 3″ square down to a 2-1/4″ square. Trace the square centered and then rotate it into a diamond and trace again.
After you create the first square centered and in a diamond, trim off a 1/4″ from the top and one of the sides. Line up the square template in the center and trace along the edges. Keep going until you have the smallest square you need.
That is how I created the template. I’m thinking I will laminate this so that it is protected from ink or ripping and I can use it over and over again. Check out the wreath card that I created using this template here! Also, stay tuned as I have another fabulous sample coming soon!
If you would like to see this all in action and what the template looks like, check out the video below or click here! Be sure to give the video a thumbs up if you liked it and don’t forget to subscribe if you are new. If you would like a notification when I post a new video, be sure to click the bell right next to the subscribe!!!
Happy Wednesday!!! Comfort & Joy….those are 2 things we all need in our lives especially during the Holiday Season. Sometimes I feel like we get all into the hustle and bustle of it and then we don’t enjoy it. This year I wish you all the comfort and joy!!! Get a head start on your cards now and work on them just a little bit each night or each weekend. You will be done in no time and not feel stressed about it all!
This card is really easy to create and with a few simple steps you can recreate it and have yours done in no time! I’ll list the steps to create this into batches so you can do one step each time you have a moment to create.
Create Whisper White card bases measuring 5-1/2″ x 8-1/2″ and fold in half.
Cut Dashing Along Designer Series Paper (or paper of your choice) into 4″ x 5-1/4″ rectangles. Add this to the front of the card bases.
Cut Garden Green cardstock into 2″ x 5-1/4″ rectangles. Add this to the front of the card in the center.
Cut 3 Whisper White pieces as follows: two 1-1/2″ squares and one 2″ x 1-1/2″ rectangle.
On the rectangle, stamp the greeting from the Timeless Tidings Stamp Set in Garden Green Ink.
One the squares, stamp the poinsettia flower from the Timeless Tidings Stamp Set in Real Red Ink.
Add these to the card front by adding the squares on either side flush with the edge. Then place the greeting in the middle. This works best for spacing.
Finish off the card with some bling in the centers. I used the Frost & Clear Epoxy Droplets. Before placing them on the card front, I added the yellow with a Daffodil Delight Dark Stampin’ Blends Marker!
In 8 simple steps, you can have lots of these cards created. I have listed the supplies below so you can get started! The Dashing Along Designer Paper is FREE this month only for orders (or parties) of $250 or more. See if your friends need to order some goodies and combine them together to earn this for FREE or stock on some basics for another project.
Happy Tuesday!!!! Today, I have a fabulous technique to share with you!!! I am showing off the Stamping-In-The-Round Technique with the Stamparatus!!! Some techniques like watercoloring come out different each time but this is one that comes out the same each time and it’s fabulous!!! I got this technique from fellow stamper Joanne Cantrell.
This card is just so fabulous and rather easy to create. I love the added bling with the Glimmer Paper. 🙂
I started with a Smoky Slate card base and added a piece of the Merry Merlot Glimmer Paper from the Joyous Noel Pack. The Glimmer Paper measures 2″ x 5-1/2″. Next, I took a Mossy Meadow 3-1/2″ square and added it to the card front with Stampin’ Dimensionals. After placing that down, I knew where I could stamp the greeting. I used Merry Merlot Ink and the Peaceful Noel Stamp Set.
Now for that fabulous wreath that I created using the Stamparatus. First I created a template with squares and diamonds in a 3″ square. I placed the Whisper White 3″ square on the template and then placed the greenery piece from the Peaceful Noel Stamp Set on the edge. This is the start of the wreath. Using Mossy Meadow Ink, I stamped the first greenery piece. Then I rotated the square to the diamond template and stamped again. Continue rotating around and around until your wreath is complete. Next, I added a few holly berries in Merry Merlot. I found that it looked best to stamp them off to the side (on the white) so they would show up better. I added this to the card front and then tied a bow using the Copper & Merry Merlot Ribbon. Using Mini Glue Dots, I adhered the bow to the card front!
This technique is super handy for lots of different stamped images on corners or in a circle.
If you would like to see this all in action and what the template looks like, check out the video below or click here! Be sure to give the video a thumbs up if you liked it and don’t forget to subscribe if you are new. If you would like a notification when I post a new video, be sure to click the bell right next to the subscribe!!!
Happy Monday!!!! Eeeek It’s Halloween!!! Okay, not today but it sure is coming upon us fast. This is the last week of September and of course I can’t share Halloween samples with you on the day….it’s too late by then! So I’m sharing this one early!!!
Okay so if you have been following me for awhile, you probably know I’m not a huge fan of Halloween. I easily get scared and I just don’t feel like growing up it was that big of a holiday so I’m just sort of meh about it! It seems people are either SUPER in love with Halloween or in the same boat with me! Which one are you??? Let me know in the comment below!
Since I’m not a huge fan, I bought the Toil & Trouble Designer Series Paper from the Holiday Mini Catalog and that’s it! I have created a few fun cards using that cute paper because after all I do still need a few Halloween Cards. Paper Pumpkin is my other savior because it always has goodies for the holidays. In fact, this greeting is from the September 2018 Paper Pumpkin Kit! I love it and might just use it again next year! 🙂
I started off with a Whisper White card base. Then I cut the Toil & Trouble Designer Series Paper into 2″ x 2-5/8″ rectangles. That is 2-1/2 and then 2 more little marks past. LOL Normally, I don’t do eighths but sometimes it’s required. These rectangles were placed using with opposites patterns. You could always recreate this card using the back sides of both pieces for another fun look. It’s always fun when you have options with both sides! Next, I added some of the Black Glittered Organdy Ribbon around the top and tied it into a knot. Have you seen this ribbon? It is stunning…bling bling!!!
For the greeting, I stamped it from the September 2018 Paper Pumpkin Kit in Gorgeous Grape and punched it out with the Everyday Label Punch. Then I punched out another one in Pumpkin Pie. Cut the Pumpkin Pie one in half and add one half to the left side of the greeting peaking out as far as you wish. Then add the other half to the other side. This gives a fabulous layered look! I added the greeting to the card front with Stampin’ Dimensionals for some texture!
This card is super simple and could be used with lots of different papers and greetings! I hope you enjoyed it and have an idea for getting your Halloween cards ready to go early this year!


 Specialty Designer Series Paper")


 Mini Ruffled Ribbon")


 Designer Series Paper")


 Reversible Ribbon")


 Designer Series Paper")

 Glittered Organdy Ribbon")
