Happy Tuesday!!! You all know that means I have a fabulous technique to share. This one might not look cool at first but then when you open it you see the real magic. This diagonal opening card is super fun and the concept can be used for any occasion! Thank you to Margo Richardson for the amazing idea!

At first, I started with an 8-1/2″ x 11″ piece of Melon Mambo cardstock. I cut it diagonally from corner to corner using the Stampin’ Trimmer. Be sure to take out the scoring blade and then the cutting blade will be able to cut all the way to the ends. Also, I recommend starting in the middle and pushing out so you don’t crinkle the corner tips. Now that you have a giant triangle, it’s time to score. Score from the corner over to 5-1/2 and up at 4-1/4″. This will create a 4-1/4″ x 5-1/2″ rectangle in the corner and two triangle flaps to fold over as the front of the card!
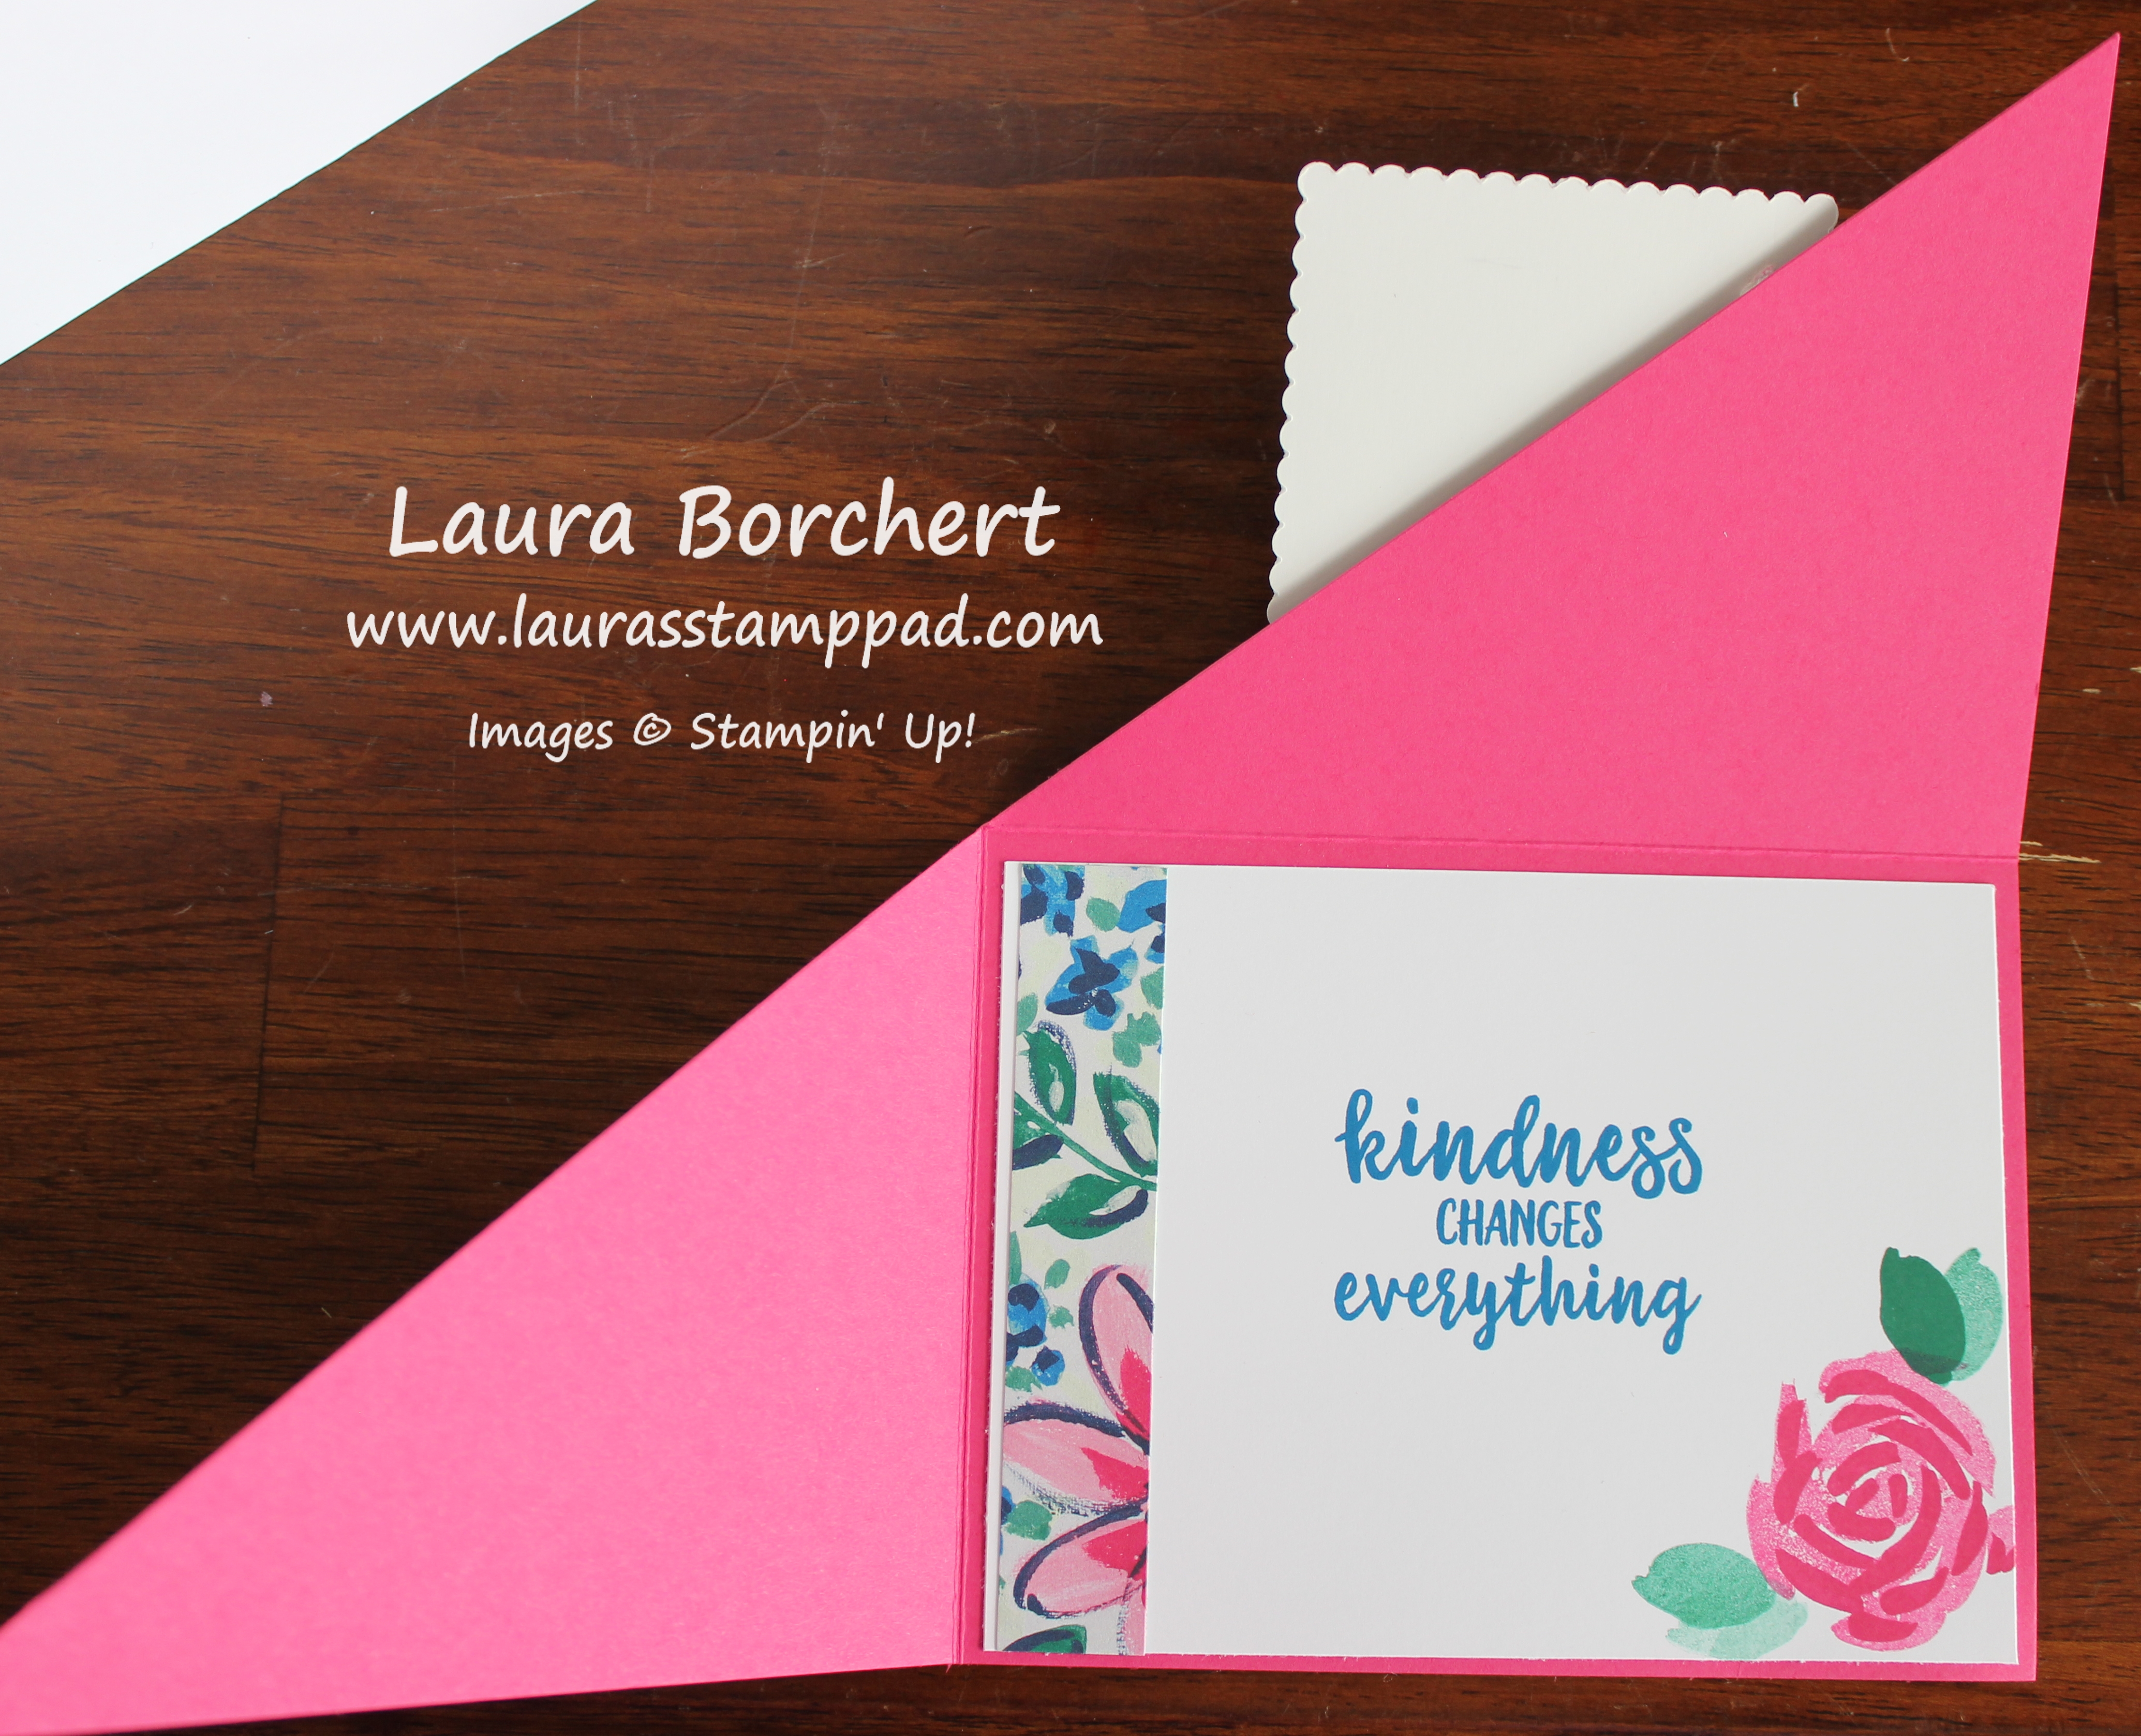
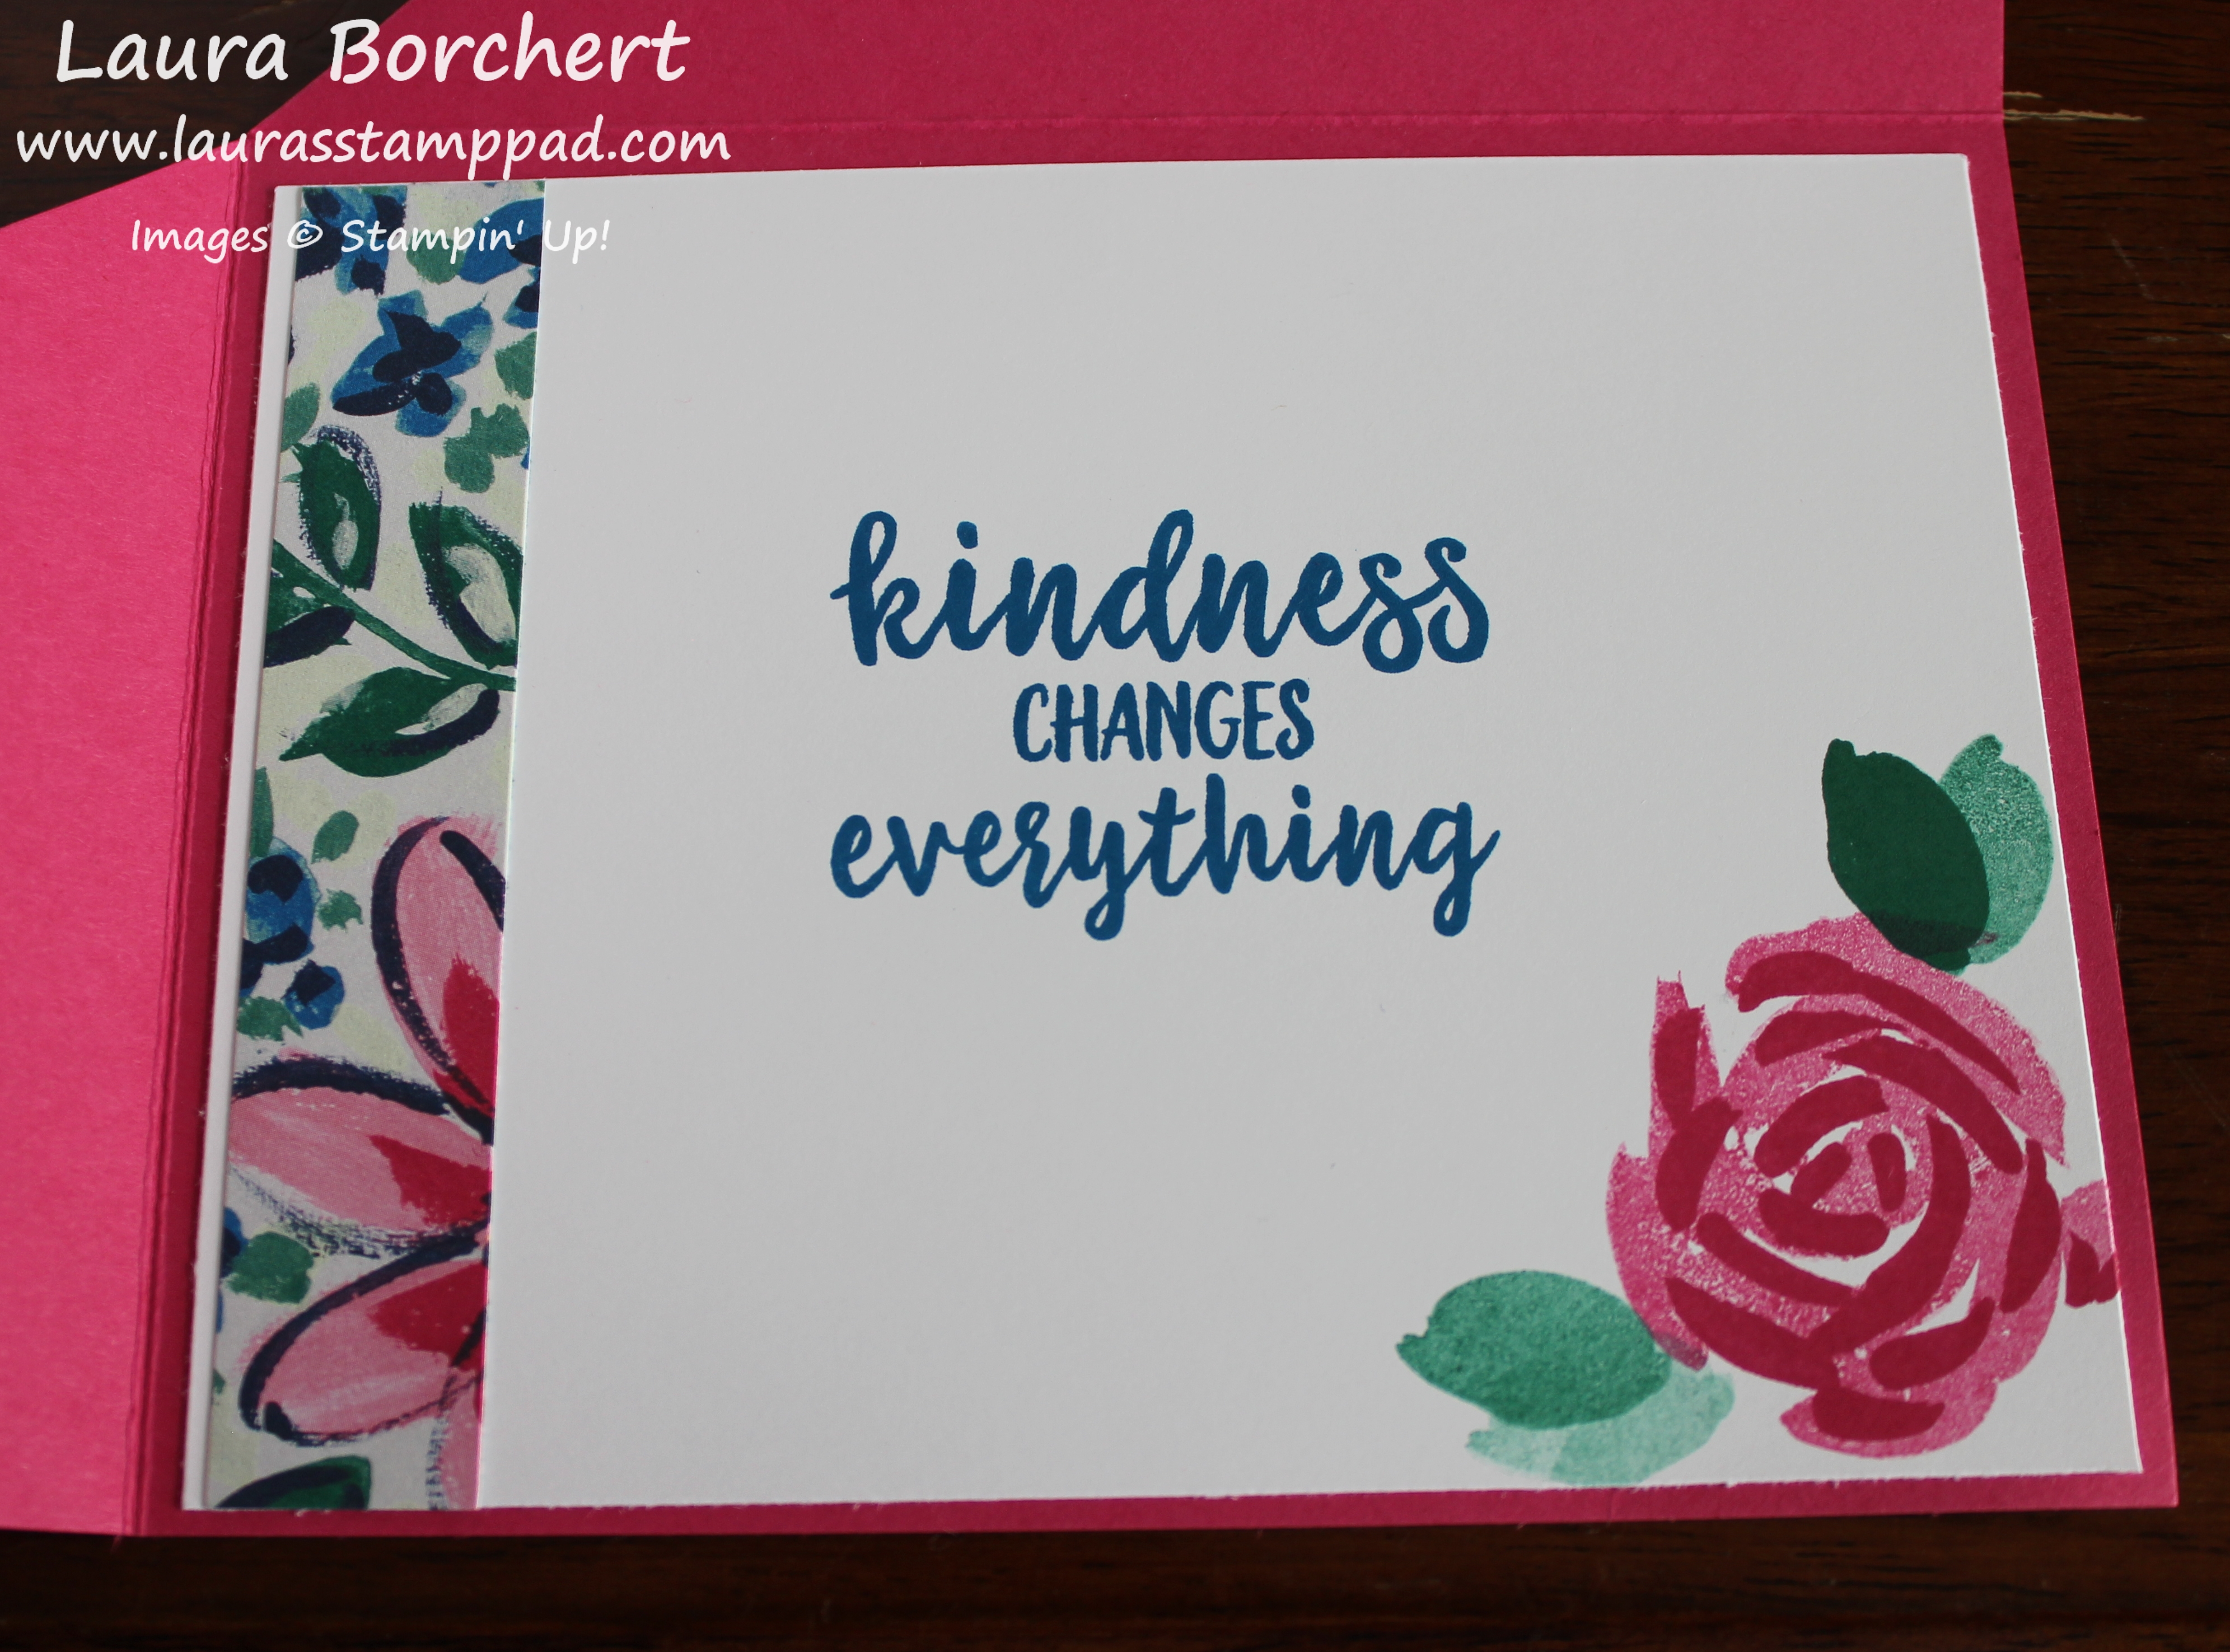
Now that we have the card base complete, it’s time to decorate. For the inside, I added a piece of Whisper White measuring 4″ x 5-1/4″. I stamped the greeting and flower from the Abstract Impressions Stamp Set. The greeting was done in Pacific Point Ink and the flower was Melon Mambo and Emerald Envy Ink. On the left hand side, I added a little piece of the leftover designer paper after cutting for the front of the card!
For the front of the card, I cut a piece of Pacific Point cardstock into a 4″ x 5-1/4″ rectangle and then I cut it diagonally from corner to corner. Making sure I had the piece positioned correctly for the card, I placed it into the Garden Trellis Embossing Folder. There is only one way the paper can go on the card. These weird sized triangles make that part a little tricky. Using a piece of the Garden Impressions Designer Series Paper, I cut it into a 4″ x 5-1/4″ piece and cut it diagonally as well. The greeting was stamped in Pacific Point Ink from the Abstract Impressions Stamp Set. I inked it up and then stamped three times without going back to the ink for that ombre look. This piece was layered on to a scallop square of Silver Foil Paper. I used the Layering Squares Framelits to die cut it out. When placing the greeting on the front of the card, be sure to only add adhesive to the one corner/triangle so that it doesn’t seal the card closed! 🙂
If you would like to see this all in action, check out the video below or click here! Be sure to give the video a thumbs up if you liked it and don’t forget to subscribe if you are new. If you would like a notification when I post a new video, be sure to click the bell right next to the subscribe!!!
Happy Stampin’
~Laura
Product List

 Designer Series Paper")

