The October 2021 Paper Pumpkin did not disappoint at all! These stunning cards are beautiful and added 10 more cards to my stash to send out this season! Woot Woot!!!

These cards were fairly quick and simple to create! If you watched the video of me creating these, you will see my big woopsy but that’s okay! I made it all better! You can check it out here!
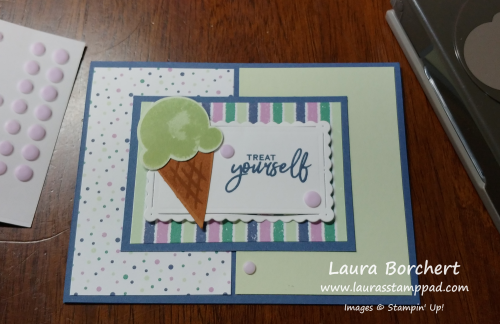
My biggest tip for this kit would be to stamp the trees on the plaid printed paper first and set it aside. I found that the plaid paper had a bit of a slick feel to it and the ink took a bit longer to soak in. To avoid smearing it just stamp first and set it aside!

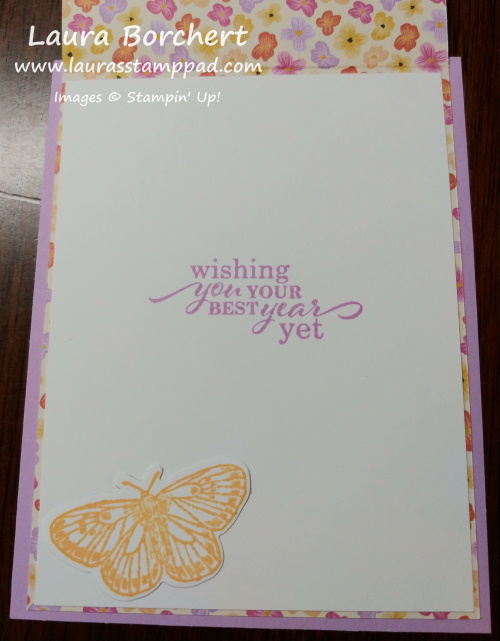
Don’t forget to stamp the inside of the cards as well. The stamp set comes with some super cute images to use! For the plaid tree card, I stamped the trees along the bottom as shown above. For the snowy tree card, I stamped the snowflakes in opposing corners as shown below! Just a fun added touch!

Paper Pumpkin is super fun to enjoy some stamping and creating fabulous projects that coordinate with the upcoming seasons/holidays! The November Paper Pumpkin Kit is going to be adorable snowman gift packaging! I can’t wait for it to arrive to use for teacher gifts, neighbor gifts, and possibly even delivery men/women gifts! Cute and simple! Click here to get signed up for this kit before November 10th!

Happy Stampin’
~Laura


 Specialty Designer Series Paper")


 Shimmer Ribbon")


 Designer Series Paper")


 Designer Series Paper")


 Grosgrain Ribbon")


")
 Designer Series Paper")


 Envelopes")
 Acetate Card Boxes")


")

 Mini Ruffled Ribbon")
 Designer Series Paper")


")
 Designer Series Paper")

 Open Weave Ribbon")
