Rainbow Paint!!!

Posted on

Rainbow Gorgeous Grunge, www.LaurasStampPad.com

Doesn’t this fabulous card look like paint splatters or a painter’s palette? Either way I love it because it is so bright and colorful! I created this card with the Gorgeous Grunge Stamp Set. I used the same image to each color – Real Red, Pumpkin Pie, Daffodil Delight, Old Olive, Pacific Point and Rich Razzleberry! I wish I had a good tip for you on the spacing but I don’t. Sorry! 🙂 Just be sure to fall off on the corners and do some overlapping! If all else fails, stop at Old Olive…or whichever color takes you to the edge of the paper. I stamped my greeting from the Remembering Your Birthday Stamp Set in Basic Black! Quick, Simple and perfect for any age of Birthday!

Be on the lookout for more cards using the Gorgeous Grunge Stamp Set!!! Hit Subscribe in the top right corner so you don’t miss out!

Happy Stampin’

~Laura


Clearance Rack Blowout!!!!

Posted on

Clearance Rack

Stampin’ Up added new items to the Clearance Rack this morning!!!! Be sure to check it out and enjoy the savings!!!

Don’t forget that you can order the Blendabilities Markers now too!! There is also two new Photopolymer Stamp Sets that came out this week! Christmas Bliss & Dear Heart! Check out all the NEW Items by clicking here!

Stock up on Designer Series Paper with the Buy 3, Get 1 Free Special going on now!!!

Place your order online using the Hostess Code, QAQASG24 when you are checking out and your name will go in a drawing for the NEW Blackberry Bliss Ink Pad!!!

Happy Shopping!!!!

~Laura


Adorable Baby Cards!!!!

Posted on

Big New Baby Cards, www.LaurasStampPad.com

How precious are these cards? I’ll just answer that for you…beyond precious! All together now…..Awwwwwww! Okay lets get started on how to create these fabulous cards! I used the Big New Stamp Set (check out these samples) which I am currently LOVING! The greetings are amazing and BIG so you just need a little foo foo and then you have a fabulous card! Here I stamped both greetings in Stazon Ink so I could color them in with my markers (Melon Mambo & Pink Pirouette and Pear Pizzazz & Tempting Turquoise). What is with me and Pear Pizzazz lately??? It is my go-to color. For the little girl card, I used the flower from the Itty Bitty Punch Pack and added a few Rhinestones (you could do Pearls too). I brushed the edges of the Whisper White with my sponge daubers (love!) and added some of the NEW Cotton Ribbon in Melon Mambo! For the little boy card, I brushed the edges with my sponge dauber and used the star from the Itty Bitty Punch Pack! These are great cards to have on hand for when a little one comes! You could also do one in yellow and gray (oh great idea) or other neutral colors so it could go either way! I love when you can create the same card in both boy and girl styles! LOVE IT!

Let me know what your favorite go-to color is right now in the comments below! Pear Pizzazz for me!

Happy Stampin’

~Laura


Technique Tuesday – Watercolor Ray of Sunshine!!!

Posted on

Happy Tuesday!!!! That means I have a fabulous technique to share with you today and it includes the best stamp set ever – Work of Art!!! You probably could have guessed that one, right? 😉

Work of Art Sunshine, www.LaurasStampPad.com

Supplies Needed: Work of Art Stamp Set, Watercolor Paper, Spritzer with Water, Island Indigo Ink, Daffodil Delight Ink, Pear Pizzaz Ink, Coastal Cabana Ink, and Soft Sky Ink, Sequins, Itty Bitty Punch Pack

Starting with a piece of Watercolor Paper measuring 3-3/4″ x 5″, you will stamp the long image from the Work of Art Stamp Set 2-3 times in each color. I started straight up and down with Island Indigo, then Coastal Cabana, Soft Sky, Daffodil Delight, and Pear Pizzazz. As you go along, you will want to angle them like rays of sunshine! Then you will need to place the paper into a box or on a towel and spritz ALL OVER! I really mean all over. The colors will start to run and bleed and that’s a good thing. The piece of paper will also start to curl and that’s okay! This will take some time to dry or you can use your Heat Tool! Once it is completely dry, it is time to assemble! I added it to a piece of Daffodil Delight (4″ x 5-1/4″) and then my card base of Island Indigo (4-1/4″ x 11″). I stamped the Thanks three times from the Lots of Thanks Stamp Set! I added a few Daffodil Delight flowers from the Itty Bitty Punch Pack and some Gold Sequins (adhering them with Mini Glue Dots). Of course when working with watercolor, no two will come out alike so don’t worry if your’s doesn’t look exactly like mine. For a Video Tutorial on this fabulous technique, click here or check out the video below!

Happy Stampin’

~Laura

More Quick and Simple Work of Art Cards!!!!

Posted on

Work of Art Quick & Simple, www.LaurasStampPad.com

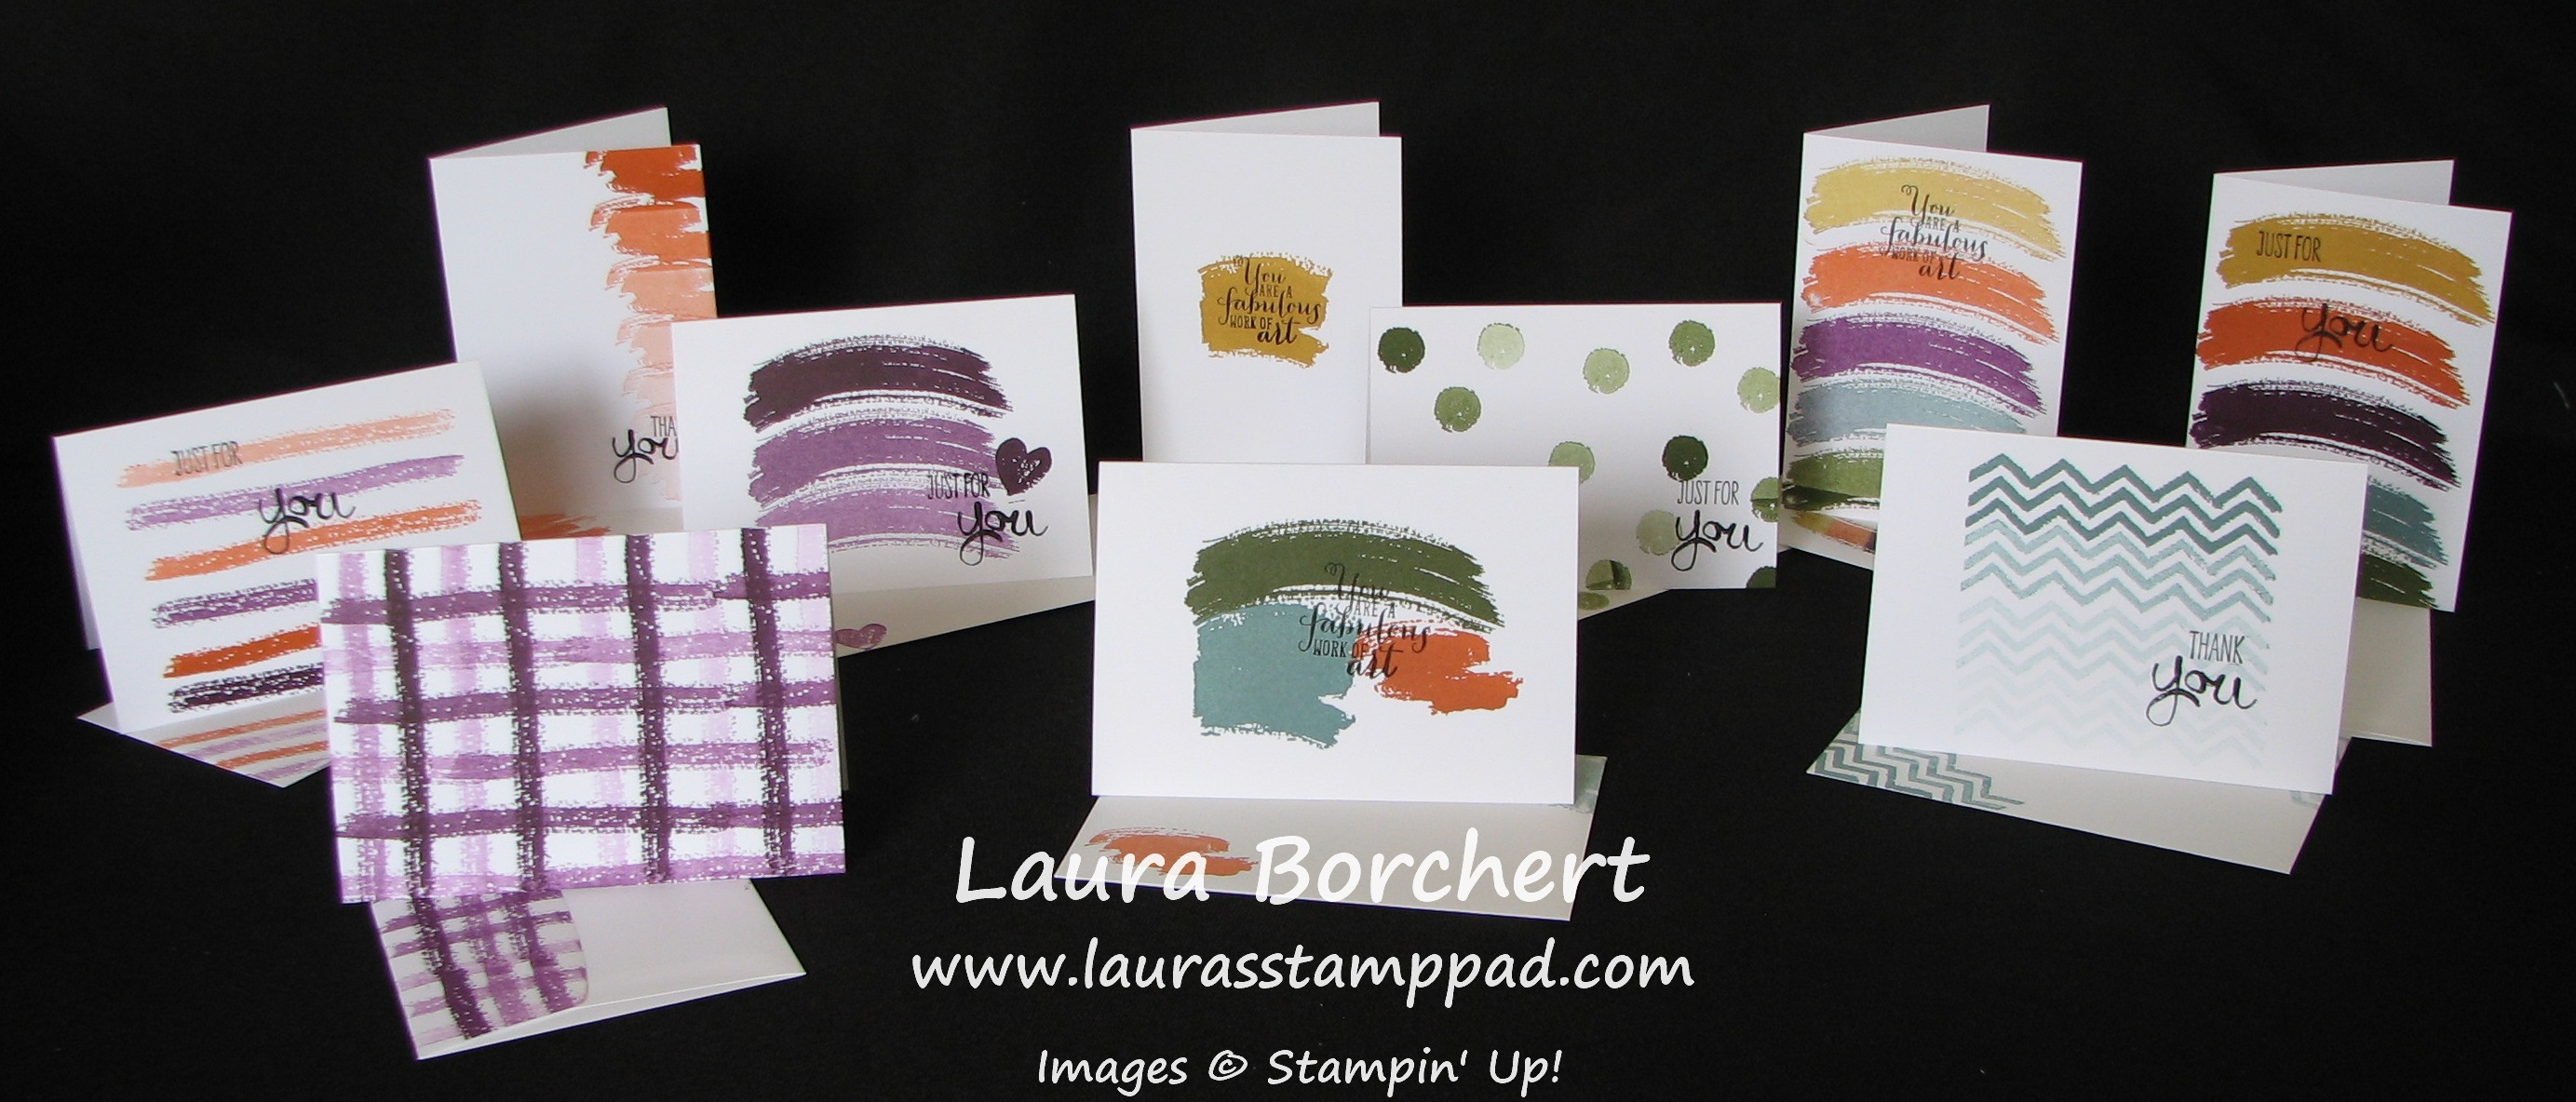
I feel like all I need to do is post this picture! Of course, I can’t leave it at that so let me do some talking! 😉 All of the cards above were created with 3 things – Work of Art Stamp Set, Note Cards & Envelopes, & the New In-Color Ink Pads! I would say that 3 supplies makes for simple cards, right? Many of the cards were created by inking the image and stamping it multiple times to get that variation in color! You can check out a video on the plaid card by clicking here! The 2 in the back on the right were created at the same time, the one on the right is full strength ink and the one on the left is the 2nd stamp ink. You can see I also stamped my envelopes to match each one! Super fun and cute!

Work of Art Quick & Simple, www.LaurasStampPad.com

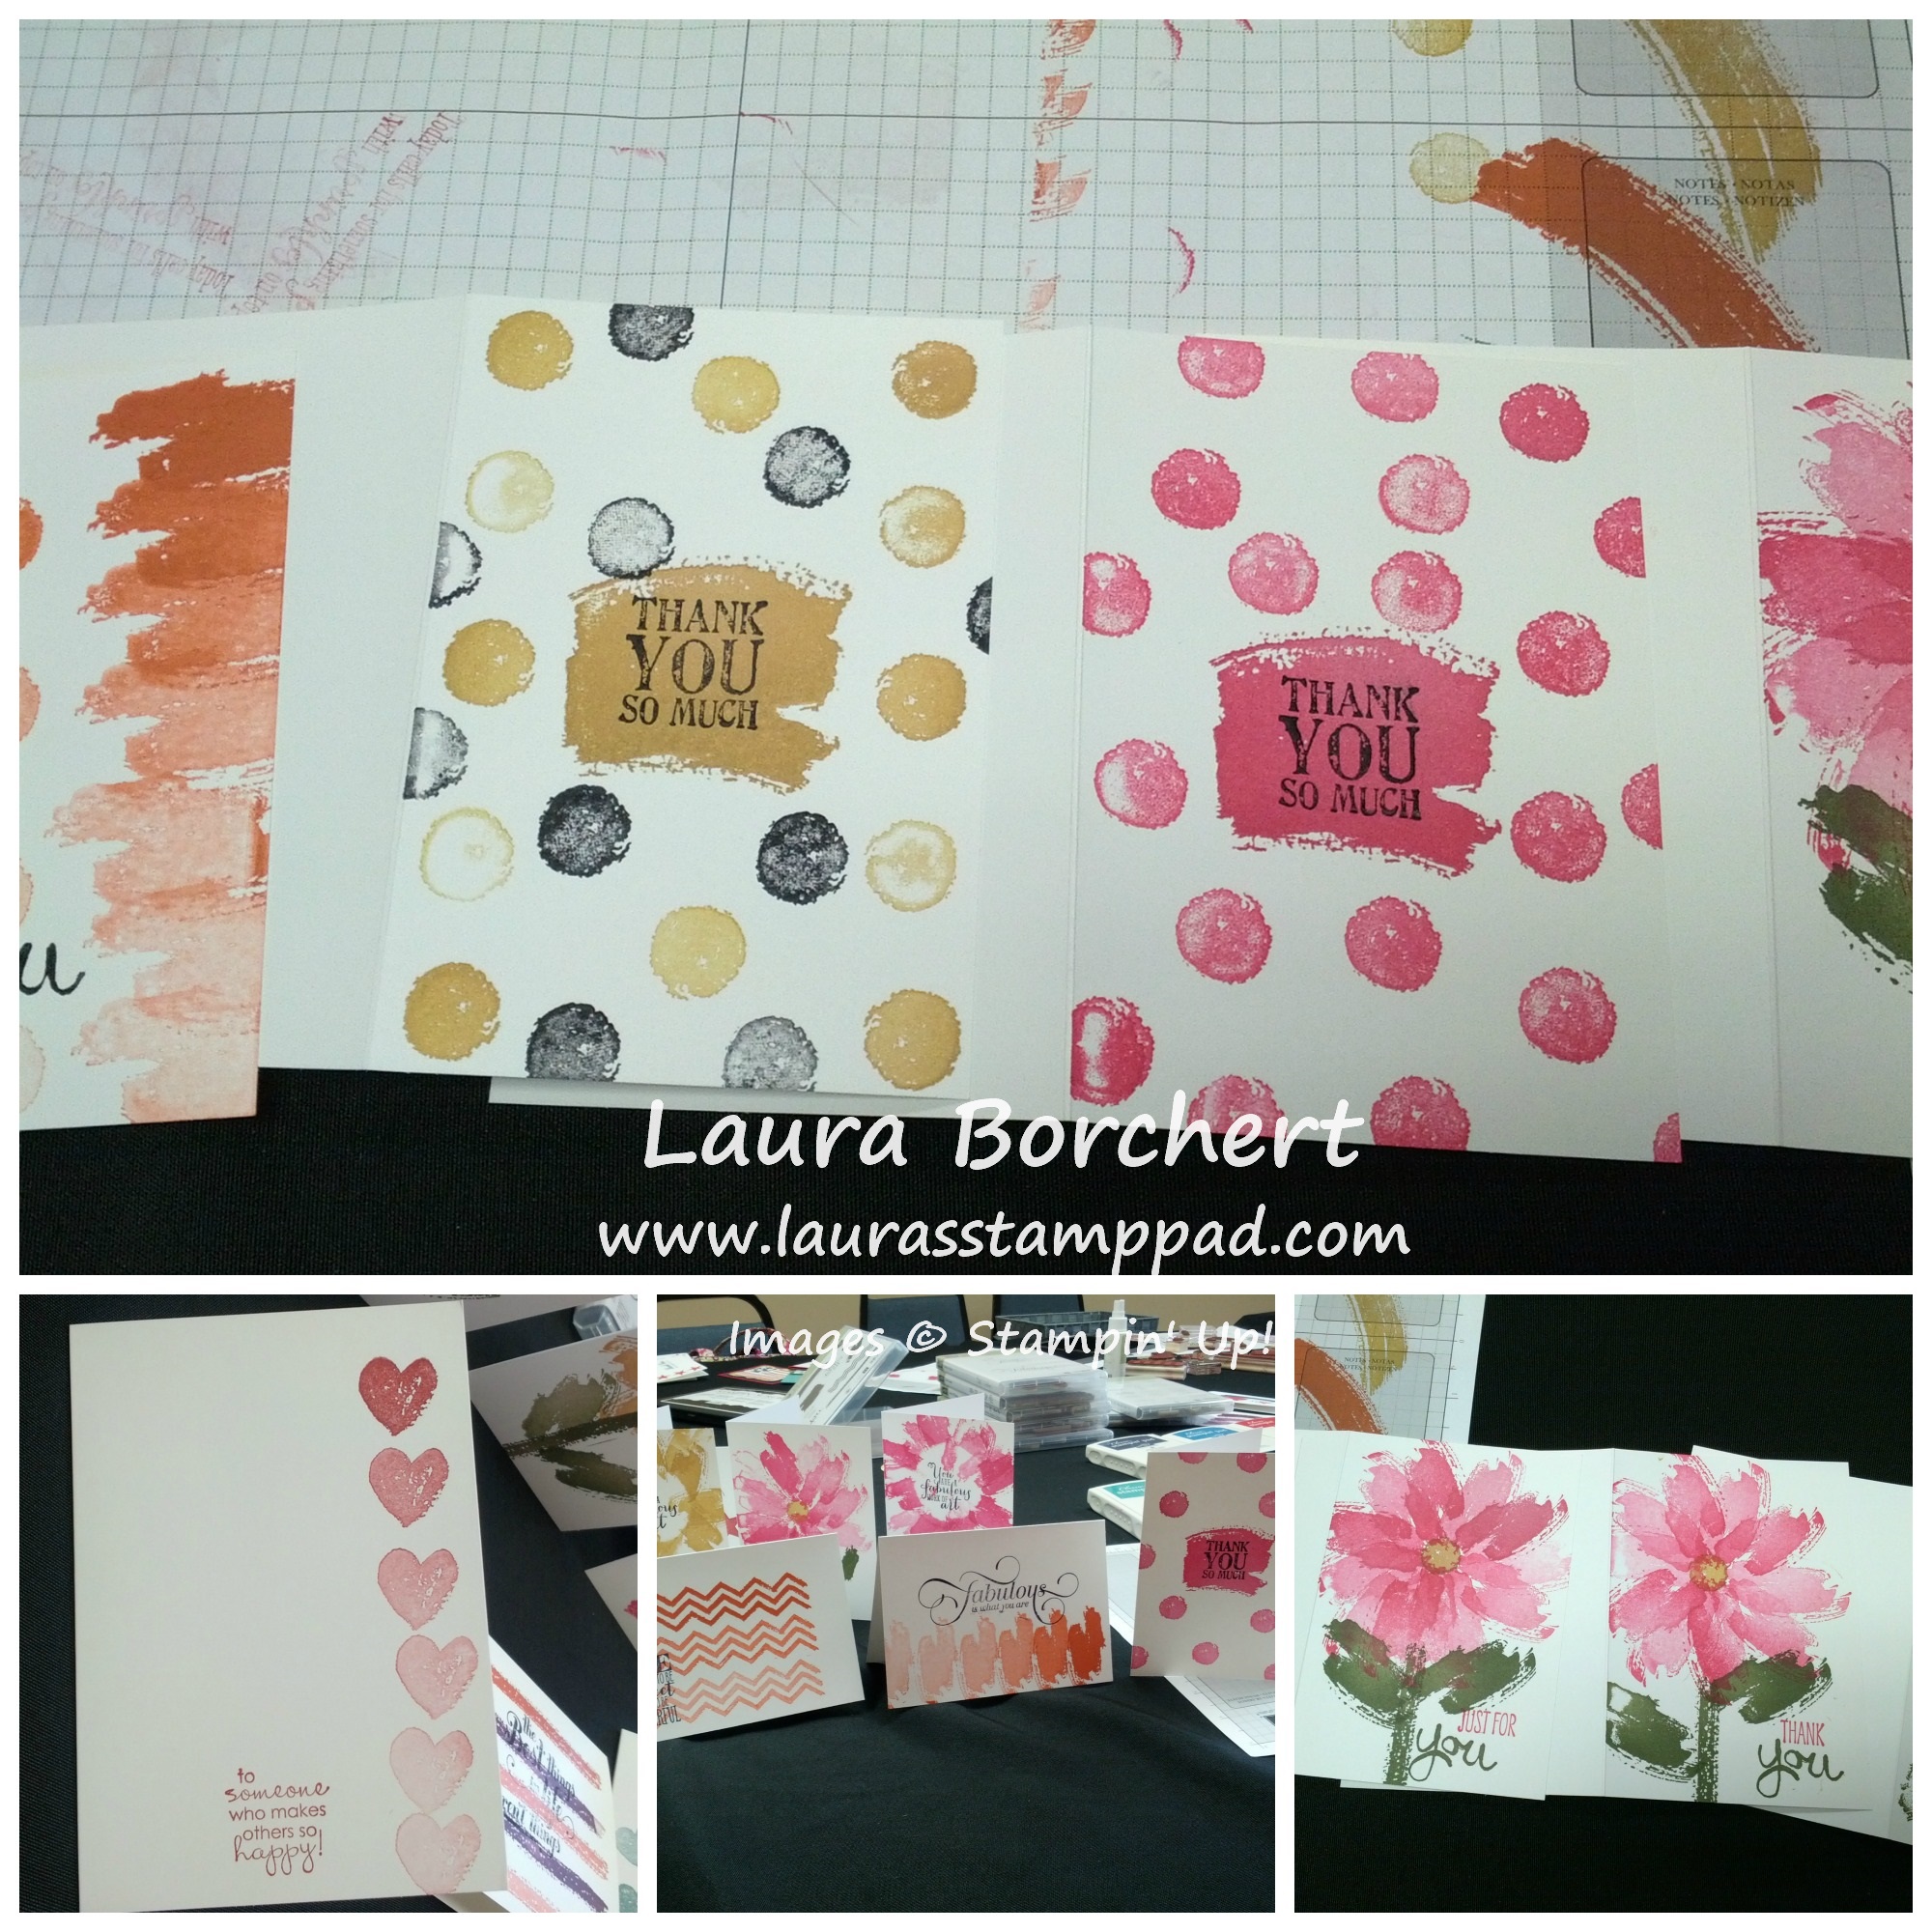
I did these cards in one of my classes and the picture above showcases some of the amazing ideas my stampers came up with! I love the Polka Dot cards….who doesn’t love Polka Dots?? Also, I had lots of stampers love to flower card (check that out here) and they recreated it with a dot in the center and in PINK (melon mambo)! Love it!!!! So many amazing ways you can use this stamp set and I love how my original ideas got everyone’s creativity flowing! I hope you try out the Work of Art Stamp Set and let me know in the comments below which one your favorite is!

Happy Stampin’

~Laura


Fabulous Friday!!!

Posted on

HAPPY 4th OF JULY! Let the FIREWORKS begin! Check out these amazing deals before you head off for a weekend of fun or a neighborhood BBQ! These deals are HOT HOT HOT!!!!

Buy 3, Get 1 Free Designer Series Paper, www.LaurasStampPad.com

Buy 3 Packs of Designer Series Paper and Get 1 for FREE!!! I love this special at this time of the year because with the new catalog just coming out, all of the Designer Series Paper is NEW! With this special, you can stock up and try them all! So far, I am loving the Sweet Taffy because I love the bright colors!!! To see all of the Paper Packs you can pick from, click here! Also, if you need ideas for Designer Series Paper, check out these and these!!!

Weekly Deals 7.1.14

Of course, the Weekly Deals this week are HOT HOT HOT as well! I’m super excited about the Label Bracket Punch because I’ve been eyeing it for awhile and now it is going into my Cart!!!! Can’t pass up a sale!!! 🙂

Don’t forget to sign up for My Paper Pumpkin before July 10th so you can get in on this month’s kit!!!!

Happy 4th of July! Have an amazing weekend!

~Laura


Quick & Simple Work of Art Cards!!!

Posted on

Patriotic Word of Art, www.LaurasStampPad.co

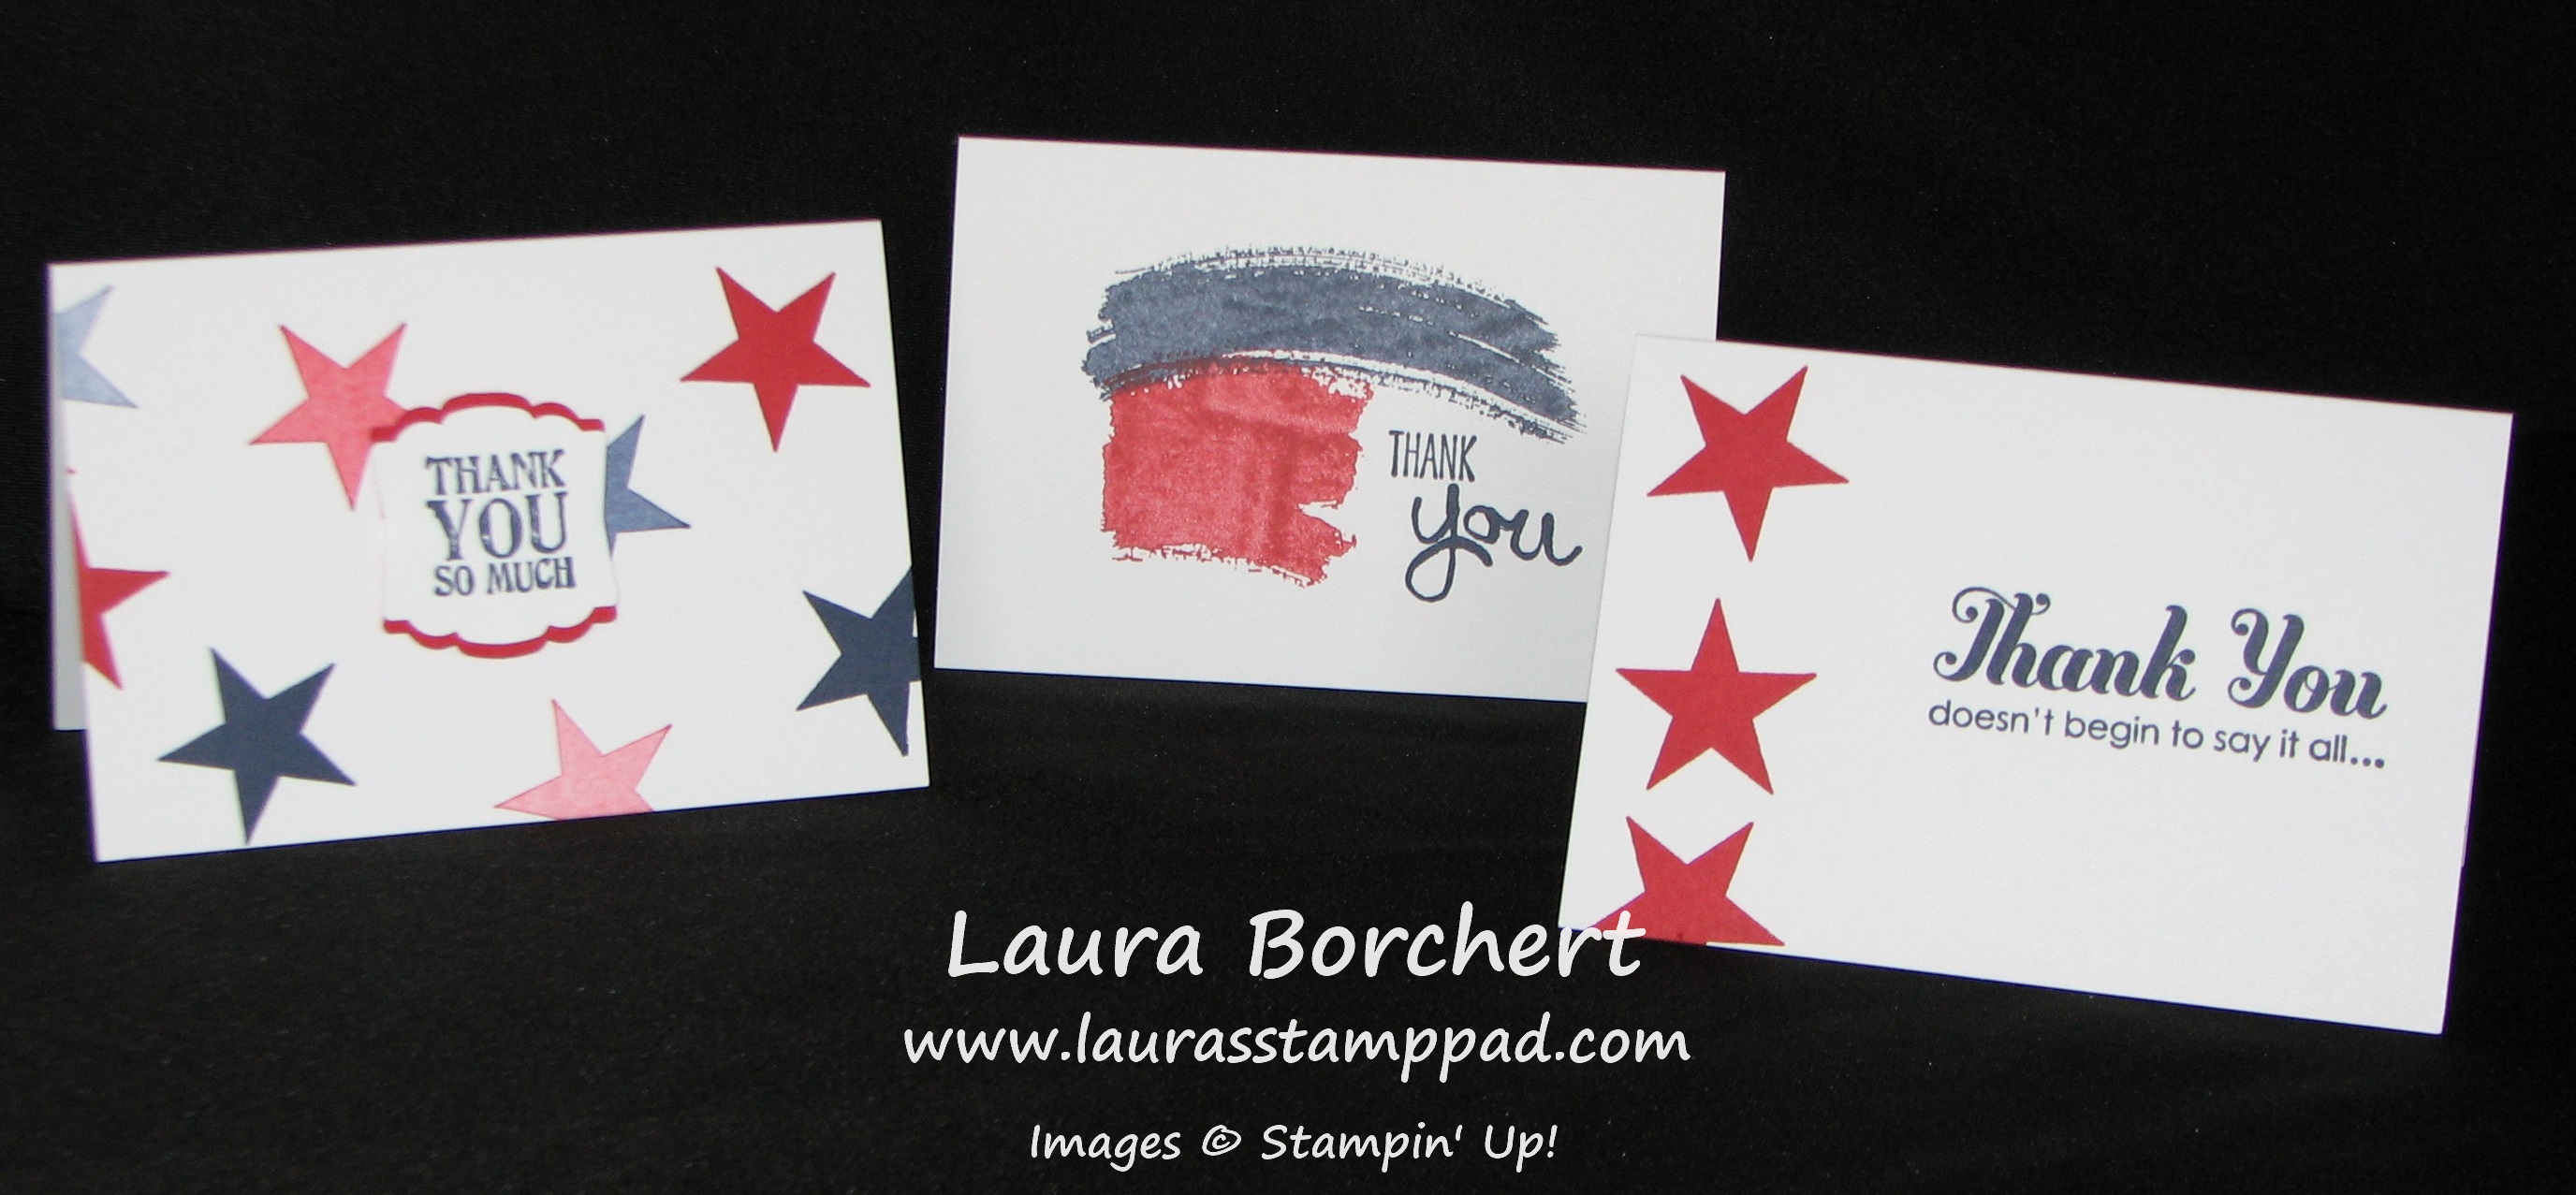
Aren’t these cards amazing??? I got out my Notecards and Envelopes Pack, Night of Navy Ink Pad, Cherry Cobbler Ink Pad, Work of Art Stamp Set, Perfect Pennants Stamp Set (the star), and Lots of Thanks Stamp Set! Boom! Amazing cards! There is no adhesive or layering on these cards so they really are quick and simple! The card on the far right was created by inking up the image and stamping all the way down without re-inking! I love the color variations you can get with just one color!

Patriotic Word of Art, www.LaurasStampPad.co

Here are a few others! The card in the middle was created at the same time as the card in the middle in the top photo. The top photo has the full strength ink and the bottom photo has the 2nd Stamp Ink which is why is it a shade lighter. Doing that really makes card making go fast! Now I did add a little cardstock and punching to the card on the left above! 😉 I needed the greeting to POP so I stamped the greeting onto Whisper White and used my Artisan Label Punch and then a second one to layer behind in Cherry Cobbler!

You can also check out my amazing Patriotic Wreath here! And be one the lookout for more quick and simple Work of Art Cards coming next week! 🙂

Happy Stampin’

~Laura


Fun with Fringe Scissors!!!!

Posted on

I have had so much fun with the Fringe Scissors since they arrived on my doorstep from the Big Brown Truck!!!!  I love making grass so easily like in this card and this card! But then I wanted to think outside the box and see what else I could come up. It seems when we play with them at all of my classes, the ladies always mention cutting hair…..that scares me a bit but check out these other amazing ideas!!!

Fabulous Fringe Scissors, www.laurasStampPad.com

Okay, I’m beyond excited about this card because it has so many of my favorite colors, the word Fabulous :), and some bling – Rhinestones! I love it!!!! I used Elegant Eggplant, Tempting Turquoise, Daffodil Delight, and Melon Mambo! I then tied some White Organza Ribbon along the time of the fringe pieces. I used Daffodil Delight Seam Binding in a few others as well! Then for the greeting….LOVE IT….Million and One Stamp Set! Here is a video showing off the Fringe Scissors! I hope you enjoy it and if so be sure to click the thumbs up button and don’t forget to subscribe so you don’t miss out on any of my videos!

Happy Cuttin’

~Laura


The Blendabilities are HERE!!!!

Posted on

Blended Bloom Blendabilities, www.LaurasStampPad.com

The Blendabilities are available starting TODAY!!!!! I’m so excited for you all because these new alcohol markers are lots of fun!!!! What are Blendabilities you ask? These are alcohol based markers (the regular markers are water based) and they come in packs of three (light, medium and dark). This is so you can blend the colors and create an amazing shade of color or that watercolor look! I’ll admit I’m not sure I have the technique down to an art yet but they are still super fun! The following colors are available starting today – Cherry Cobbler – #130995, Coastal Cabana – #131000, Daffodil Delight – #130998, Old Olive – #130999, Pumpkin Pie – #130997, Rich Razzleberry – #131003, and the Skin Tone Assortment – #129370! You can also start ordering the Memento Ink Pad & Refill which you will need to use to stamp your image in. This is a water based ink (similar to using Stazon which is a alcohol based ink for watercoloring). You can start ordering the Color Lifter as well. This is a marker which will lift (lighten) the area you wish. So if you color in a vase and would like it to look lighter along the left side to create a 3-D effect, you would take your color lifter and color a line along that left side. As a Demonstrator, I was able to pre-order these and here are a few of my creations! The one above was using the Cherry Cobbler Blendabilities but I layered it onto Real Red Cardstock!

Blended Bloom Blendabilities, www.LaurasStampPad.com

This one was created with the Rich Razzleberry Blendabilities and I layered it onto Daffodil Delight and Rich Razzleberry cardstock.

Blended Bloom Blendabilities, www.LaurasStampPad.com

This was one of the first ones I created and I feel like I got better the more I played with them. This one uses the Coastal Cabana Blendabilities and I layered it onto Pool Party and used my Chevron Embossing Folder! Can’t wait to play more with other images! I used the Blended Bloom Stamp Set in all of these!

If you would like to check out this Video that Stampin’ Up created to showcase these amazing markers click here!

Happy Blendin’

~Laura


Oh Little Lions Video Tutorial!!!!

Posted on

Lion made with Fringe Scissors, www.LaurasStampPad.com

I can’t believe how many of you are just loving my little lions! I think they are super cute too!!! For the full post on these that went up last week, click here! I got a request to do a Video Tutorial so I have created one for all of you!!!

Be sure to click the little thumbs up button to show you love and don’t forget to subscribe to my Channel so that you don’t miss out on any other videos. And as always, if you have a request, put it in the comments below!

Happy Stampin’

~Laura