Happy Tuesday!!! You all know that means I have a fabulous technique to share with you today! I’m coloring foil paper to really make this amazing Flowering Foil Designer Paper shine!!!!

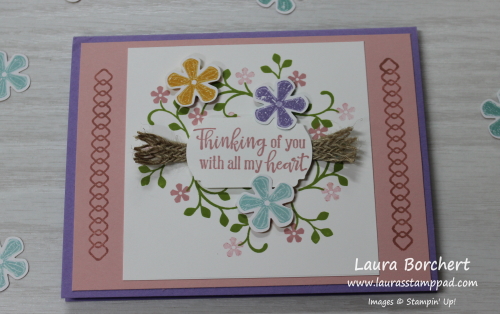
I just love how this card turned out! It’s so pretty and that color combination is fabulous – Highland Heather and Mint Macaron!
There are different ways to color the Flowering Foil Paper but you can also leave it as is with the white and foils! I colored with both sponge daubers and Stampin’ Blends. I prefer the Stampin’ Blends because I really like the clean look!

The piece on the right was done with all Sponge Daubers. The flower (Highland Heather) was really easy to do. The leaves (Mint Macaron) got a bit trickier as they come to a point and Sponge Daubers don’t have as precise of a point. Then when it came to doing those little buds (Calypso Coral) it got really messy. In order to make it look less messy, I filled in around the flowers with some Pool Party. It’s not horrible but not clean looking either. For the one on the left, I used Sponge Daubers for flowers and leaves and then Stampin’ Blends for the buds. I loved how that looked so then I did the 3rd one with all Stampin’ Blends and that’s the one I used on my card!

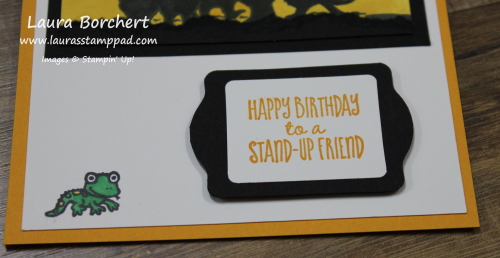
After coloring it, I layered it onto Highland Heather and then onto the Mint Macaron card base! I used the Tags in Bloom Sale-A-Bration Stamp Set and Label Me Fancy Punch for the greeting! It’s perfect for any occasion! Don’t forget that Sale-A-Bration ends a week from today!!! Also, my Free Stamp Set of the Month for this month is Full of Happiness. You will get this set for free when you order $75 or more before tax and shipping!
To see the different ways for coloring foil paper, check out the video tutorial below or click here. Be sure to give the video a thumbs up if you liked it and don’t forget to subscribe if you are new. If you would like a notification when I post a new video, be sure to click the bell right next to the subscribe!!!
Happy Stampin’
~Laura
Product List


 Textile Ribbon")
")


")


")


 Crinkled Seam Binding Ribbon")
")


")


 Braided Burlap Trim")


")

