My Christmas Cards are done and in the mail! We decorated the tree and around the house the past few days! Christmas cookies were baked all day on Saturday. Now that I am mostly ready for Christmas, it’s time to play! My pre-order for the Occasions Mini Catalog and Sale-A-Bration Promotion has arrived!!!

There are so many amazing pretty papers, spring colors, magical stuff, and BLING!!! I am so excited and can’t wait to start playing with everything! I’m working on my classes for January and February so be sure to check out my Upcoming Events here!
What is something that you hope is in the Occasions Mini Catalog?? Let me know in the comments below!! This catalog begins on January 3rd along with the Sale-A-Bration Promotion beginning. This is the biggest promotion of the year. Every $50 order earns you a free Sale-A-Bration item!
If you would like to see all of the items I got and get excited like me, check out the Video Tutorial below or click here! Stay tuned as I will be posting more videos of the Designer Paper and Kits shown in the video! Give the video a thumbs up if you liked it and don’t forget to subscribe if you are new. If you would like a notification when I post a new video, be sure to click the bell right next to the subscribe!!!
If you would like to get these items NOW because you just can’t wait, join Stampin’ Up and you can order these items like me!!! This is just one of the amazing perks of being a demonstrator! Click here for more information or reach out to me. I’m always happy to answer questions!!!
Happy Stampin’
~Laura


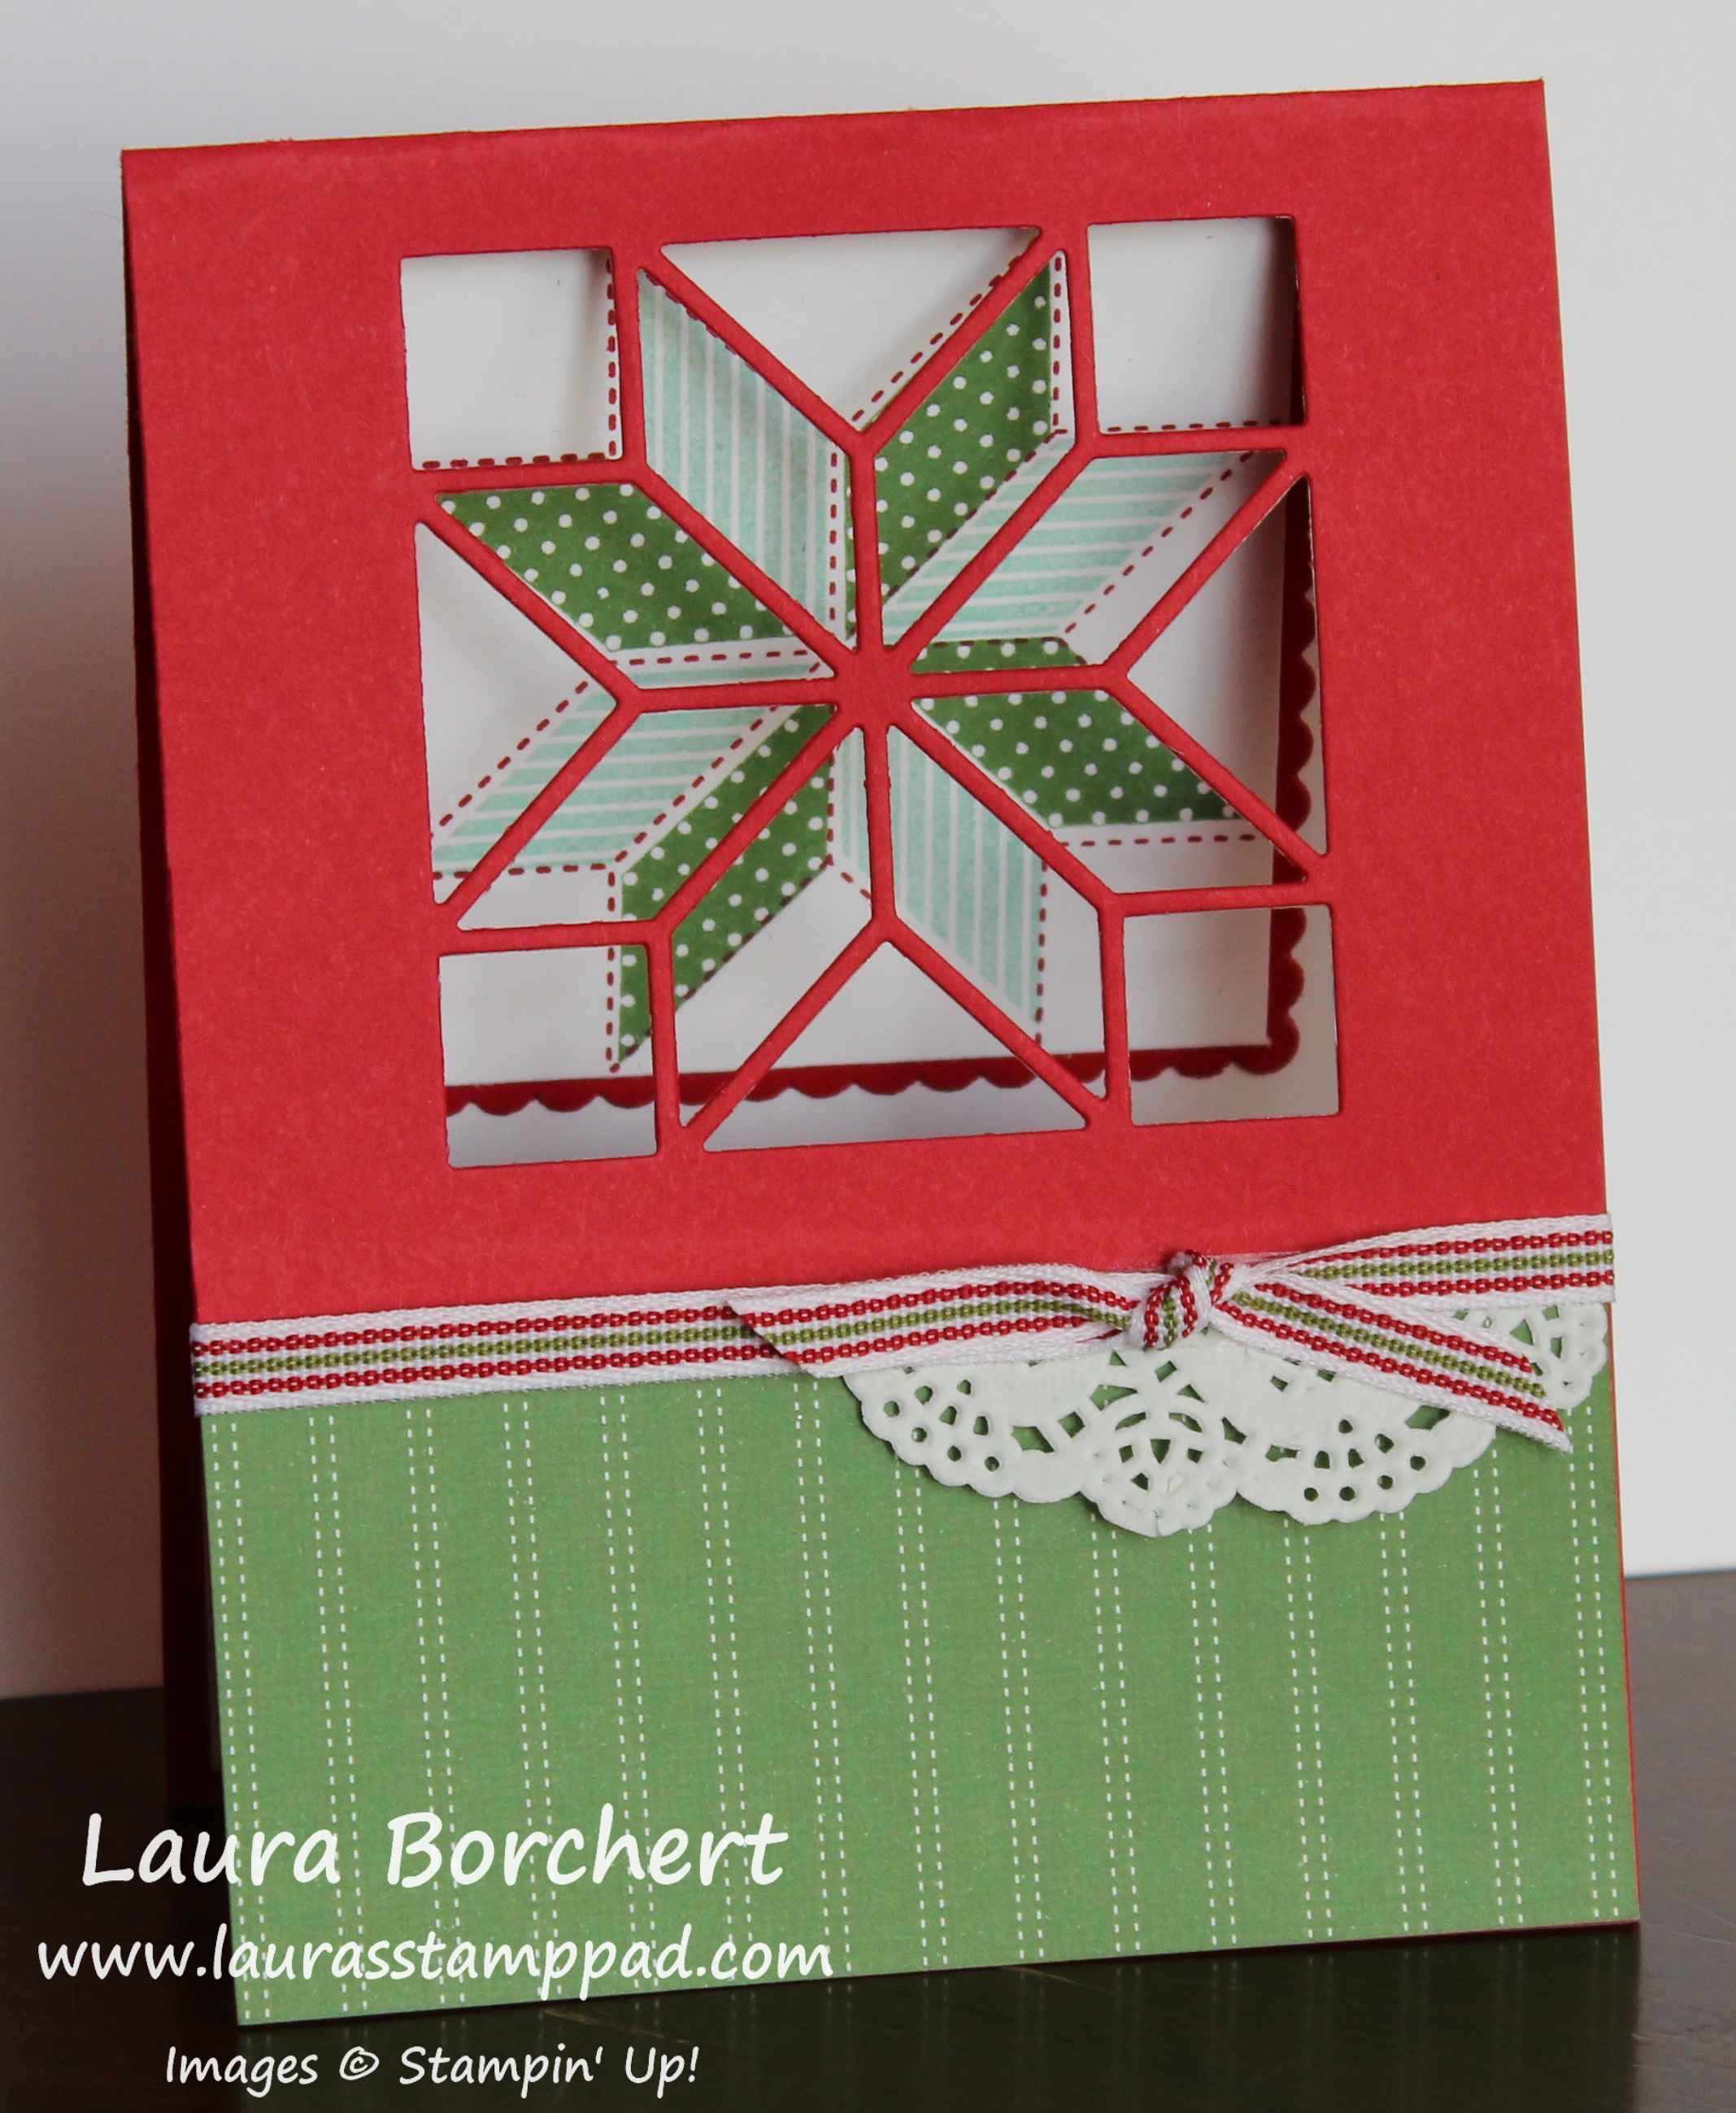

 Designer Series Paper")
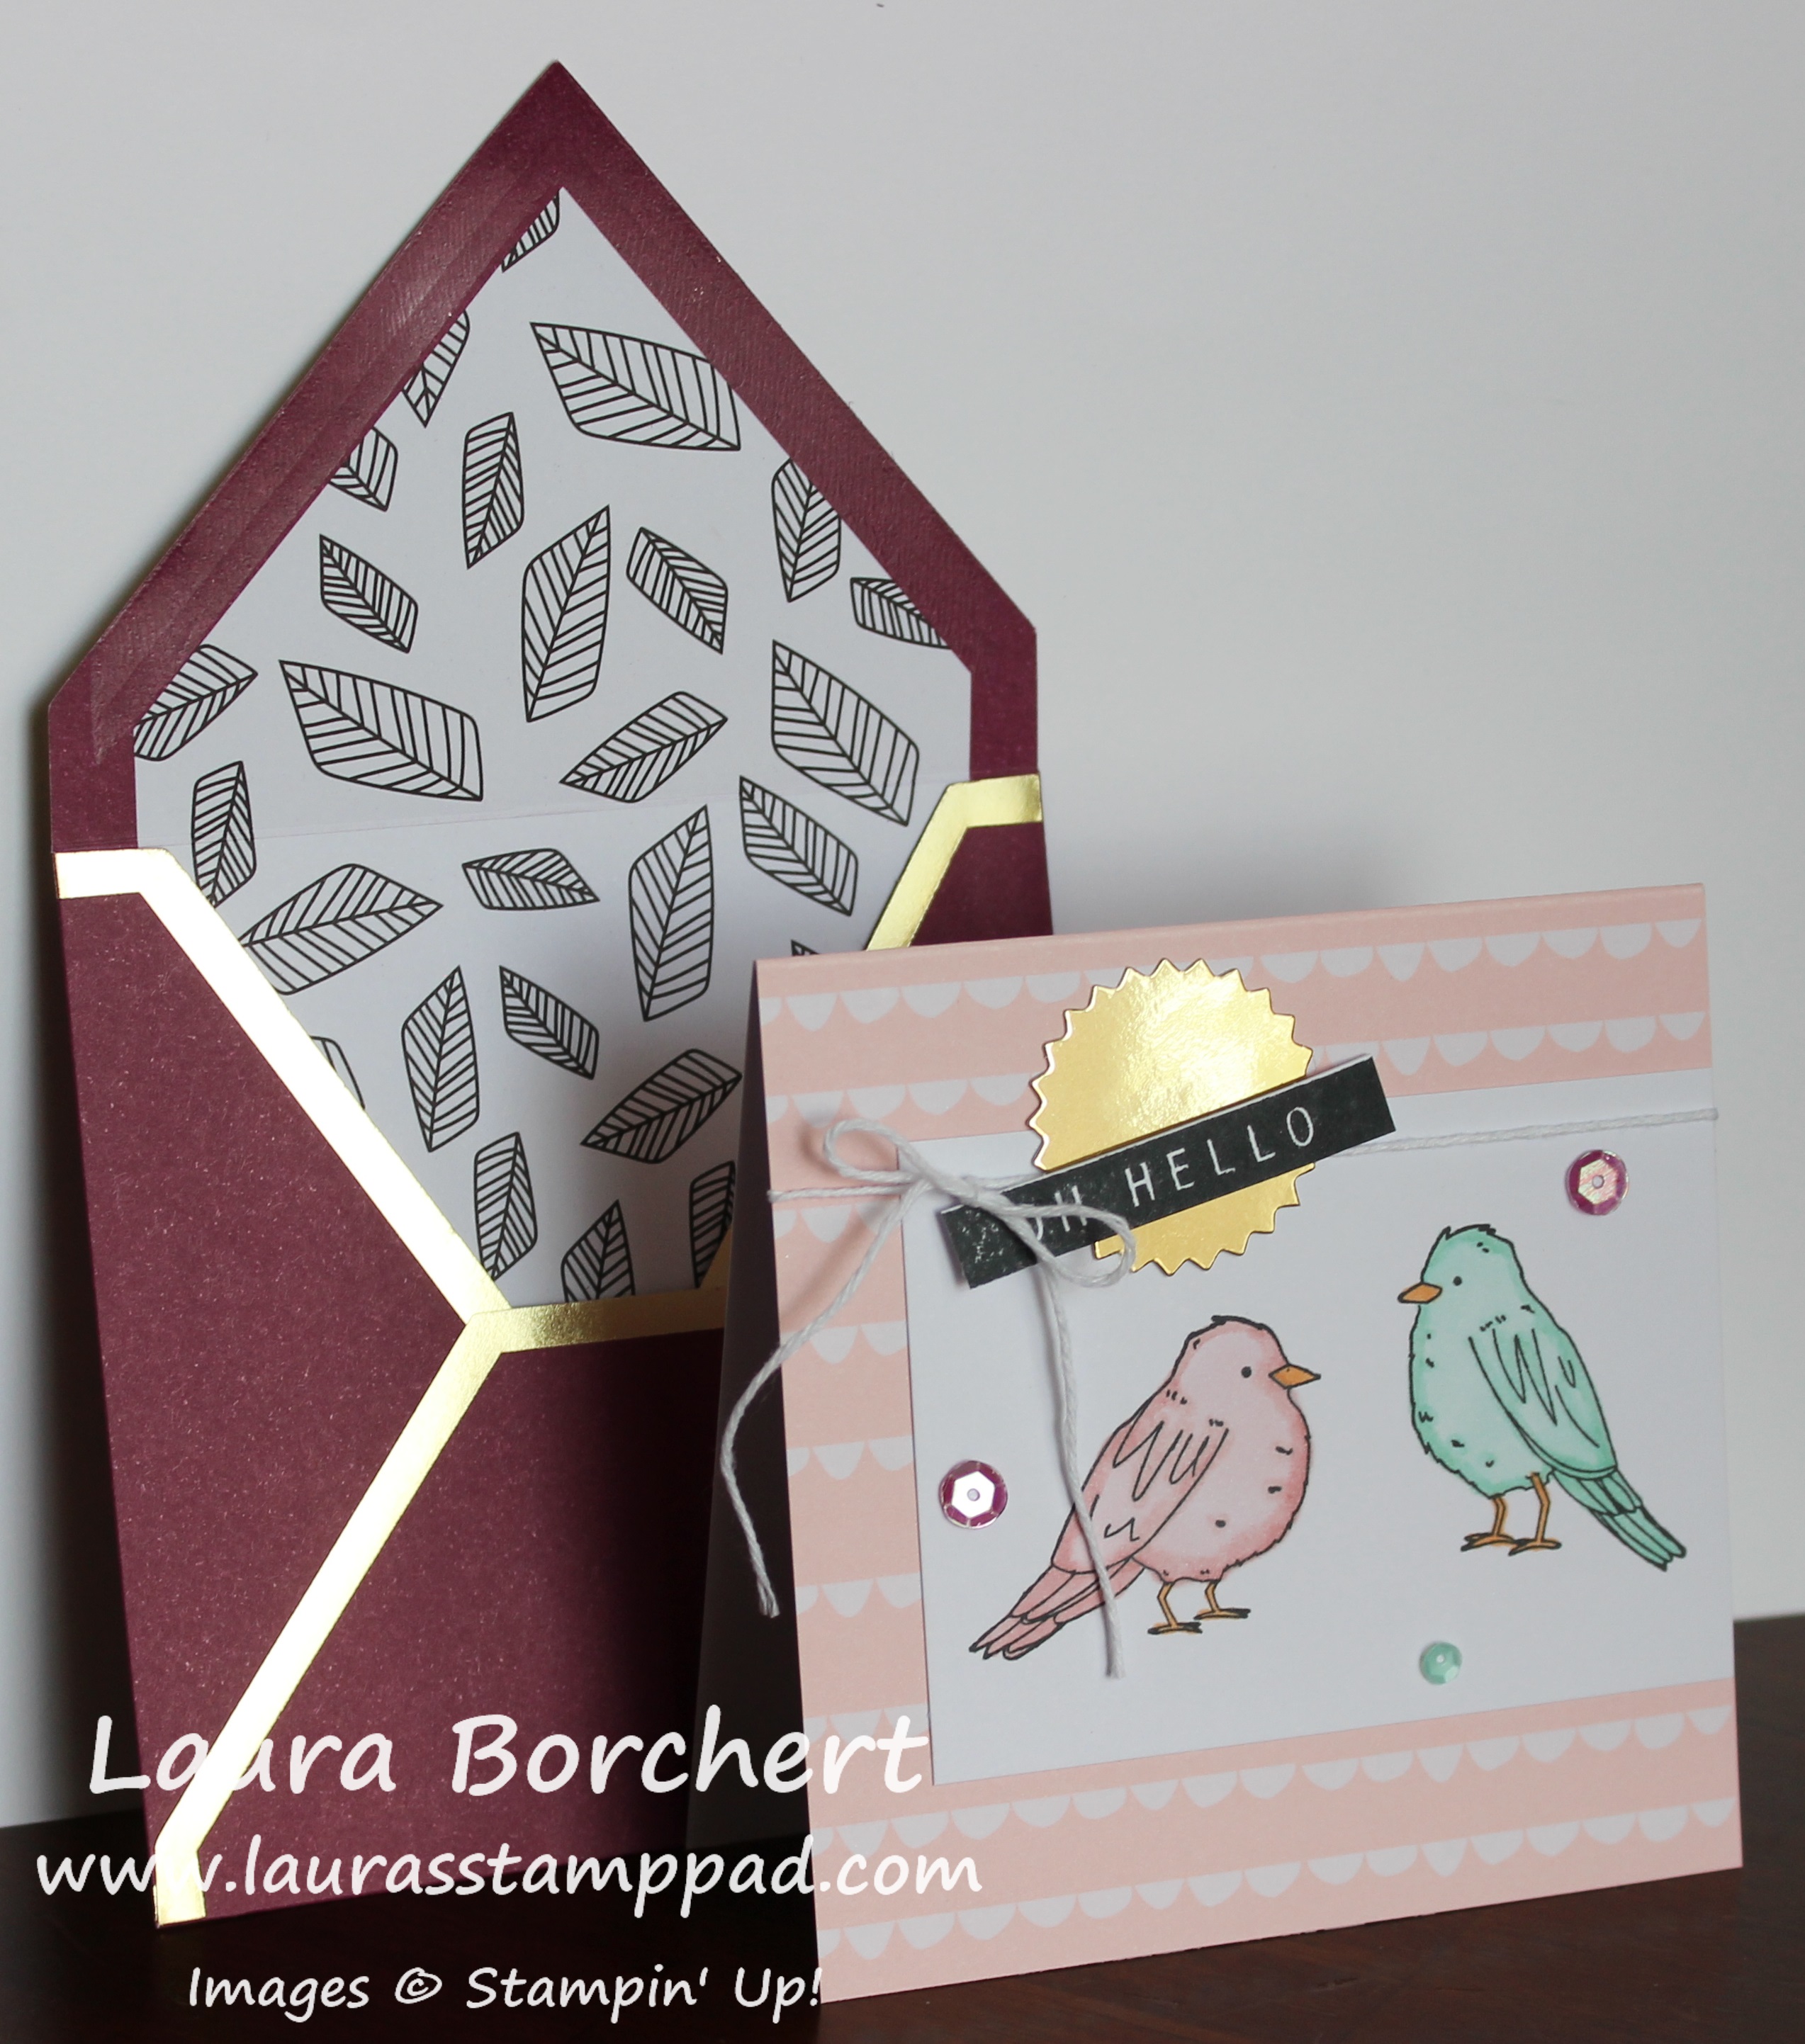
 Ribbon")