Happy Tuesday everyone! Today, I have a fabulous technique to share with you and that uses the Stampin’ Blends.

So of course, any technique can have its modifications so I’m going to show you my technique today. Try it out and try a few other ways to see what works best for you!
I have found that when using the stamping blends, I prefer to go Light, Dark, Light or sometimes Dark and then Light. So let’s get started on what I mean. First, I stamped the image from the Color Me Happy Stamp Set in Memento Black Ink. Memento Ink is necessary because it won’t bleed with the alcohol marker.
Next, I took the Light Pumpkin Pie and colored in the center. Then I colored the edges with the Dark Pumpkin Pie Marker. Finally, I went back in with the Light and blended the colors so they didn’t look so sharp like in the middle photo. I simply color in a circular motion around the area to blend it together. You don’t want to do this for a really long time or the paper will get super saturated. If you feel this is happening, just wait a bit for it to dry completely and then go back. I also find that sometimes I need to stop and let it dry for second and then go back and look at it. Sometimes when I’m working on one, I’m not happy with the look but move on and then look at it later and wonder why I didn’t like it.
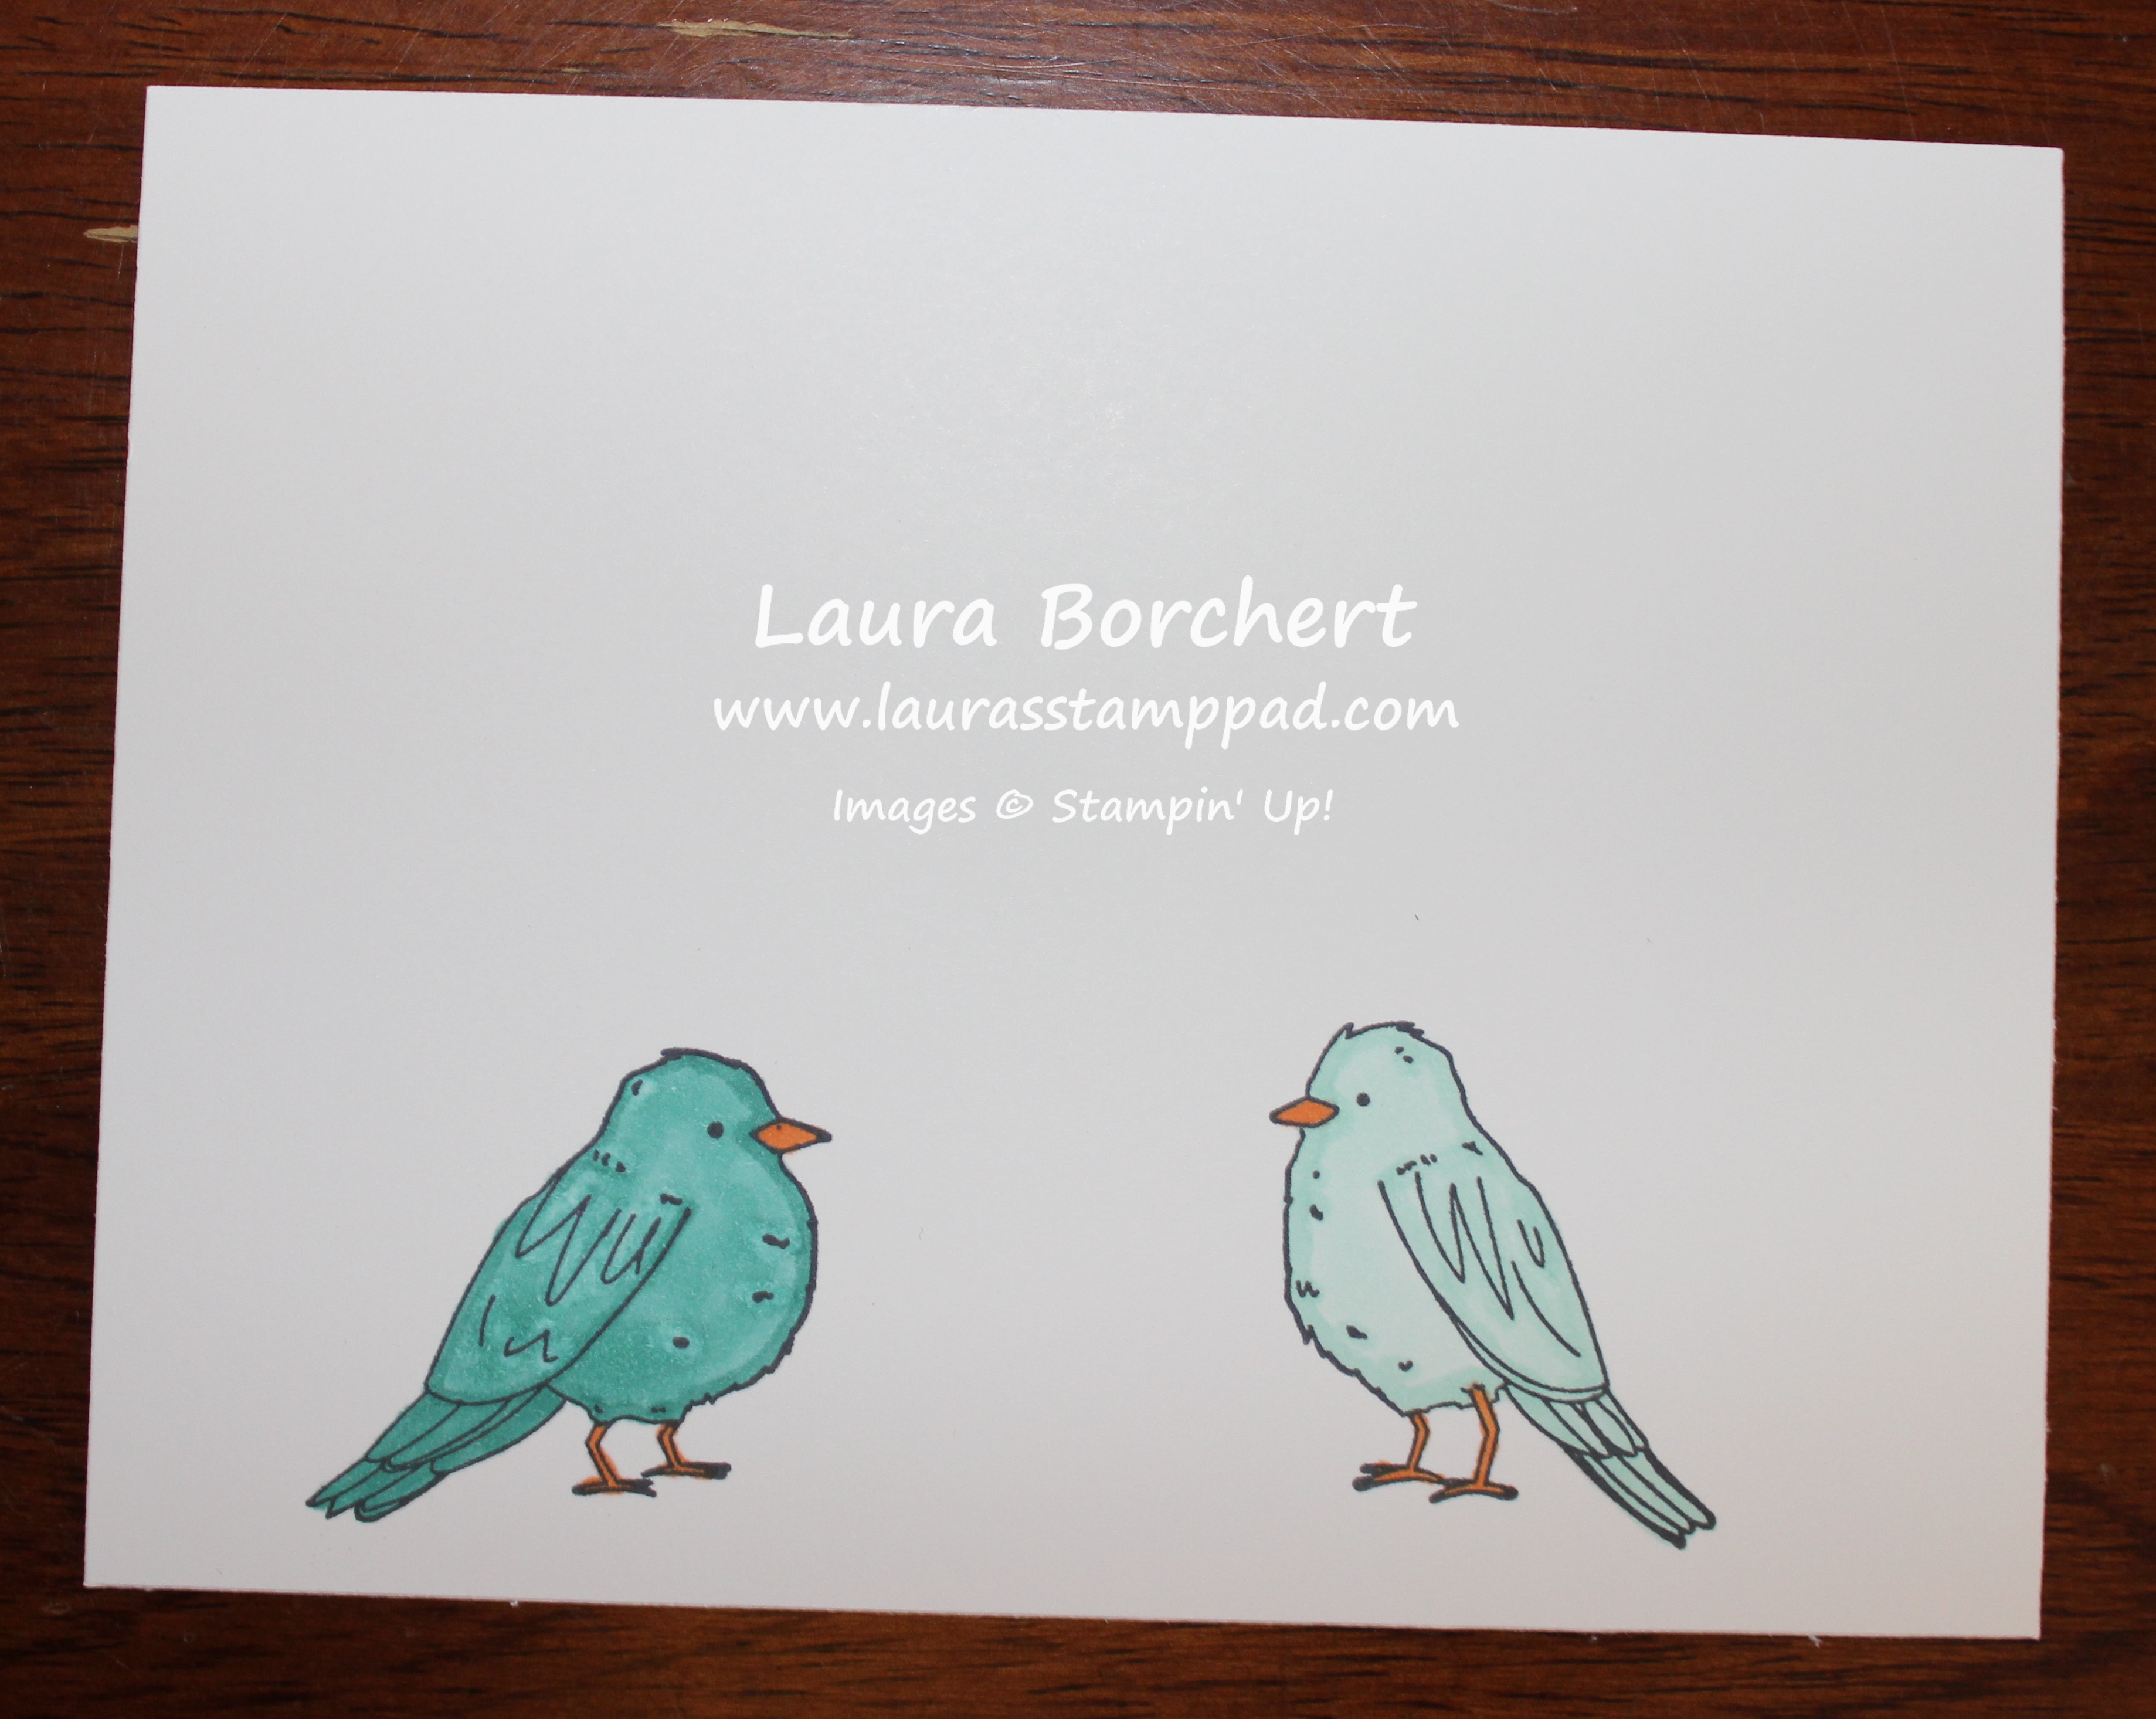
For these birdies, I let the stamped image guide me along. I used the Bermuda Bay Stampin’ Blends and Pumpkin Pie Stampin’ Blends for the one on the left. Pool Party and Pumpkin Pie for the one on the right. Using the dark marker, I went around the edge, dotted all of the dots, and went along all the lines on the wing. Then I filled in the entire tail with the dark. After that, I went back through and filled in with the light marker. This is one that I stopped after filling it in and did the beak and feet. Then I went back and swirled around to blend in any areas I thought looked too distinct. I stayed away from the center of his belly to keep that the lightest. Some of my birdies achieved this more than others. Each one is going to come out different just because it is handmade! 🙂
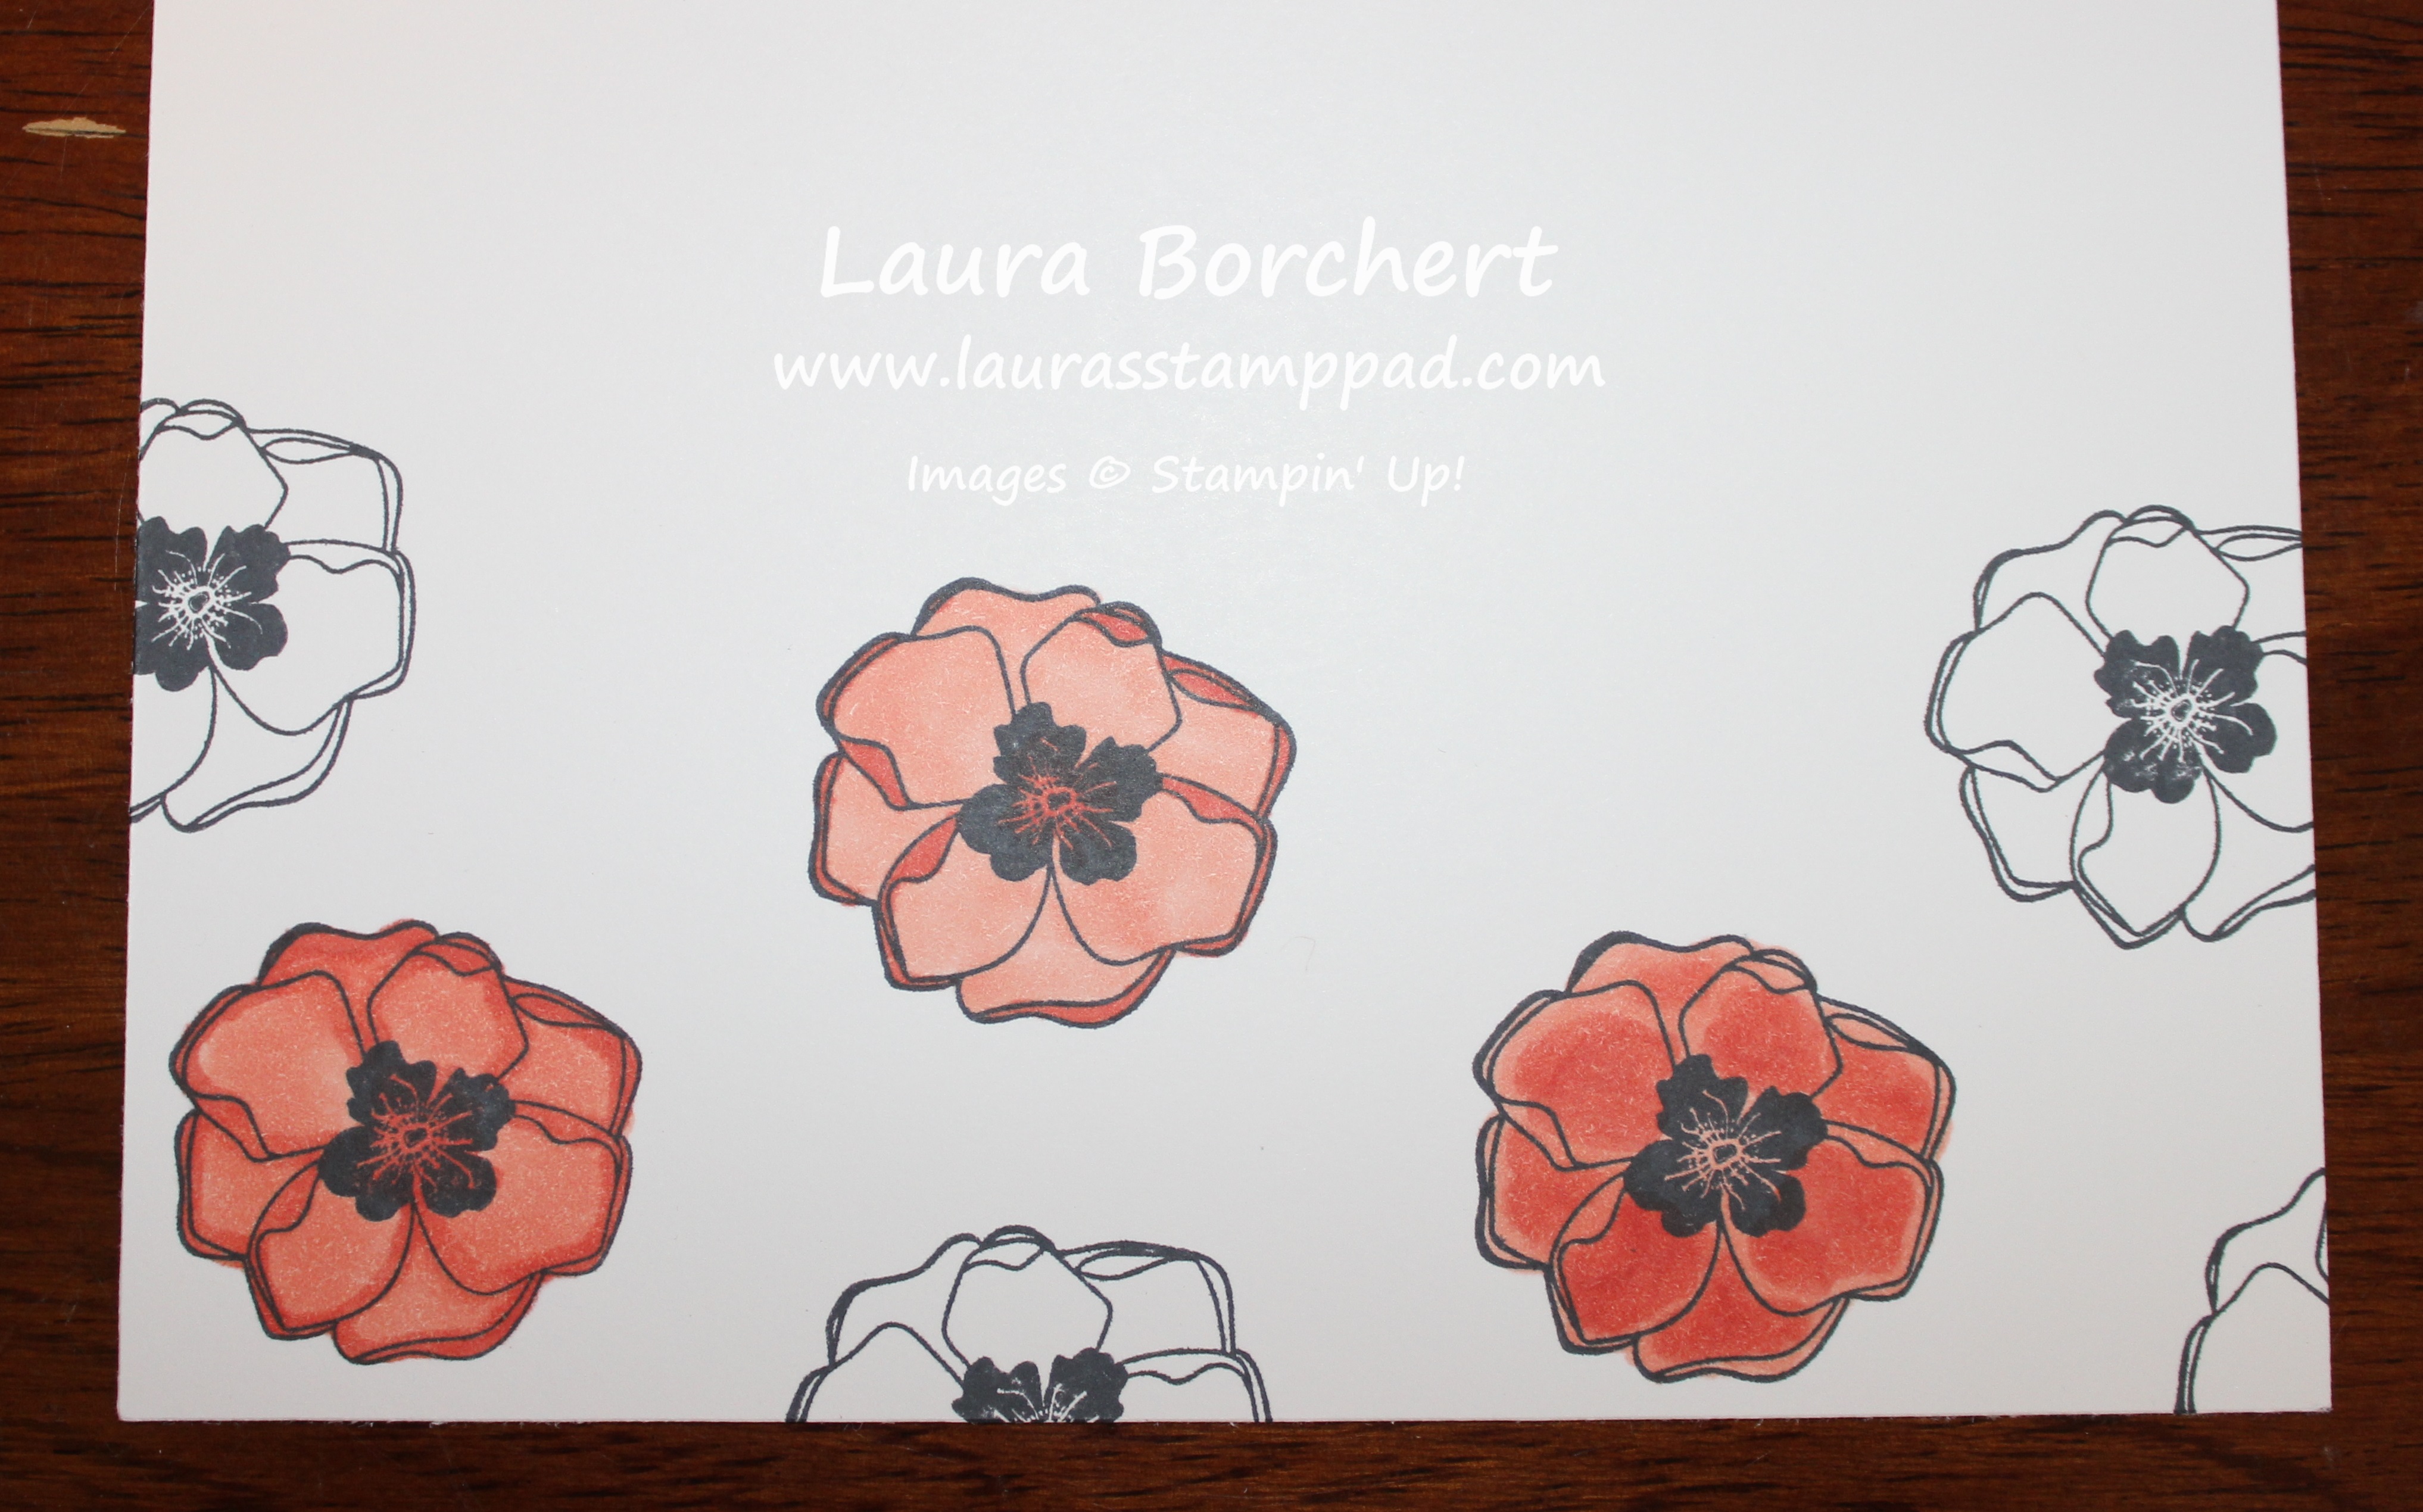
For these flowers, I did a little blending and a little selective coloring. The middle flower was just colored in the light Calypso Coral Stampin’ Blends and then dark in those folded tips and the center. The other two flowers were blended. I did the one on the left with all edges of the petals outlined in the dark marker and then blended in with the light marker. The flower on the right was the opposite with light on the edges. That one was a little harder to stay away from the edges. I colored it with the Light first and then Dark and then back with the Light. Just have fun with it and try lots of different variations. Another fun option is mixing colors….Cherry Cobbler and Daffodil Delight…..Bermuda Bay and Pool Party…….Pumpkin Pie and Cherry Cobbler. Let me know what combination you would use in the comments below!
If you would like to see the unboxing and reveal of this kit, check out the Video Tutorial below or click here! Be sure to give the video a thumbs up if you liked it and don’t forget to subscribe if you are new. If you would like a notification when I post a new video, be sure to click the bell right next to the subscribe!!!
Happy Stampin’
~Laura
Product List


Pingback: When making multiples, I like to go with a simple and quick card style.Laura's Stamp Pad