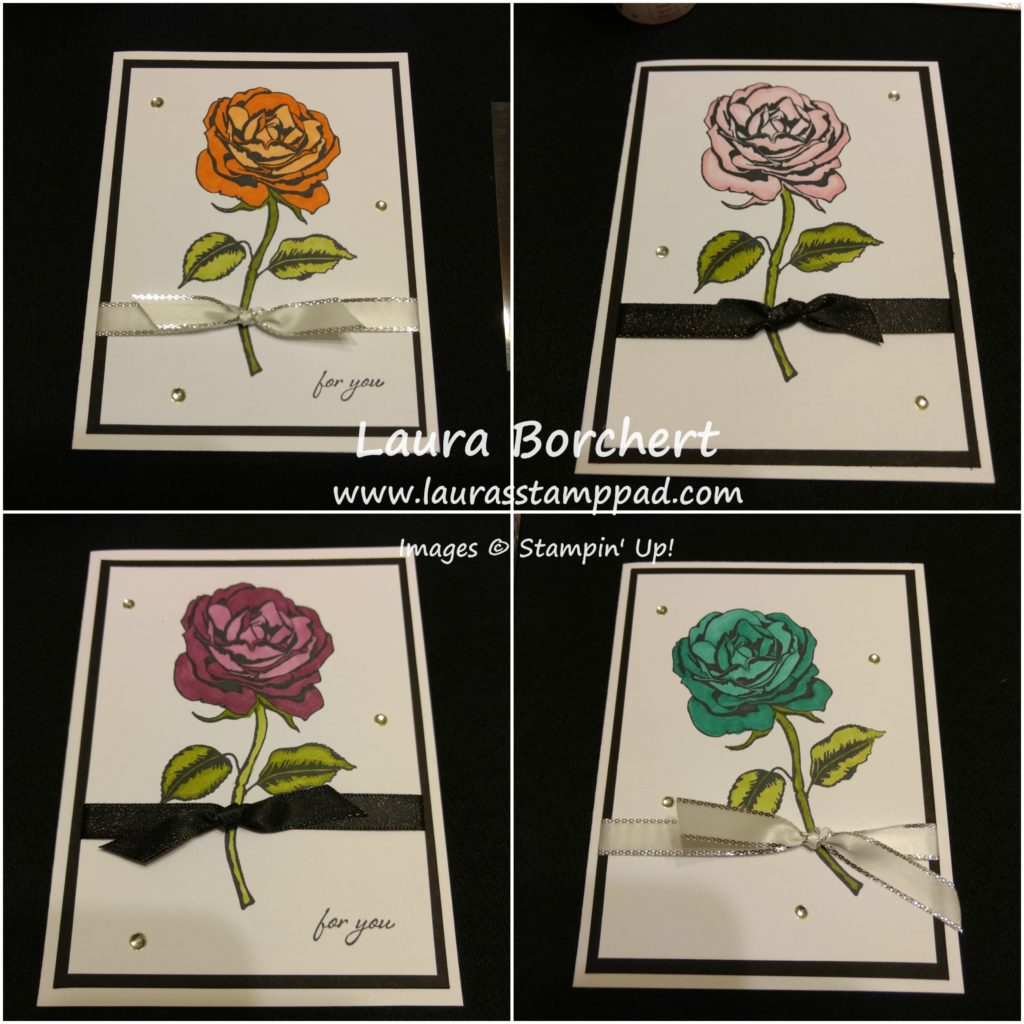
Happy Tuesday!!! You all know what that means! I have a fabulous technique to share with you today!!! I am showing you how to create these stunning roses with the New Stampin’ Blends alcohol markers!!!
This rose is so much fun!!! Some of these samples are from my amazing Stamp Club attendees and the others are ones I created! Shout out to Janet, Mary, and Kacie!!
I started with a Whisper White card base! Then I cut the black layer (4″ x 5-1/4″) and another Whisper White layer (3-3/4″ x 5″). I didn’t assemble these layers till after I was done stamping and coloring….just in case I made a boo boo! Using the Graceful Garden Stamp Set, I stamped the rose and the greeting in Memento Black Ink! This is the ink you must use when playing with the Blends because it won’t bleed.
Now for the coloring! This is where you can go simple and easy or go all out and adventurous. You will notice in some of the samples at the top I mainly just colored in the petals. I did the center with the light and did the outside with the dark. Then I added a few dark accents to the middle for a little variation of color. For the stem, I did either light or dark. Then on the petals, I did a little combination of either the center or the outside in the dark and blended it together for the rest.
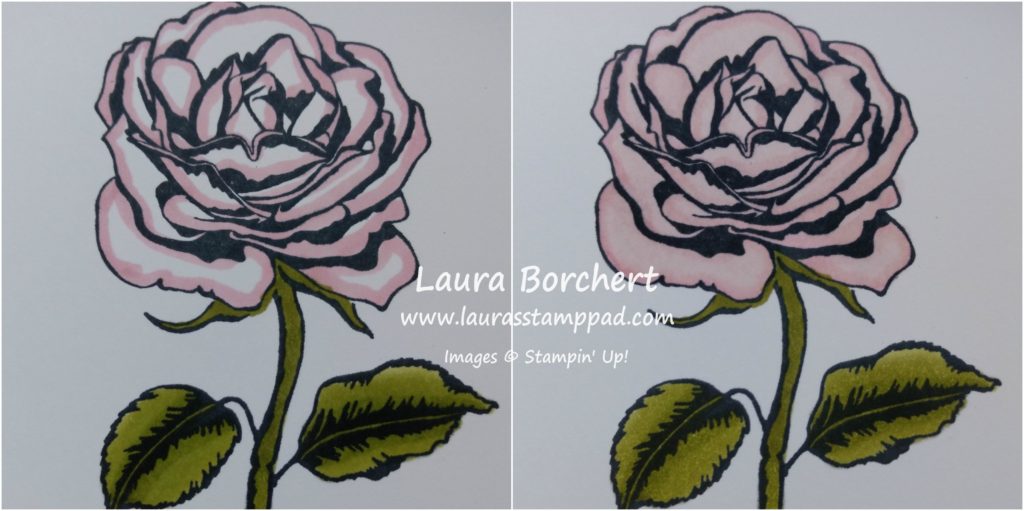
For the light pink flower above and a few more samples below, I got more adventurous and really had fun with the coloring. I did the stem from the top to the leaves in dark and then blended and coloring the bottom in light. This gives the stem a little more variation in color. For the rose, I colored the edges of all the petals in the dark and then blended it in with the light! I LOVE this look! It’s so stunning and really gives the entire rose an amazing look!
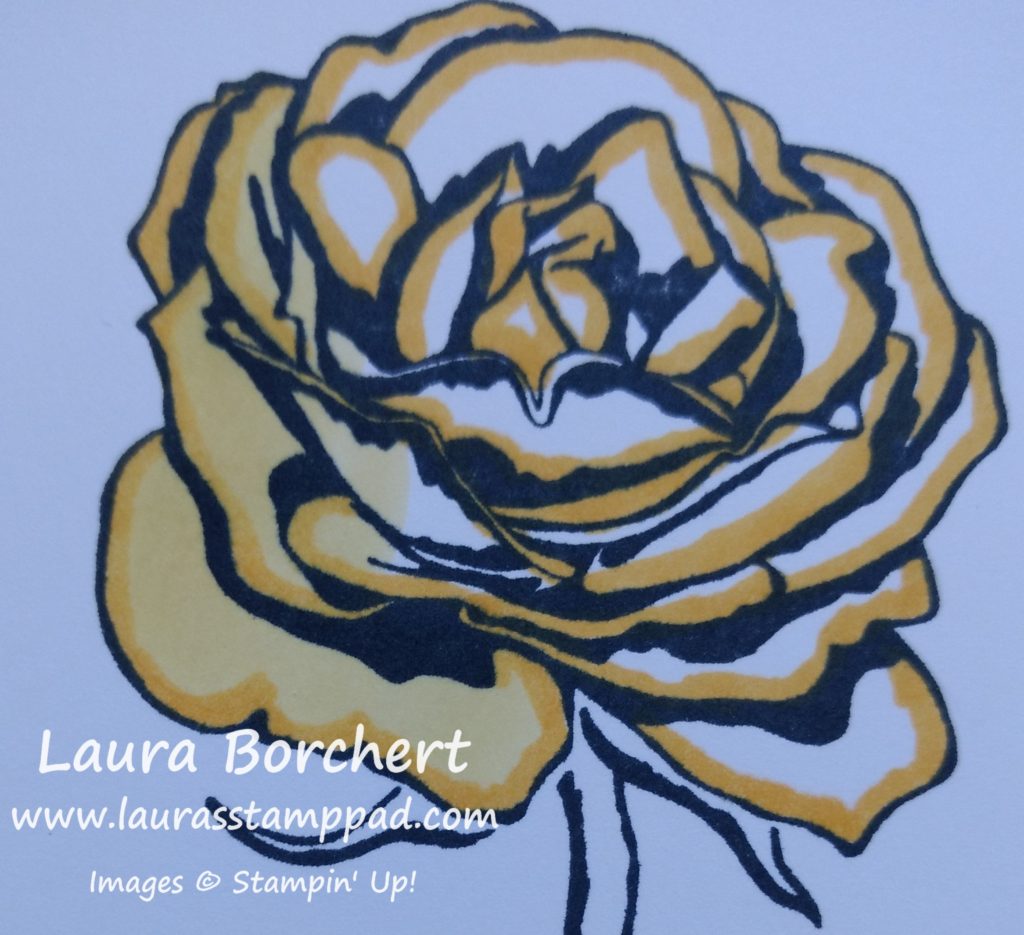
You can see the colored petals better on this flower in Daffodil Delight and then I started coloring in with the lighter marker. After filling in the flower completely, I go back though and blend it to reduce any lines.
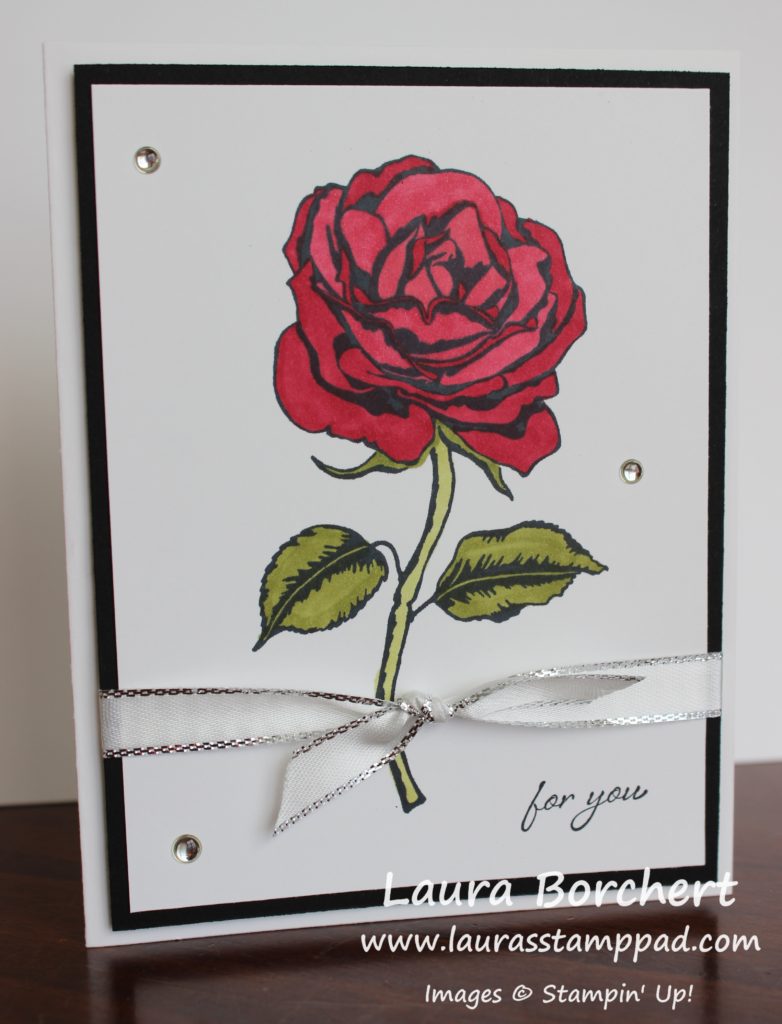
I feel like I have like 10 more roses to show off but I’ll stop with this one! This red rose was done basic with a light colored stem and dark leaves. I did the rose with a light center and dark edges and accents.
After coloring, I layered the pieces the together and added some Metallic Edge Ribbon around it. Then I added this to the card front and finished it off with a few Metallic Enamel Shapes! Let me know your favorite color in the comments below!
If you would like to see this all in action, check out the Video Tutorial below or click here! Be sure to give the video a thumbs up if you liked it and don’t forget to subscribe if you are new. If you would like a notification when I post a new video, be sure to click the bell right next to the subscribe!!!
Happy Stampin’
~Laura
Product List


