Laura’s Quick Tips: 6″ x 6″ Designer Paper!!!

Posted on

Today, I am sharing another fabulous one of Laura’s Quick Tips and it’s all about 6″ x 6″ Designer Paper!! I don’t like wasting designer paper because it is so pretty and I don’t like to waste. Creating cards using specific measurements makes little to no waste and lots of fabulous card creations!!!
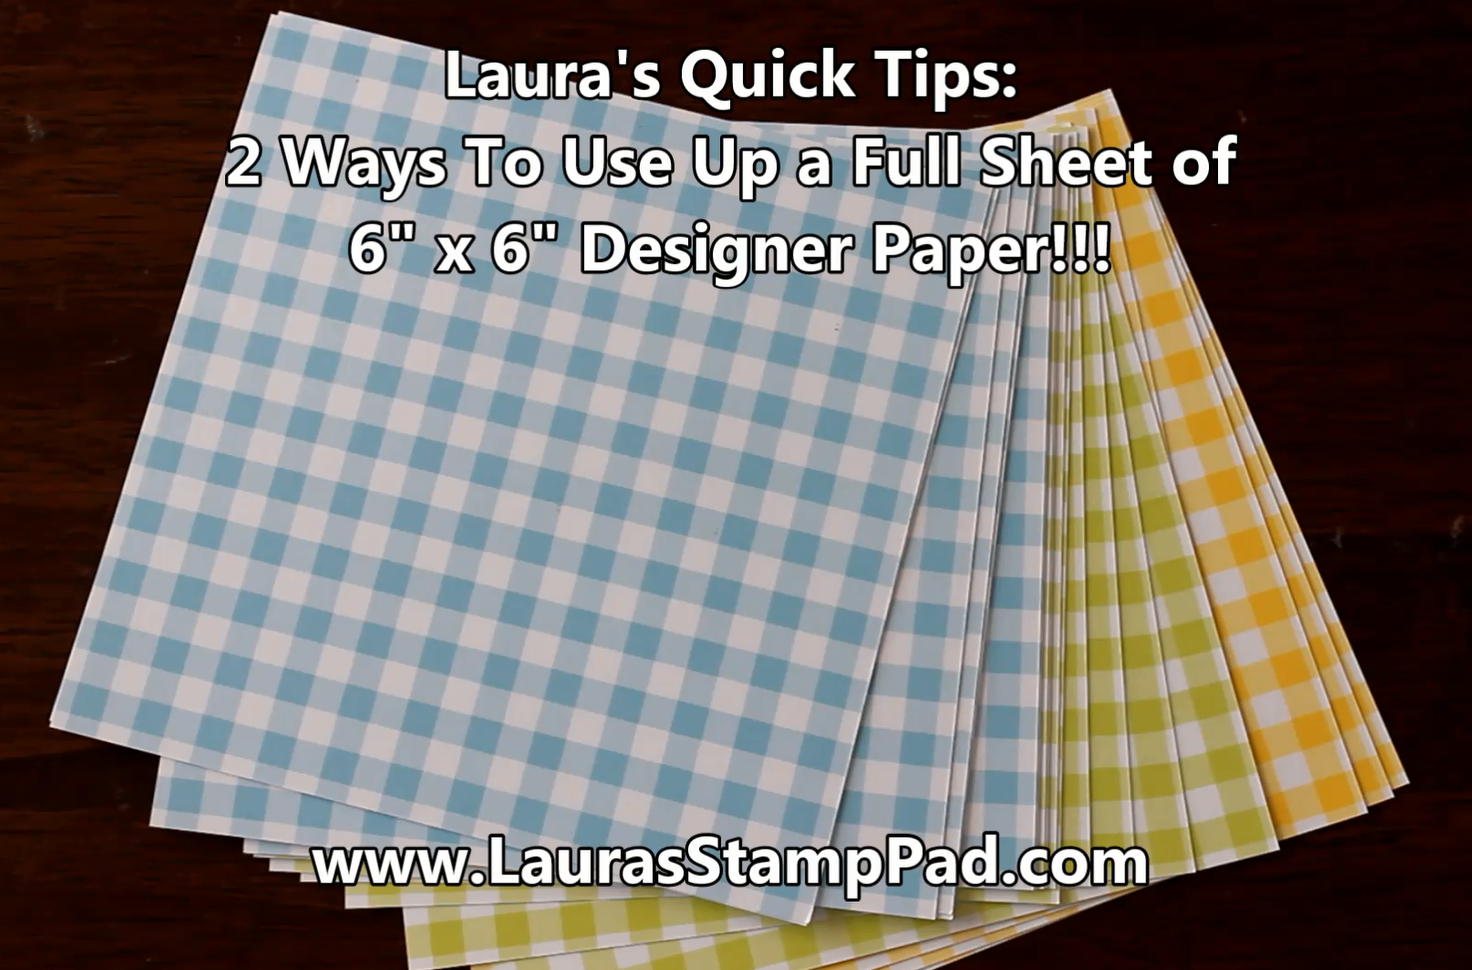
Laura's Quick Tips: 6" x 6" Designer Paper, www.LaurasStampPad.com

I’m sharing samples using the Gingham Gala Designer Paper from the Occasions Mini Catalog. Actually you can use any 6″ x 6″ Designer Series Paper. In fact, you can even cut your 12″ x 12″ pieces down to create these same projects!!!

One way to use up all of the 6″ x 6″ piece is to cut as follows. First, cut at 4″ creating a 6″ x 4″ piece. Then cut that into 2″ x 4″ pieces resulting in 3 pieces of that size. The leftover piece measures 2″ x 6″ so cut another 2″ x 4″ piece. This leaves a 2″ square leftover. This is perfect for punching out a piece to layer behind a greeting or save up 4 of these for a 2″ x 4″ four square grid. Here is a fabulous sample using the 2″ x 4″ pieces!

The other way to use up all of the 6″ x 6″ piece is as follows. First, cut at 4″ creating a 6″ x 4″ piece. Then cut that one at 5-1/4″ creating a 4″ x 5-1/4″ piece which is perfect for laying on the front of a card base. The little 3/4″ x 4″ piece leftover is perfect to place on the inside of the card for some fabulous coordination and decoration. Then there is a leftover 2″ x 6″ piece that can be cut at 2″ x 4″ and a 2″ square like the one above. Another option would be cutting it at 2″ x 5-1/2″ for a side strip down the edge (or middle) of a card front. Here is a fabulous sample using that!

If you would like to see this all in action, check out the video below or click here! Be sure to give the video a thumbs up if you liked it and don’t forget to subscribe if you are new. If you would like a notification when I post a new video, be sure to click the bell right next to the subscribe!!!

Happy Stampin’

~Laura


Laura’s Quick Tips: Using Dental Floss for Card Making!!!

Posted on

Today, I have another one of Laura’s Quick Tips! This one is used in my craft room/stamp class about once a week. It has been a lifesaver….okay maybe not that dramatic. Using Dental Floss for card making might sound crazy but it totally works!!!!

Using Dental Floss for Card Making, www.LaurasStampPad.com

All you need is some dental floss to fix your crooked placement of cardstock. Pull out a piece that is plenty big so it will go the length of your cardstock and have enough on both ends to hold on to. Place the floss under between the cardstock layers and just shimmy it down. Sometimes I pull a lot on the left and then a lot on the right but sometimes I just work it back and forth evenly. It will slowly break the seal of the adhesive so you can position it. The awesome thing about this trick is that it doesn’t rip the cardstock or curl it like when you pull it off from one corner.

I hope you found this helpful and let me know in the comments if you have tired this before or if you will be trying it soon!

If you would like to see this all in action, check out the video below or click here! Be sure to give the video a thumbs up if you liked it and don’t forget to subscribe if you are new. If you would like a notification when I post a new video, be sure to click the bell right next to the subscribe!!!

Happy Stampin’

~Laura
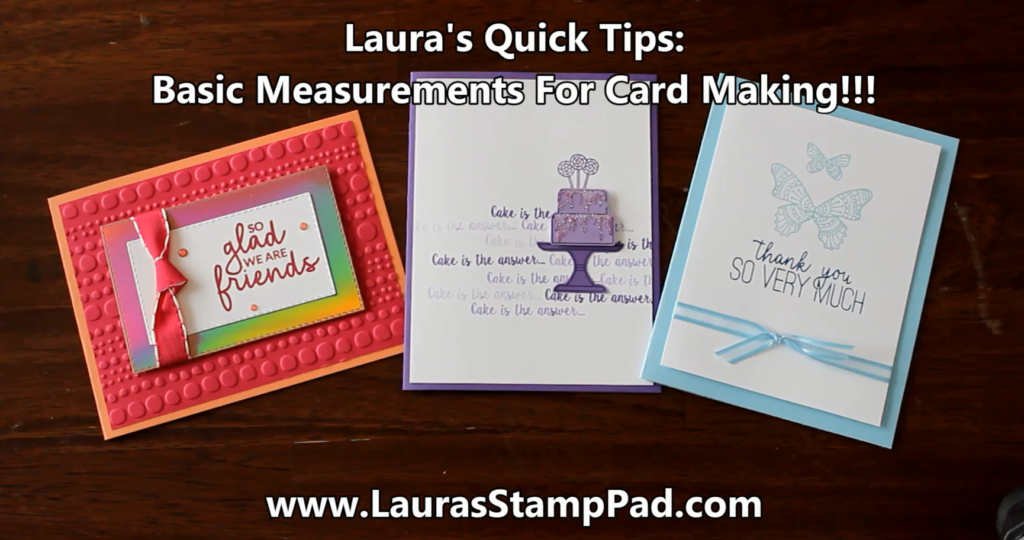

Laura’s Quick Tips: Basic Card Measurements!!!

Posted on

Happy Tuesday!!! I am sharing another one of Laura’s Quick Tips today!!! It is all about basic card measurements!!! I get asked this question a lot especially at my classes since I have already done all the cutting for everyone. These measurements are stuck in my head as I use them daily. Here and there I modify and go with something different just to mix it up but otherwise 98% of my cards use these measurements!

Laura's Quick Tips Basic Card Measurements, www.LaurasStampPad.com

For a basic card base, all you have to remember is to cut a piece of 8-1/2″ x 11″ in half. It could be in half along the 11″ side, making the cut at 5-1/2″. This will create a 5-1/2″ x 8-1/2″ card base. This style can open up like a calendar or to the side like a book. If you cut along the 8-1/2″ side at 4-1/4″, this creates a 4-1/4″ x 11″ card. This looks more like an easel card and again it can open up or to the side. In the photo above, I have the Grapefruit Grove card on the far left opening on the left side like a book.

When it comes to layers, I like to work with 1/4″ rather than 1/8″ mostly because I like a bit of a bigger gap to allow more color/pattern to show. Also, I am not a fan of 1/8″ as I tend to get confused and it isn’t as easy to read on my Stampin’ Trimmer! For the Gorgeous Grape card in the center, I went in a 1/4″ making the Whisper White piece 4″ x 5-1/4″. The Balmy Blue card on the far right is a 1/2″ in making it 3-3/4″ x 5″. This all depends on how much of the card base you want to show!

For additional layers on your card, I tend to go in increments that divide by 6″. This is done because Stampin’ Up’s designer paper, glimmer paper, foil paper, etc. is either 6″ x 6″ or 12″ x 12″. I don’t like to waste any of these gorgeous stuff so cutting pieces like 2″ x 4″ or 3″ square or 3″ x 4″ gives me a chance to use it all up with no waste. That is perfect to me!!!

I hope you found this helpful! Let me know in the comments if this was helpful! Also, let me know if you like to work with 1/4″ or 1/8″!

If you would like to see this all in action, check out the video below or click here! Be sure to give the video a thumbs up if you liked it and don’t forget to subscribe if you are new. If you would like a notification when I post a new video, be sure to click the bell right next to the subscribe!!!

Happy Stampin’

~Laura


Laura’s Quick Tips: How Much Ribbon Do I Need??

Posted on

Today, I’m sharing another one of Laura’s Quick Tips!!!! Since ribbon is my favorite embellishment for sure, I used it for almost all of my project. How much ribbon do I need is a question I get asked a lot. Let me show you my trick for that…

Laura's Quick Tips How Much Ribbon Do I Need, www.LaurasStampPad.com

The way to know how much ribbon you will need when tying a knot around something is to simply wrap it around. Take the ribbon and go across the front, around to the back, back around to the front and across. The two ends of the ribbon should be going in opposite directions across the front. Now you can cut your ribbon off the spool and tie it into a knot. There will be some excess ribbon that you will need to trim off but very minimal. Of course this may seem a bit confusing which is why I posted a video below for you to see!!!!

Want to see more on this fabulous card using the Lasting Lily Sale-A-Bration Stamp Set?? Click here to check it out!

If you would like to see this all in action, check out the video below or click here! Be sure to give the video a thumbs up if you liked it and don’t forget to subscribe if you are new. If you would like a notification when I post a new video, be sure to click the bell right next to the subscribe!!!

Happy Stampin’

~Laura


Laura’s Quick Tips: Have a Missing Framelit??

Posted on

Today I’m sharing another one of Laura’s Quick Tips! Are you always super organized?? Yeah me neither even though I am a rather organizational freak. It happens though. I get to playing so much in the stamp room. I’m pulling out everything to try and when the mess gets about 2 feet deep, it’s time to clean up and start again! There are 10 inks pads on the desk, cardstock in 15 colors, 4 stamp sets opened up, and framelits all over. Unless it is the Layering Ovals/Circles/Squares, it can be tricky figuring out which ones go with with set.

Have a Missing Framelit, www.LaurasStampPad.com

Not anymore after you hear about this cool tip! If you look real close to the top side of the framelit, there will be a number. That number is actually the item number for the set of Framelits. You will see in the catalog, there is a number usually starting with 14 and then the name and price of the item. If you find a random framelit on your desk….or gasp the floor. lol Take that number and enter into the Stampin’ Up website and it will tell you which set it is. Try it out with this number and let me know in the comments below which set it is. The number is 146828 and click here to find out what set it is! (There might be a prize drawn for all of the answers.) 🙂

DISCLAIMER: This will not work for sets that have retired. So here are a few tips for your retired items. Keep your old catalogs for the awesome ideas as well as looking up framelit numbers. You can browse the back and find the number in the section with all of the framelits. Another option is to download the catalog to your computer/device and save it. When you need to find a set, simply hit Control F or (FIND) and type in the number there. Then it will pop up really quick!

I hope this if super useful and you can rest assure you aren’t alone in trying to figure out the missing piece! If you would like to see this all in action, check out the video below or click here! Be sure to give the video a thumbs up if you liked it and don’t forget to subscribe if you are new. If you would like a notification when I post a new video, be sure to click the bell right next to the subscribe!!!

Happy Stampin’

~Laura


Laura’s Quick Tips: Fixing a Dried Up Shammy!!!

Posted on

Today, I have another fabulous Laura’s Quick Tips! Are you loving the Simply Shammy as much as me?? I have finally gotten over the fact that it is forever stained with the stamped images but I still have fun stamping an image all around to make it show off more! Has your Shammy dried, curled, and gotten hard as a rock???? Don’t worry, it is not broke!!!

Laura's Quick Tips: Fixing a Dried Up Shammy, www.LaurasStampPad.com

If your Shammy is out in the open air, it will dry up like a rock and look all warped. At first when you add water, it just beads right off. That’s okay, you just need to work it a little bit. Allow the water to really get into the Shammy. Press the Shammy or submerge it allow it to really soak. Once it is all wet and soaks up all the water, wring it out and you are golden to use it all over again!

Another tip is to store it in a Clear Mount Stamp Case. It fits in there perfectly and this keeps more moisture in there. Also, you don’t have to worry about having something damp on your work surface. I had a question about mold and the Shammy smelling. I have not had a problem with mold. I think because it can breath and the case isn’t air tight, it won’t mold. At least I’m hoping it won’t. I have been doing this for 7 months now and all is good. As for smell, there is none at all. I don’t think the Shammy smells when it’s wet or dry. All good there! Get your Simply Shammy by clicking here!

If you would like to see this in action, check out the video below or click here! Be sure to give the video a thumbs up if you liked it and don’t forget to subscribe if you are new. If you would like a notification when I post a new video, be sure to click the bell right next to the subscribe!!!


Happy Cleanin’ and Stampin’

~Laura


Laura’s Quick Tips: Sealing Envelopes!!!

Posted on

I am starting a bit of a new series called Laura’s Quick Tips because I feel like I have so many cool little things that make life easier and I wanted to share. Some are things I do and didn’t think to share. Some are new things I learned….even I still have lots to learn! Some are questions I have gotten from all of you and thought I would share the answers because surely someone else wondered the same thing!

Sealing Envelopes, www.LaurasStampPad.com

Do you hate licking envelopes?? Have you tried using a wet paper towel but hate how it slowly falls apart or makes a wet mess all over? I have the perfect solution for you. Use you Aqua Painter to add the perfect amount of water to the seal and you are all set!!! It’s so easy and doesn’t make a mess. I….correction my husband sealed all of my Christmas Cards this way and it was so quick. I even said, “are you sure you got them all?” since he was done so fast. It was amazing. Normally he does use the paper towel and he said this was so much easier and less messy. I call that a win!

Click here to get your Aqua Painter to seal envelopes next time!!!

If you would like to see this in action, check out the video below or click here! Be sure to give the video a thumbs up if you liked it and don’t forget to subscribe if you are new. If you would like a notification when I post a new video, be sure to click the bell right next to the subscribe!!!

Happy Stampin’

~Laura