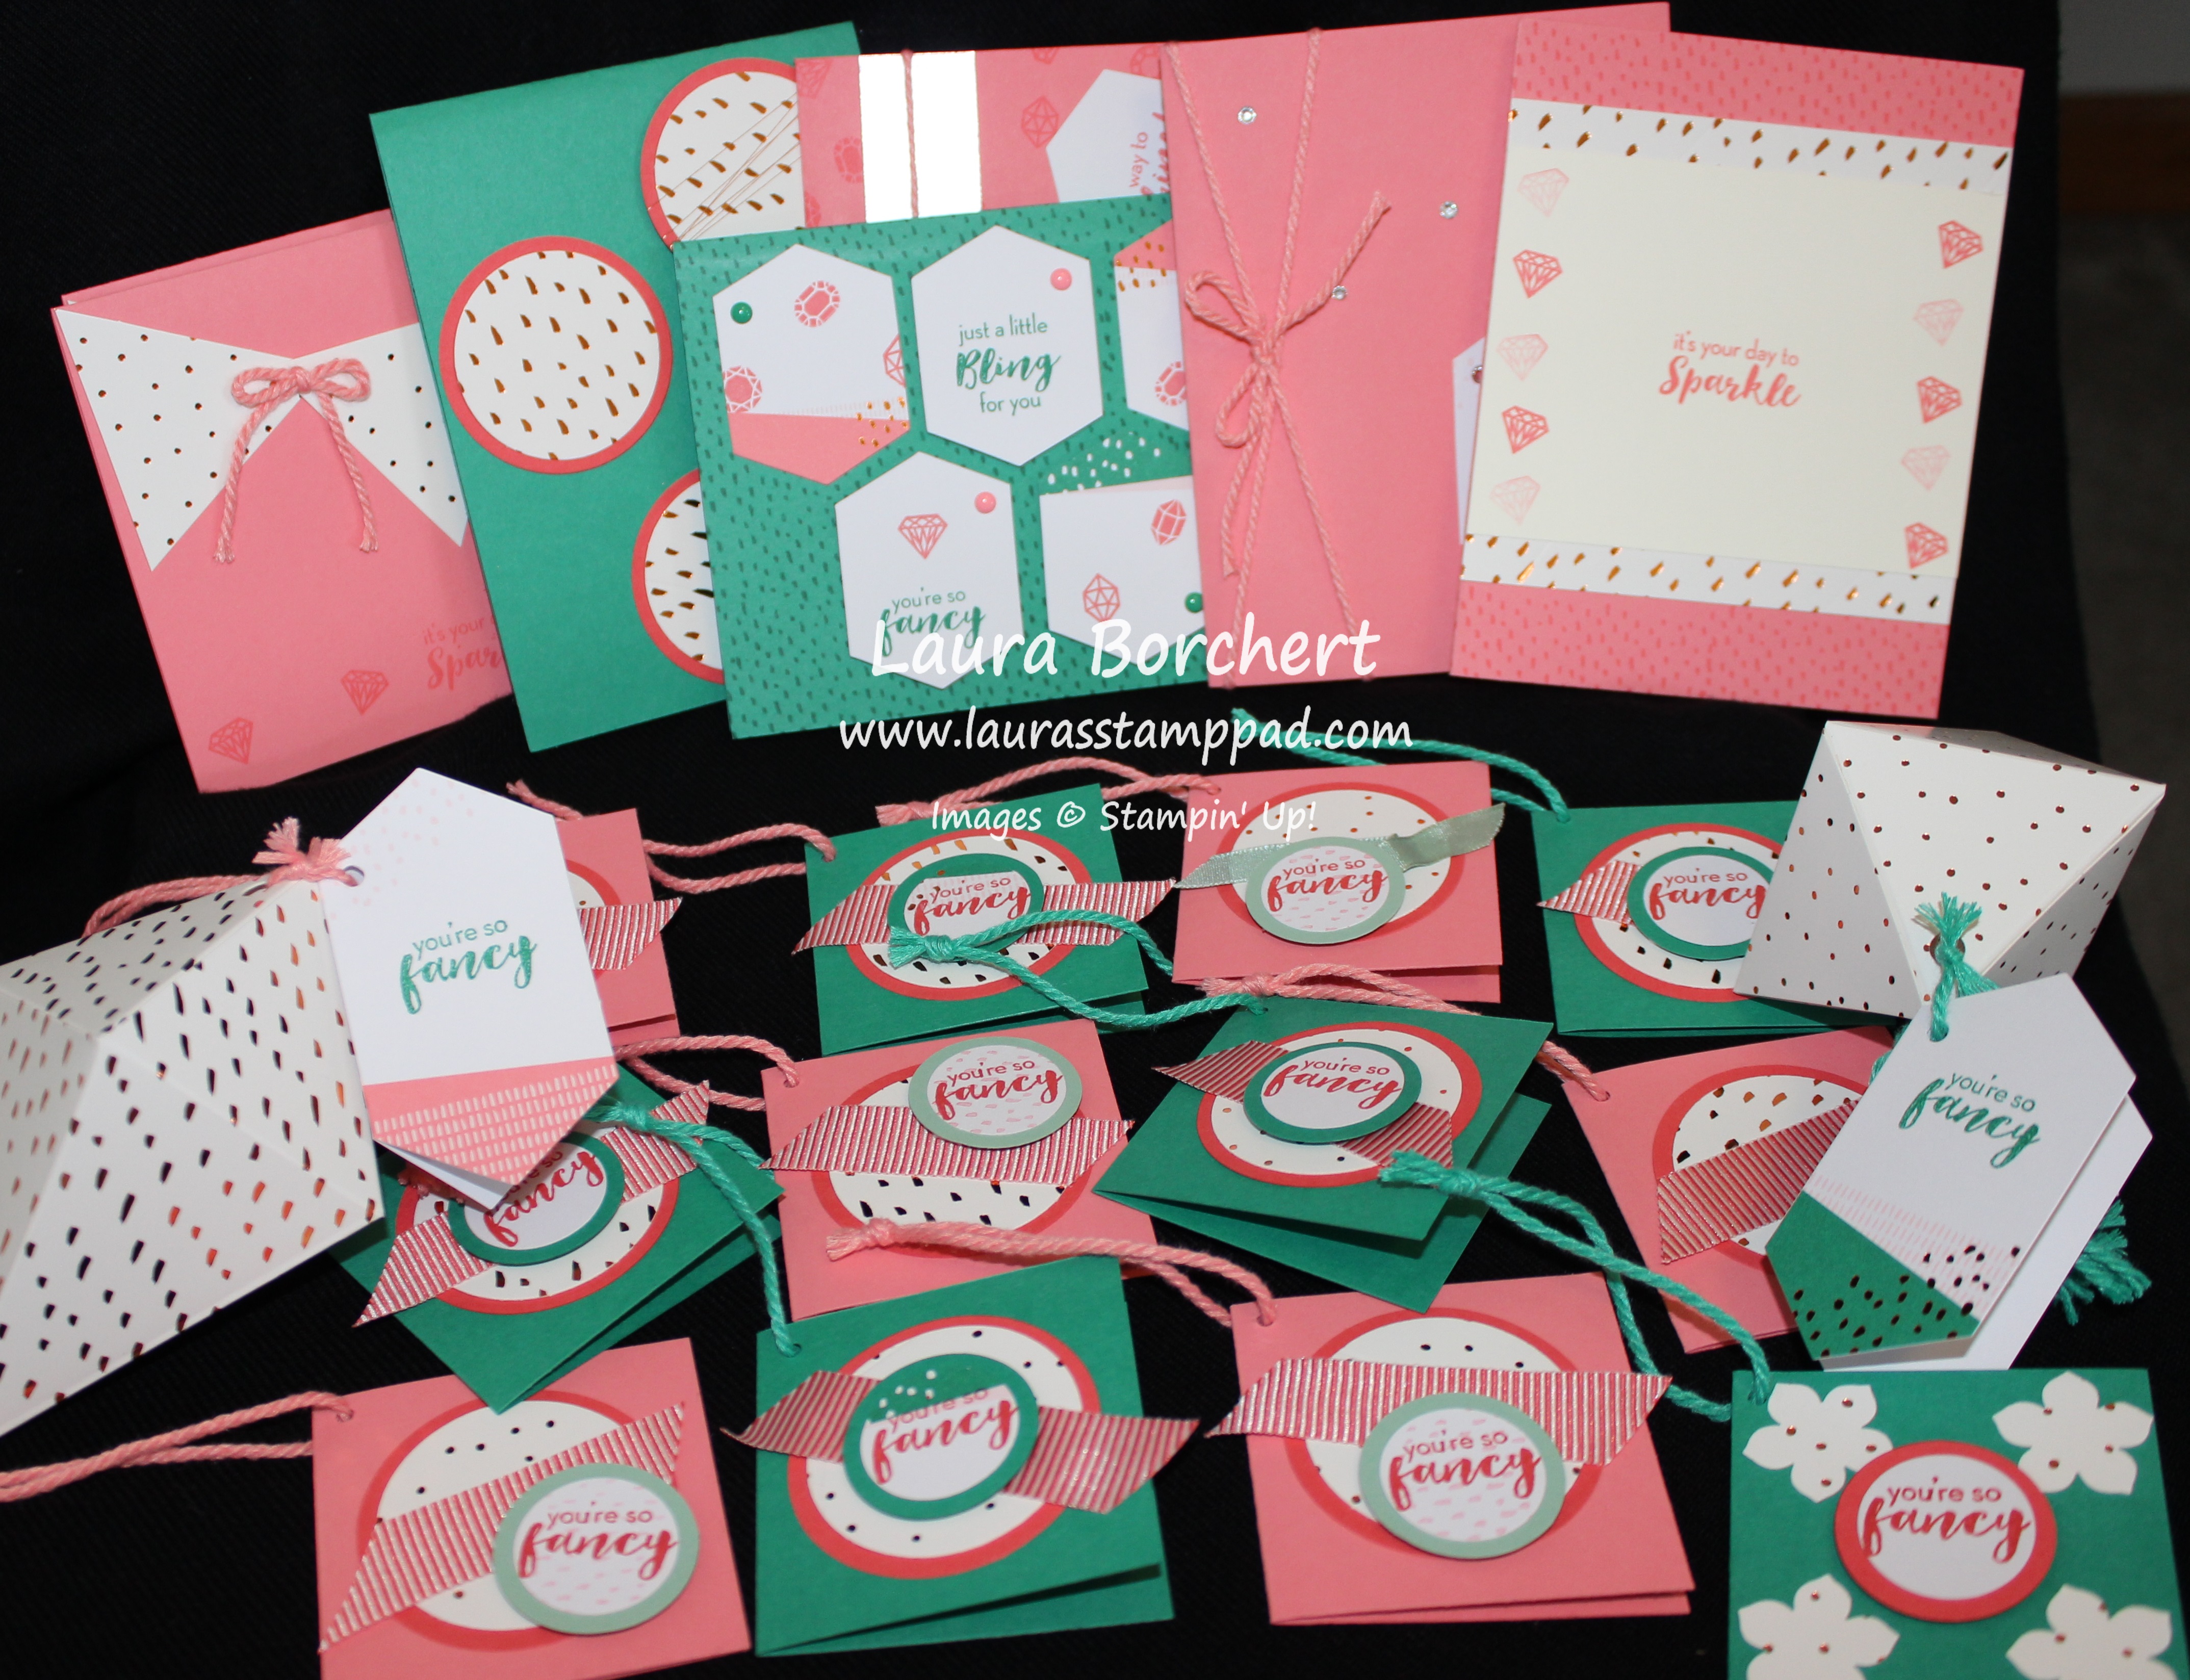
I know, I know, you are probably wondering why I got this kit since I am not a huge fan of gift boxes but I couldn’t resist. This kit is super cute and I wanted to see what all it entails. Each of the items are super fun and rather easy to create. I will use these for upcoming classes, hostess gifts and various other gift giving moments. This is the Perfectly Wrapped Project Kit and it coordinates with the Perfectly Wrapped Stamp Set. I think the stamp set is super fabulous with great greetings to use on lots of different projects. I love it!!! Now here is a little information on each box/bag individually.

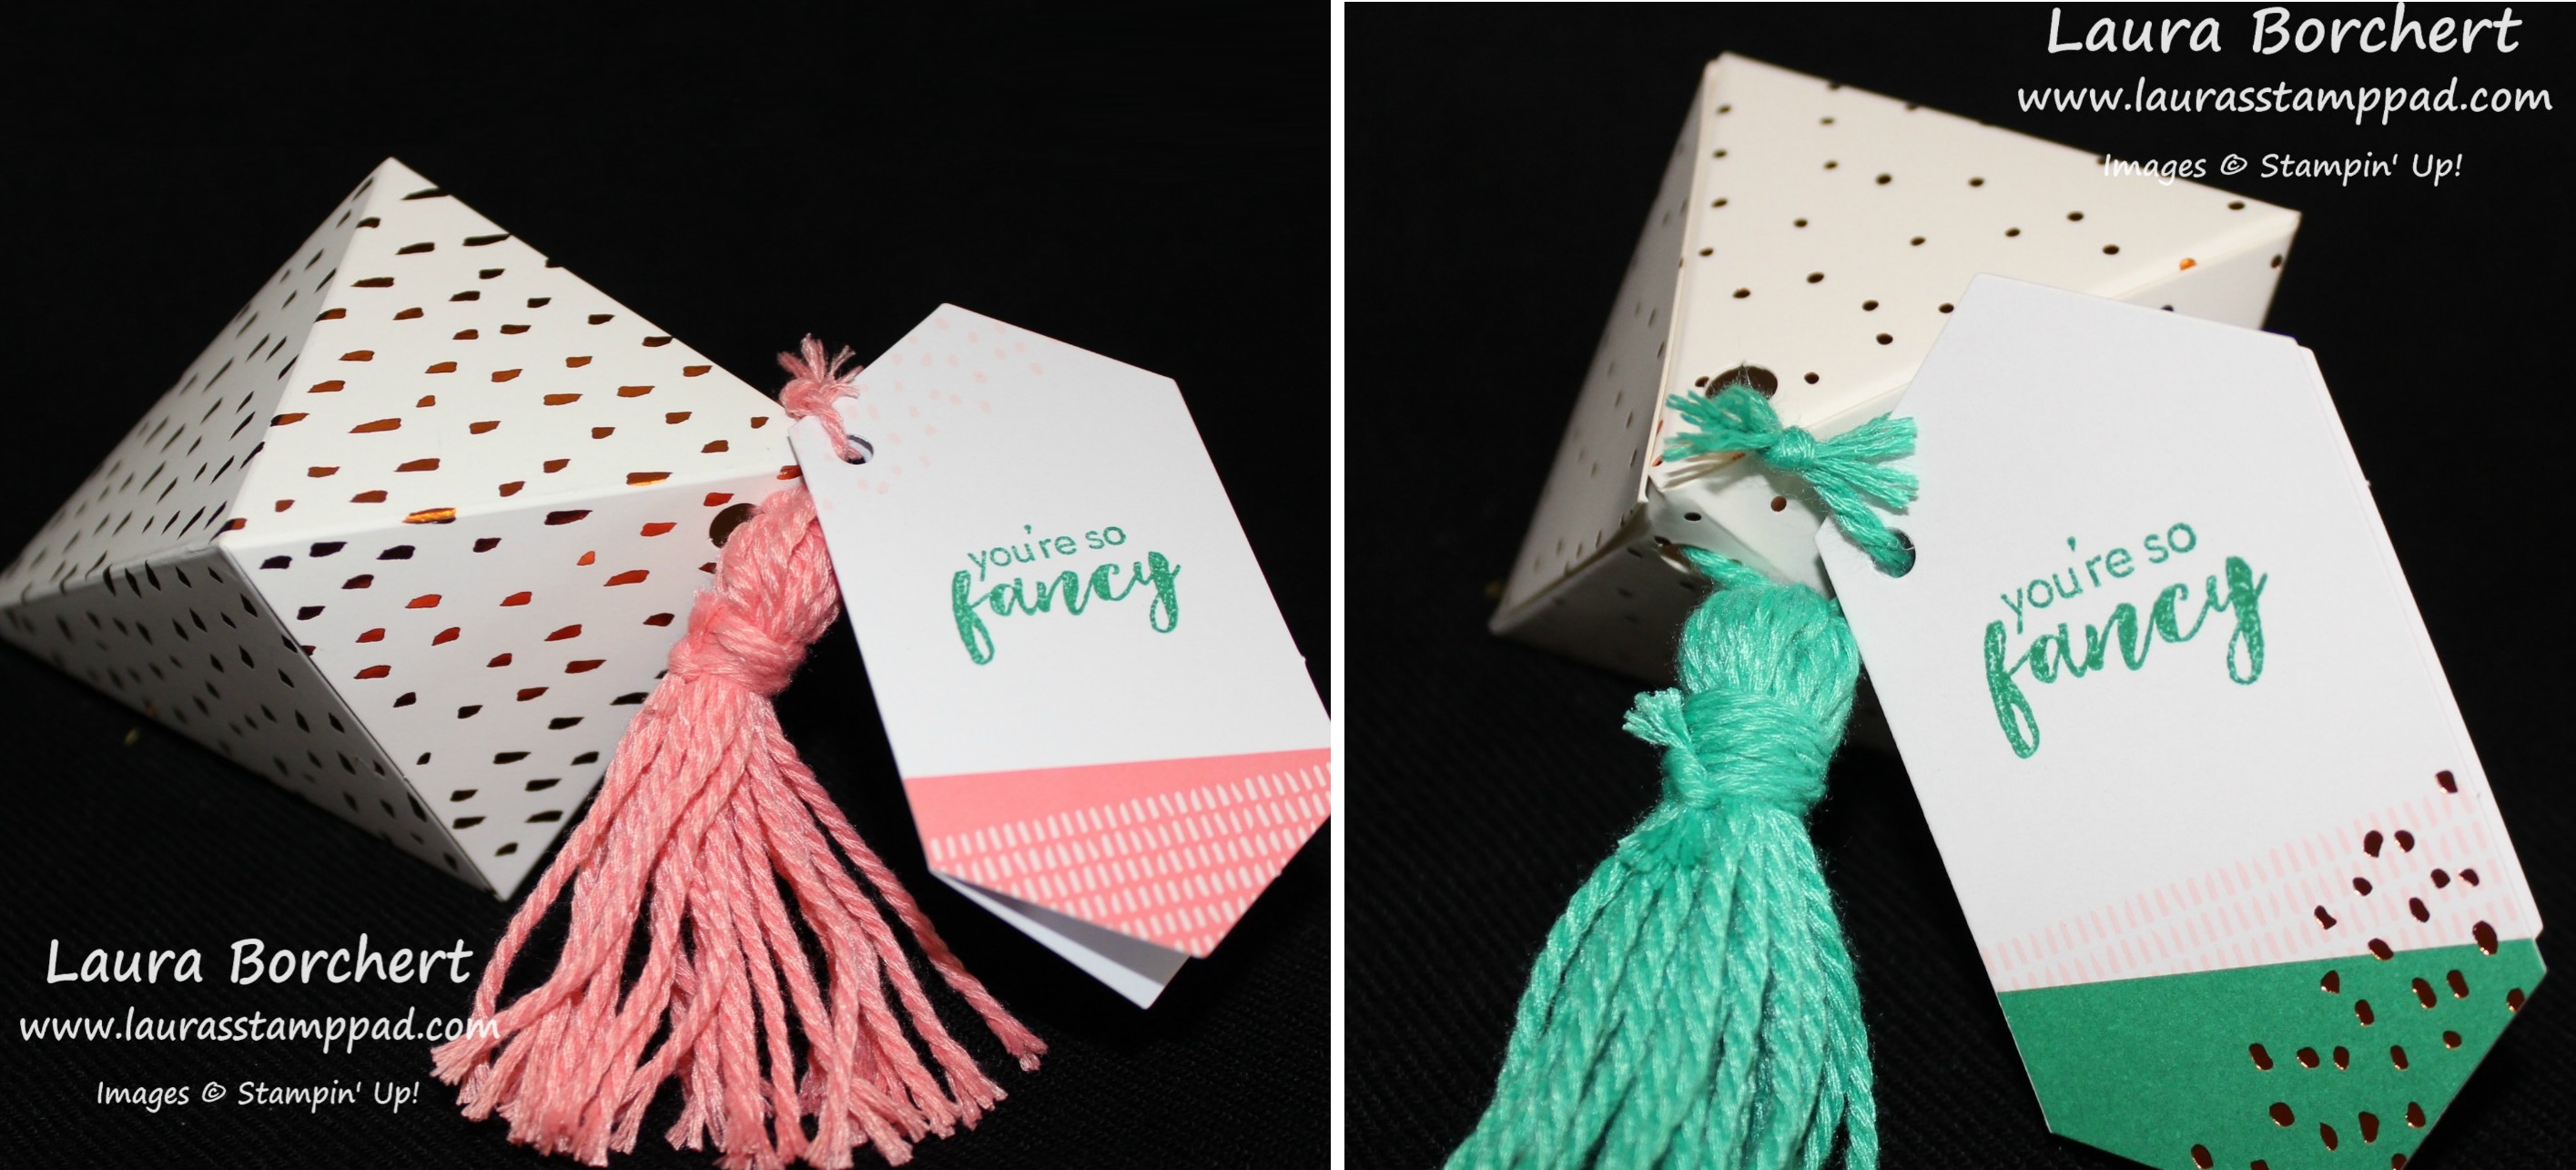
Okay so I think this is my favorite one of all, although I do love a few aspects of the others as well. I love flowers and black and white so this one had me at hello! The black and white box is super cute and then you can slide the clear plastic over the top to close it. The flower petals come already die cut and you just need to curl them a little bit by running them over a Bone Folder. You will want to assemble the flower with a hot glue gun. Wrap a little bit of the Gold Sequin Trim (provided) around the box and add the flower and greeting banner! Fun and Fabulous!

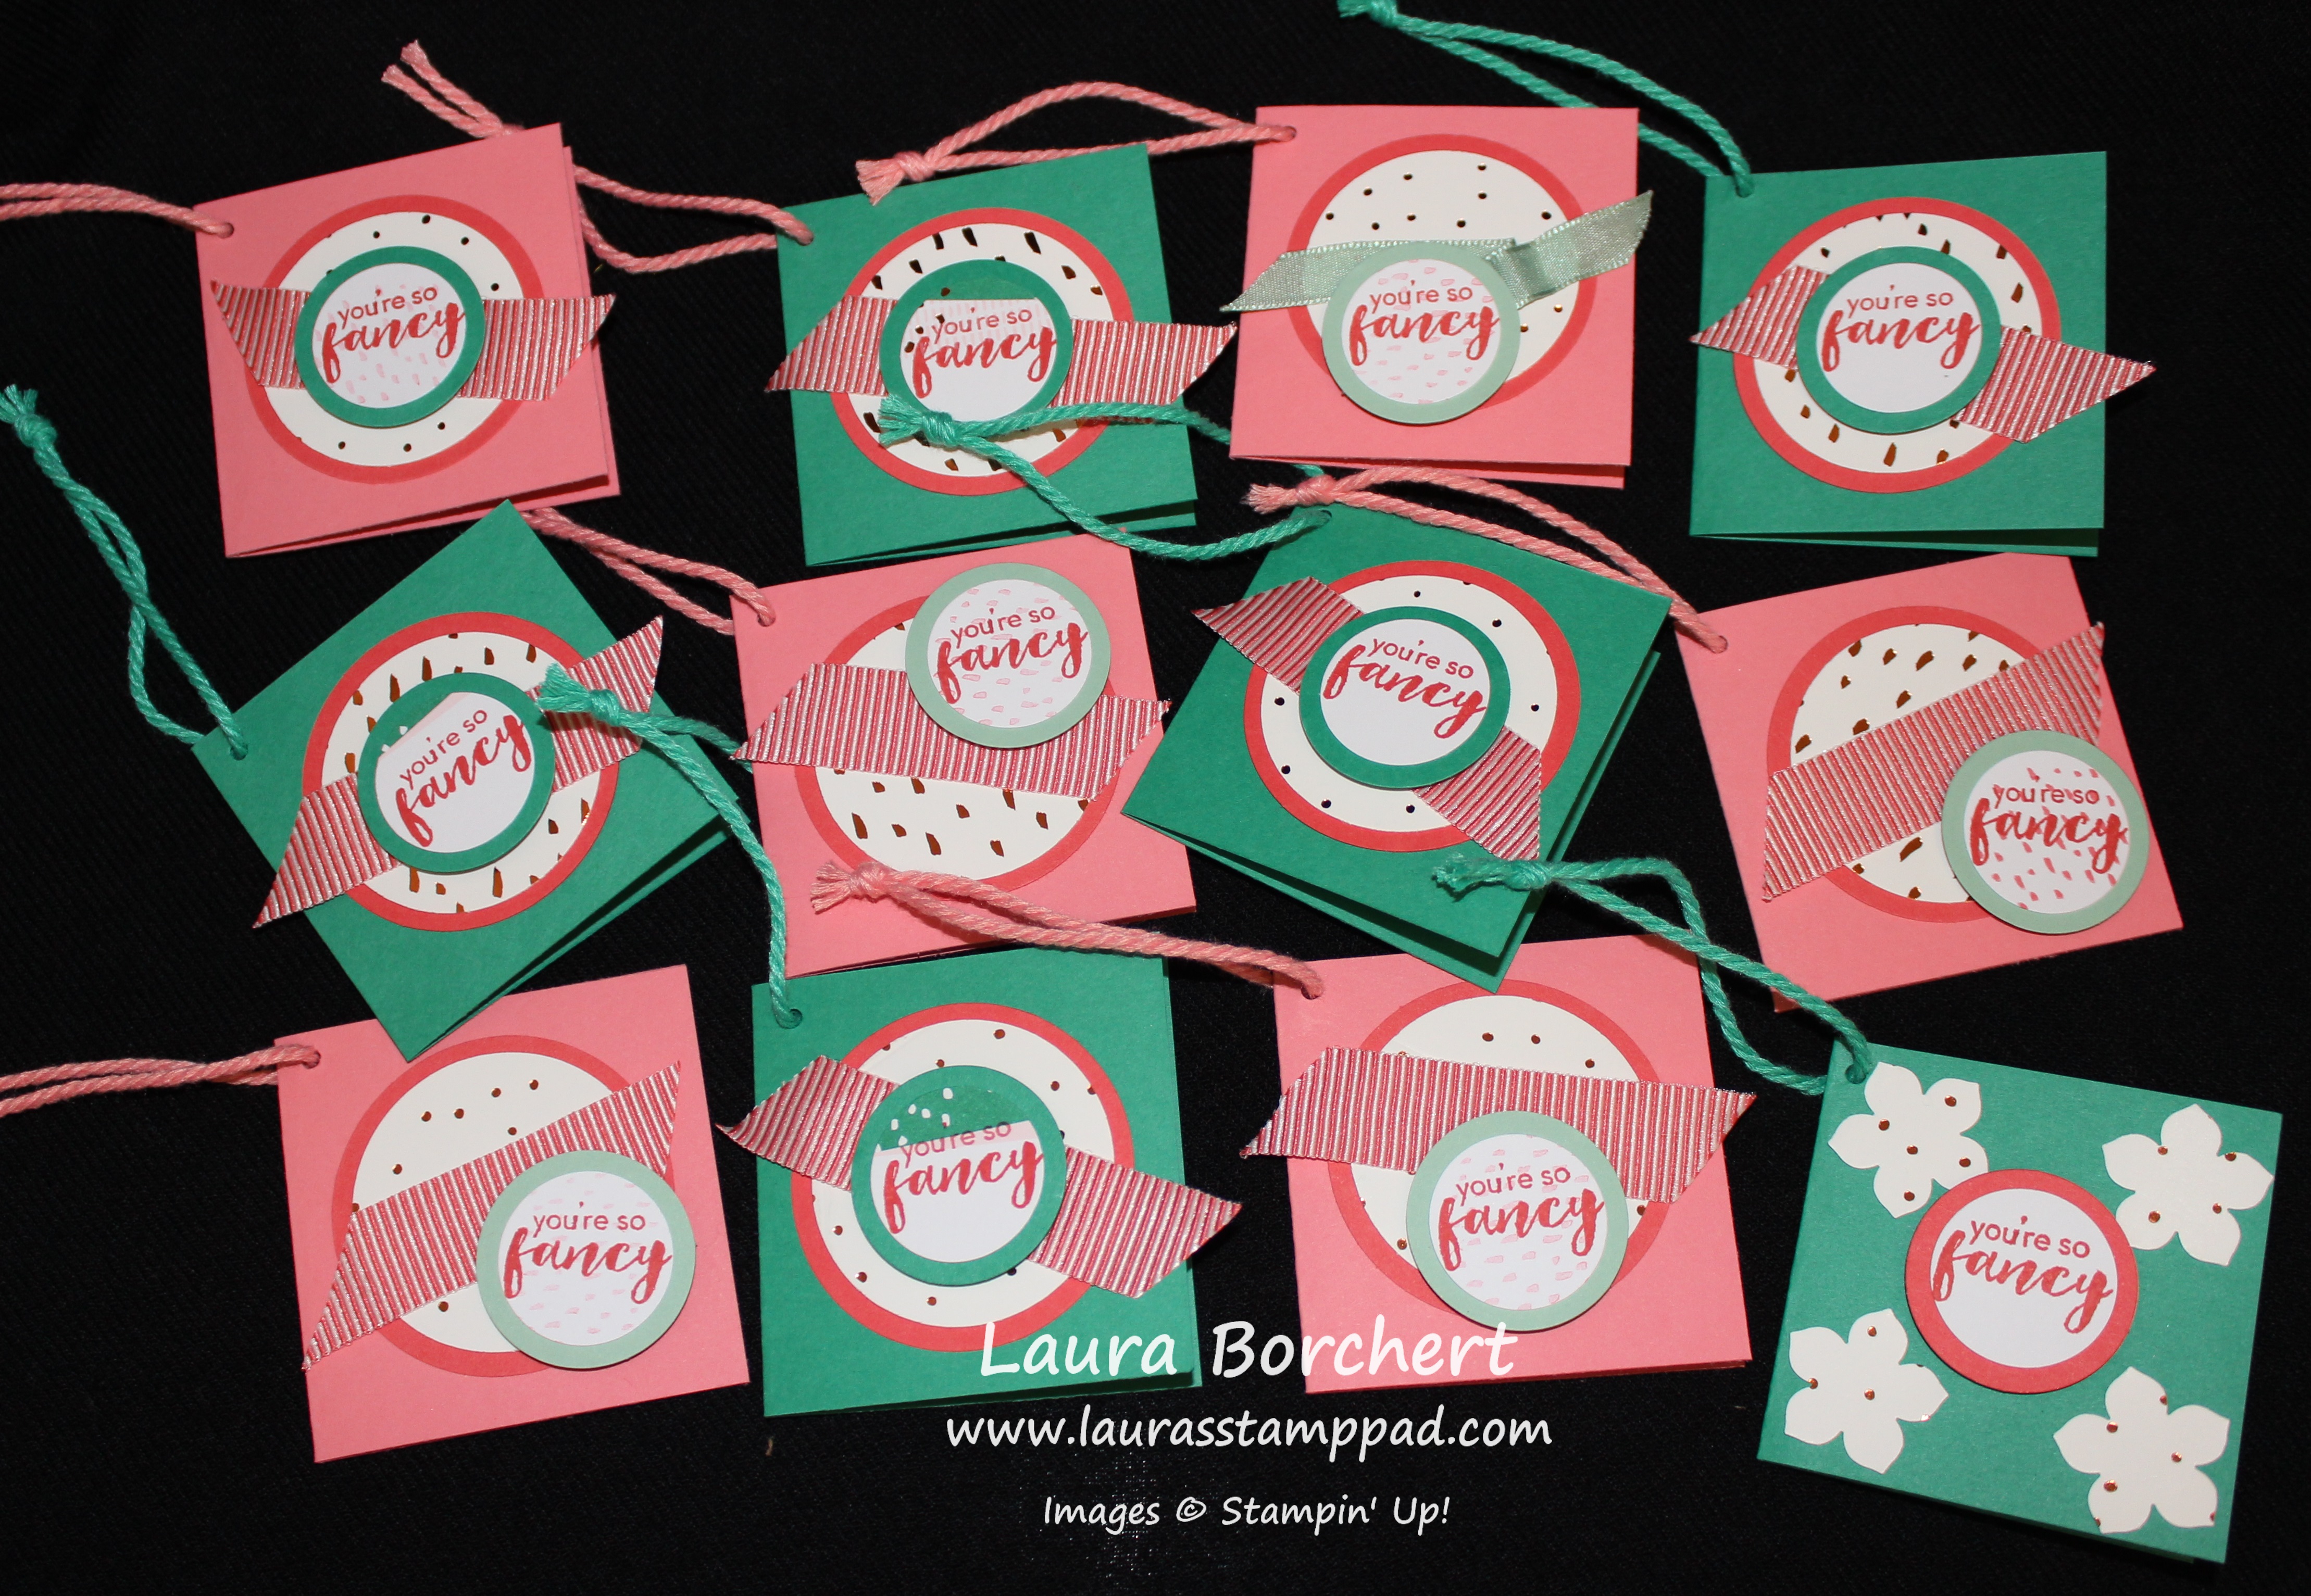
This box is super cute and I love the ruffled trim. All of the pieces to decorate this box are already die-cut and ready to go. I used Mini Glue Dots on the box so that I could place the adhesive exactly where I wanted it. Super cute and loving those ruffles!

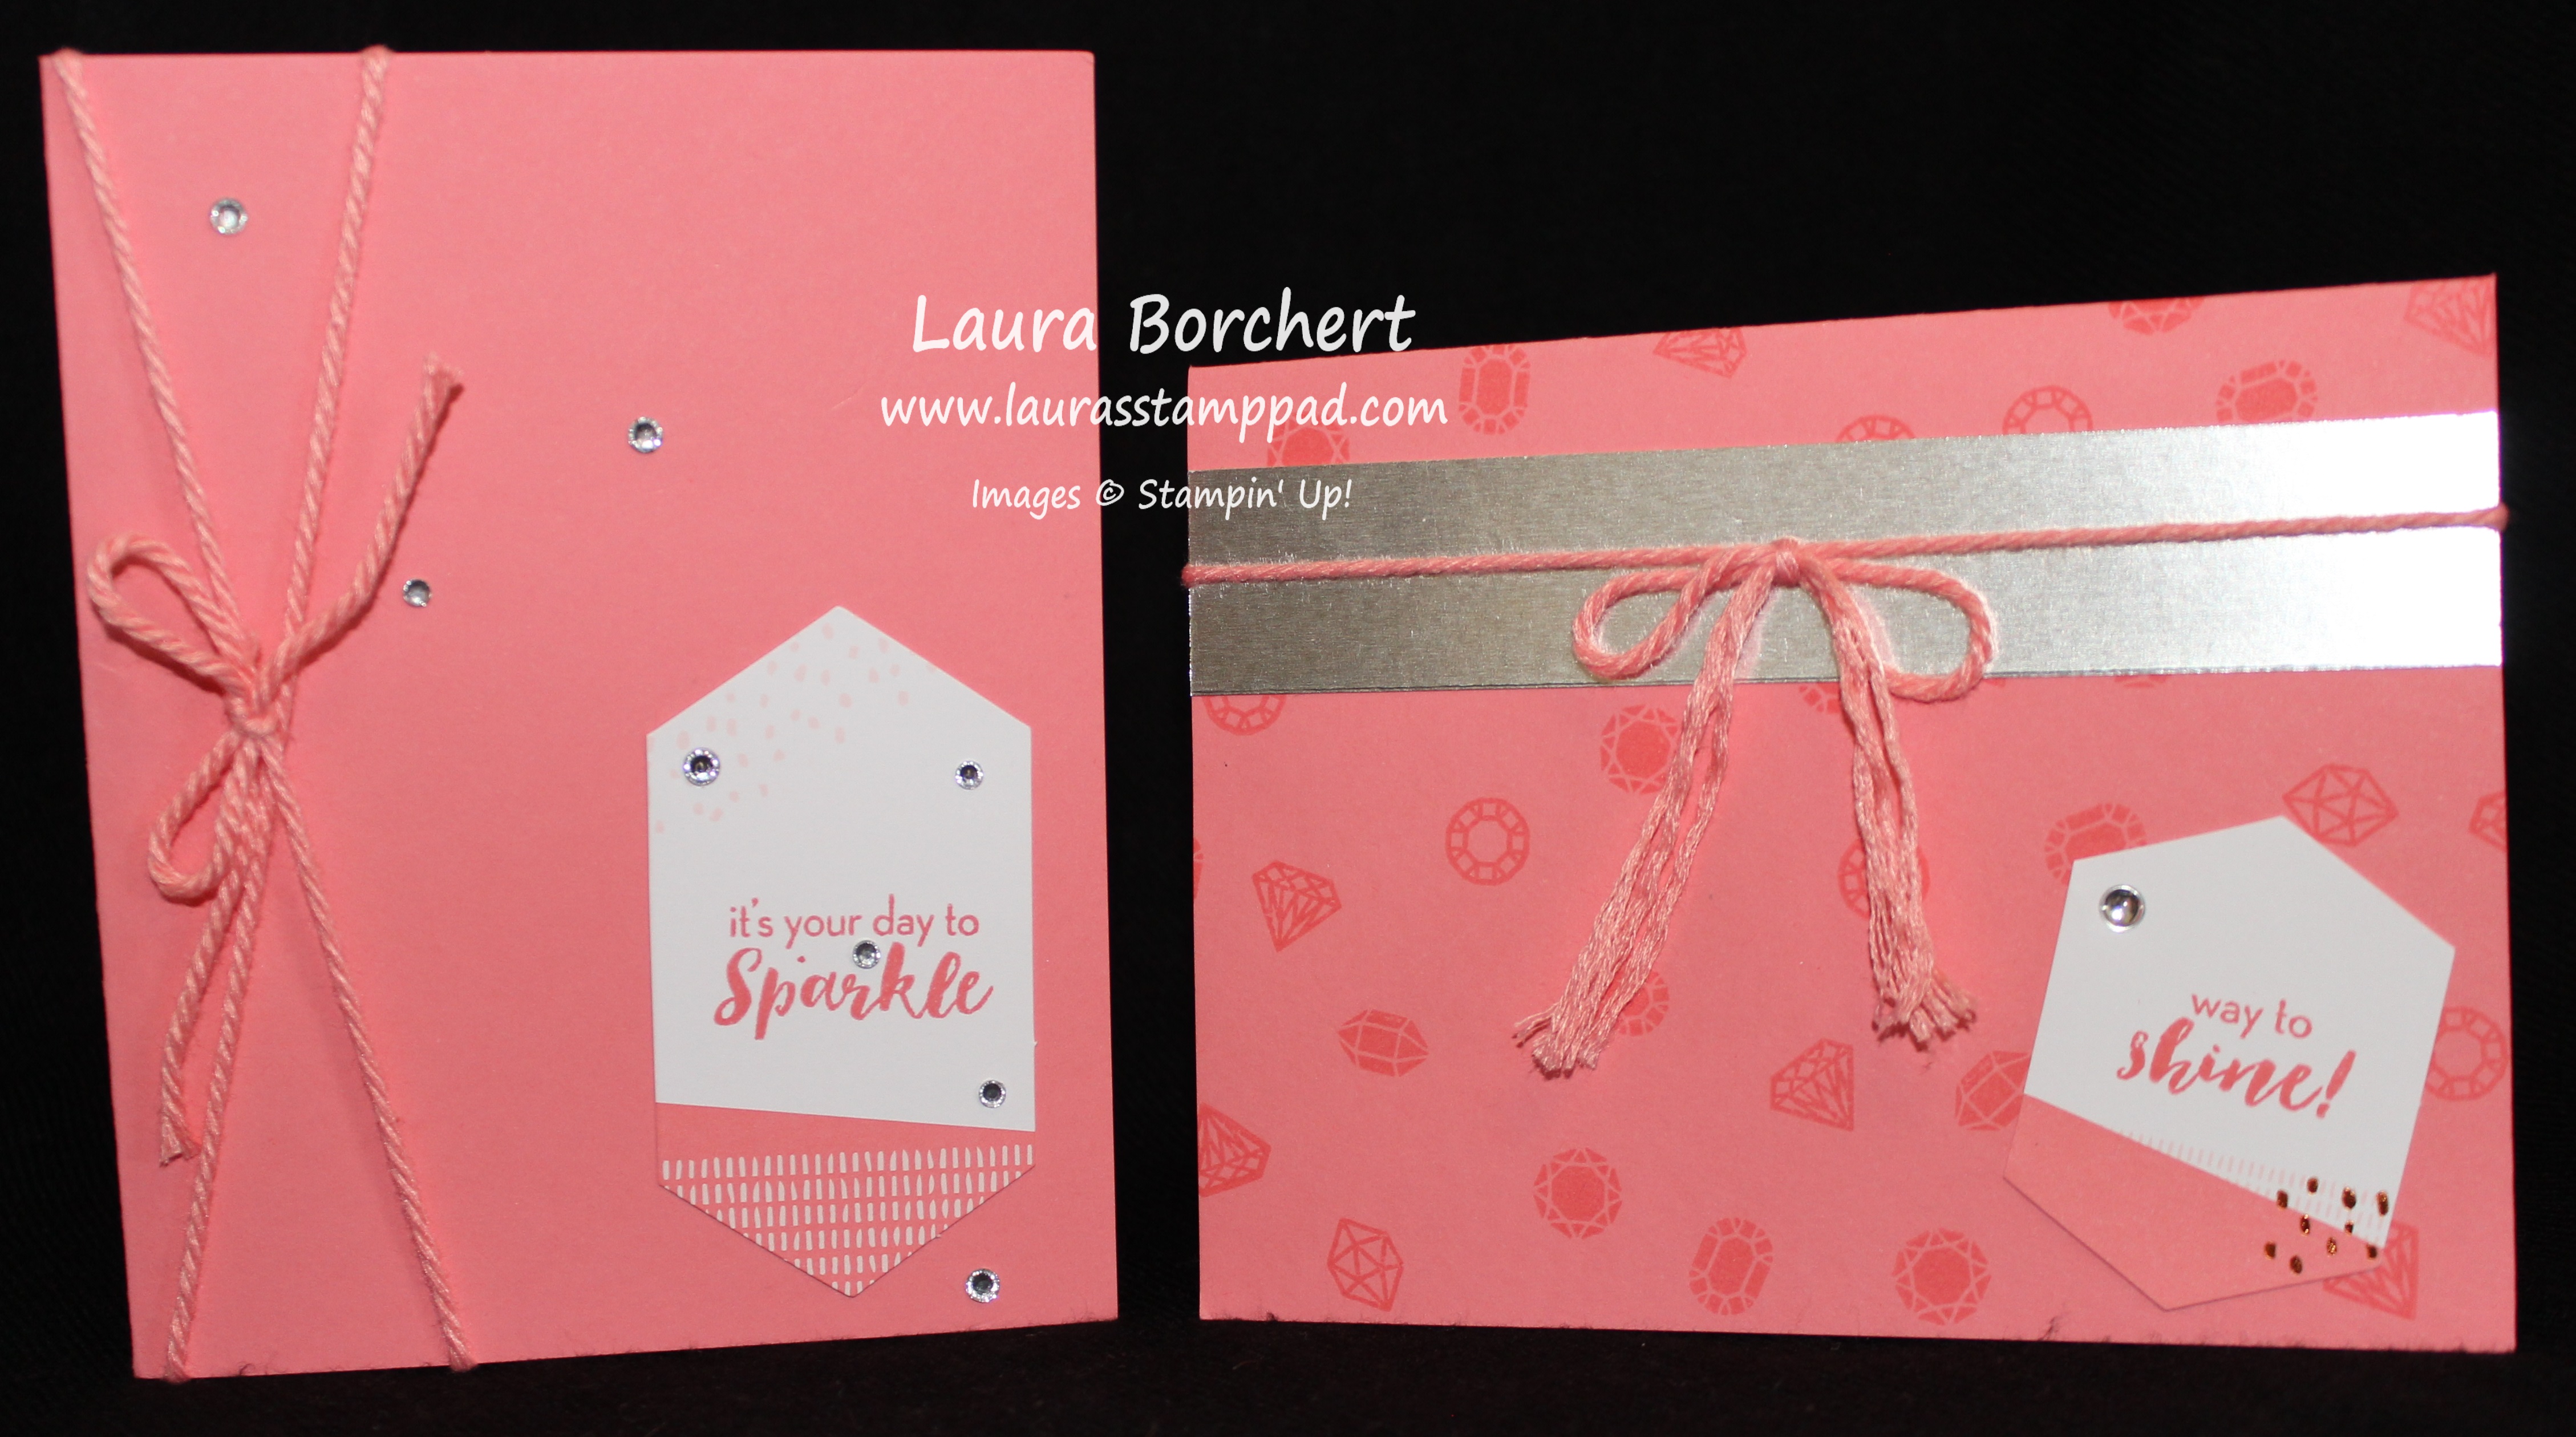
This one I LOVE for those amazing swags. Eeee They just make me so excited! There is a banner swag and a gold dot swag. The gold dots have adhesive on the back and you add one in the front and one in the back. There are tons of gold dots as well so no worries about not having enough. TIP: When you add the banners to the Baker’s Twine, press them or stick them in the binder clip to ensure the adhesive gets a strong seal. I noticed after I did mine, they started to pop open. I stuck them all in the binder clip over night and they have been perfect since then! I almost would rather have one handle on the bag or make them shorter. I felt the bag was just too tall but it is rather large and great for bigger gift items!

I love this one because of that cool little insert. This is just a regular gusseted cellophane bag but that fabulous insert to add that pop of color and hold the bag up a little more. Stamp the tags and cut some gold sequin trim to add to the top with a little clothespin. Quick and simple and perfect for some cookies or some chocolate! 🙂
Which one is your favorite?? Let me know in the comments below! If you would like to see all of the pieces of this kit, you can check out my Perfectly Wrapped Unboxing & Reveal Video here!
Happy Stampin’
~Laura