You all know I LOVE Paper Pumpkin because of the fun surprise each month. The March 2017 Kit – Bunny Buddies is soooo amazing! Even more than I originally thought…..look at everything I made!!! Don’t forget today is the last day to sign up for the April Kit! There is a free gift in there to celebrate Paper Pumpkin’s 4th Birthday! I can’t wait to see what it is!!! Click here to sign up TODAY to get the April kit!

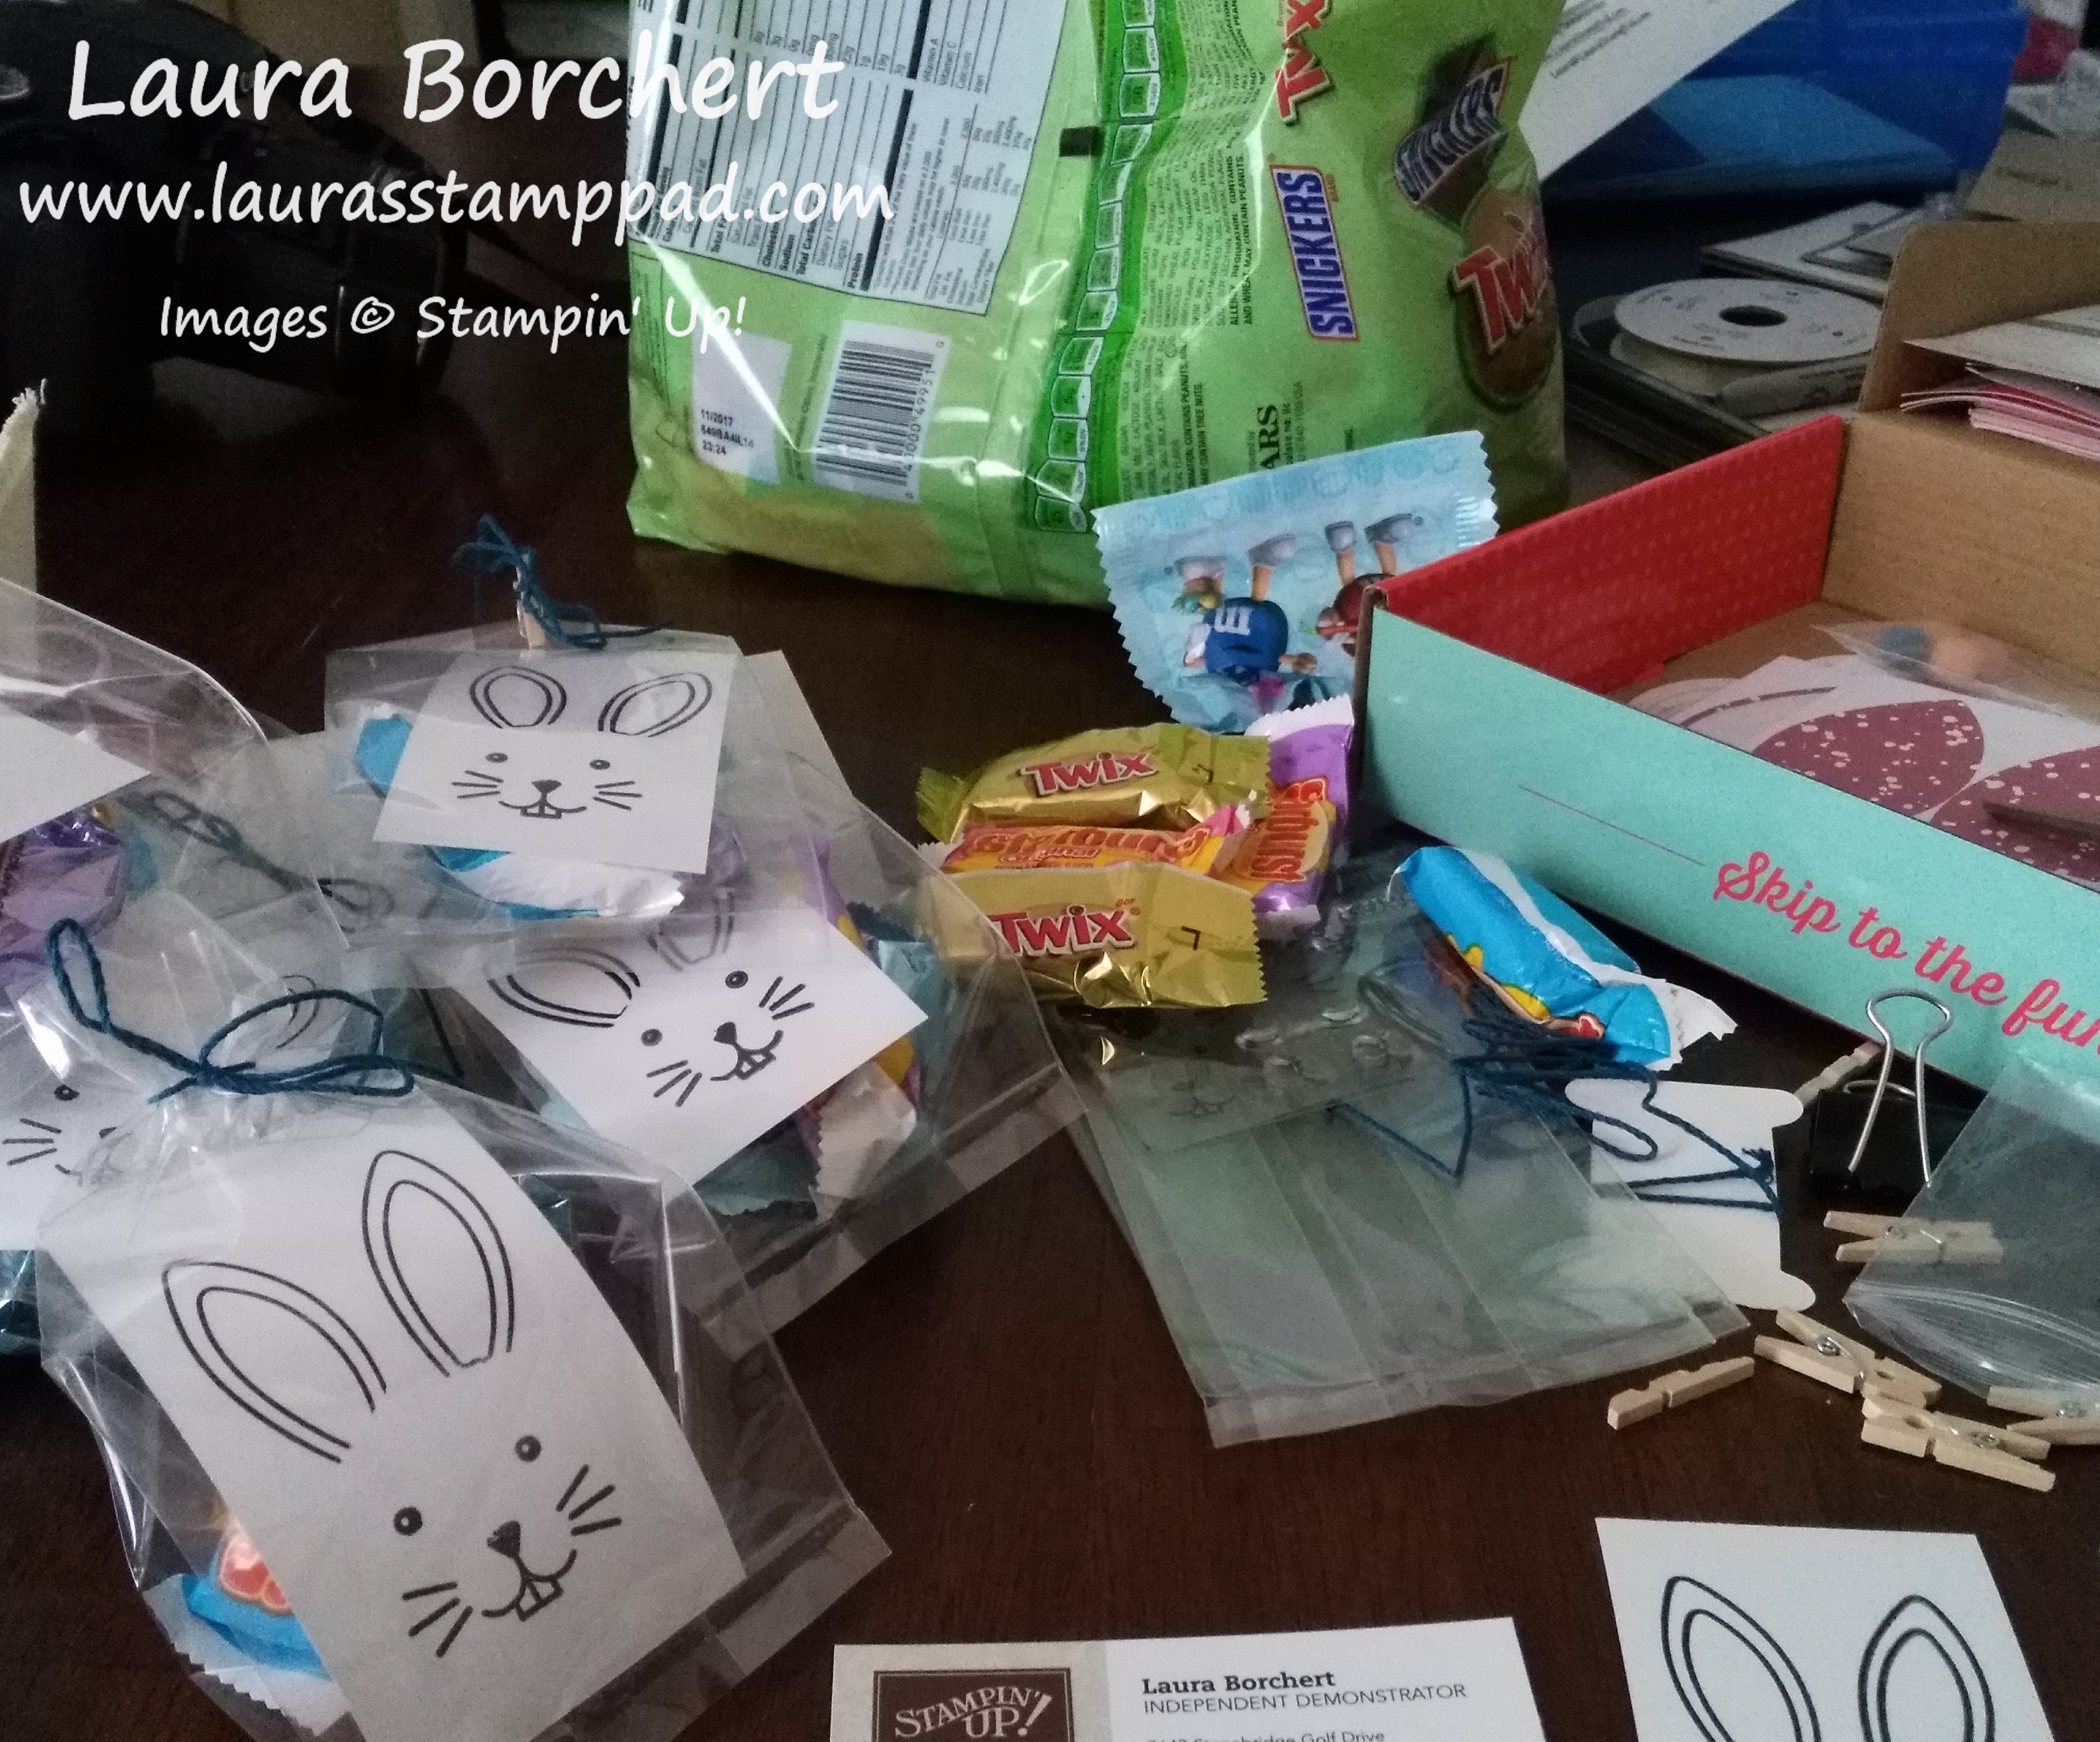
The kit came with all these amazing goodies to make 9 treat bags and 9 mini cards with envelopes. Bunnies are the theme which is perfect for Easter and Spring. The stamp set had lots of fun greetings so you could mix it up. Check out the reveal of the kit here! I made the 9 little bags for my nieces and nephews with candy inside! I didn’t add the little clothespin and greeting because I figured they wouldn’t care or even notice.

Look how adorable these are!!! TIP: Press lightly with the stamp in the ink pad and onto the canvas bag or you will end up with a little extra gray than you anticipated! 🙂
Then because I bought the biggest bag of candy possible and couldn’t resist wanting to eat it all, I thought I would make more treat bags using others I had on hand!
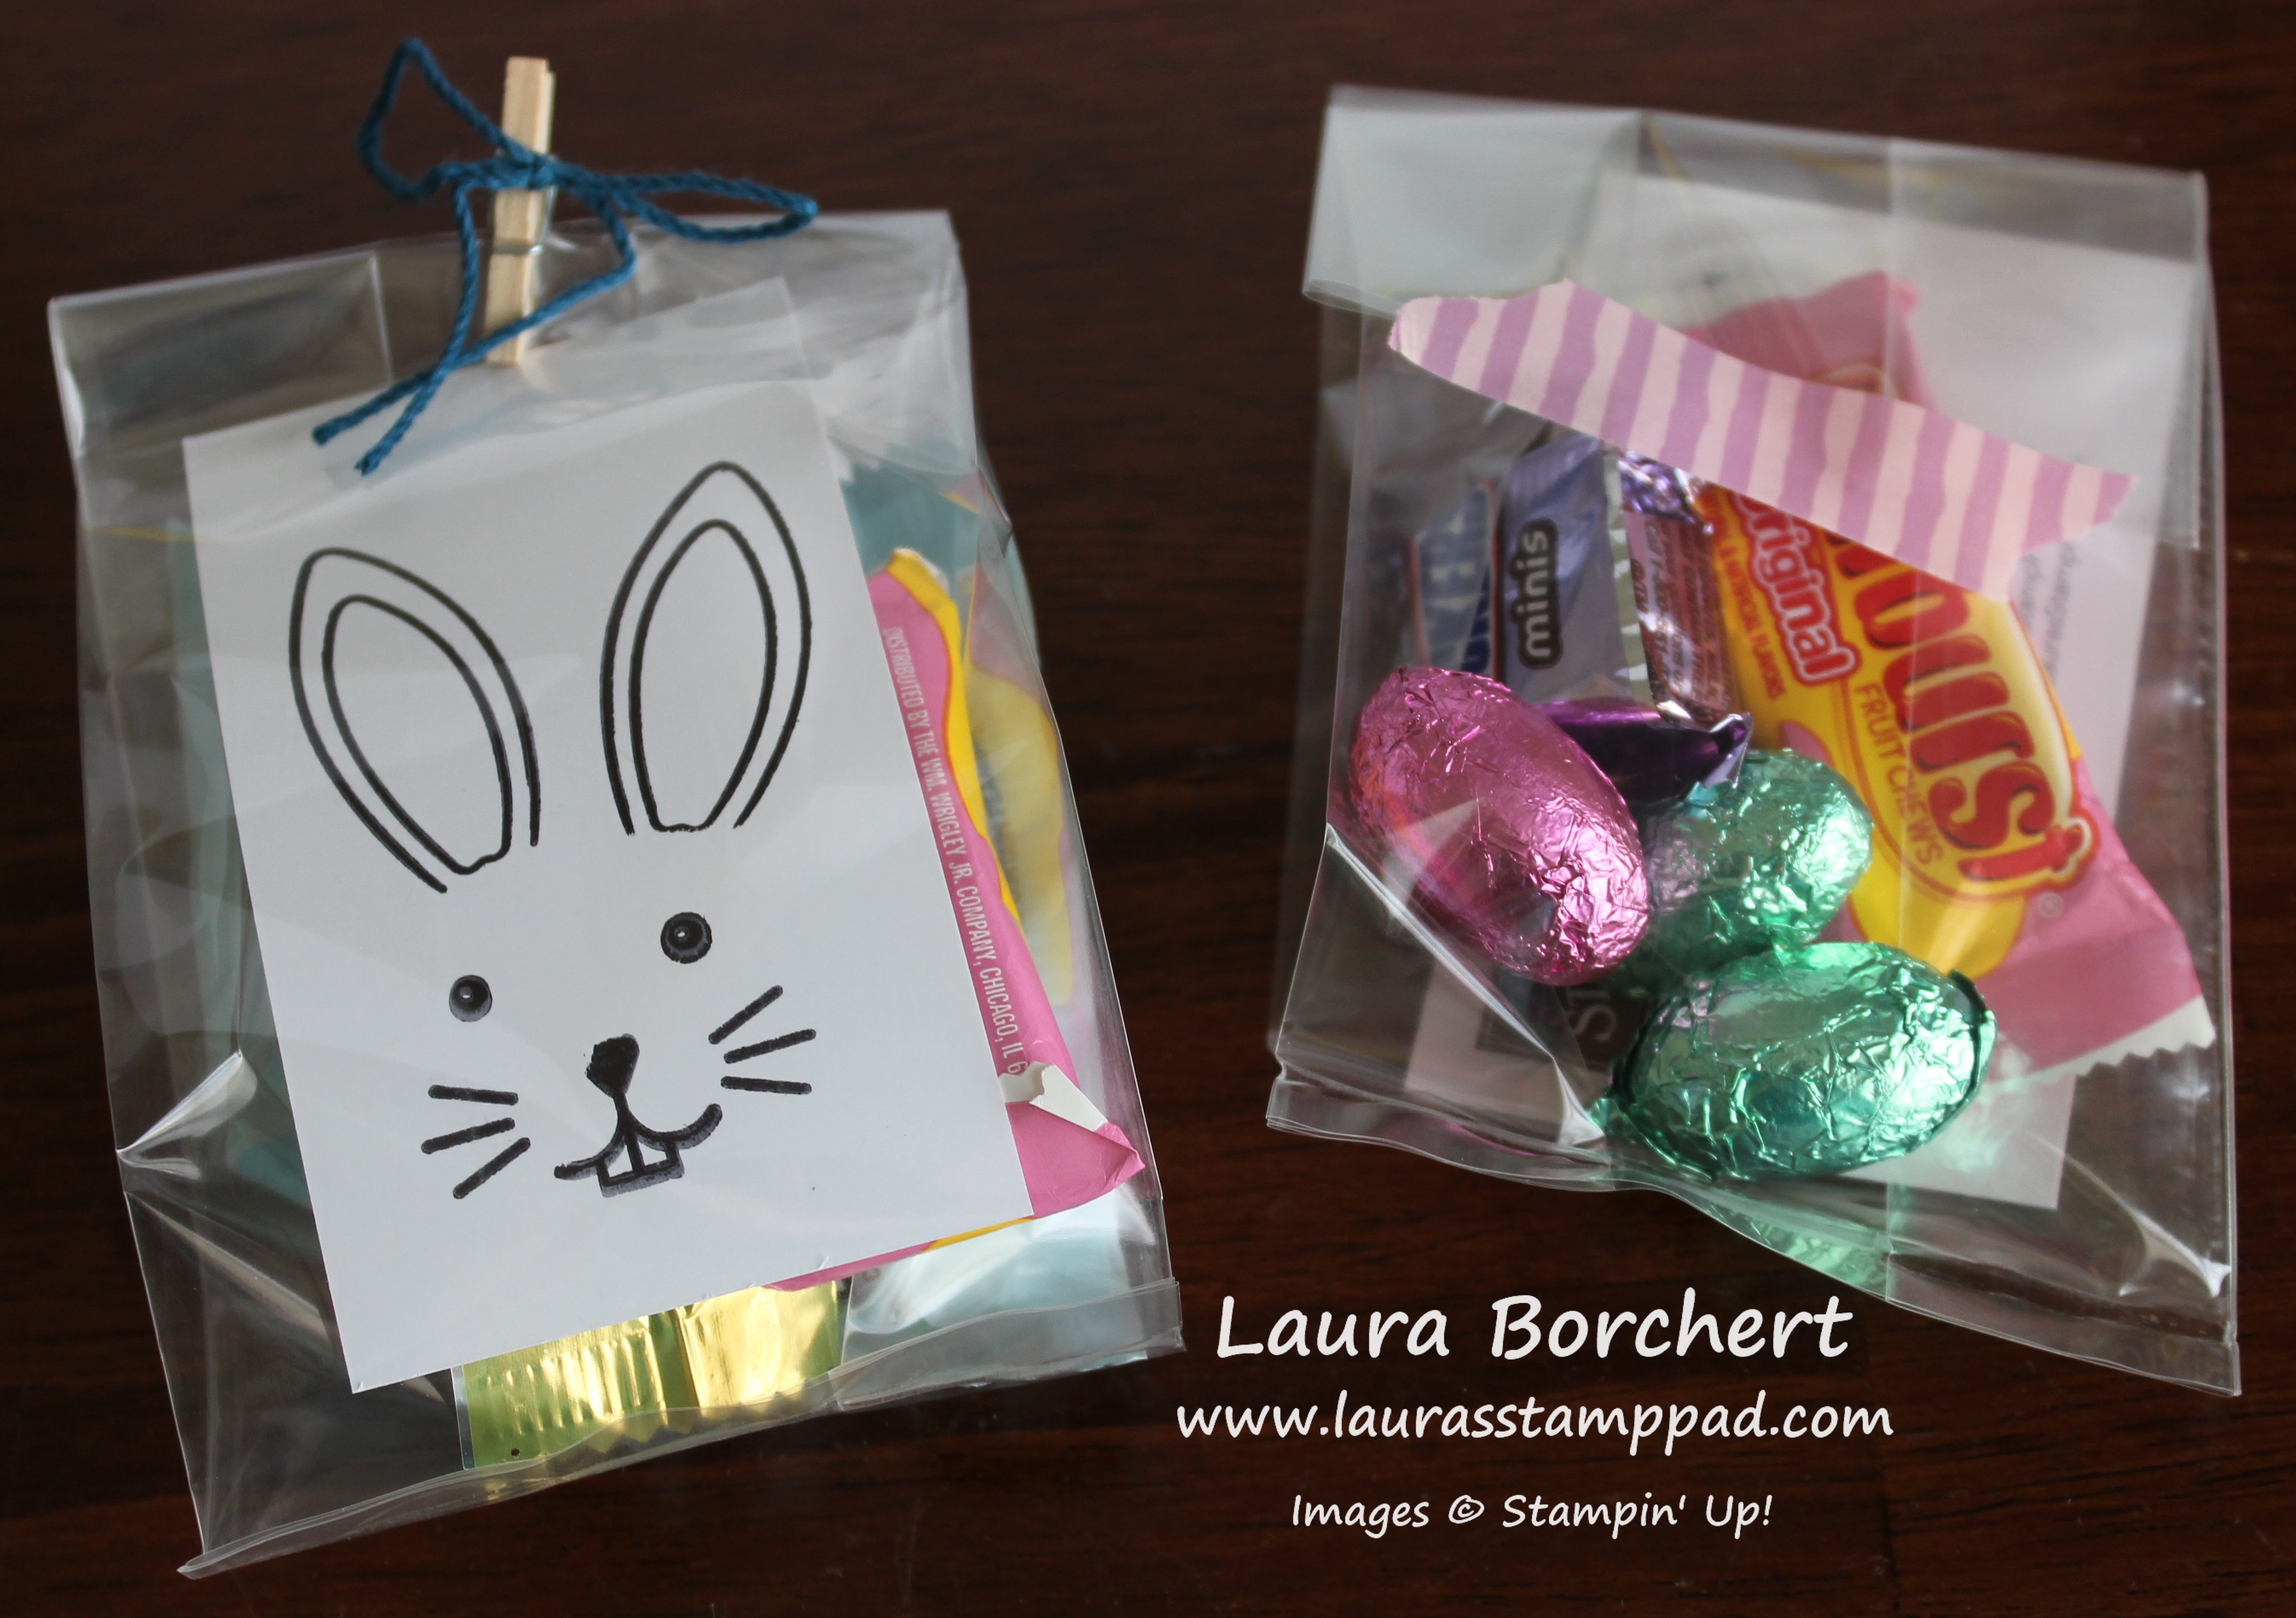
Next, I used the small Gusseted Cellophane Bags, added some candy and stamped the bunny face! I used up the clothespins with some of the Baker’s Twine tied around it and when I ran out of those I used some Playful Palette Washi Tape. These were so simple and quick to create! I love them!
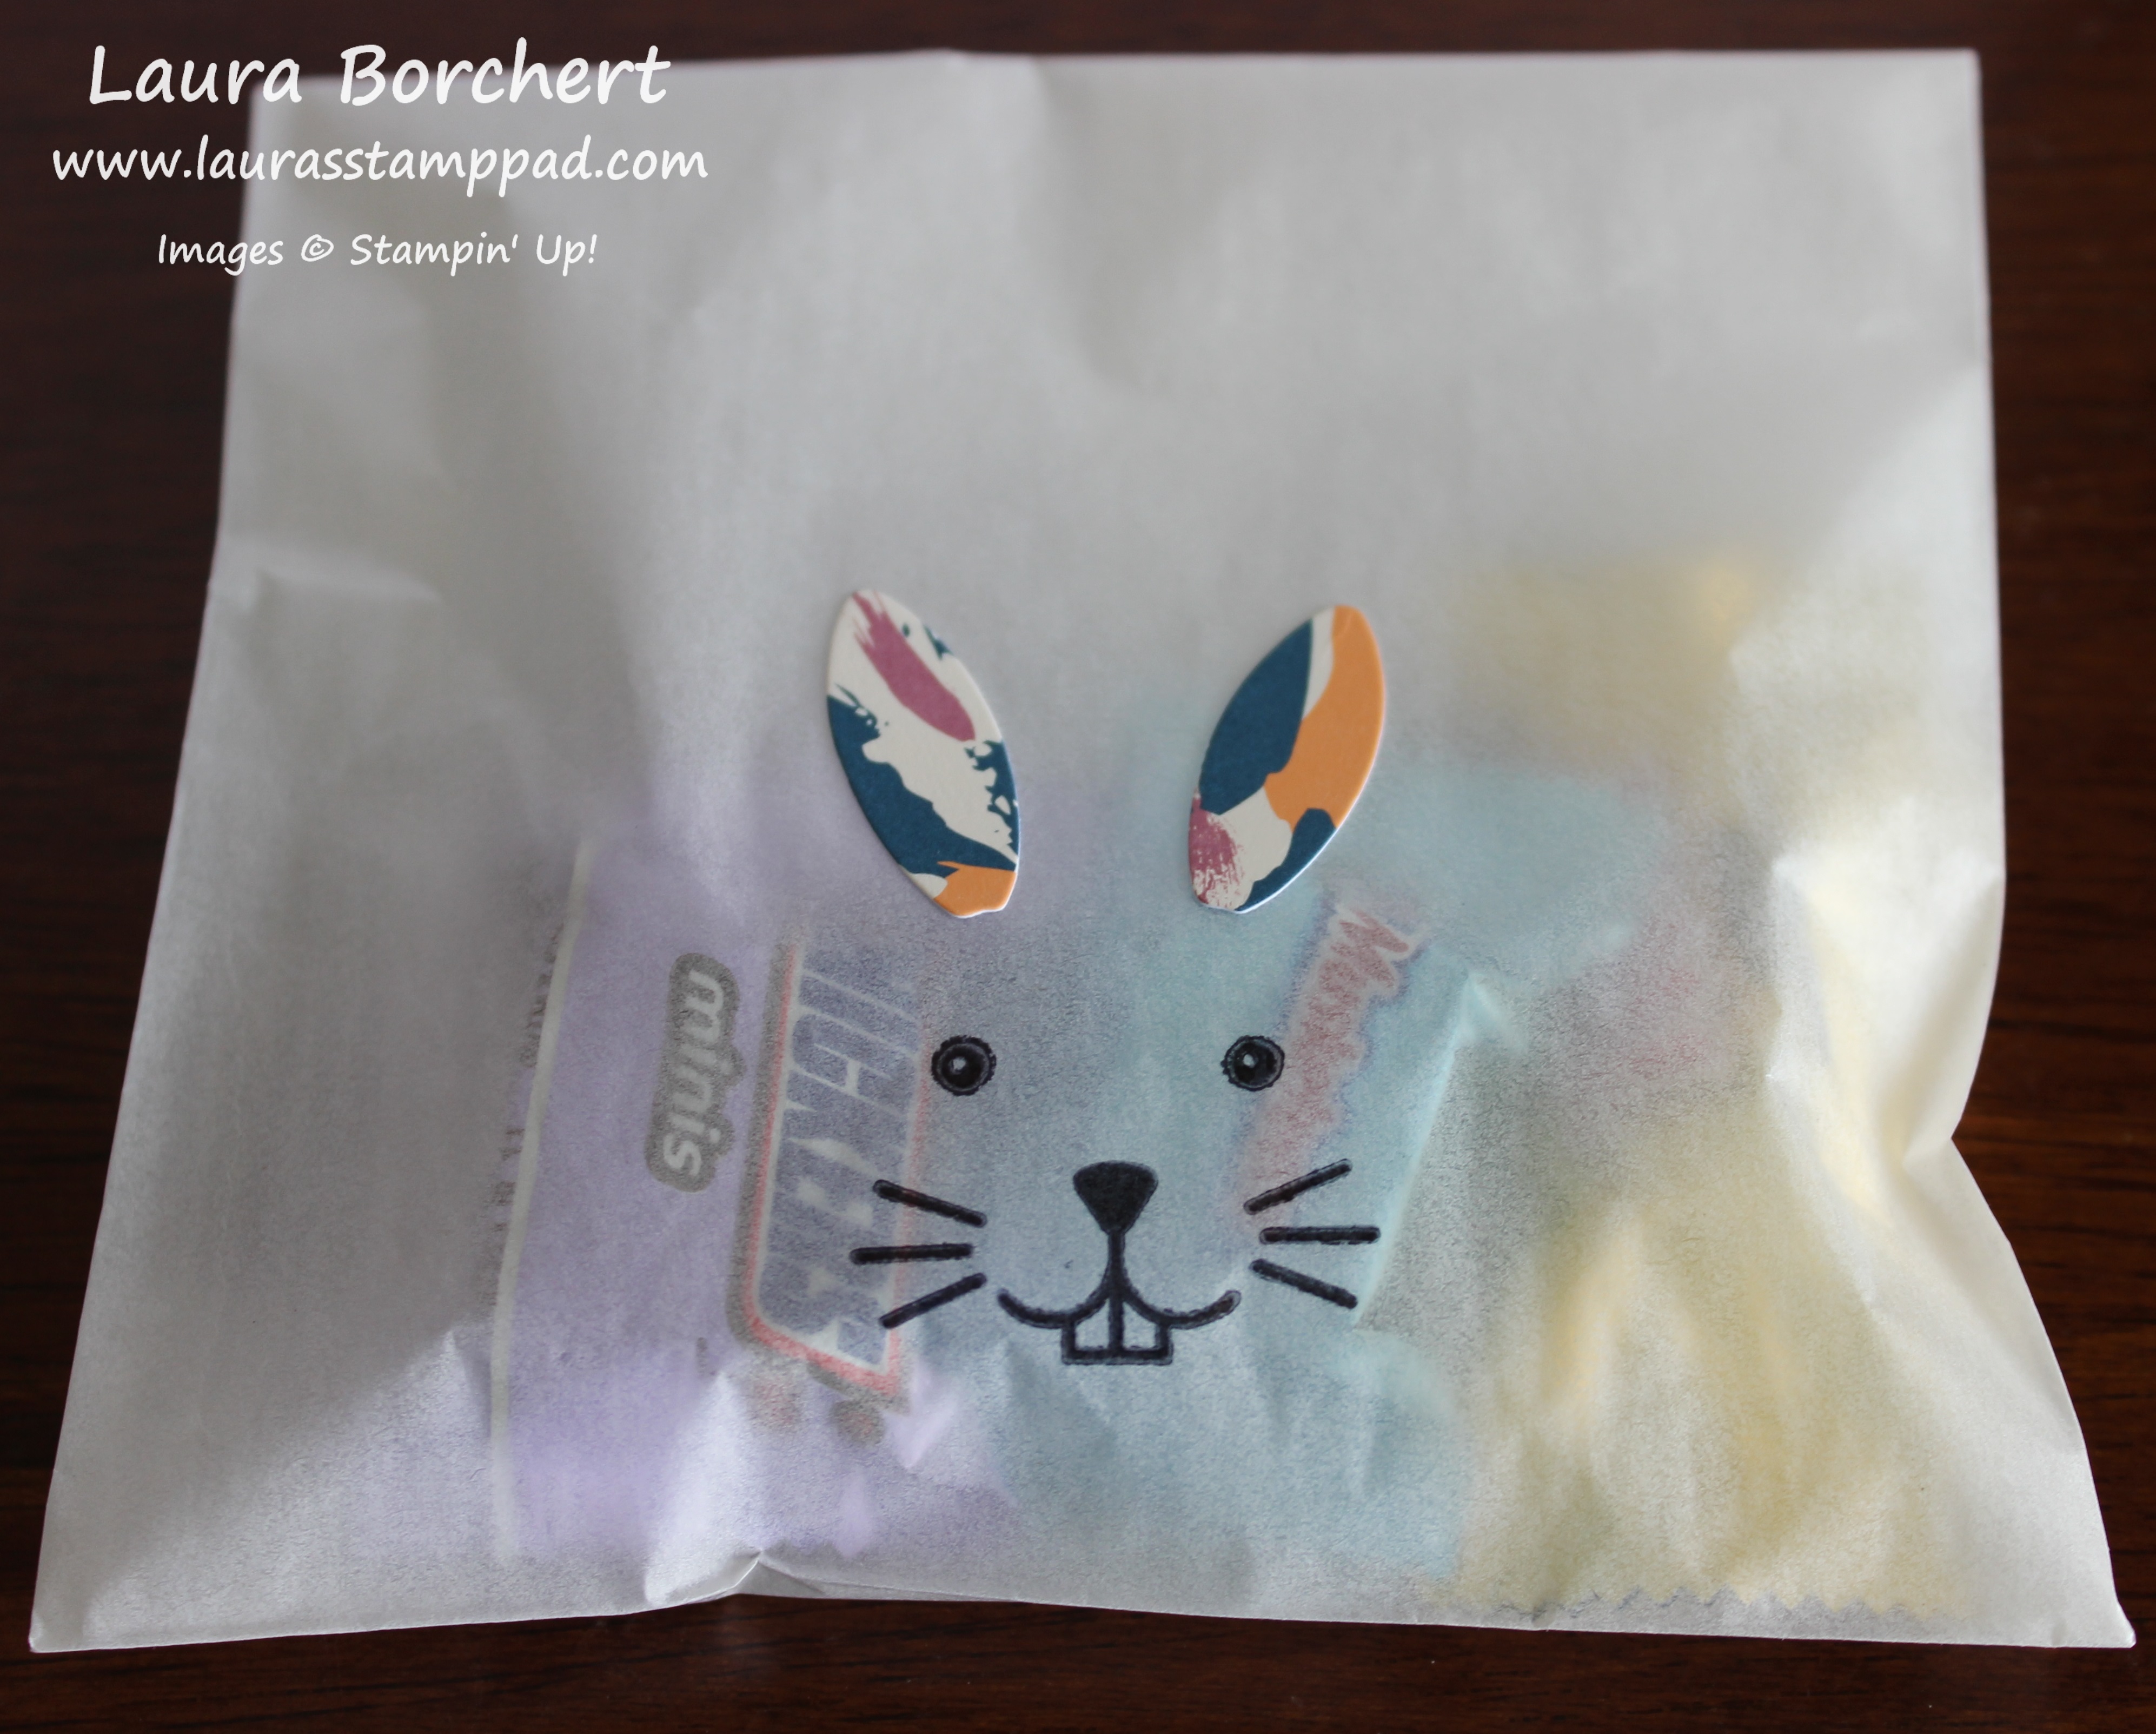
When I ran out of the gusseted bags, I used a few of the Glassine Gift Bags I had. I just stamped right onto the bag and used some leftover bunny ear stickers!
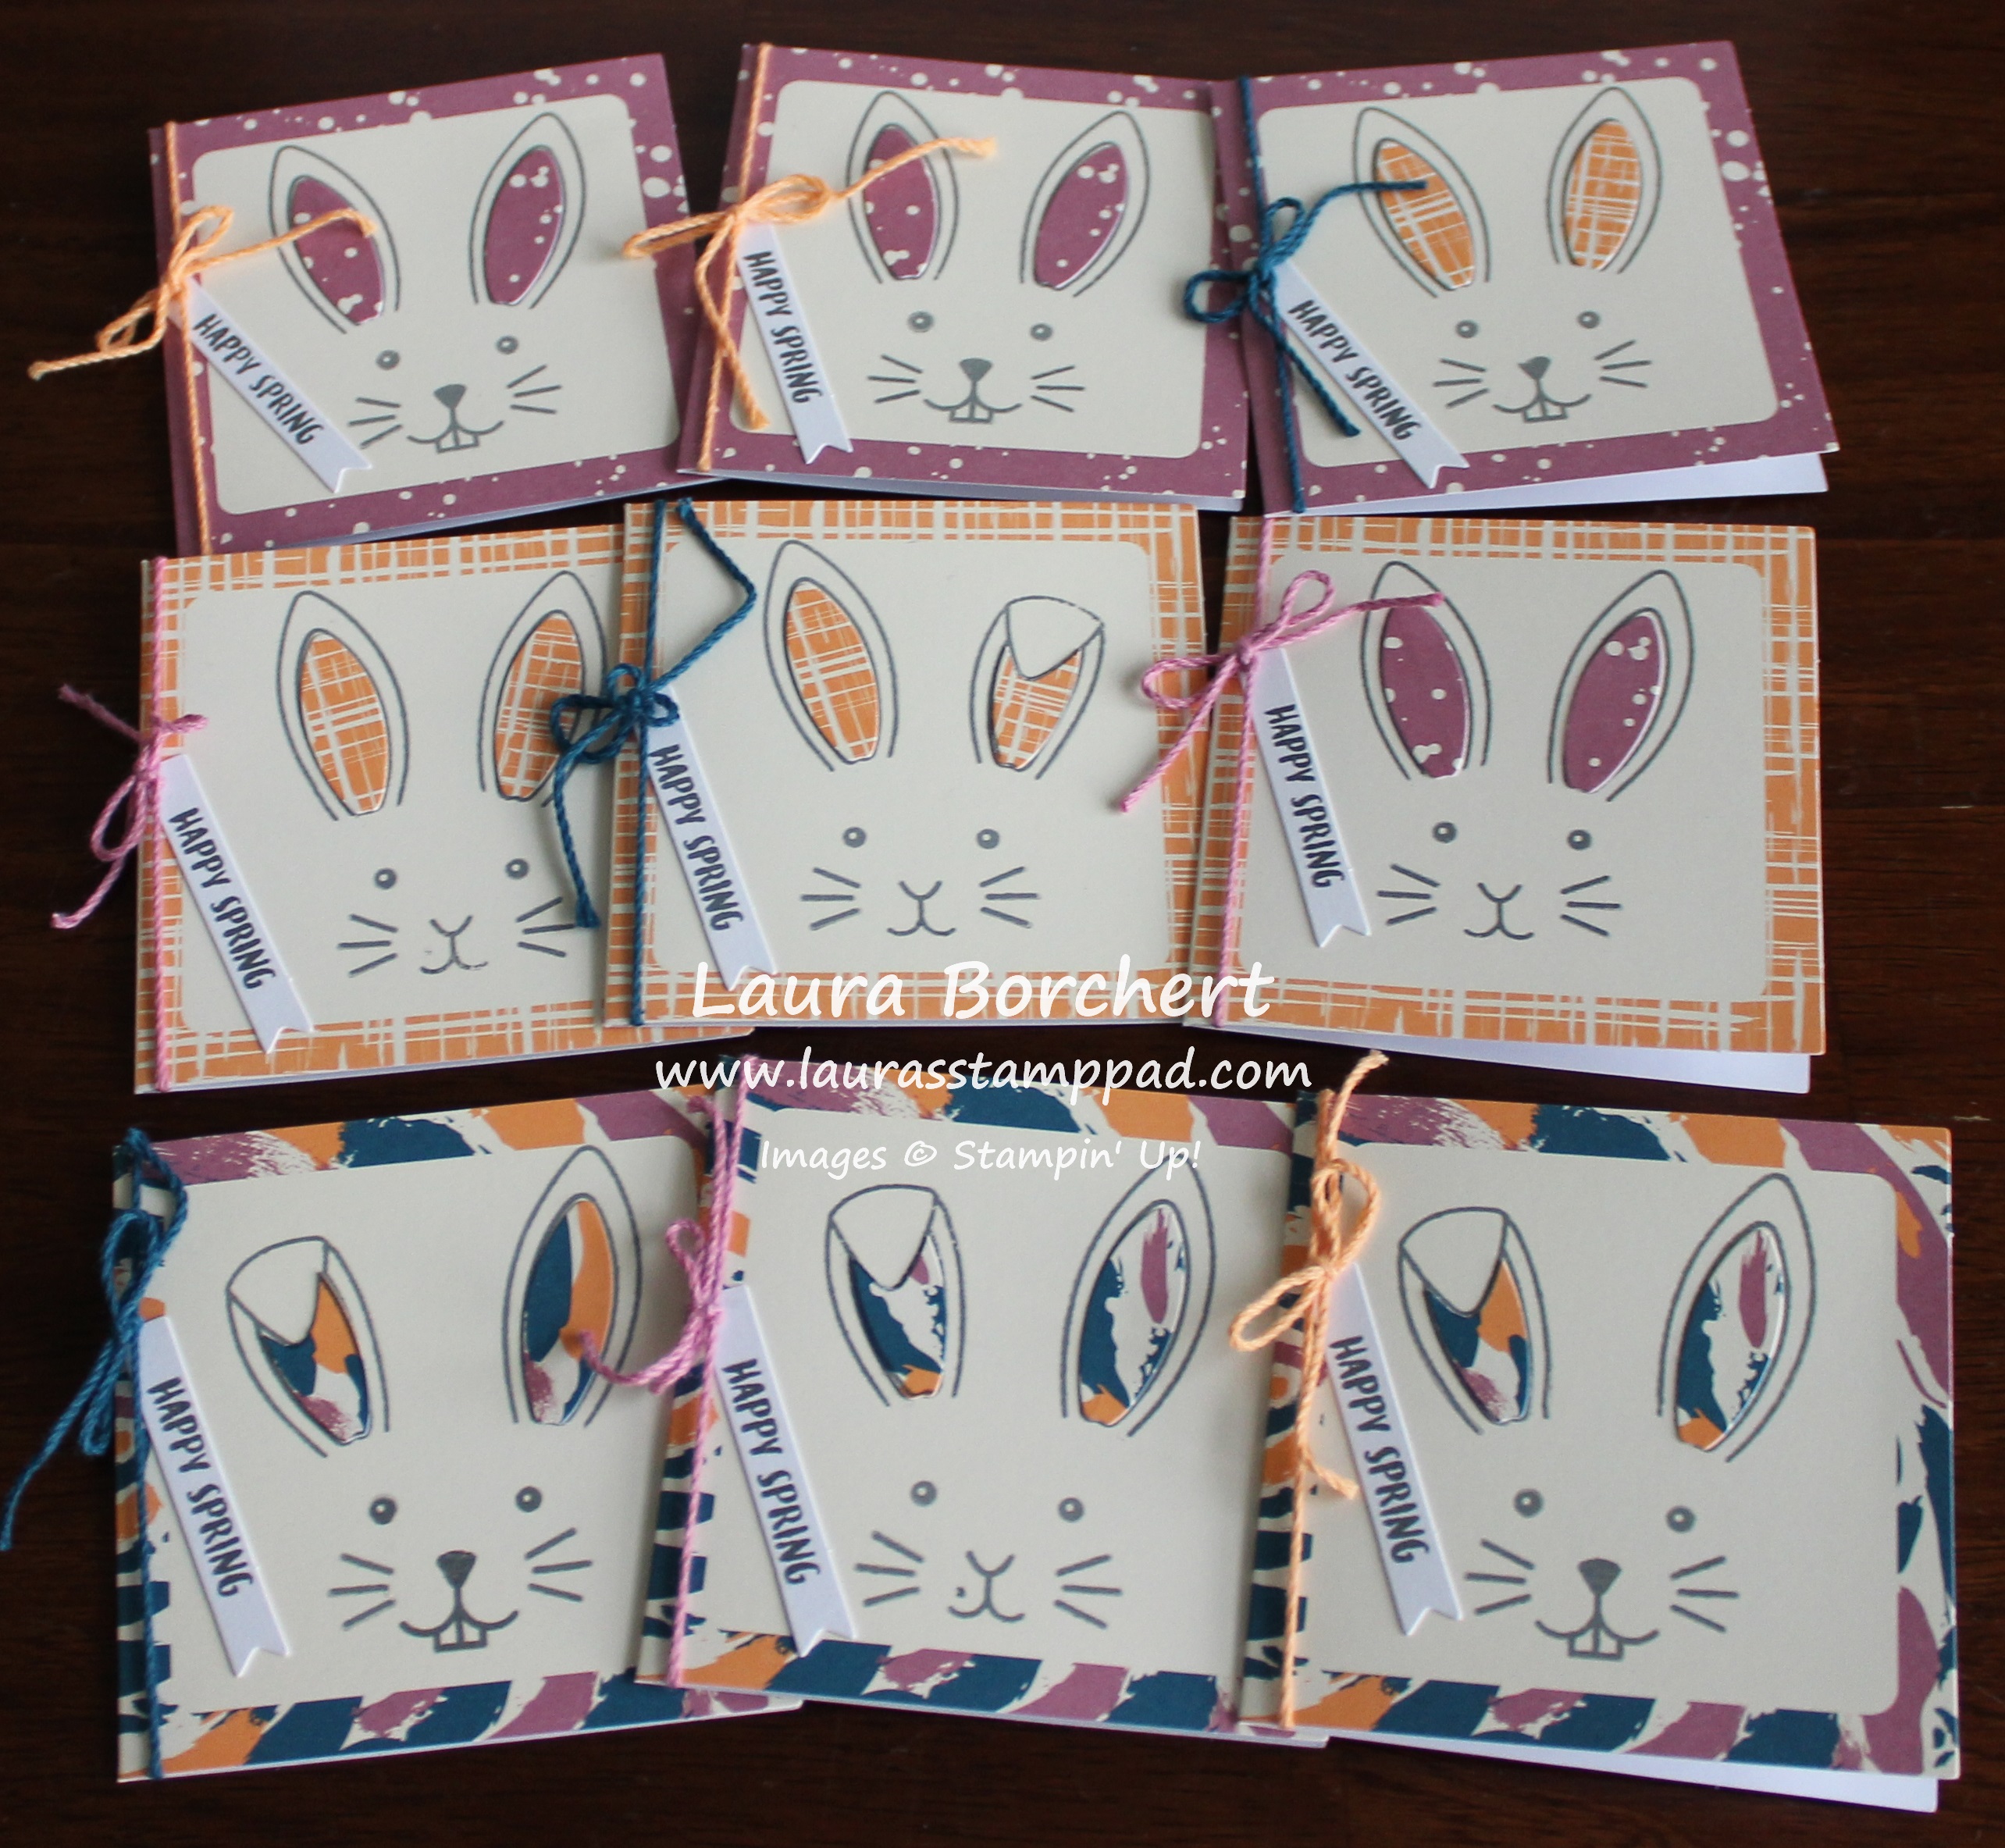
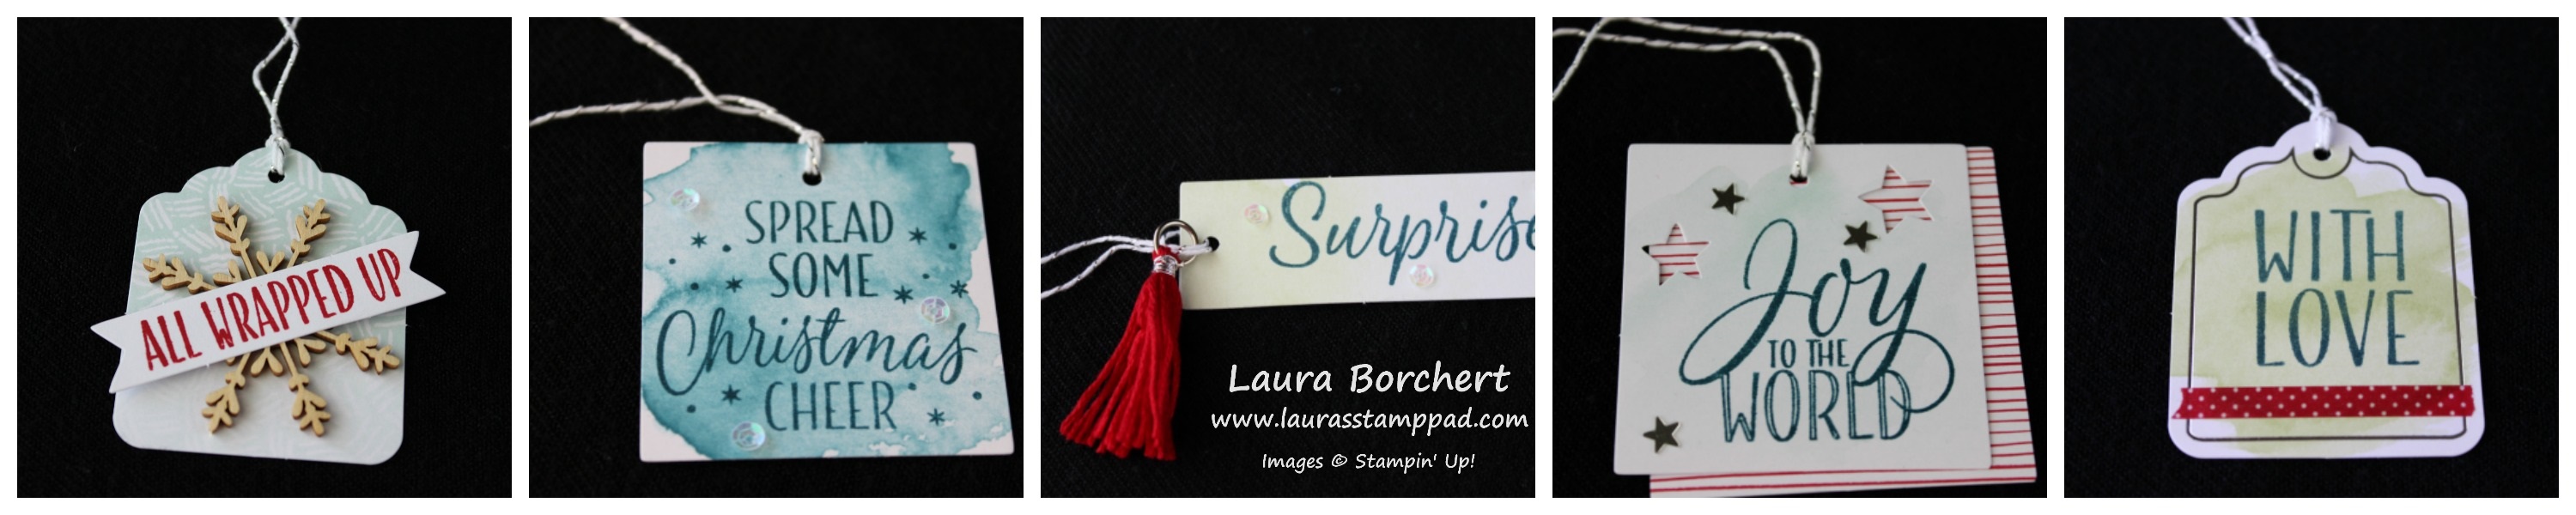
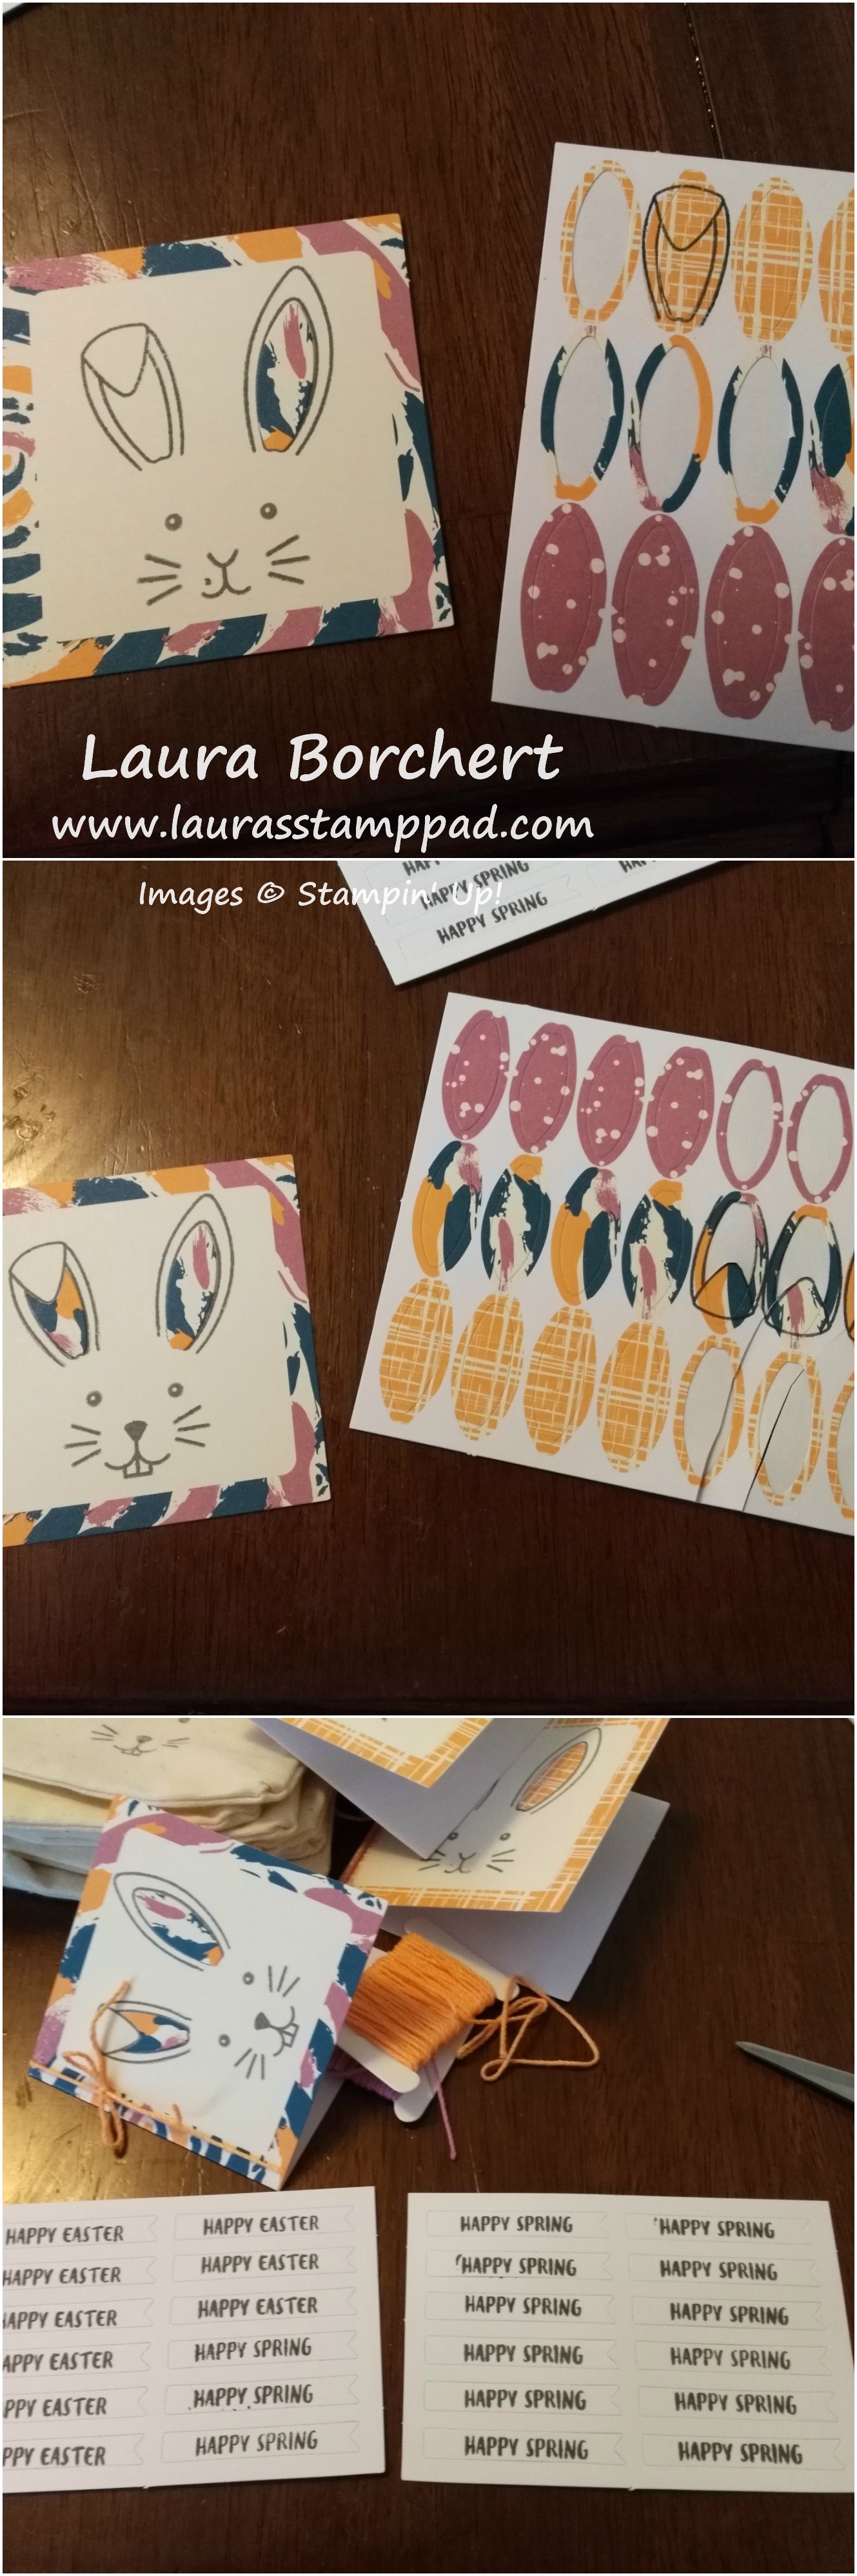
Okay, I almost forgot the 9 cards from this kit as well! Now you know why I am blown away with everything I got out of this kit!! Aren’t these little cards adorable! I created the folded over bunny ear by stamping it on the sticker and cutting it out! Just like this…
The March Kit is my favorite one of the year so far; love it!!! I can’t believe how much I was able to create with the products in this kit and the stamp set! I love how Paper Pumpkin comes with enough to complete the kit as well as extras to use on other projects! Don’t forget today is the last day to sign up for the April Kit! It is going to a fabulous one since Sara Douglas, Stampin’ Up CEO created it AND there is a free gift in there to celebrate Paper Pumpkin’s 4th Birthday! WOOT WOOT! Click here to sign up TODAY to get the April kit!
Happy Stampin’
~Laura
Don’t forget that Thursday is the last day to get in the Ink Pad Giveaway!!! Click here to learn more and click here to start shopping with the Hostess Code: FCCVREYF. I can’t wait to draw the winners name on Friday!!! I’m so excited!!