The You’re So Lovely Project Kit in the Occasions Mini Catalog peaked my interest the moment I laid eyes on it. The little foam roller just looked like so much fun…..and the diamonds!!! 🙂 I got the kit and opened it up with all of you. Check that out here! I was a little confused/worried about the foam roller and thinking how is that going to press into the template enough to make a mark. Well let me tell you I found out right away and there was nothing to worry about. I had so much fun rolling all afternoon, I couldn’t stop myself. It was super easy and the ink showed up perfectly with minimal pressure. I was so impressed! I loved it!
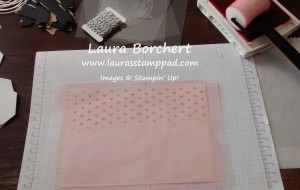
Look at me going to town. You can see that the top portion has been rolled over the bottom hasn’t. The whole thing looks pink because I had done several of them. Another fabulous point, the foam roller hardly has any ink on it at all. It’s not all squishy and dripping (I’m a press dark, go dark type of person) and messy. You could probably touch it and it wouldn’t even barely leave ink on you. Once you are done with the templates, you can rinse them off or clean them with a baby wipe.
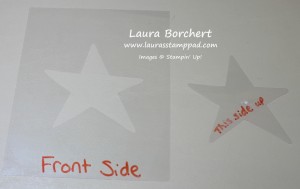
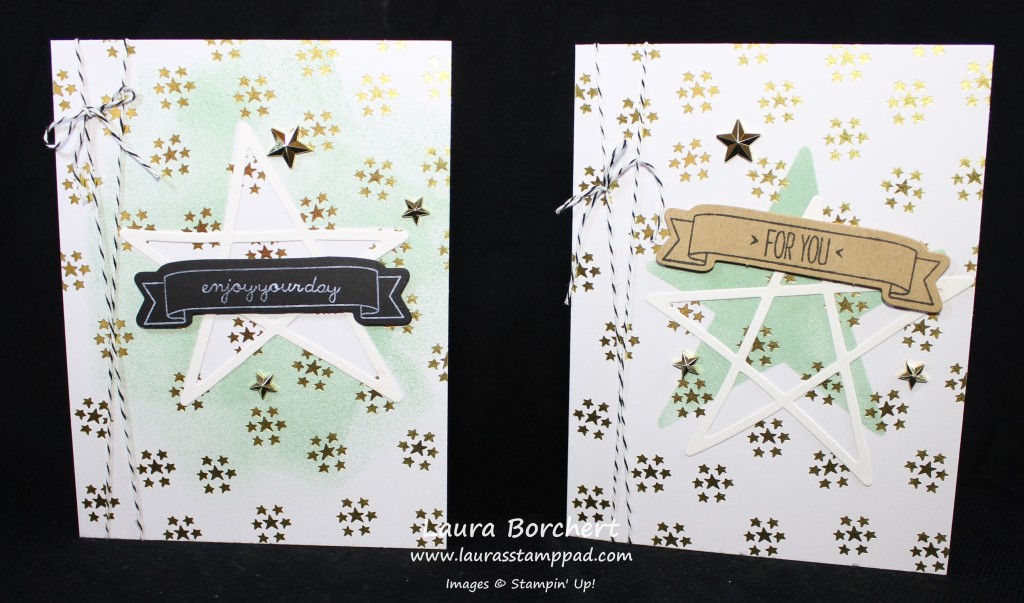
Speaking of template, I have a BIG TIP for you. Using a Sharpie Marker, write this side up or Front on your templates so that all of the die-cut images fit correctly. In the card below, the star is off-set because I did it with the template backwards so the die-cut star didn’t fit perfectly.
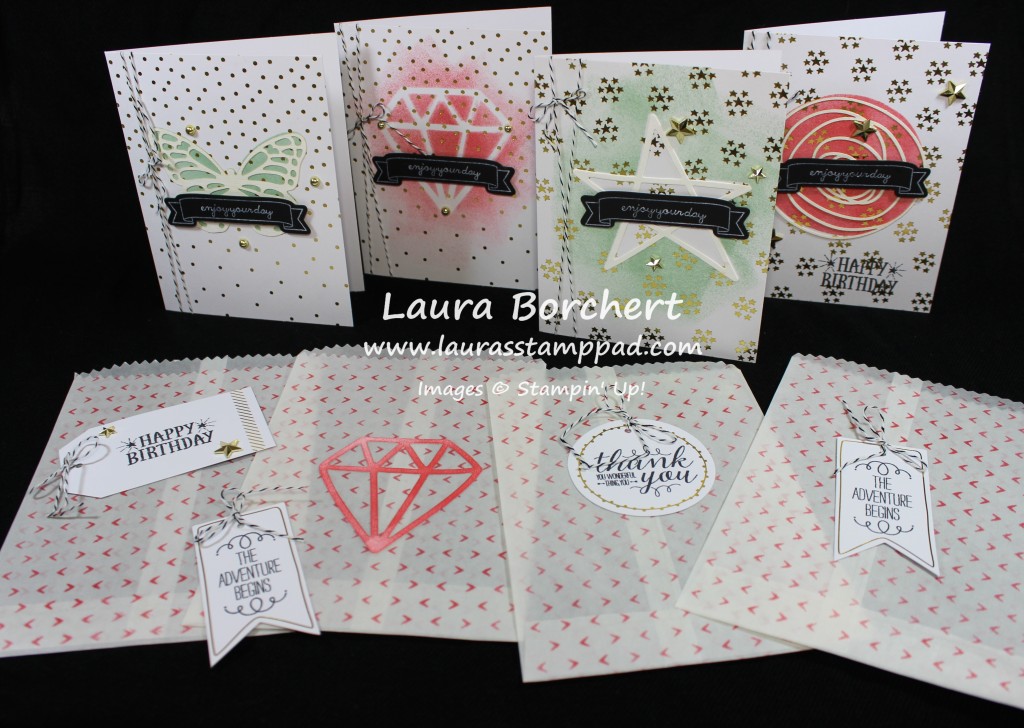
I loved the star image on the gold foil star card front. All of the supplies on these cards are from the kit!!! I did get the coordinating You’re So Lovely Stamp Set for all the greetings and that banner outline! Also, I decided I liked the black chalkboard banners better than the kraft ones. I thought the kraft ones looked too rustic for the gold foil and star bling. There are enough of both to do all of the cards so it wasn’t a problem at all!
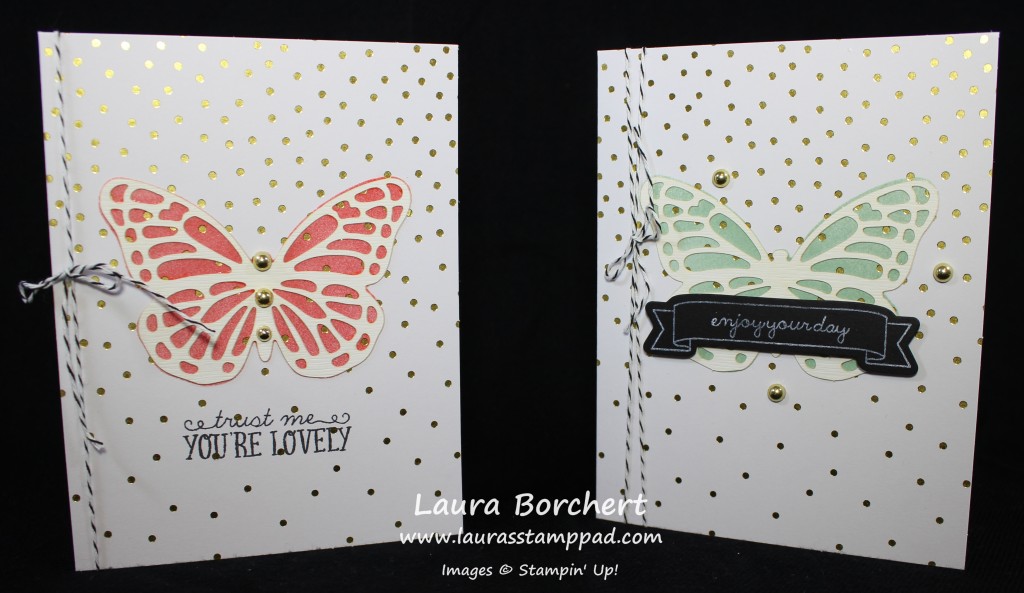
Oh how I loved the butterflies and just couldn’t decide which color I liked best. I squealed with excitement at the placement of the Gold Dots down the center of the butterfly. Love it!!!!
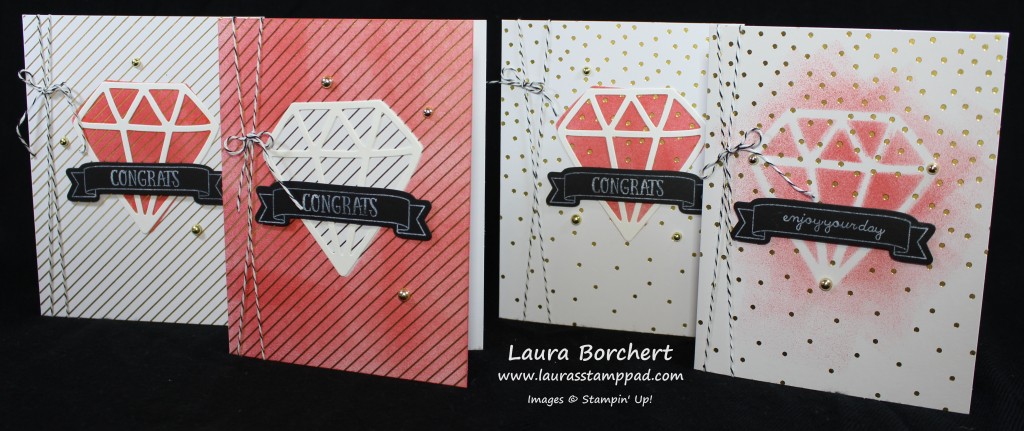
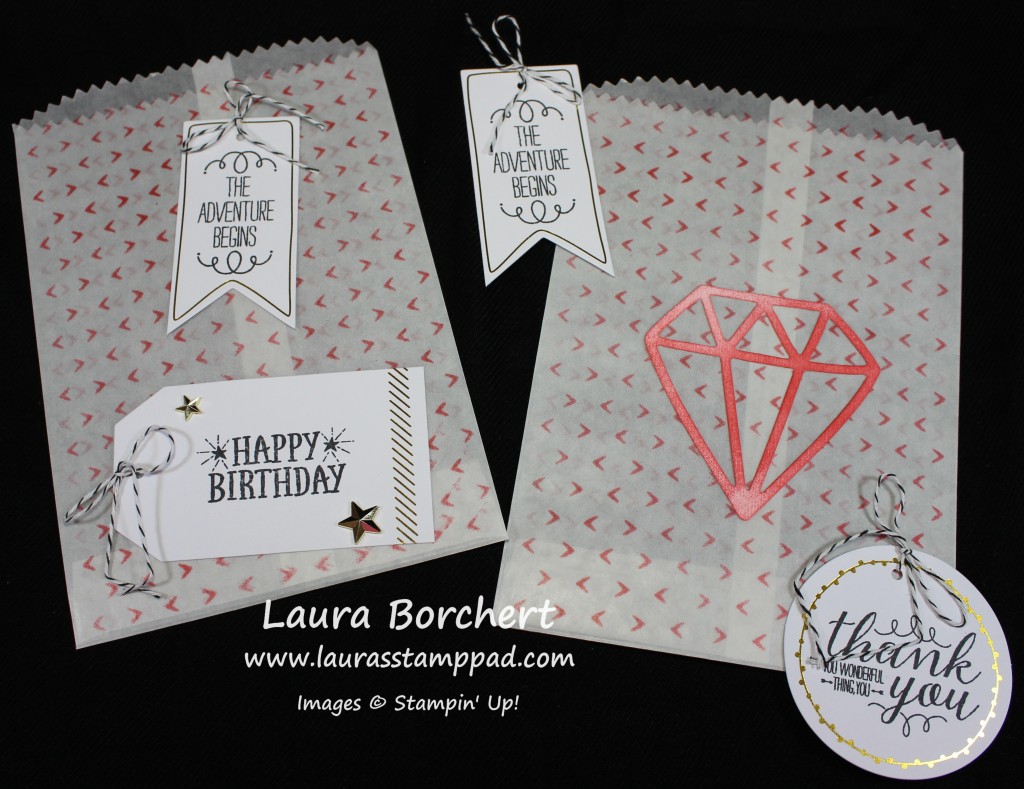
Diamonds are a Girls Best Friend!!! I started with the diamond and was having so much fun, I couldn’t stop. Then I realized I needed to play with the others as well. I did the full template with the far left, then I did the reverse template with the next one and for the far right, I laid the die-cut image down and wheeled over it. Wait till you see the treat bag with the Watermelon Wonder Diamond on it! Eeeeee So much fun!!!
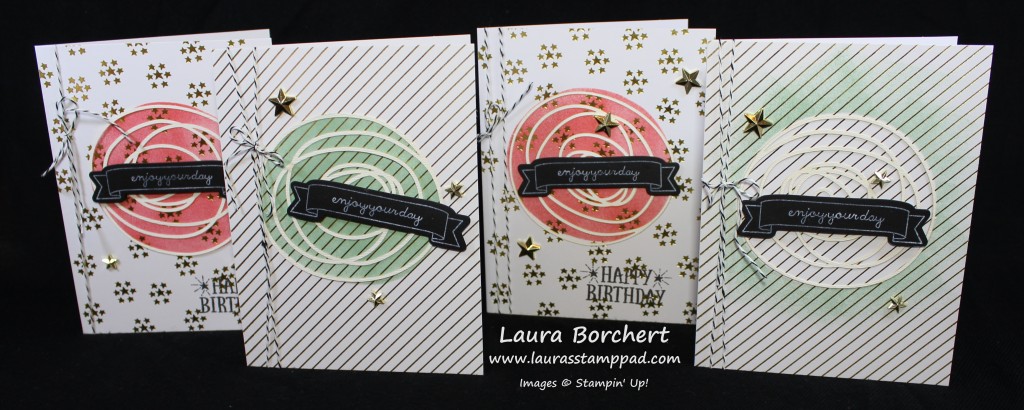
I played with these circles so much that I totally forgot about the wreath die-cut. I tell you that I had so much fun with this kit, I didn’t even know what I was doing.
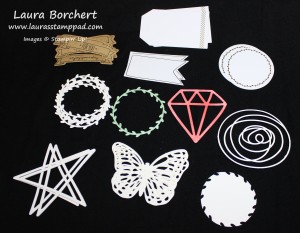
Look at all of these leftover pieces. There are tons of the wreaths since I didn’t use them. The image in far bottom right is the center of the wreath that looks like a Disk Blade. With my family being farmers, I thought I might be able to use them for a Man Card!
Here are a few of the treat bags. The kit creates 12 cards and 12 treat bags with tags! I really enjoyed this kit and can’t wait to use the templates and foam roller for many more projects! I hope you enjoyed all of these pictures. I’m telling you this is a fabulous kit and always remember that YOU’RE SO LOVELY!!!
Happy Stampin’
~Laura
