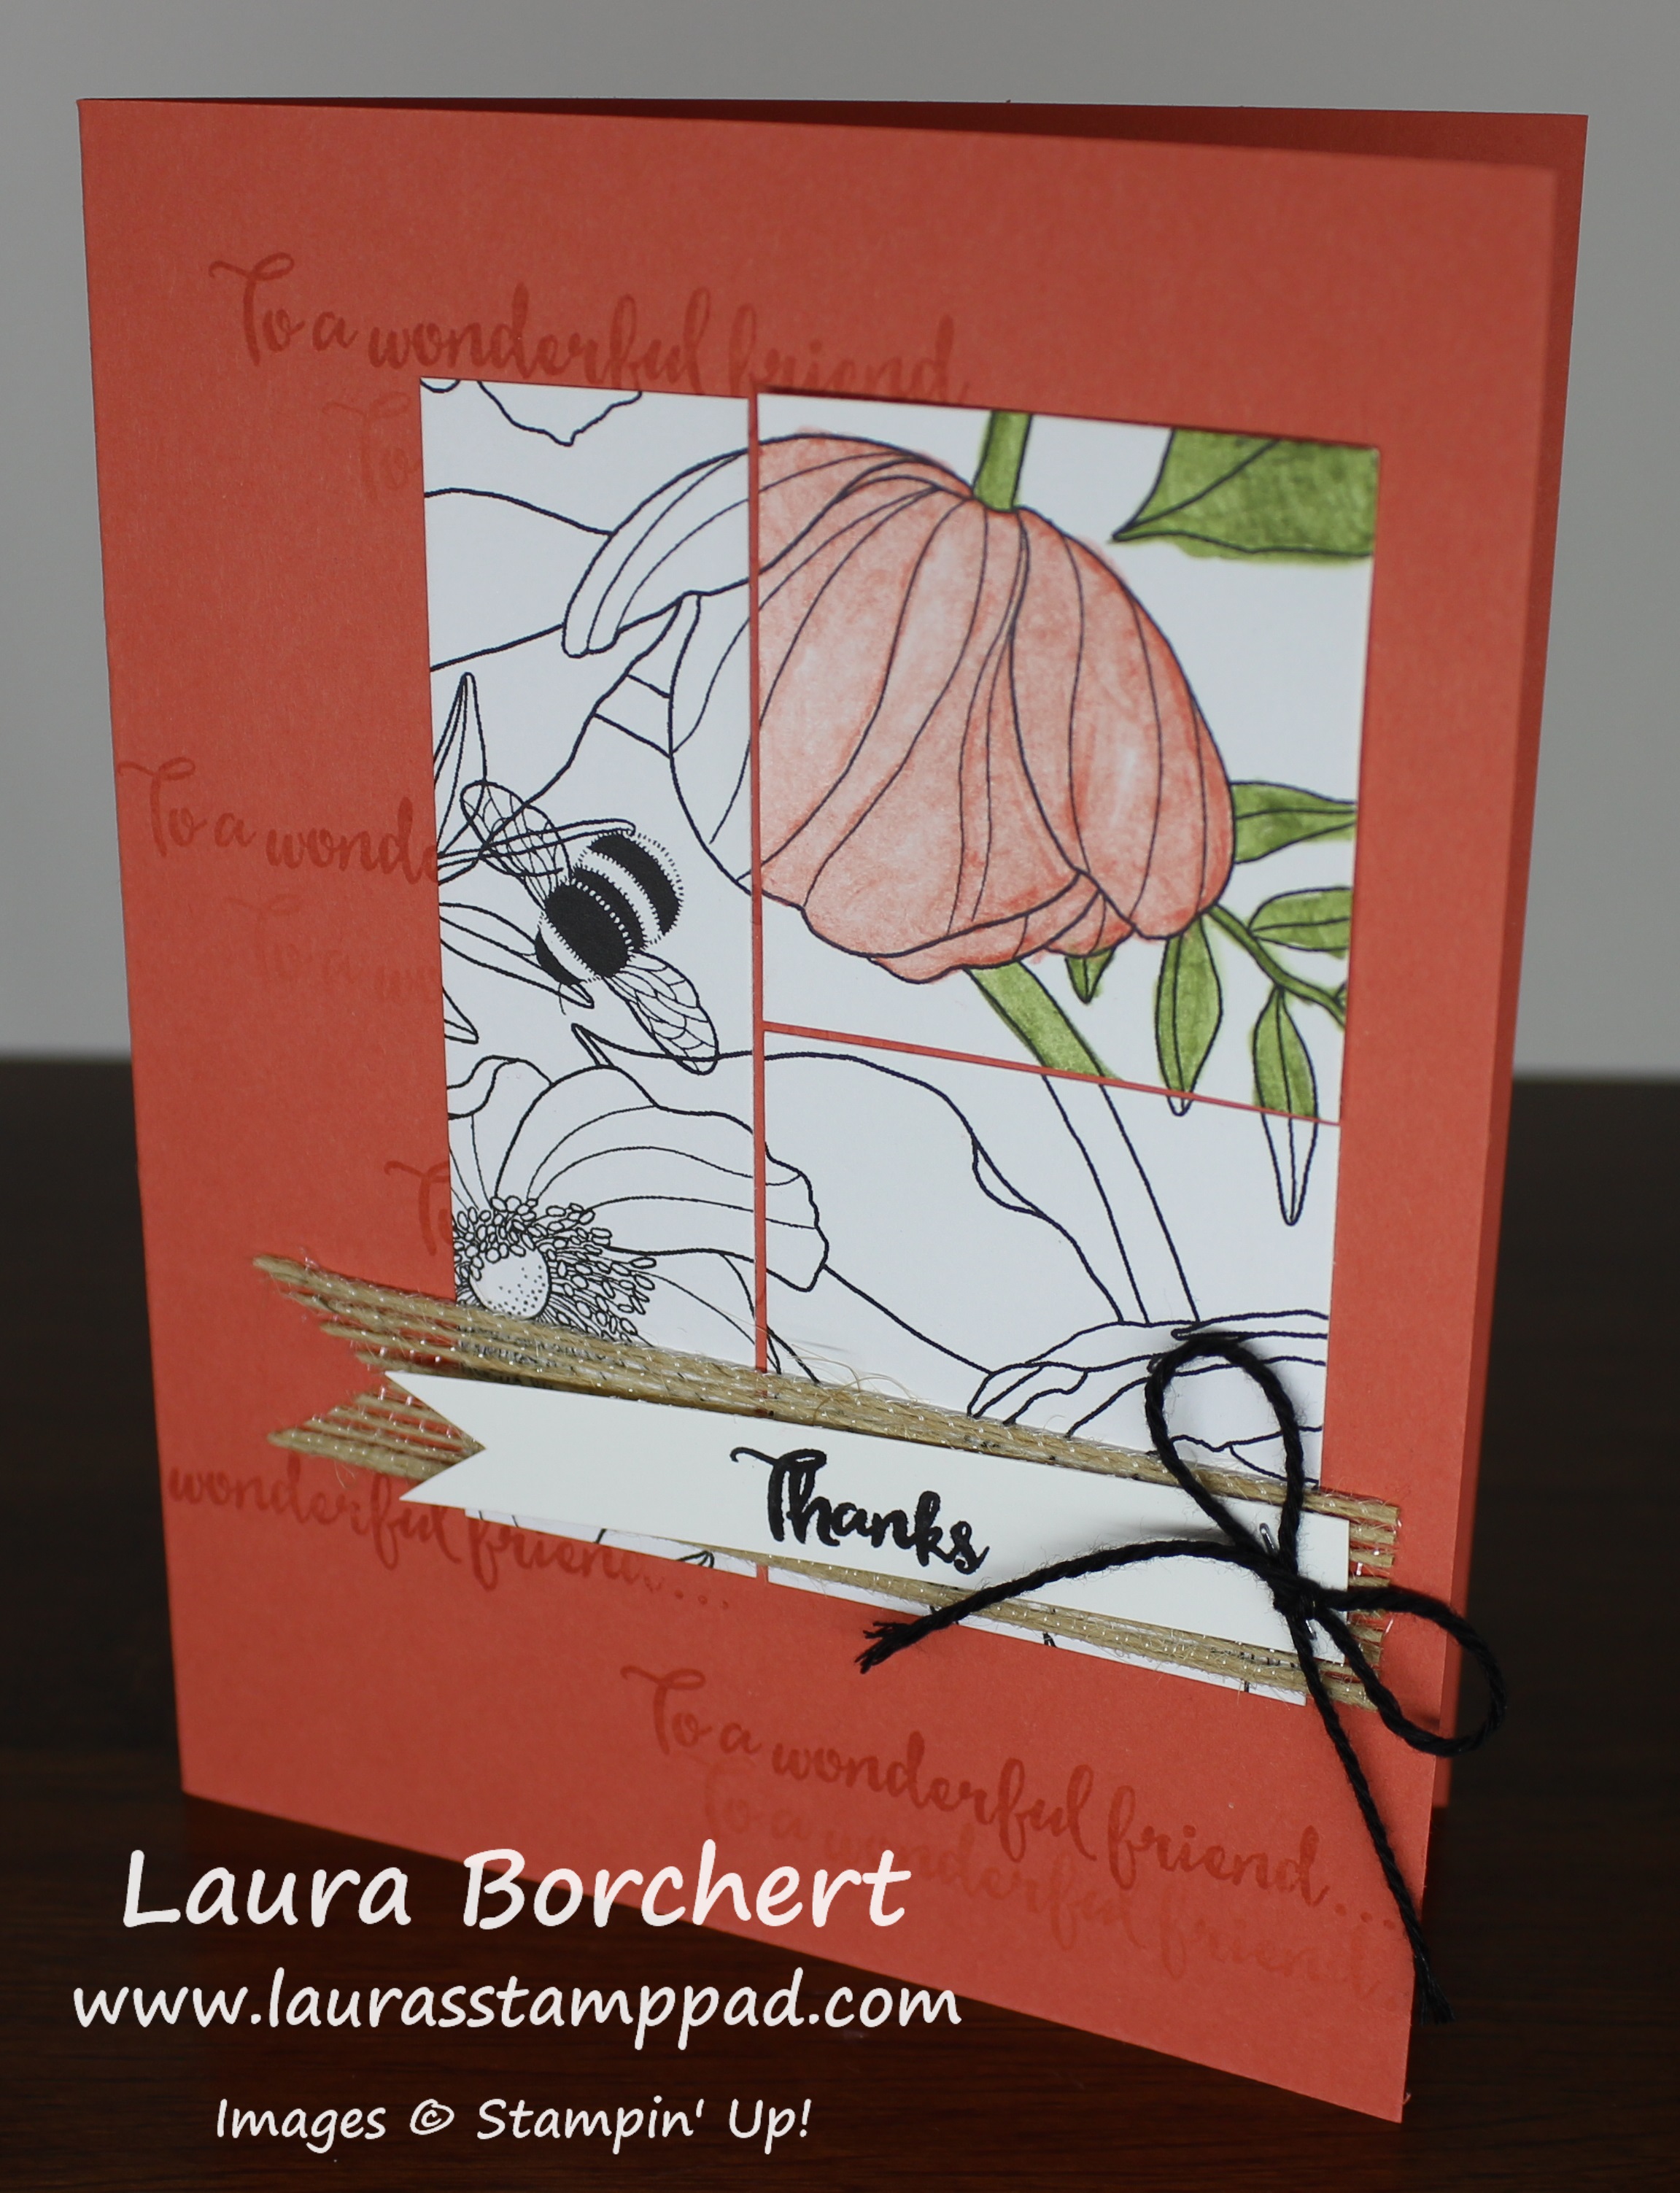
Happy Friday, Gorgeous!!!! It’s finally here….Friday that is! On the other end, Sale-A-Bration is coming to an end today. So here is one last sample using the amazing Sale-A-Bration Metallic Ribbon!

This is a quick and simple card that I created! I love this simple layout and have used it MANY times with different stamp sets and designer paper. You can check out those here, here, and here!
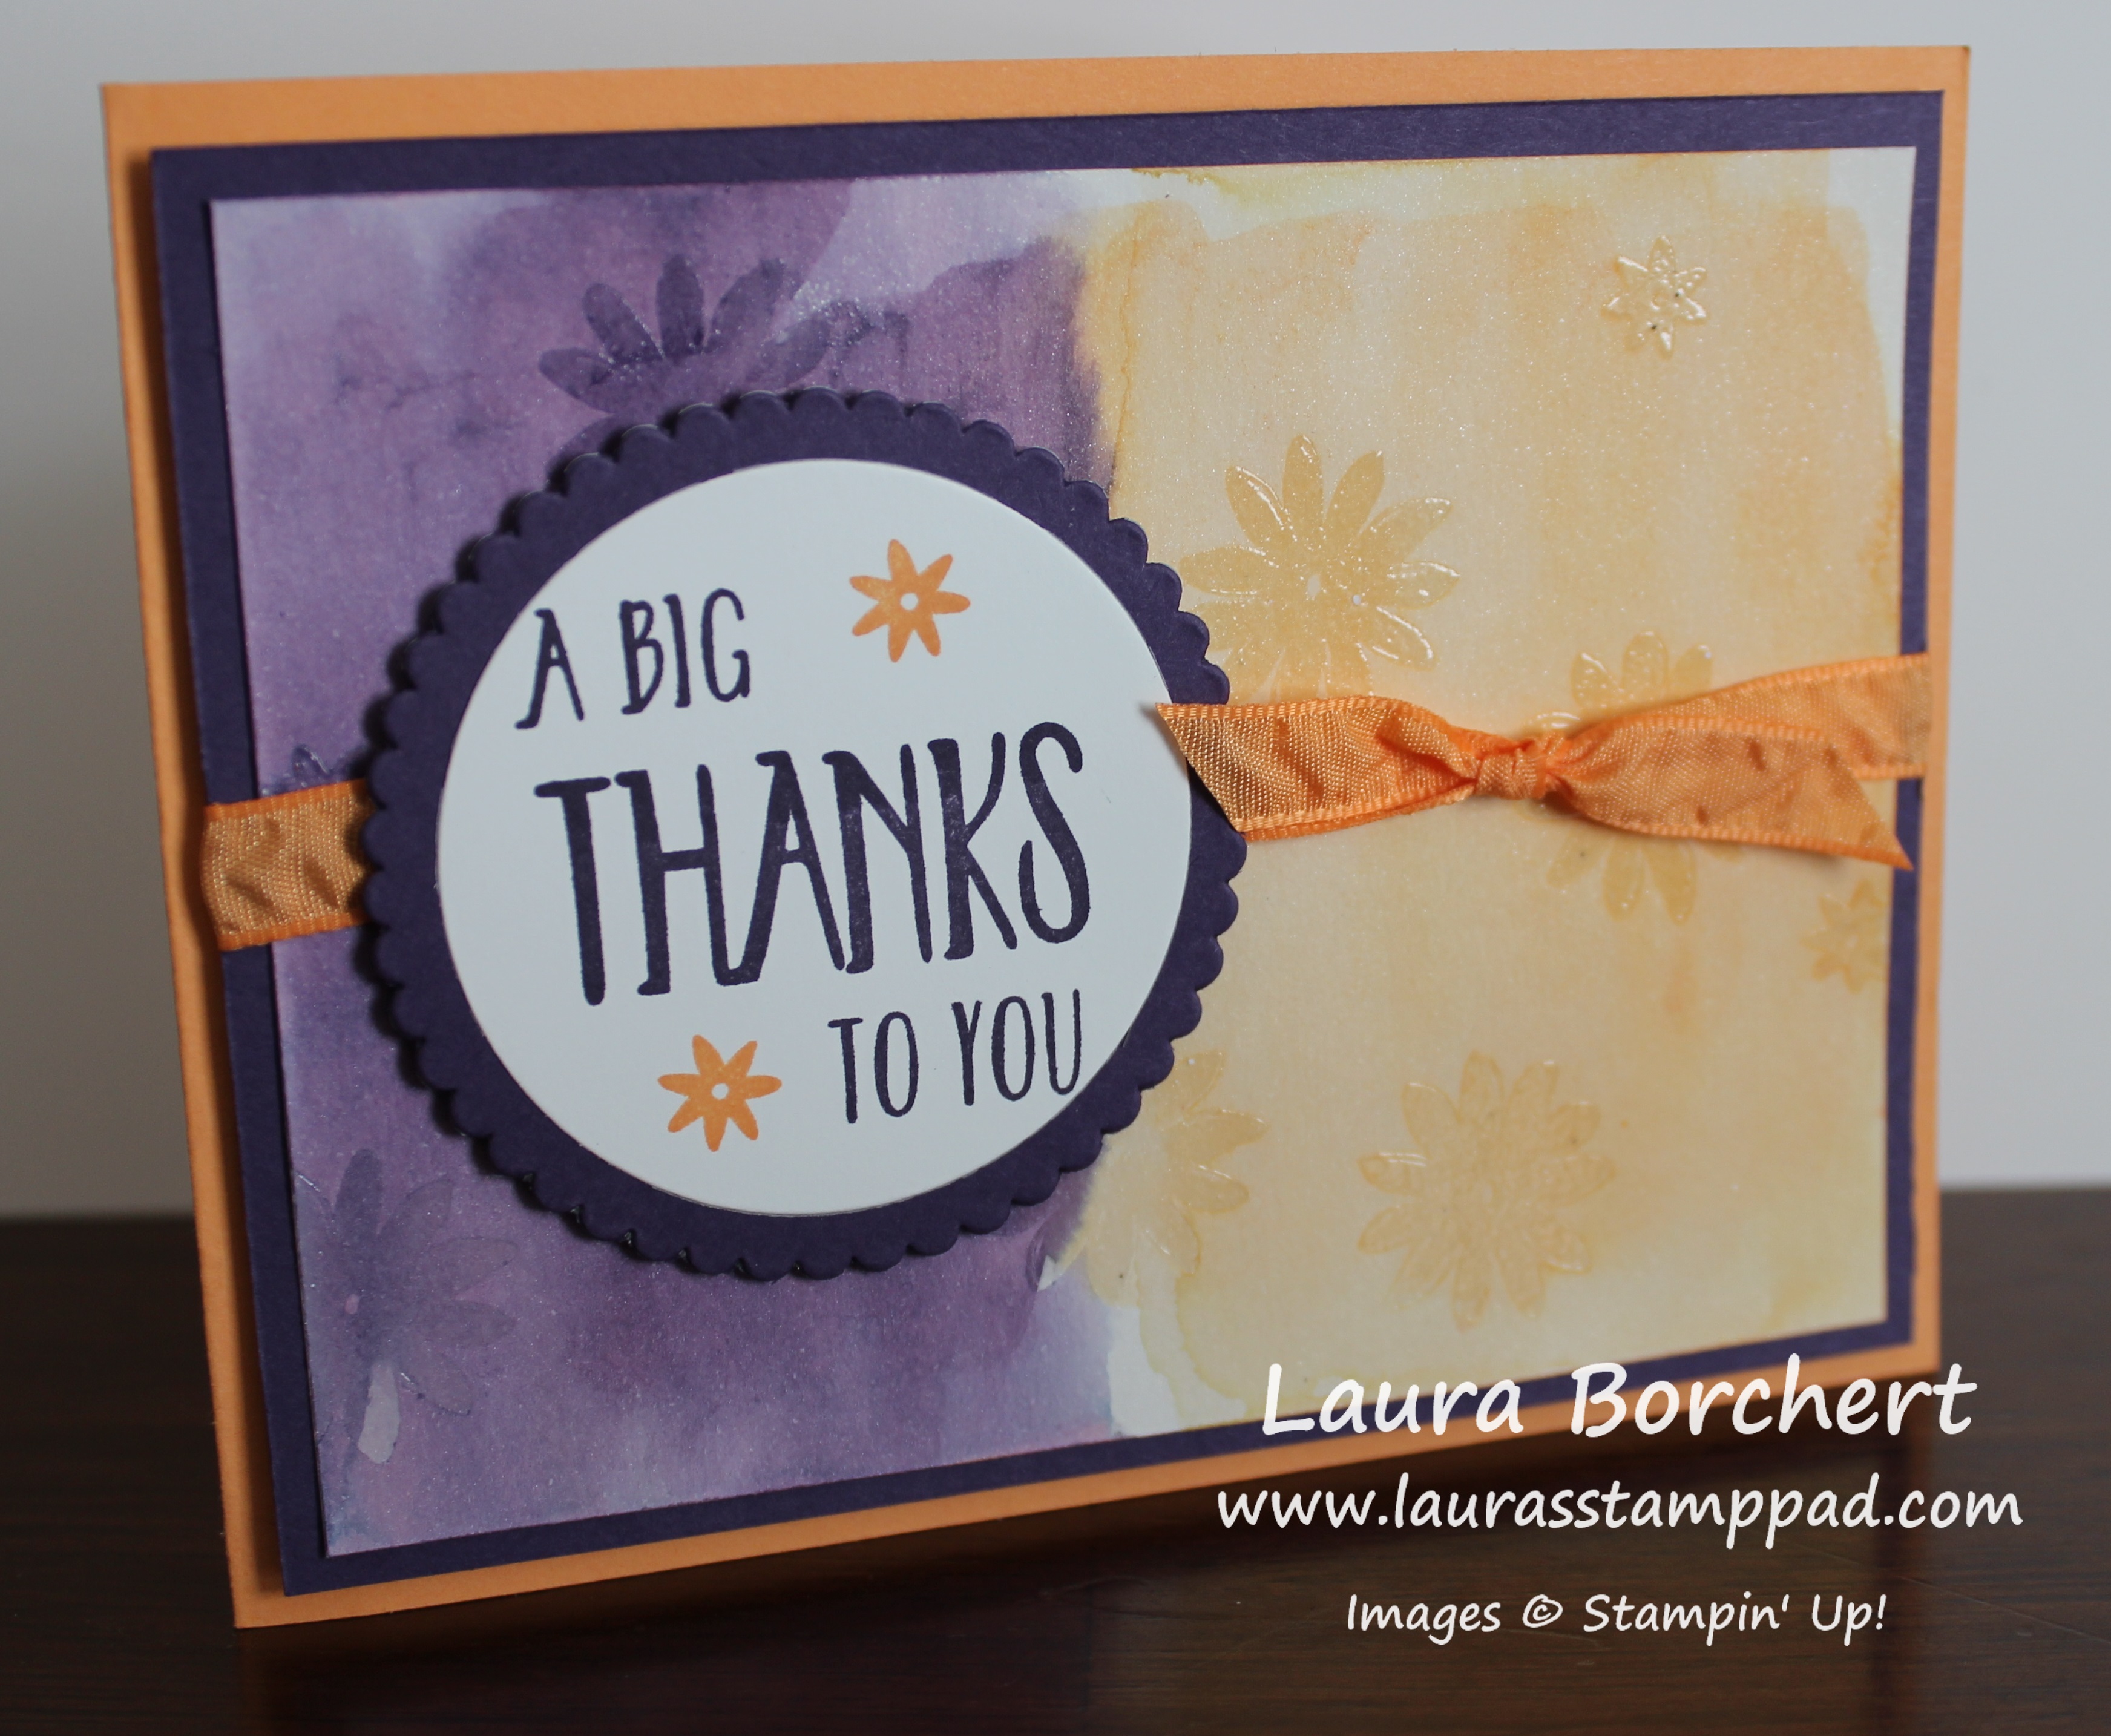
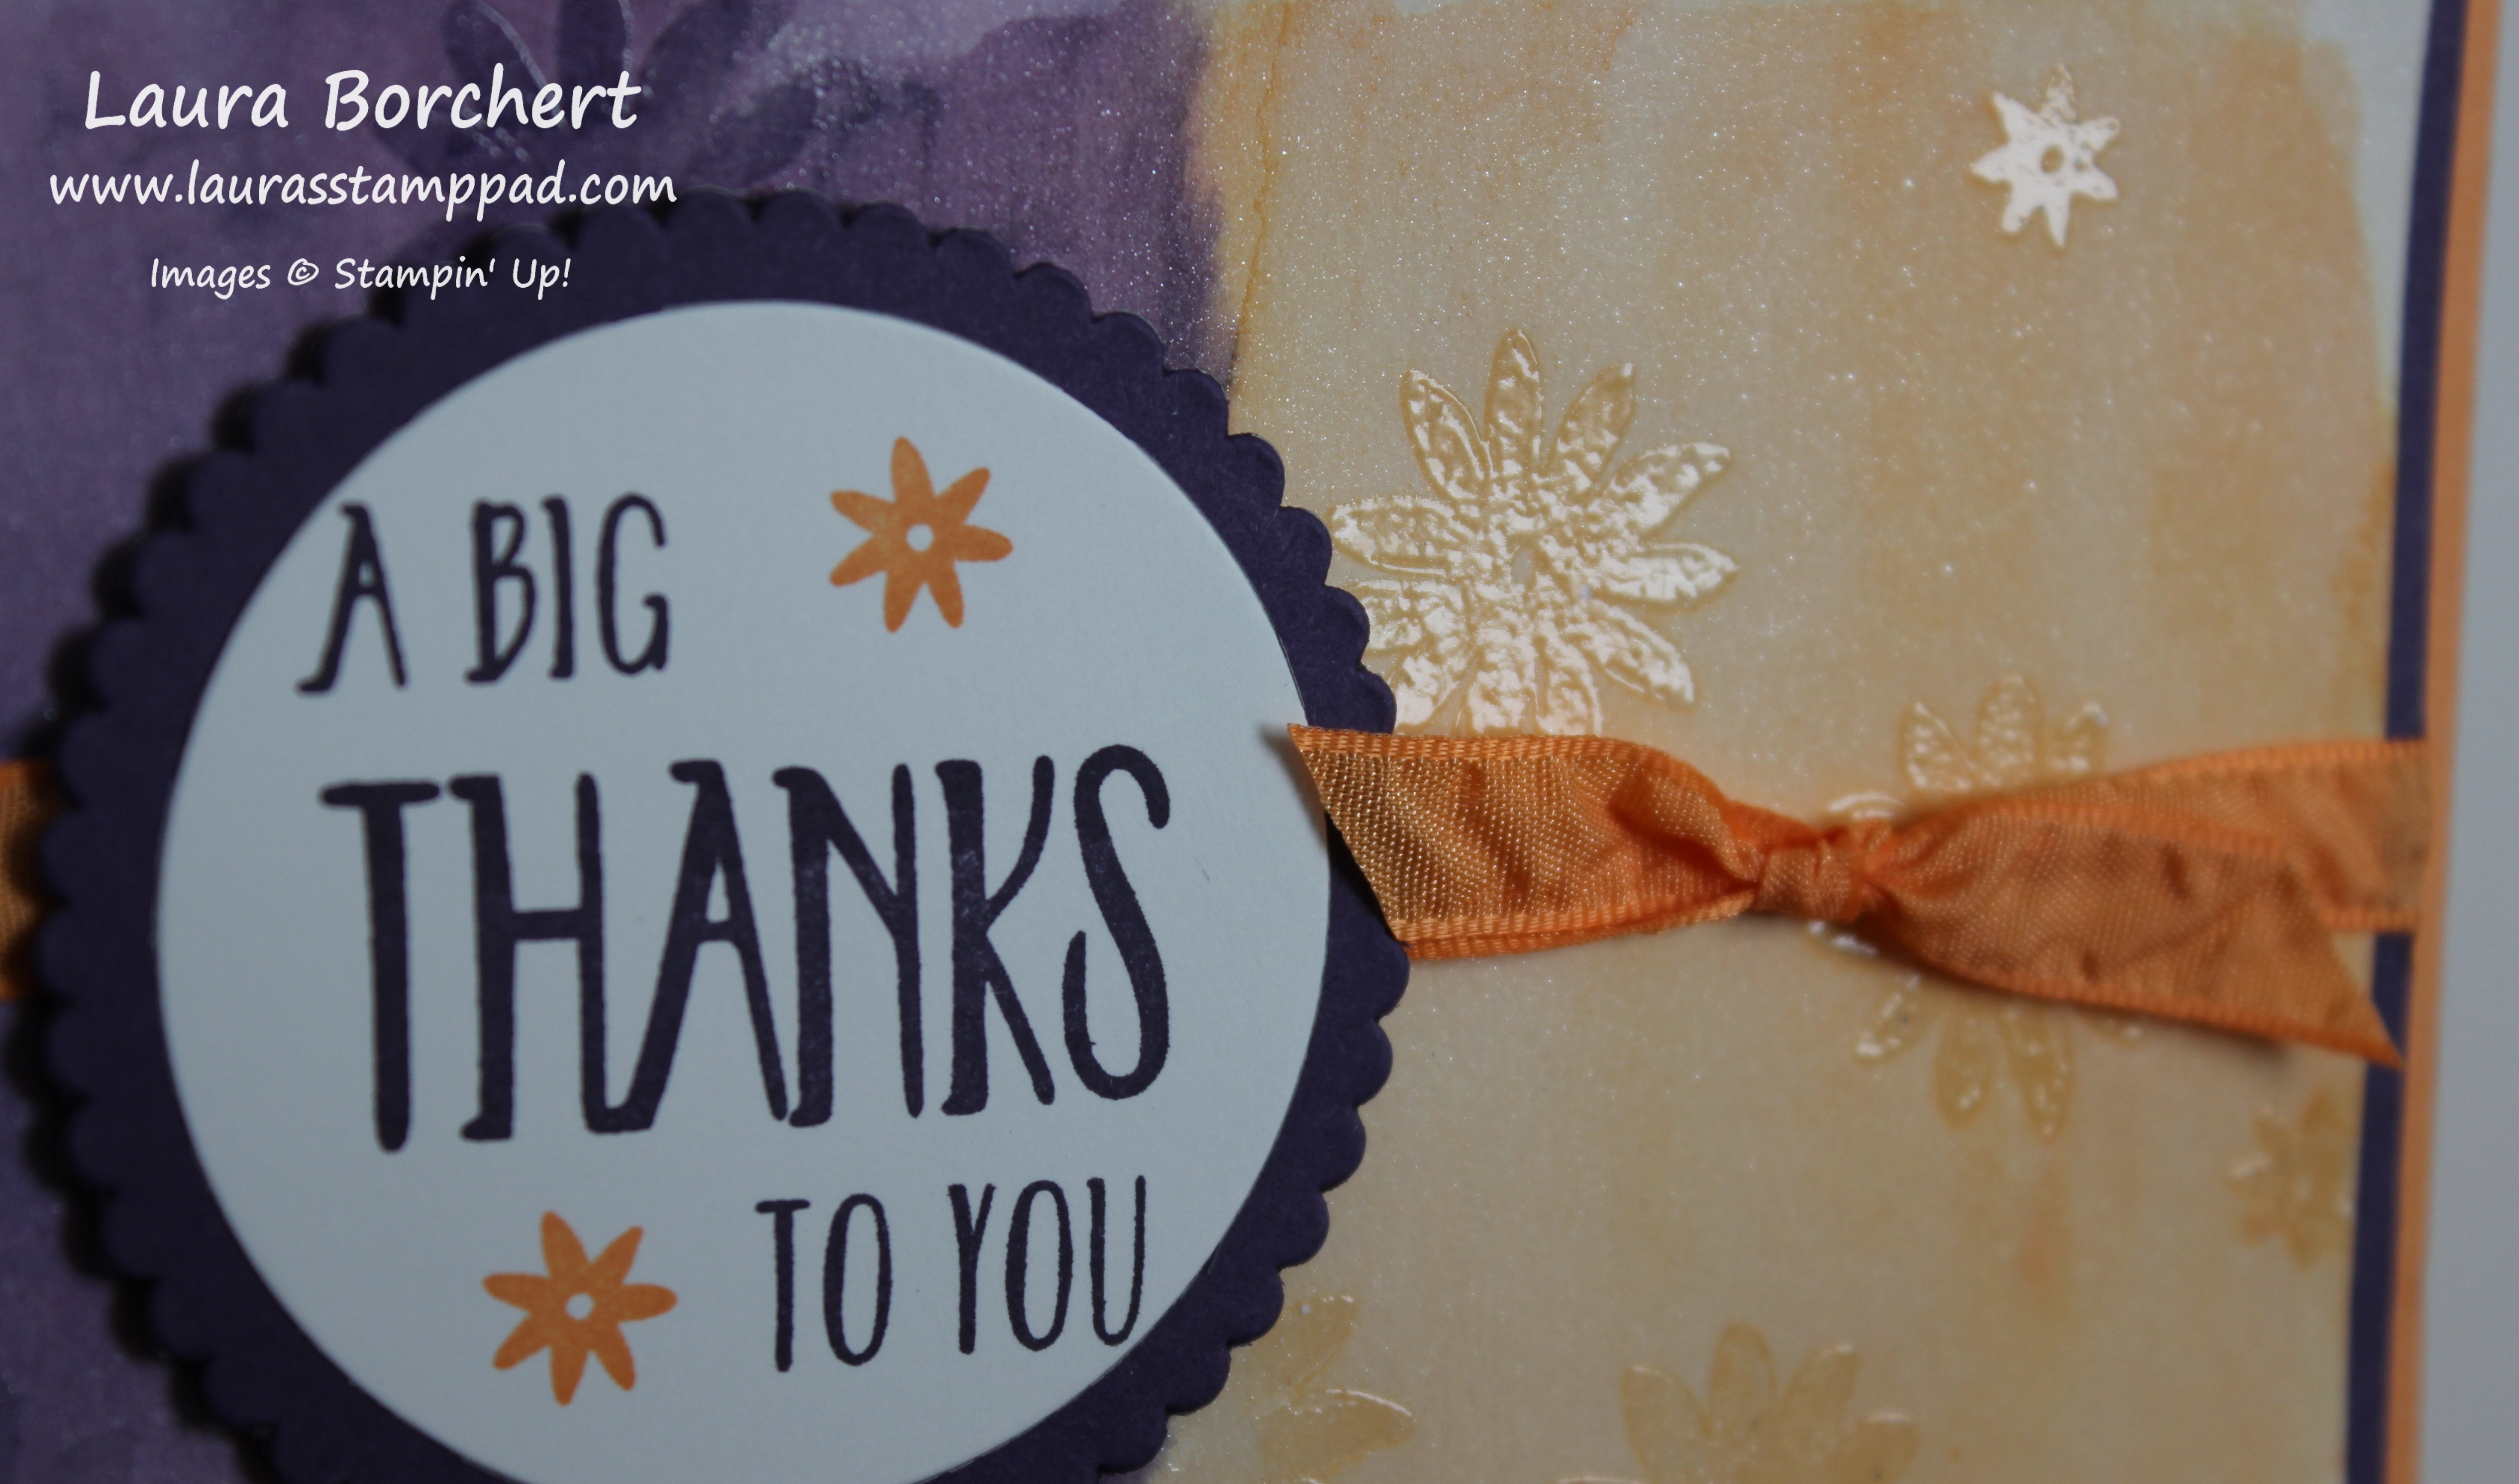
I started with a piece of Whisper White measuring 4-1/4″ x 11″ for the card base! Then I took a piece of Night of Navy (4″ x 4″) and layered on a piece of the Floral Boutique Designer Series Paper (3-3/4″ x 3-3/4″). I added this piece to the card front towards the top. For the Happy Birthday, Gorgeous, I stamped it from the Beautiful You Stamp Set in Night of Navy Ink. I added some Silver Metallic Sale-A-Bration Ribbon around the card and tied it into a knot! Simple and fabulous!!! This card is perfect to send to all the women in your life!!
Today is the last day for you to enjoy the Sale-A-Bration benefits of a free item for every $50 you spend! ANOTHER bonus, if you use the Hostess Code: FCCVREYF then your name will be entered in the drawing for an entire color family of ink pads (10 total ink pads). You can check out more information on that here! Start shopping now – click here!

Of course, since it’s Friday and that’s a day for celebrating! Here is my fabulous downline, Valerie with her Blushing Bride Glimmer Paper in celebration of her 5 Year Anniversary with Stampin’ Up!!! I’m so happy for her!!! Congratulations, Valerie! I’m so glad Stampin’ Up has brought us together! 🙂 If you would like to join the Fabulous Friends Team, click here for more information. If you sign up today, you get to pick out $125 in product PLUS 2 additional stamp sets, all for just $99.00!
Hope you all have a wonderful weekend! I’ll see you back here on Monday!
Happy Stampin’
~Laura