Flowers Are Better In Odd Numbers!!!

Posted on

They say you should always decorate in odds, right? Well I would agree and flowers are better in odd numbers as well! Isn’t this card stunning?

Flowers Are Better In Odd Numbers, www.LaurasStampPad.com

This card is super fun because you can mix and match the flower, the colors, and greeting. Flowers are great for any occasion, I think!

I started with a Whisper White card base. Next, I took three white pieces measuring 1-1/2″ x 3-1/4″ and stamped the flowers. I used the Beautiful Bouquet Stamp Set which has lots of stems and flowers to pick from. The stems were stamped in Old Olive Ink and the flowers were stamped in Fresh Fig Ink. I stamped the stems first with the flowers then placed on top! I placed these on a piece of Wood Textures Designer Series Paper (4″ x 5-1/4″). Once I had the placement down, I lifted each one individually for adhesive.

Beautiful Bouquet, www.LaurasStampPad.com

Next, I placed a strip of Finely Woven Fresh Fig Ribbon over the lower portion of the flowers. I simply wrapped the ends to the back side and then added it to the card base. For the greeting, I die cut the Whisper White oval with the Stitched Shapes Framelits and the scallop oval with the Layering Ovals Framelits. I just love the layered look of these two sets of Framelits in squares, circles, and ovals! The greeting was stamped from the same stamp set – Beautiful Bouquet! I love a set that has flowers and amazing greeting options! There are also greetings for the inside of the card!! BONUS!

If you would like to see this all in action, check out the Video Tutorial below or click here! Be sure to give the video a thumbs up if you liked it and don’t forget to subscribe if you are new. If you would like a notification when I post a new video, be sure to click the bell right next to the subscribe!!!


Product List

Happy Stampin’

~Laura

Lemon Cupcakes Are My Favorite!!!

Posted on

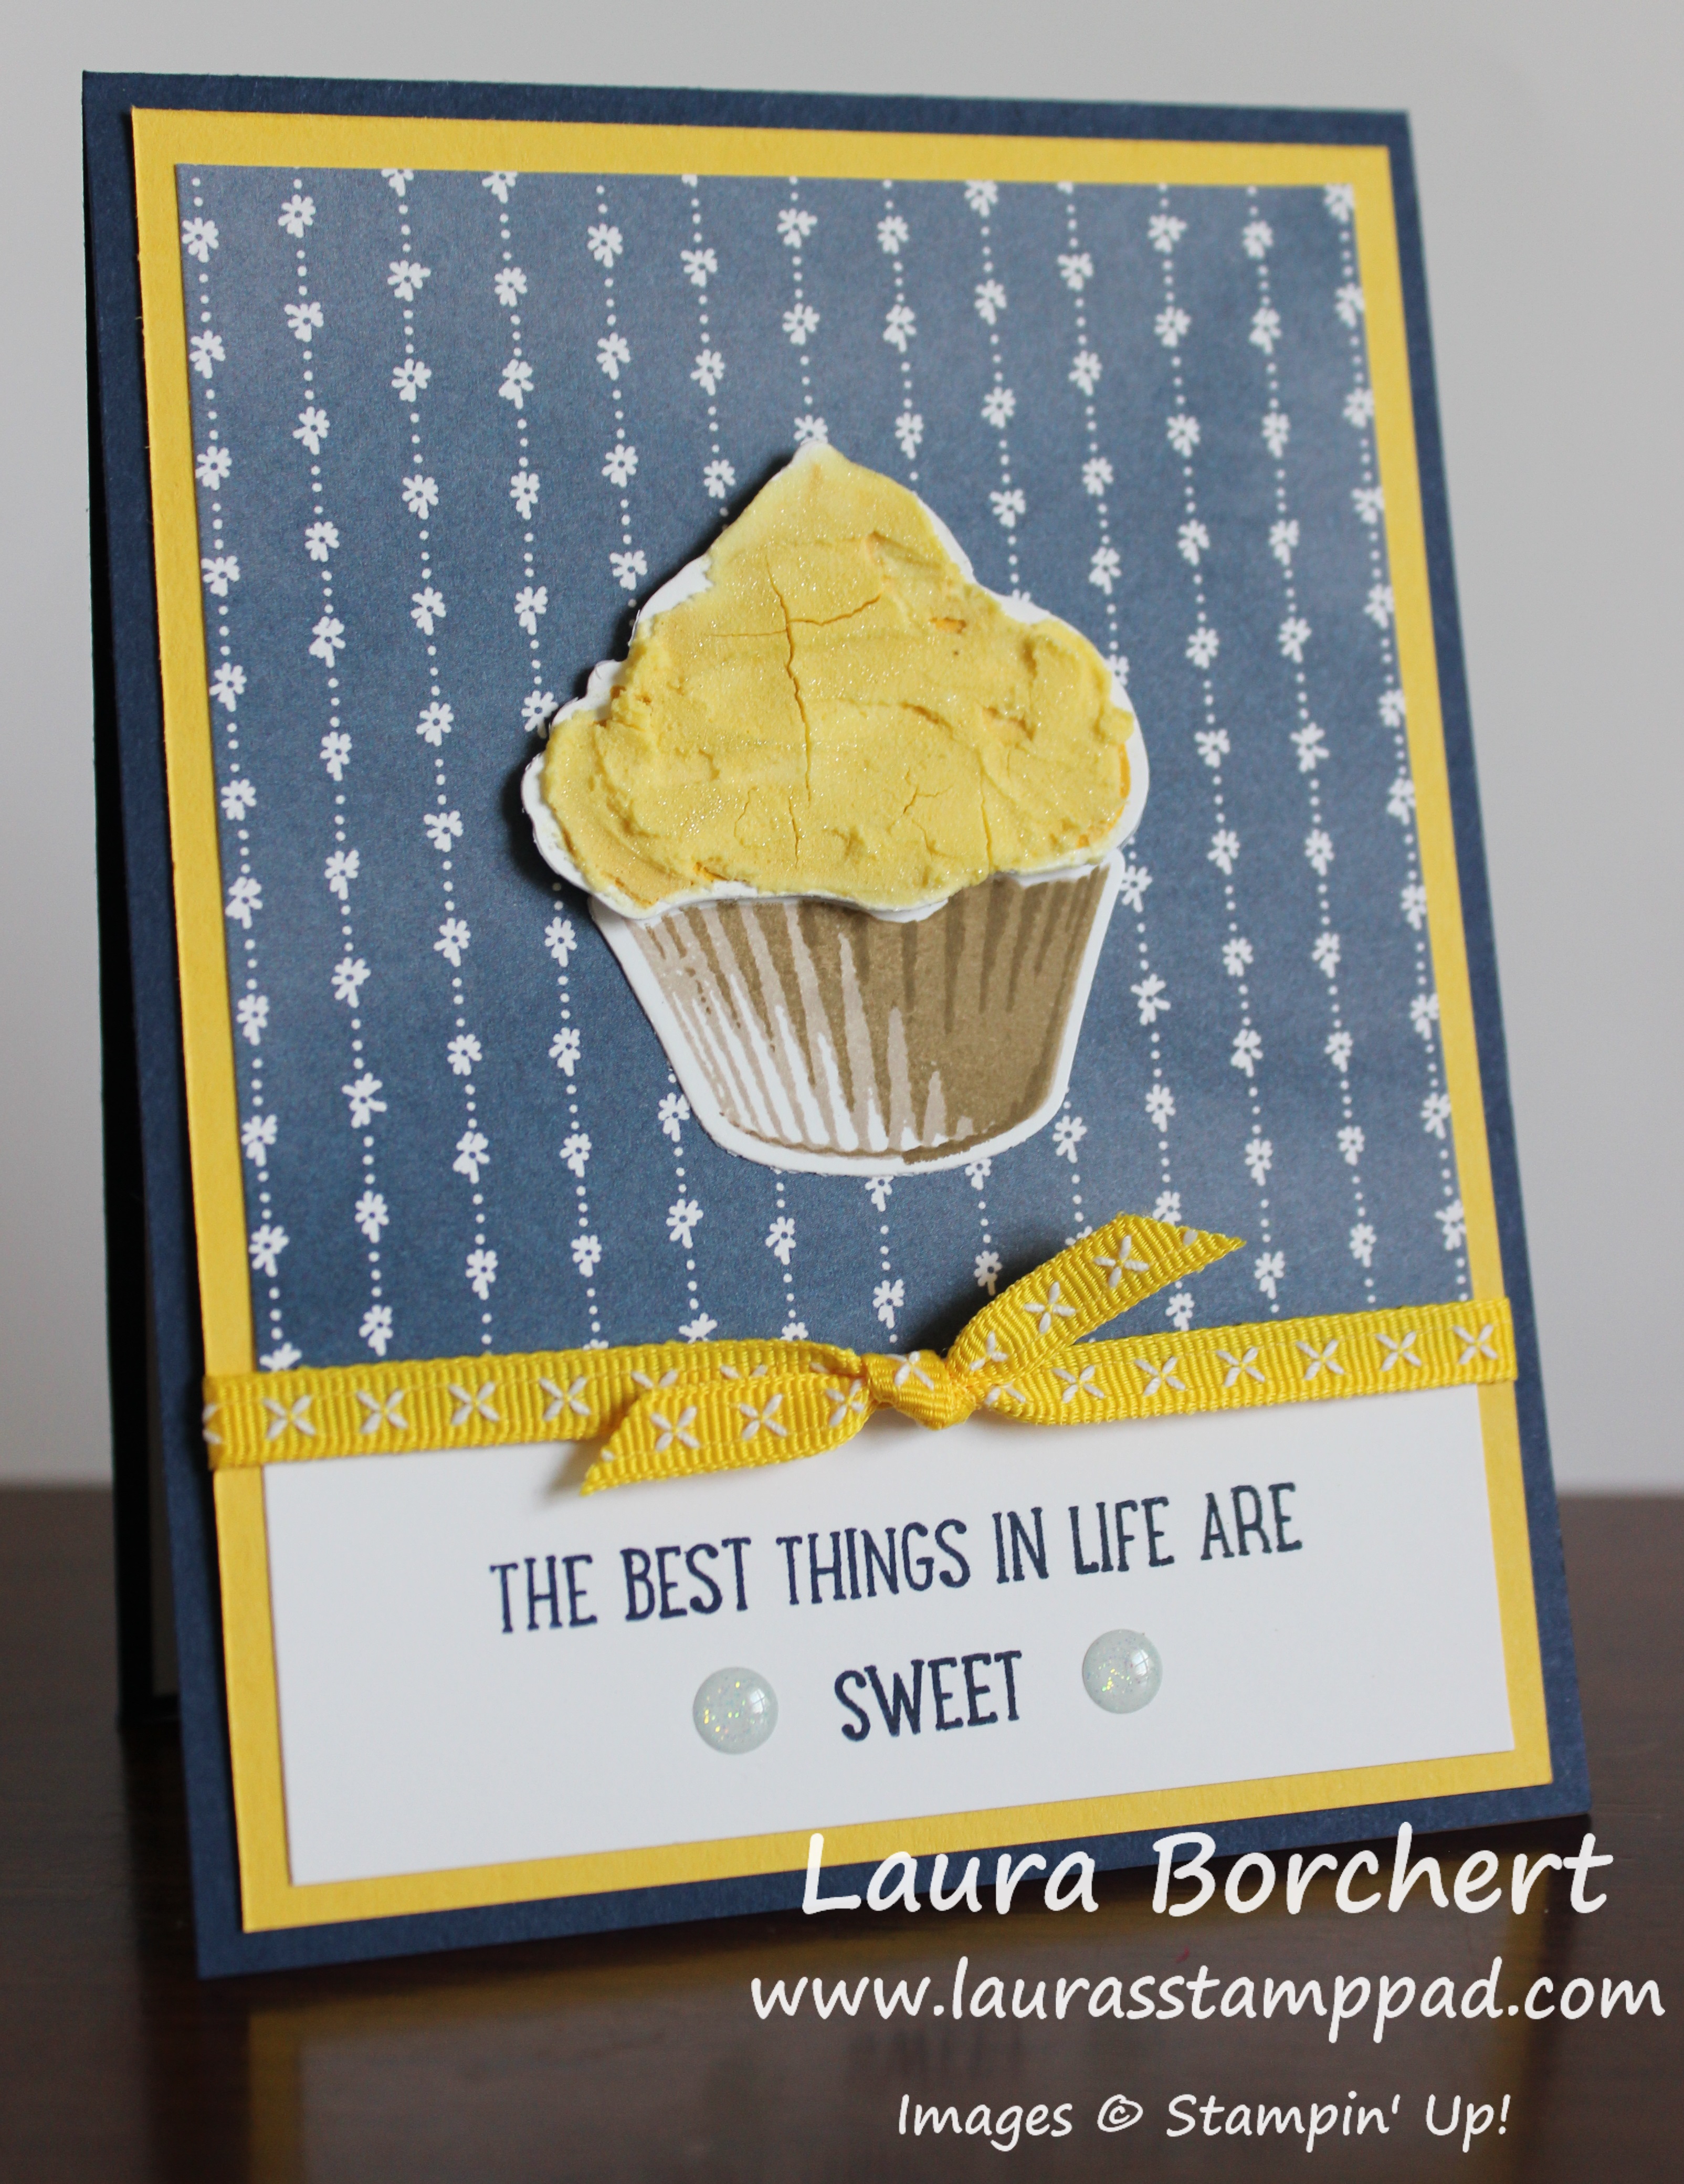
Lemon Cupcakes Are My Favorite!!! There is just something about that tang and the sweetness! Cupcakes are heavenly to me anyway!!! Let me know in the comments…..cake or cupcakes???

Lemon Cupcakes are my favorite, www.LaurasStampPad.com

When I decided to make cupcakes with embossing paste icing, I knew I wanted yellow for a lemon look!!! I think I nailed it! 🙂

I started with a Night of Navy card base (4-1/4″ x 11″). Next, I took a piece of Whisper White measuring 3-3/4″ x 1-3/4″ and stamped the greeting from the Sweet Cupcake Stamp Set in Night of Navy. Be sure to stamp it on the lower portion so the Designer Paper doesn’t cover it! I layered this onto the bottom of a piece of Daffodil Delight (4″ x 5-1/4″). On the top portion, I layered on a piece of Delightful Daisy Designer Series Paper (3-3/4″ x 3-3/4″). The designer paper till overlap over the top of the greeting piece. I tied some Daffodil Delight Double Stitched Ribbon around the piece, covering the overlap of papers. This piece was then added to the card front with Stampin’ Dimensionals.

For the cupcake, I used the Sweet Cupcake Stamp Set and coordinating Cupcake Cutouts Framelits. The liner is a 3 step stamping image. I stamped the largest image in Crumb Cake Ink. The next image was stamped in Soft Suede (stamped off once) and the smallest final image in Soft Suede (full strength). The icing was stamped with the largest (most solid) image in Crushed Curry. I decided on using a darker yellow so it would really pop! I added the liner to the card front with Snail Adhesive but I used Stampin’ Dimensionals for the icing! It is easier to ice the cupcake when it is adhered on already. Plus, this way you don’t have to touch it again while it dries.

Sweet Cupcake Stamp Set, www.LaurasStampPad.com

For this icing, I added a few drops of Daffodil Delight Re-inker to some Embossing Paste. Using the Palette Knives, I mixed it in and then added a fine layer to the cupcake icing. Go thin so it doesn’t take forever to dry and there is less curling and cracking of the cardstock. A few things I did to finish off the card were add some Glitter Enamel Shapes to either side of the greeting and Wink of Stella on the icing! Be sure the embossing paste is completely dry and just brush some glitter all over for a hint of shine! I just love how this turned out!!!

Product List

Happy Stampin’

~Laura

Need Mittens in Alaska, www.LaurasStampPad.com

Don’t forget you can get the Smitten Mittens Stamp Set for FREE with a $75 order placed before August 31st!!! Click here for more details!


Happy Birthday to ME!!! Let Us All Celebrate!

Posted on

Today’s MY BIRTHDAY!!!! Let Us All Celebrate together with some fabulous specials!!!

Birthday Bags, www.LaurasStampPad.com

Are you ready for all of this fabulous-ness!?!?!?

TODAY ONLY…..every order of $40 (before tax and shipping) will earn a FREE Gift from me as well as 1 Laura’s Loyal Stampers Stickers! I have tons of great prizes to give! Check them out! Click here to start shopping and enter the Hostess Code: A3AR6VYH when you are checking out!!!

Let Us All Celebrate, www.LaurasStampPad.com

Here are just a few of the goodies – Embossing Paste, Blender Pens, Ink Pads, Glitter Enamel Dots, Chalk Marker, Designer Series Paper Stacks, and more!

But wait there’s more……If you order $75 (before shipping and tax), you will get a Free Gift, One Laura’s Loyal Stampers Stickers, AND the Smitten Mittens Stamp Set for Free! This set is coming out in the Holiday Mini Catalog so you can earn it before it even comes out! Woot Woot!  Click here to start shopping and enter the Hostess Code: A3AR6VYH when you are checking out!!!

Not sure what to order or just getting started with stamping or just want to check it out……Paper Pumpkin is HALF PRICE for September for new subscribers. Click here to sign up and use the Promo Code: HALFOFF0917  (zero nine one seven). If you sign up TODAY, you will earn a Free Gift as well!

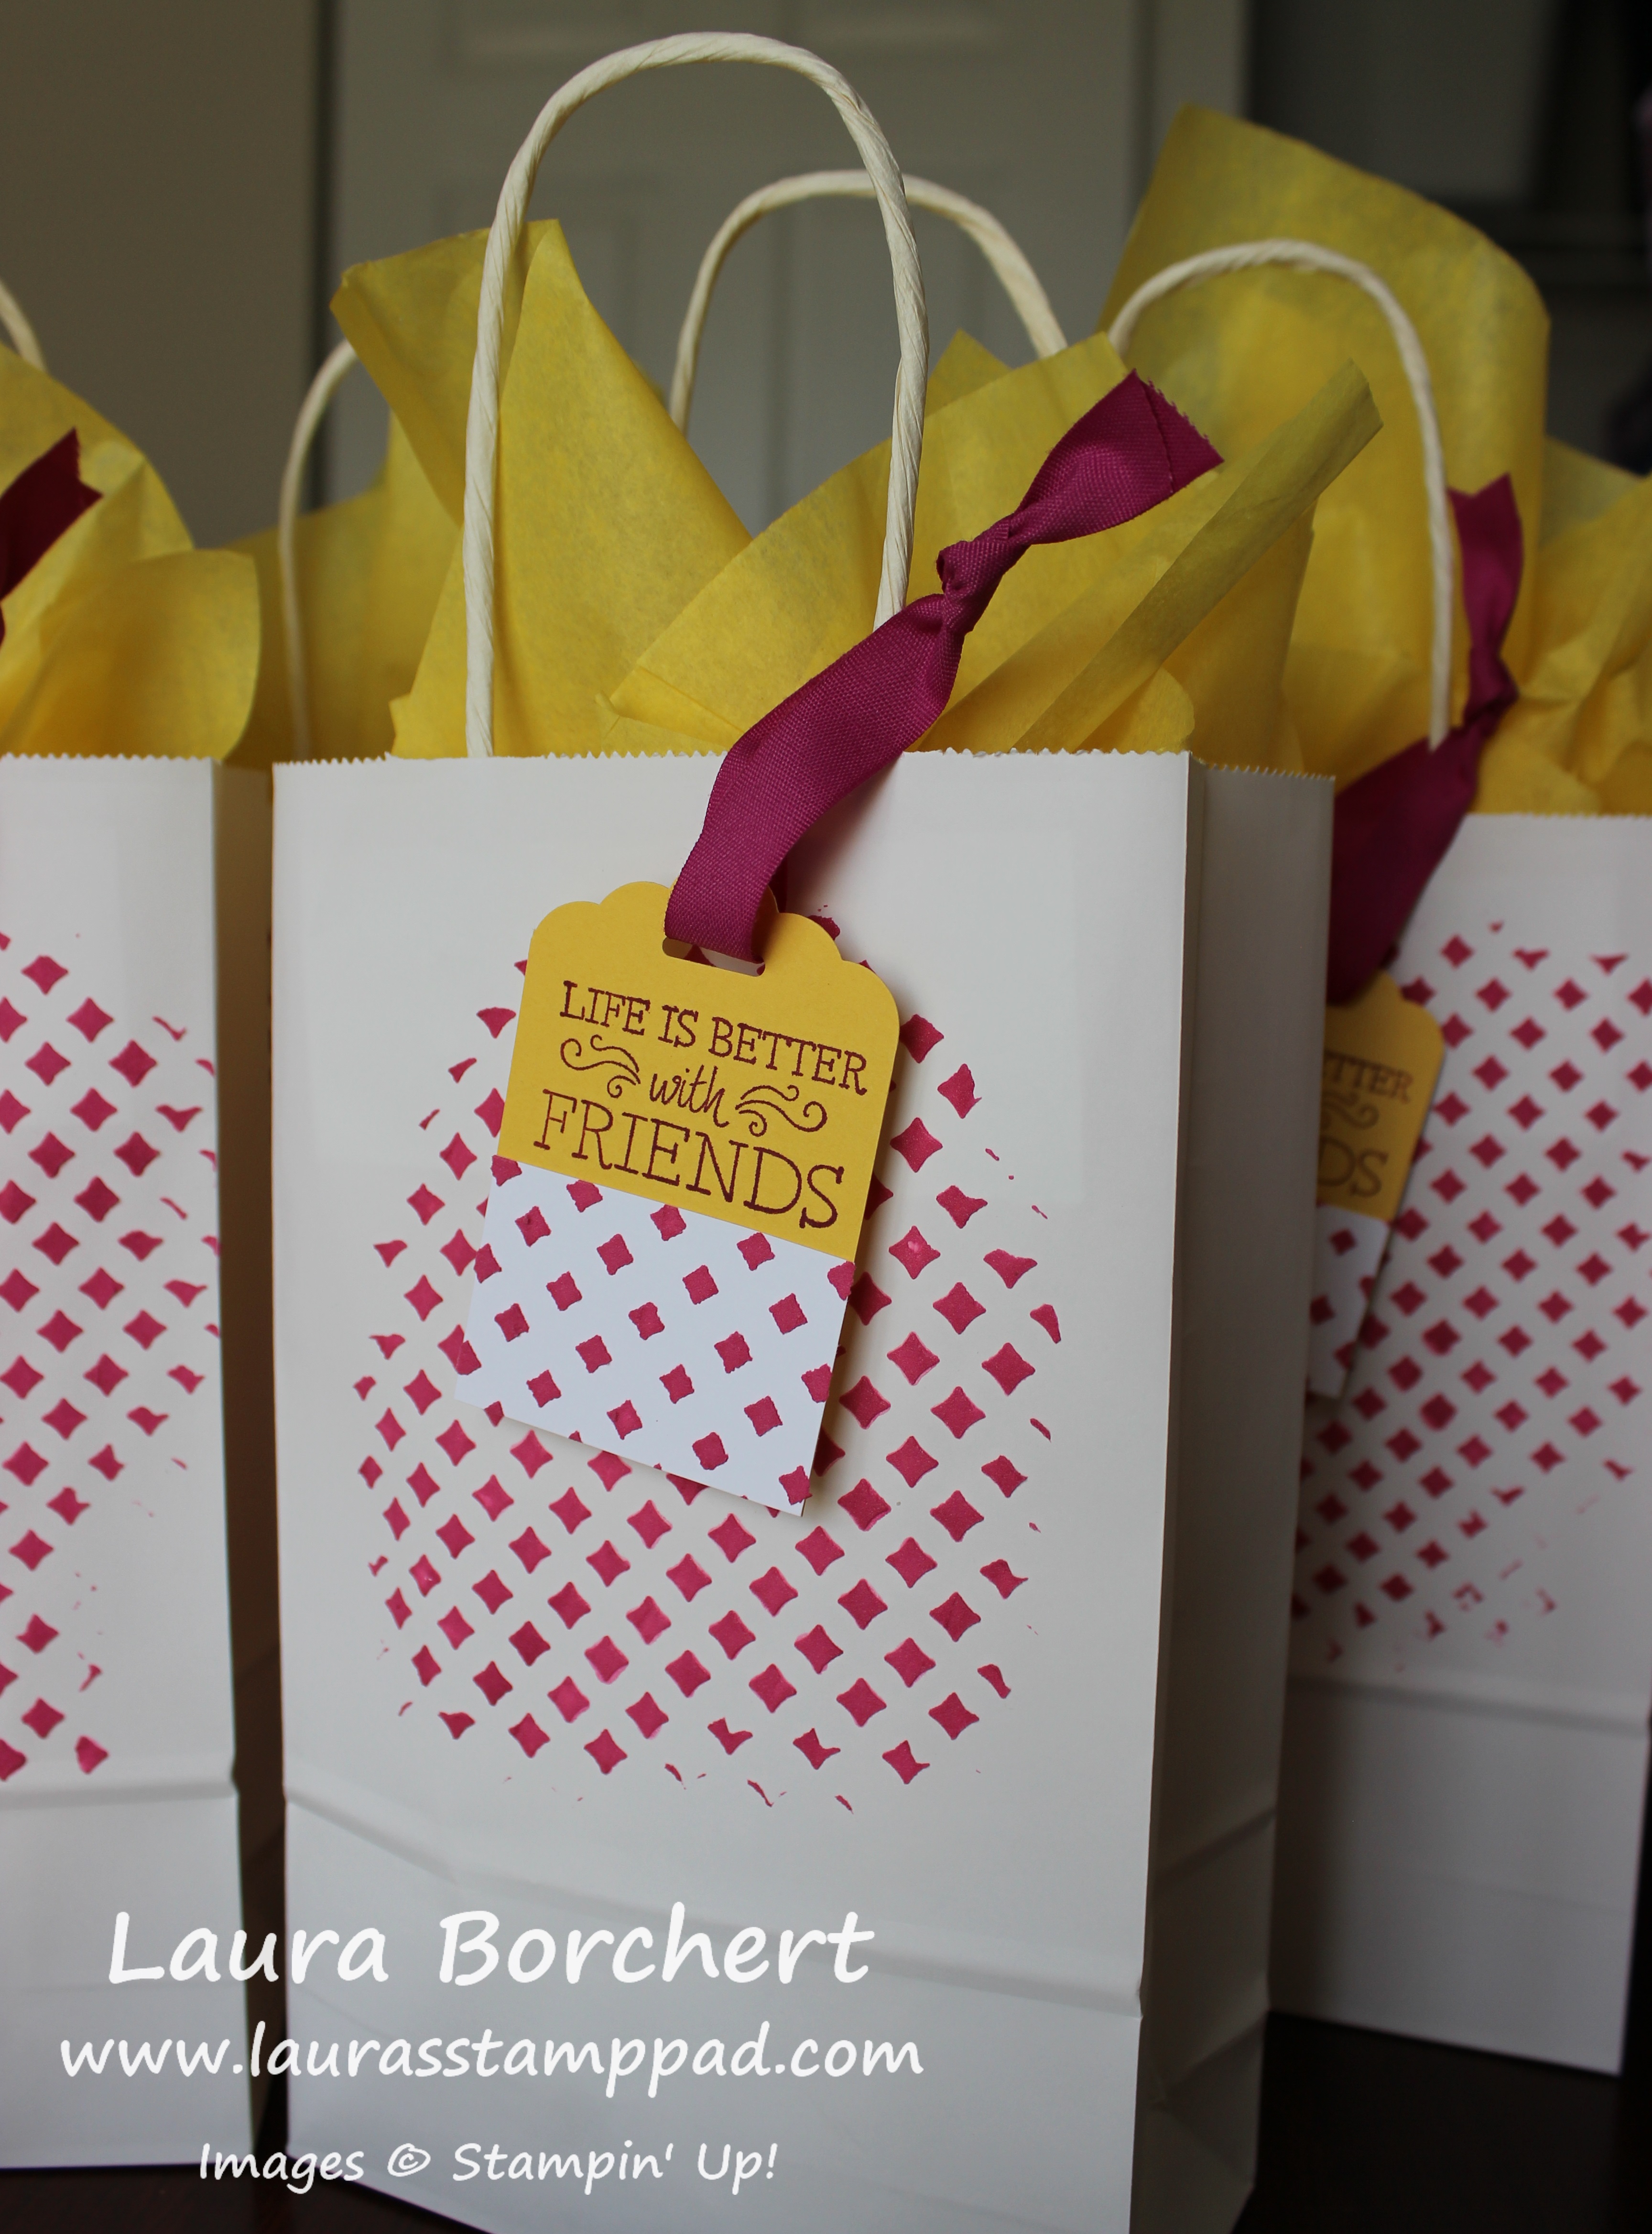
Birthday Gift Bags, www.LaurasStampPad.com

These gift bags were super fun to make with Embossing Paste! I got them at the dollar store, smeared some embossing paste over the template randomly. Since I had a ton of Berry Burst paste left over, I just did it over tons of scraps. Once it was all dry, I added those scraps to some tags and added the tag to the bags with Finely Woven Ribbon! I love how they turned out!

If you would like to see these items and ME, check out the Video Tutorial below or click here! Be sure to give the video a thumbs up if you liked it and don’t forget to subscribe if you are new. If you would like a notification when I post a new video, be sure to click the bell right next to the subscribe!!!

Have a wonderful day because it’s a Fabulous One!!! Happy Stampin’

~Laura


Crazy for Copper Roses!!!

Posted on

This card is just stunning with the copper roses! I love the bling from the embossing but all the simplicity of the single image and designer paper!

Copper Roses, www.LaurasStampPad.com

You all know I love flowers oh so very much so this card is already fabulous in my book! I hope you all love it too!

I started with an Old Olive card base. Next, I layered on a piece of Petal Garden Designer Series Paper measuring 4″ x 5-1/4″. Now for that amazing rose. I took a piece of Whisper White cardstock (3″ x 4-1/2″) and tapped the Embossing Buddy all over it. This reduces the static on the paper so the embossing powder doesn’t stick in places it shouldn’t. Using the rose from the Graceful Garden Stamp Set, I stamped it in VersaMark Ink. This is the tacky ink for holding the embossing powder. Next, I poured Copper Embossing Powder over the top and tapped off the excess. To set the powder, I used the Heat Tool on setting 2.

Once it cooled, I stamped the greeting from the Beautiful Bouquet Stamp Set. When I did this card in class sometimes we had a hard time fitting the greeting in. You could stamp the greeting first but allow it to dry for a bit and be sure to use the embossing buddy over the greeting. If you don’t the little bit of moisture from stamping the greeting will hold onto the embossing powder. To finish it off, I tied some Calypso Coral Ombre Ribbon around the rose. Next, I added this piece to the card front with Stampin’ Dimensionals. I placed it on diagonally which is always a bit of a struggle for me. The look is super cool but then I think it just looked crooked. I say just place it down and go with it!!! Made with love and not perfection! 🙂

Product List

Don’t forget there are still a few more days to earn the Smitten Mittens Stamp Set for FREE!! Click here for all of the details!

Happy Stampin’

~Laura

Getting Ready for the Holiday Mini Catalog!!!

Posted on

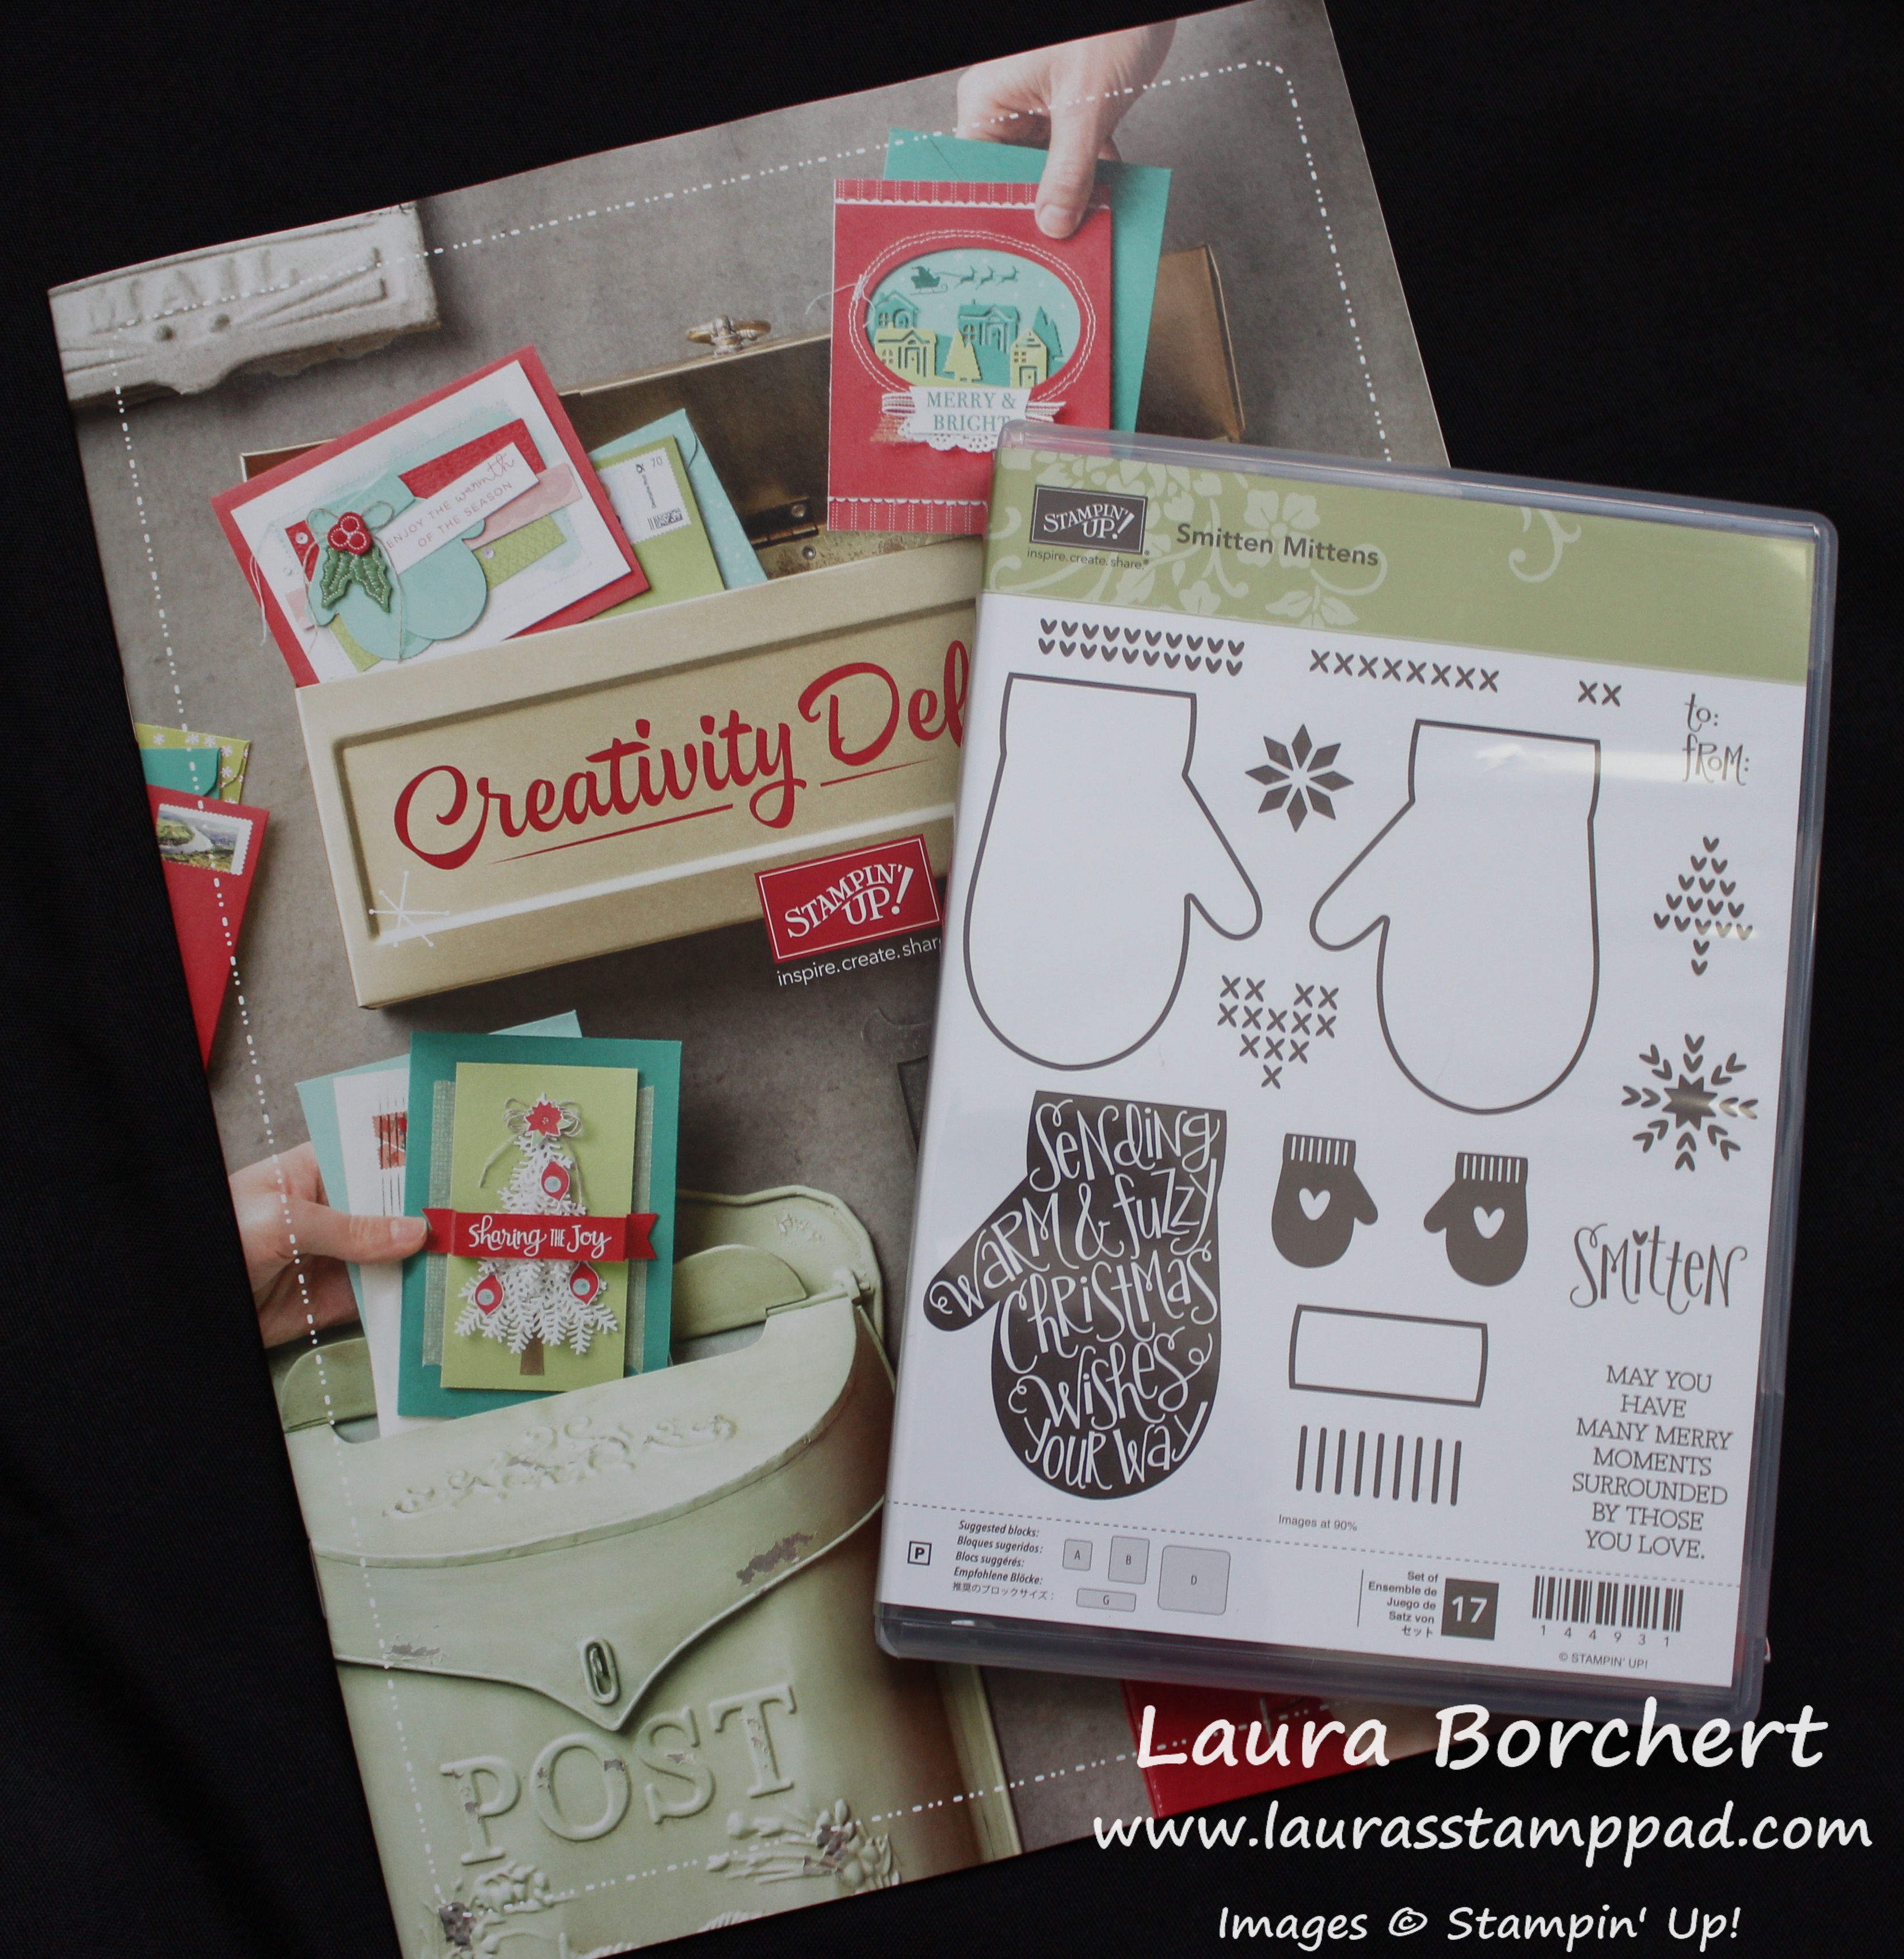
The Holiday Mini Catalog comes out on September 1st and it is FABULOUS!!! I know I say fabulous a lot but this is super fabulous!

Holiday Mini Catalog, www.LaurasStampPad.comAs we prepare for Holidays, this catalog has everything we need for our crafting projects. There are kits, there are bundles, there is gift packaging, and every thing in between and MORE!!!

Usually for a NEW Catalog release, I do a Girls Night Out Event to show off samples and product to see, touch, and feel! It makes all the difference for sure! 🙂 For this catalog, I decided to do a Virtual Girls Night Out so everyone can attend and not just those local. You can join the party on my Facebook Page here!!!

I am so excited about this party because I will be sharing tons of samples, product, card projects and more! There will be prizes and games and lots of fun!!! The party will start on Monday, September 3rd and go through Wednesday, September 5th. Each day I will be posting new and fun goodies! If you have questions on anything, feel free to post them on there and I will do my best to answer with a response, video, or photo! There will be a few Live Videos where you can watch me live and ask questions! Join the party and let me know what you are the most excited about!!!

If you are on my mailing list, you should have received your Holiday Mini Catalog in the mail the past few days! If you would like a copy of the catalog, send me your address here!

Need Mittens in Alaska, www.LaurasStampPad.com

Also, don’t forget that you can get the party started early by earning the Smitten Mittens Stamp Set for FREE!!! Any order of $75 or more placed in the month of August will earn this fabulous set! It is one of the super cute ones from the Holiday Mini Catalog!!! Click here to start shopping and earning!!!

I hope you all have a wonderful weekend! I’ll see you back here on Monday!

Happy Stampin’

~Laura


Pink & Gold Go Hand In Hand!!!

Posted on

I think that Pink & Gold go hand in hand. Every girl needs a little bling in her life whether it is gold or silver!!!

Pink & Gold Go Hand In Hand, www.LaurasStampPad.com

These colors are just so fabulous together! Don’t forget that the other half of the Bundle of Love Designer Paper is a beautiful blue!!!

For this card, I started with a Blushing Bride card base. Then I cut a piece of Gold Foil Paper measuring 4″ x 5-1/4″. Rather than wasting all of it by covering it up, I die cut the scallop circle out of the middle before layering on the Designer Paper. I used the Layering Circles Framelits for the scallop and smooth circle! Once I had cut out the middle, I layered on the Bundle of Love Designer Series Paper. The designer paper is 3-3/4″ x 5″ and I cut it at 2″ to have a 2″ piece and a 3″ piece! It doesn’t matter which one is the gold side and which is the pink, that’s all personal preference.

After adhering those on, I added a strip of Gold Metallic Edge Ribbon around the spot where the paper comes together. This gives a nice clean look and I did adhered the ends on the back side and added it to the card base.

Love & Hugs, www.LaurasStampPad.com

Now for the greeting, I stamped it from the Ribbon of Courage Stamp Set in Blushing Bride Ink. To give it a little more color and pop, I brushed the edges with a Sponge Dauber. Next, I layered it onto the scallop Gold Foil circle and added it to the card front with Stampin’ Dimensionals!

If you would like to purchase any of the products used for this card, you can see them all here:

Product List

If you would like to see this all in action, check out the Video Tutorial below or click here! Be sure to give the video a thumbs up if you liked it and don’t forget to subscribe if you are new. If you would like a notification when I post a new video, be sure to click the bell right next to the subscribe!!!

Happy Stampin’

~Laura

Need Mittens in Alaska, www.LaurasStampPad.com

Don’t forget you can get the Smitten Mittens Stamp Set for FREE with a $75 order placed before August 31st!!! Click here for more details!


Starry Night on Earth!!!

Posted on

I love Navy and Silver for Holiday Cards and this starry night card is just perfect!!!

Starry Night on Earth, www.LaurasStampPad.comEven though I enjoy using Night of Navy, I try not to use it as the card base since it is harder to write in or then I have to add a Whisper White base inside. For this card, I just went with a white layer to add even more POP!

I started with a Whisper White card base. Next, I took a piece of Night of Navy and stamped all over the background with the starry image from the Carols of Christmas Stamp Set! You can get this set this month before the Holiday Mini Catalog comes out on September 1st! Be sure to stamp off the edges of the cardstock for that nice background that looks like it continues on. Once I was finished stamping, I tied some Silver Metallic Edge Ribbon around the card and added it to the card base!

Carols of Christmas, www.LaurasStampPad.com

For the greeting, I cut 3 squares! The Silver Foil is a 3″ square. The Night of Navy is a 2-34″ square and the Whisper White is a 2-1/2″ square. Using the Carols of Christmas Stamp Set, I stamped the greeting in Night of Navy Ink. Next, I layered them all together and added it to the card front with Stampin’ Dimensionals. To finish it off, I added a few Rhinestones!!! I just love it!

You can check out some more samples using the Carols of Christmas Bundle here, here, and here! This Bundle is available this month as a sneak peak before the Holiday Mini Catalog comes out on September 1st!!! Get a head start on your Holiday Cards!

Happy Stampin’

~Laura
Product List


Technique Tuesday ~ Fresh Florals One Sheet Wonder!!!

Posted on

Happy Tuesday!!! I have another fabulous technique for you! This Fresh Florals One Sheet Wonder is stunning and simple! You can create 16 of these cards with one sheet of Designer Paper!

Fresh Florals One Sheet Wonder, www.LaurasStampPad.com


Isn’t this card beautiful? Any type of greeting could be stamped on there with this style of card. The Fresh Florals Designer Series Paper has a pattern and color for everyone!

I started with a Berry Burst card base. Next, I cut a piece the pieces for layering!

3″x 3″ Fresh Florals Designer Series Paper (there are 16 squares per 12″ x 12″ sheet)

3-1/8″ Square of Island Indigo

3-1/4″ x 4-1/4″ Whisper White

3-1/2″ x 4-1/2″ Island Indigo

I simply layered each of the pieces together. Using the Beautiful Bouquet Stamp Set, I stamped the greeting in Berry Burst Ink. I finished it off by tying some Silver Metallic Edge Ribbon above the greeting. I added the focal point to the card base with Stampin’ Dimensionals to give some texture! Plus, you all know how much I love dimensionals! Don’t forget the inside of the card too! This stamp set has the perfect greetings for inside and outside of the card!

Anniversary Card Inside, www.LaurasStampPad.com

Remember that making multiples of one card is much easier than making different styles of cards. You can get 16 of these cards out of 1 sheet of the Fresh Florals Designer Series Paper. Cut for all 16 now and assemble them. Change up the greetings so you have a card for every occasion on hand for when you need it! If you would like to see more One Sheet Wonders, click here, here, and here!

If you would like to see this all in action, check out the Video Tutorial below or click here! Be sure to give the video a thumbs up if you liked it and don’t forget to subscribe if you are new. If you would like a notification when I post a new video, be sure to click the bell right next to the subscribe!!!

Happy Stampin’

~Laura

Product List


Welcome Baby!!!

Posted on

This Welcome Baby Card is simple and yet precious! Change up the colors for a specific gender or to match the child’s nursery colors!

Welcome Baby, www.LaurasStampPad.com

I just love to soft colors and the texture from the embossing, ribbon, and scallops!

I started with a Daffodil Delight card base! Next, I took a piece of Whisper White measuring 5″ x 3-3/4″ and embossed it. I ran it through the Big Shot in the Oh My Stars Embossing Folder and added it to the card front. Using some of the Daffodil Delight Double Stitched Ribbon, I tied a knot around the card in the middle. For the greeting, I die cut out the smooth circle and scallop circle with the Layering Circles Framelits! The greeting was stamped from the Special Celebrations Stamp Set in Daffodil Delight Ink. To add a little more color to the greeting, I brushed the edges of the circle with a Sponge Dauber! I layered the circles together and then added them to the card front with Stampin’ Dimensionals.

I love the simple, clean look of this card. It is one that could be made up with a few being pink, a few blue, and a few yellow. Do you like to make multiples of cards to have on hand or make them as you need them? Let me know in the comments below!

Here are the products I used for this card!

Product List


Vacation Stamping School Recap!!!

Posted on

Happy Friday!!! Last weekend, I added Vacation Stamping School which is a fabulous event for demonstrators in our group! I look forward to this event each year because I get to chat with friends, stamp, and learn new techniques and ideas! It was super fabulous!

Vacation Stamp School, www.LaurasStampPad.com


Here are just a few photos I took of the displays, amazing people, prizes, and techniques! The ladies in these photos are so inspirational and amazing. I couldn’t be happier to have been asked to join Stampin’ Up! by Meg! It’s been the best decision ever! I love meeting new people and gathering with friends. The creative outlet and escape from the craziness of life is always a plus too! I still have moments when I create something and I’m just blown away that I DID IT!!! It is so rewarding!

You might notice some NEW products in these photos as well. They are coming out in the Holiday Mini Catalog on September 1st. If you just can’t wait till then, join Stampin’ Up! this month and pick those items for your Starter Kit. You get to pick out $125 in product and just pay $99 plus tax! Shipping it always free! 🙂 If you have any questions, just comment below or reach out. I’m happy to answer any of them!

Share Paper Pumpkin, www.LaurasStampPad.com

Would you like pre-cut cards ready to make? Would you like stamps and ink each month? Do you like unwrapping presents? If you answered “YES” to any of these questions then you need to try out Paper Pumpkin!!! Get the September Kit at 50% off if you would like to try it out!!! It’s just $9.98 for stamps, ink, a clear block and the supplies to make the project inside! Click here to get signed up by September 10th! Of course, you get a free gift from me each month you get a kit too! 🙂

Need Mittens in Alaska, www.LaurasStampPad.com

Don’t forget you can get the Smitten Mittens Stamp Set for FREE with a $75 order placed before August 31st!!! Click here for more details!

Have a fabulous weekend! Happy Stampin’

~Laura