Happy Tuesday!!! This greeting is like my favorite of all time, I think! Some Things Are Just Meant To Be…Like The Two Of You Together! Come on now, aren’t you loving this?? I think it will be great for engagement, wedding, and anniversary!

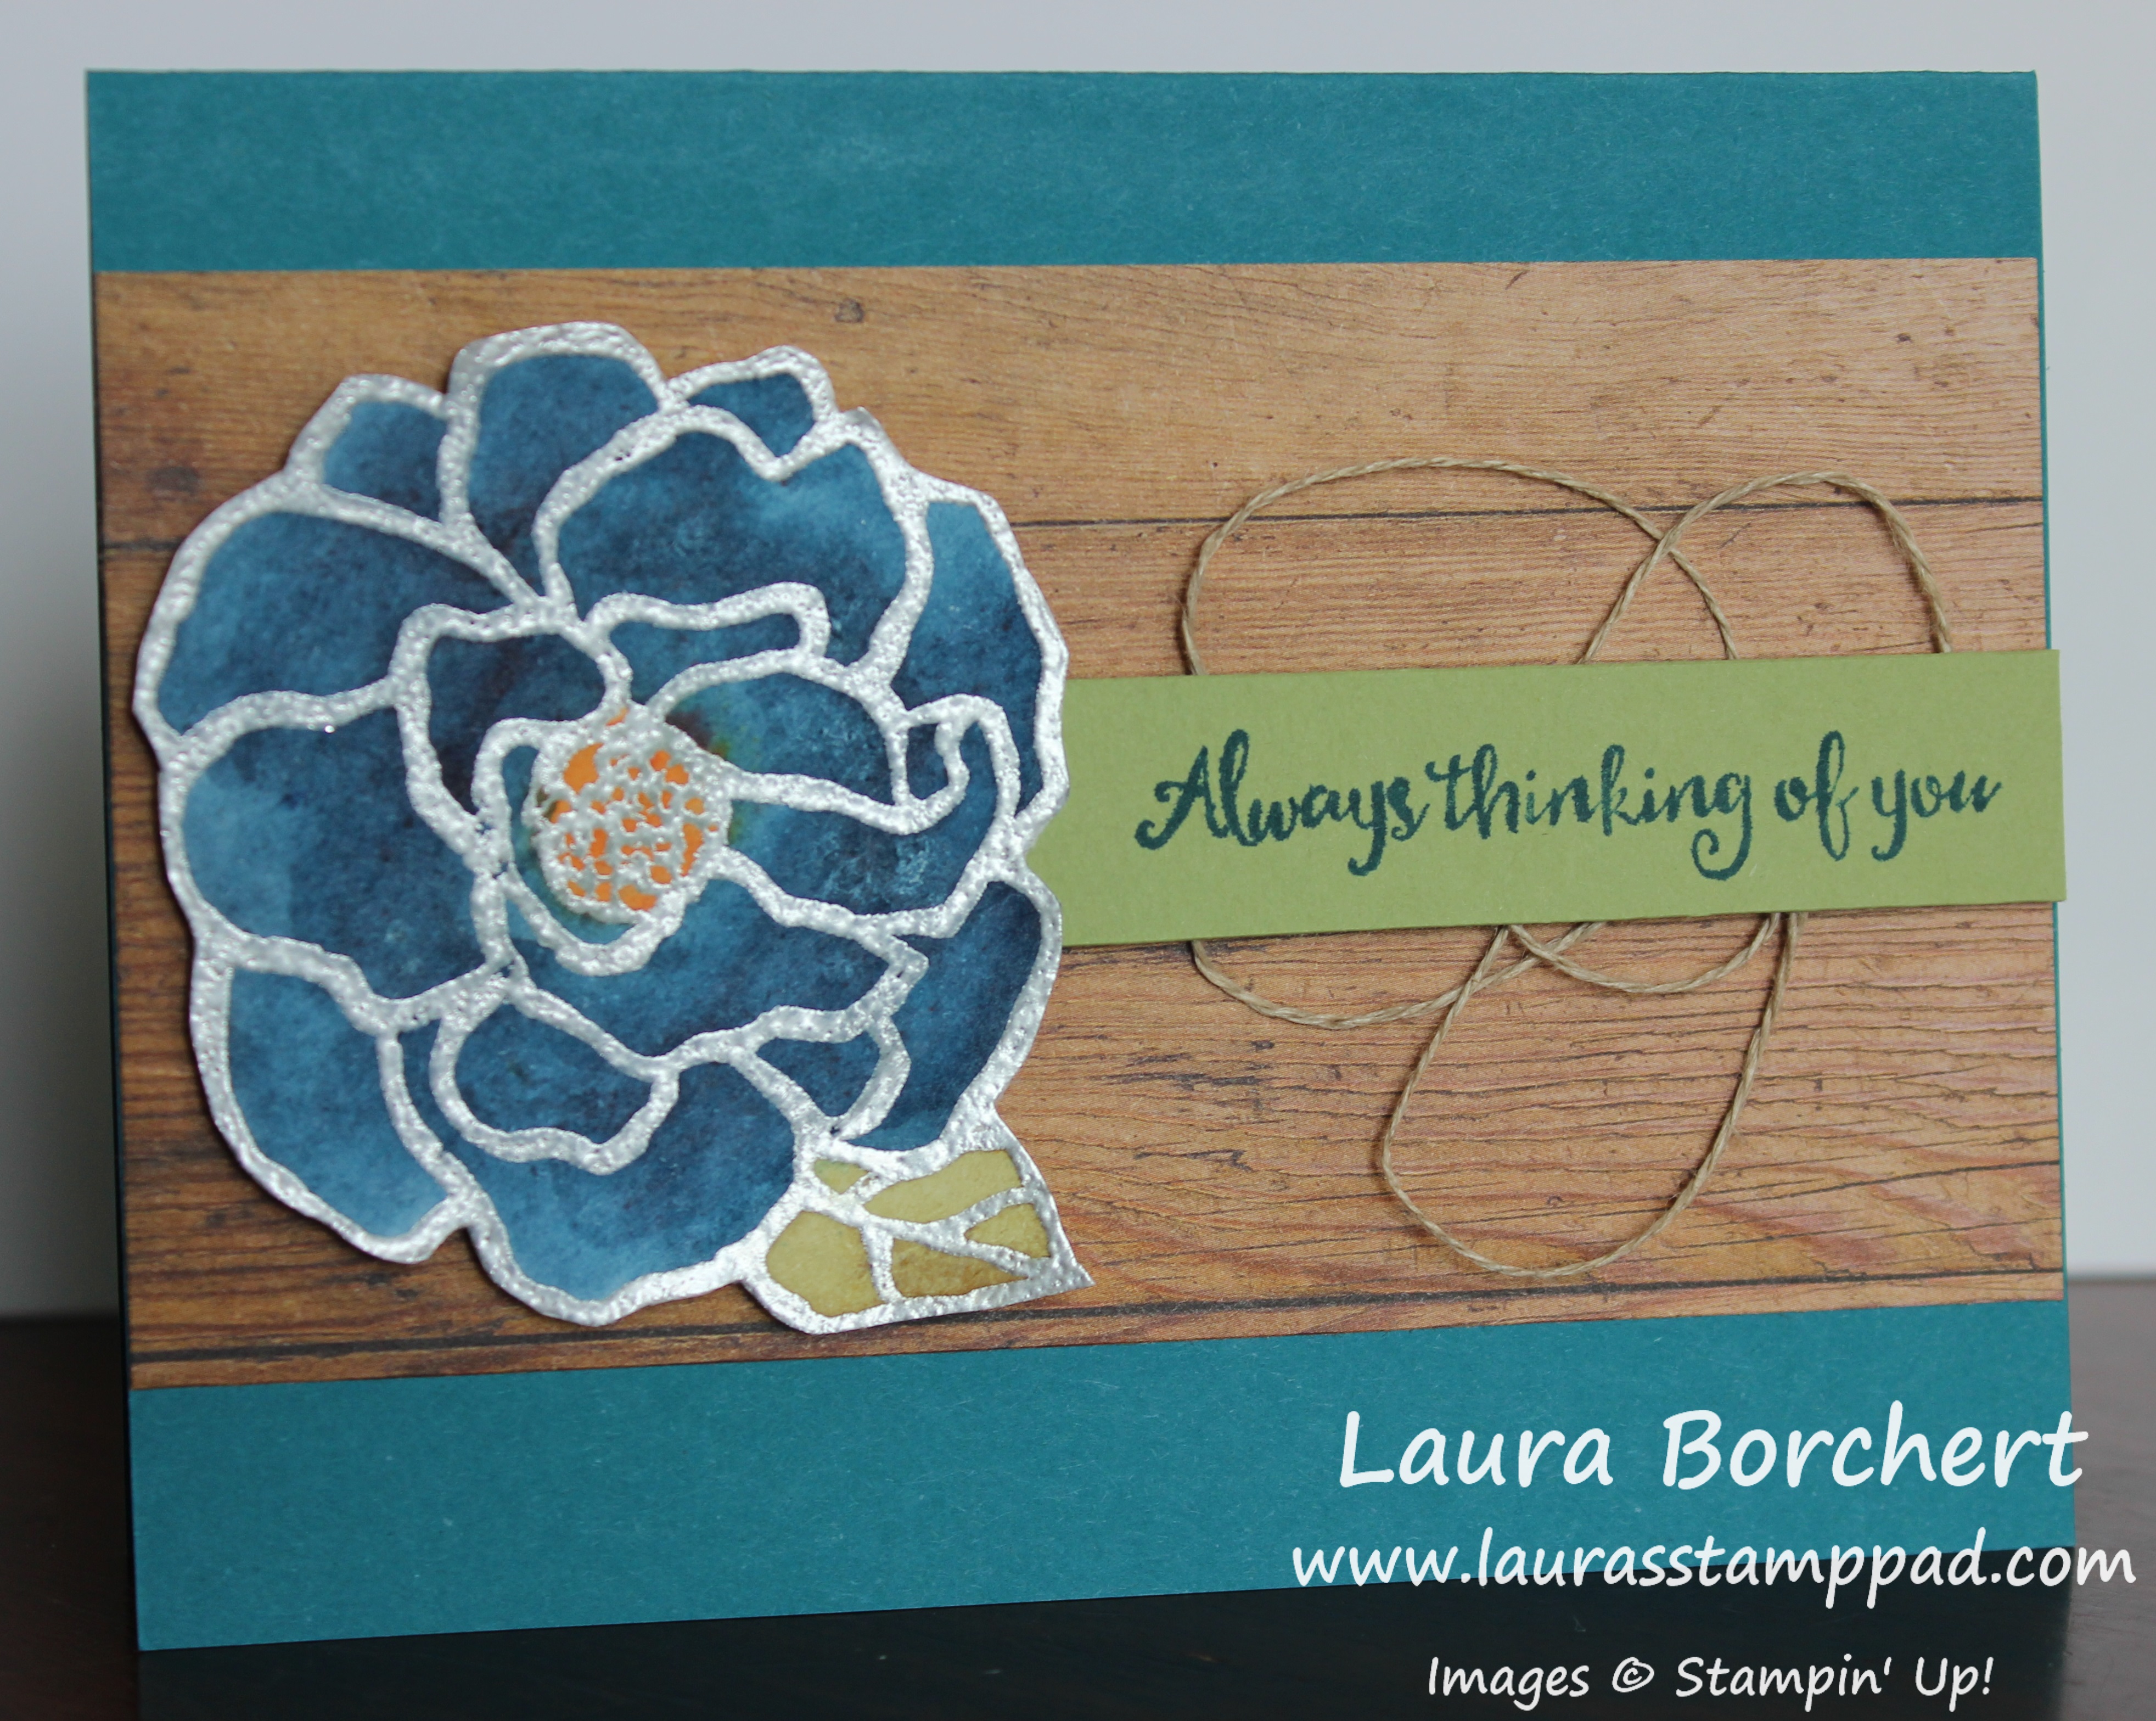
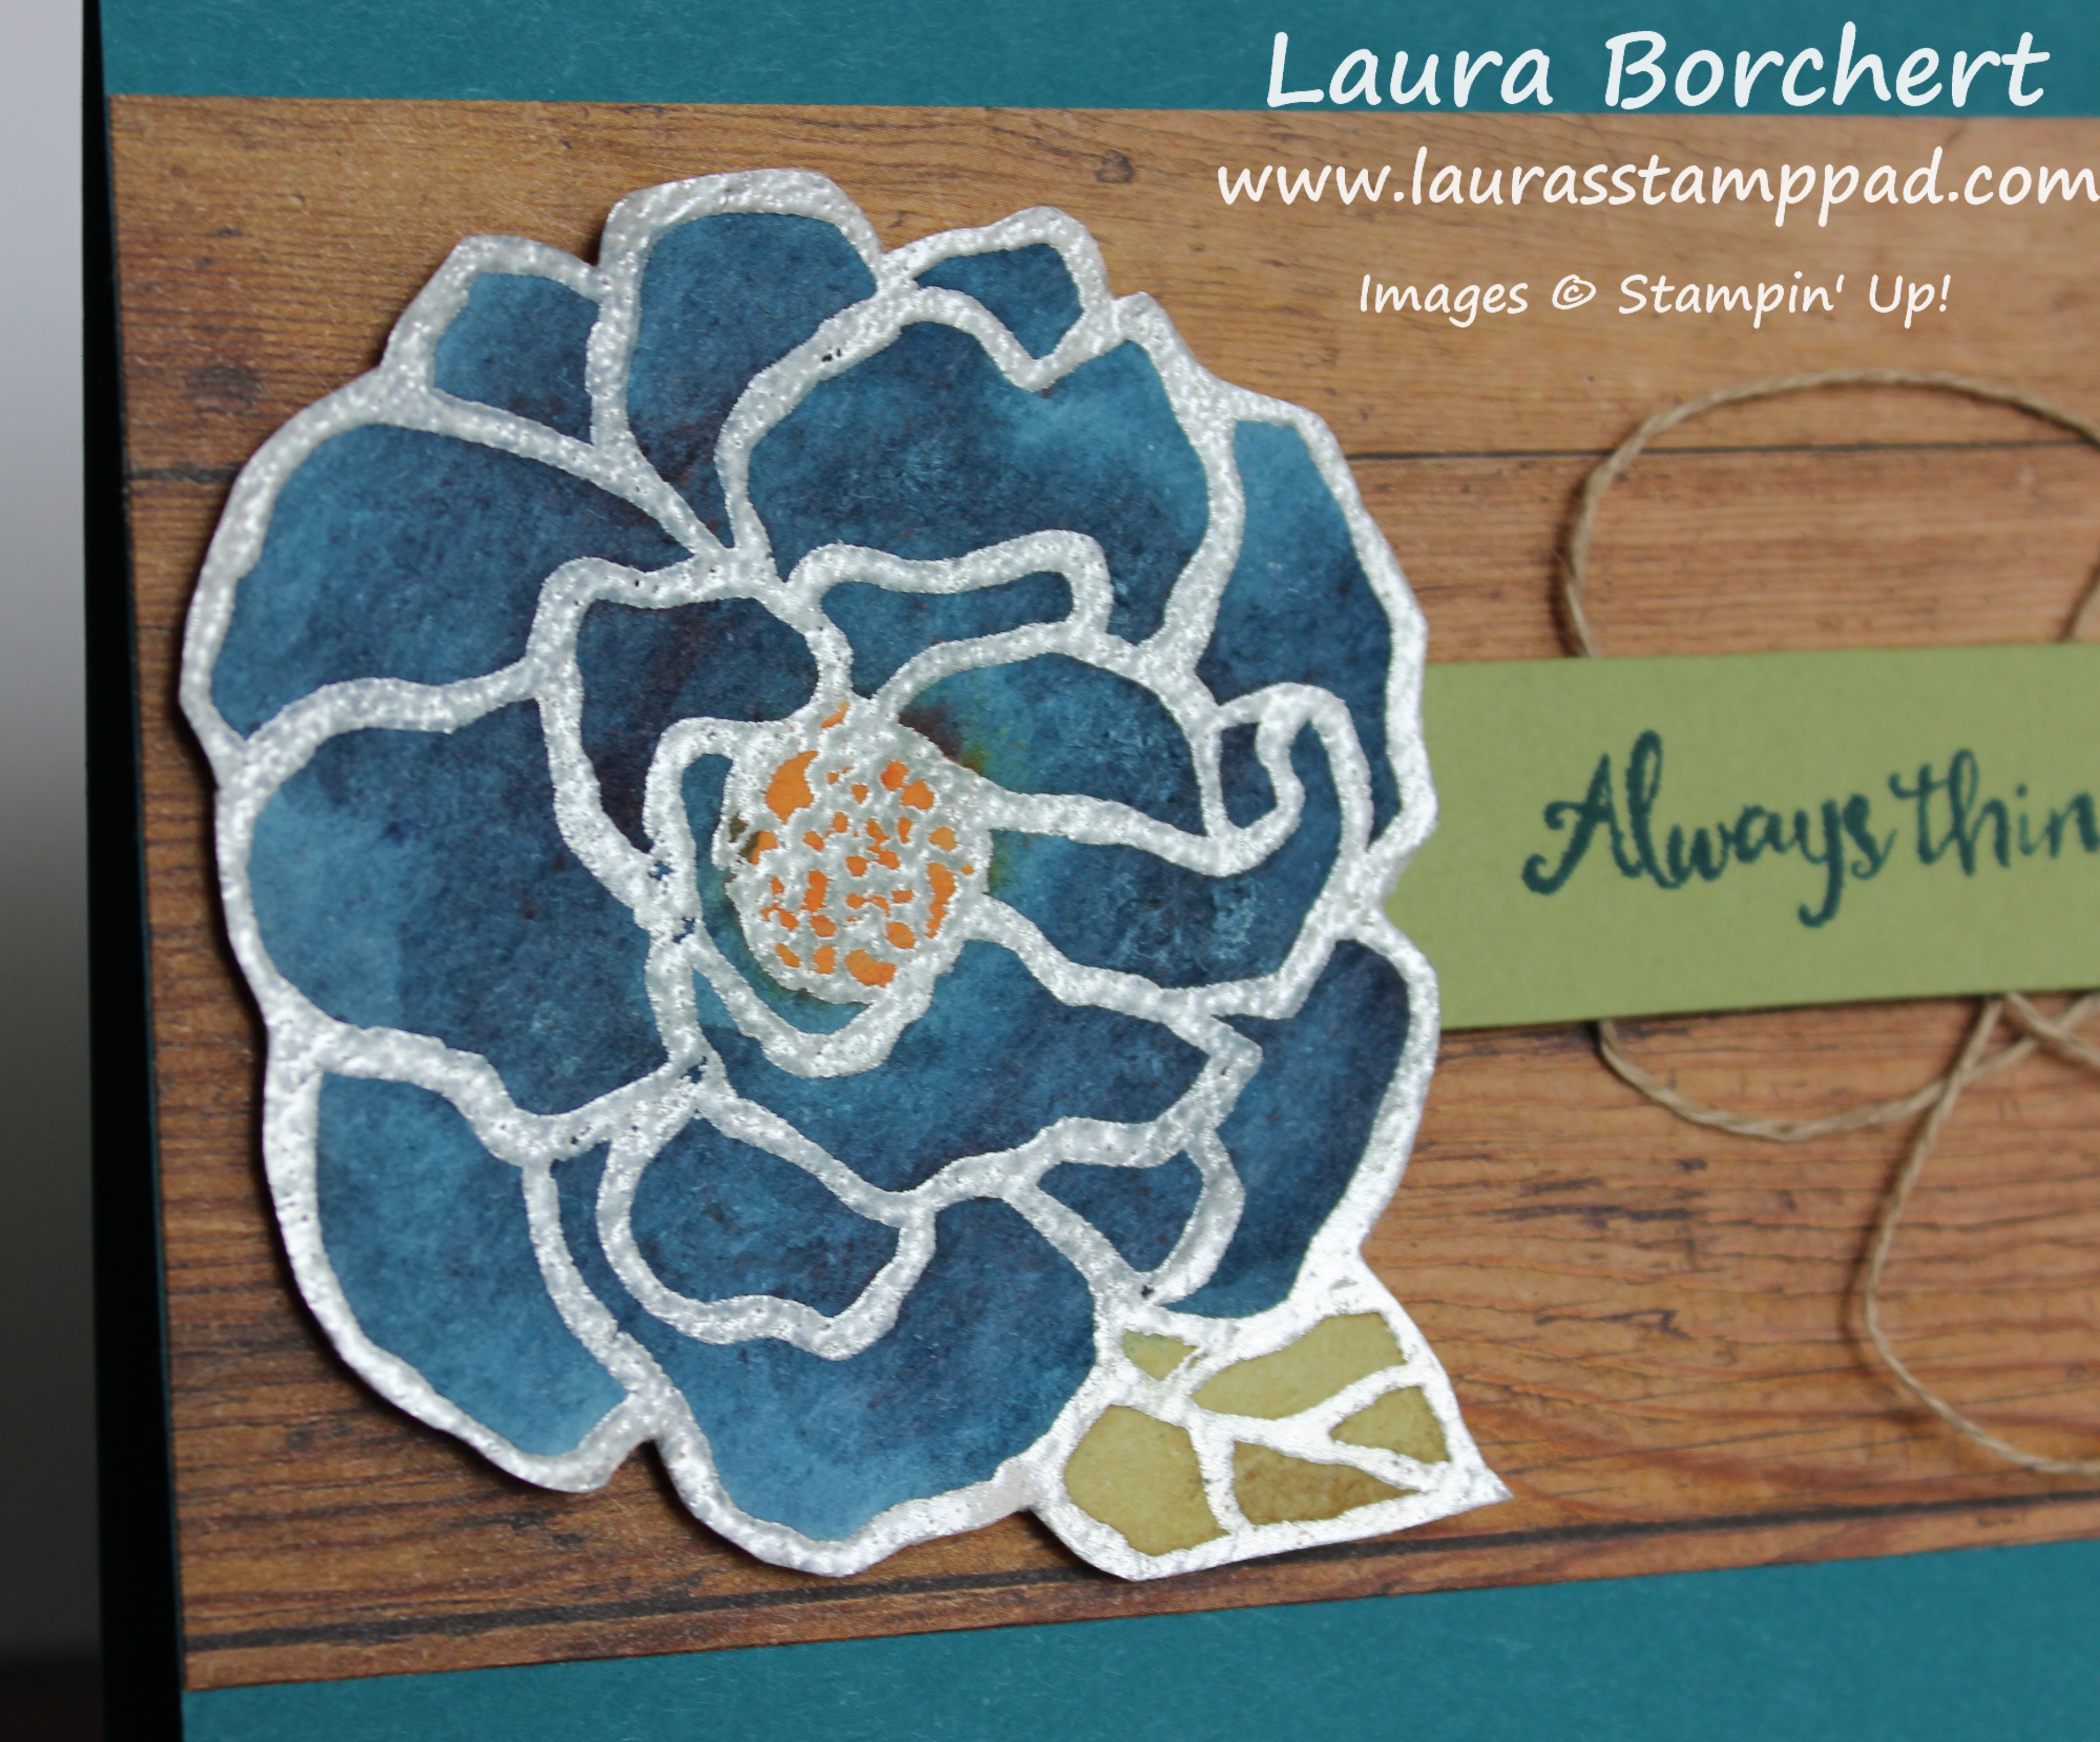
I started with a Calypso Coral card base. Next, I took the Lots of Labels Framelits and die cut some of the Lemon Lime in the Fresh Florals Designer Series Paper Stack and some Whisper White! Depending on how much you want to show between the layers, you can pick the size of framelit.

Now for the focal point, I stamped it all in Memento Black Ink! The greeting was stamped in the middle from the Petal Palette Stamp Set from the Occasions Mini Catalog and the floral edge pieces are from the Lots of Lavender Sale-A-Bration Stamp Set. Get the Petal Palette Bundle, save 10% and earn the Lots of Lavender Stamp Set for Free! How fabulous is that?!?!?! Woot woot! Using the images in the Lots of Lavender Stamp Set, I added color to the flowers with Calypso Coral and Lemon Lime Twist! The cool thing about these images are that they are textured and not a perfect match. This makes it easier to stamp and gives it a watercolor look almost. Tip: The greenery has a stamp for the top and the bottom so if it looks like it totally doesn’t line up, try the other side!!
After finishing the stamping and coloring, I added ribbon from the Sale-A-Bration Shimmer Ribbon Pack to the back as well as some Silver Sequin Trim! Simply start on one end and secure it with Stampin’ Dimensonals, run it to the other side and make a loop and secure it with Stampin’ Dimensionals. Keep filling in until you have a loop on either side and the ends on opposite sides. Once all the ribbon is secure, peel off the Stampin’ Dimensionals and add it to the card front. I had a few sequins fall off the ends so I added those around the base with the Fine Tip Glue Pen.
If you would like to see this all in action, check out the Video Tutorial below or click here! Be sure to give the video a thumbs up if you liked it and don’t forget to subscribe if you are new. If you would like a notification when I post a new video, be sure to click the bell right next to the subscribe!!! Don’t forget to check back tomorrow to see another sample using the Lots of Lavender Stamp Set!
Happy Stampin’
~Laura
Product List


 Shimmer Ribbon Pack")


 Designer Series Paper")


 Metallic-Edge Ribbon")