Technique Tuesday – Perfect Tree Placement!!!

Posted on

Happy Tuesday!!! You all know what that means! I have a fabulous technique to share with you all today! Create the perfect tree placement from the In The Trees Stamp Set using the Stamparatus!!!

Perfect Tree Placement, www.LaurasStampPad.com

Doesn’t this scene just look so relaxing, peaceful, and Spring-like?? Oh how I am counting down the days till Spring (34 more days)!!!! Let’s get started on this beauty!

I started with a Crumb Cake card base! Next, I took a piece of Whisper White measuring 4″ x 5-1/4″ for all the stamping! I started with the trees, then the hammock, and finished with filling in with flowers and birds! All of the images were stamped in Memento Black Ink since I colored them in with the Stampin’ Blends alcohol markers! I used the Stamparatus for the perfect placement on the trees and hammock. Stampin’ Up created the amazing notched hinges so we can move the stamp over. After stamping the first tree, I moved it over 2 full spots (into the 3rd spot over) which is the perfect spacing amount for the hammock to hang between them! How simple and cool is that?!?! I love it!!!

Spring Flowers & Trees, www.LaurasStampPad.com

For the coloring on the tree, I did not color each individual leaf! Heck no do I have the patience for that. LOL I colored big spots with the dark Old Olive and then blended it all together with the light Old Olive for a little variation in color! The trunk was done in Crumb Cake and the hammock in Real Red! I colored the flowers with Old Olive and Daffodil Delight. Then I thought it needed some green grass. There is a grass stamp in the set but I went with use swiping some of the light Old Olive Marker across the bottom. The awesome thing is that there aren’t streaks like when using a marker! I loved how it turned out!

To finish off the card, I added this piece to the card front and added the greeting onto a strip of Real Red. For a little bit of texture, I tied some Linen Thread around the greeting and added it to the card front with Stampin’ Dimensionals!

If you would like to see this all in action, check out the Video Tutorial below or click here! Be sure to give the video a thumbs up if you liked it and don’t forget to subscribe if you are new. If you would like a notification when I post a new video, be sure to click the bell right next to the subscribe!!!

Happy Stampin’

~Laura

Product List


Ombre Birthday Greeting!!!

Posted on

Happy Monday!!! I hope you all had a wonderful weekend! Today, I’m sharing this simple and yet fabulous ombre birthday card!!! I just love Ombre…..check out more samples here! The Stampin’ Blend make creating an ombre look super easy too!

Ombre Birthday Greeting, www.LaurasStampPad.com

I started with a Whisper White card base and layered on a piece of the Picture Perfect Party Designer Series Paper (4″ x 5-1/4″). This paper has so many perfect patterns for this style of card – bows, cookies, donuts, confetti, and more! I love it! Now for that fabulous ombre birthday greeting!

Stampin' Blends, www.LaurasStampPad.com

I stamped the greeting from the Birthday Wishes For You Stamp Set in Memento Black Ink onto Whisper White! Then using the Bermuda Bay and Pool Party Stampin’ Blends, I colored the greeting. Starting with the “bi” using the dark Bermuda Bay marker and doing 2 letters with each color. I went from dark Bermuda Bay, light Bermuda Bay, Dark Pool Party to light Pool Party! These colors were perfect for creating that ombre look! Next, I layered this onto a piece of Peekaboo Peach and added it to the card front with Stampin’ Dimensionals. To finish off the card, I added a few  Bermuda Bay Enamel Shapes! This card is super simple and easy to change up the colors to the designer paper you have on hand or colors you prefer!

Half Ombre Birthday, www.LaurasStampPad.com

I did this ombre look using just the dark and light Bermuda Bay and creating the ombre from top to bottom. The only problem I had with this was that the middle where I had to color more to get the blending (rather than a distinct line) bled out. When going over a spot over and over, it will bleed wider on the paper and so that is how this happened. I think maybe if I did a little bit of blending on each one and allowed it to dry more in between, I might not have had this problem!

I have really fallen in love with the Stampin’ Blends and have been having lots of fun with them! Have you tried them? What are your favorite colors? Let me know in the comments below!

Happy Stampin’

~Laura

Product List


My Big Shot Broke!!

Posted on

Happy Friday, everyone!!! The Olympics have started and I couldn’t be more excited! I just love them and have moved my office into the living room for the next 2 weeks! Today, I wanted to share with your how my Big Shot broke…..and got fixed!!!

My Big Shot Broke, www.LaurasStampPad.com

This is my first Big Shot that I bought back in 2008 and have used so much all of these years. I can’t even begin to count how much  I have used this Big Shot for die cutting and embossing! I’m super impressed it lasted this long. While using the Big Shot and pushing through the plates with the die, I heard a pop and rattle and thought…..that’s not good! The handle then cranked smooth in one spot. I was still able to use it this whole time! It just slipped at that spot each time. If you notice in the photo above, what happened  was that the cogs were breaking off. Then one day, more little cogs popped and rattled and I knew it was over. I was sad that my first Big Shot was shot! My husband said if it is broke, I can’t break it more so let’s see if I can fix it!

New Cogs, www.LaurasStampPad.com

After taking the Big Shot apart and seeing that I just needed another cog and it would work again, my husband called Sizzix to see if we could buy the part! They said they would send a new part for free and took our address down! How amazing is that?!?! Due to the age, I was not expecting that at all. A few days later a new cog set arrived and my husband installed it!

Big Shot pieces, www.LaurasStampPad.com

Here are all of the parts of the Big Shot before my husband put it all back together!!! If you have any specific questions about this process, I would love to ask my husband for you and answer them for you! He was amazing and fixed it completely with the help of the new parts from Sizzix!!

Like New Again, www.LaurasStampPad.com

It’s like new again!!! I’m so excited!!! I can’t be more thankful to Stampin’ Up for carrying such amazing products and partnering with excellent companies. Love it!!!

If the Big Shot has been on your wish list for awhile now, I think you need to get one NOW! I love love love mine so much and couldn’t live without it. It does so much for each of my projects! Also, right now you will be earning Sale-A-Bration freebies as well! Woot Woot!

I hope you all have any amazing weekend and I’ll see you back here on Monday!

Happy Stampin’

~Laura

Product List


New Ways I Have Started Using Ribbon!!!

Posted on

So I love ribbon and probably use it most as my embellishment of choice! I have knots and bows down to an art and I know my class attendees probably curse me every time they see ribbon…….practice does make perfect though! That is how I got good! 🙂 Lately, I have been using ribbon in other ways and I thought I would share those with you!!!

Started Using Ribbon, www.LaurasStampPad.com

I love adding ribbon behind a greeting to make it pop and add texture!!! It’s fun and there are no knots or bows! 🙂

Rustic Ribbon Trick, www.LaurasStampPad.com

Linen Thread is fun to use because it isn’t very bulky and it adds a little rustic touch! I like using Linen Thread for man cards a lot! For this technique, I wrapped it around my fingers a few times, slid the loops off my fingers and twisted the loops into a figure eight. By doing this, it really helps the loops flare out so perfectly! Then I place the figure eight on the back of the greeting or image and placed a Stampin’ Dimensional in the center to secure it. Next, I fanned out the loops and secured them in place with more Stampin’ Dimensionals! You all know I love those things anyway! 🙂 Check out this sample to see it used!

Sequin Trim Decoration, www.LaurasStampPad.com

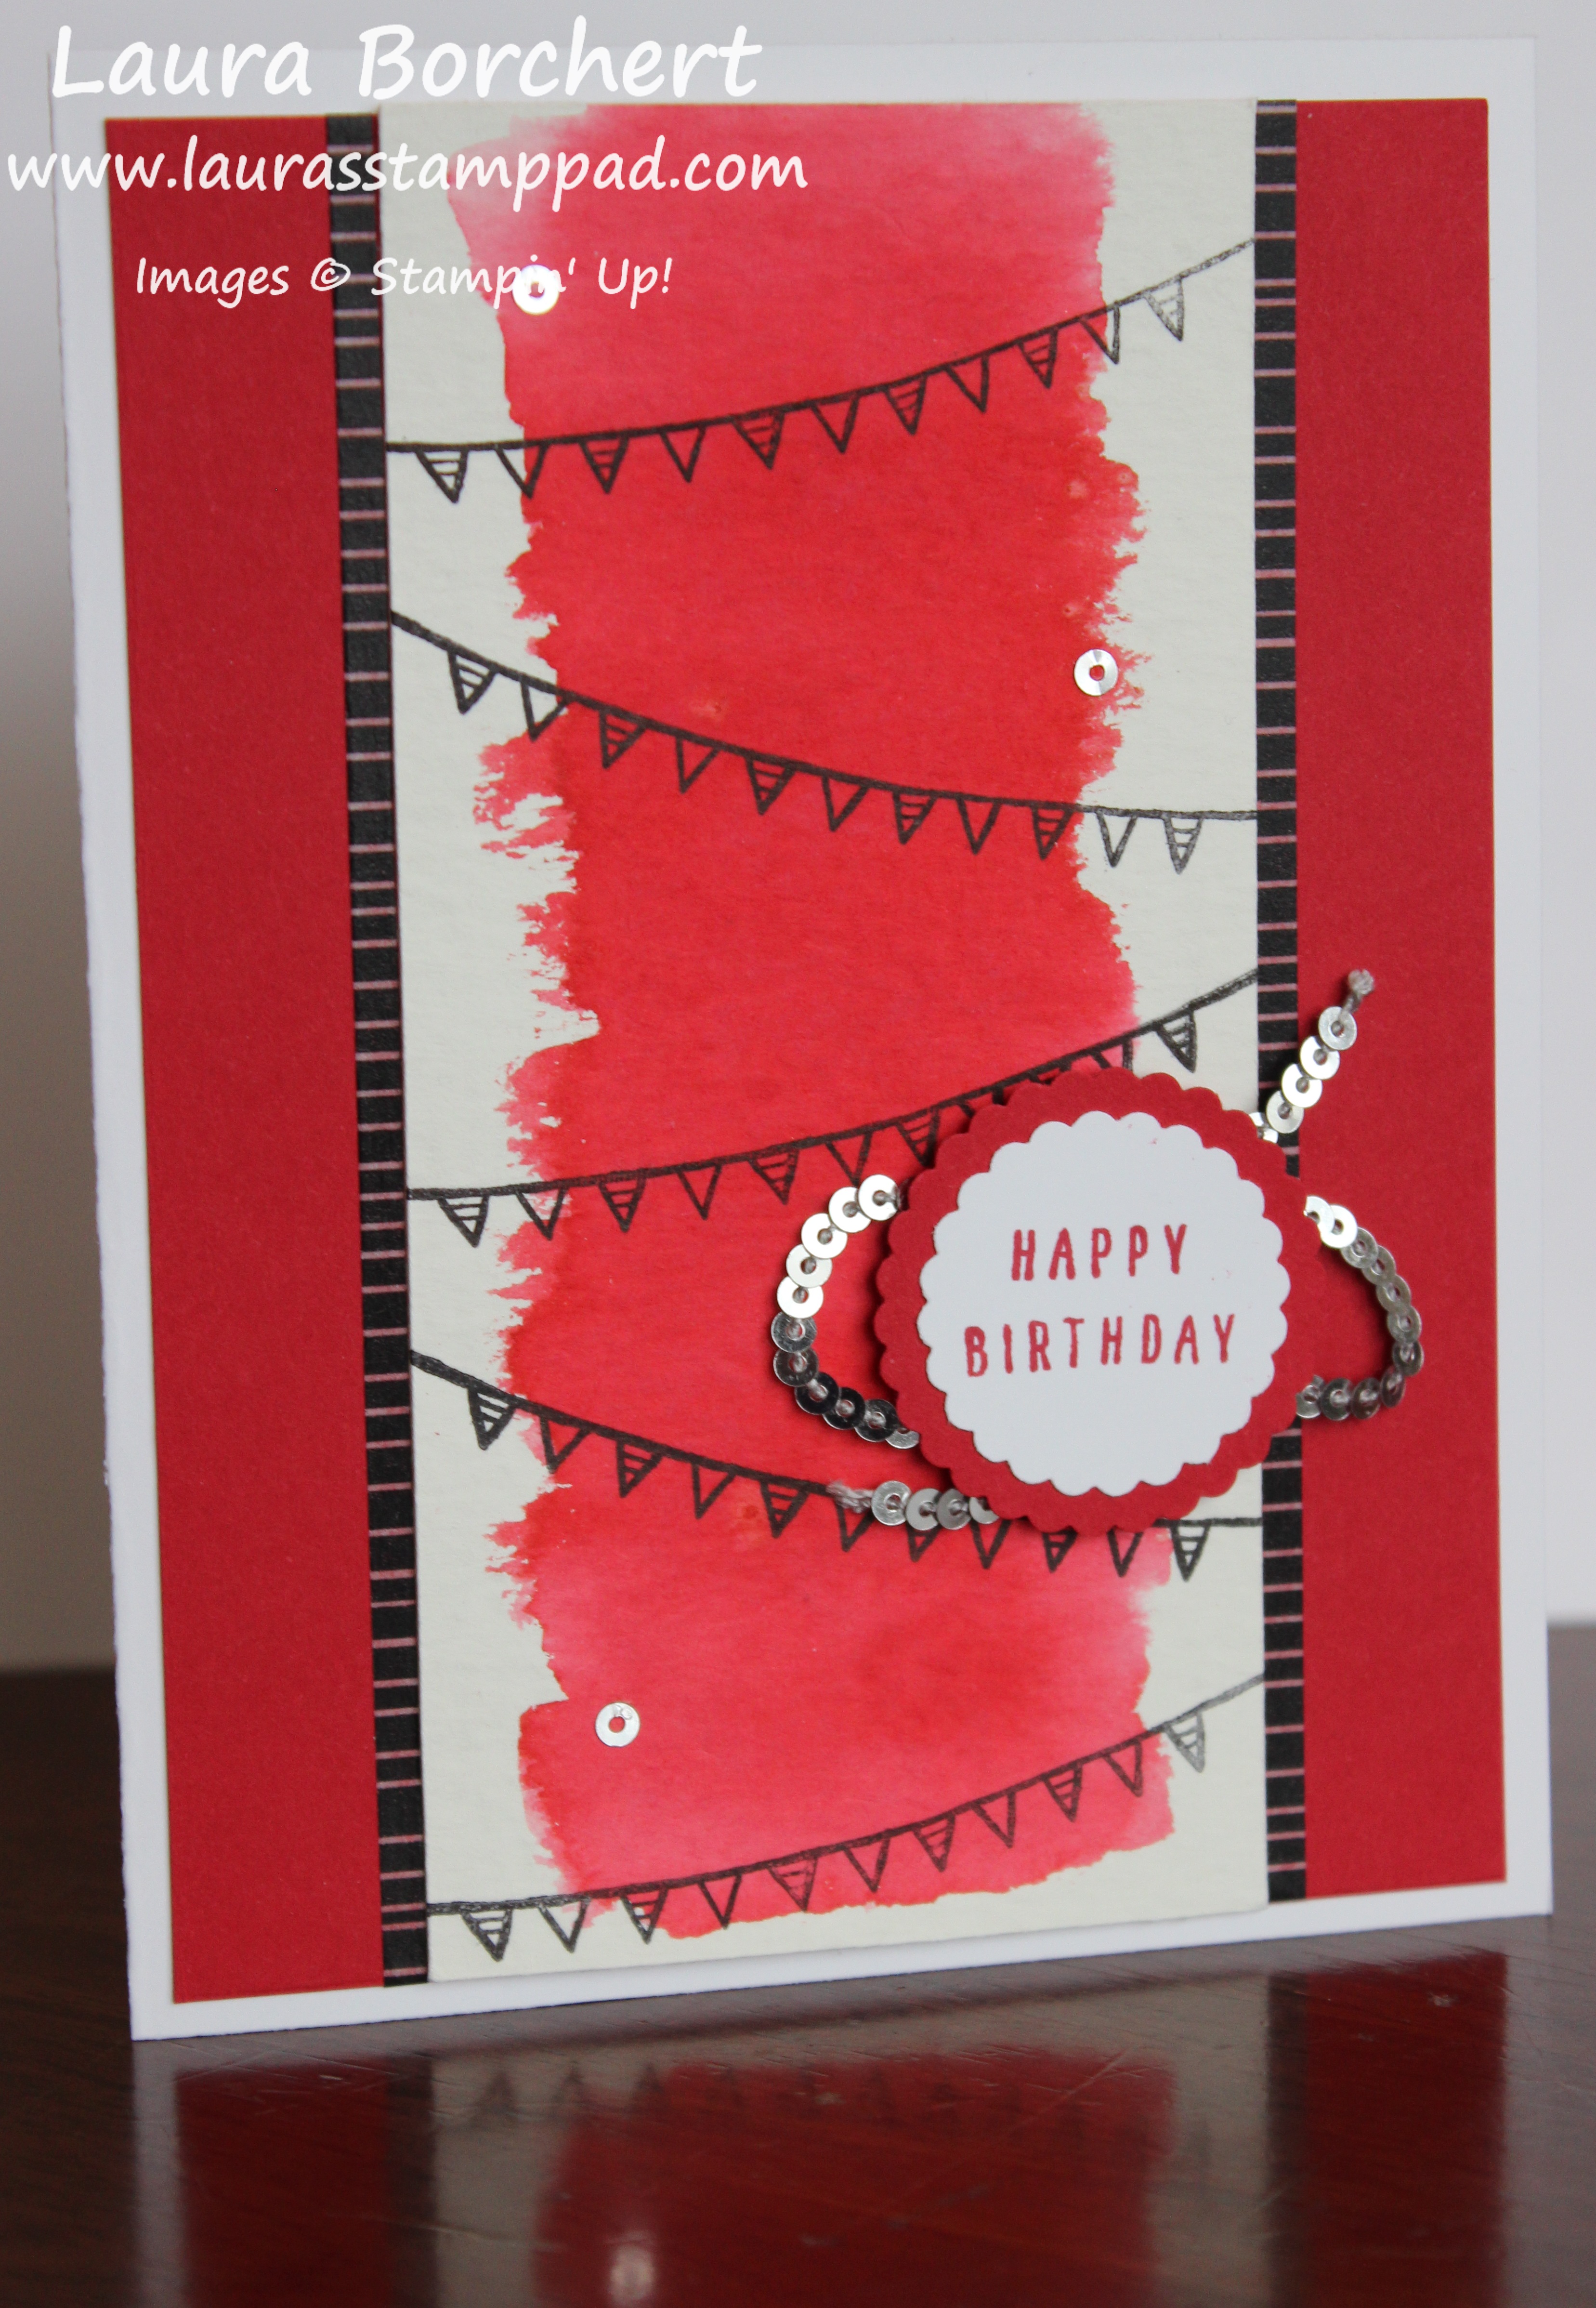
Who doesn’t love a little bling?? Adding loops of Sequin Trim is super simple. Start by securing the end with a Stampin’ Dimensional and then loop it around as you wish, securing it along the way with Dimensionals. TIP: Make sure that the thread side of the sequins is showing up when securing it down because when you flip the greeting over, the correct side will be showing! Here is a sample show off this style used!

Ribbon Loops, www.LaurasStampPad.com

Here is just a simple ribbon swoosh behind a greeting! Again, for this one, I placed the end at the top with as much as I wanted hanging off. Then, I secured it with a Stampin’ Dimensional. Next, I made a loop and placed a Stampin’ Dimensionals in V of the ribbon making sure to be touching both sides of ribbon and the cardstock in the middle. Then I did this one more time. If there is a spot that needs a Stampin’ Dimensional to help even things out, just add more! Here is a sample using this technique!

Side Ribbon, www.LaurasStampPad.com

This last one is rather simple but does require a knot! I took a piece of ribbon and wrapped it around the cardstock with both ends on the right side. Then I took some Metallic Thread and tied the ends together to hold them in place.

Let me know your favorite in the comments below!

If you would like to see this all in action, check out the Video Tutorial below or click here! Be sure to give the video a thumbs up if you liked it and don’t forget to subscribe if you are new. If you would like a notification when I post a new video, be sure to click the bell right next to the subscribe!!!

Happy Stampin’

~Laura

Product List


A Stepped Up Candle Card!!!

Posted on

Yesterday, I shared the candle creations that can be made with the Picture Perfect Birthday Stamp Set!!! Check that one out here! Today, I’m going to show another variation of the card and a stepped up candle card version!

Stepped Up Candle Card, www.LaurasStampPad.com

For this card, I went with more feminine colors! Also, rather than using designer paper, I added some ribbon! This is just to show how to get the same look but with whatever you have on hand!!! Also, I added wicks and a glow with Wink of Stella!

I started with a Peek-A-Boo Peach card base! Next, I took a piece of Berry Burst (4″ x 5-1/4″) and stamped the birthday greeting along the bottom in Berry Burst Ink! Again, be sure to start the greeting falling off the ends so that the greeting looks like it continues! Just above the greeting, I tied some Peek-A-Boo Peach Striped Ribbon around it. Next, I added this piece to the card front with Stampin’ Dimensionals! I used those so that it would look smooth since the ribbon is on the lower end!

Sparkling Candles, www.LaurasStampPad.com

Finally, I took a piece of Whisper White (4-3/4″ x 2-1/2″) to stamp my candles on. I used the Picture Perfect Birthday Stamp Set and Berry Burst and Peek-A-Boo Peach Ink Pads. The candles were stamped starting in the middle and working my way to the edges. Also, I did them at an angle because stamping them perfectly straight and in line would have never happened! 🙂 The flames were stamped in Crushed Curry and then I added the little star burst border along the bottom in Berry Burst!

Now for the stepped up version!!! Using a Basic Black Marker, I added little wicks to each candle. Just a simple little black mark for each candle. To finish off each flame, I went over them with the Wink of Stella Pen for some shine! I love the little bit sparkle and shine it adds! Once I finished all of the stamping, I added this piece to the card front! Just perfect!!!

Which variation do you prefer?? Yesterday’s designer series paper simple candle card or today’s ribbon stepped up with wicks and shine candle card?? Let me know in the comments below!! Also, be sure to check out the Video Tutorial showcasing all the candle fun!

Happy Stampin’

~Laura

Product List


Technique Tuesday – Candle Creations!!!

Posted on

Happy Tuesday!!! That means I have a fabulous technique to share with you today! This one is rather simple and super fun! I’m sharing some candle creations using the Picture Perfect Birthday Stamp Set from the Occasions Mini Catalog. This Suite is my favorite by far and I just can’t put it down!

Candle Creations, www.LaurasStampPad.com

This quick and simple card is perfect for a Man Card but stay tuned to the card I’m going to show tomorrow which is more feminine and changed up a little! Both of these styles of cards are great for making multiples to have on hand all year long!!!

I started with a Lemon Lime Twist card base. Next, I stamped the greeting all along the top and bottom in Bermuda Bay Ink using the Picture Perfect Birthday Stamp Set! Be sure to start stamping on the edge with the greeting hanging off some so that it looks like the greeting continues on and on! Then, I added a piece of the Picture Perfect Party Designer Series Paper (5-1/4″ x 3″) in the center.

Boy Candles, www.LaurasStampPad.com

Then I took a piece of Whisper White cardstock (2-1/2″ x 4-3/4″) and stamped the candles. There are 3 styles of candles in the set – solid, dots, and stripes. So while each candle can be stamped alone, there are also combinations that can be created. Simply stamp the solid image off once onto scrap paper and then onto your project. Then stamp the patterned candle in full strength! Be sure to check out the video tutorial below to see these fun combinations! I stamped the center candle first and then worked my way out from either side. I found that this helped me with my spacing. Another tip was that I stamped them a little angled on purpose because I knew I wouldn’t be able to get them perfectly lined up straight and even! After stamping the candles in Bermuda Bay and Lemon Lime Twist Ink, I stamped the flames in Crushed Curry Ink. Once I was finished stamping, I added this to the card front! Check back tomorrow to see a few ways I stepped up this card with some variations! You can even join my mailing list here so you don’t miss out!

If you would like to see this all in action, check out the Video Tutorial below or click here! Be sure to give the video a thumbs up if you liked it and don’t forget to subscribe if you are new. If you would like a notification when I post a new video, be sure to click the bell right next to the subscribe!!!

Happy Stampin’

~Laura

Product List


January 2018 Paper Pumpkin – Heartfelt Love Notes!!!

Posted on

Happy Monday!!! Valentine’s Day is right around the corner and I love how Paper Pumpkin always has me covered each year! Check out last year’s here! Here is the January 2018 Paper Pumpkin Kit which is called Heartfelt Love Notes!!!! Check out the unboxing video here!

Sending Hugs & Kisses, www.LaurasStampPad.com

I love the little foil hearts and black and white with a pop of pink and purple! The foil is almost a rose gold color and it’s just stunning!!! I stamped all of the greeting labels with the Rich Razzleberry Ink Spot that came in the kit! Then I layered the banner, vellum and labels onto the front of each pocket card base!

January 2018 Paper Pumpkin, www.LaurasStampPad.com

Next, I stamped all of the envelopes with the little heart that says, “To” and I stamped all the card inserts with the envelope and greeting. Woot Woot for not having to write out Valentine’s a million times! 🙂

Valentine's Day, www.LaurasStampPad.com

I made treats for all of my nieces and nephews so I didn’t tie bows on the card with the ribbon. This allowed me to use the ribbon to tie the candy bags as well!

Hugs & Kisses, www.LaurasStampPad.com

Here are all my treats and Valentine’s! I tired out these new kisses which are Cupcake flavored and Caramel filled! Both are amazing and I highly recommend them! Yum!

If you would like to sign up and get the February Paper Pumpkin Kit, click here to join in the fun!!! You can also purchase a pre-paid subscription now during Sale-A-Bration and earn freebies too!! Click here to check out the subscriptions! With Paper Pumpkin, you can pay as your go or purchase the pre-paid subscriptions. You can skip a month or cancel at any time! It’s a fun little surprise in the mailbox each month including stamps, ink, and everything you need except scissors! I have really enjoyed these little kits that are quick and simple to put together.

Happy Stampin’

~Laura


February Free Stamp Set of The Month!!!

Posted on

Happy Friday and Happy February! I’m excited because the Olympics are this month!!! Woot Woot! Let me know in the comments if you are a big Olympics fan too!!! Today, I’m sharing the February Free Stamp Set of the Month…..drum roll……

February Free Stamp Set, www.LaurasStampPad.com

The Fruit Basket Stamp Set from the Occasions Mini Catalog is the February Free Stamp Set!!! I thought this little set of fruit was just adorable and makes me think of Spring and Summer! It can’t get here fast enough! All orders placed this month (online or at one of my events) totaling $75 or more before tax and shipping will earn this set for Free! This set will come separate from your order if you place the order online! Click here to start shopping and earning!

There are lots of fabulous deals going on this month!!! Sale-A-Bration is still going on all month long which means a free item for every $50 spent! My favorites and customer favorites so far have been Heartfelt Blooms Stamp Set, Shimmer Ribbon, and Lots of Lavender Stamp Set. If you would like to see some samples using those click here, here, and here!

Don’t forget about Laura’s Loyal Stampers Stickers too for orders in increments of $40.00! I had 4 fabulous stampers earn $40 Gift Certificates in January….perfect timing for Sale-A-Bration! 🙂

I hope you all have a wonderful weekend! If you are a football fan….enjoy! If not, happy crafting while everyone else watches! I think I will be stamping a kit while having it on in the background! 🙂 See you all back here on Monday!!!

Happy Stampin’

~Laura


What’s On Your $125 Wish List???

Posted on

Today, I’m sharing a few of my favorites things! This is my pick for what I would get in my Stampin’ Up! Starter Kit if I signed up now during Sale-A-Bration!! It’s an amazing time to sign up! So….what’s on your $125 Wish List??

New Stamper Starter Kit, www.LaurasStampPad.com

Do you love Stampin’ Up! products and want the best deal ever?? Now is a fabulous time to join Stampin’ Up! and my Fabulous Friends Team!
You get to pick out $125 in any product that you wish!
PLUS any two Stamp Sets of your choice!
PLUS free shipping on your order which is a 10% savings!
All for just $99.00 (plus tax)!

A few other perks that you get when you join:
~A discount on all of your Stampin’ goodies!
~All the stamping fun you can handle!
~Access to pre-orders and new releases of product before others!
~The fun and fellowship of the Fabulous Friends Team!
~Being a part of an amazing company that is celebrating 30 years!

If I was a New Stamper, I picked the items in the photo above because I thought they were a great start for the beginner! This totals exactly $125.00!!!

Product List

Advanced Starter Kit, www.LaurasStampPad.com

If I was a seasoned stamper and had a nice collection of items but decided I wanted to enjoy the discount and have fun, I would pick the items in the photo above!!! I added in some Baker’s Twine to get closer to the total which you could pick any color you wish! This kit totals $124.50!

Product List

Wish List, www.LaurasStampPad.com

I really struggled on my picks for the 2 Free Stamp Sets! Of course, the most expensive ones is the best way to go! I went with Petal Palette and then I was back and forth on Beautiful Day or Magical Day! They are both super fabulous!

What are you picks??? Let me know what you would love to spend $125 on! Let me know in the comments below!

See all these goodies in action in my Video Tutorial below or click here! Be sure to give it a thumbs up if you liked it! I post a video every Tuesday and Thursday so subscribe so you don’t miss out out on any of them!

If you have any questions at all, please reach out to me! I’m always happy to answer them!
If you would like to join Stampin’ Up and my Fabulous Friends Team, click here!

Happy Stampin’

~Laura


Lots of Lavender!!!

Posted on

Yesterday I shared a fun way to use the Lots of Lavender Sale-A-Bration Stamp Set which you can see here! Today, I’m coloring with the set!

Lots of Lavender, www.LaurasStampPad.com

I just love flowers and since this card doesn’t have a greeting on the front, it can be used for lots of occasions! What occasion would you use it for – Thinking of You, Sympathy, Birthday, Anniversary, etc?? Let me know in the comments below!

I started with a Whisper White card base. Next, I took a piece of Rich Razzleberry cardstock (4″ x 5-1/4″) and embossed the left side with the New Petal Pair Embossing Folder. That little side border of texture is super fabulous!! Before adding this piece of the front of the card, I wrapped some Organza Ribbon around it and tied it into a knot!

Flowers Sale-A-Bration, www.LaurasStampPad.com

For the focal point, I took a piece of Whisper White and stamped the lavender bouquet from the Sale-A-Bration Lot of Lavender Stamp Set. It was stamped in Memento Black Ink since I used the Stampin’ Blends to color in the flowers! I used Rich Razzleberry for the lavender, Old Olive for the greenery, and Bermuda Bay for the ribbon! After coloring the flowers, I added this to a layer of Old Olive cardstock and then added it to the card front with Stampin’ Dimensionals! This gives it some more texture and a smooth look over the ribbon and embossed portion. Adding the Metallic Enamel Shapes is optional for a little bling……or necessary if you need to cover up a boo boo. I won’t say why I added them! 😉 You can guess and let me know in the comments though!

I know I love all the flower stamps but this one is super fun because it’s FREE with Sale-A-Bration and it can be colored in or stamped for color with the other images in the set! The versatility of the set is just amazing!

Happy Stampin’

~Laura

Product List