Designer Paper Block Card!!!

Posted on

Sending Love Designer Paper, www.LaurasStampPad.com

I love Valentine’s Day because I love showing my love to those around me…including all of you! I hope that you know I truly care about all of you and I greatly appreciate you reading my blog, commenting, and sharing! Thank you all!!! I wish I could send you all a card but I would need all of your addresses! 🙂 So please know I love you all and wish you all the happiness!

For this card, I actually made it into a square but it still fits into a regular Whisper White Medium Envelope! For the card base, I cut a 4-1/4″ x 8-1/2″ which makes a 4-1/4″ square! Then I cut some pieces of the Sending Love Designer Series Paper into 2″ squares! The awesome thing about this is that it uses up every bit of the piece of paper because it is a 6″ Paper Stack! You can get 9 squares from each sheet! For the card above, I used the same sheet of paper front and back!

Happy Valentine's Day, www.LaurasStampPad.com

For this card, I used 2 different pieces of paper and used both front and back. I really struggled with how to do this one above because I didn’t know if it should be red and red and white and white or flip flopped. I think either way it would have turned out about the same but I sure struggled. 🙂 For the greeting, I stamped it in Real Red Ink from the Sealed with Love Stamp Set onto Whisper White. Then I die cut the circle and scallop circle out with the Layering Circle Framelits! I added the greeting to the card front with Stampin’ Dimensionals right in the middle. I love it!!!

If you would like to see this in action as well as another sample using the Sealed with Love Stamp Set and coordinating Sending Love Designer Paper, check out the Video Tutorial below or click here! Be sure to give it a thumbs up if you liked it and don’t forget to subscribe if you are new! I post every Tuesday and Thursday.

Happy Stampin’

~Laura


January 2017 Paper Pumpkin – Adoring Arrows!!!

Posted on

Valentine's Treats Paper Pumpkin, www.LaurasStampPad.com

I always get excited for the January Paper Pumpkin kit because it is almost always Valentine’s Day treats!!! I love Valentine’s Day because it is the perfect day to show your love to everyone around you!!! I love passing out treats to family, friends and even those I see while running my weekly errands like those at the Bank, Post Office, and Grocery Store. This kit comes with 24 little treat bags so I’ll have tons to share with everyone!!!! Eeeee Super excited!!! You can see the reveal of this kit in this video!!!

Paper Pumpkin Hearts, www.LaurasStampPad.com

The stamps are precious and fun greetings for all occasions! TIP: Leave the hearts on the sheet to stamp and then pop them out! This way they stay still and are easier to line up!! Tip #2 make sure the heart is right side up! lol Yeah, the first heart I stamped was upside down. Ops!!! 🙂

Hearts & Arrows, www.LaurasStampPad.com

For the little arrows, you will place the hearts on the pointed tip end and the feathers on the opposite end. Be sure to press hard on both sides of the stick to really make it stick tight!

Shooting Arrow, www.LaurasStampPad.com

I used the little glue dots provided in the kit to help with closing the top flap since the little gold heart wasn’t enough. I placed 1 glue got to hold the top closed and then I put one on each side of the flap and folded it over. These 3 dots and the gold heart seem to work perfectly!!! If you forget to place the arrow under the flap, you can always add it to the front above the heart! Love them!!! I put 2 Hershey bars or a few kisses in each one! Yum!!!

I can’t wait to see the February Kit because it will be a super surprise since there isn’t any holidays coming up! If you would like to get the February Kit, be sure to sign up before the 10th of the month!!! Click here to get your kit! Want a steal?? You can get a 3 Month Paper Pumpkin Subscription for $4.00 off AND a Free Sale-A-Bration item!!! That means you get a clear block, at least 3 ink spots, 3 kits with all the goodies and instructions, and a Sale-A-Bration item of your choice!! Join in the fun!!!

Happy Stampin’

~Laura


Technique Tuesday – Debossed Dots!!!

Posted on

Happy Tuesday!!! You all know what that means!!! I have a fabulous technique to share with you today – de-bossing and polka dots!!!! Super fabulous and fun for any occasion!!!

debossed polka dots, www.LaurasStampPad.com

Isn’t this card amazing? I love polka dots! You could change up the colors for a more masculine card! Let’s get started!!!

SUPPLIES: Celebrations Duo Embossing Folder, Big Shot, Happy Celebrations Stamp Set, Stampin’ Pierce Mat

I started with a Watermelon Wonder card base. Then I took a piece of Whisper White (4″ x 5-1/4″) and ran it through the Big Shot with the Celebrations Duo Embossing Folder in the middle. The Celebrate and Happy both de-boss the cardstock and then when you stamp over the top, the greeting will POP! I love it!! I have found that stamping over the top of the de-bossed image turns out the best when you stamp on top of the Stampin’ Pierce Mat. This mat has some gives for the cardstock to press into rather than a hard surface. I used the Happy Celebrations Stamp Set to stamp the polka dots all over and make the greeting pop! I went with Watermelon Wonder Ink, Tangerine Tango Ink, and Daffodil Delight Ink. I stamped the dots all over the cardstock, some in full strength and some as the stamped off shade of ink. For this card, I highly recommend going back to the ink pad each time and if you want the lighter shade, then stamp off onto a scrap piece of paper rather than on the card. The reason for this is because if you fall half off the cardstock, it makes the second stamp image have a line on it. Also, if you stamp over the celebrate greeting, the second stamp will have the letters in a darker ink so to avoid this, just go to the ink pad each time! 🙂 Be sure to stamp the dots with firm even pressure. Since the stamps are photopolymer, you can see when the paper and ink touch so sometimes you need to rock it a bit gently!

Celebrate Mistakes, www.LaurasStampPad.com

After all of the dots were complete, I wrapped some Gold Metallic Thread around the card a few times and tied a knot on the backside. I added this piece to the card base with Stampin’ Dimensionals! Then for the little greeting of “Your Day”, I stamped it in Tangerine Tango Ink onto Whisper White and layered it onto Tangerine Tango! I used the Banner Triple Punch to add the banner tips. I added the greeting to the card front with Stampin’ Dimensionals. I love it and think I should do some blues and greens next!!! What colors would you use for this card? Let me know in the comments below!

If you would like to see all of this in action, check out the Video Tutorial below or click here! Be sure to give it a thumbs up if you liked it and subscribe if you are new!! I post a video every Tuesday and Thursday!

Happy Stampin’

~Laura


My Mom’s Frog Birthday Card!!!

Posted on

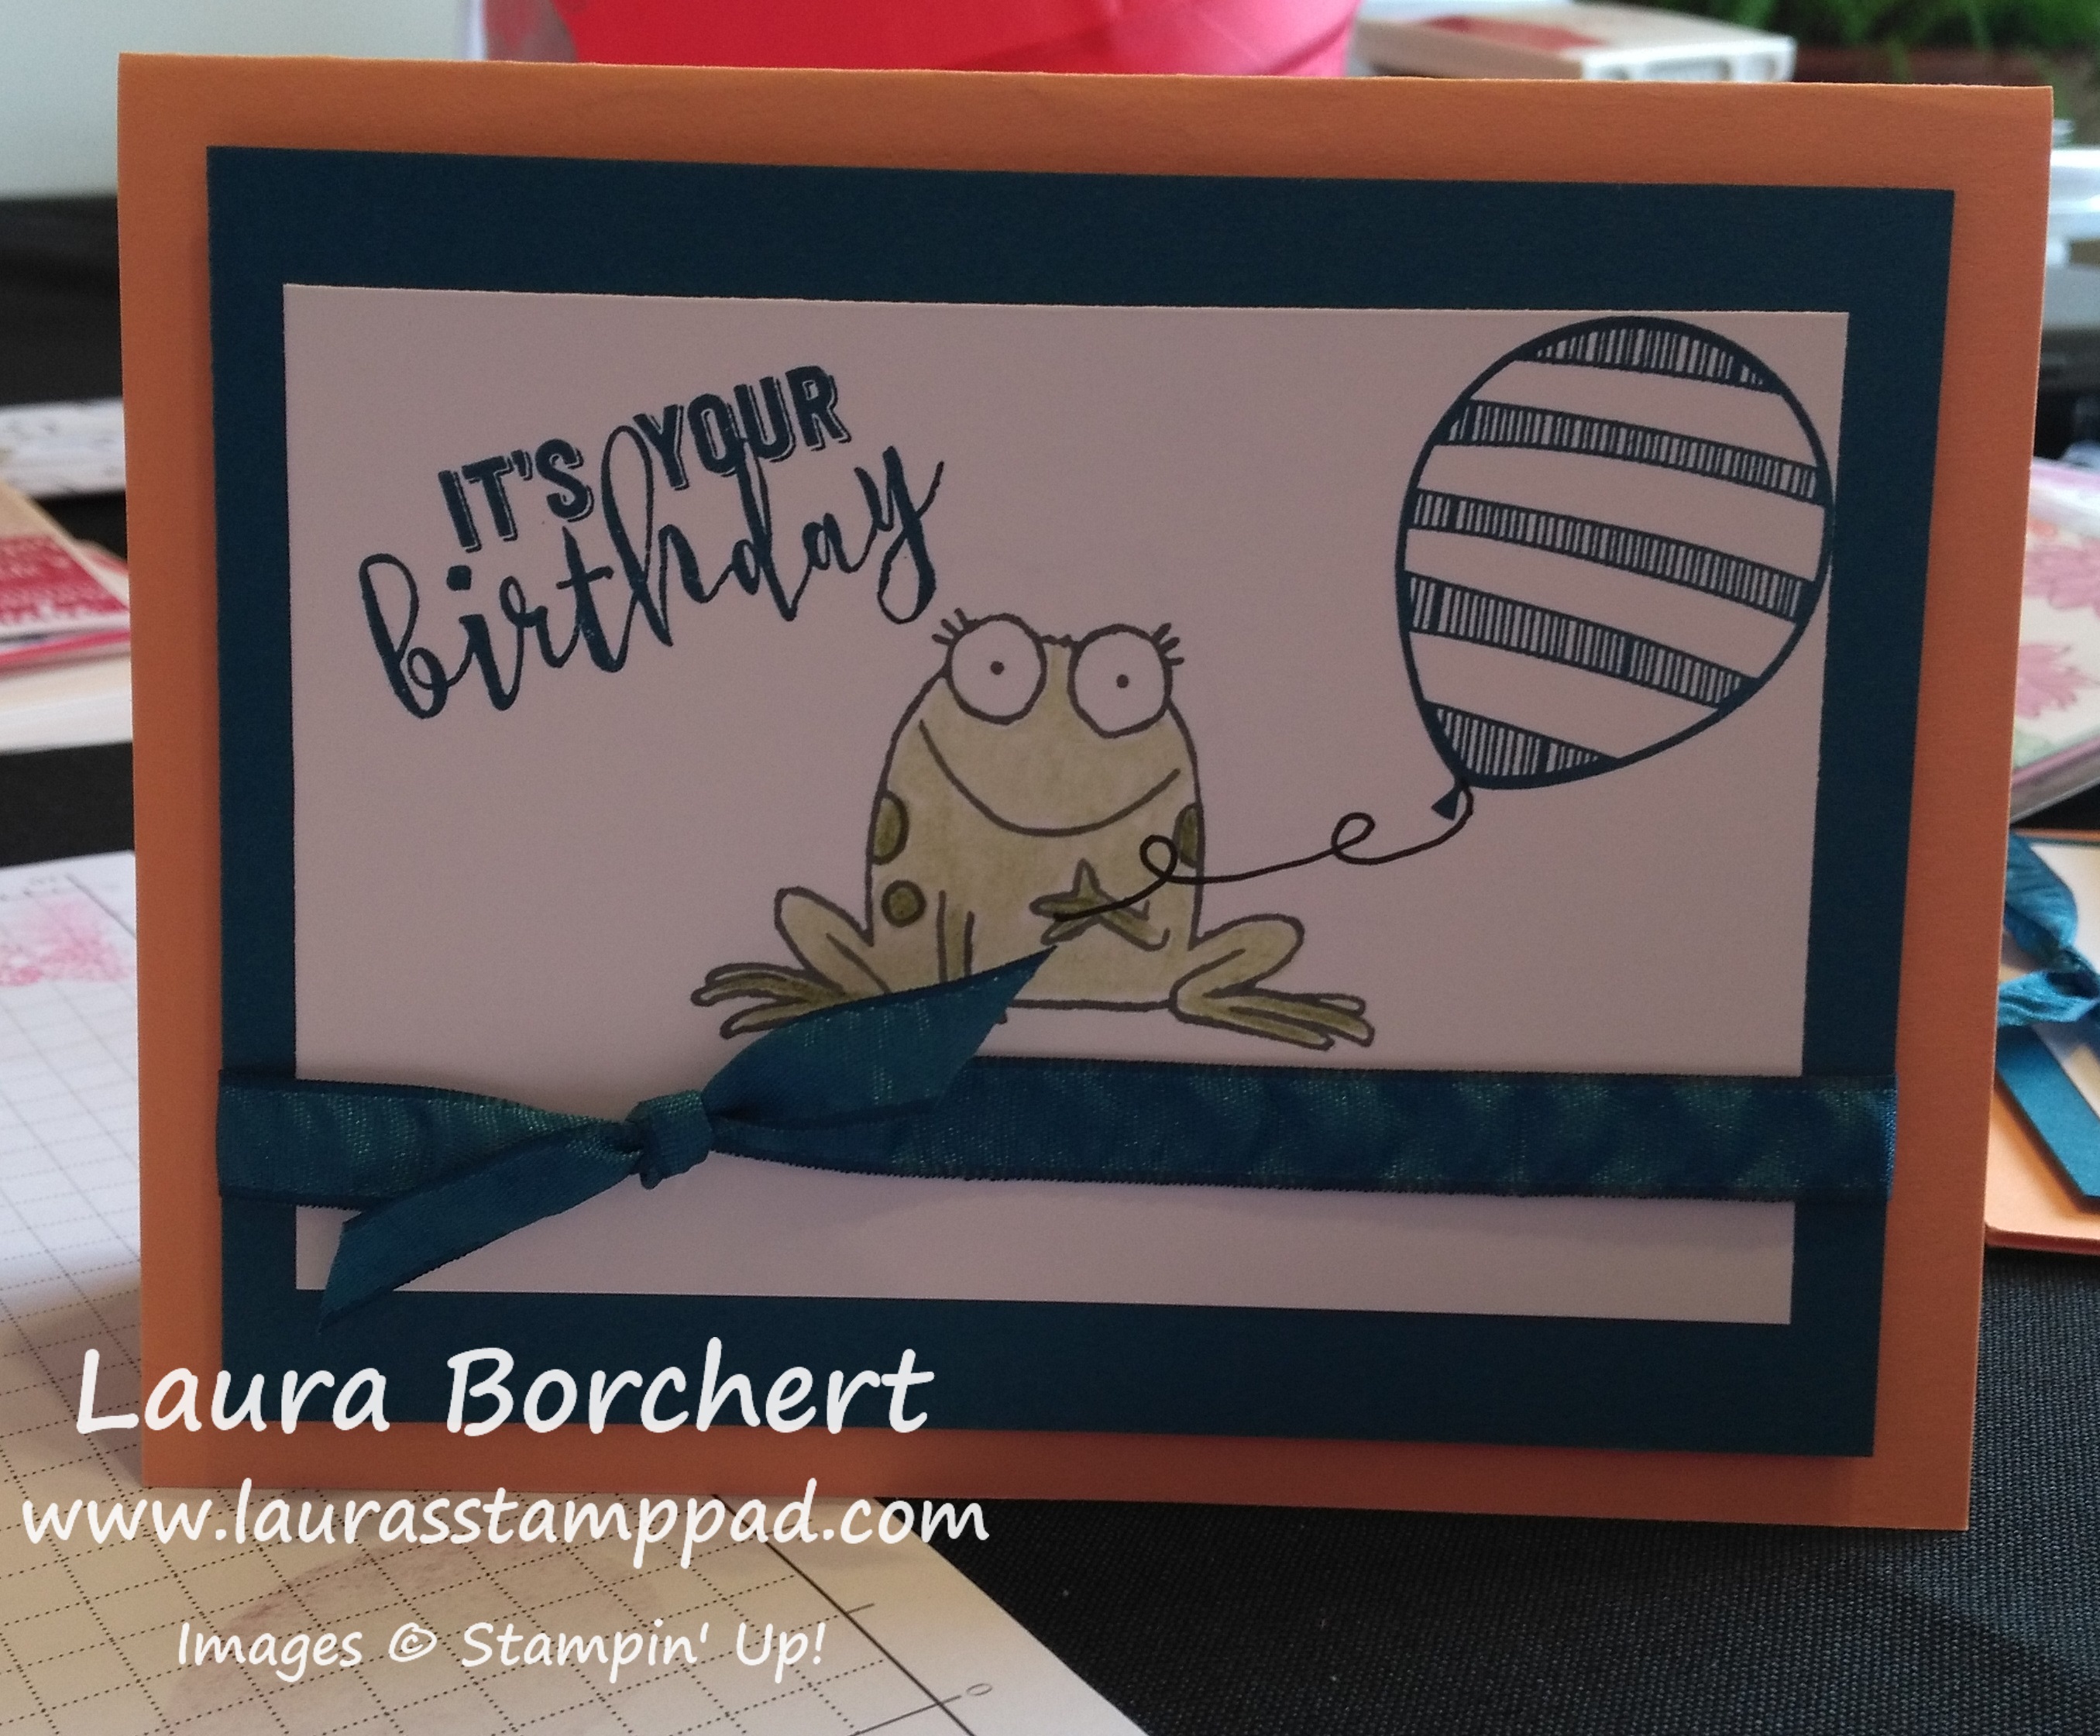
Mom's Birthday Card, www.LaurasStampPad.com

My Mom’s Birthday was earlier this month and this is the card I created for her! She actually fell in love with this stamp set and bought it for me so we could make cards with it. (Note to self: we still need to do that!) 🙂 I started playing with this set and the New Watercolor Pencils and knew this was the perfect set for her card!

I started with a Crumb Cake card base and then I layered a piece of Old Olive cardstock (4″ x 5-1/4″) on top. I took a piece of Whisper White (3-3/4″ x 5″) and lightly brushed over it with a Sponge Dauber. I did Old Olive Ink on the bottom 1/3 and Pool Party Ink on the upper 2/3. I added a strip of Pool Party Stitched Satin Ribbon across the top and then added it to the card base. For the frog and the wheelbarrow, I stamped them from the You’re Sublime Stamp Set in Basic Gray onto scrap Whisper White.

Wheelbarrow, www.LaurasStampPad.com

I used the Watercolor Pencils to color in a bit and then I took a Blender Pen and swirled around to move the color and fill in! Once it was all colored, I fussy cut out both images and adhered them to the card base with Stampin’ Dimensionals.

Lil Froggy, www.LaurasStampPad.com

For the greeting, I stamped it from the Number of Years Stamp Set in Old Olive Ink. I punched out the greeting with the Decorative Label Punch. Then I sponged the edges with Pool Party and added it to the card front with Stampin’ Dimensionals too! I love it! I think it turned out perfectly. My Mom loves nature and has a huge garden. This was fabulous!

Do you like making cards specifically for a special someone or do you just make general cards for everyone?? Let me know in the comments below!

Happy Stampin’

~Laura


Valentine’s Day Triangle Treats!!

Posted on

Triangle Treat Pockets, www.LaurasStampPad.com

How cute are these little treat holders??? The don’t require any adhesive either which makes them super fabulous! All you need is a 6″ x 6″ piece of Designer Paper. For the one on the left, I used the Sending Love Designer Series Paper which is already in 6″ squares! For the one on the right, I used the Carried Away Designer Paper which is one of the Sale-A-Bration items you can get for Free with every $50.00 order! This paper is in 12″ square sheets so you will need to cut it down!!!

For these little treat pockets, you will fold your 6″ Square diagonal corner to corner to make a large triangle. With the point at the top and the other 2 points at either sides, fold the each of the side point across the front to the opposite side, straight across. Then fold the top little triangle down over your overlapped triangles. This final step is what holds everything in place!!

Triangle Treats Tutorial, www.LaurasStampPad.com

You can always squeeze the sides to pop it open and even press the bottom flat a little bit! Quick, simple and super cute! Now to fill it with some goodies! I used one of the 3″ x 6″ Gusseted Cellophane Bags to hold the chocolate treats! I tied some ribbon around the top into a bow using the Sending Love Ribbon Combo Pack which has red and white ribbon in it!

Treat Pocket, www.LaurasStampPad.com

These treat bags are perfect for classroom treats for Valentine’s or any other holiday. You could use these for a child’s birthday party or any type of party! I plan on using mine for my nieces and nephews Valentine’s Treats as well as a few to pass around randomly to share the love in February!!! 🙂

Balloon Treat Pocket, www.LaurasStampPad.com

Which one is your favorite? Let me know in the comments below – Valentine’s Day or Hot Air Balloons??

Happy Stampin’

~Laura


Hello Love!!!

Posted on

Hello Love, www.LaurasStampPad.com

When I attended Stampin’ Up! OnStage in November, we got to play with lots of new product and these 3 little Valentine’s cards were just a few of the projects we got to create!!! These are simple, adorable and just perfect for sharing a little love note!!! The base of each of the cards is a 3″ x 6″ piece of Sending Love Designer Series Paper! The card above has a little 2-3/4″ square of Whisper White with the stamped greeting from the Sealed with Love Stamp Set in Mint Macaron Ink. The adorable little arrow was die cut in Real Red cardstock using the coordinating Love Notes Framelits (Bundle & Save 10%)! Then with a little bit of Emerald Envy Baker’s Twine, I tied a bow and added it to the arrow with a Mini Glue Dot!

I love you, www.LaurasStampPad.com

This one is super fabulous especially with that extra little wooden heart from the Sending Love Embellishments! I stamped the little watercolor wash image from the Sealed with Love Stamp Set in Mint Macaron Ink. The greeting was stamped in Real Red Ink. The heart and arrow were die cut from the Love Notes Framelits. I used the Fine Tip Glue Pen to adhere them to the card. That glue is amazing for little things like this.

Teeny Tiny Note, www.LaurasStampPad.com

How adorable is that mini envelope??? That was created with the Love Notes Framelits and Sending Love Glassine Sheets! Just precious!!! The little note inside was created with the framelits and coordinating Sealed with Love Stamp Set to get those little hearts along the top! I added a little Emerald Envy Baker’s Twine around the envelope and tied it into a bow!

I hope these little love notes gave you inspiration for Valentine’s Day or just to have on hand to share with those you love all year long! Also, today I’m sharing with you my Unboxing and Reveal of my New Big Shot!!!! I am super excited to have a 2nd Big Shot to use for myself and at my events! This Big Shot also has the new Multi-Purpose Platform! Check out my excitement in the video below or click here! Be sure to give it a thumbs up if you liked it and don’t forget to subscribe if you are new!! I post videos every Tuesday and Thursday!!!

Happy Stampin’

~Laura


All the Pink Balloons!!!

Posted on

Pink Glitter Balloons, www.LaurasStampPad.com

You all know my love for Pink and Bling!!!! I love this card that was created with the Balloon Adventures Bundle!!! You can see more samples using this bundle here, here, here, and here!!!

I started with a Whisper White card base. Then I took a piece of Blushing Bride measuring 3-3/4″ x 5″ and added it to the card front! Now for the main focus of fabulous-ness!!! I took a piece of Melon Mambo cardstock measuring 3-1/2″ x 4-3/4″ and placed the Balloon Pop-Up Thinlits die over the top of it. I ran it through The Big Shot and popped it out with the Big Shot Die Brush! I love how you can use this this die to a pop-up insert in your card or a beautiful front like this one! I stamped the banner and greeting in Basic Black from the Balloon Adventures Stamp Set. For the balloons, I used the dies from the set to cut out Blushing Bride Glimmer Paper. I added the pieces to the balloons with the Fine Tip Glue Pen. I saved the dots from the one balloon and used them to dot the last balloon. You could always use the stripes for the third balloon too! Simple and fabulous!!! I love the layers and texture from this card!

What color scheme would you use for this – pinks? blues? black and gold?? Let me know in the comments below!

Happy Stampin’

~Laura


Technique Tuesday – Balloon Pop Out Card!!!

Posted on

Happy Tuesday!!! That means I have a fabulous technique to share with you today. The cool thing about this technique is the Balloon Pop-Up Thinlits do all the hard work and you just get to enjoy the POP UP!!!!Birthday Pop Out Card, www.LaurasStampPad.com

This card looks fairly basic on the front but it’s the inside that has the MAJOR WOW factor! I love it! Also, check out that adorable little charm!!! Let’s get started!

I started with a Crushed Curry card base!!! For the front, I cut a piece of the Party Animal Designer Series Paper (4-3/4″ x 3-3/4″) and tied some Emerald Envy Taffeta Ribbon around it and into a bow! Then I took a piece of Whisper White (3″ x 2″) and stamped the confetti from the Balloon Adventures Stamp Set in Crushed Curry. I stamped the greeting in Pacific Point Ink. I added the greeting to the card front. For the Party Animal Charm, I attached it with some Crushed Curry Baker’s Twine! Now for the inside, I cut a piece of Whisper White measuring 5″ x 7-1/2″ and scored it in the middle at 3-3/4″. Then take the Balloon Pop Out Thinlits (Bundle & Save 10%) and line up the center with the center score line of the thinlit. This is super simple since the thinlit has a distinct center and the little triangle on the bottom to help find the center. Run it thought the Big Shot and it creates the perfect Pop Out! Before folding the score line, you will want to do all of the stamping. Give firm even pressure on the stamping so it comes out clean even with the score lines.

Inside Balloon Pop Out, www.LaurasStampPad.com

I stamped the 3 styles of balloons from the Balloon Adventures Stamp Set in Crushed Curry, Tangerine Tango, and Emerald Envy. The greeting was stamped in Pacific Point Ink. Once you are done stamping, you can fold on the score lines in mountain/valley fold. I added Snail Adhesive on the far outside panels. With the card all the way open, I place the right side down. Then I folded the mountain/valley all the way down and closed the card on top of it. I always find it best to close the card to seal the second side rather than just laying it flat. This way there isn’t an uneven pop out and it will close smoothly!! I added the little decoration on the ends by cutting pieces of the Party Animal Designer Series Paper measuring 1/2″ x 4-1/2″ and adhering them down. The pop out is so much fun but these pictures don’t do it justice at all.

You can see this all in action n the Video Tutorial below or click here! If you liked the video, be sure to give it a thumbs up! Don’t forget to subscribe if you are new. I post videos every Tuesday and Thursday!!!

If you would like to see more samples using the Balloon Adventures Bundle, check them out here, here, and here! The best part is when you purchase this bundle, you get to pick out a FREE Sale-A-Bration item!!!

Happy Stampin’

~Laura


Let Love Sparkle!!!

Posted on

Love Sparkles, www.LaurasStampPad.com

This card warms my heart! I love that greeting and the little bit of bling! This card is perfect for Valentine’s Day without the typical red, pink, and white! It could be used for weddings and anniversaries too!

I started with an Elegant Eggplant card base. Then I took a piece of Whisper White (4″ x 5-1/4″) and stamped the heart from the Love Sparkles Stamp Set all over in Elegant Eggplant Ink. I added this piece to the card front. For the greeting, I used the Banner Triple Punch for the fabulous banner tips. The Whisper White is 1-1/2″ wide and the Gold Foil Paper is 2″ wide. I stamped the greeting in Elegant Eggplant Ink from the Love Sparkles Stamp Set. I adhered them together and added it to the card front. Once it was all together, I added Gold Glitz Dazzling Details to each of the little bling on the hearts and greeting! Love it! Be sure to add this after you are all done assembling so you can set it aside to dry completely.

Celebrate with Silver, www.LaurasStampPad.com

Of course I did this whole concept again with Silver Foil Paper and Silver Dazzling Details! I decided to use the star and mix up the greeting as well! I am loving this set!!!

Which do you prefer Love Sparkle Hearts or Celebrate the Stars??? Let me know in the comments below!!

Happy Stampin’

~Laura


Fanfare Friday!!!

Posted on

Happy Friday, everyone!!! This has been a fabulous week!!! I took the day off on Monday to spend the day with my Mom celebrating her birthday! Ahhh the joys of being your own boss! We went shopping and then the rain started. My Mom then asked if we could go back to the house and make cards!!! 🙂 Of course I said, “Yes!” It was an amazing day!Marcella Silver, www.LaurasStampPad.com

Then on Tuesday, I got to gather with my amazing team! Not all of them could attend but that doesn’t mean we don’t still celebrate their accomplishments! Marcella just promoted to Silver so I showered her with all things Silver!!! We had a few more promotions and anniversaries to celebrate but I didn’t get a picture! (stay tuned, hopefully I will get them soon)

Wednesday was Stamp Club which is always a great time! I am starting a NEW Club in February!!! If you love stamping product, learning new techniques, and getting free stuff then Stamp Club is for you! Club is created to have a group of stampers get together once a month to create 2-3 cards featuring techniques and/or 3D items. Club consists of a minimum of 6 people and each person will place an order each month in the amount of $25 or more (totaling at least a $150 workshop order). This is a great way to be a hostess without having a party at your house! Club lasts for 6 months and one of those months you will be the Hostess and earn all of the hostess benefits. Stamp Club is on the Third Wednesday of the Month at 10 a.m. and 6 p.m.! Let me know if you would like to join in February!

Now I’m getting excited to stamp with the ladies over in Paris…..Illinois!!! 🙂 I do enjoy saying I am going to Paris for the weekend! hehe The ice last weekend ruined our stamping plans for last weekend but luckily we were able to move it to this weekend! I am super excited and can’t wait!

Sale-A-Bration is always a great time to stamp, hostess, and join Stampin’ Up! Every $50 you spend, you can pick out a FREE item from the Sale-A-Bration Brochure. Click here to see all of the items you can pick and you will earn Laura’s Loyal Stampers Stickers! Woot Woot! When you Hostess a party or place an order that reaches $250, you will earn an additional $25 in Hostess Benefits!! That means you get $50 in Free Product!! You can also use that $50 to join Stampin’ Up! There is a fabulous special for joining during Sale-A-Bration too! You can use your hostess benefits towards your kit or you can join without having a party! It is $99 to join and you get to pick out $125 in any product you would like PLUS 2 FREE Stamp Sets of any value! Go for the highest value sets and that’s an additional $104 in product!!! WOOT WOOT! If you have any questions or concerns, feel free to reach out! I’m always happy to chat about it! Click here for more information!

I hope you all have a wonderful weekend and I’ll see you back here on Monday!

Happy Stampin’

~Laura