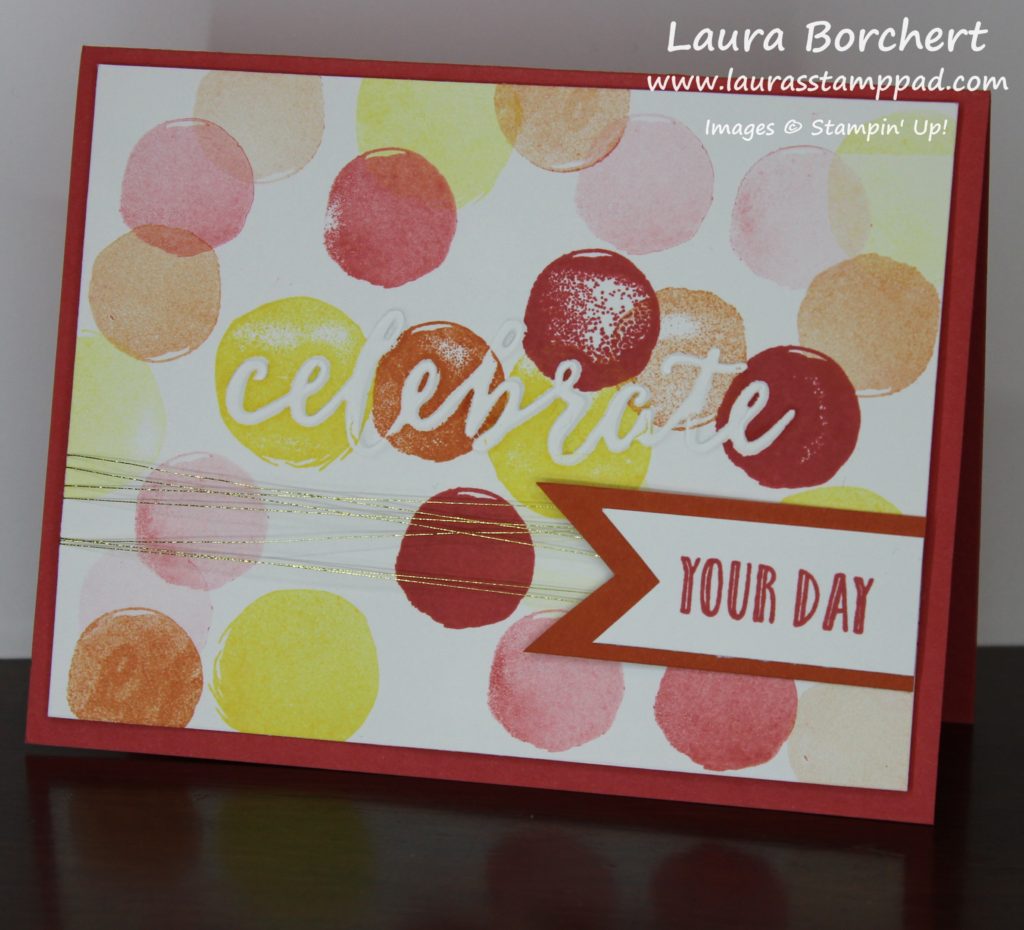
Happy Tuesday!!! You all know what that means!!! I have a fabulous technique to share with you today – de-bossing and polka dots!!!! Super fabulous and fun for any occasion!!!
Isn’t this card amazing? I love polka dots! You could change up the colors for a more masculine card! Let’s get started!!!
SUPPLIES: Celebrations Duo Embossing Folder, Big Shot, Happy Celebrations Stamp Set, Stampin’ Pierce Mat
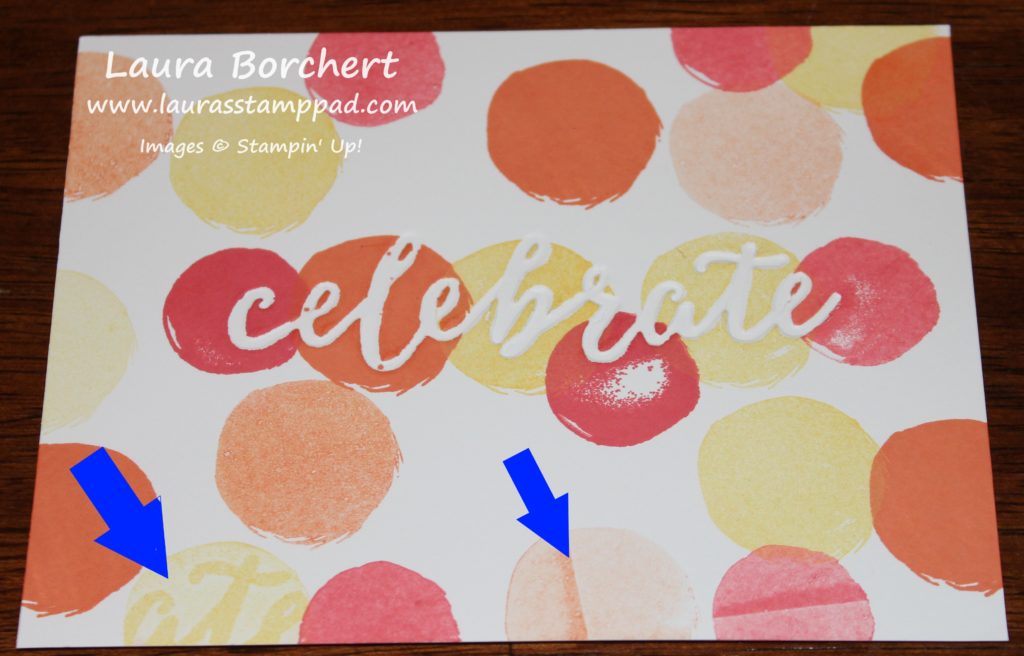
I started with a Watermelon Wonder card base. Then I took a piece of Whisper White (4″ x 5-1/4″) and ran it through the Big Shot with the Celebrations Duo Embossing Folder in the middle. The Celebrate and Happy both de-boss the cardstock and then when you stamp over the top, the greeting will POP! I love it!! I have found that stamping over the top of the de-bossed image turns out the best when you stamp on top of the Stampin’ Pierce Mat. This mat has some gives for the cardstock to press into rather than a hard surface. I used the Happy Celebrations Stamp Set to stamp the polka dots all over and make the greeting pop! I went with Watermelon Wonder Ink, Tangerine Tango Ink, and Daffodil Delight Ink. I stamped the dots all over the cardstock, some in full strength and some as the stamped off shade of ink. For this card, I highly recommend going back to the ink pad each time and if you want the lighter shade, then stamp off onto a scrap piece of paper rather than on the card. The reason for this is because if you fall half off the cardstock, it makes the second stamp image have a line on it. Also, if you stamp over the celebrate greeting, the second stamp will have the letters in a darker ink so to avoid this, just go to the ink pad each time! 🙂 Be sure to stamp the dots with firm even pressure. Since the stamps are photopolymer, you can see when the paper and ink touch so sometimes you need to rock it a bit gently!
After all of the dots were complete, I wrapped some Gold Metallic Thread around the card a few times and tied a knot on the backside. I added this piece to the card base with Stampin’ Dimensionals! Then for the little greeting of “Your Day”, I stamped it in Tangerine Tango Ink onto Whisper White and layered it onto Tangerine Tango! I used the Banner Triple Punch to add the banner tips. I added the greeting to the card front with Stampin’ Dimensionals. I love it and think I should do some blues and greens next!!! What colors would you use for this card? Let me know in the comments below!
If you would like to see all of this in action, check out the Video Tutorial below or click here! Be sure to give it a thumbs up if you liked it and subscribe if you are new!! I post a video every Tuesday and Thursday!
Happy Stampin’
~Laura


Pingback: Technique Tuesday - Poppin' Pink!!! - Laura's Stamp PadLaura's Stamp Pad
Pingback: Coloring With a Chalk Marker!!! - Laura's Stamp PadLaura's Stamp Pad
Pingback: Doing the Graduation Polka-Dots!!! - Laura's Stamp PadLaura's Stamp Pad