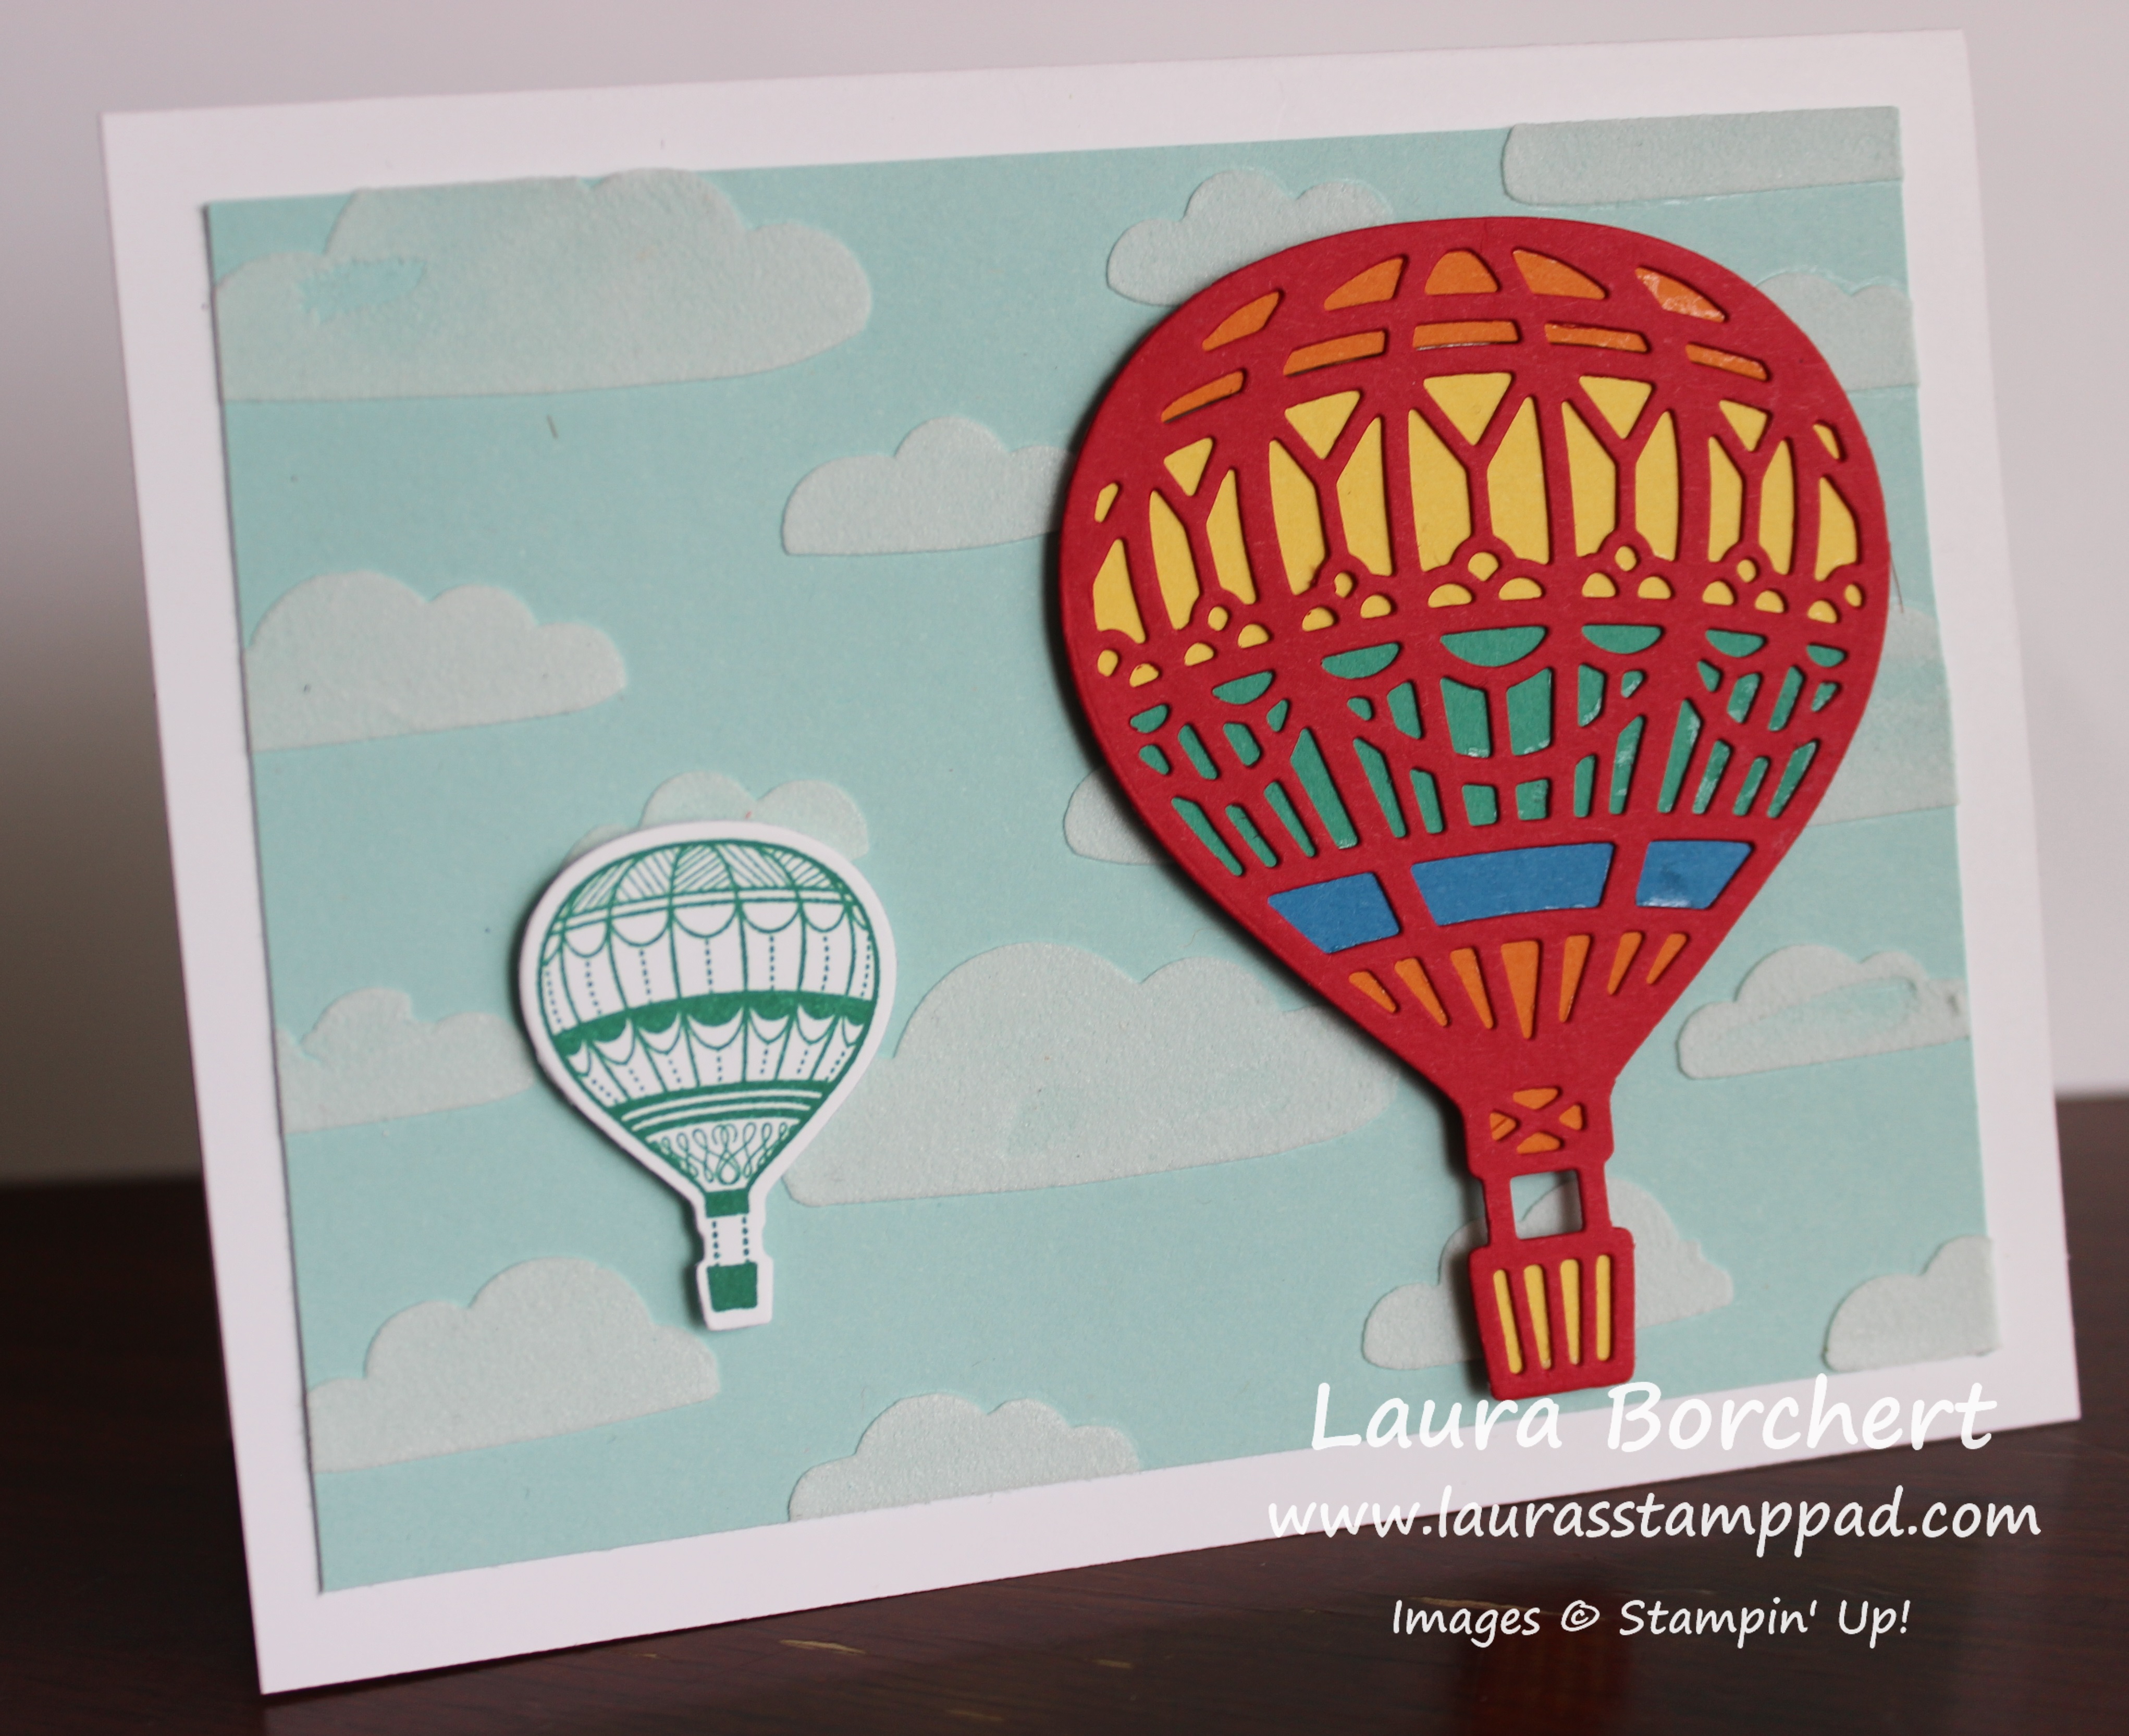
I think this card is perfect for a child……or the child in all of us!!! The Rainbow Hot Air Balloon in the Clouds is so bright and colorful it will lift anyone’s spirits and make them smile!
I started with a Whisper White card base. Next I took a piece of Pool Party cardstock (4″ x 5-1/4″) and added the clouds with Embossing Paste. This stuff is super fun and easy to use. Simply place the cloud mask from the Pattern Party Decorative Masks down and using the Palette Knives smear the paste over the top. I set this aside to dry while I created the hot air balloons. Don’t worry, it dries really quickly so be sure to clean off the mask before moving on!
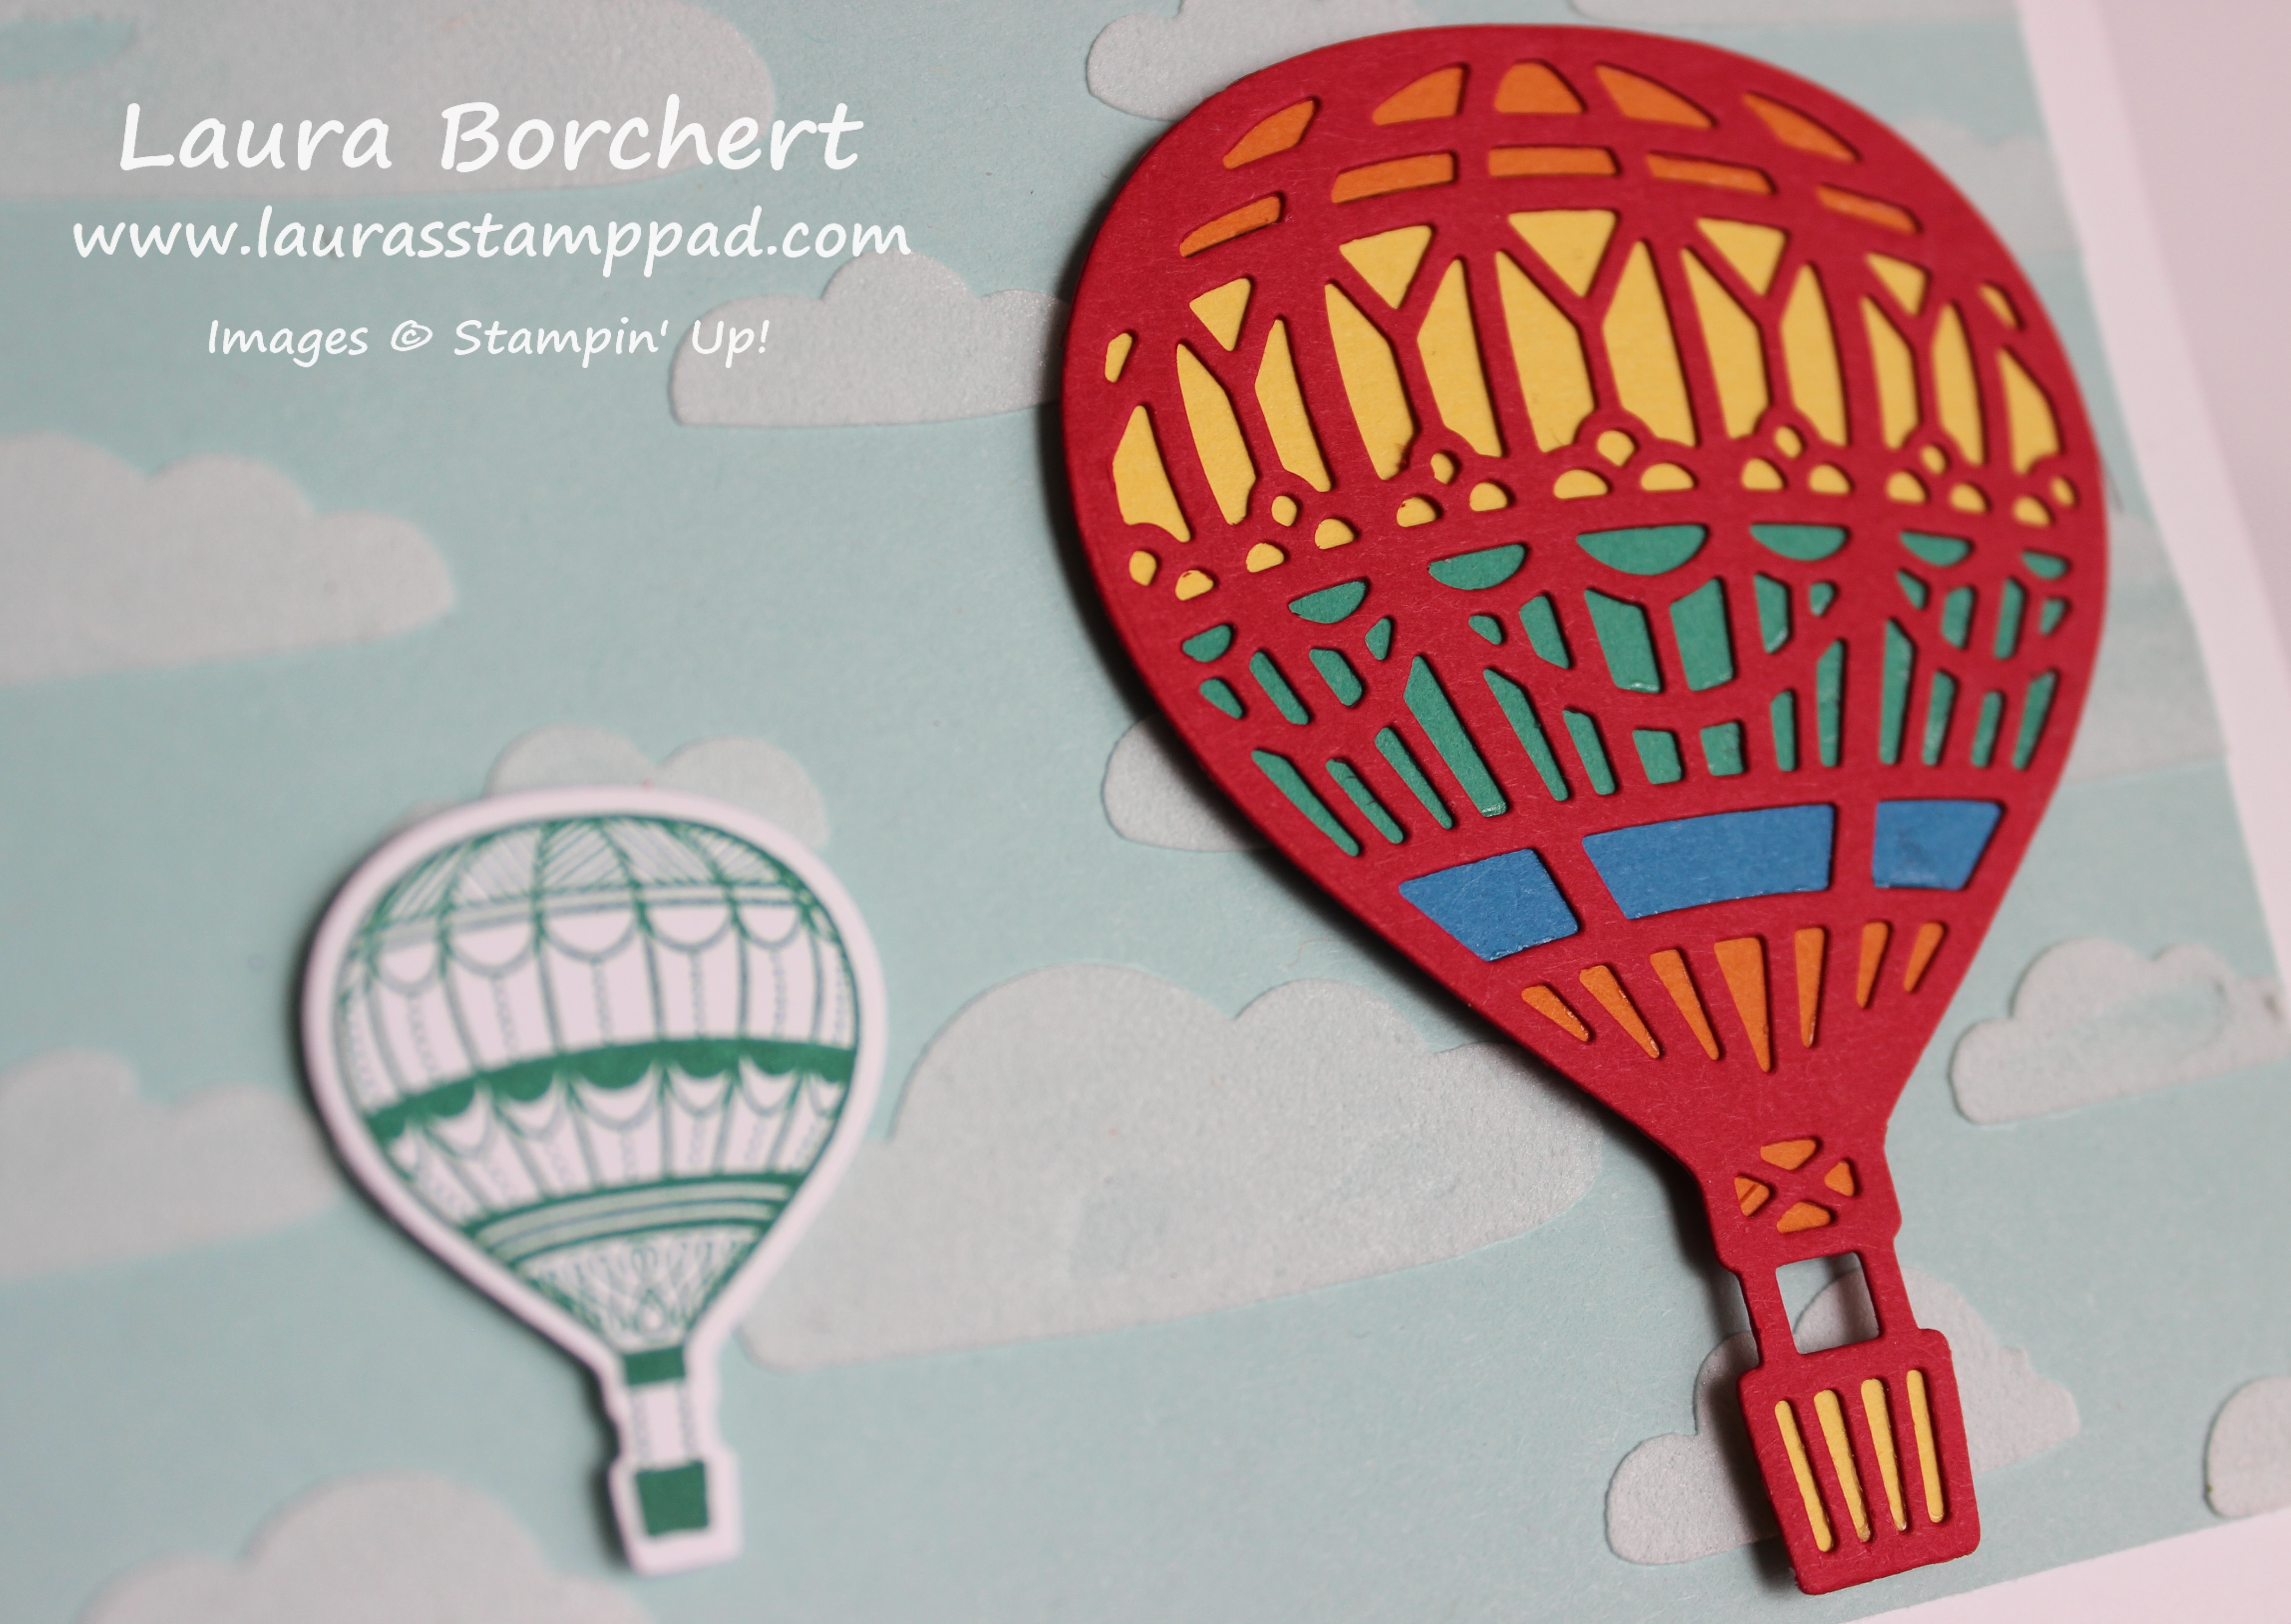
For the big balloon, I die cut out the pieces using the Up & Away Framelits. The colors used were Pumpkin Pie, Daffodil Delight, Emerald Envy, Pacific Point, and Real Red. Next, I assembled the pieces together by pouncing some Multi-Purpose Glue on the back with a sponge and placing the pieces down. The small balloon was stamped in Emerald Envy using the Lift Me Up Stamp Set!
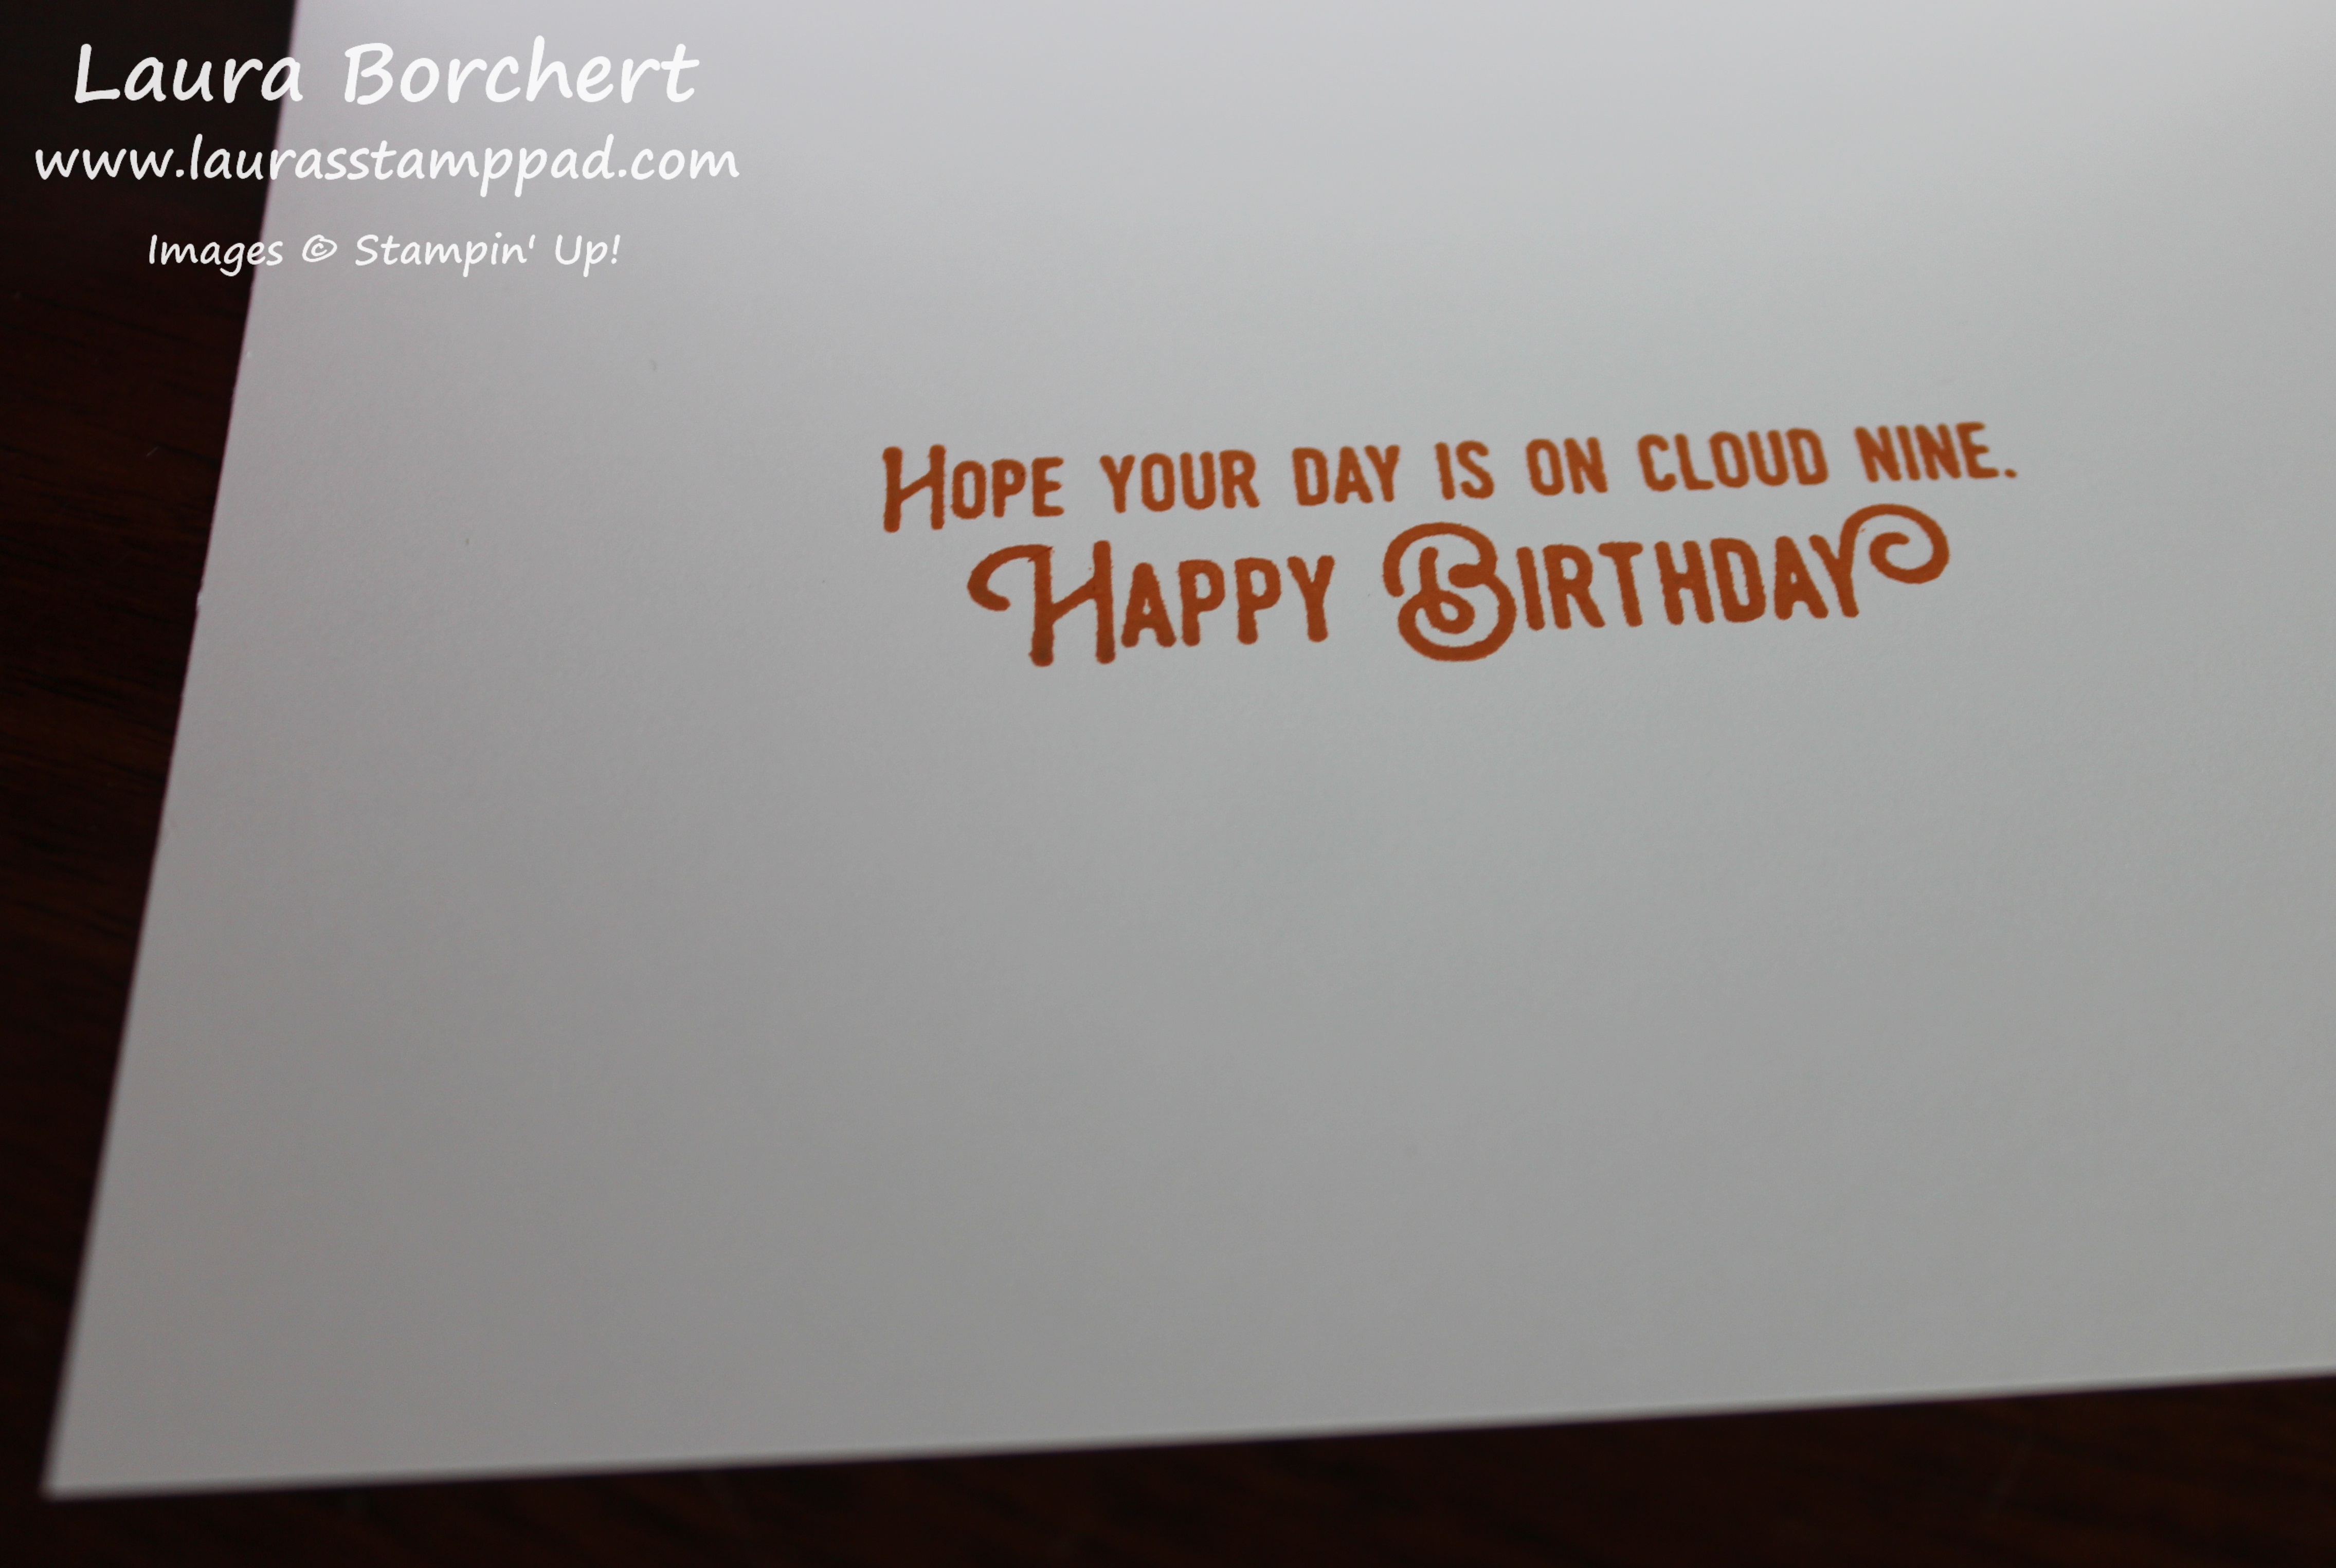
Now the clouds should be all dry and ready to assemble. I added the clouds to the card base and then added the balloons with Stampin’ Dimensionals for a little more texture and 3D look! For the inside of the card, I added a little greeting from the Lift Me Up Stamp Set!
If you would like to see this all in action, check out the Video Tutorial below or click here! Be sure to give the video a thumbs up if you liked it and don’t forget to subscribe if you are new. If you would like a notification when I post a new video, be sure to click the bell right next to the subscribe!!!
The Bundle of Love Specialty Paper is just stunning with the soft pink and blue on one side and the same pattern on the back in gold foil! It is just stunning and makes it hard to decide which side to hide. This is why I’m using it for cards that show both sides like this one!!!
You may remember this card concept from a few months ago which you can check out here! I thought of that card concept right away when looking at this designer paper so you can showcase both sides! It’s perfect!!!
I started with a Very Vanilla card base. Then for the Peek-A-Boo Designer Paper Technique, I used a piece of the Bundle of Love Specialty Designer Paper measuring 3-3/4″ x 5″. Along the long 5″ side, find the middle (2-1/2″) and cut in 2″. Now I just folded the triangles back from the corner of the Designer Paper to the that cut line! It’s as simple as that!!! I did add a little bit of Snail Adhesive to hold my triangles back and in place!
To complete the card, I took a piece of 2-1/4″ x 5″ Very Vanilla and adhered it to the back of the Designer Paper on the side with the Peek-A-Boo. Just add a little bit of Snail Adhesive to the back of the Designer Paper, place the corners of the Designer Paper on the edge of the Very Vanilla and press down. I stamped the greeting from the Crafting Forever Stamp Set in Pool Party Ink. Next, I layered this piece onto Pool Party cardstock measuring 4″ x 5-1/4″ and added it to the card base. The Peek-A-Boo portion can be on the right or left or top or bottom depending on how you want to stamp the greeting. I finished it off with some Enamel Shapes to some texture and more pops of color!
Here I did it in Blushing Bride using the same designer paper! Which color do you prefer?? Let me know in the comments below! Also, did you notice how the greeting coordinates with the technique….cut out??? 🙂 I love it!
You can check out the video tutorial I did on this technique last time by clicking here!
Happy Tuesday!!! I have a fabulous technique to today that is so much fun! I’m going to show you how to use Embossing Paste for your cards!!! This stuff is magical, dries quick, and gives amazing texture!
Look at that cool brick background?!?! I wish you could touch it as well because it feels super cool as well! Now let’s get started!
I started with a Whisper White card base! Then I took a piece of Berry Burst cardstock (4″ x 5-1/4″) and placed it on a piece of Grid Paper. When using the masks, it gets a little messy so I wanted to keep my work space clean! Next, I placed the brick template from the Party Pattern Decorative Masks Pack over the top. I held all of mine but if I was making multiples I would probably add a bit of tape to the top and bottom to secure it in place. Then I got out the Embossing Paste and Palette Knives. Be sure to have all of your supplies ready to go before opening up the paste and getting started. This stuff dries fast so you don’t want to leave it open long or do part of it and need to go get something in the middle of it. It’s not an instant dry but it does dry quickly. As for the tools, I don’t think I have found a favorite just yet. They all work about the same so it’s personal preference.
Just scoop some paste and smear it over the mask like buttering toast. I think this is super fun. There are different patterns you can achieve by covering it all or just swiping diagonal across, or doing just the edge/bottom. Once you are done, pull the mask off and allow it to dry while cleaning off the mask. A simple soap and water will clean the masks off!
By the time I was back from cleaning off the mask, it was dry. If your’s isn’t, just work on the rest of the card while is dries. For the focal point, I stamped the daisy from the Daisy Delight Stamp Set in Crushed Curry Ink onto Crushed Curry cardstock. Next, I punched it out with the Daisy Punch! I created two of these and adhered them together off set to look like a nice full flower. For the greeting, I die cut an oval with the Stitched Shapes Framelits! The greeting was stamped from the Just Add Text Stamp Set in Berry Burst Ink. I added both the greeting and flower to the card with Stampin’ Dimensionals. I wanted to make sure the adhesive stuck well on top of the brick texture. Dimensionals have give so they fall into the grooves for a secure hold. I used regular Snail Adhesive to adhere the brick piece to the card front. If it seems to have curled a lot when it was drying, a stronger adhesive like Tear And Tape or Fast Fuse might be a great option!
If you would like to see this all in action, check out the Video Tutorial below or click here! Be sure to give the video a thumbs up if you liked it and don’t forget to subscribe if you are new. If you would like a notification when I post a new video, be sure to click the bell right next to the subscribe!!!
Happy Stampin’
~Laura
Don’t forget Bonus Days the entire month of July!!! Every $50 spent, earns you $5 to spend in August!!! I also have extended the DOUBLE Laura’s Loyal Stampers Stickers through Wednesday when you use the Hostess Code: CZHRWZ4H! Click here to start shopping!
Happy Monday everyone! I hope you had a great weekend! Today, I’m going to share with you some of the fun I had last week during a little road trip around Southern Indiana! While a lot of my stamper friends were enjoying Thailand (Stampin’ Up’s Incentive Trip), I chose to not go on that one. I’m not a huge fan of flying, let alone that long! This road trip was part of my little treat to myself instead! Not the same views as they had but it was a real treat for sure!
My Mom, my husband, and I headed out on our adventure last Sunday! We stopped at different small towns along the way. Our first stop was New Harmony, Indiana which was super cute. We enjoyed a gold cart ride around town, stopping at shops and seeing the sites. It was really fun when the girls suggested we turn right with the golf cart to go down a “hill”. Luckily our wonderful driver, Brad saw that it was steps and not just a hill. 🙂 Good times and great adventures happened for sure!
Next stop was Frenchlick/West Baden Springs. We stayed at the castle that night and it was amazing! The grounds were beautiful and it was so cool. The center of the hotel has a giant dome which was the largest freestanding dome. Now we have sports stadiums that have since taken it’s spot. At night the ceiling lights up different colors. It was so beautiful. I wanted to take that lounge chair home with me. It was so comfortable and watching the colors change on the ceiling made it amazing! We stopped by the casino and put in a dollar for about 5 minutes of fun! I loved the front porch of the hotel with it’s swags, flags, and flowers.
Our next stop was Louisville, Kentucky! We went to a cute Mom and Pop candy shop and watched them make candy. It was lots of fun and we got to try a warm cinnamon drop candy. They said each candy has difference levels of cinnamon and I think mine was HIGH! I bit into it rather than sucking on it and thought I might die. Wowza, it was hot! Also, we did a distillery tour where they made Brandy. It was very interesting to see and we got a tasting. I’m so not a drinker and just touching my lips to 2 different ones was more than enough for me. I’m still for sure not a drinker after that. We stopped by Churchhill Downs for a quick peak as we were running out of time.
After Louisville, we headed over to Madison, Indiana. We enjoyed the Ohio River, Clifty Falls, and lots of hiking in the woods. It was beautiful, fun, and HOT! Of course, we couldn’t pass by Bloomington, Indiana and not stop and seeing the largest brain. 🙂 We all expected it to be bigger! We enjoyed some more falls, covered bridges, and walks around state parks before getting caught in a storm and heading home. Last up was Casey, Illinois where we saw many of the World’s Largest items like a rocking chair, mailbox, knitting needles, wind chimes, pencil, and more. Also, if you ever wondered how short I was….I can still go through the Kid’s Entrance, with room to spare!
One of the other things I wanted to mention was my love for smashed pennies. I love getting smashed pennies and take photos with each of them. Any other penny smashers out there? If you are planning a trip to Southern Indiana, feel free to reach out or ask in the comments. I’m happy to share more information on any of the locations we went! We had an amazing time. I’m back to the Stamp Room now and playing with new stamps coming out in the Holiday Mini! Stay tuned!
Happy Stampin’
~Laura
Don’t forget Bonus Days all month! Every $50 order, earns you $5 in rewards!!! I also have extended the DOUBLE Laura’s Loyal Stampers Stickers through Wednesday when you use the Hostess Code: CZHRWZ4H! Check out more details on that here and start shopping here!
Happy Friday everyone! Today, I thought I would share some love to all of you and give some shout outs!!! Laura’s Loyal Stampers Stickers are given to each person for every $40 in orders! These could be online orders or in person orders!!! This is my way to reward you for stamping with ME!!! I do all the calculations and tracking for you!!!
In May, I had my fabulous stampers Barb & Deb earn a $40 Gift Certificate!!! That was perfect timing for the New Catalog!!! Who wouldn’t love a bonus $40 to spend on stamping goodies!
In June, I had my fabulous stamper, Debbie earn a Gift Certificate! Hmmmm Debbie seems to be a popular name with my stampers! 🙂 I can’t wait to give her the certificate! This is just my little way of giving back to my stampers who are so amazing! I truly appreciate all of you and hope to be writing out more of these each month! There are many on my list that are super close so that just may be happening!!! 🙂
In celebration of this, I am offering DOUBLE Laura’s Loyal Stampers Stickers this weekend when you use the Hostess Code: CZHRWZ4H. You will enter this code on the bottom left hand side when you are in your shopping cart!!! Click here to start shopping! Don’t forget that BONUS DAYS are happening all throughout July as well! For every $50 you spend in July (before shipping and tax), you will get a $5 in Bonus Days coupon to use in August!!! Woot Woot! So double stickers and a $5 coupon!
Have a wonderful weekend and I’ll see you back here on Monday!
The Love Today Project Planner Kit is so beautiful and perfect for anyone who likes to plan and organize their days/weeks/months/year!!! The Navy, Gold, and Roses are just stunning! Check it out!!!
Here is the album with the 3 stacks of Post-It’s that match! The front cover is very hard and sturdy with gold corners! The inside has each of the months with daily/weekly inserts to plan everyone out perfectly! Here you can see there is a plastic divider that can be placed in the current week so you can flip to it quickly!
These 2 pocket pages are perfect for dropping in notes, receipts, photos, or other fun things! Since the planner is a ring binder, these can be moved to any location in the book!
Here are all of the pages for each month! The first page has the tab with the month on it. This page is rather thick and glossy and has a fabulous pattern on each one. Each month is different! I love them all! The next page has little boxes with grids, lines, and more for you to jot down notes, drawings, ideas, or goals for the month!
Next is the full month calendar. These calendars don’t have the numbers on there so they can be used for any year. You could start in August and go through to next year! I love that! After the full 2 page calendar, there is a double page spread for each of the weeks in the month! This has a spot for each day including the weekend to put appointments, meal planning, and any other notes!! The final page of the month is the lined page. This is perfect for notes on how the month went or extra spot for a to-do list or goals!
Here is a photo of the cover! I promise it is Navy even though that photo makes it look brighter blue. Also, there are decorations for the planner! There are 4 of these pocket pages that can be used for decoration, ticket stubs, photos or anything you wish! There are also lots of sheets of stickers including those amazing gold foil ones. I love it!!!
This planner is so pretty and useful! Also, the best part is there are Refill Packs for the planner so you can use it for more than one year! 🙂
If you would like to see this all in action, check out the Video Tutorial below or click here! Be sure to give the video a thumbs up if you liked it and don’t forget to subscribe if you are new. If you would like a notification when I post a new video, be sure to click the bell right next to the subscribe!!!
Do you like to add texture and layers to your cards? I sure do! I feel like it makes the card come to life and have more POP!!! Check out this beauty!
This card is really simple to make as most of it is just layers of cardstock but it’s those layers and added texture that make it such a WOW! Embossing folders are so much fun for adding texture. They add so much to a card with a simple crank through the Big Shot.
For this card, I started with a Fresh Fig card base. Next I added a layer of Emerald Envy (5″ x 3-3/4″) after running it through the Big Shot in the Garden Trellis Embossing Folder. Now for the focal point, I die cut the scallop square using the Layering Squares Framelits. Then I layered a piece of Crushed Curry (2-3/4″ x 2-3/4″) and added these to the card front with Stampin’ Dimensionals. Next, I took a 2-1/4″ square and stamped on it with the Happy Birthday Gorgeous Stamp Set. I love these little 2 step stamping flowers. It’s easiest to stamp the outline first in full strength and then stamp the solid image second after stamping off once. I used Fresh Fig Ink and Emerald Envy Ink. After stamping, I layered this onto the Crushed Curry square. I finished off the card with an adorable Bitty Bow in the corner.
Now you can’t forget about the inside of the card. Since the card base is so dark, I added a piece of Whisper White (4″ x 5-1/4″) to the inside. I couldn’t just leave it blank so I stamped a few flowers in the lower left corner! I love it!!!
Don’t forget about Bonus Bucks this month! Every $50 order earns you $5 to spend in August! Woot Woot! Click here to start shopping and earning your Bonus Bucks…..and Laura’s Loyal Stampers Stickers!!
Happy Tuesday!!! You all know that means I have a fabulous technique to share with you! Today, I am playing with the 2-Step Tranquil Tulips Hostess Stamp Set! Aren’t these flowers amazing?!?!?!
Aren’t these flowers so amazing and real looking?? The best part is I got this stamp set for FREE with Hostess Benefits! The other best part is they are super simple to 2-step stamp. There is no remembering to stamp off or lining up every side and curve. It’s amazing!!!
I started with a Pool Party card base (11″ x 4-1/4″). Then I took a piece of Whisper White (4″ x 3-1/4″) to stamp the tulips on. I used the Tranquil Tulips Hostess Stamp Set with Berry Burst Ink and Old Olive Ink. Starting with the stems, I stamped those around the middle of my paper so that my tulips weren’t falling off the top. Next, I stamped the leaves. Then it was time for the tulips and I did the large solid image first. Next I did the more detailed smaller image right on top.
Both of these images are in full strength ink so no worries on remembering to stamp off. Since the second image is smaller, all you have to look for when stamping it is that it is close to the bottom of the solid stamped image. If it’s not, that’s okay too! The variation in color on these stamps is the texture in the stamp. How cool is that?!?! So don’t worry that your image isn’t coming out smooth or dark and solid, it’s suppose to look like this. There are 2 different sizes of flowers to play with! I love it! There are also little dot images for the center of the flower. I stamped those in Basic Gray Ink for a softer look than black.
Now that I am done with the focal point, I added it to the card base on the left side. Next I tied some Berry Burst Finely Woven Ribbon around the card, right over the edge of the cardstock. For the greeting, I used the Label Me Pretty Stamp Set and coordinating Pretty Label Punch. (Bundle & Save 10%) First, I stamped the decorative edge in Pool Party Ink and then the greeting in Berry Burst Ink. Next, I punched it out and added to the card with Stampin’ Dimensionals! 🙂
I love this set so much because there are 22 images in there for just $10 in Hostess Dollars which is earned with a $150 order or party! It’s fabulous!!! Also, the ease of not having to remember to stamp off is super amazing!! Don’t forget about Bonus Bucks this month for every $50 you spend too!!! It’s a great time to order and have a party (in home, virtual, or catalog).
If you would like to see this all in action, check out the Video Tutorial below or click here! Be sure to give the video a thumbs up if you liked it and don’t forget to subscribe if you are new. If you would like a notification when I post a new video, be sure to click the bell right next to the subscribe!!!
This amazing perfect purple rose fit for a queen was made for my amazing cousin who is a QUEEN! 🙂 Oh I’m so incredibly excited for her to win our local county fair pageant! Small side note: I LOVE pageants so very much…watch them, take notes, take photos with Queens everywhere I go. Yeah, all of that! Now, I’m related to one so of course I made her a fabulous card to congratulate her!
While this card looks fairly simple even with all the extra details…..it took me forever to make. I really struggle when I have something in mind for someone special and try to get it just perfect. I colored 4 different roses for this one! First it was the wrong color, then I fussy cut one out and didn’t like it, and then I ruined one putting Gold Wink of Stella on top. TIP: Gold Wink of Stella comes out rather yellow. I have used the clear and love it. For this card, since I used Gold Foil, I thought I would use Gold Wink of Stella for a gold shimmer (clear with gold shimmer). I was wrong. In the end, it came out amazing and that’s all that matters!!!
I started with a Rich Razzleberry card base. Next, I took a piece of Whisper White (3-3/4″ x 5″) and stamped the rose from the Graceful Garden Stamp Set in Basic Gray Ink. I like to use gray for that softer look! Then I colored the flower in with the Watercolor Pencils and Blender Pens. Once it dried, I went back through with the pencil to highlight the edges for more detail!
Next I layered this onto a piece of Gold Foil Paper (4″ x 5-1/4″). Before layering on the gold, I used the Corner Rounder Punch to soften all of the edges. Using the Gold Metallic Edge Ribbon, I placed a piece across the card front and securing the ends to the back with Stampin’ Dimensionals. Before adding the bow, I stamped the greeting from the Happy Birthday Gorgeous Stamp Set in Rich Razzleberry Ink. Then I took another piece to make a bow and secured that on with Mini Glue Dots. This ribbon is stunning! I love it! Try it out in my Ribbon Share! Click here for details!
Now for the inside of the card! Since Rich Razzleberry is such a dark color, I thought I would put a piece of white in there. Well why not decorate that piece too?!?! I stamped the rose and greenery from the Graceful Garden Stamp Set. I decorated the envelope as well to match!
It all turned out so fabulous!! I love it!!! Do you enjoy making special cards for someone or do you tend to make cards and then pick the best one for people? I’m usually the second one but every once in awhile I go all out!!! Let me know which you are in the comments below!
Happy Friday!!! It’s time to celebrate Christmas in July! Stampin’ Up has so many fabulous offers this month so let’s celebrate!!!
Every order placed in July $50 or more, will earn $5.00 in Bonus Bucks to spend in August. You can earn these all month long in July and spend any time in August! Earn as many as you wish with every $50 increment! Have you been wanting the Big Shot??? Purchase it this month and then earn Bonus Bucks to spend in August on an embossing folder or framelits!!! Don’t forget you will also be earning Laura’s Loyal Stampers Stickers too!!!
If you want it all then now is the time to get it all!!! When you join Stampin’ Up in July, you will get a FREE Essentials Gift Pack including Paper Snips, SNAIL Adhesive, Grid Paper, two D Blocks, and a Bone Folder. These are all the goodies I have right next to me at my stamp desk because I use them each time I stamp! That’s an added value of $52! Even if you have all of these items, they are great to have extras for classes and events or you could give them away as Hostess Goodies!
That’s not all though, you will also get the NEW Carols of Christmas Stamp Set from the Holiday Catalog coming out in September! Woot Woot!!! That’s another $20 value! So an extra $72 in goodies on top of the $125 you get to pick out. All of this for just $99 plus tax. There is always free shipping on your kit! As always, there is no obligation to have parties or classes. You can be any type of demonstrator that you wish! You can enjoy the discount, share with friends, have parties, or do anything. It’s all about you and what you want to do!!! Let me know if you have any questions!!! I am always happy to answer anything! My Team – Fabulous Friends would love to have you join us!!! 🙂