Technique Tuesday – Treat Basket

Posted on

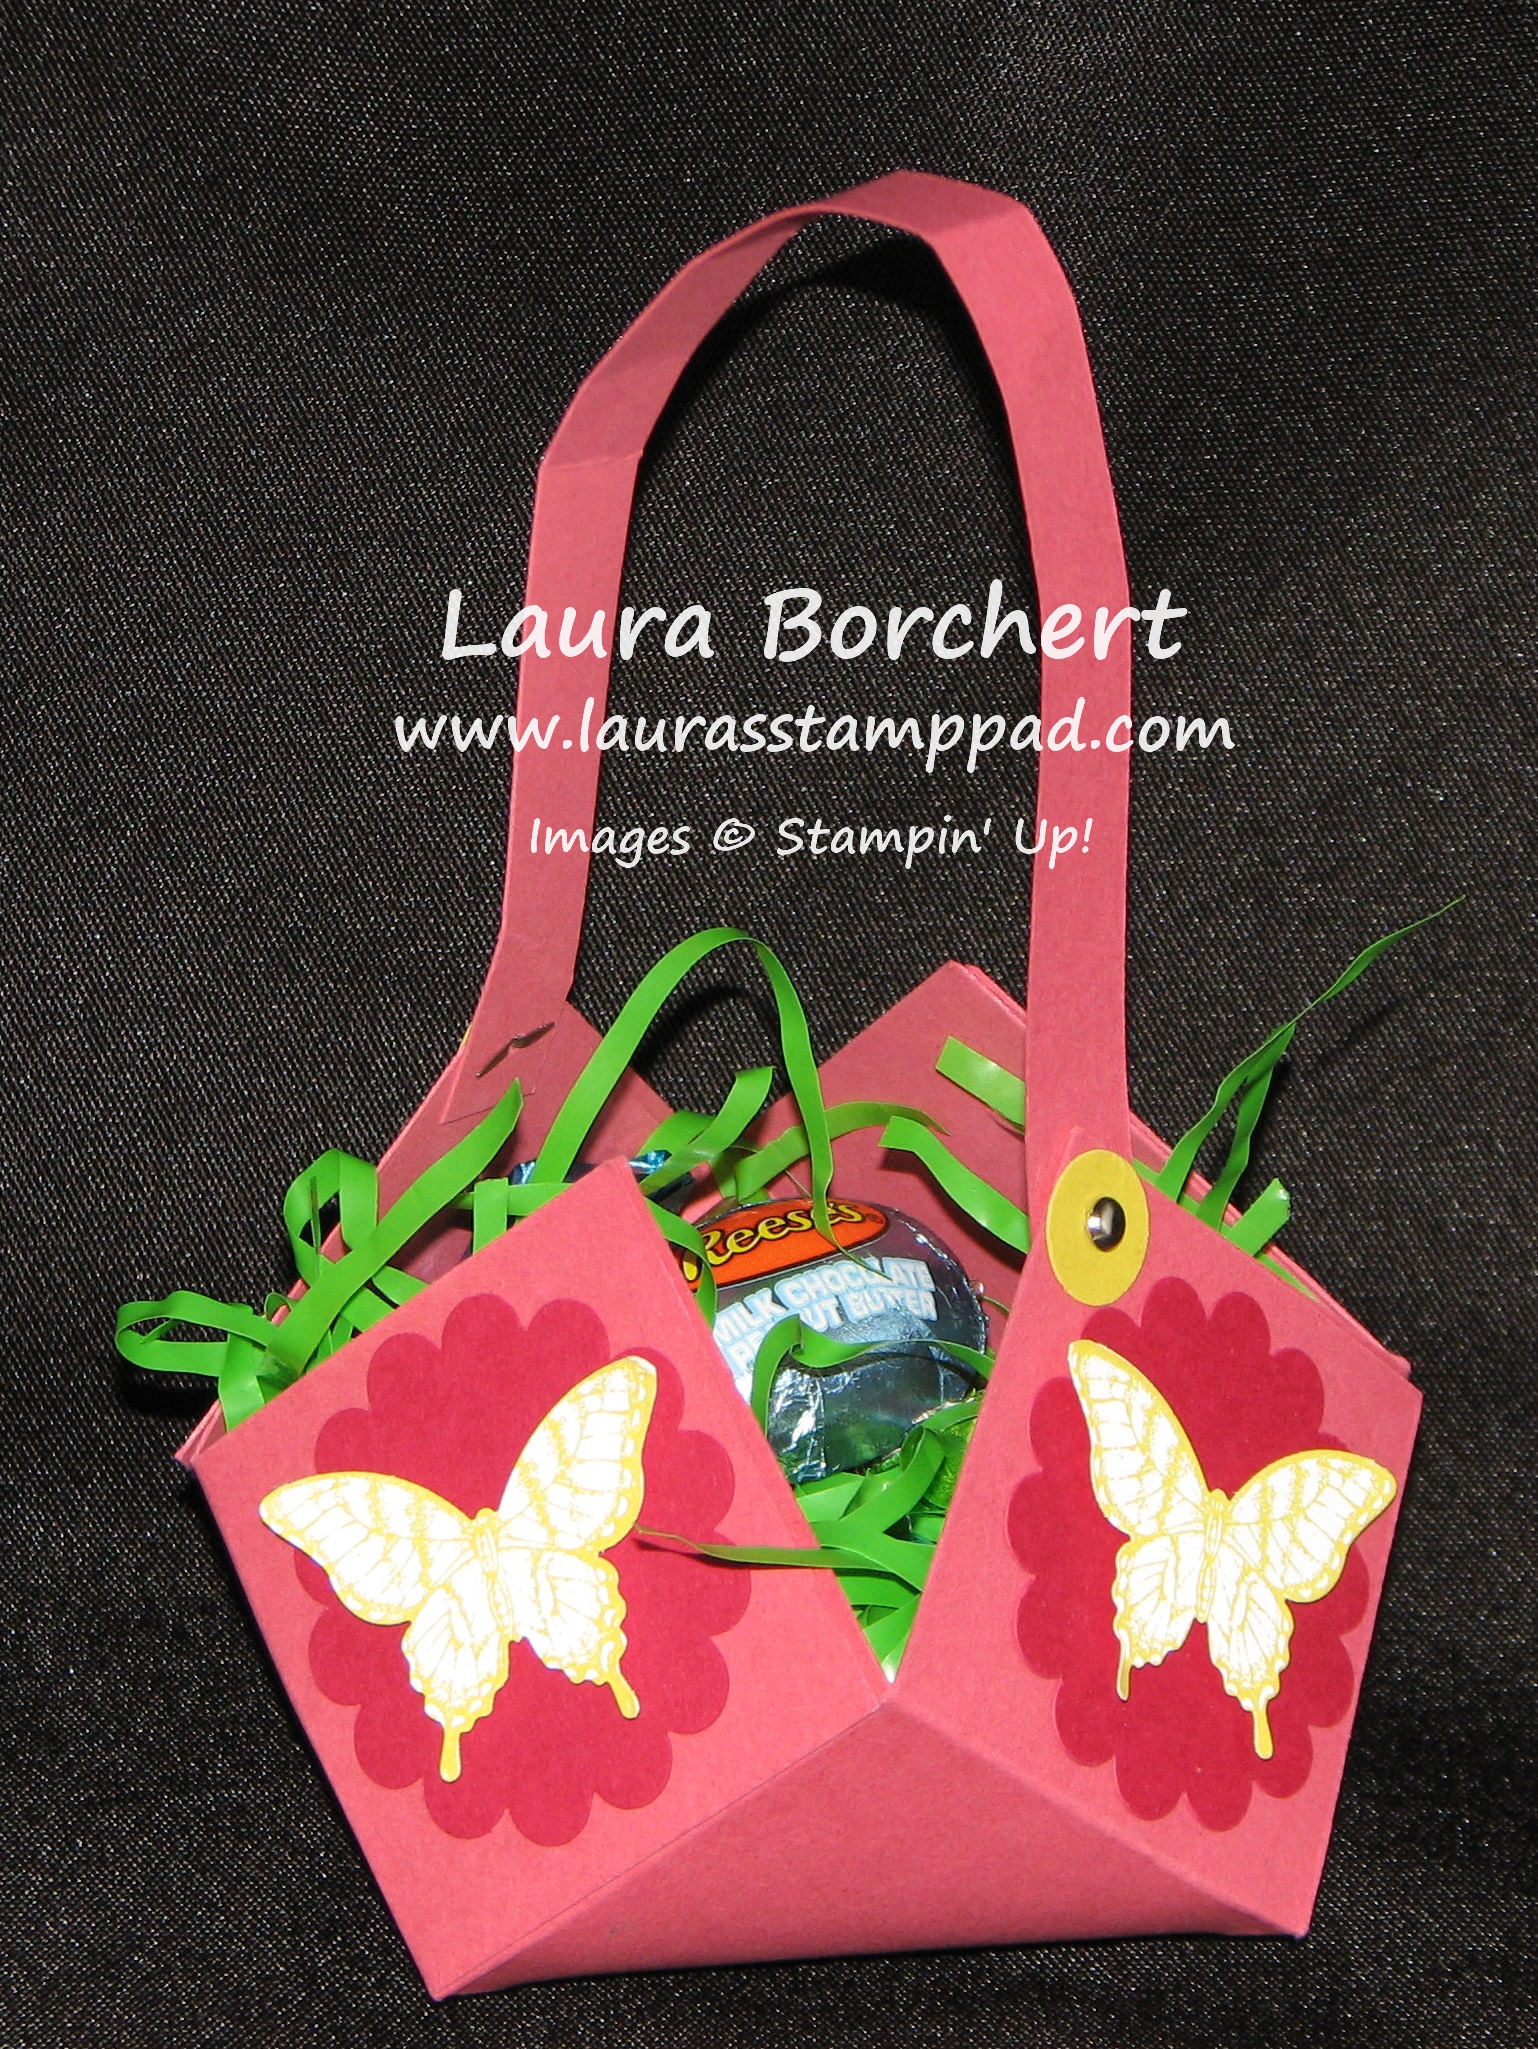
Happy Tuesday everyone!!!! You know what that means…..I’m sharing a fabulous technique with you! This week it is the adorable little basket! You can use it for candy, treats, homemade goodies, or any type of gift!!! It is always fairly quick and simple too!

Treat Basket Tutorial, www.LaurasStampPad.com

Supplied Needed: Cardstock, Scissors, Scoring Tool (Stampin’ TrimmerSimply Scored Tool, or Bone Folder), Sticky Strip, Hole Punch, Brads, decorations/embellishments, and TREATS!

Using an 8” x 8” piece of cardstock, you will score at 2”, 4”, and 6” on both sides of the square. This will give you 2” squares all over. Cut up 2” to the first score line on all sides. This will make the corners fall off. Apply Sticky Strip to one of the squares on all four sides. Fold the sides together to make a point (overlapping 2 squares together). For the handle, cut a ½” x 8” piece of cardstock and attach with brads. Decorate as you wish! I used the Scallop Circle Punch on all four sides. Then I stamped the butterfly from Papillion Potpourri and punched it out with my Elegant Butterfly Punch. Of course I attached the butterfly with Stampin Dimensionals to add some texture and allow for bending the wings forward!!! Super cute and it would look great as treats for a Bridal Shower, Baby Shower, or any other events with Treat Bags. You could always put the name of the guest on one of the sides and it could double as a place card!!! Here is a video for you to watch how this was created!!! Be sure to “Like” this video and “Subscribe” to my Channel so you don’t miss out on any of my Video Tutorials!

Happy Stampin’

~Laura


Wonderful Washi Tape!!!

Posted on

Have I ever told you how much I love Washi Tape??? Well I love love love it!!! You can make such amazing projects with it and it is quick, simple, and affordable!!! Look at all these amazing cards below and you can see more here and here!!!

Washi Tape Cards, www.LaurasStampPad.com

This one was created with the Retro Fresh Washi Tape and I used a greeting from the Delightful Dozens Stamp Set! This stamp set is retiring so get it before it is gone! For the greetings, I stamped the middle one first and then without re-inking I stamped above and below for that gradual color fade!

Washi Tape Cards, www.LaurasStampPad.com

This one is just amazing and perfect for weddings and anniversaries!!! I used the Watercolor Wonder Washi Tape and a greeting from the A Dozen Thoughts Stamp Set!

Washi Tape Cards, www.LaurasStampPad.com

Father’s Day is right around the corner!!! This card uses the Epic Day Washi Tape and the greeting from Delightful Dozens Stamp Set (retiring). This one is an amazing “man” card and we all know I have a hard time with those!

Washi Tape Card, www.LaurasStampPad.com

Can’t forget about Mother’s Day which is this weekend!!! I used the Gingham Garden Washi Tape (which is retiring) and the greeting is from the Delightful Dozen Stamp Set (retiring)!

For more on these cards and to see just how quick and simple they are, check out this video where I timed myself on how long it takes to create Washi Tape Cards!

Let me know in the comments below what types of videos you would like to see next!!!

Happy Washi Tapin’

~Laura


Fabulous Friday!!!!

Posted on

Finally Friday is here and I have so many fabulous things to share with you!!!! Of course the Weekly Specials and……drum roll……..suspense…..I have started a YouTube Channel so I can share video tutorials with you!!!! I’m so excited about this because sometimes it is just too hard to explain the folds and intricate details of stamping and making projects! 🙂 Now you can watch me make it and hit pause or rewind when you need a minute to catch up!!

I have also added a video tutorial for this week’s Technique Tuesday – Shaker Card, click here to see that! If there is something that you have seen here on my blog or something you want to see in action, leave me a comment down below and I will see what I can do to create a video for you!!!

WeeklyDeals_Apr29_US

This week I am super excited (and a little sad) to see the Dress Up Framelits on the Weekly Deals! I am excited because you all should get this item and it is on SALE! I am sad because it is retiring. 🙁 This Dress is super cute and there are so many ways you can use it! Check out a few samples here!!! Of course, I highly recommend stocking up on ribbon because that is my #1 go-to embellishment and you can never have enough! Don’t forget about the Retiring Lists as well! All of the items on the Retiring List are while supplies last. Here are the most updated lists:

Retiring Accessories in PDF

Retiring Accessories in Excel

Retiring Stamps in PDF

Retiring Stamps in Excel

I hope you have a fabulous weekend but before you shut down your computer and head outside (the weather is suppose to be amazing), go check out my YouTube Videos! 🙂

Happy Stampin’

~Laura


More Birthday Basics Designer Series Paper!!!

Posted on

So yesterday I was telling you how amazing the Birthday Basics DSP is because it is bright and cheery on one side and elegant and beautiful on there other! Check out the samples from yesterday here! And here are some more amazing ones….

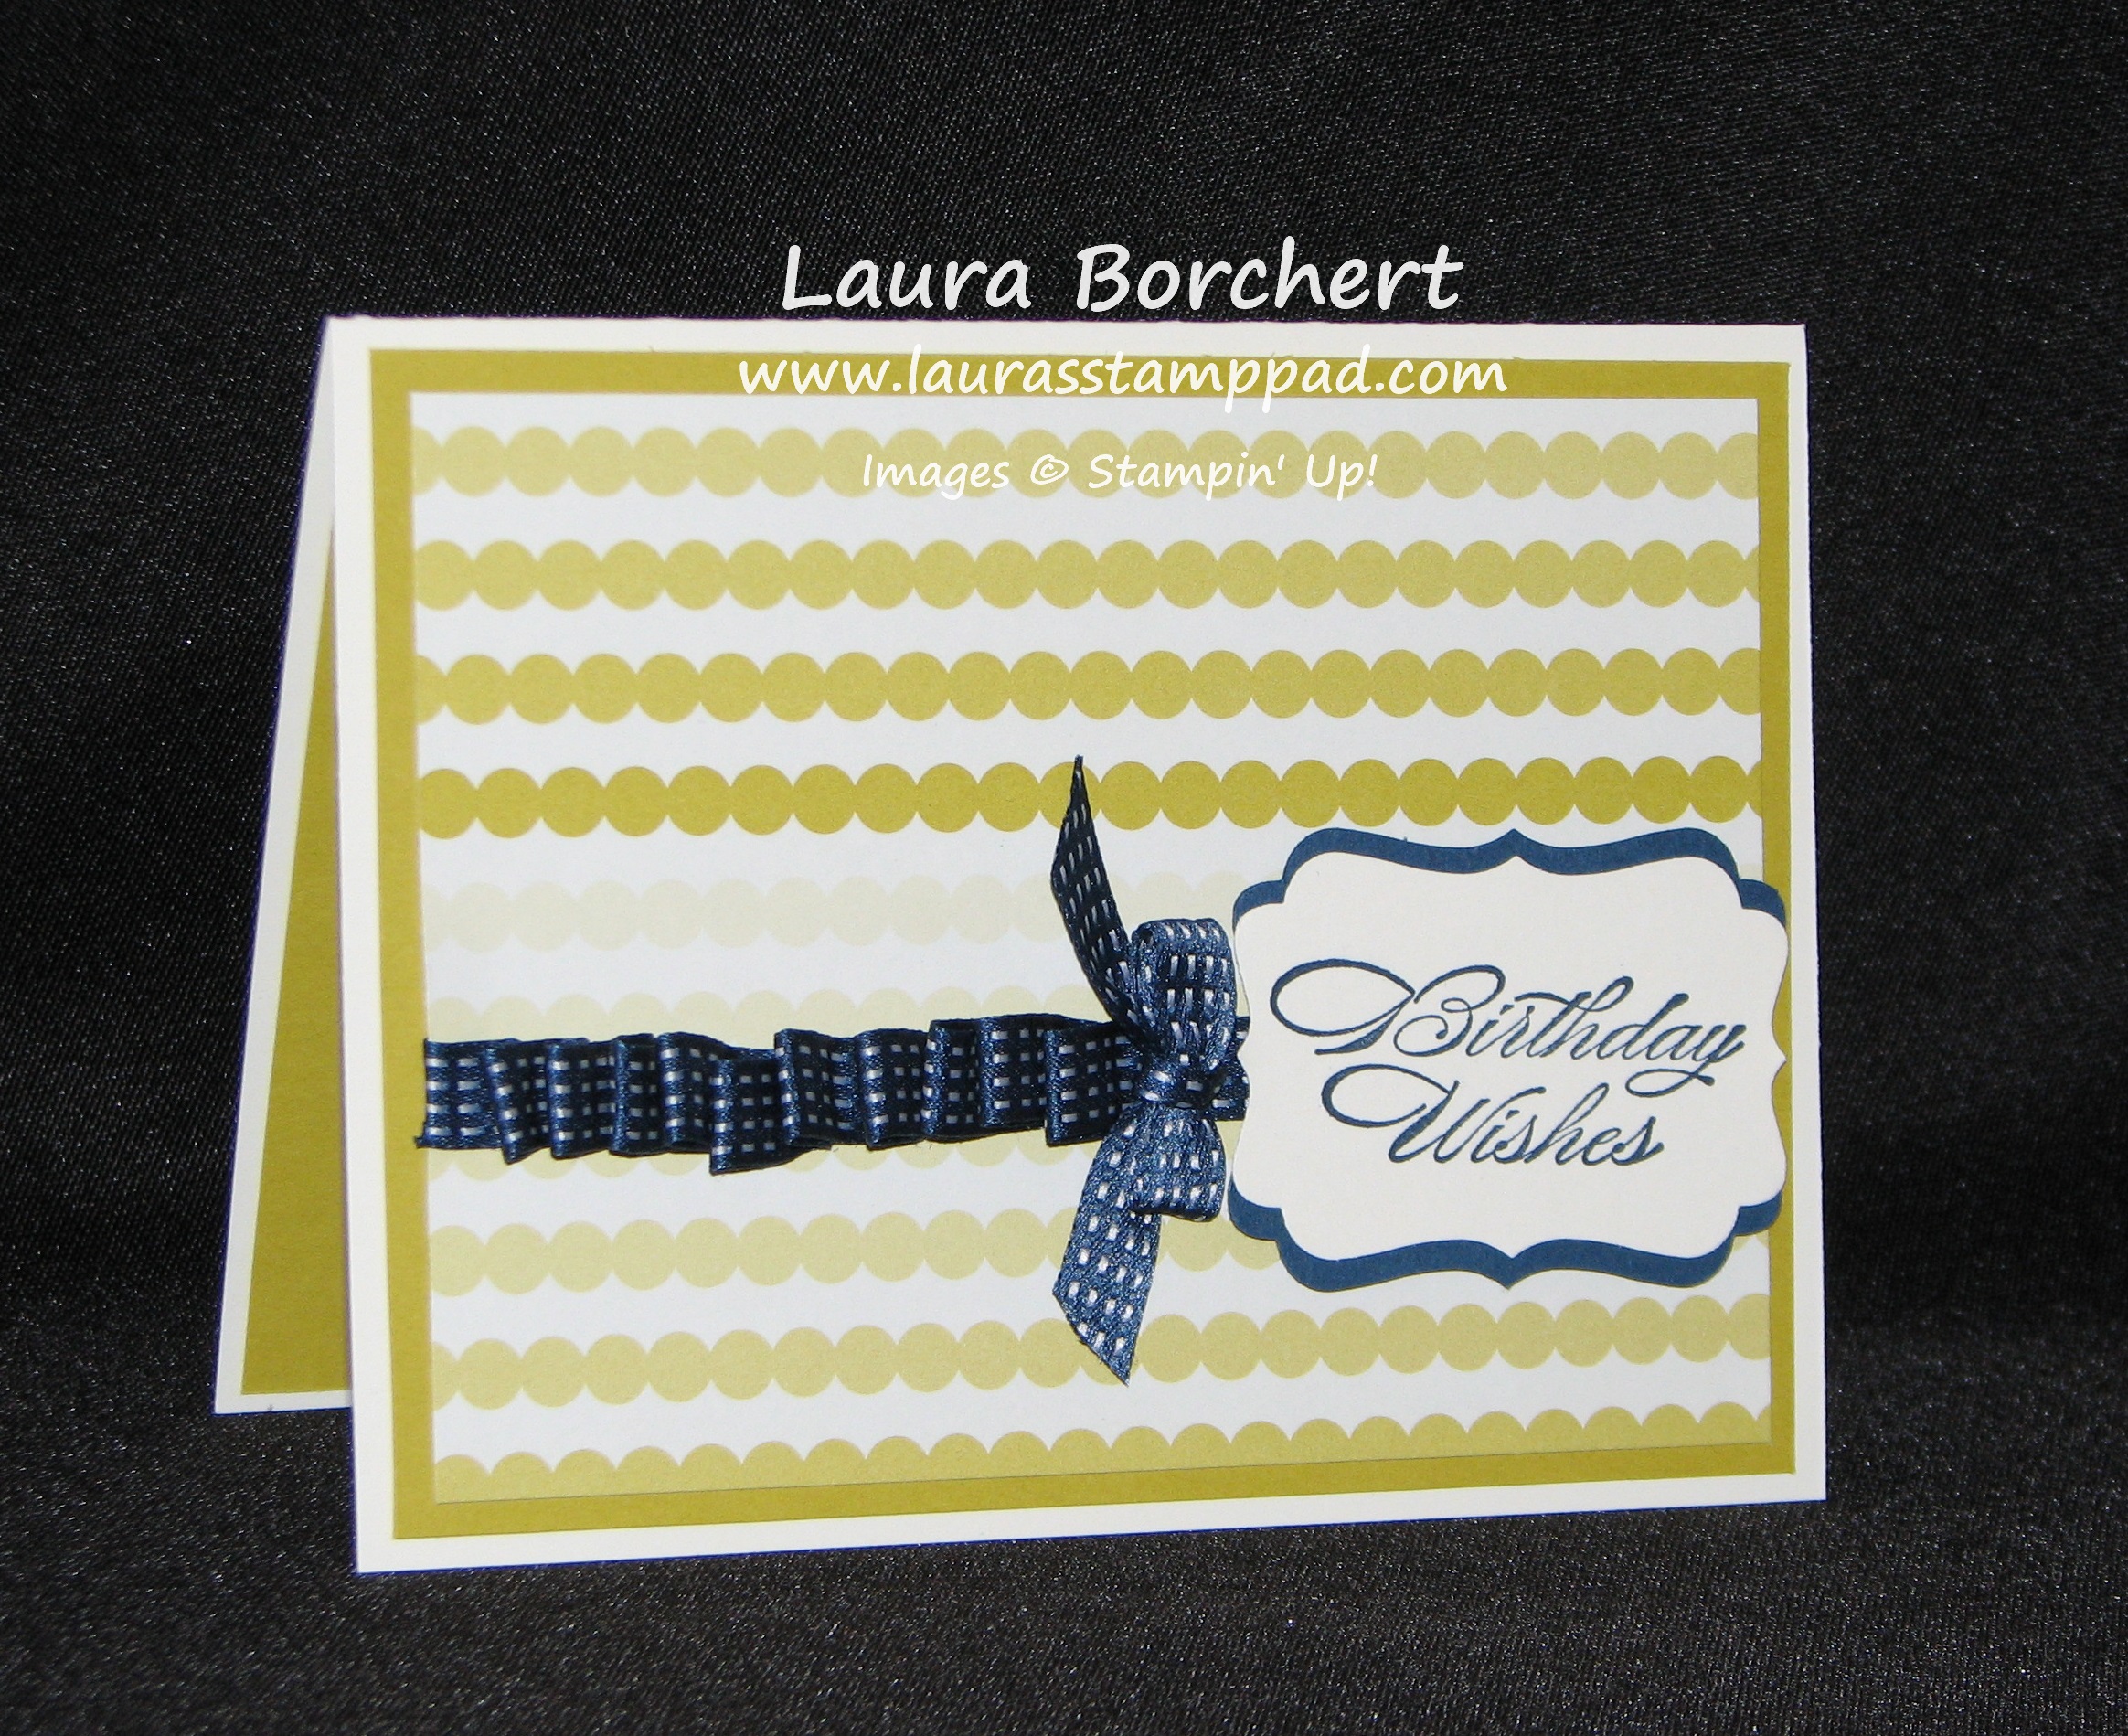
Ribbon Ripple on Birthday Basics DSP, www.LaurasStampPad.com

This piece of the Birthday Basics DSP is Summer Starfruit in this amazing ombre look! I then added some Midnight Muse Stitched Satin Ribbon to it by adding a line of Sticky Strip and then sticking the ribbon to it (just a little bit), loop it, then press into the sticky, loop, press, loop press until you are at the end! Don’t worry if you don’t get it the first time, you can always pull it off and start again! While sticky strip is amazing for the strong hold, since the ribbon is kind of slick it comes off without ripping like paper!!! I then used my Decorative Label Punch and Bring on the Cake Stamp Set for the ribbon. Super simple card but a wonderful look!

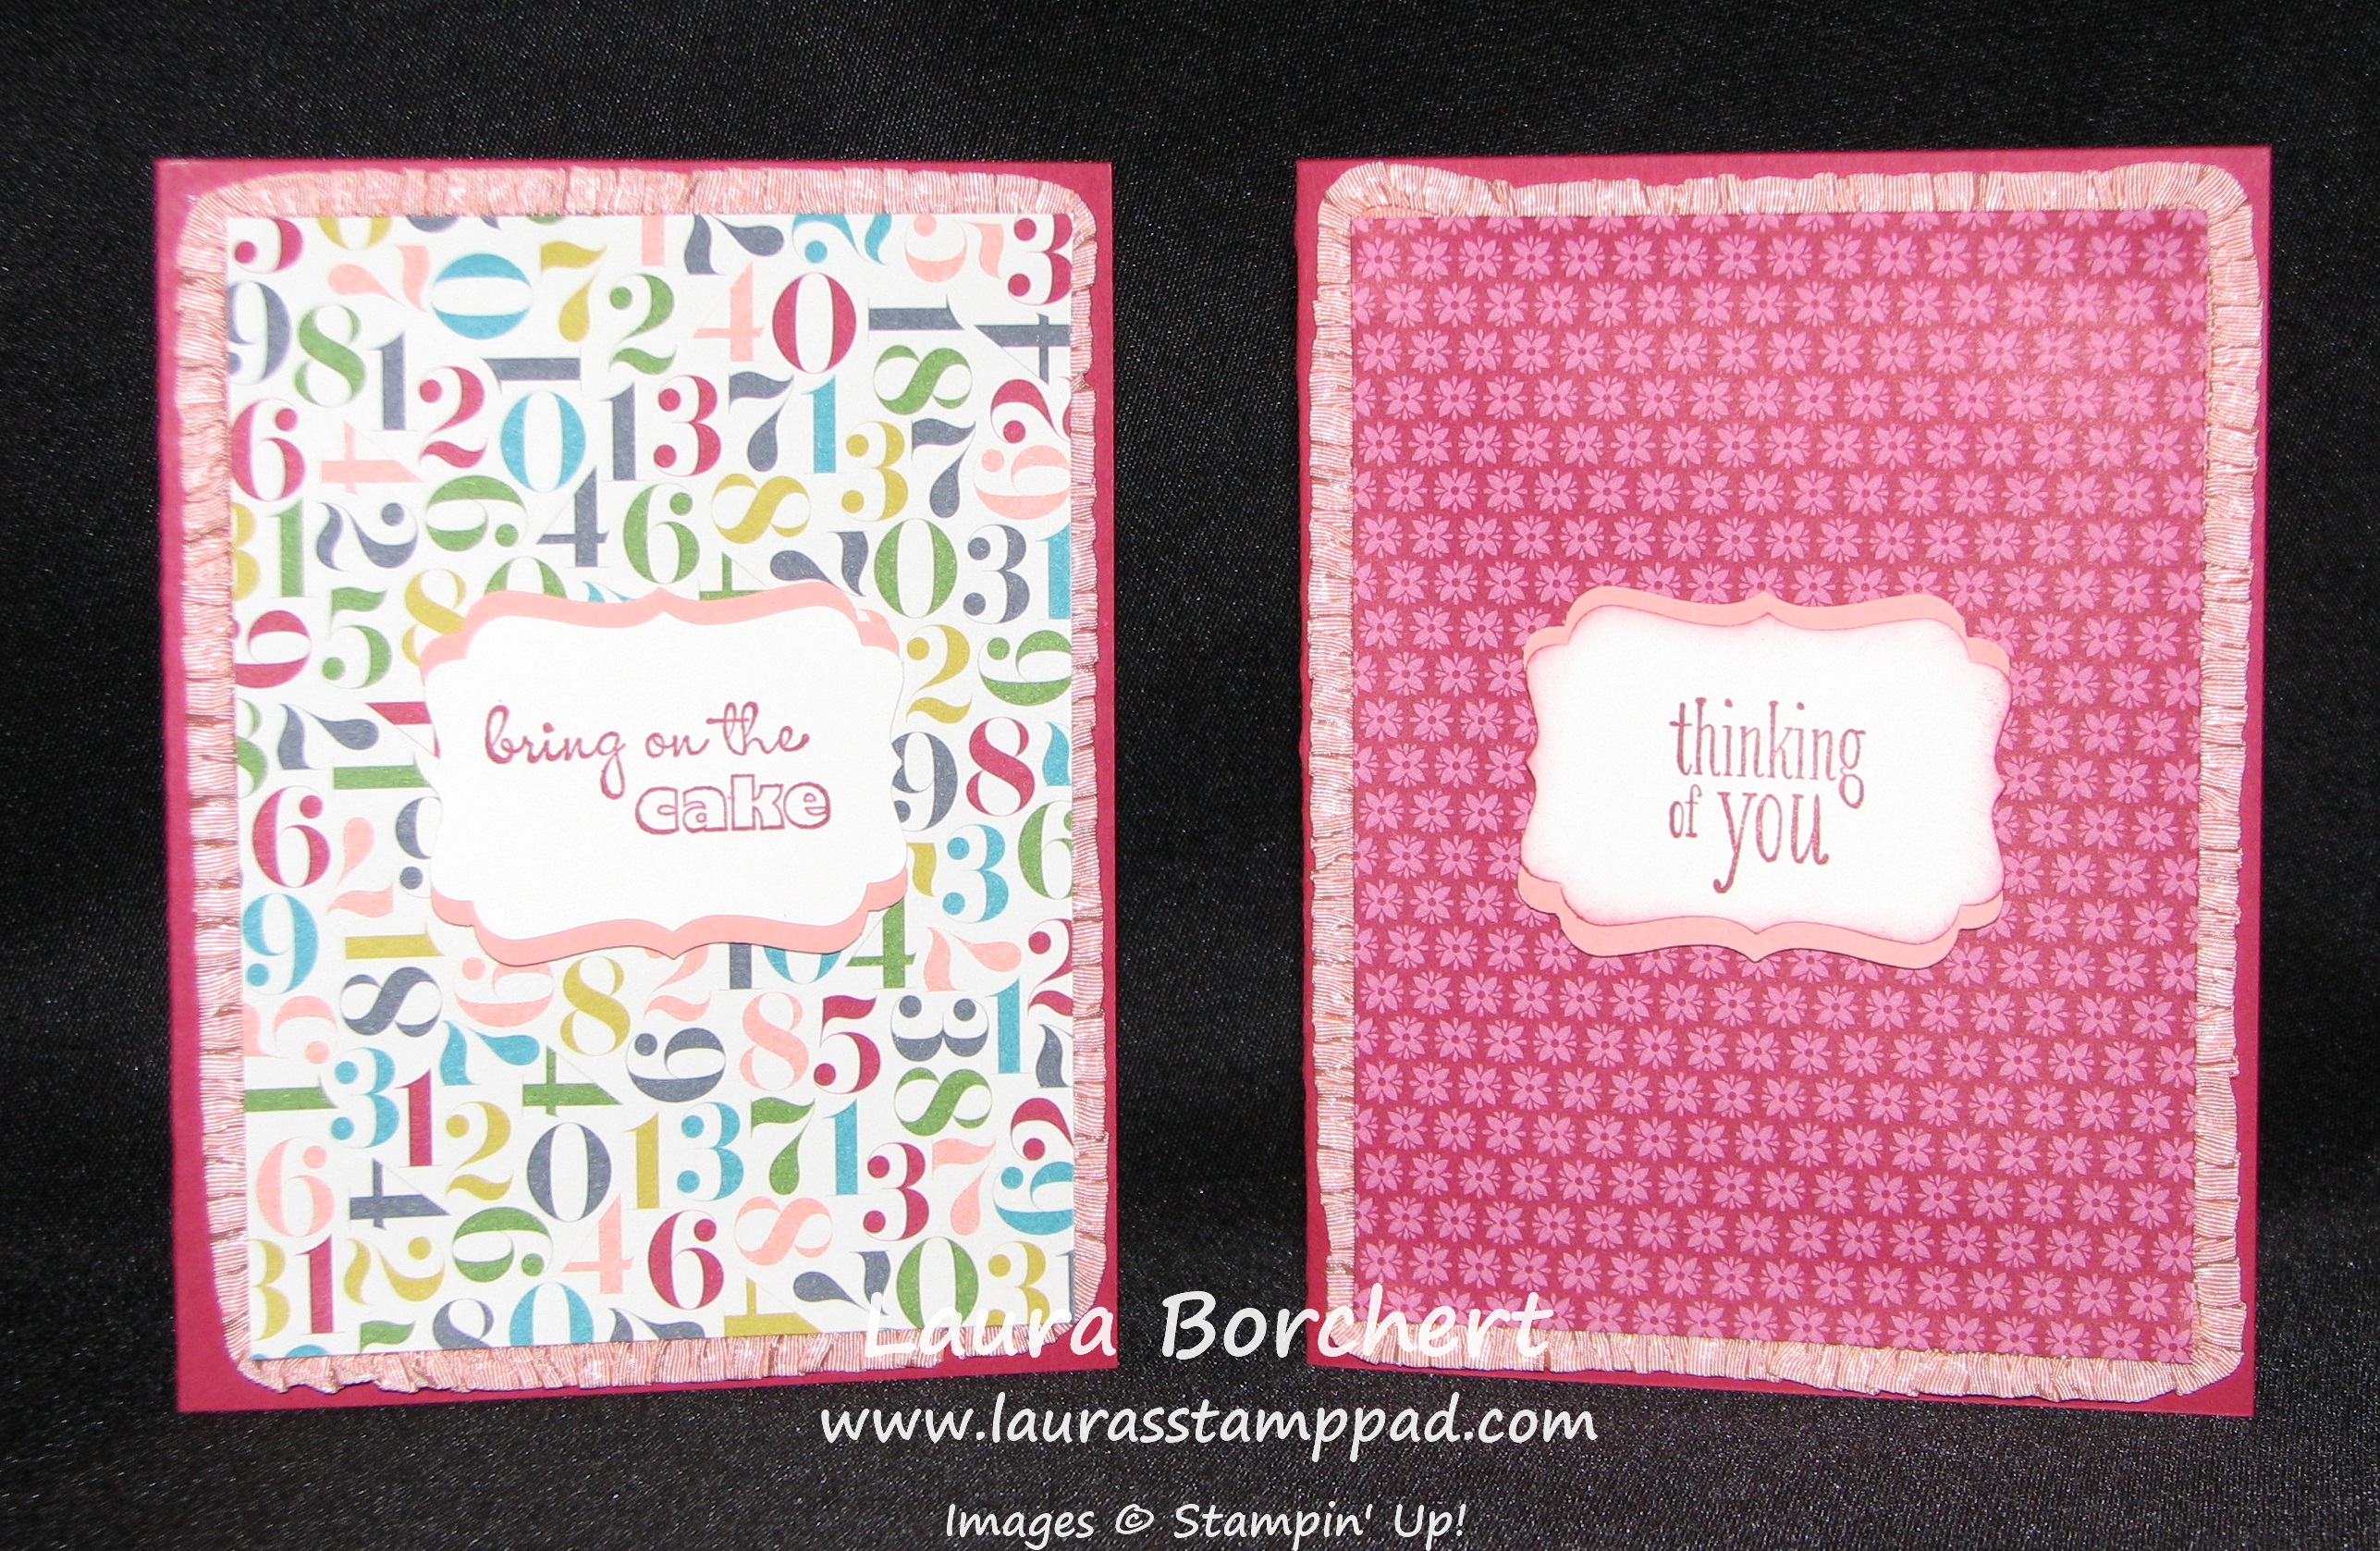
Ruffled Ribbon Edge, www.LaurasStampPad.com

Here I used both a fun side and elegant side to make this style of card! See how amazing it is for a Birthday card but also as a Thinking of You card! I added the Ruffled Ribbon all along the edges of the DSP for a layered ruffly look! Again, I used my Decorative Label Punch for both greetings and Bring on the Cake (left side) and Peaceful Petals (right side).

I hope you have enjoyed all of these samples using your ribbon and Birthday Basics Designer Series Paper! You could always use the style of these cards with any type of DSP! Also, don’t forget that many of the items used for these samples are retiring so get them before they are gone – Bring on the Cake :(, Birthday Basics DSP, Ruffled Ribbon, 2012-2014 In-Colors, Stitched Satin Ribbon!

Happy Stampin’

~Laura


Birthday Basics Designer Series Paper!!!

Posted on

The Birthday Basics Designer Series Paper is unlike any other….it is bright and cheery and playful on one side and the other side is very elegant, rich, and beautiful! I love that in a pack of paper because there are so many ways to use it – kids birthday cards, anyone’s birthday card, sympathy, Mother’s Day, Wedding, etc. Here are a few samples I have made showing both sides of this amazing paper!!!!

Mother's Day Card with Birthday Basics DSP, www.LaurasStampPad.com

Love this card with those rich colors and beautiful flowers! I used the Delightful Dozens Stamp Set for the greeting and the Decorative Label Punch! For that amazing ribbon, I just took some Seam Binding and pulled one of the middle strings which then makes it begin to gather! Be sure not to pull too hard because the entire sting with pull out. Once you get half way across, stop and pull a different one on the opposite side. This will help it to not pull out. For the bow, I made loops and then secured the center with a Antique Brad!

Birthday Basics Card, www.LaurasStampPad.com

I love the bright and cheery look of this card! I used the Decorative Label Punch and Bring On The Cake Stamp Set for the greeting! For the bow, I placed a piece of 4-1/2″ Organza Ribbon across my card and adhered the ends to the back of the Designer Series Paper. I then took another 4″ piece and added a dab of adhesive in the middle and then brought the 2 ends that middle dab of glue and stuck them down! Then taking another ~2″ piece, wrap it around the center to cover those ends! Perfect little bow and it won’t add any bumps to your card for mailing!!! Here is another close up photo of the bow!

Birthday Basics Card, www.LaurasStampPad.com

Come back tomorrow for more samples using the Birthday Basics Designer Series Paper!!!

Happy Stampin’

~Laura


Technique Tuesday – Shaker Card!!!

Posted on

Happy Tuesday!!! You know what that means – I have a fabulous technique to share with you!!! This week I am showing you how to make a fabulous Shaker Card with Emboss!

Shaker Card with Washi Tape, www.LaurasStampPad.com

How cute is that? I’m loving the bling (even though honestly, I’m more of a silver girl)!

Supplies Needed: Washi Tape, Cardstock, Window Sheet, Shaker items like glitter, punched circles or flower, etc, or sequins

You will need to cut your cardstock and Window Sheet to be the same size! This card is a 3″ Square! Then you will lay your 2 squares together and add Washi Tape (Watercolor Wonder Washi Tape) along the edges half way so that the other half can fold over to the back (holding your 2 pieces together). Trim off an access on the corner. Before putting Washi Tape on the 4th side, be sure to add in your shaker items. For this card, I placed Washi Tape on a scrap piece of Very Vanilla and then punched out 1/2″ Circles. You can use anything as your shaker items – punched circles, hearts, flowers, glitter, sequins, etc. After your shaker items are in there, you will seal up the final side with Washi Tape. Then you can put it on your card and decorate as you wish! As for the greeting, you can either stamp on your cardstock that is layered behind the Window Sheet or you can use Stazon and stamp on the window sheet or you can emboss a greeting onto the window sheet! I took the easy, quick drying route and stamped on my cardstock! 🙂

Shaker Card with Washi Tape

Once you have created your shaker piece, you can put it on your decorated card! For the one pictured above, I used Coastal Cabana and Whisper White Cardstock. I embossed the Whisper White with my Stripes Embossing Folder and added little banner tags! The banner tags were created with the Gold Fancy Foil Designer Vellum and Sequin trim! The stamp set I used for my greeting was Delightful Dozens (this one is retiring so get it before it is gone)! To watch a video tutorial on this technique, click here!

I, also, wanted to give a shout out and THANK YOU to everyone to participated in my Anniversary Special!!! Your goodies are on their way!!!!

Happy Stampin’

~Laura


Peaceful Petals and Watercolor!!!

Posted on

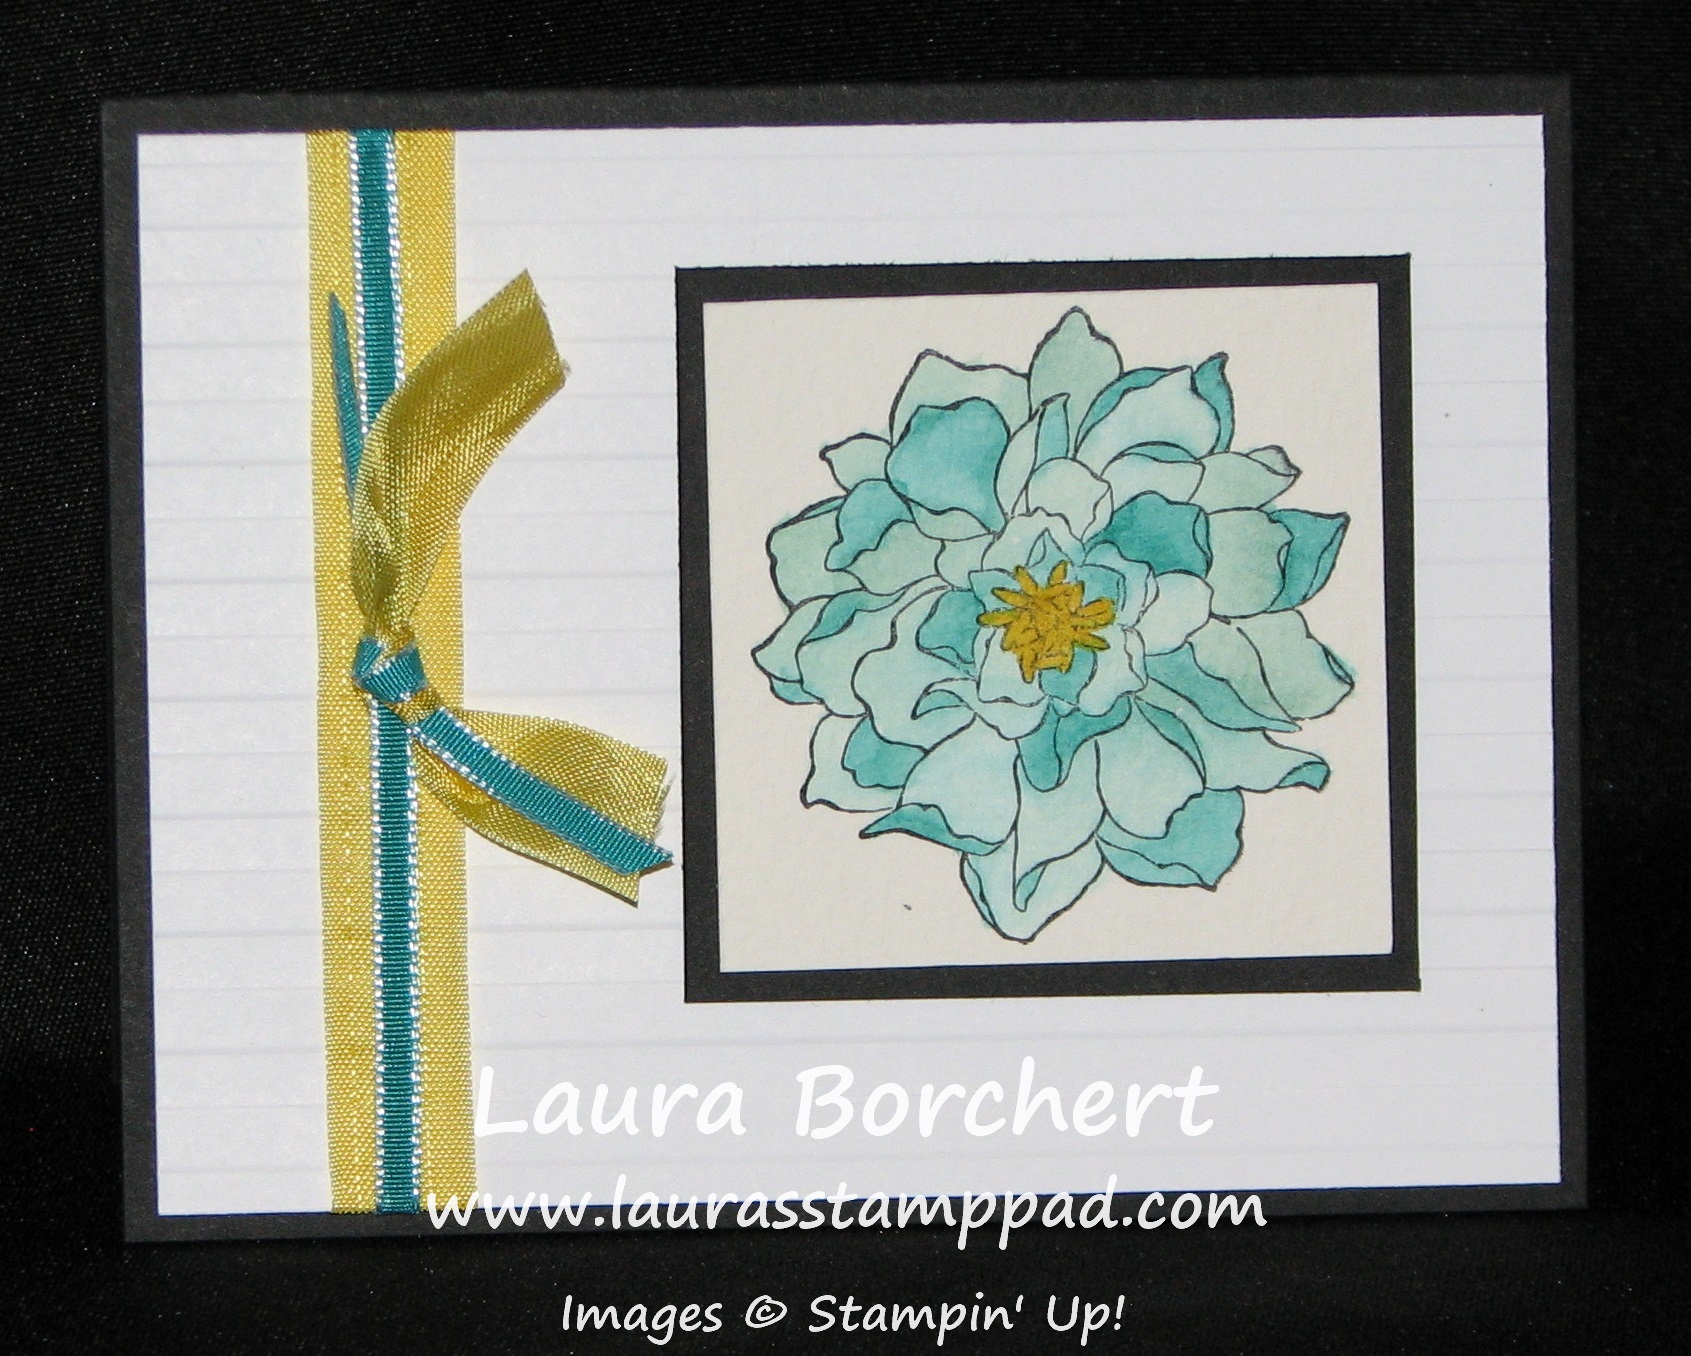
Peaceful Petals Watercolor, www.LaurasStampPad.com

I LOVE this stamp set….I mean it has flowers in it so of course I do! Peaceful Petals is lots of fun for stamping, coloring in, watercoloring, and so much more! For this amazing card, I stamped the image on Watercolor Paper and then using my Blender Pens, I added Coastal Cabana and Bermuda Bay ink to make that gorgeous flower! I love the color scheme too so this card is filed in the fabulous card file for sure! Another favorite technique I like to do is layer a bright color with black and white. The contrast really makes it POP and I love it! For the ribbon, I tried something new. I laid the Daffodil Delight Seam Binding on my cardstock and layered Bermuda Bay 1/8″ Taffeta Ribbon on top of it (adhering the ends to the back). Then I took 2 pieces (one of each) about 5 inches long and tied them together around the layered pieces. I haven’t tried mixing my ribbons like that but I’m liking the look! What do you think? Leave me a comment below!

For more tips and tricks on watercolor and blender pens check out this post and this post and this one too!

Happy Stampin’

~Laura


Fabulous Friday!!!

Posted on

Happy Friday All!!!! Today is a BIG Day because it is the last day for FREE SHIPPING on all Stampin’ Up orders with no minimum! It is also the last day for my Anniversary Special! When you place an online order with the HOSTESS CODE: XNYWCB4B, you will get a FREE gift from me!!!! I have Stamp Sets, Big Shot Dies, Ribbon, Designer Series Paper, and so much more that is just waiting to be in your stamp collection. But wait there’s more, I will also be drawing one lucky winner to get ALL of the Hostess Benefits!!!! Who doesn’t love FREE STUFF and FREE SHIPPING!! On top of all of that Stampin’ Up still has their Weekly Deals!

Weekly Deals 22

All of these items are on the retired list as well (except the Afternoon Daydream Digital Download)! So now is the time to stock up!!! You have seen lots of samples using the Afternoon Picnic DSP! You can check those out here, here and here! My other big favorite that I’m sad to see go is the Crochet Trim Victoria! I, myself, am not a huge fan of the vintage/rustic look but I know many of my brides and customers are and I have had fun using it to create amazing pieces! Check out samples here!

For the complete list of retiring items, click here!

What would make this Friday even better? Chocolate!!!!

Washi Tape Treat Bags, www.LaurasStampPad.com

If you have some extra Easter Candy that you need to get out of the house or End of the School Year Party or Teacher Appreciation Week (May 5-9), these treat bags are the perfect thing!!!!

All you need is Cellophane Bags, Ribbon, Washi Tape, and Cardstock! Adorable. I used the retiring Garden Gingham Washi Tape and Primrose Petal Stitched Ribbon! For the cute tag, I used my Chalk Talk Framelits to cut it out and then added a little more Washi Tape and a greeting from the Teeny Tiny Wishes Stamp Set! Quick and Simple!!! Order it all today with Free Shipping and the Hostess Code: XNYWCB4B and you will be hitting it big!!!!

Have a fabulous weekend and Happy Stampin’

~Laura


Bring On The Cake is Retiring.

Posted on

Birthday Basics & Bring On The Cake, www.LaurasStampPad.com

I’m still in morning over finding out that Bring On The Cake is retiring. (Notice no exclamation point in the title) I LOVE LOVE LOVE this stamp set. I send out lots of Birthday cards and this is my go-to set. I use it….probably daily. I just can’t get over it retiring so I HIGHLY suggest you order your’s today because this set is beyond amazing. I love coloring in the greeting above. I have colored it all one color or multi-colored and event stripes and polka dots. There is something that makes be beyond giddy when I colors it in something besides solid. (It’s the little things!) Here I made a quick a simple Birthday card using the Birthday Basics Designer Series Paper (also retiring) and the Basic Gray Stitched Ribbon (also retiring). 🙁 But have no fear, I know Stampin’ Up will have an amazing Birthday Stamp Set that I will love when the NEW catalog comes out on June 2nd! Until then, Bring On The Cake to help me feel better!

For the complete list of retiring items, click here! Don’t forget about my Anniversary Special going on through Friday!!

Happy Stampin’

~Laura


How to Watercolor with Your Spritzers!!!

Posted on

Hello Hello!!! I hope everyone is having a wonderful week! It is Wednesday so we are half way to the weekend! 🙂 I wanted to share with you this fabulous way to get a watercolor look without a cup of water and a paintbrush! Some may call this faux watercoloring but most of the watercolor projects I do are faux!

Watercolor with Spritzers, www.LaurasStampPad.com

How beautiful is that? I think it is amazing! This is one of the flower stamps from Peaceful Petals in the Occasions Mini Catalog! Love it!!!! What you will do is color the stamp with your markers using the thicker tip (that way you get pink flowers and green stems). Then you will take one of your Spritzers filled with water and spritz it.

Watercolor with Spritzers, www.LaurasStampPad.com

Now here is the tricky part where each one comes out different. I recommend spritzing 1 or 2 times and not real close to the stamp so that only the little mist of the spritz hits the stamp. When you spritz more or less, close or far away, each time you will get a different look. Then I stamp the image down onto Watercolor Paper! Again you can either hold it for a mini second and then lift or you can hold it for 10 seconds and let the color run into the watercolor paper more. Another fun tip…..have 2 pieces of Watercolor Paper available and after you stamp the first time, stamp again. Sometimes it comes out better than the first one or lighter but still amazing, either way you just got 2 amazing images out of one coloring!!! WOOT WOOT!  In the photo above, I held it for a mini second and got that amazing image. Then I took lighter colors (Pink Pirouette & Pistachio Pudding) than the original colors (Melon Mambo and Garden Green) and colored in the flowers and stem. That one is my favorite!

Watercolor with Spritzers, www.LaurasStampPad.com

This one here was stamped and I held it for 10 seconds, letting the colors run more into the paper. As you can see the flowers are more solid (filled in) and I didn’t color those in. Some may like that look, other may not! It is all about the art of watercolor!!!

Did you notice that pink and green ribbon on these 2 cards? Where did that come from??? I COLORED IT!!! Check out this post on how to create amazing colored ribbon! I hope you enjoyed this watercolor idea and try it out yourself! For more tricks on watercoloring check out this post and this post! Let me know what you think in the comment down below!!!!

Don’t forget about the Stampin’ Up Retiring Products, My Anniversary Special and FREE SHIPPING going on this week!

Happy Stampin’

~Laura