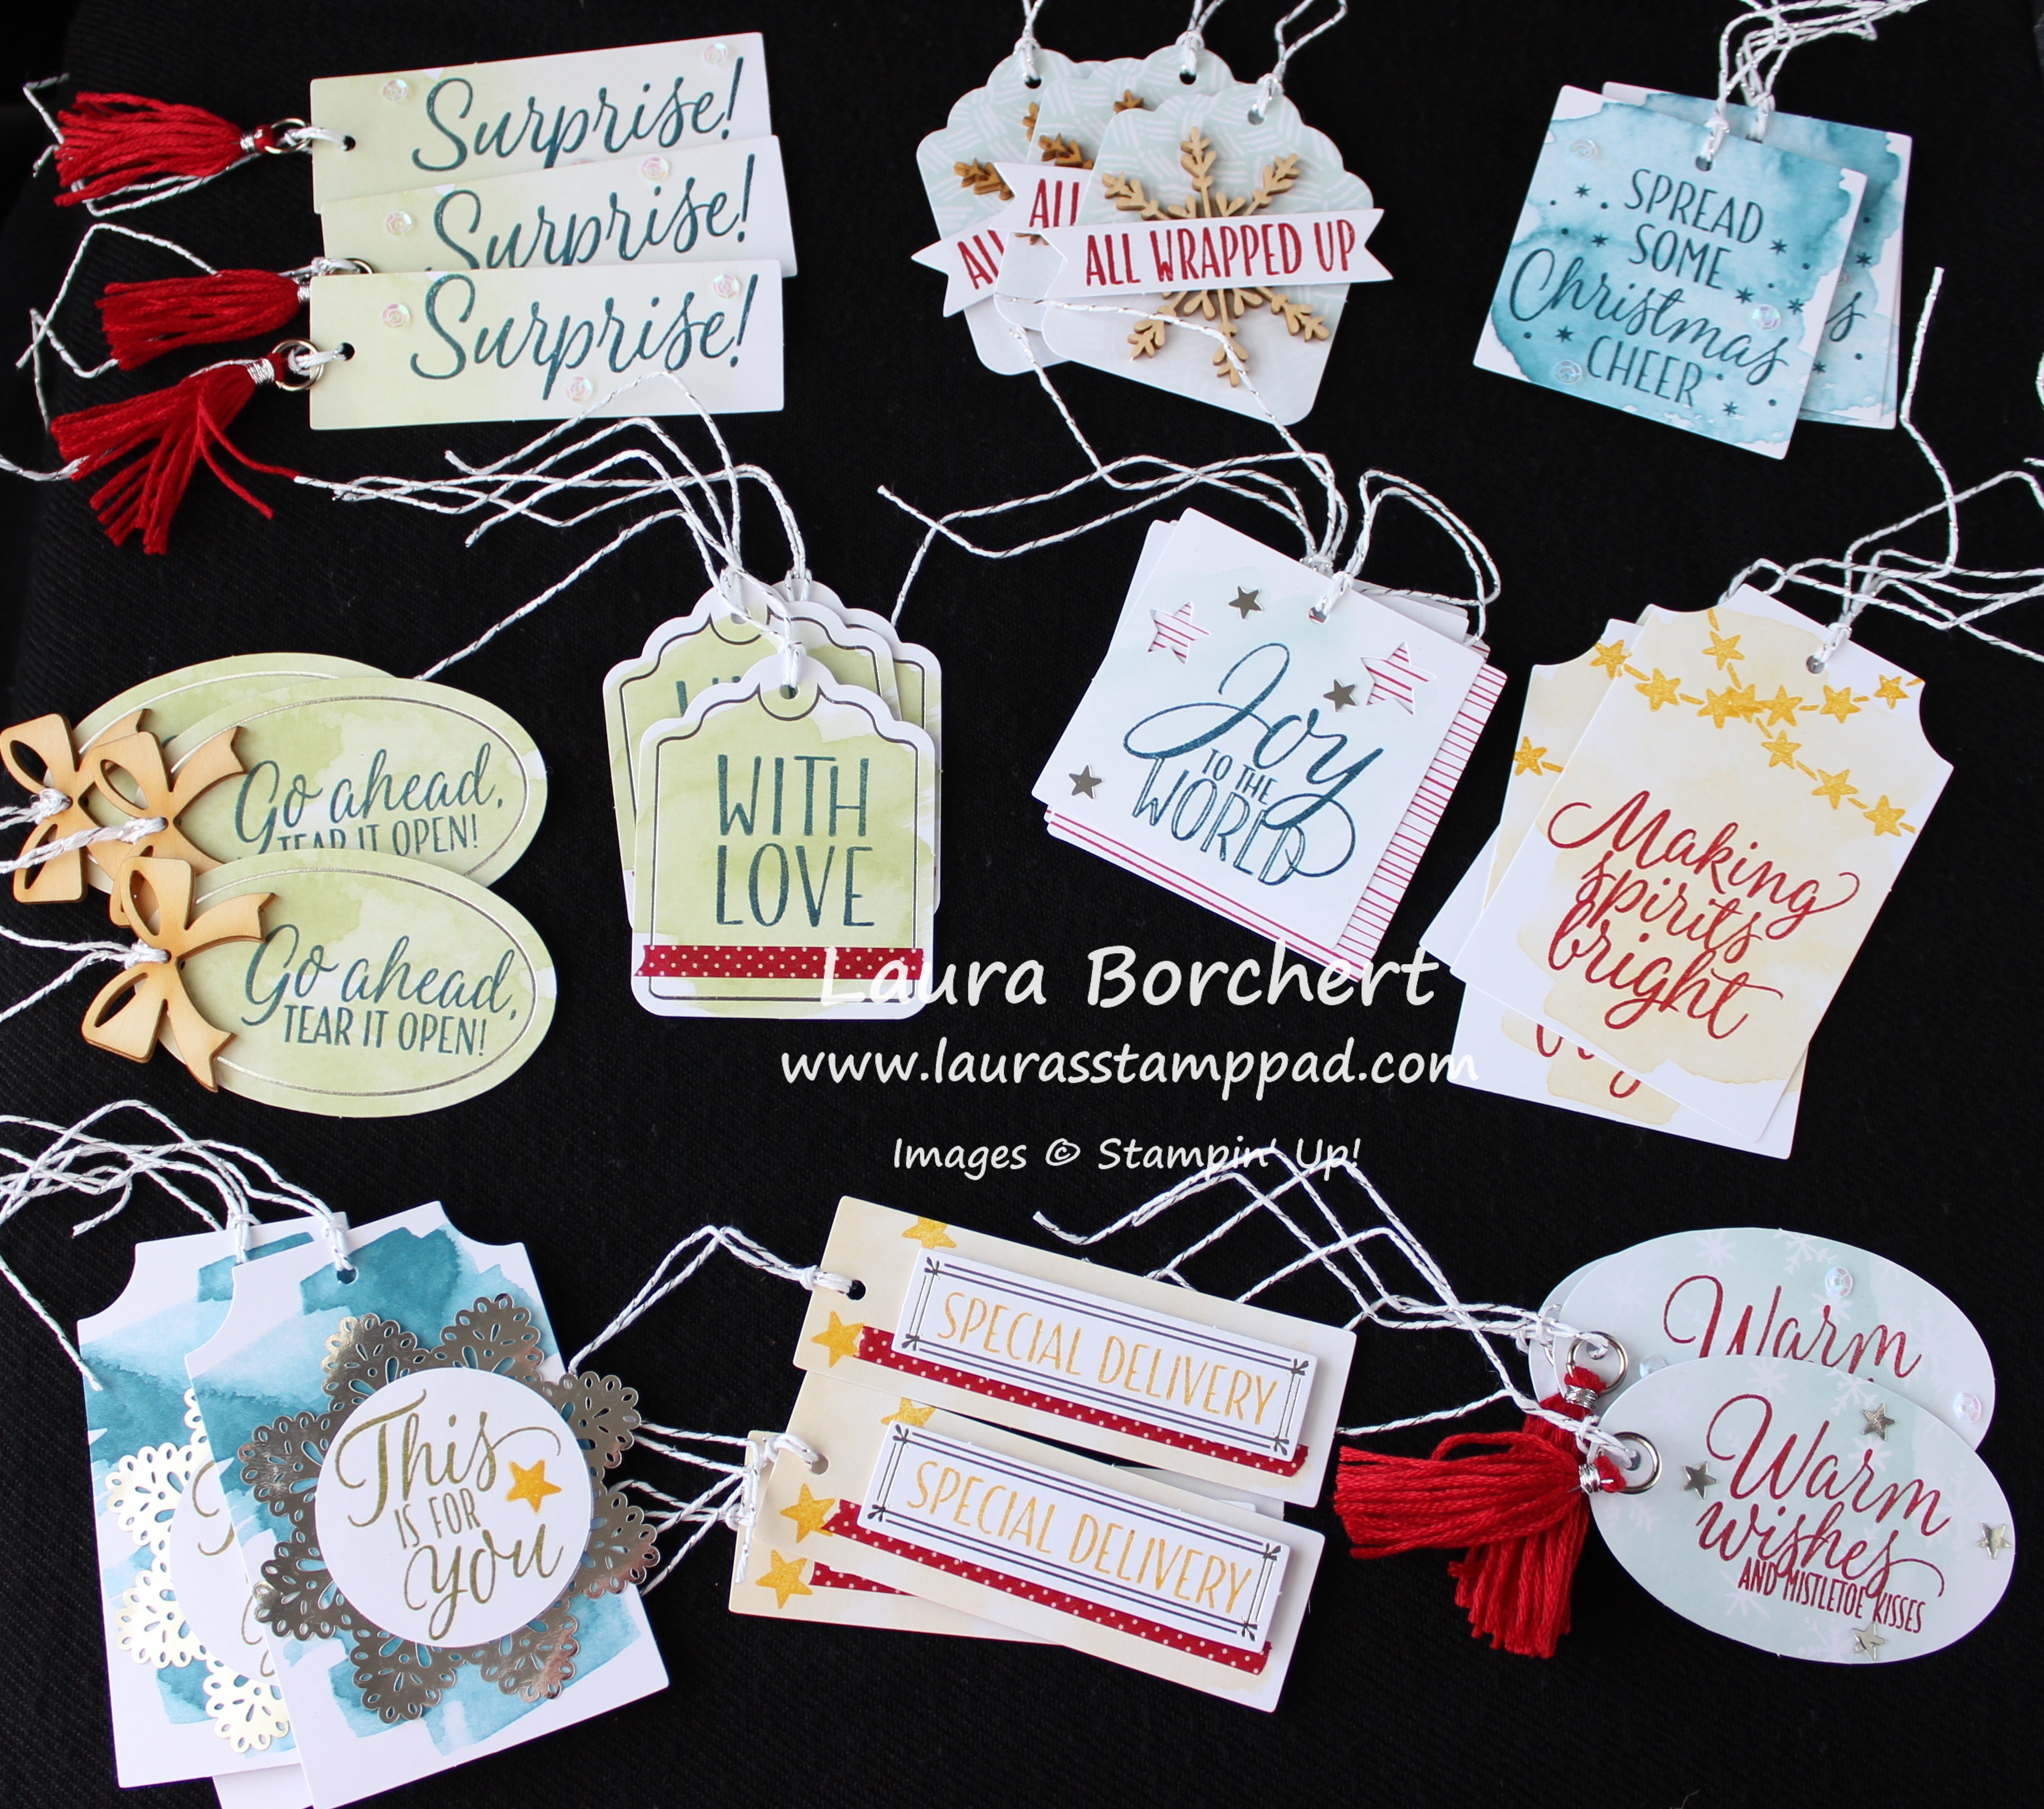
The Tin of Tags Project Kit caught my attention right away because of the adorable tin! I just had to have it….not sure what I’m going to do with it but…!!! It is super precious and comes with all of the supplies to make 30 tags (3 each of 10 designs).
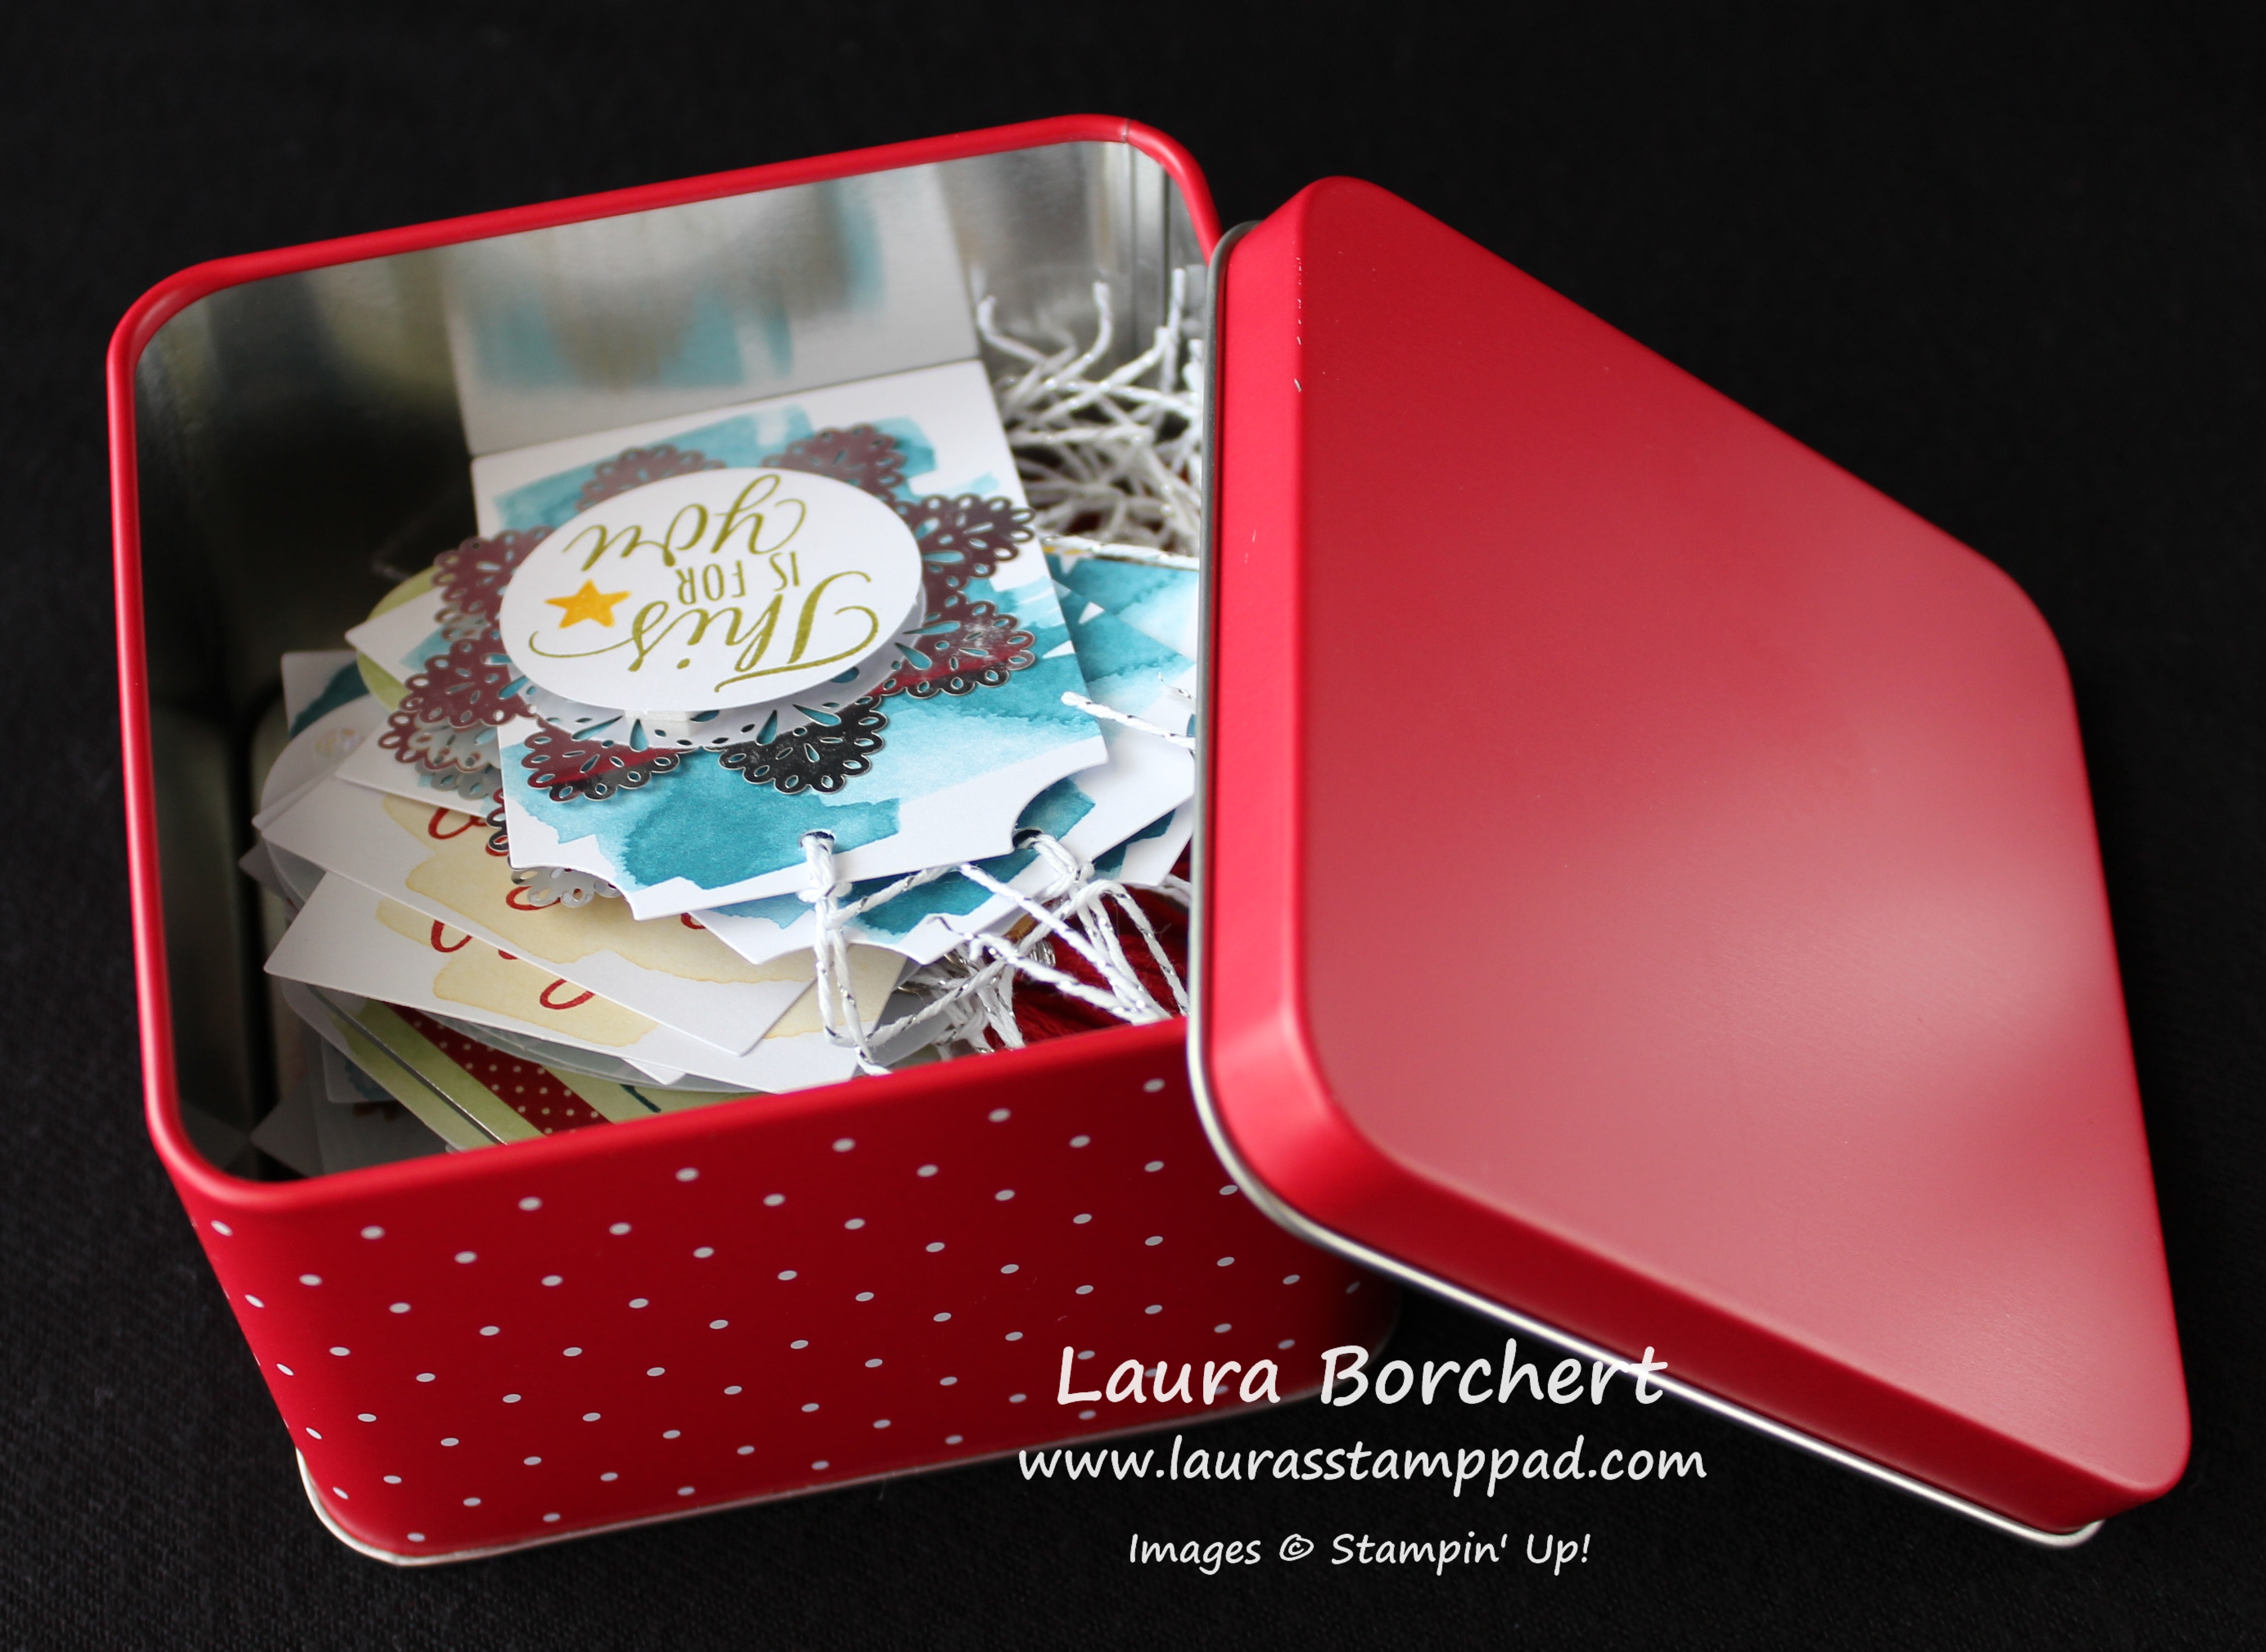
Isn’t it fabulous??? Here is the tin with all of the tags inside so you can see it holds a lot!! Even if you didn’t care for the little tin (gasp, who wouldn’t?) you could use this tin of tags in your wrapping paper area/container/closet. It is hard and won’t damage the corners of your tags so it’s perfect to hold them!
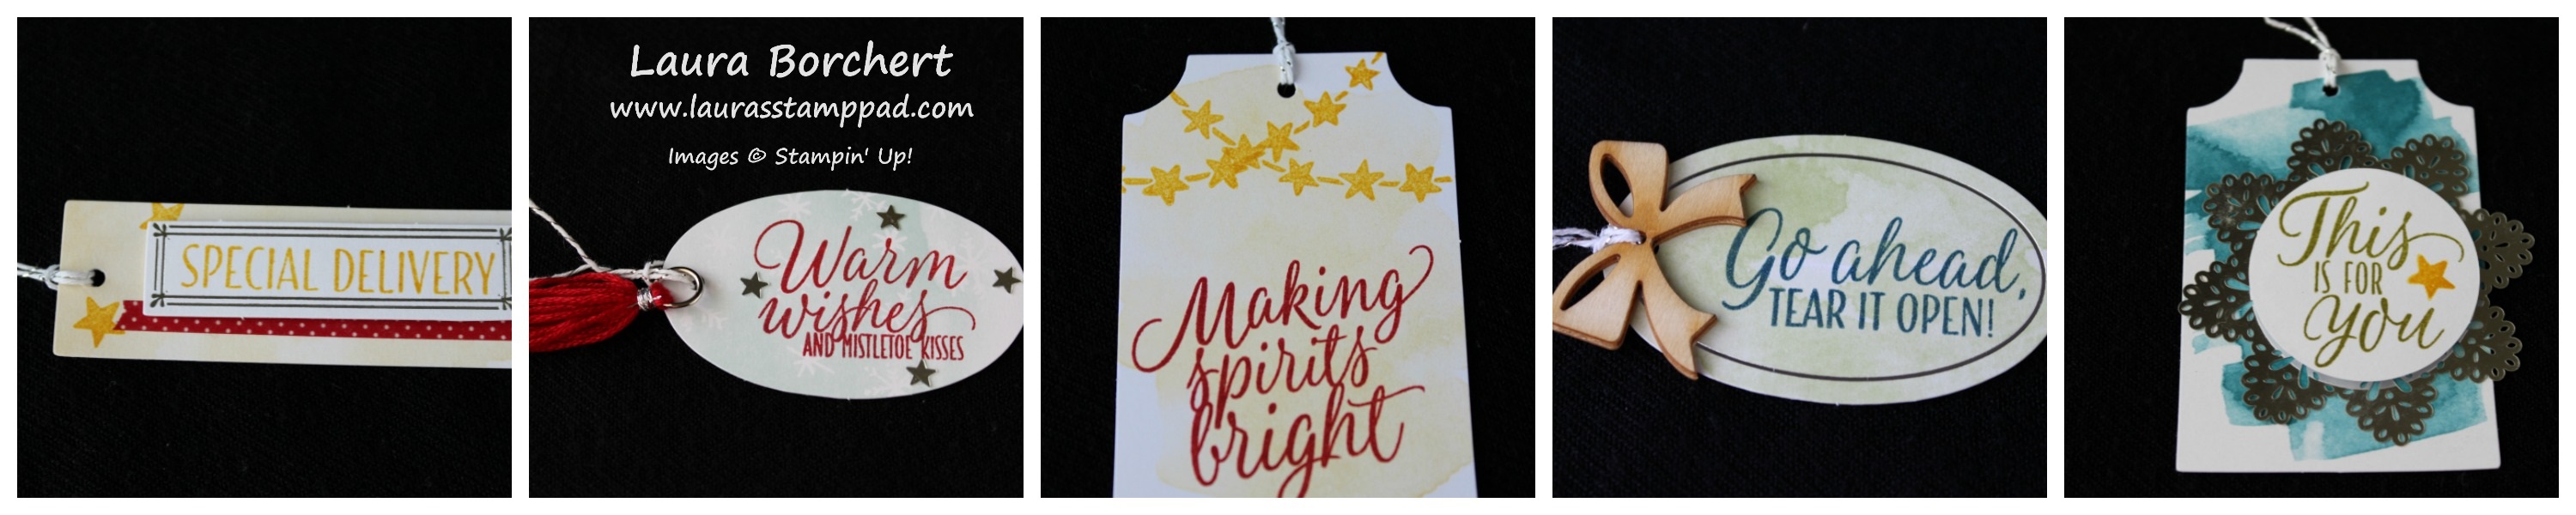
To create the tags, you will need the Tin of Tags Stamp Set or your favorite greeting set. The kit also calls for the following ink colors – Island Indigo, Real Red, Crushed Curry, and Old Olive. One of the other tips that is stated in the instructions (but let us be honest, who reads those?) is to stamp the “To: From:” images on the back of each of the tags. This is a big tip because of course it is handy to have that but also because you might want to stamp them all in the beginning so you don’t forget and then it is hard to stamp on a bumpy surface. I stamped all of the backs with Island Indigo Ink.
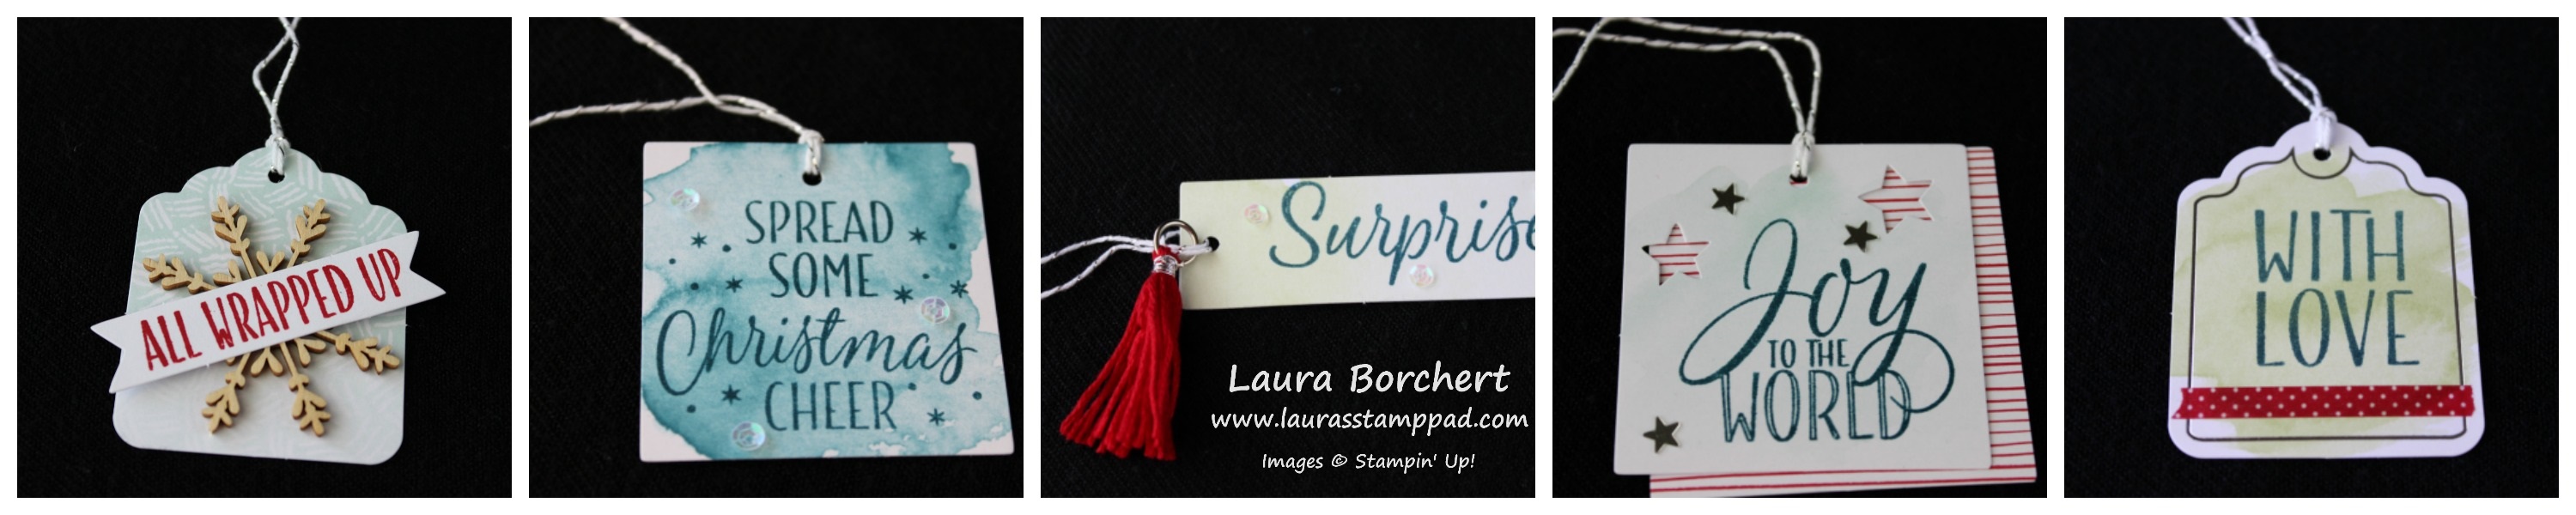
I love these tags! I am really not a tag person but I think it is because the holidays can be so crazy and that is the last thing I want to try to come up to decorate. This is why you start early! 🙂 Also, it is super easy when it is all put together for you. I was super amazed at how fast and easy this kit was to create. The tags are super cute and I love how they don’t just say a simple greeting or just To/From. It is fun to have the greeting and then the names on the back. I love it!!! You could really use these tags all year long with different greetings. The tag bases are simple and watercolored so really just add Happy Birthday and the sequins and you have tags all year long!
If you would like to see all of the supplies in the kit, check out this unboxing and reveal of the Tin of Tags Kit below or click here! Don’t forget to give this video a thumbs up if you liked it and be sure to subscribe if you are new!
Do you like to get creative with gift packaging? Do you love the little red polka dot tin as much as me? Come on, leave me a comment below so I’m not alone! 🙂
Happy Stampin’
~Laura
Don’t forget about the Paper Pumpkin BOGO Sale for new subscribers!!! Click here to get started and be sure to enter the Promo Code: BOGO


