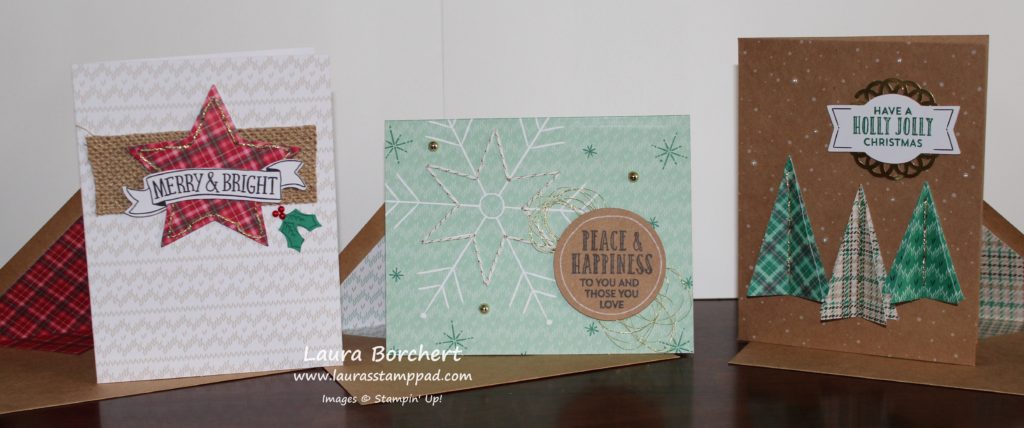
The moment I saw the Stitched With Cheer Kit in the Holiday Mini Catalog I just knew I had to have it. I always love getting the kits to see what they are all about but this one had me really excited. I’m not the best as sewing as I tend to do it while watching TV and sometimes I miss a hole but it turned out amazing!!! I got this kit in my pre-order and did all of these cards while watching the Olympics last month!!! 🙂 The kit makes 18 cards – 6 each of the 3 designs.
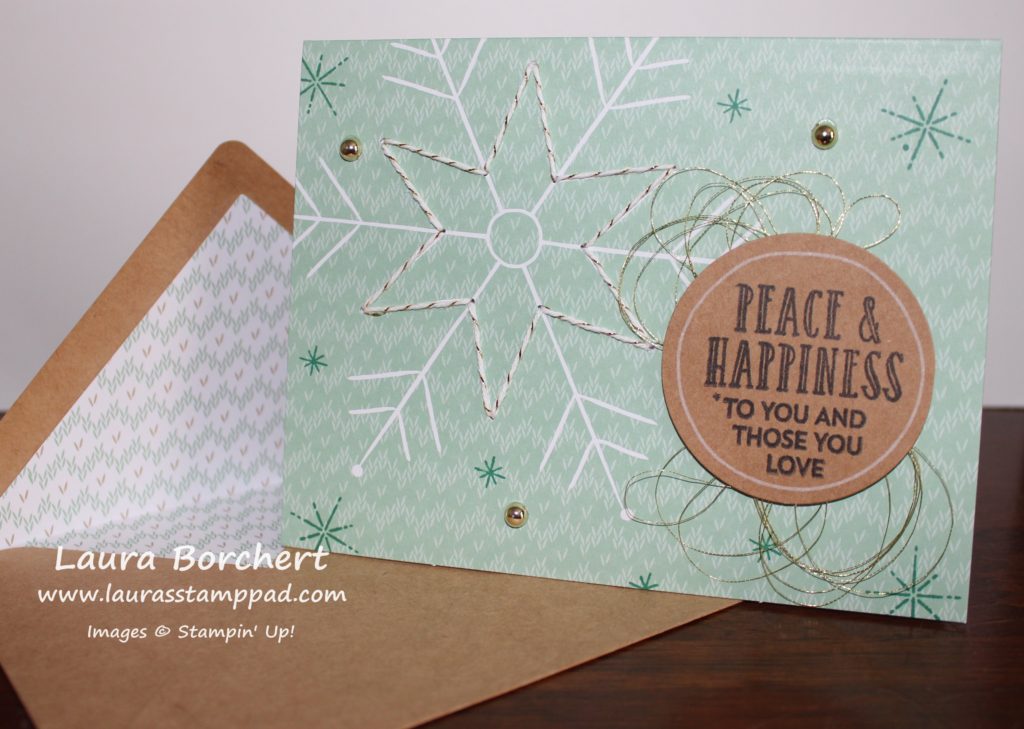
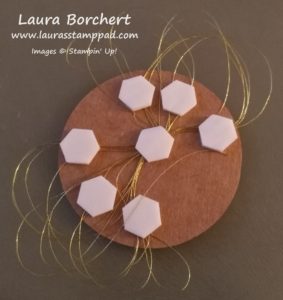
This one is my favorite!!! I love the snowflake and it was pretty easy!!! You will stitch the star with the gold baker’s twine and stamp the greeting from the coordinating Stitched with Cheer Stamp Set in Basic Black Ink. The kit even comes with backs so you can attach them to the inside of the card and no one sees your stitching. I love that and even stamped a little inside greeting on that panel. I added the loops of Gold Metallic Thread (provided in the kit) to the back of the greeting and placed it on the card!!! Just wrap the thread around your fingers and then slide them off, twist in the middle and place on the back of your greeting and secure with Stampin’ Dimensionals like the photo below!
Yes I probably use way to many dimensionals but I love them and I always know where I can find more! 😉
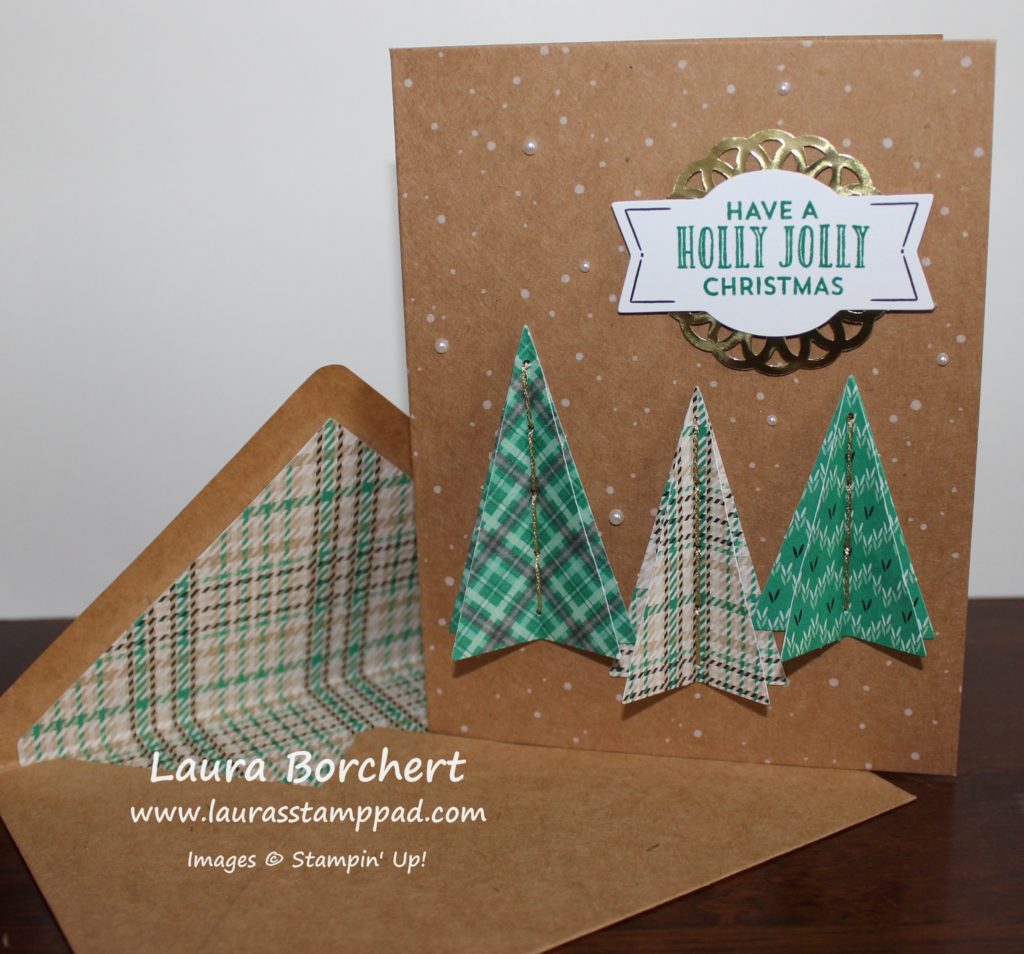
This is my second favorite but the trees don’t look as cute flat so I just hope the people I send this card to pop those trees out for the full beauty!!! 🙂 TIP: Be sure to fold your trees in half before stitching them to the card. I didn’t fold the first set and pulling them forward didn’t work as well. I love the little pearls that add some texture and shine to this stunning card. Again, I used the greeting from the Stitched with Cheer Stamp Set.
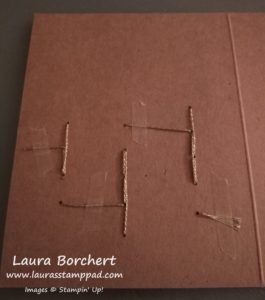
Here is what the inside of the card looks like after the stitching is done. I used a little bit of Tear Tape to secure the ends of the thread. The kit comes with inserts to add to the inside of the card so that you can cover up your stitching! I love that they thought of everything for you! I also stamped a little greeting on the insert for a little decoration on the inside!!
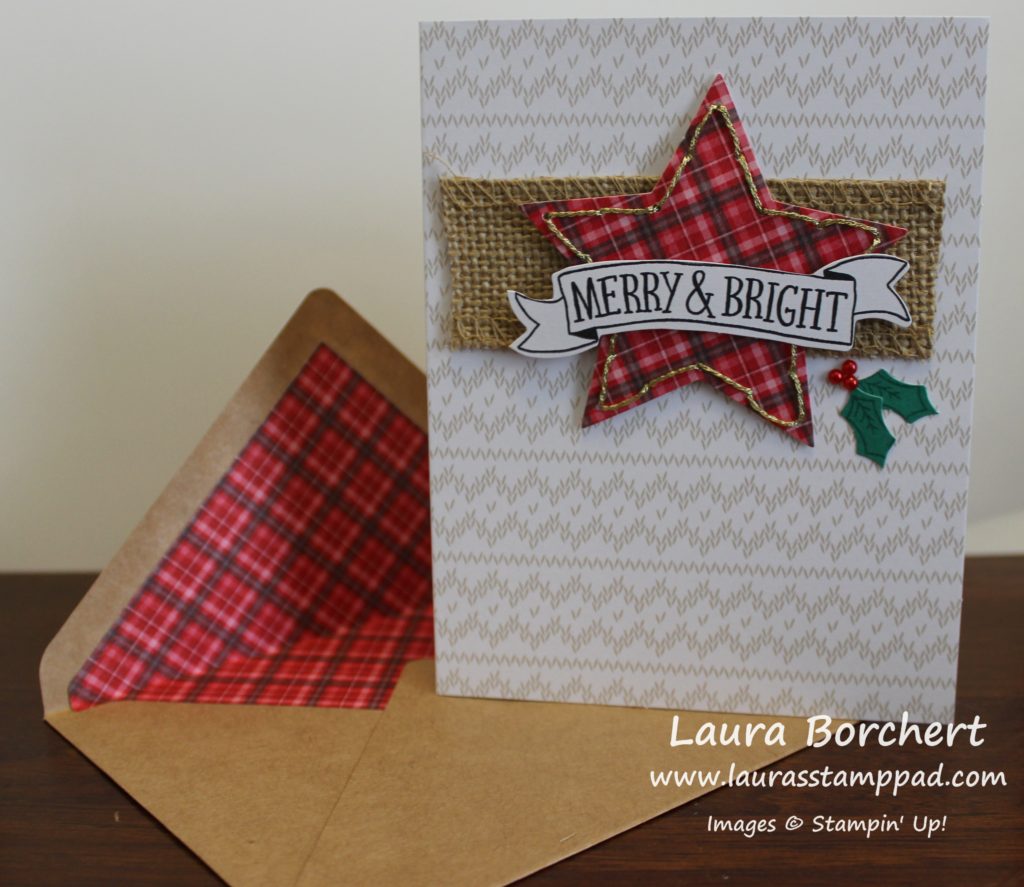
Okay so you are all probably thinking I don’t like this one….that’s not completely true. I love the look. I love the stitched star and the holly…..but that greeting….oh my! Luckily they give you 8 banners to stamp in hopes to get 6 right. That was tough. I mean I consider myself a good stamper….until now! Lining it up was step 1 but then I kept getting ink on the banner ends that collected inside the banner so then I stamped lighter and it wasn’t stamped well. Oh I thought I was going to go insane. So I just have to say…..good luck! There is also a complete extra set of banners that you could always use instead too. See the “extras” photo at the bottom.
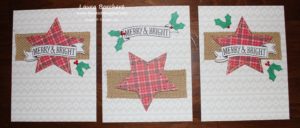
Here are some variations of the card that I did to cover some boo boos. For the middle card, I accidentally adhered the burlap to the bottom of the card…it was upside down when I did it. (I was watching the Olympics, remember.) 🙂 So for that one, I added one of my messed up stamped greetings and added the holly over the mistake. See you would have never known if I didn’t tell you!
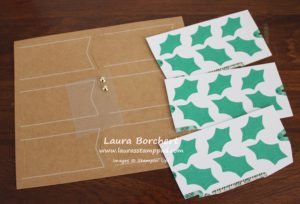
And then we have all the leftovers. There are tons of holly leaves left and an entire sheet of labels. I thought about stamping the labels as gift tags and added some holly. Super cute, right??? These are also the banners that you could substitute for the card above if you have issues matching up the greeting as well! 🙂 I love it!!! Now I have 16 cards done already and they are super cute and fun! I love the coordinating envelopes with liners too! They just make me so happy!
To see all of the goodies in the kit, check out my Reveal of the Stitched With Cheer Kit below or click here! Don’t forget to give this video a thumbs up if you liked it and be sure to subscribe if you are new!
Do you like making your own Holiday cards or using a kit??? Let me know in the comments below!
Happy Stampin’
~Laura
Pingback: Snowflakes & Good Cheer!!! | Laura's Stamp Pad