Holiday Collection of Single Stamps!

Posted on

Single Stamps - HolidayStampin’ Up introduced a NEW Collection of Single Stamps just in time for the Holidays!!! I love single stamps because you can pick just the image you like and not have to worry about getting an entire set! There is a great array of stamps here for the Holidays. Some people love making tags for all of their gifts while others have tons of tags in their gift wrap box year over year. Some people love a simple card done in Silver and Night of Navy or Cherry Cobbler and Crumb Cake with an amazing greeting popped up in the middle. With these single stamps, you can create that fabulous card with just one stamp! And others love to have tons of Holiday stamps to choose from for their Holiday creations and one of these just might make that collection complete!

These Stamps are only available till January 31st and then they are gone for good! Check out this flyer – Single Stamps – Holiday for more information regarding the price and suggested Clear Block (these stamps only come in clear)!

Can’t wait to get started on my Holiday cards this year! I always start early because we all know how time flies and all of the sudden that New Years Ball is dropping AND I love sending out lots of cards!

Happy Stampin’

~Laura


Favorite Stamp Set – Feels Good!

Posted on

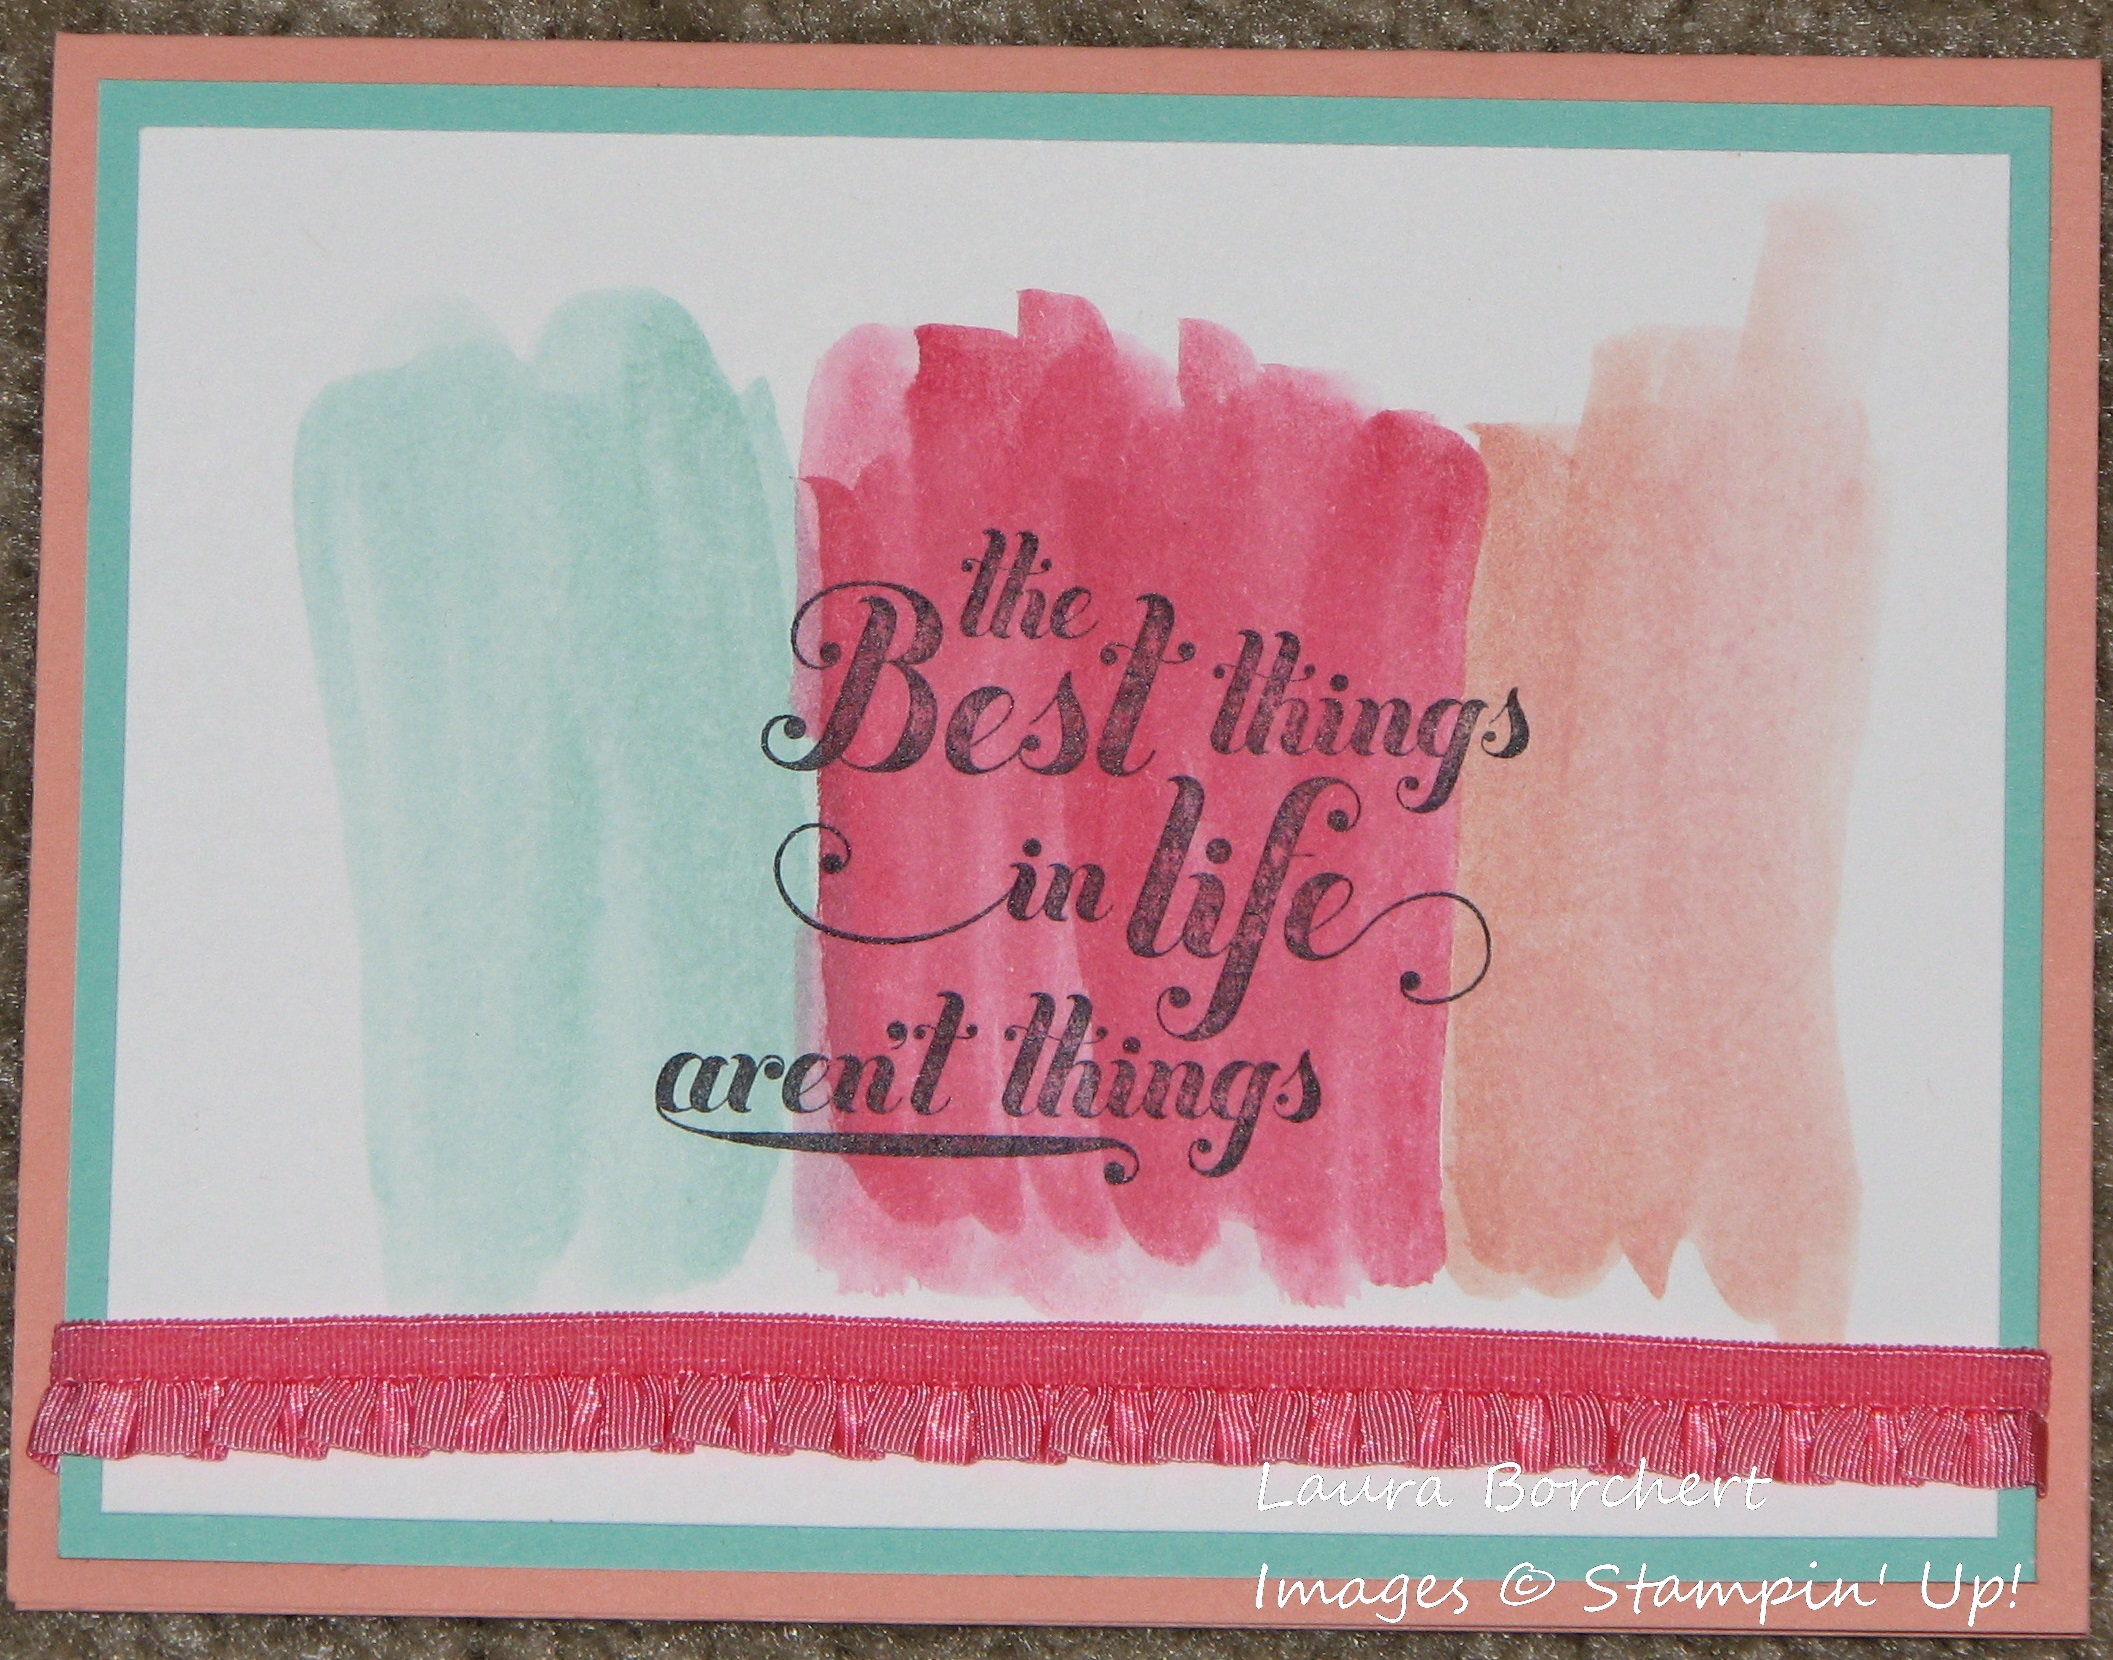
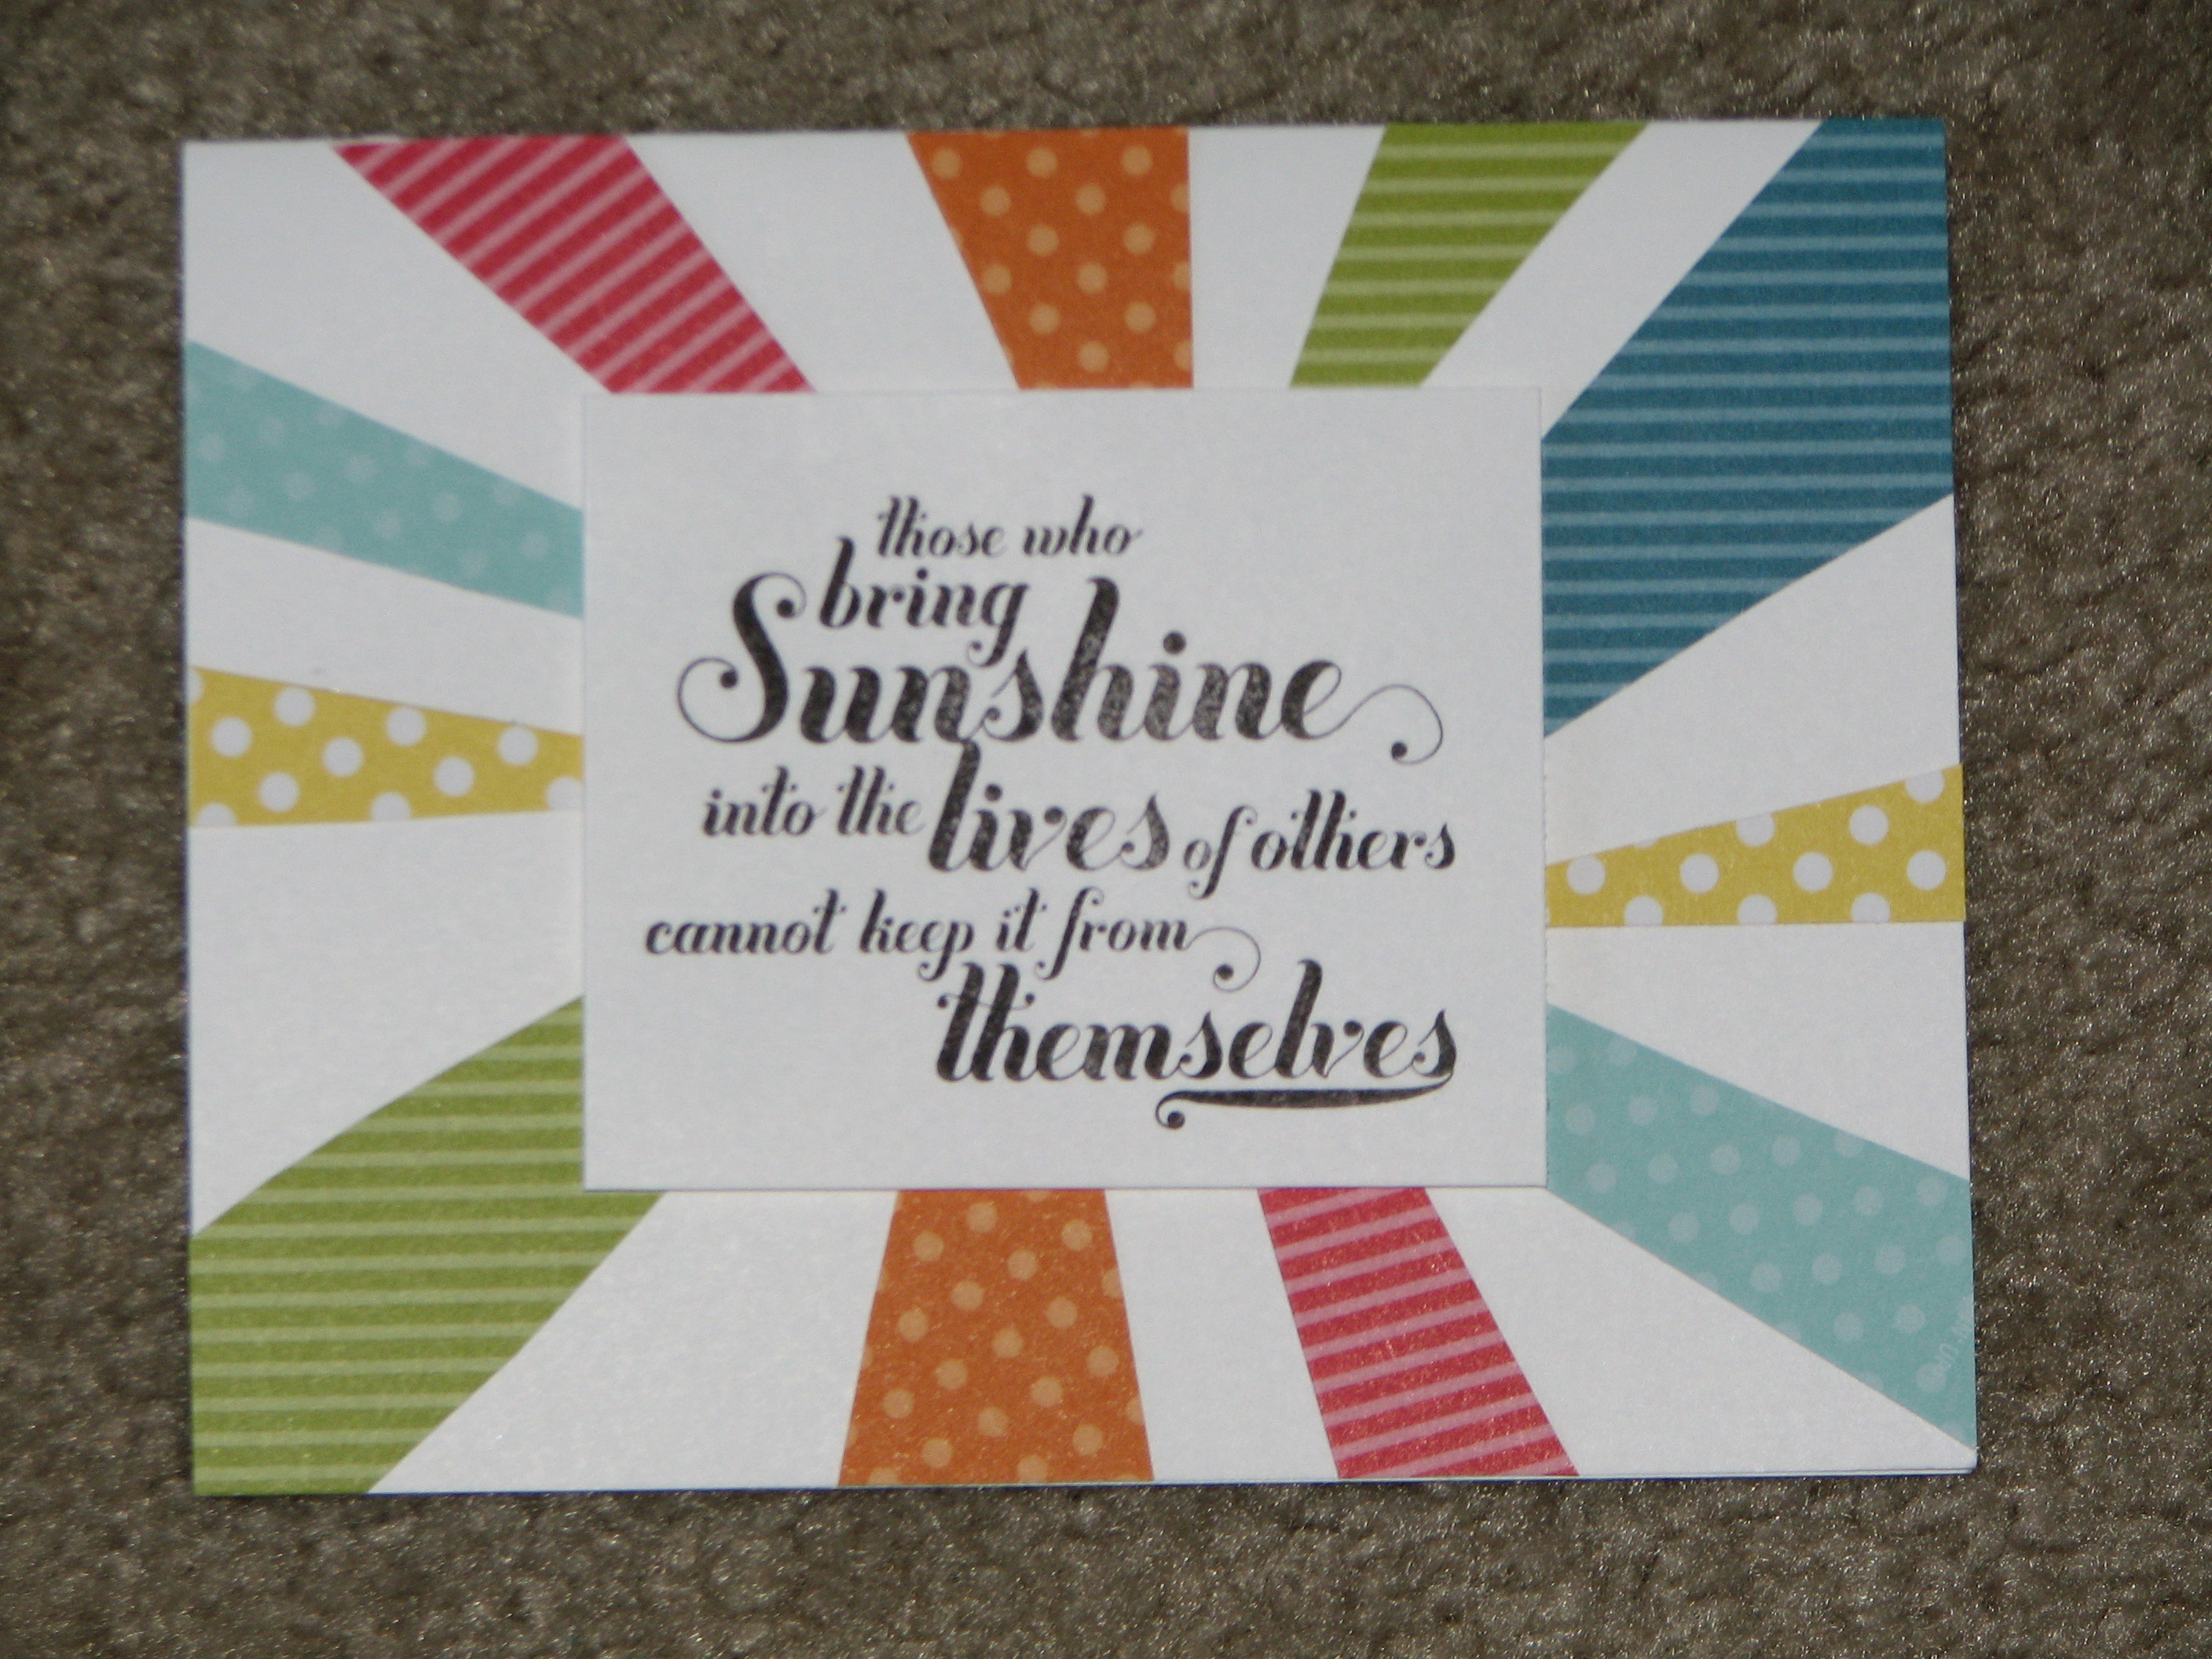
Do you have one stamp set that you go to every time you sit down to craft? I DO! The Feels Good Stamp Set is my favorite stamp set right now! The greetings are so fun and unique! And since they are so large, I find there is no real need for lots of extra decoration because the greeting is enough! What do you think?

Color SplashThis card was created with a few of the NEW In-Colors – Coastal Cabana, Strawberry Slush, and Crisp Cantaloupe. All I did to get this look was dab my Aqua Painter in some ink and brush it over the cardstock! Voila! Then I stamped the Feels Good Stamp in Stazon Ink.

IMG_1845This card is just a ray of sunshine AND the perfect use for those scraps of Designer Series Paper that you have left over. Check out this post using Designer Series Paper but their is a 1 inch strip left over!

IMG_1140So this one combines my favorite Stamp Set Feels Good with another favorite set of mine – Swallowtail!!!! I stamped this amazing butterfly over the 2 pieces of Whisper White cardstock and then assembled them with the Primrose Petal Cardstock layered in between. Then I put a strip of Sticky Strip towards the bottom and created a rippled ribbon look with a piece of cardstock (it is the little extra piece left over after cutting a layer of 4″x 5-1/4″). Of course, I had to put a little bling on there too!!!

Are you in love with the Feels Good Stamp Set now?

Happy Stampin’

~Laura


Who likes Party Favors??

Posted on

Party favors are given out at all types of ocassions like Birthdays, Weddings, Showers, and all other kinds of get-togethers! Why not make your next party be the talk of the town with an adorable gift box, bags, or packaging? Here are a few fabulous items that I had out at a recent Bridal Fair that I participated in!

Gift Boxes

The Gift Boxes and Tags on the left were created with the Tag A Bag Gift Boxes and Tag A Bag Accessory Kit! You can get both kits as a bundle and save. Check it out here! And you can earn this kit for FREE plus the bags from now till the end of August! Check out my post about that!  I added in the Glimmer Paper for some bling. You all know how I love my bling! 🙂

Baroque Treat Boxes 2

The little boxes on the right side were created in the Eastern Elegance Designer Series Paper! Oh how love that design and Coastal Cabana is my NEW favorite color!!!! You can put treats in the boxes and set them on all of the tables, you can put your party favor in there, or you can put your goodies in a cellophane bag and tie the Ruffled Ribbon around the top and drop it in the adorable box!!!! So many fabulous ways!!!

Pink Box 2

So have you guessed yet that I am loving the new Ruffled Ribbon and did I mention it is stretchy! Eeee I know how fabulous!!! Anyway….the box on the left is decorated with the fabulous flower on the top, Taffeta Ribbon wrapped around with the greeting punched out on the front. Okay so back to the fabulous flower on the top! I used a Jumbo Sticky Round and then pressed the Ruffled Ribbon onto the sticky from the outside to the inside! I finished it off by putting a Vintage Faceted Designer Button with a Large Rhinestone in the middle!

Mason JarMason Jars are so HOT right now! I recently helped a friend create tags for her Mason Jar desserts at a Bridal Shower. They looked very similar to this jar on the right but instead of the wedding bells, we had cute little saying that combined the dessert type with the Bride and Groom (Oreo Dessert said Greg’s Fishing Bait because he is a fisher). How fabulous! You can also put little take home gift in there like a dry cookie recipe, candy, or other cute little items like nail polish, sunscreen, and so much more!!!

If you need help with any party favors or gift packaging for an upcoming event, feel free to reach out to me! I would love to help you!! Just send me an email!

Happy Stampin’

~Laura


Simply Sketched Hostess Stamp Set

Posted on

Simply Sketched

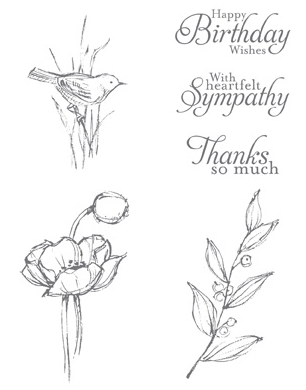
I got the Simply Sketched Hostess Stamp Set as one of my first Hostess Sets. At first glance it is not a stamp set that I am usually drawn to but for some reason it caught my eye! One thing that I LOVE about it is the fact that the set includes images and greetings! I love when I can pull out one stamp set and great endless cards by mixing and matching the images. The other thing I love about this set is the fact that you can stamp the image in one color, you can color the image with markers and get multiple colors, you can stamp the image and color it in, and so much more. Here are a few samples that I have created with this stamp set!

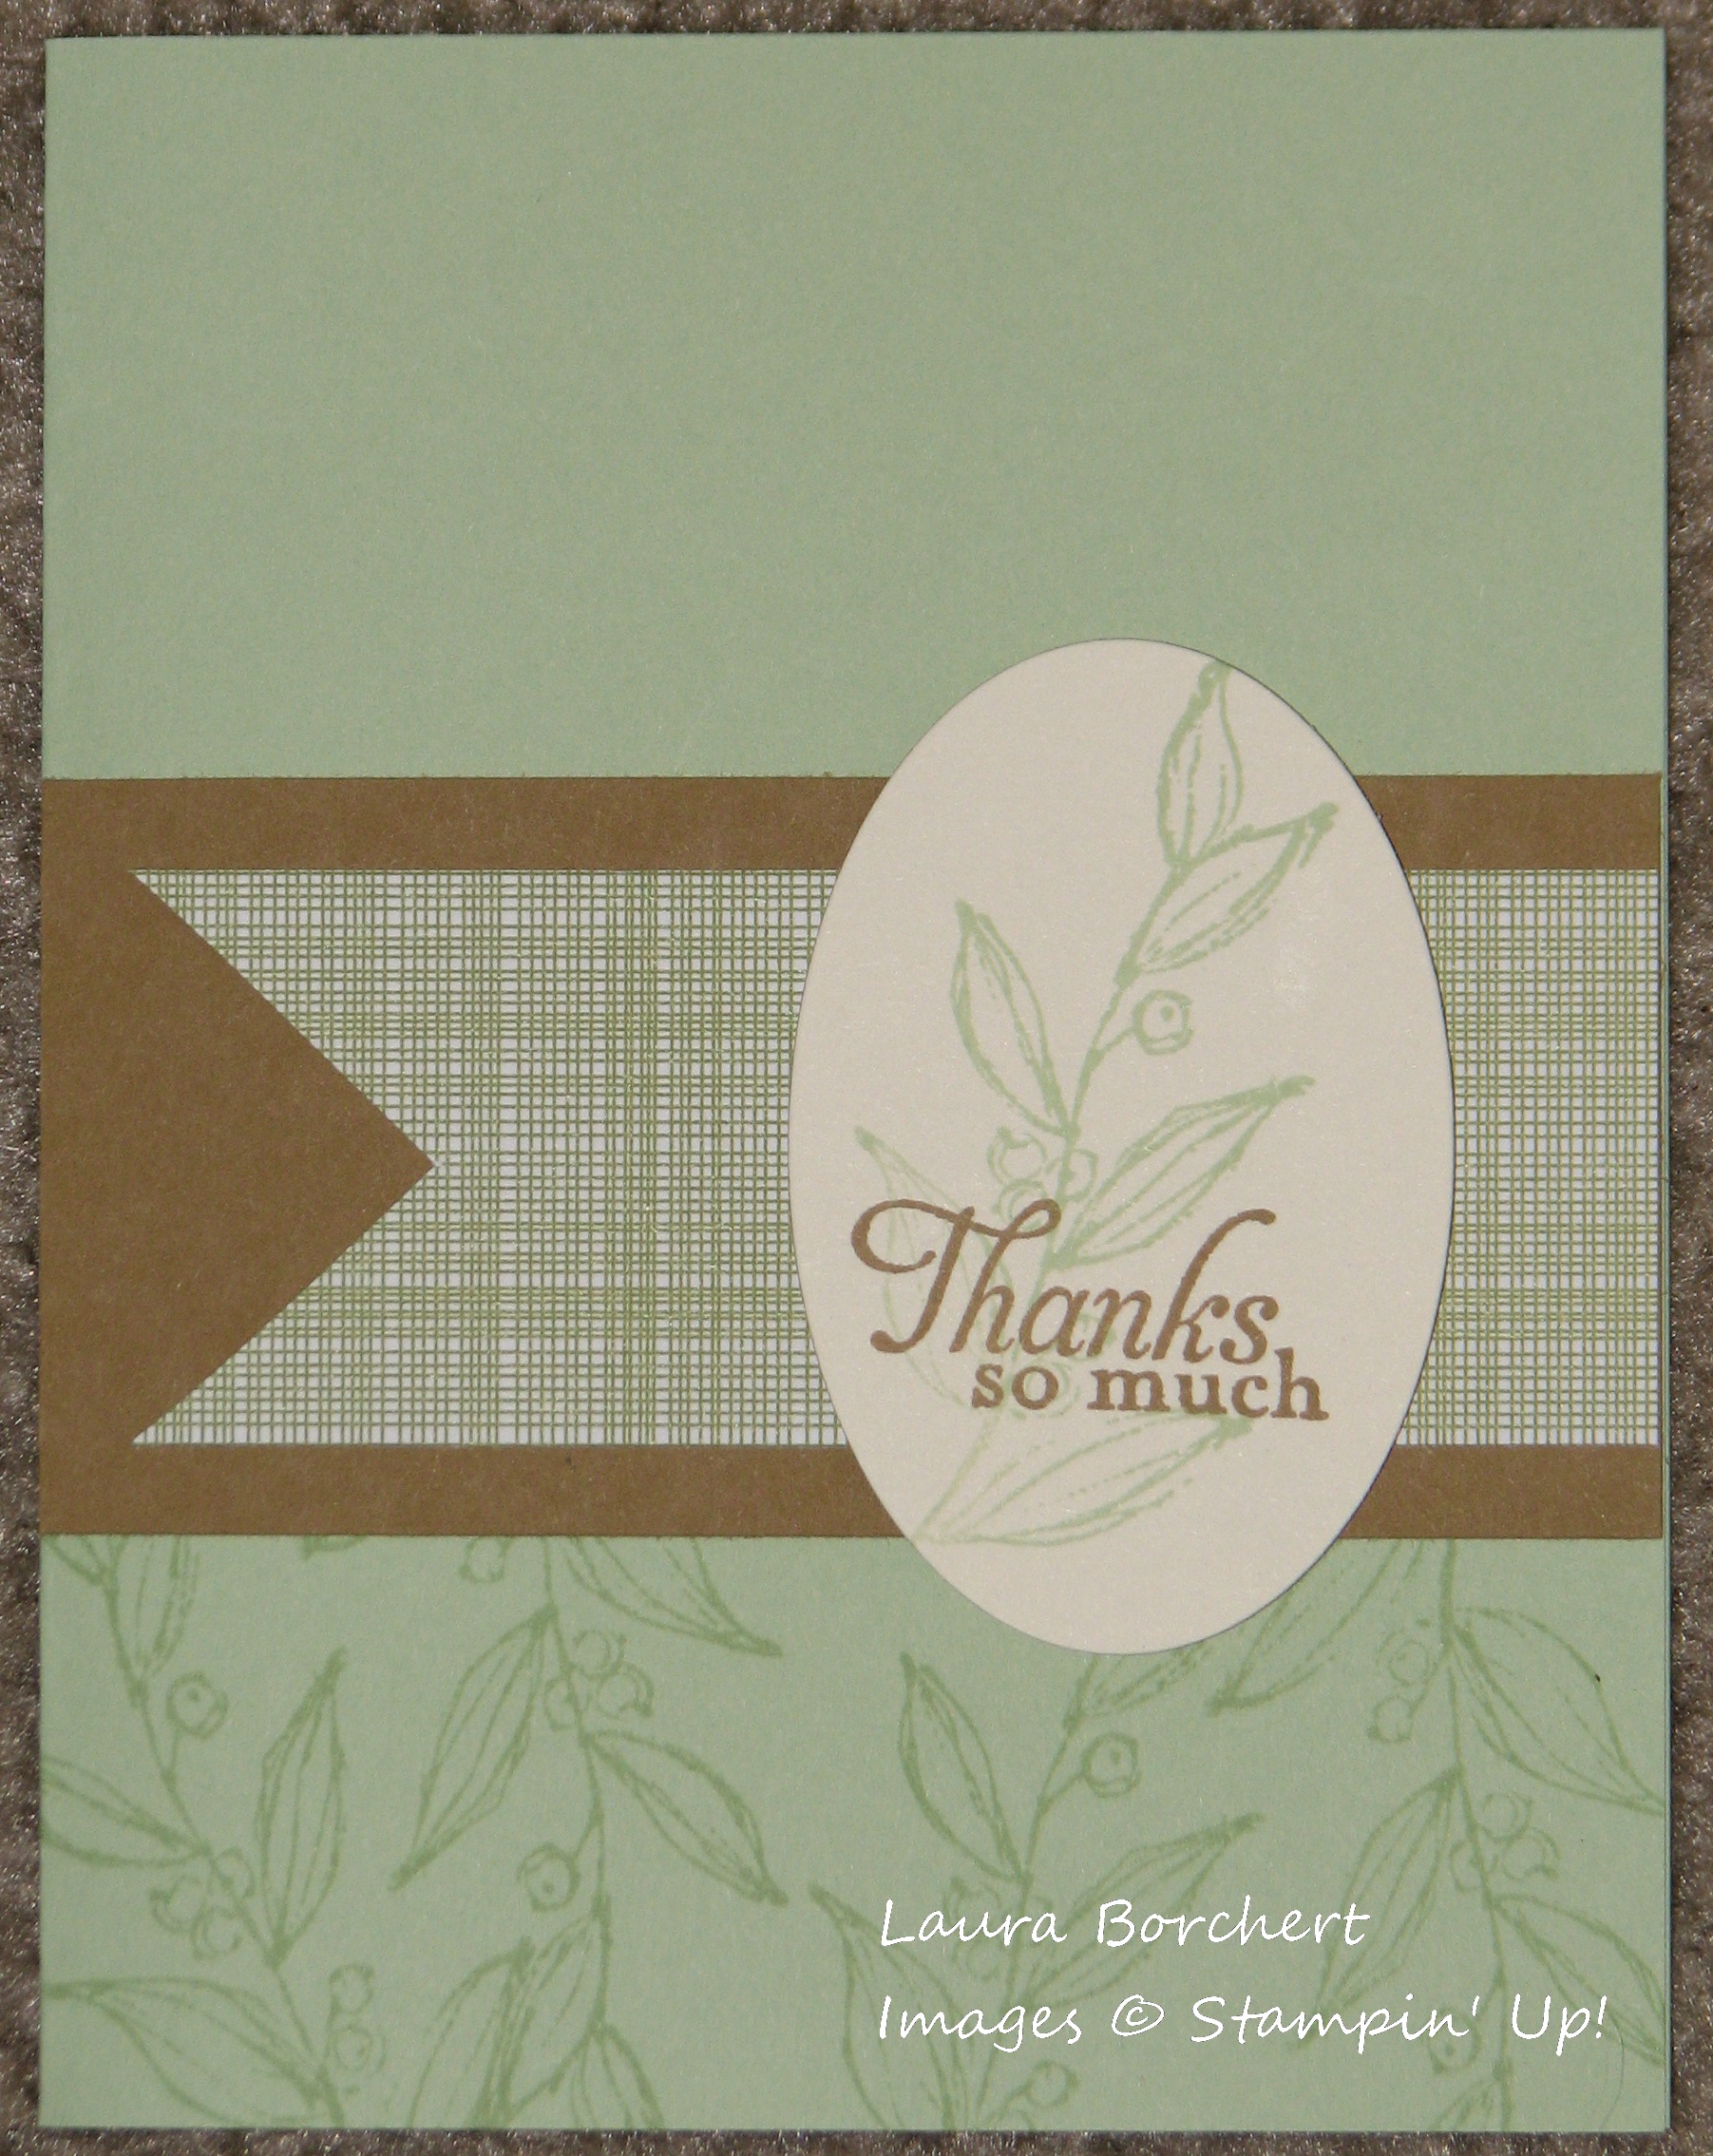
Simply Sketched PistachioI love the simple, yet elegant look of this Thank You Card! I used the NEW In-Colors – Baked Brown Sugar and Pistachio Pudding! You could also change the greeting to be Happy Birthday and it would work well for a Man Card (see more Man Card samples here).

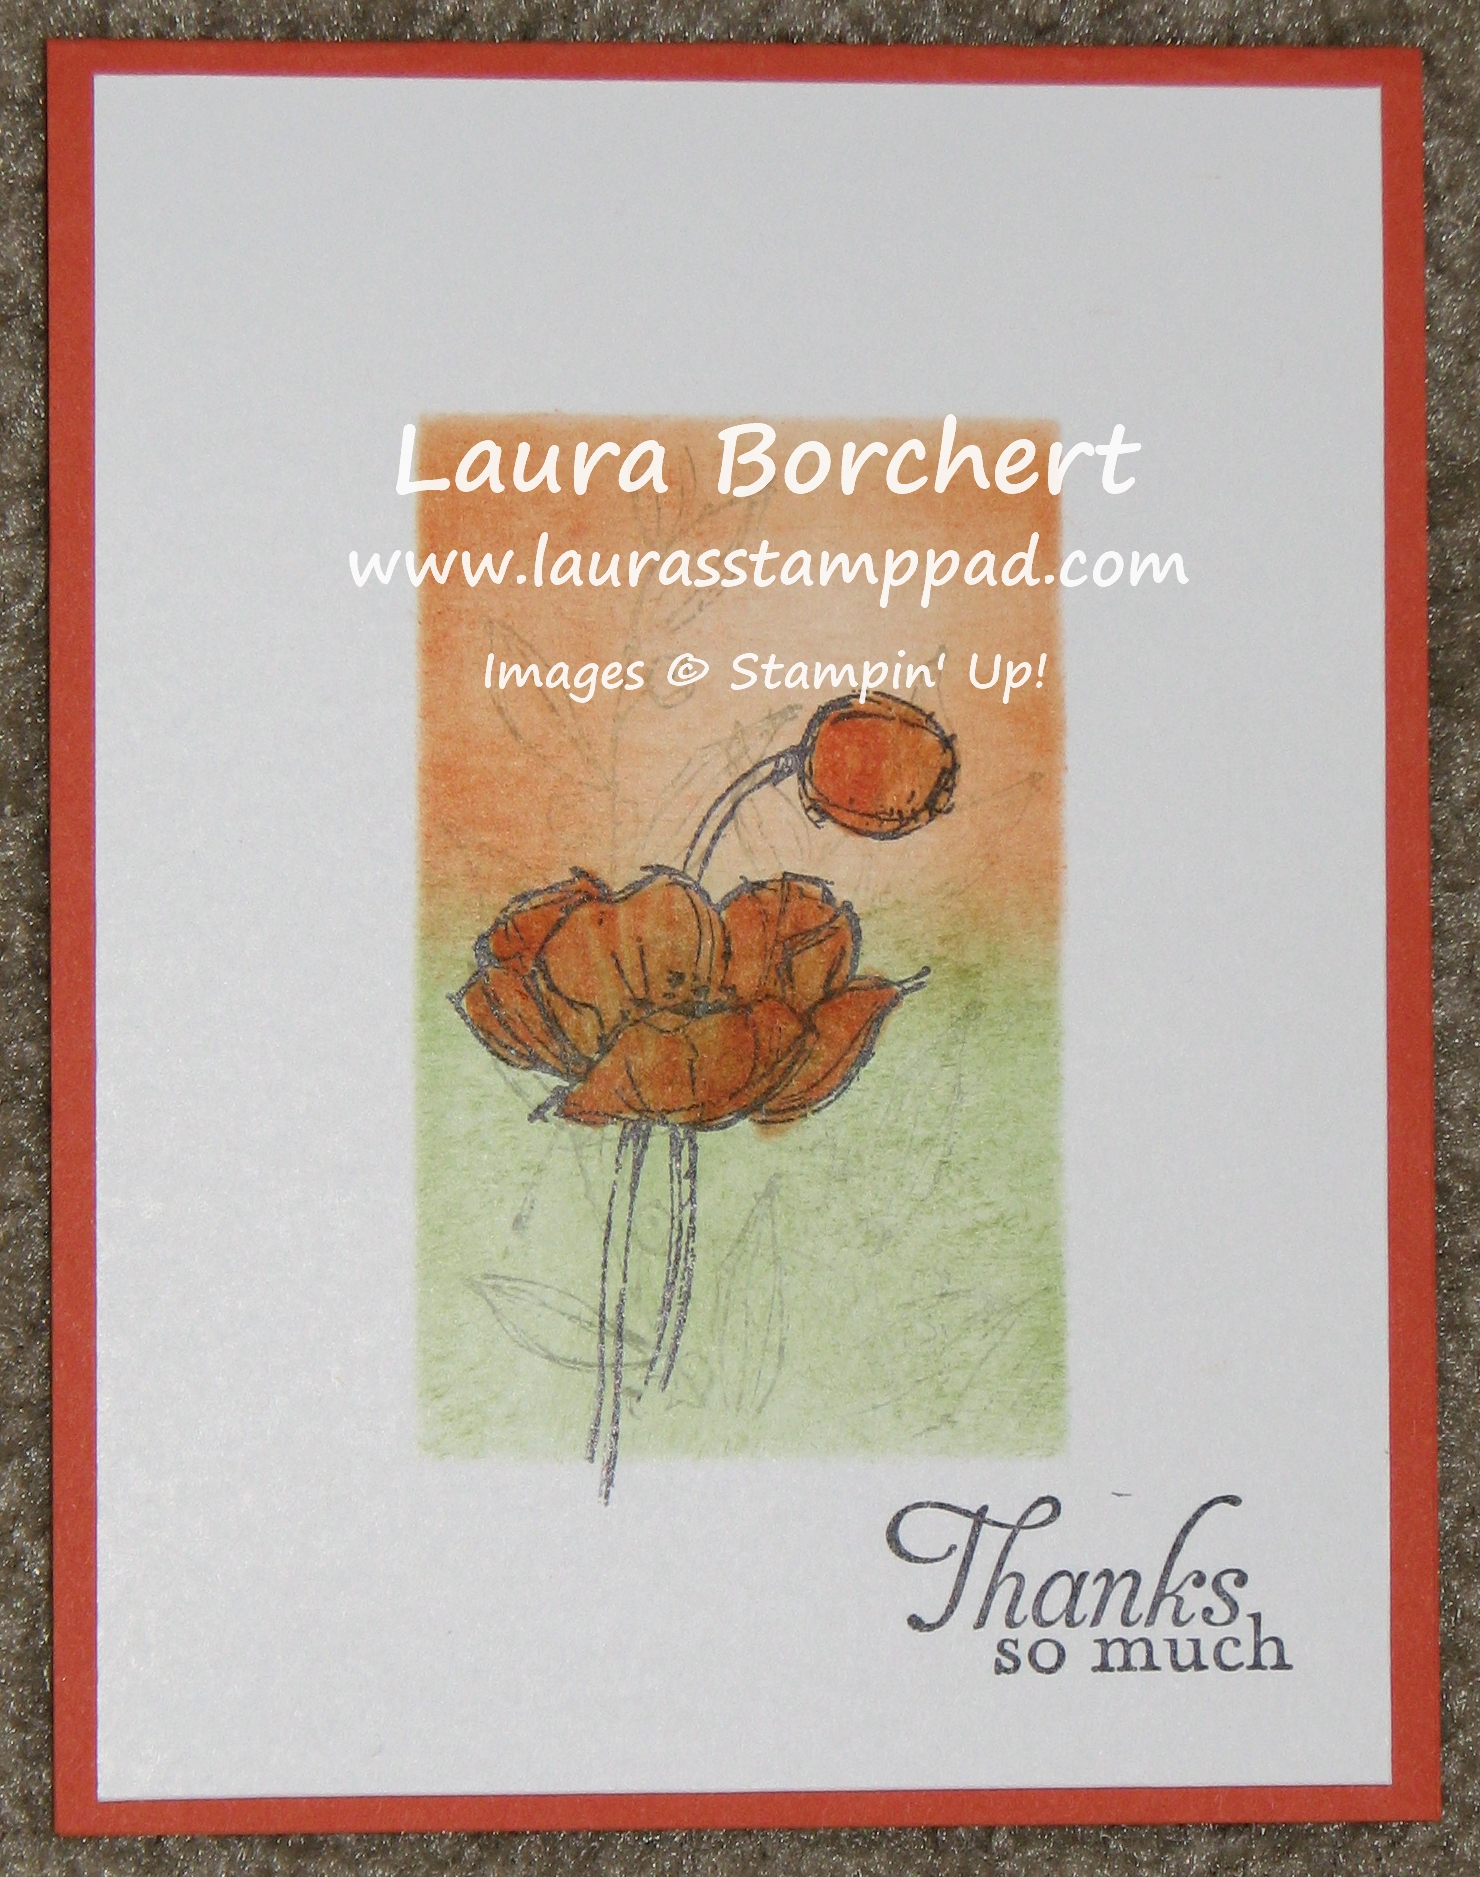
Reverse MaskingThis amazing card was created with a technique called Reverse Masking! Cut out a shape from a piece of cardboard (I use the cardboard that comes in the Designer Series Paper Packs) and then use that as your mask! I cut out this rectangle and then using sponge daubers, I added Pumpkin Pie and Wild Wasabi ink. After I was done I removed the mask and stamped the poppy image with Stazon Ink and colored it in with markers! Isn’t that amazing! You have endless possibilities with color combinations and stamped images!

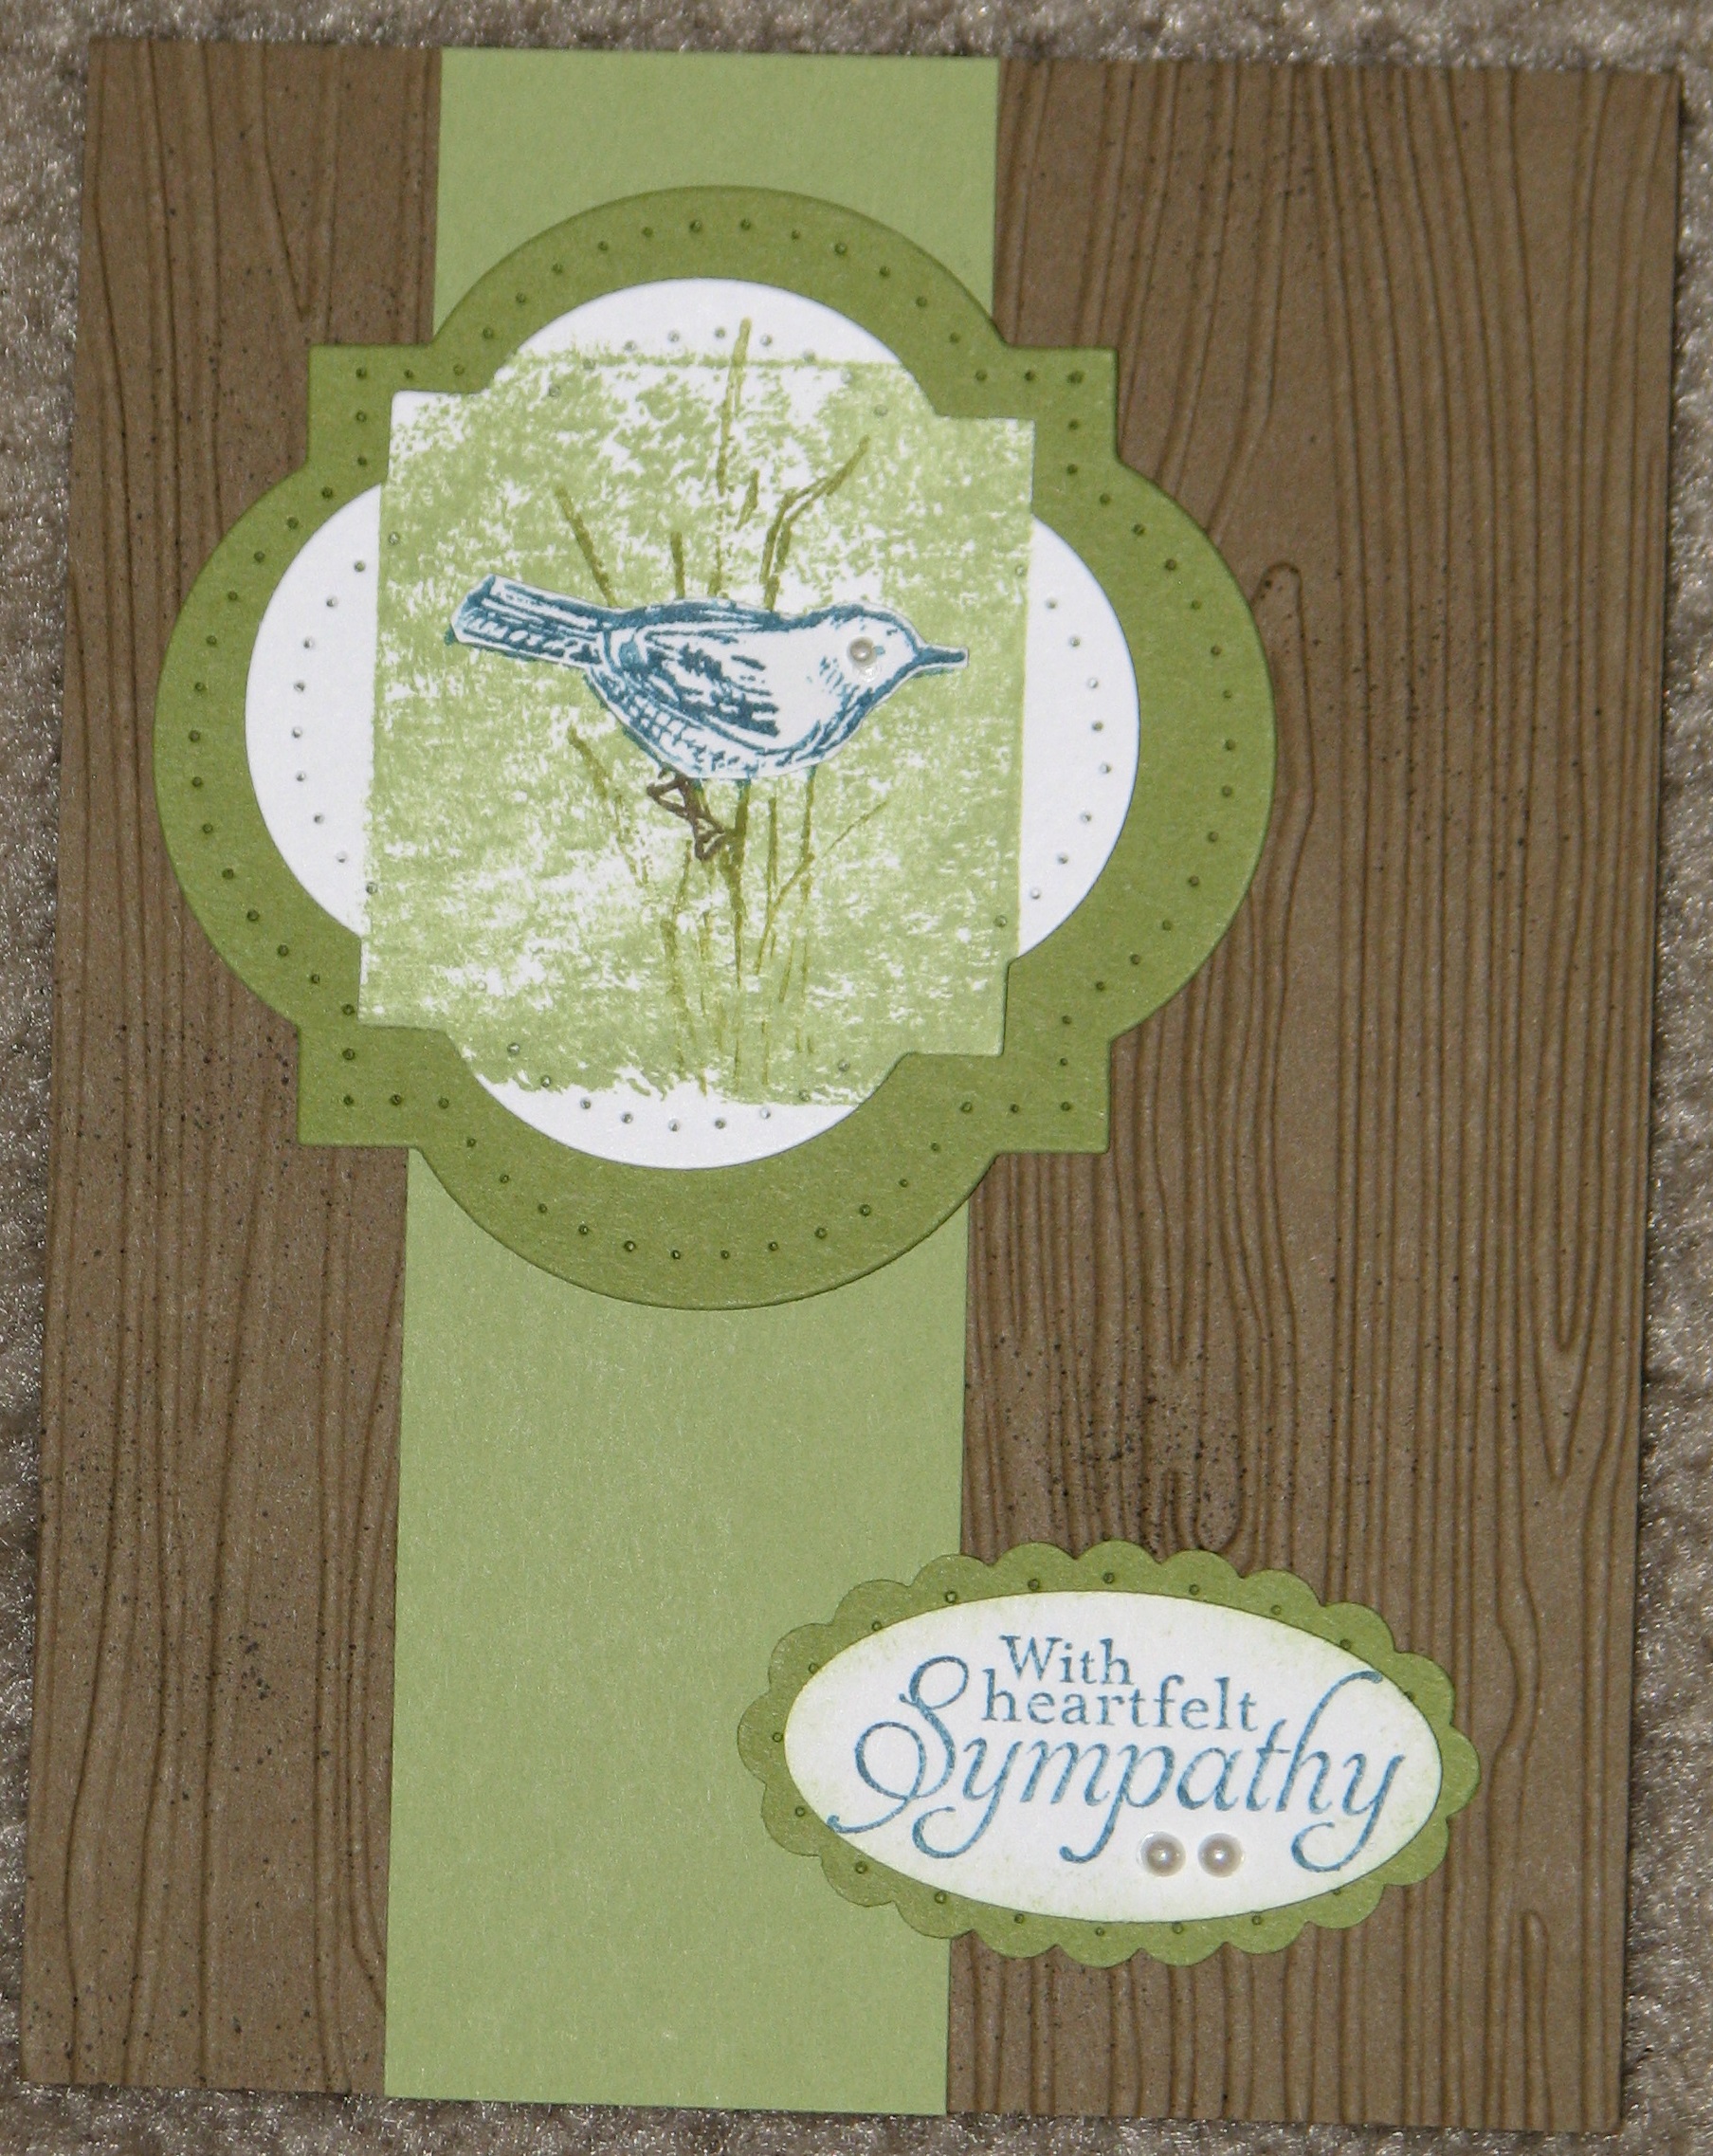
IMG_2104This little bird is so adorable and you can make him blue, orange, yellow, or brown! I love the blue!!! Again this is a super simple card that is perfect for a Man Card or like this one Sympathy. Not too flashy but elegant and amazing! This card is sure to brighten anyone’s day!

You can earn the Simply Sketched Stamp Set when you have a party of $150.00 or more (or you can earn it when you place an order yourself of $150.00 or more). Simply gather a few friends and pick a date! We will have a great time stamping and you can earn FREE products like this one!!! Email me today to pick a date!!!

Happy Stampin’

~Laura


Technique Tuesday – Painter’s Tape!

Posted on

It is Tuesday and so I’m sharing a fabulous technique with you!!! This week it is the Painter’s Tape Technique!

4 Painters Tape

I have had lots of fun with this technique, trying it with different colors and patterns! Here is how to get this look:

Supplies Needed: Cardstock, Ink Pads, and Painter’s Tape (optional: gloves)Painters Tape Demo

Rip off a piece of painter’s tape a little bit longer than the ink pad (the longer side is what I use). The first time I do it, I stick it to the sides of the ink pad and grab a pen to make markings on the tape to show where the ink begins and ends. This way when I go back to the ink pad I line those up so I’m using the same area of the tape. Press the tape into the ink with your fingers or a sponge and then pull it off and press it onto your cardstock. Pull it off your cardstock and repeat. If using multiple colors, start with your lightest color first and work your way to the darkest. If using different colors, you might need multiple pieces of tape.

This picture was taken when I did the Painter’s Tape Technique as my demonstration at an event in April! I had so much fun and my fingers were purple for about 2 days because I didn’t wear gloves and I did the technique over and over! Nothing says crafty fun like inky fingers! 🙂

Happy Stampin’

~Laura


You’ve Got Male!

Posted on

I love Flower Stamps & Punches, the color Pink, and Ribbon (my husband says a card with ribbon isn’t manly)! Well because I have all of these traits, I find it really hard to come up with a good Man Card when I need one! I have found that the more simple the card is, the more manly it is and I have found a “ribbon” that isn’t manly – Linen Thread!!!! I am in love with Linen Thread and it seems to last forever. I think I finally used up my first package of it…..like over 6 months later! That is amazing! So here are a few samples I have come up with for all of my upcoming man birthdays and events!

Beer Mug CardYou can’t get much more manly that a Beer Mug, right? This card is created with a different punches – Corner Rounder, X-Large Oval, Large Oval, 3/4″ Circle Punch, 1-3/8″ Circle Punch, and Itty Bitty Shapes Punch Pack. I used Sponge Daubers to add a So Saffron color to the “beer foam.”

Woodgrain CardThis is another perfect card for the men in my family because they are farmers and hunters so the whole wood look goes very well! I used a piece of Chocolate Chip Core’dinations Cardstock and ran it through the Big Shot with the Woodgrain Embossing Folder! I then rubbed the Sanding Block over the top to reveal that lighter cardstock layer that is underneath. Added a little bit of Linen Thread and a punched greeting!

Tie CardAnother fabulous and simple Man Card. I added a little texture for the background with the Stripes Embossing Folder! And then I made the little tie with some of the new Chevron Ribbon in Marina Mist! I know I know….my husband said no ribbon but this is still manly since it is a bow tie!

I hope you enjoyed these Man Cards and now I can go back to my Flowers and Pinks!!!

Happy Stampin’

~LauraEm


August – Best of 25 Years Stamp Set

Posted on

As part of Stampin’ Up’s 25-year anniversary celebration, they are bringing back some of our favorite stamp images from the last quarter century and combining them into 12 sets, a new one comes out each month. So be sure to check back each month to see the new Best of 25 Stamp Set!

  • Best of 25 - AugustAll of the Best of 25 Stamp Sets are just $14.95 and they will be available until March 31, 2014.
  • Best of 25 Stamp Sets only come in clear-mount.
  • As a special incentive to collect the Best of stamps, we’re including a collector’s card and 25-year proof of purchase sticker with every Best of set. Collect six stickers, and send it in to redeem a FREE set of your choice valued up to $14.95! Free sets must be redeemed no later than April 30, 2014. Love it!!!!

My Favorite Best of 25 Stamp Sets if the one from April which is all Butterflies!!! I have recently taken up an obsession for Butterflies! You can check out the April Set and all of the other month’s sets by clicking here! And start collecting today!!!

Happy Stampin’

~Laura

Some Punchy Fun!

Posted on

I love Stampin’ Up’s! punches! They are on a shelf on the left hand side of my stamp desk and I am always reaching for a the perfect punch for almost every single card! Sometimes I like to pop the greeting up on a punched piece of cardstock (with Stampin’ Dimensionals of course) and other times I like to create a fabulous focal point on my card with my punches!

Flower Bouquet


This beautiful bouquet of tulips was created with the Owl Builder Punch! I punched out the owl body and snipped the two little feet off! To add to the color variation and dimension of the tulips, I used a sponge dauber to add a little color to the edges!!! I love using the Owl Punch and about 80% (or more) of the time is isn’t for an actual Owl. How fun is that?

Lion Birthday

So this card is SUPER CUTE and my current favorite card! Super fun to make and can’t wait to send it to my nephew for his Birthday next month! Eeeee So excited!!!! The lion was created with the Blossom Flower Punch. I layered two of the flowers (off-set) for the face and then used two petals from another Blossom Flower for the feet. I used a 1-3/8″ Circle Punch and the 3/4″ Circle Punch for the face! Guess where the little heart nose came from…..that’s right – the Owl Builder Punch! I’m telling you that one is a must-have!!!

Hexagon Card


This Hexagon Punch is a new one! It just came out in June with the New Catalog! I really loved how this card turned out. I have done a couple variations of this card by putting more space between the punched hexagons and by rotating the hexagons the other way too! Super fun and endless possibilities with all of the Designer Series Paper options styles!

I hope these cards have given you inspiration to try out your punches in more ways than just the actual punched image! Have fun!!!

Happy Stampin’

~Laura


Stamps In A Snap For August!

Posted on

Last month was the beginning of Stamps In A Snap Club! You can check out the July Kit by clicking here! This kit is perfect for those with busy schedules, those who love to stamp, those who would like to learn new techniques, and those who love Stampin’ Up! Product! This kit is $45.00 and includes shipping costs. The Kit includes about $30.00 in Stampin’ Up Product and the instructions, supplies, and tips for that month’s project (and the best part, it comes right to your door)!!! All you need to do each month is sign up by emailing me or filling out the form on my Stamps In A Snap page at the top of this site!

In August, you will receive an array of embellishments to go along with your Swallowtail Stamp Set and the New 5 In-Color Markers that came in the July Kit! And all the supplies in the August Kit will make these cards:

August Kit2

Be sure to check this out each month because I have another fabulous kit for September which includes the Beautifully Baroque Stamp Set!

Happy Stampin’

~Laura


Technique Tuesday – Puzzle Piece Resist!

Posted on

It is Tuesday again and so I’m sharing a fabulous technique with you!!! This week it is the Puzzle Piece Resist Technique!

CombinedPic

This amazing technique comes from my fellow stamper – Linda Yearsley! I love when we all get together and swap ideas! Here is how to create this look:

Supplies Used: Versamark, Embossing Powder, Background Stamp (I used En Francais), Cardstock and Big Shot Framelits, Ink, Sponge Daubers

Stamp background image on Whisper White Cardstock with Versamark. Pour clear, white, or black embossing powder over the image and tap off access powder. Heat emboss the powder until it is completely melted. Place your Big Shot Framelits (what ever images you want) on your embossed background and run it through the Big Shot. Carefully remove your die cut shapes and with the sponge daubers add desired ink color to each puzzle piece. Take a paper towel and go over the inked areas to remove any excess ink. This makes your embossing more pronounced. Adhere the largest background puzzle piece to your card base and then continue putting the puzzle piece together and adhering them on the card.

My Samples: Sample 1 – I used the Dress Up Framelits and Ovals Framelits for my puzzle pieces, Black Embossing Powder and Real Red Ink for the dress and outline! Sample 2 – I used the Ovals Framelits, Labels Collection Framelits, and Secret Garden Framelits for my puzzle pieces, Clear Embossing Powder and Pumpkin Pie, Island Indigo, Melon Mambo & Daffodil Delight Inks and a pearl in the center!!! Sample 3 – I used the Labels Collection Framelits for my puzzle pieces, Clear Embossing Powder, and Gumball Green, Tempting Turquoise, Pumpkin Pie, Real Red, and Daffodil Delight Inks. For this card, I put Stampin’ Dimensionals on every other label frame to give dimension! These are my #1 favorite product and you will notice I use them A LOT!

I hope you enjoyed this Technique and try it out yourself!!! Until next Tuesday…..

Happy Stampin’

~Laura