September – Best of 25 Stamp Set!

Posted on

September Best of 25 Stampin' Up www.laurasstamppad.com

 Pin It!

Can you believe it is September already? I sure can’t! And with September comes cooler temperatures, falling leaves, Apples, Pumpkins, and leaves changing colors! While I’m not a fan of fall (because it seems Winter is near), I do enjoy all those things I mentioned! I love how the images chosen for this month’s Best of 25 showcase all of those Fall things! It is so perfect!!! (And I didn’t come up with those things just to make it match!) To check out last month’s Best of 25, click here!

  • All of the Best of 25 Stamp Sets are just $14.95 and they will be available until March 31, 2014.
  • Best of 25 Stamp Sets only come in clear-mount.
  • As a special incentive to collect the Best of stamps, we’re including a collector’s card and 25-year proof of purchase sticker with every Best of set. Collect six stickers, and send it in to redeem a FREE set of your choice valued up to $14.95! Free sets must be redeemed no later than April 30, 2014.

Happy Stampin’! And have a fabulous Labor Day!

~Laura


Only 1 More Day

Posted on

Project Kit

Today and tomorrow are the last days for you to “Pick A Project Kit” and sign up!!! Click here to sign up or email me if you have any questions you would to have answered! I am more than happy to answer any questions or concerns you might have!!!

Paper Pumpkin Special

Here is another fabulous promotion that ends on August 31st! Have you wondered what Paper Pumpkin is? Have you thought about it but wasn’t sure if you wanted to join in? Do you want some fabulous Stampin’ Up! product with some crafty ideas? This this is perfect for you!!! You can join now and your first 2 months are just $10.00 (including shipping)!!! After the 2 months, the price will go back to the regular pricing of $19.95! Each kit includes stamps, ink, and a project! Check it out and of course if its not for you, you can cancel at any time! Why not try it out for just $10.00?!?!? Hurry though offers ends tomorrow!

Have a fabulous and safe Holiday Weekend!

Happy Stampin’

~Laura


HAPPY BIRTHDAY TO ME!!!!

Posted on

Wedding PictureToday is my BIRTHDAY!!!! I love Birthdays! It is so much fun to celebrate a day (or all month long) dedicated all to YOU! So since I am celebrating today I thought I would do a post ABOUT ME! This picture on the left is ME on my Wedding Day! I love love love this picture and that day was so fabulous and even though it was over 2 years ago, it is still amazing! I loved having my photo taken a million times and I loved marrying my best friend! Here are a few other random facts about me!!!

~I love the color PINK, Macaroni and Cheese (anything with cheese), Black Cars, Cupcakes, Curly Hair, and Working Out!

~I am really loud, enjoy laughing a lot, and very smiley!

~I met my husband back in High School when I randomly got a forward email from him. I added him to my messenger asking who he was and we continued chatting!!! We were only 45 minutes away from each other but didn’t meet in person for about 3 years.
IMG_3174
~I grew up in a small town on a family farm! I graduated for the University of Illinois! I-L-L…..I-N-I

~I love Pageants, Rodeos, Tractor and Truck Pulls, and Family Traditions!

~I rock out to 80’s music….DAILY! We also watch Friends almost daily too (nothing better on TV)!

Okay, I think that is enough craziness for one day! I hope you enjoyed this post…..now go have a cupcake and celebrate my BIRTHDAY with me!!!

Happy Stampin’

~Laura


Something for all Occasions!

Posted on

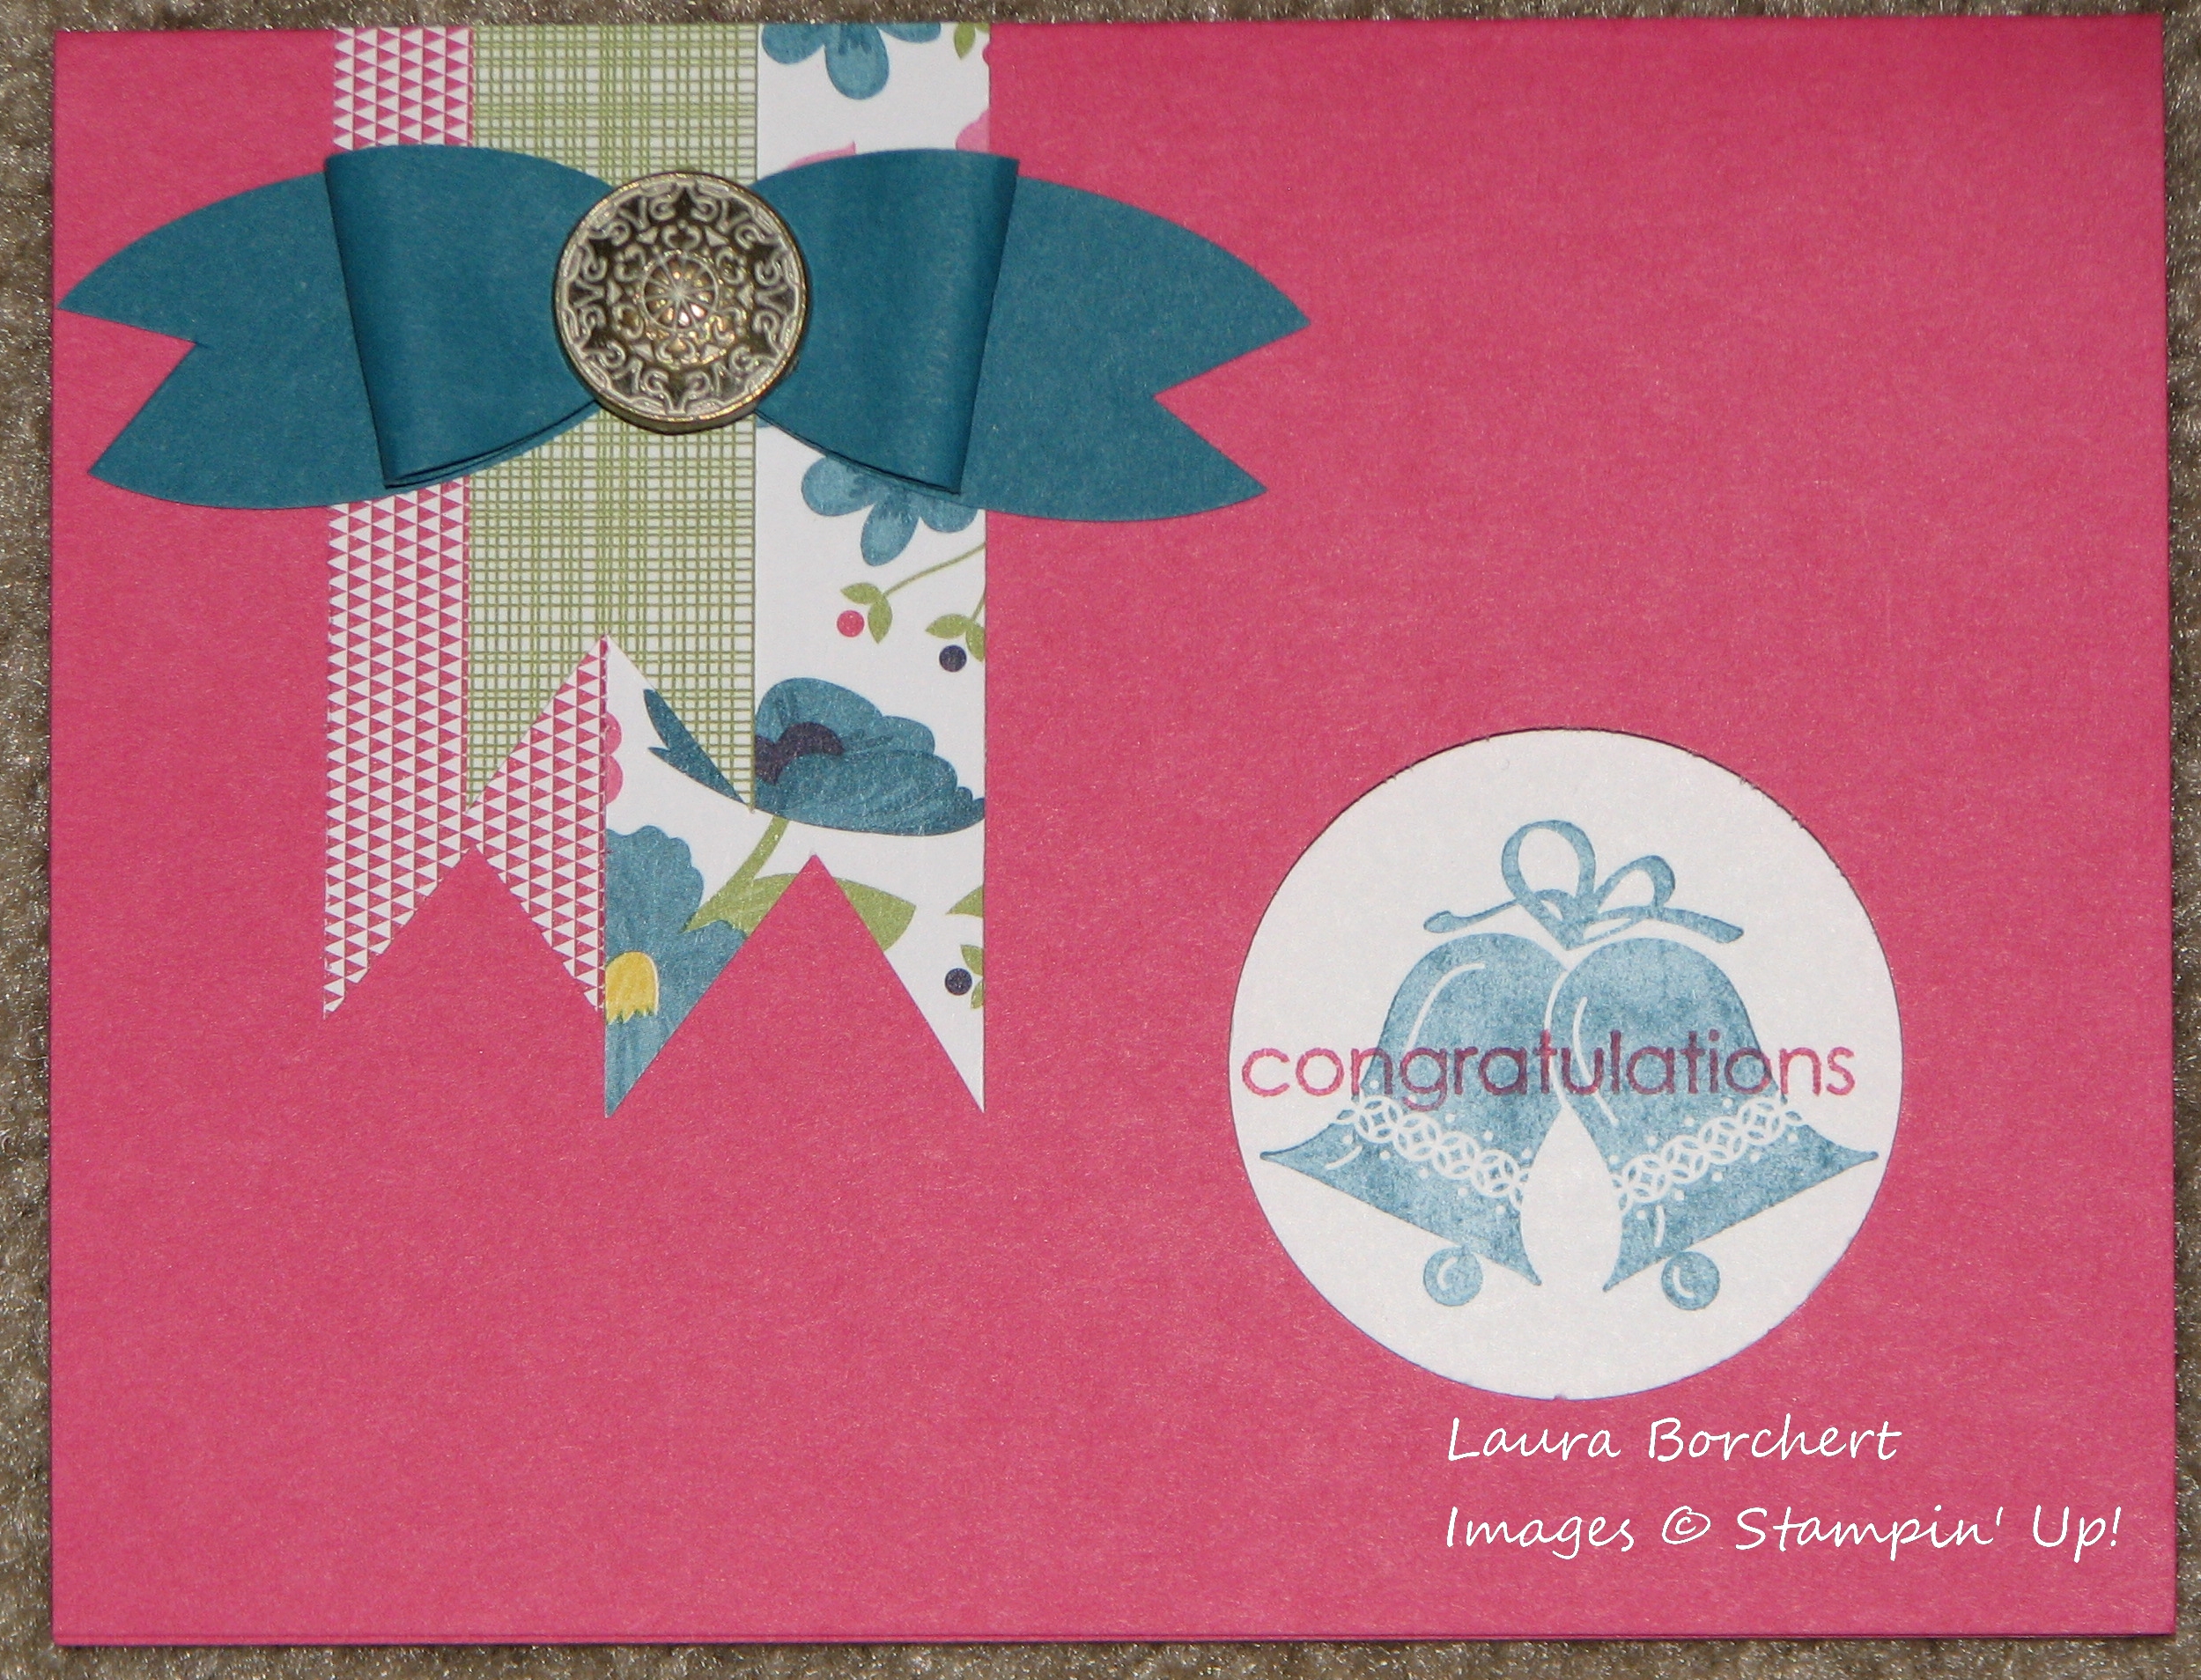
Wedding CardI love stamp sets that have images and greetings because you can create a card when you pull out that one stamp set! Embellished Events is one of my favorite sets right now! I love the simple greetings and the fabulous images!!! The wedding bells in the Congratulations card here on the left is perfect for a Wedding, Anniversary, and even Christmas! Of course the photo doesn’t do the amazing card any justice. The circle with the bells and greeting is actually on the inside of the card with the circle cut out of the front of the card creating a peek-a-boo!!! Isn’t that cute? Oh and you see that fabulous bow on the banners! You can create that with your oval punch! Yep, that’s right! Just 4 punched ovals and you have that fabulous bow! Curl 2 of the ovals and adhere with a Stampin’ Dimensional Thank You Flowersand then cut little V’s out of the other 2 ovals to create the tails! I put an Antique Brad in the center but you could use any type of Brad or Ribbon or even a cardstock loop! Precious!

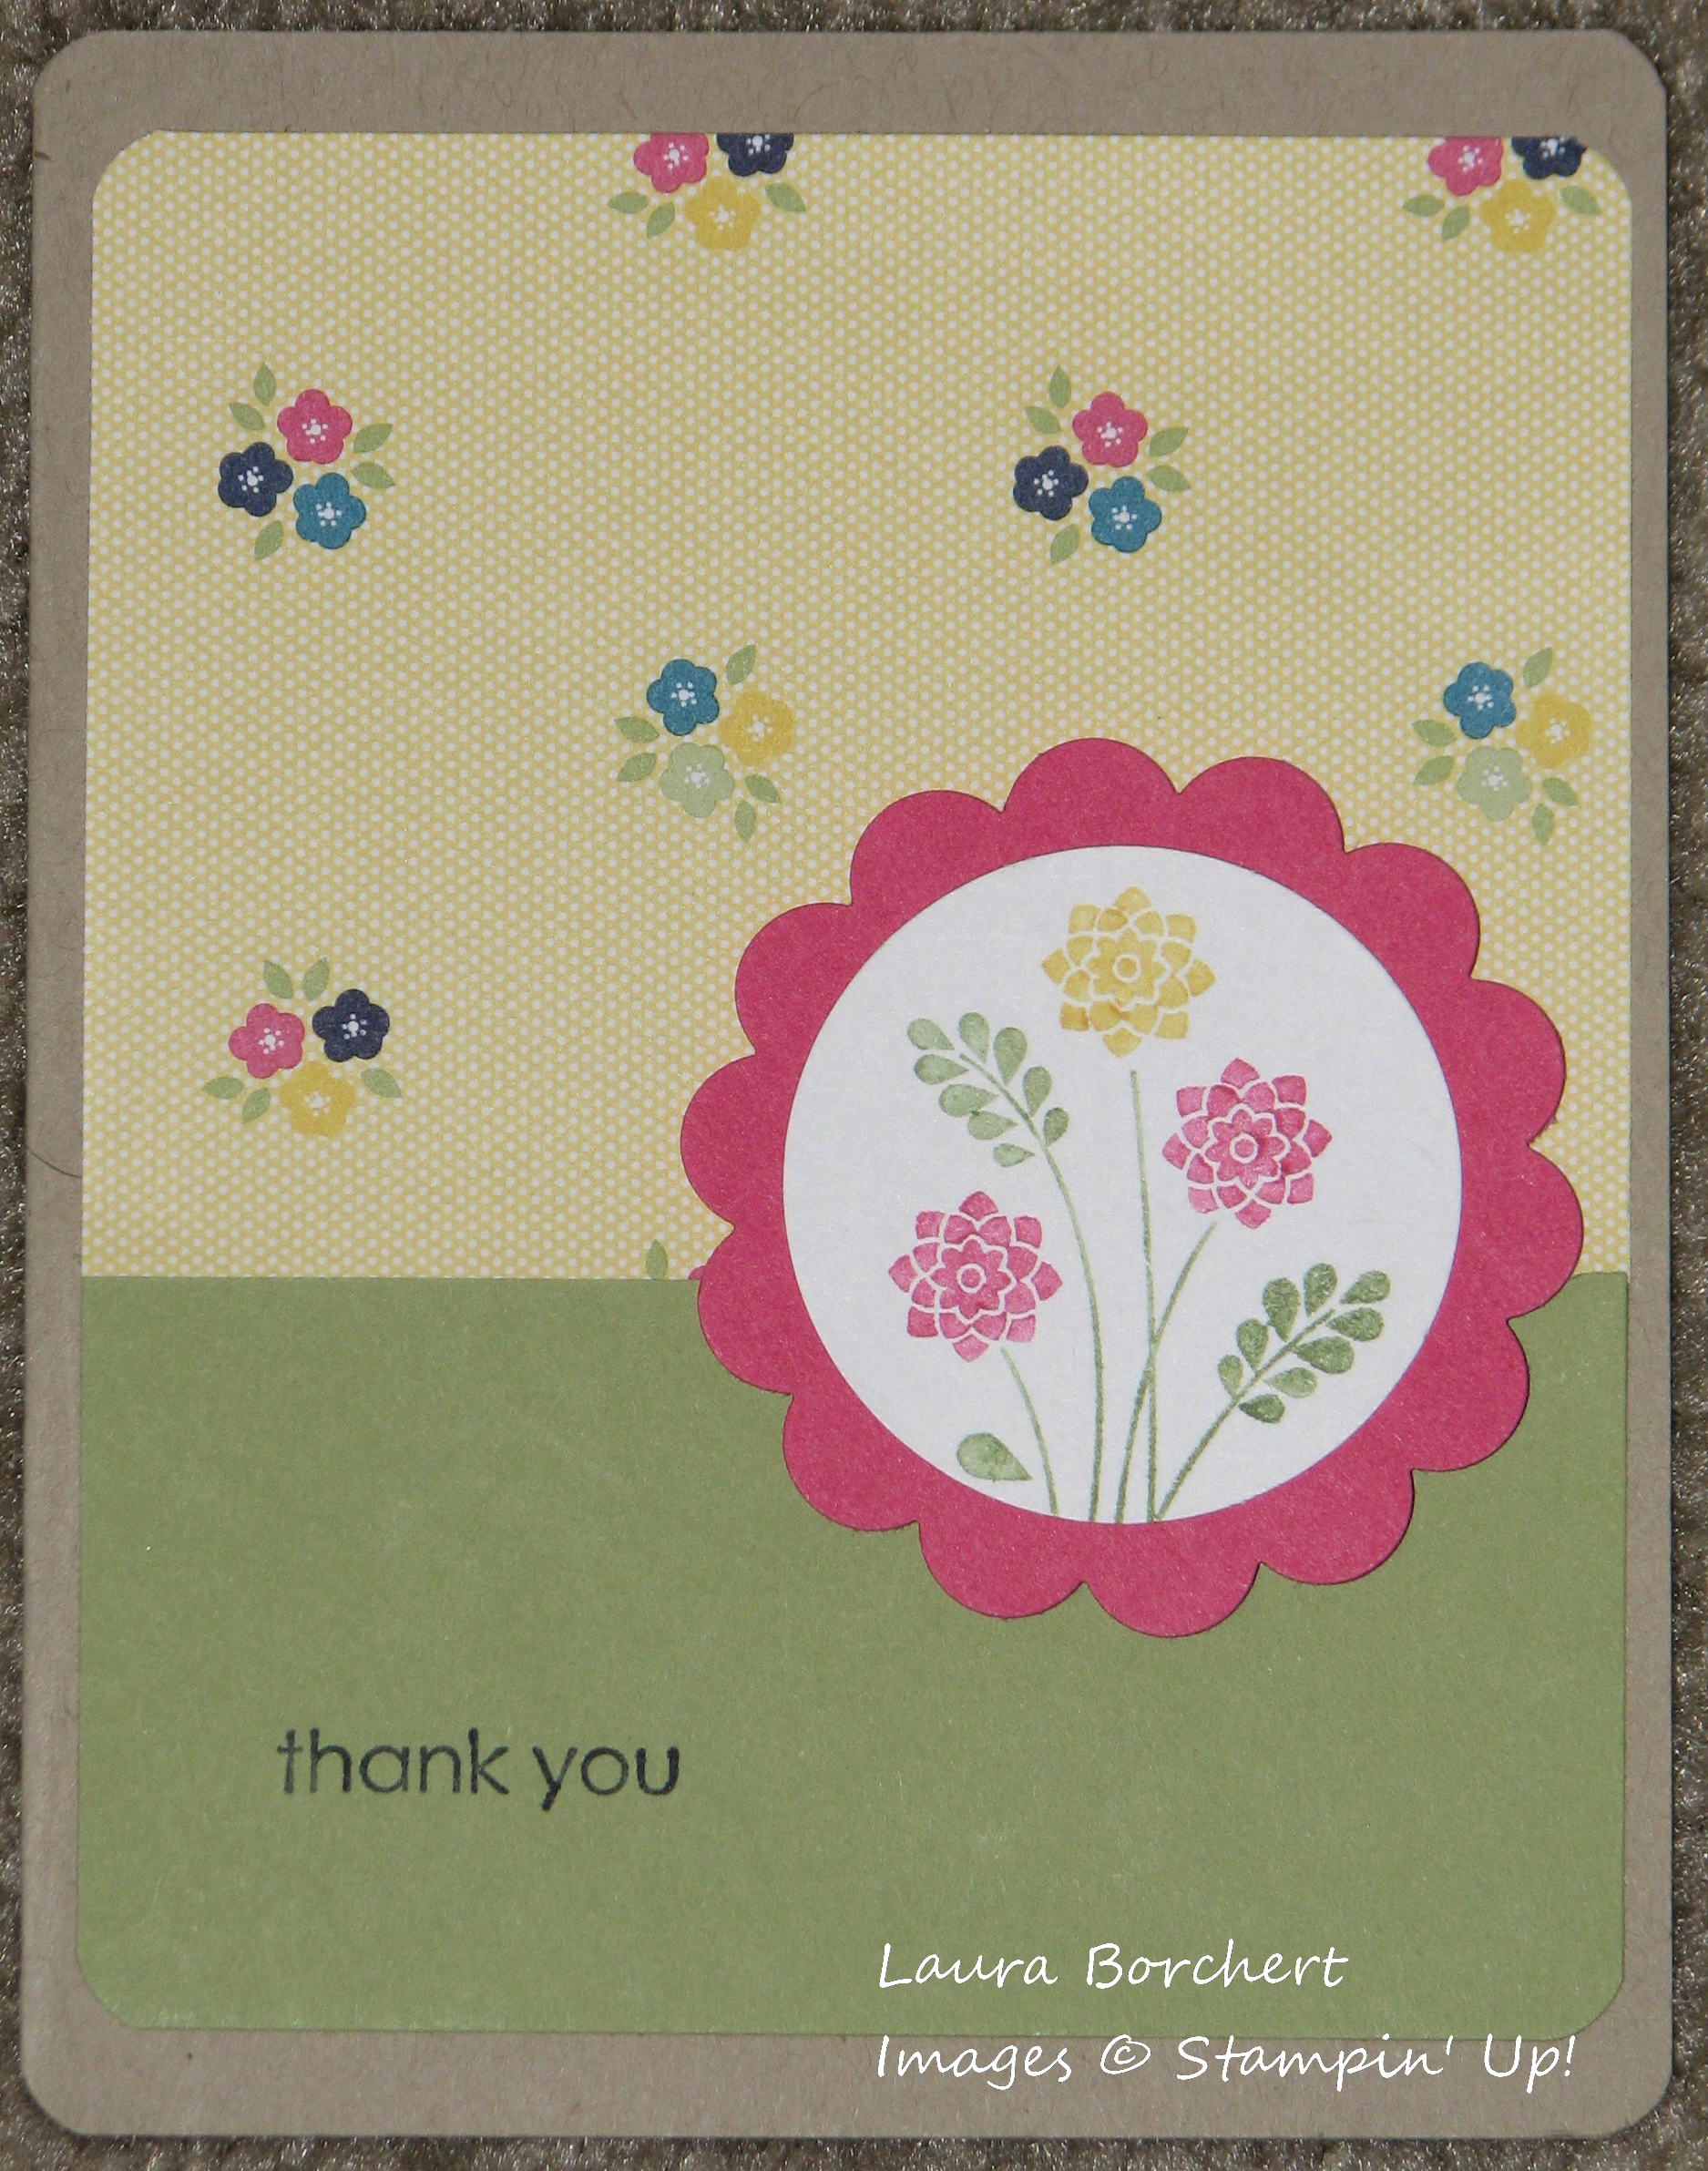
Of course, flowers can be used for ANY occasion, at least that’s my moto because I LOVE flower stamps! These flowers are perfect for a Thank You, Birthday, or Just Because Card! I love how these flowers are super cute and bold and easy for coloring with your markers. When you color your stamps with you markers, you can have multiple colors like the Thank You card here on the right! If you feel like it took you a long time to color the stamp and it may have dried, don’t worry just huff on it! Don’t blow on it but instead huff (like when you eat something hot and you go ha ha). I hope that makes sense! There are many other images in this stamp set too! Check out this post for more samples! I hope you try out some of these card styles and even this stamp set!!!

Happy Stampin’

~Laura


Technique Tuesday – Color Blocking!

Posted on

It is Tuesday and so I’m sharing a fabulous technique with you!!! This week it is Color Blocking!!!

Color Blocking SetPin It!

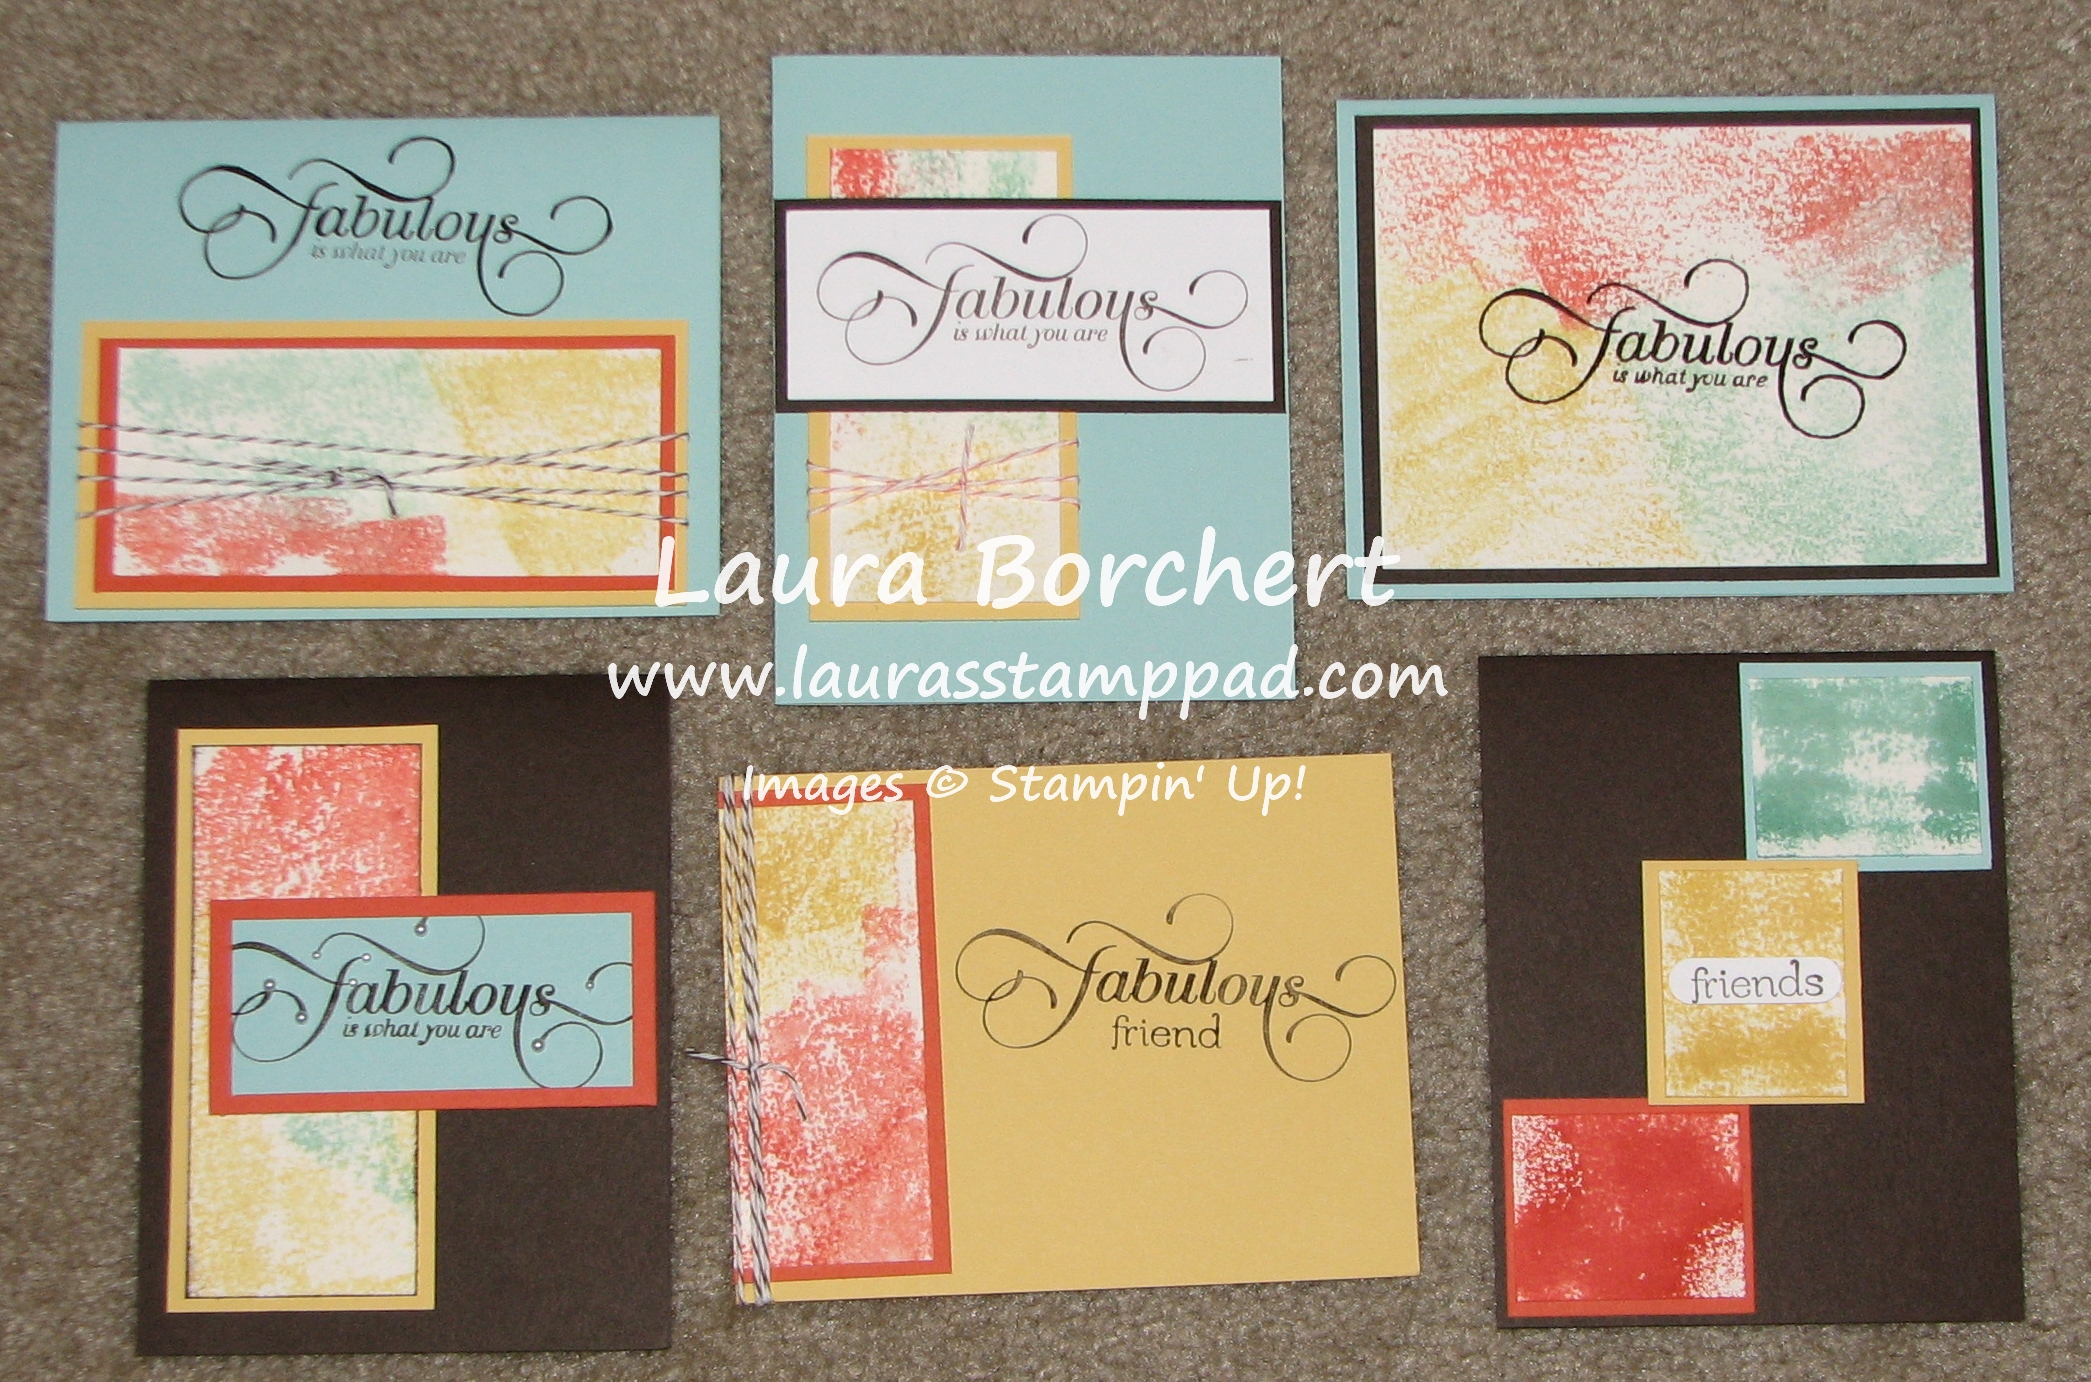
I had so much fun with this technique and every time I did it it came out different so you end up with lots of different looks! All you need is some Ink Pads, Clear Block, and Watercolor Paper! Take your ink pad and press it onto the clear block, if using more Block Imagethan one color, just apply color to one spot starting with the lightest color and slowly going darker as you fill in the block! Then the next part of the technique can be done differently!! !You can spritz the inked clear block with alcohol, water, or even Stamp Cleaner (it was handy and I couldn’t find my alcohol spritzer). You can spritz the Watercolor Paper until it is moist or you can do neither of these! I never really found a huge difference. Although when you spritz the clear block, if you tilt the block, the colors will run and blend a little (could be a good look or could become ehh). Also, be sure to hold the clear block to the paper for a good 30 seconds, allowing time for the ink to soak into the paper. I did this technique on a few scraps of Watercolor Paper and then on some full size pieces. After I was done, I just cut them into pieces for all of these different cards I made above! The colors I used were Calypso Coral, So Saffron, Pool Party and Early Espresso!!! Another tip, when I stamped the FABULOUS stamp on the Watercolor Paper, I had a hard time getting the image to come out clear because of the texture in the paper. But that’s when the markers come in handy!!! I just colored in the lettering in spots that were lighter than I wanted! I hope you try out this fabulous technique! Enjoy!

Happy Stampin’

~Laura


Loving Paper Snowflakes….Not a fan of real Snow!

Posted on

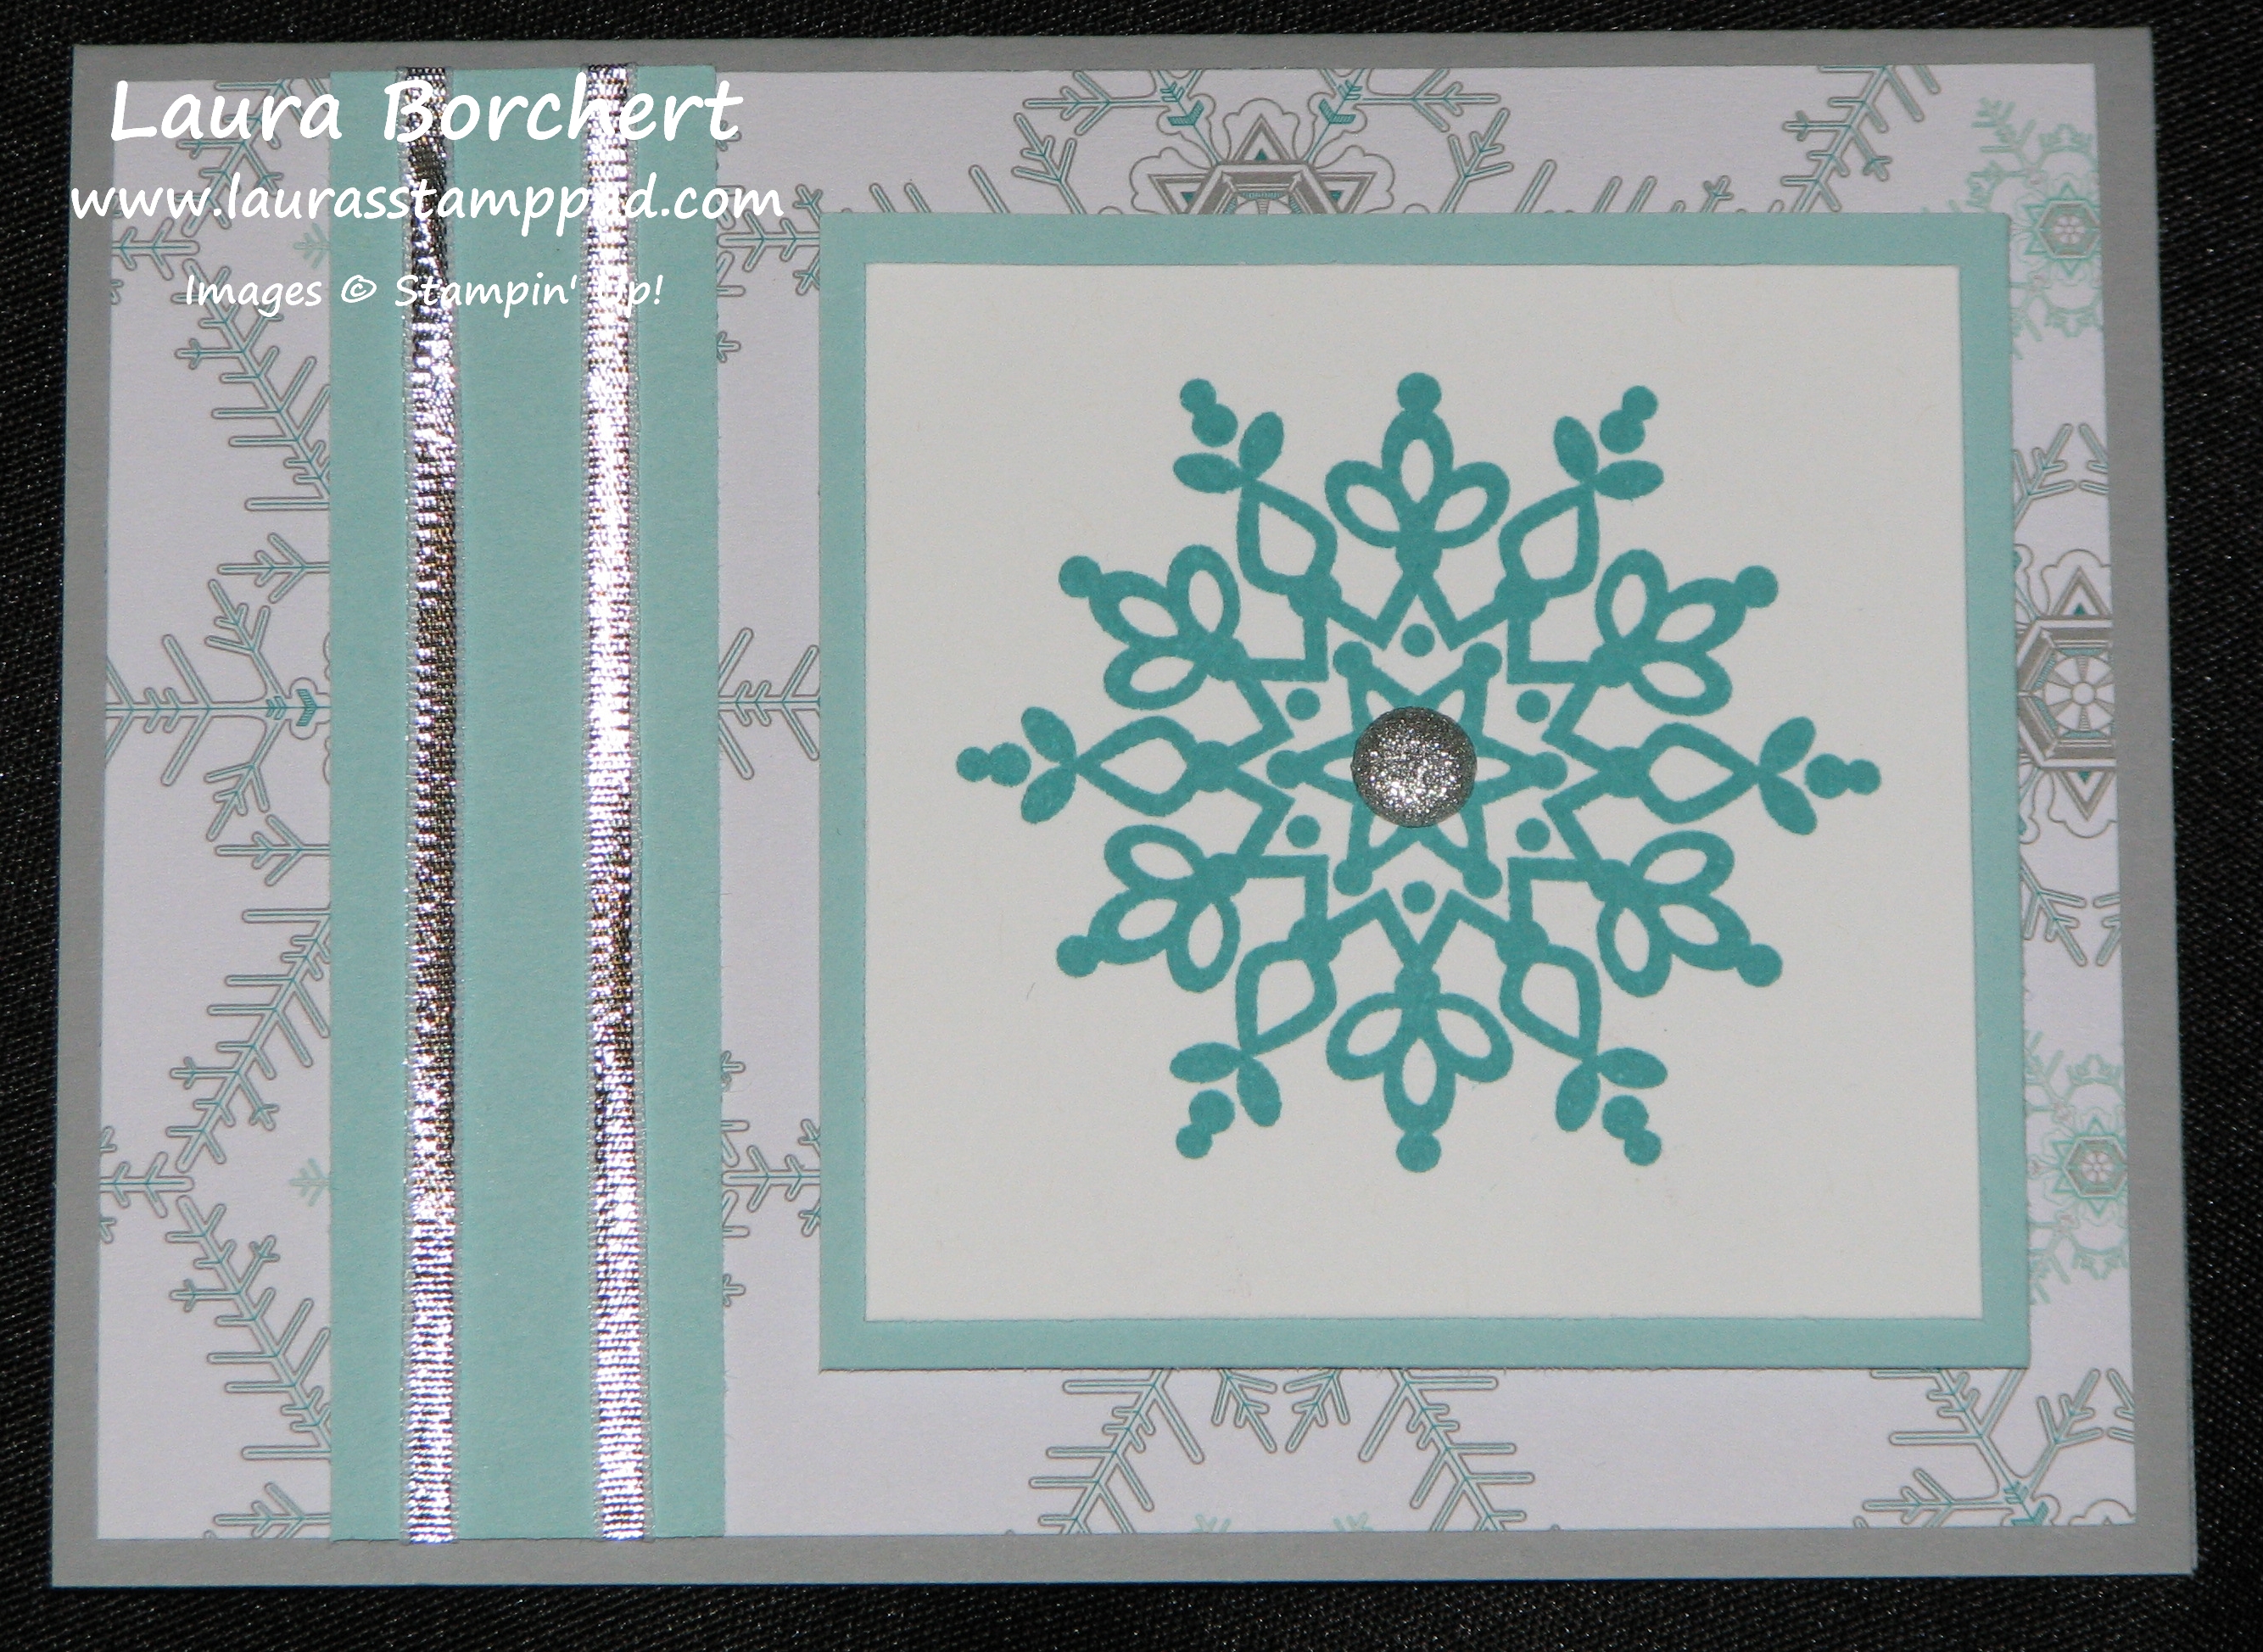
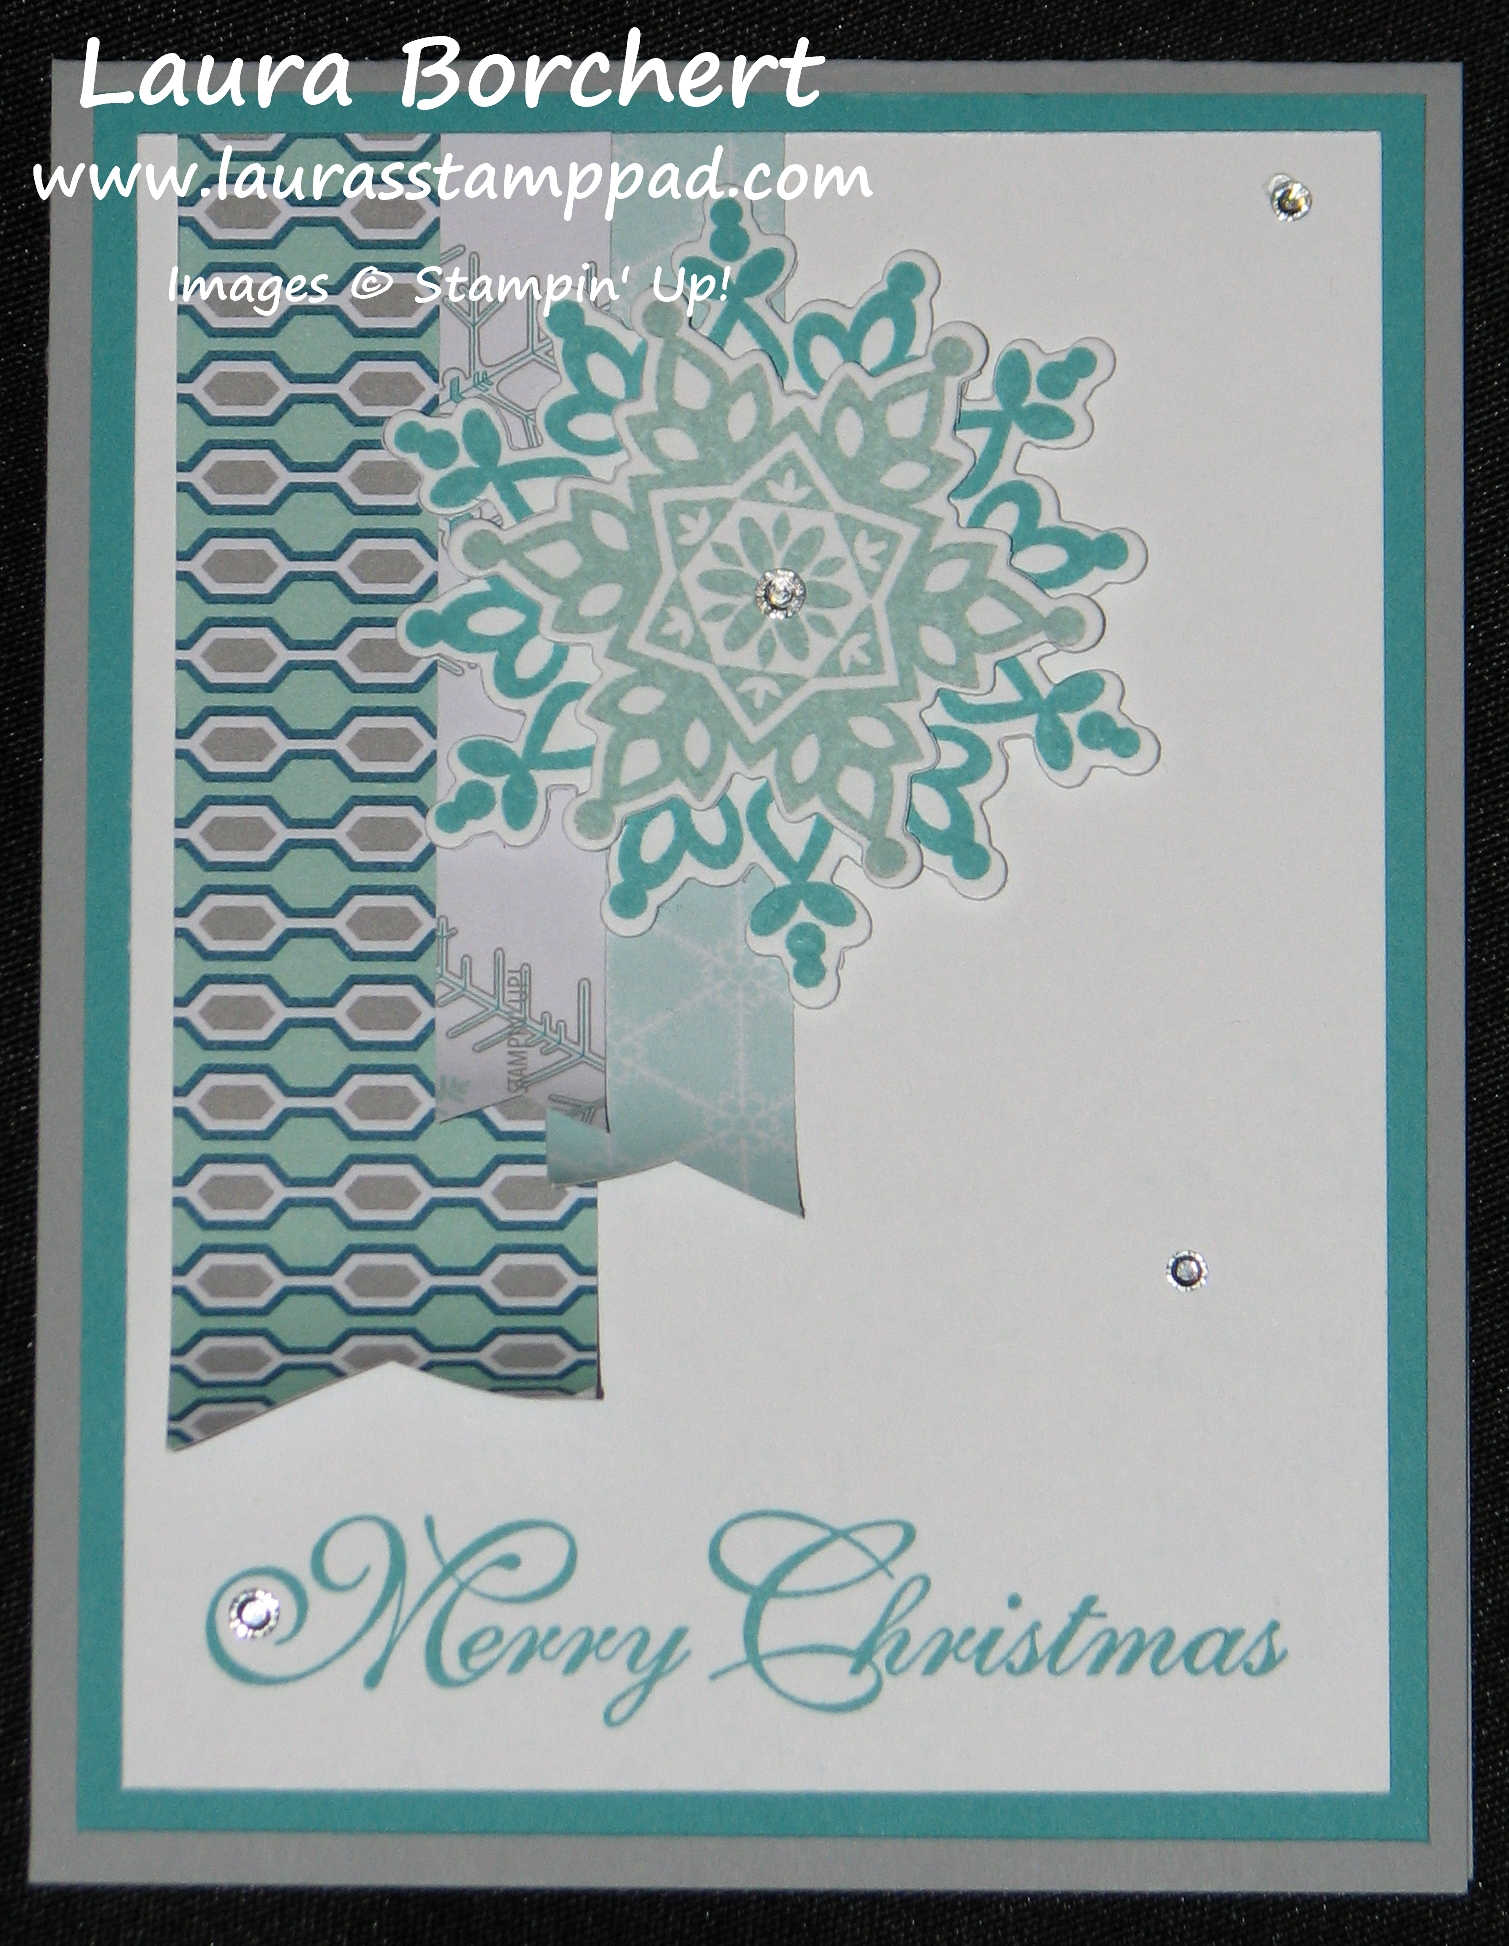
Snowflake RibbonI have been having lots of fun with the Festive Flurry Stamp Set in the Holiday Mini Catalog even though I am not a fan of snow at all. I love the matching Framelits that cut out the intricate image of each snowflake which makes a quick and simple amazing image! When you purchase the stamp set and matching Framelits, you save 15%!!! Love a good deal! Here are some samples I have recently created using this stamp set! This card on the left was created using the Winter Frost Designer Series Paper and Silver Ribbon! Oh the Silver Ribbon….it is even more amazing in person! So shiny and perfect! I’m really loving the Winter Frost Designer Series Paper too! Usually my cards are Night of Navy, Silver, Cherry Cobbler or Old Olive but this year, I’m pretty sure they will be Snowflake BannersBermuda Bay, Pool Party, and Smoky Slate! These colors are just so much fun!!! Here is another fabulous card created with the Winter Frost Designer Series Paper and Festive Flurry Stamp Set! Since banners are so in right now, I thought I would add some into one of my Holiday cards too!!! It’s a great way to showcase more patterns on the paper too!!! I love how the little rhinestones add a pop of bling and make it look like sparkly snowflakes. (Are you picturing that light snow with the sun shining on it and making it sparkle? And in my little world, I hope its melting the snow. So not a fan of snow! :))

I also wanted to share a little tip with you!!! On page 29 of the Holiday Mini Catalog 2013, you will see the Winter Frost Designer Series Paper Stack on the top of the page and Winter Frost Specialty Designer Series Paper! You might be thinking what is the difference. Well that’s what I am here for! To answer all those little crafting questions of your! The Specialty Paper Pack is 12 sheets of 12″ x 12″ paper: 2 ea. of 5 double-sided designs; 1 ea. of 2 single-sided, foil-accented designs. The Paper Stack is 48 sheets of 4-1/2″ x 6-1/2″ paper: 24 ea. of 2 double-sided designs. The Paper Stack is perfect for making cards in multiples! It is amazing because otherwise I would have to buy 5 packages of the Specialty Paper to get my 80+ Holiday Cards! Thank you Stampin’ Up for making things easier!!!!

Happy Stampin’

~Laura


Friday Fun with Photopolymer

Posted on

Stampin’ Up! Photopolymer Stamps are so cool and here is why!

1. They are so amazingly sticky that they never fall off your clear block and you can even mold them differently (like taking the arrow stamp and curving it on your clear block to then stamp a curved arrow.) Cool, huh?

2. They are clear and you can see where you are stamping since there is no label or wood block or anything in your way (that’s not the cool part). You can see the ink go squish or splatch (that’s a word, I promise hehe) when you stamp it down. So cool!!! So the next time you are using Photopolymer Stamps be sure to watch your ink when you stamp it down and make the noise its more fun!

Laughing CardThere is no need for more reasons why these stamps are so cool because lets face it, your still on #2 – stamping and watching the ink! I don’t blame you! I love it too! Although I should mention another fabulous thing about these stamps, they are only $13.95!!!! Yep! Each set is only $13.95 and where can you find an alphabet set (with other images) for just $13.95? This adorable card on the left was created with the Designer Type Photopolymer Set and my favorite Feels Good Stamp Set! (Click here for more about my Favorite Stamp Set!) I used Daffodil Delight and Tangerine Tango Ink and just stamped around and around until it was covered!!! And it is a square card BUT no extra postage here….it still fits in one of our Medium Envelopes!!! Woot Woot!

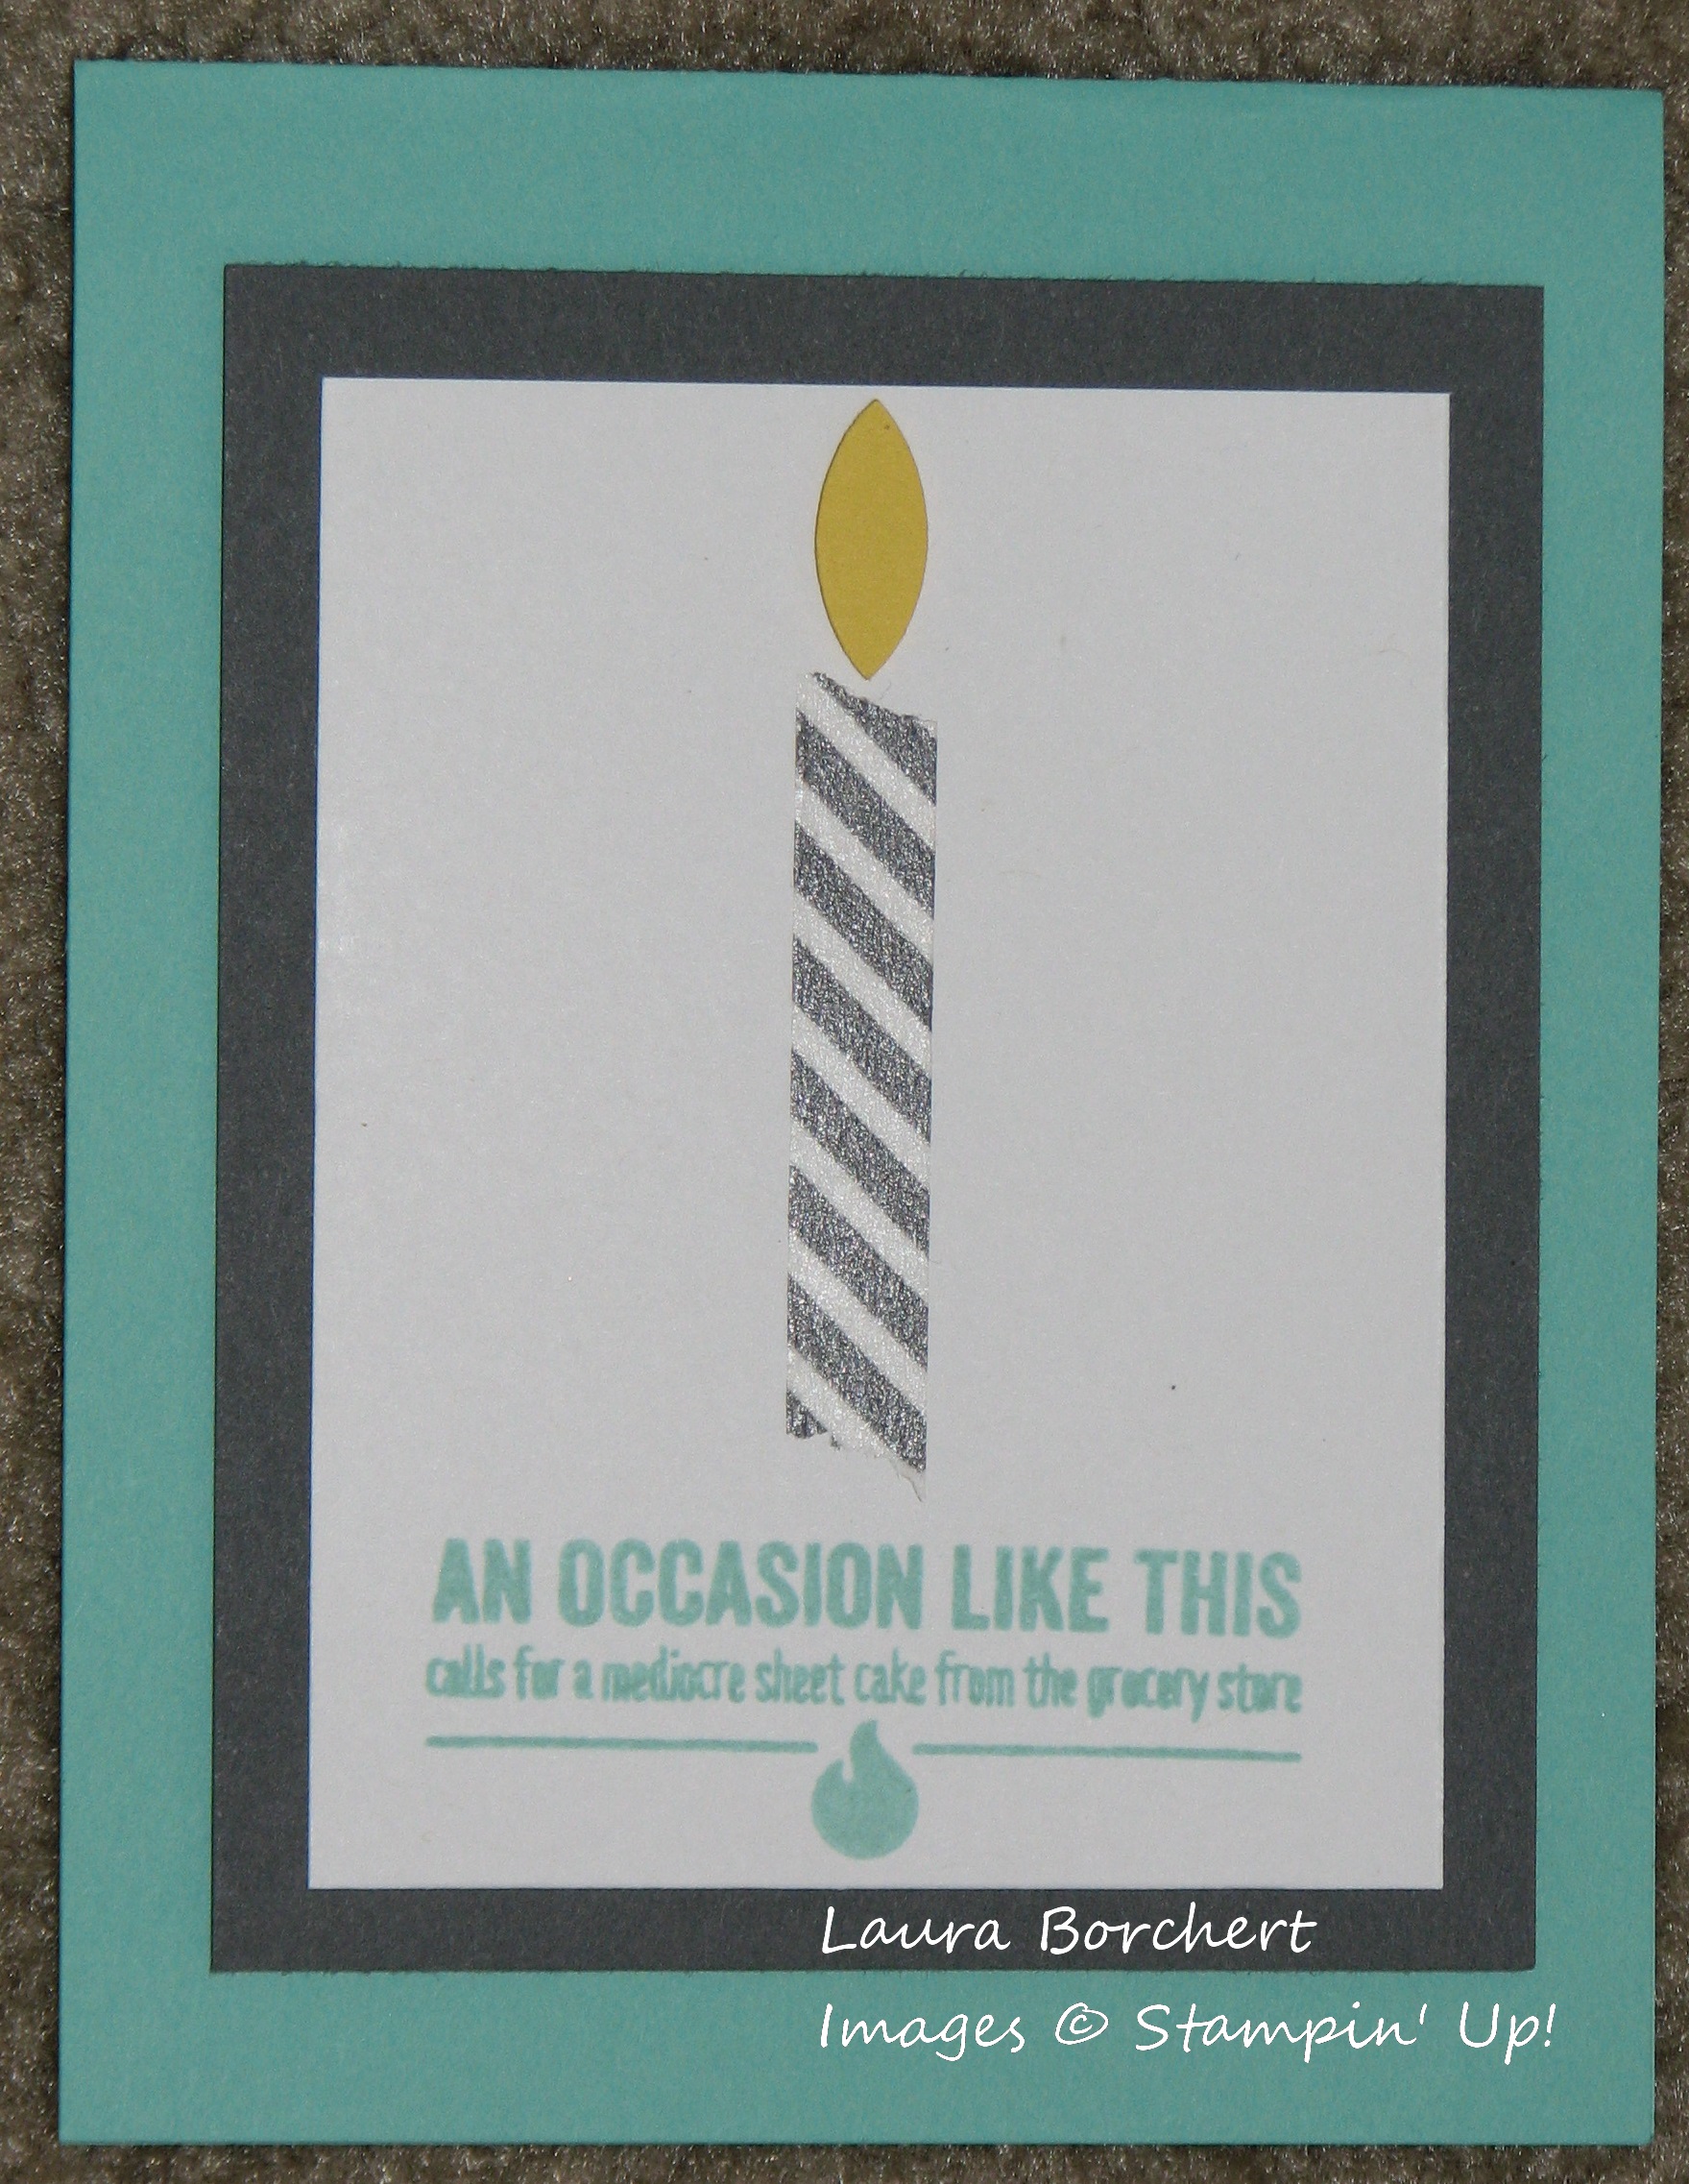
The Bombs Away Birthday Set just cracks me up! I love the saying in this stamp Washi Candleset! They just make me giggle, maybe because we love getting a sheet cake for Birthdays and other celebrations and it comes from a grocery store! But hey, we love it and the cake is amazing! And then this week Stampin’ Up! came out with a Thank You Stamp Set! You all know I love my Thank You Sets! I do send out a ton of Birthday Cards each month to all of my extended family but I send lots and lots of Thank You Notes too! There is just so much to be thankful for I guess! (Which is why Thanksgiving is my favorite Holiday, I guess!!!) Well go check out the entire line of Photopolymer Stamps and leave a comment below on which one is your favorite or how you love to watch the ink squish too! 🙂

Happy Friday and Happy Stampin’

~Laura


You will flip!

Posted on

Stampin’ Up! introduced the new Thinlits Dies this month and they are so amazing you will flip! Have you ever created a flip card or swing card? Or would you like to create a fabulous card that flips or swings? If so, these are the Dies for you! (Just so you know I have created a swing card before and it was crazy difficult to line it up correctly and have it turn out right. So I’m super excited about these Dies). Check out this great video that Stampin’ Up! created to show off this great new product!

So be sure to add these amazing Thinlits to your next order and GET CREATIVE!!!!

Happy Stampin’
~Laura


Wedding Wonderland

Posted on

Okay so I LOVE weddings! If I could get married every weekend, I totally would because I love my man and I LOVE weddings! So because of this I have started creating lots of wedding pieces so I can help others have the wedding on their dreams (and I can feel a part of it too)!!!!! 🙂 Peacock InvitationPin It!

This fabulous Peacock Invitation is one of my creations which I am currently creating as a Rehearsal Dinner Invite! She requested that I change the purple out for Cherry Cobbler which really makes the card POP! The colors in a peacock are so amazing and right now I love purple so that’s why my sample was created with purple!IMG_1601

Here is another invitation that I recently created for a friend for her wedding back in May! Rustic, Vintage, Lace, and Pearls are HOT HOT HOT right now! I have done lots of different pieces with this theme! This invitation is embossed on the front and on in the inside pocket! Adding texture is so fun because it really adds a lot to the card without adding more product and weight! And we all know how expensive mailing an invitation can be! The Natural Trim Ribbon is perfect because it is very soft and still gives that burlap look!

PlacecardsI have also been doing a lot of different Place Cards, Mason Jars, Programs, Tags for Bells or Bubbles and so much more! It is so much fun! Also you can check out some of the party favors and gift packaging pieces that I have created by clicking here! You can also check out a lot more samples of mine on my Facebook Page – StampinAndScrapbookin with Laura Schmidt-Borchert! 

If you would like help for your Wedding, Anniversary Party, Birthday Party or event, send me an email! I would love to assist you by creating a fabulous piece or helping you with the idea and assisting you with your crafty side!!!

Happy Stampin’

~Laura


Technique Tuesday – Ombré Style Stamping

Posted on

It is Tuesday and so I’m sharing a fabulous technique with you!!! This week it is the Ombré Look!

Happy BirthdayI’m not going to lie, when I first heard of the Ombré Technique I had no clue what it was and had to look up the word Ombré.  Ombré is a French word meaning to shade. In art it means beautiful color gradation!

So there you have it! And now I’m loving this technique! You all know I’m a huge fan of bright colors and whats even better….lots of Bright Colors! Color is an amazing thing! It sets a mood, shares a feeling, and can even brighten your day. Here are a few samples using a variety of ombré techniques. It’s an easy technique that offers impressive results.

Hang In ThereThe Birthday Card above is my #1 Man Card right now! You can make that card in shades of blue like I did or shades of green, or neutrals! And as my husband says, no ribbon on a man card but Linen Thread is okay! So all in all the perfect Man Card and it uses scraps of cardstock too!!!!! (For other Man Cards, check out this post!)

This little 3″ x 3″ Mini Card is super cute and perfect for a little Birthday Gift Tag or pick me up card to pass along to a co-worker! Quick and simple to put together and again a great use for scraps! I used the 1″ Circle Punch, Modern                                                                                                               Label Punch and Word Window Punch! Oh                                                                how I love my punches!

This too Shall PassThis last card here was created with Watercolor Paper! All you do is pick up some reinker with an Aqua Painter and swish back and forth on your paper starting with the lightest color! How fabulous is that?? Then the image was heat embossed with white embossing powder and cut out with the Labels Collection Framelits! And isn’t this saying just perfect?!?!

I hope you have enjoyed this technique and try it out in your next stamping project!

Happy Stampin’

~Laura