On the 8th Day of Stamps-Mas!!!

Posted on

On the 8th Day of Stamps-Mas, my true love gave to me…..Adhesive!!! There are so many different types of Adhesive out there and each one has a specialty!!! I have my favorites – Stampin’ Dimensionals of course!!! 🙂

8thDayofStampsmas, www.LaurasStampPad.com

We will start with my favorite – Stampin’ Dimensionals!!! I love these things because they give your project texture and dimension and make it come to life. You can use the edge/border pieces cut up or on the long skinny objects. Love it!! I also love using these when adhering items to embossed images or ribbon because the dimension falls into the grooves and holds on tight. It also gives a smooth look to the image that you place over the top of the ribbon rather than a bumped up look.

Snail Adhesive is the most used adhesive in my craft room. This is a 2 sided tape to use on just about any project. I use this for all of my cards and basic crafty. You can add refills too so no need to buy the whole thing each time!

Fast Fuse is similar to Snail in that it is a 2 sided tape and comes with Refills. This adhesive is super strong and great for putting together boxes or other 3D items. This adhesive does require a little trick – doing a check mark motion after adding the adhesive to your project. You need to break the seal of the adhesive so don’t pull up or back, be sure to flick your wrist to the left or right to snap off the strip of adhesive. I hope this makes sense….if not check out the video below! 🙂

Mini Glue Dots are perfect for adding small items to your project or things like buttons. These are small dots of glue that are clear. My tip is to never touch the actual glue dot because otherwise it will fold and ball up. Just place the button or stamped image on top of the glue dot and then pull it off and place it on your project. The glue dot will hold tight and you never have to handle it.

The Fine Tip Glue Pen is a miracle glue for adhering those thin, detailed images that can be die-cut out with a Thinlit. This glue is clear, liquid that comes out of a super thin needle nozzle. You don’t need a lot at all, just a small amount. I usually add it to the corners or tips or biggest areas on the image. Then I place it on my project and press my hand over the top and hold for a good 10 seconds so that the glue grabs hold. Then if there is a spot that still pops up, you can just place the nozzle under there and add a bit more glue. Love this stuff!!!

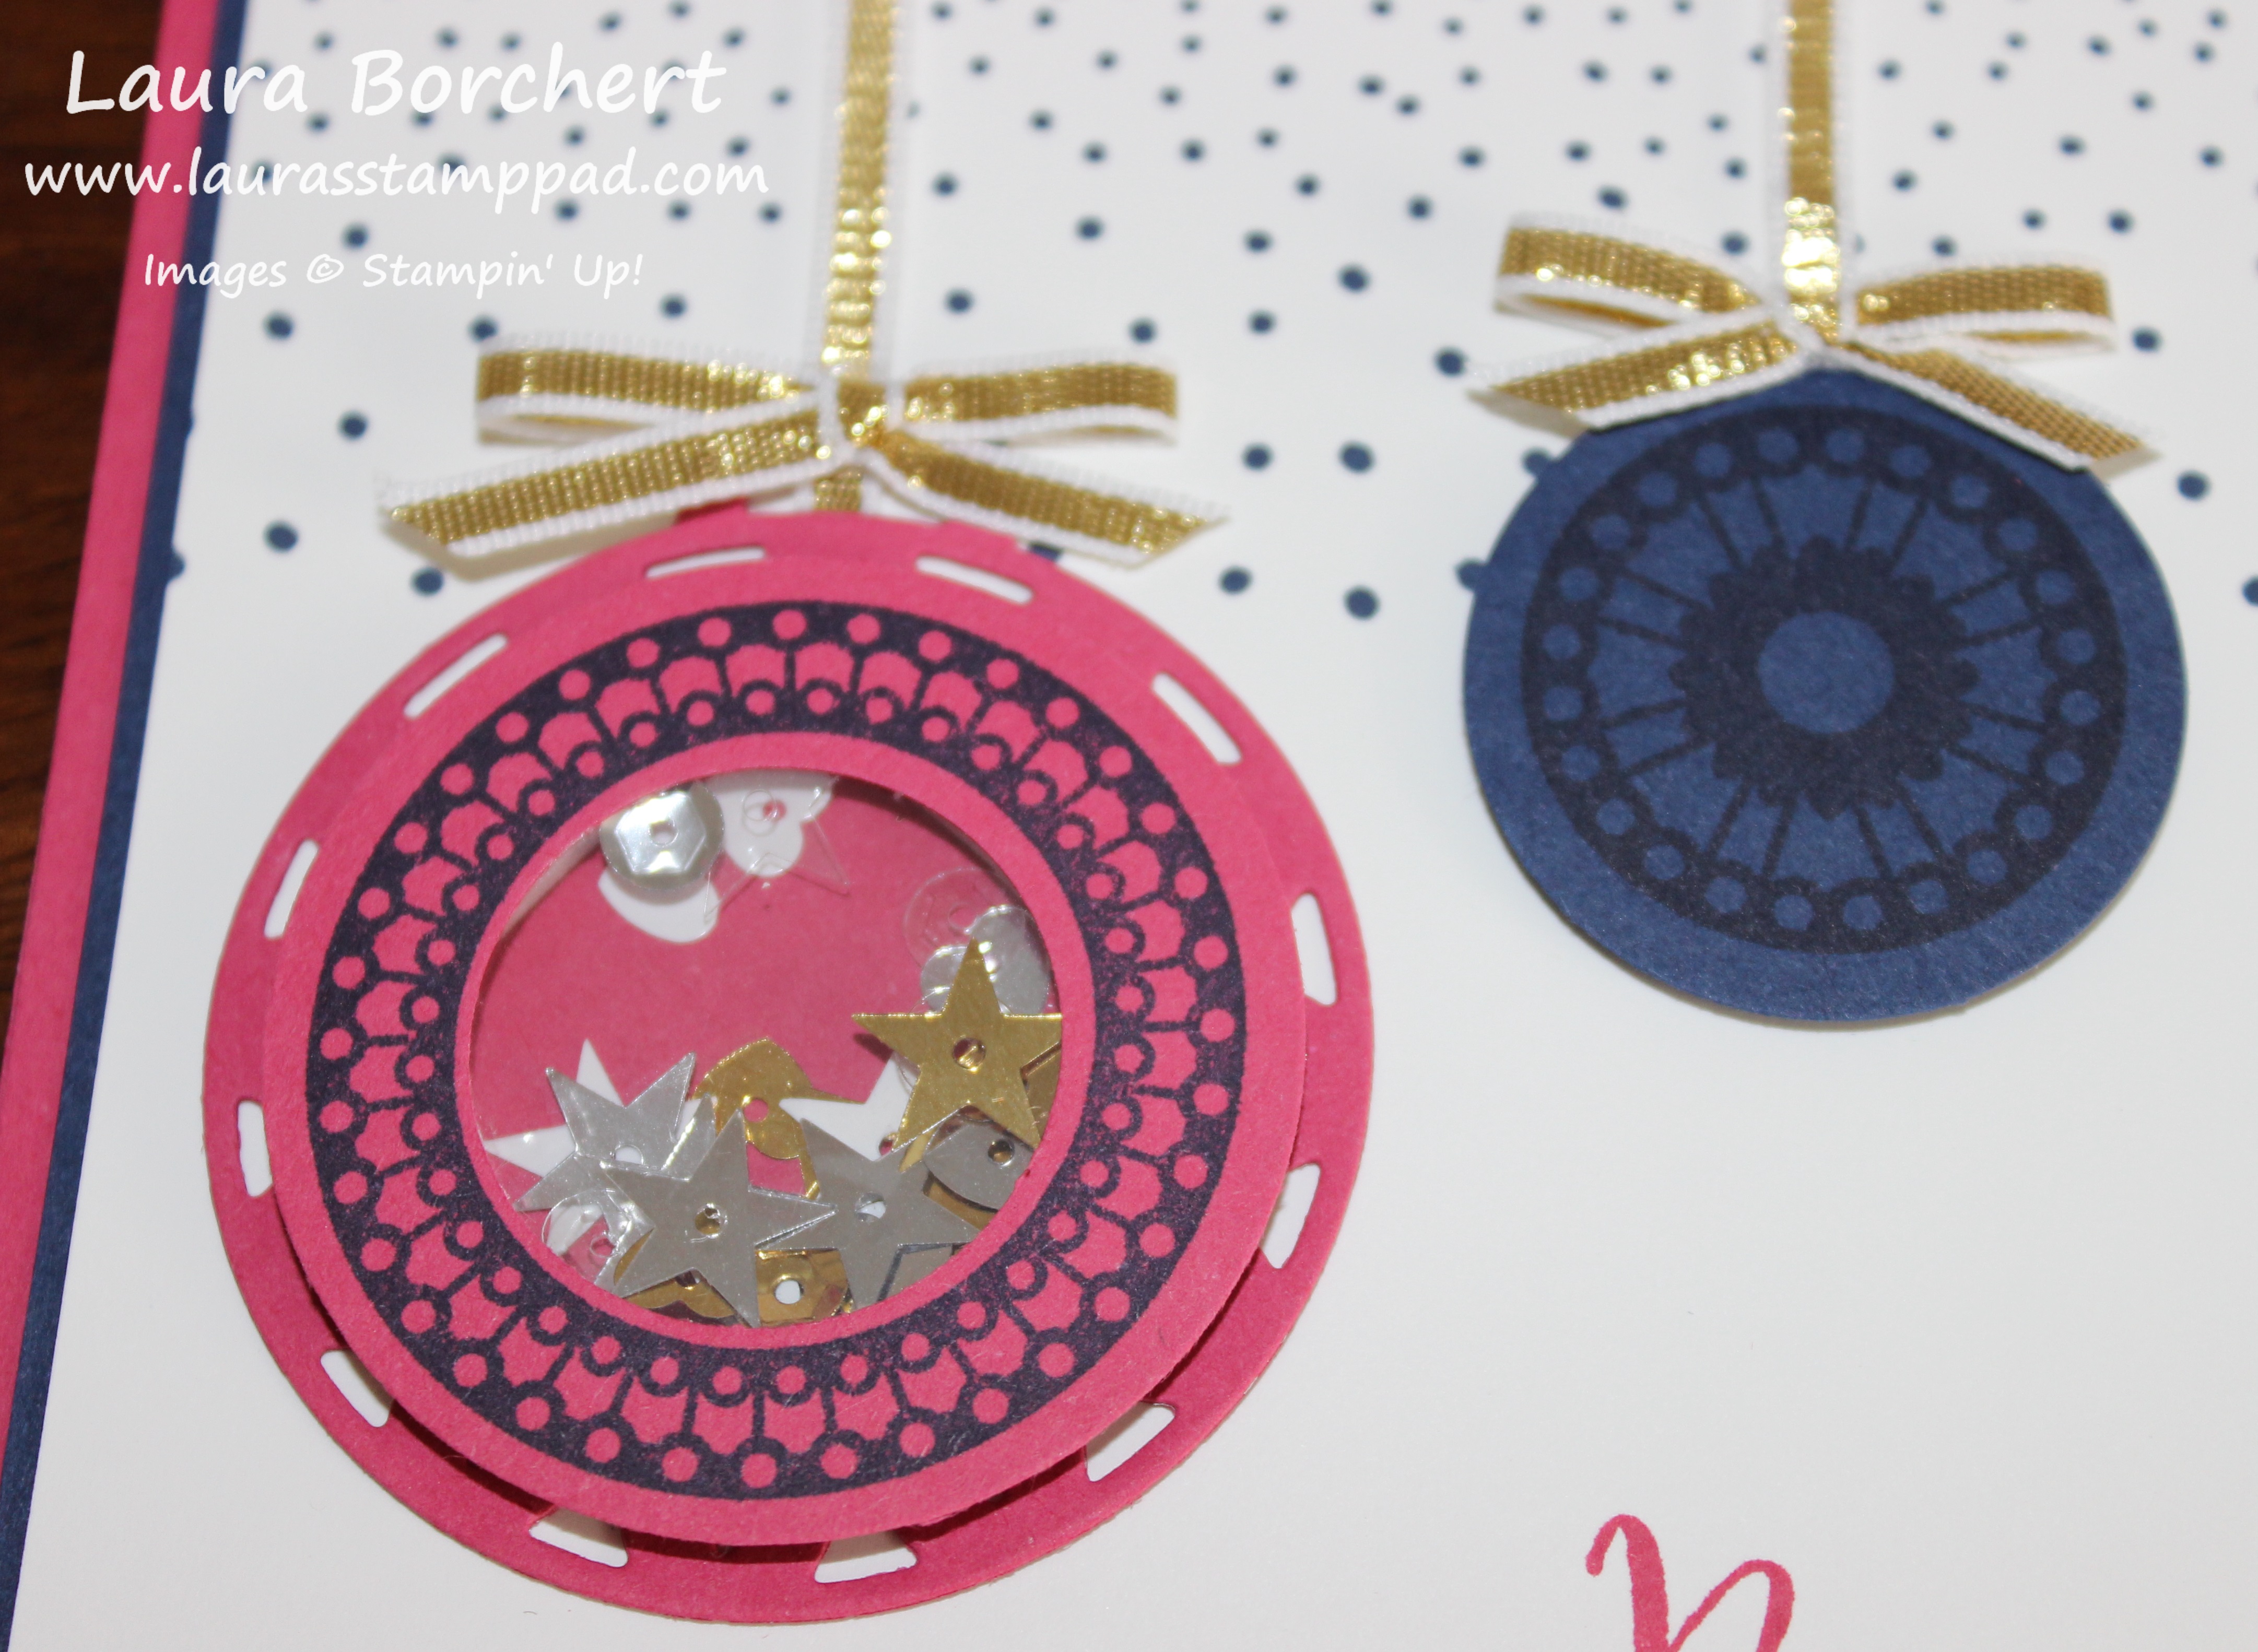
Foam Adhesive Strips are perfect for making shaker cards!! These are long strips are perfect for outlining an image that you would like for your shaker card! They are a bit taller than a typical dimensional but work perfectly. Again, you can always use the edges of these as well. You can see some samples of these used here and here!

Tear & Tape is a strong adhesive for using on boxes and other 3D items. The awesome thing about this tape is that you can just tear it off at the edge of your project rather than using your scissors and having them get gummy. Sometimes I like to use this tape when my Fast Fuse runs out or I just can’t seem to get the flick right that day!!

Multipurpose Liquid Glue (aka: Tombow or Green Lid Glue) is the consistency of elmer’s glue. It comes out white and thicker than the others. I hardly ever use this glue as I am not a fan of liquid glue because of the drying time and I tend to use to much and then it squishes out and makes a mess. This glue does have a pen small tip on one end and a wider/spread tip on the other side to smear it all over your project background or whatever you need it for. The other liquid glue that is pictured is 2-Way Glue which I hardly ever use and realized it is retired. As you can see I don’t use it much. It was a pen type liquid glue that has pretty much been replaced with the Fine Tip Glue Pen.

Of course there is also the Adhesive Remover for when you make a boo boo! What is your favorite type of adhesive?? Let me know in the comments below!

If you would like to see an Up Close and Personal on all of these adhesives, check out the Video Tutorial below or click here. Don’t forget to give it a thumbs up if you liked and be sure to subscribe for more!!!

If you have missed out on the past days of Stamps-Mas, you can check them out here – Day 1, Day 2, Day 3, Day 4, Day 5, Day 6, and Day 7. Be sure to subscribe to my blog so you don’t miss the next 4! You can do that by adding your email address in the subscribe box on the right hand side (on a computer) or at the bottom of the page (on a phone).

Happy Stampin’

~Laura


On the 7th Day of Stamps-Mas!!!

Posted on

On the 7th Day of Stamps-Mas, my true love gave to me…..Designer Series Paper!!! Oh for the love of paper and all of the different colors and patterns. They are just so beautiful, cheery, elegant, playful, and fabulous!!! Are you a paper hoarder?? I would like to say I’m about in the middle. I have a good collection but I’m not overboard!!! 🙂

7thDayofStampsMas, www.LaurasStampPad.com

Designer Series Paper comes in so many different colors and patterns so there are endless possibilities with it. Since I started out crafting as a scrapbooker, I always look at it as a complete piece of paper – the whole 12″ x 12″ (or 6″ x 6″). I sometimes forget that I can cut it up and enjoy it so much more on 14+ cards or something like that. I love love love doing One Sheet Wonders because you get to create so many cards quickly and enjoy both sides of the paper. You can check out all the One Sheet Wonder Videos, I have created here. These are always perfect when you need a lot of cards to fill your stash quickly or if you wanted to gift someone with some beautiful cards! I love using Designer Series Paper in small strips to back my greeting, as the background/focal point, or just for a little texture on the side.

Of course my favorite patterns are those that include Pink, Flowers, and Polka Dots but I really love branching out as well. What are some of your favorite styles, colors, or patterns of Designer Series Paper?? Let me know in the comments below!!

Are you just tuning in to Stamps-Mas or have you been following along? If you have missed the first few days, check them out here – Day 1, Day 2, Day 3, Day 4, Day 5, and Day 6! Be sure to subscribe so you don’t miss out on the rest of Stamps-Mas. You can do that by entering your email address on the right hand side bar on my website or at the bottom of the page if you are on your phone.

Happy Stampin’

~Laura


On the 4th Day of Stamps-Mas!!!

Posted on

On the 4th Day of Stamps-Mas, my true love gave to me…..Punches!!!! Quick and simple tools to grab, punch, and then your done! We are talking about paper punches and not a fist punch! 😉

4th Day of Stampsmas, www.LaurasStampPad.com

I love punches because they are super simple to use. I have them within reach of my stamping desk so I can stamp my image and grab and punch and go! You always want to stamp first so you can line up the image in the punch rather than punching first and trying to get the stamped image lined up. If you stamp crooked, just punch crooked! There are lots of punches that match stamp sets but there are also great ones to use for greetings too! Some of the punches create borders and some of them make the perfect tag for you! There are also 2 hand-held punches which punch out circles for looping ribbon through or any other technique!!!

My favorite punch is the Decorative Label Punch which is second from the left! I use that punch ALL THE TIME!!! You can check out a video on how to layer with that punch here! I also love making Punch Art which you can check out all of those fabulous creations here!

What is your favorite punch?? Let me know in the comments below!

Be sure to check out all of the other Days of Stamps-Mas here, here, and here! Subscribe to my blog by entering you email on the right hand side bar (on a computer) or at the bottom (on a phone) so you don’t miss the rest!

Happy Stampin’

~Laura


On the 3rd Day of Stamps-mas!!!

Posted on

On the 3rd Day of Stamps-Mas, my true love gave to me…..Stamps!!! There are different styles of stamps – Photopolymer, Clear Mount, and Wood Mount and that’s what we are talking about today!

3rd Day of StampsMas, www.LaurasStampPad.com

Wood Mount Stamps come un-assembled and in the wider box to fit the stamps. You will mount the stamps onto the wooden blocks and add the sticker to the front side of the stamp. Each stamp has a provided wooden block. The benefits to this style is that the stamps are ready to go when you pull them out, you don’t need to find a block. The downfall is you can’t see where you are stamping like you can when using the clear blocks.

Clear Mount Stamps are the tricky ones. They have clear in the name but they are not the clear images; that is photopolymer. Clear Mount Stamps have the rubber and foam backing like the Wood Mount Stamps but they attach to a clear block. These stamps arrive un-assembled in the fact that you have to place the clear backing image sticker to each of the stamps. Be sure to peel off the back of the stamp AND the back of the clear sticker. You should be placing the clear sticker onto a gray foam piece, not the white backing. When you want to use these stamps, you will just pull out the set, match it up with a coordinating clear block, stick it on and you are ready to go. The benefits to this style are that you can see where you are stamping through the clear block and they are cheaper than the Wood Mount Stamps. Yes, you do need to purchase the clear blocks but once you have them, you are saving with each set! They are also in the slimmer case so you can fit twice as many stamps into your storage area. The downfall to this style is that you still can’t see all the way through the stamp to line things up and sometimes it is hard to keep the stamp on the clear block. Some tips to help with that are you add a small dab of adhesive to your clear block and then stick it on. You can always clean up the block later with some rubbing alcohol. Another option is to clean the block and the sticker. Since the sticker is the same as a window cling, when they get dusty and dirty, they lose their stickiness so just wipe it off with a paper towel (or your shirt like me) and this should help!

Photopolymer Stamps are my favorites. They are the cheapest of all and come in a slim class and they are ready to use when they arrive. SOLD! I love that. These stamps are completely clear rubbery images that mount onto a clear block. They stick to the block very well and you can even bend or curve the image to fit in a punch or give a different look. You can also wrap part of the image around the edge to omit part of it. The downfall to this style is they stain and then become red. Why does red seem to be the main color they pick up??? Black can be pretty staining as well. A tip for this is to pre-stain the stamps in a light color first. What you would do is stamp them into a light shade of pink or yellow and then stamp, stamp, stamp on paper. Ink up again and stamp, stamp, stamp. Then clean it off and it is now pre-stained in that light shade which you probably can’t even tell but when you go to use a darker color it won’t stain in that color. 🙂 This has totally worked for me but I tend to forget to do it usually. I typically use Pink Pirouette Ink for my pre-staining.

You can check out a Video Tutorial I did showcasing each style of stamp here! If you would like to see a little trick on storing your Clear Mount Stamps, check out my Video Tutorial here or click below! Don’t forget to give them a thumbs up if you liked them and be sure to subscribe if you are new!!!

What is your favorite type of Stamp Set – wood, clear, photopolymer? Let me know in the comments below!!!

I hope you didn’t miss Day 1 and Day 2 of Stamps-Mas!!! Be sure to subscribe so you don’t miss out on the rest of the days!

Happy Stampin’

~Laura


On the 2nd Day of Stamps-Mas!!!

Posted on

On the 2nd Day of Stamps-Mas, my true love gave to me……Stampin’ Up Annual Catalog!!! I know this is just one amazing place to find inspiration and tools for your stamping and crafting! You can also find some much more inspiration, techniques, and fun on YouTube, Instagram, Facebook, Pinterest, and HERE on my blog!!!

2nd Day of StampsMas, www.LaurasStampPad.com

I have used the Stampin’ Up! Annual Catalog and Mini Catalogs for lots of great ideas. Sometimes I copy the card exactly and sometimes I copy the style but change the stamps used. There are many times I see a fabulous sample and think I can re-create with my own flare and it works perfectly. Other times I re-create it and it just isn’t the same! Are you like that as well??

Pinterest is probably my next go-to when looking for ideas. You can check out my Pinterest Boards here. I feel like this is the easiest way to find ideas for specific stamp sets. If you have the Santa’s Sleigh Stamp Set from the Holiday Mini Catalog but aren’t sure how to use it. Just type in Santa’s Sleigh Stampin’ Up into Pinterest and you will get this!!! All these fabulous ideas!!! It also helps with out of the box ideas. Love it!!! You can also search by Holiday Mini Catalog or Sale-A-Bration and see lots of samples with everything. You will get all of the past years of those catalogs as well but it could fun and inspiring!

I’m still getting the hang of Instagram and all the hashtags. You can follow me here! When looking for different things, you can search hashtags like #stampinup or #holidaymini or #handstamped. You could try a lot of different hashtags like crafts, stamping, stamp set names, and so much more!

YouTube is a big favorite of mine when sharing techniques because it is easier for me to describe and show than it is to write it out. You can see all of my Video Tutorials here! When you really want to see how things work or what is included in a kit or how big a product is, go to YouTube and look up the exact name of the kit or Haul videos. When you want to learn a technique, you can check out my Technique Tuesday Playlist. It can be tricky to search for specific techniques as some people name the technique different than others. Just browse around and have fun!!!

Of course, Facebook is another great place to get ideas, see videos with Facebook Live, find events near you, and so much more! You can check out my Facebook Page – StampinAndScrapbookin with Laura Schmidt-Borchert! I have been doing more Facebook Live videos which are fun and quick to share what I’m doing that day or at stamping events! I have also done give-aways and so much more!!! I post samples and tutorials every day as well as have my events on there. Most of my stampers, don’t RSVP through the events page but it is still a great reminder and invitation for those who use Facebook a lot.

Blogs are another great way to find inspiration and ideas! You can find different blogs when looking on other forms of social media, especially Pinterest. When searching through samples, you will see that the samples are linked to a blog. You can always subscribe to the blog so that you get a daily or weekly reminder of the posts when they go up. You can subscribe to my blog by entering your email on the right hand sidebar when looking at my website on a computer or at the bottom of the posts when looking at my blog on a phone!!!

Where do you like to find inspiration for all of your crafting projects? Let me know in the comments below!!! Who are some of your favorites? I could always add to my list! 🙂

Be sure to come back tomorrow for more on the 12 Days of Stamps-Mas. Check out the 1st Day here!

Happy Stampin’

~Laura


On the 1st Day of Stamps-mas!!!

Posted on

On the 1st Day of Stamps-Mas, my true love gave to me……Stamp Tools!!! These are some of the basics to stamping and crafting! This would include Paper Snips, Stampin’ Trimmer, Bone Folder, and Stamp Cleaner!!!

1st Day of Stampsmas, www.LaurasStampPad.com

The Stampin’ Trimmer is my go to item for each project. I use this to cut all of my cardstock for my card bases and each of the layering pieces. The grid/measurements going across and up make it super easy to cut the perfect size of cardstock. There is also a Score Blade provided so you can score for boxes or a card base or so much more. You can see a full review on the Stampin’ Trimmer here!

Paper Snips are super fabulous. I always thought that scissors were scissors so why do I need special ones. Then I bought these and realized that not all scissors are the same. These snips are super sharp and have a VERY pointed tip. The little sleeve that comes with them is necessary to place over the end while not using them or you will spear your hand. Yes, this is learned from experience. I have placed them in my bag without the cap thinking oh I’ll put it on later and then later I reach into the bag and Ouch! These are sharp for sure. They are perfect for intricate fussy cutting and for ribbon cutting. I will say that you will need to clean them with some rubbing alcohol if you use them with something sticky like Washi Tape or Adhesive. I have used them on that and then went to cut ribbon and it was a mess but after a little clean-up they were perfect again. Another fabulous way to use them is for placing Pearls and Rhinestones on your project. The Paper Snips make perfect little tweezers to pick them up and place them on your project.

The Bone Folder is one of those tools that isn’t super necessary but really makes life easier when you have it. Bone Folders are perfect for getting that nice strong crease on your card base. Rather than running your finger across the cardstock and pressing it, you just run the bone folder over it. The strong crease makes the card not pop open. It works really well when making boxes or other 3D items. Love it!!!

The Stampin’ Scrub and Stampin’ Mist makes cleaning stamps a breeze. The Stampin’ Scrub has a wet side and a dry side. You will notice in the corner there is a droplet on one side and a sun on the other side. This is to help you remember which side to spritz and wash and which side is for drying. My husband LOVES the Stampin’ Mist and I could spritz it across the room and he can instantly smell it. I don’t think it really has a smell but he sure loves it. Just spritz a few times on droplet side, rub the stamp over it and the rub the stamp over the dry side and you are all set. This is really good to take the ink off of the stamp and condition the rubber for longevity. If you Stampin’ Scrub seems to be super dirty and your stamps are getting more dirty when you clean them than they were before, you can wash it. Just place it under running water and watch all the color wash out. You can even add a little hand soap or dish soap to really clean it up. After it starts to run clean, allow it to dry and you are good to go!

What are some of your must have stamp/craft tools?? Let me know in the comments below! I hope this was helpful to those who are new to stamping or even the seasoned stamper!

Be sure to subscribe so you don’t miss out on the next 11 days!!! You can do that by entering your email address on the right side bar where it says Subscribe or if you are on your phone it is at the bottom of the page!!

Also, if you would like to see a Sneak Peak of Occasions Mini Catalog and Sale-A-Bration Promotion items, check out my haul video below or click here!

Happy Stampin’

~Laura


Shaker Card Ornaments!!!

Posted on

shaker-ornament, www.LaurasStampPad.com

Shaker cards are so much fun so why not combine shaker cards with holiday ornaments and create lots of FUN! The color combination, the fun greeting, and the shaker card magic make this card so wonderful!!!

I started with a Rose Red card base. Then I took a piece of Night of Navy (4″ x 5-1/4″) and Whisper White (3-7/8″ x 5-1/8″) for the next layers. I stamped the greeting from the Merriest Wishes Stamp Set in Rose Red Ink on the bottom right corner. I used the dotted image from the same set and stamped it in Night of Navy Ink twice along the top to look like snow falling….or just a cool background! For the ornaments, I used various images from the same stamp set. I stamped the large circle in Night of Navy Ink onto Night of Navy cardstock and die cut with the circle frame from the coordinating Merry Tags Framelit Set (Bundle & Save 10%). I stamped the large circle image (the one without a center) in Night of Navy Ink onto Rose Red cardstock. You can either punch these out or use your Layering Circles Framelits to do the center and the outside circle. Be sure to keep that inside circle though!!! Die cut out the large ornament from the Merry Tags Framelits and place the stamped circle over top of it. Place the punched out center back in the middle of the ring you created. Now remove the ring but hold the middle circle in place. You should be left with the middle circle in the middle of the large ornament. This is so you can find the spot on your ornament for the shaker pieces so you don’t have to flip it over later when the sequins are inside. Now you will want to trace the punched out circle with a pencil. I lightly trace out farther rather than close to the circle so I am wide enough and the adhesive doesn’t show in the window. Now that you have your traced circle you can remove it and place some Foam Adhesive Strip around your pencil mark. If you traced right next to the circle, make sure your adhesive strip is out farther than that circle. Next I filled the open hole with all the sequins from the Metallic Sequin Assortment.  You can use punched pieces, sequins, or silica gel colored to match your project. It is all up to you. You can see other samples using those items here and here as well as Video Tutorials! Now that you have your goodies in there, I placed a circle of Window Sheet over the top to seal in the sequins. You can use the same punch or Framelit you use for the larger circle. Then I added the ring that I stamped and punched out over the top as decoration!

Shaker Sequins, www.LaurasStampPad.com

For the ribbons attached to the ornaments, I used Gold Ribbon and adhered the end behind the ornament and then wrapped it over the top of the cardstock. I tied little bows and added those on top with a Mini Glue Dot. Now you can add this layer to the Night of Navy and the card base!!! Fun little holiday card with non-traditional colors!!!

Today I did an Up Close & Personal look at the Layering Circles and Layering Ovals Framelits, you can check that out below or click here! I have been loving these for greetings and so much more. The scallops are just perfect for adding a little pop of fabulousness! Be sure to give it a thumbs up if you liked it and don’t forget to subscribe if you are new! Let me know in the comments below if there is a product you would like to see Up Close & Personal and I will do my best to make it happen!

Happy Stampin’

~Laura

yearendcloseout_shareables_eng_2

Don’t forget to shop the Year End Clearance Sale!!! Click here to check out the fabulous products!!!


Technique Tuesday – Star of Light!

Posted on

Happy Tuesday everyone!!! I hope you are having a fabulous week so far! Today I have a fabulous card to share with you! It’s odd that this was the first Holiday card I made this season and yet I have waited this long to share it with you!! This card is also part of my Cut For Christmas Special Offer!!!
Staroflight, www. LaurasStampPad.com

I made this card with the Star of Light Bundle (Save 10%) and I loved it so much I put the set back away and moved on to the next set I had. It was like I had made the perfect card and didn’t need to make more. I have since pulled this one back out and played with it some more!! 🙂

SUPPLIES NEEDED: Heat Tool, Silver Embossing Powder, VersaMark, Star of Light Bundle, Silver Metallic Thread

I started with a Whisper White card base. Then I took a piece of Dapper Denim cardstock (4″ x 5-1/4″) and brushed it over with the Embossing Buddy to reduce any static before embossing. I used the large swirl image from the Star of Light Stamp Set and inked it up in VersaMark. I stamped at an angle from the left bottom corner up and the top right corner down so that it looks like it is going across your card. After stamping the swirl, pour the Silver Embossing Powder all over it and then heat it with the Heat Tool to set the powder. Remember to focus the heat on one section until it melts and then move it around rather than swinging it all over the entire image. When you do that, it just disperses the heat and takes longer. Once it is all set, you can take a paper towel or your shirt (like me) and wipe over the top to take off an extra powder from the Embossing Buddy! I stamped the greeting from the Star of Light Stamp Set in Dapper Denim in the lower right corner and added this to my card base. Next up, I stamped the large star image from the Star of Light Stamp Set onto a piece of Whisper White and die cut it out with the coordinating Starlight Thinlits. Then I took some of the Metallic Silver Thread and wrapped it around my fingers a few times. I usually do it about 8-10 but I forget about half way through so it can be as many times as you wish! Slide the loops off of your fingers and twist them in the middle to create a figure eight. Now place the loops onto the back of the die cut star and secure in the middle with a Stampin’ Dimensional. Fan out the loops and add more dimensionals securing the loops in the desired location. Now you can add this to the card front and you are all set!

That silver embossing shine and the texture of the metallic thread but makes this card POP! Plus, I always love silver and dark blue whether it be Dapper Denim or Night of Navy. If you would like to make these for your holiday cards, you can get a head start by having me do all of the cutting. Check out my Cut For Christmas offer as this is one of the cards in the selection!!

If you would like to see this in action, check out the Video Tutorial below or click here! Don’t forget to subscribe if you are new and be sure to click the Like button!!!

Happy Stampin’

~Laura


Baby Bears!!!

Posted on

baby-boy-bear, www.LaurasStampPad.com

These little bears are just so cute and cuddly!!! Who didn’t look at this card and not go, “Awwww”??? You know you did!!! I have been loving the Cookie Cutter Christmas Stamp Set and coordinating Cookie Cutter Builder Punch (Bundle & Save 10%). It is just so much fun and the images are so adorable!!!

I started with a Pool Party card base! Then I took a piece of Whisper White (4″ x 5-1/4″) and stamped the greeting from the Greatest Greetings Stamp Set in Bermuda Bay Ink. Then I adhered it to the card front. I stamped the teddy bear from the Cookie Cutter Christmas Stamp Set in Bermuda Bay Ink once for the darker full strength bear and then again without going back to the ink for the lighter bear. I stamped the face in Basic Black Ink and then punched him out with the Cookie Cutter Builder Punch. I stamped the ears the same way and fussy cut those out but leaving them connected together down underneath them. This way the spacing is correct and I have something to add adhesive onto to stick to the back of his head. You can see this in action here! I added the bears to the card front with Stampin’ Dimensionals for a little 3D look and because I love dimensionals. I finished off the card by creating a bow with the Bermuda Bay Stitched Ribbon and adding it to the card front with a Mini Glue Dot. Just precious for a baby boy!!!

baby-girl-bear, www.LaurasStampPad.com

Of course I just had to do a baby girl card as well! I used Blushing Bride for the card base and Melon Mambo for the teddy bears. I stamped once in full strength and then again without going back to the ink pad. I used the Melon Mambo Stitched Ribbon for the bow! It would be perfect to make a few of each of these up to have on hand for sending out throughout the year!!! Just precious!

You can check out more samples using the Cookie Cutter Bundle here, here, and here!

Happy Stampin’

~Laura

Need help getting your Christmas Cards complete in time! Let me help you with my Cut For Christmas Offer!!!

rulergram, www.LaurasStampPad.com


Hang Your Stockings!!!

Posted on

hangyourstockings, www.LaurasStampPad.com

Warm and cozy is how I would describe this card!!! These little stockings are just so cute and I love the soft, warm colors. I used the Hang Your Stockings Bundle (Save 10%) for this one and it was super simple!

I started with a Wild Wasabi card base. Then I took a piece of Very Vanilla measuring 4″ x 5-1/4″ and ran it through the Big Shot in the Festive Embossing Folder. You could use any folder you wish but I thought this one was cute. I added this piece to the card front. For the greeting, I took a piece of Very Vanilla (5″ x 3/4″) and stamped the greeting from the Cookie Cutter Christmas Stamp Set in Chocolate Chip Ink. I needed a long and skinny greeting and that one just went with the cozy theme of this card! I layered this piece onto Chocolate Chip cardstock (5″ x 1″) and added it to the card front with Stampin’ Dimensionals. I like to use dimensionals when adhering things to embossed images because they sink into the grooves and give a smooth look to your card….and I just love them!!! For the stockings, I used the Hang Your Stocking Stamp Set and stamped one in Marina Mist, one in Wild Wasabi, and one in stamped off once Cherry Cobbler. I wanted a more subtle red look so I just stamped off once and then onto my Very Vanilla and got the perfect look. I used the coordinating Christmas Stocking Thinlits (Bundle & Save 10%) to cut out the stockings. I added each of the stockings to the card with Stampin’ Dimensionals as well. To finish it off, I added a little Enamel Shape to the corner to look like a little peg holding them up. You can use the hearts, stars, or dots for your cards……or mix and match to use them up!

If you would like to see this in action, check out the Video Tutorial below or click here. Be sure to subscribe if you are new and don’t forget to hit the like button!!!

Happy Stampin’

~Laura