The December 2016 Paper Pumpkin arrived and I was super excited as always because I love the surprise and excitement. It is all wrapped up like a present. You can check out the unboxing of the kit here as well as see all of the contents. I was super excited about the Basic Black Marker because you always need one of those. They are perfect to journal with or use on your stamps or color in! The Rotary Stamp is super cute too and has lots of great greetings for memory keeping. I will be using that in my albums for sure! I thought the concept for the little mini album was adorable and all but when it came time to make it I just didn’t think I would use it. I could have made it and given it away but I thought I would do cards instead! So here is what I came up with…..
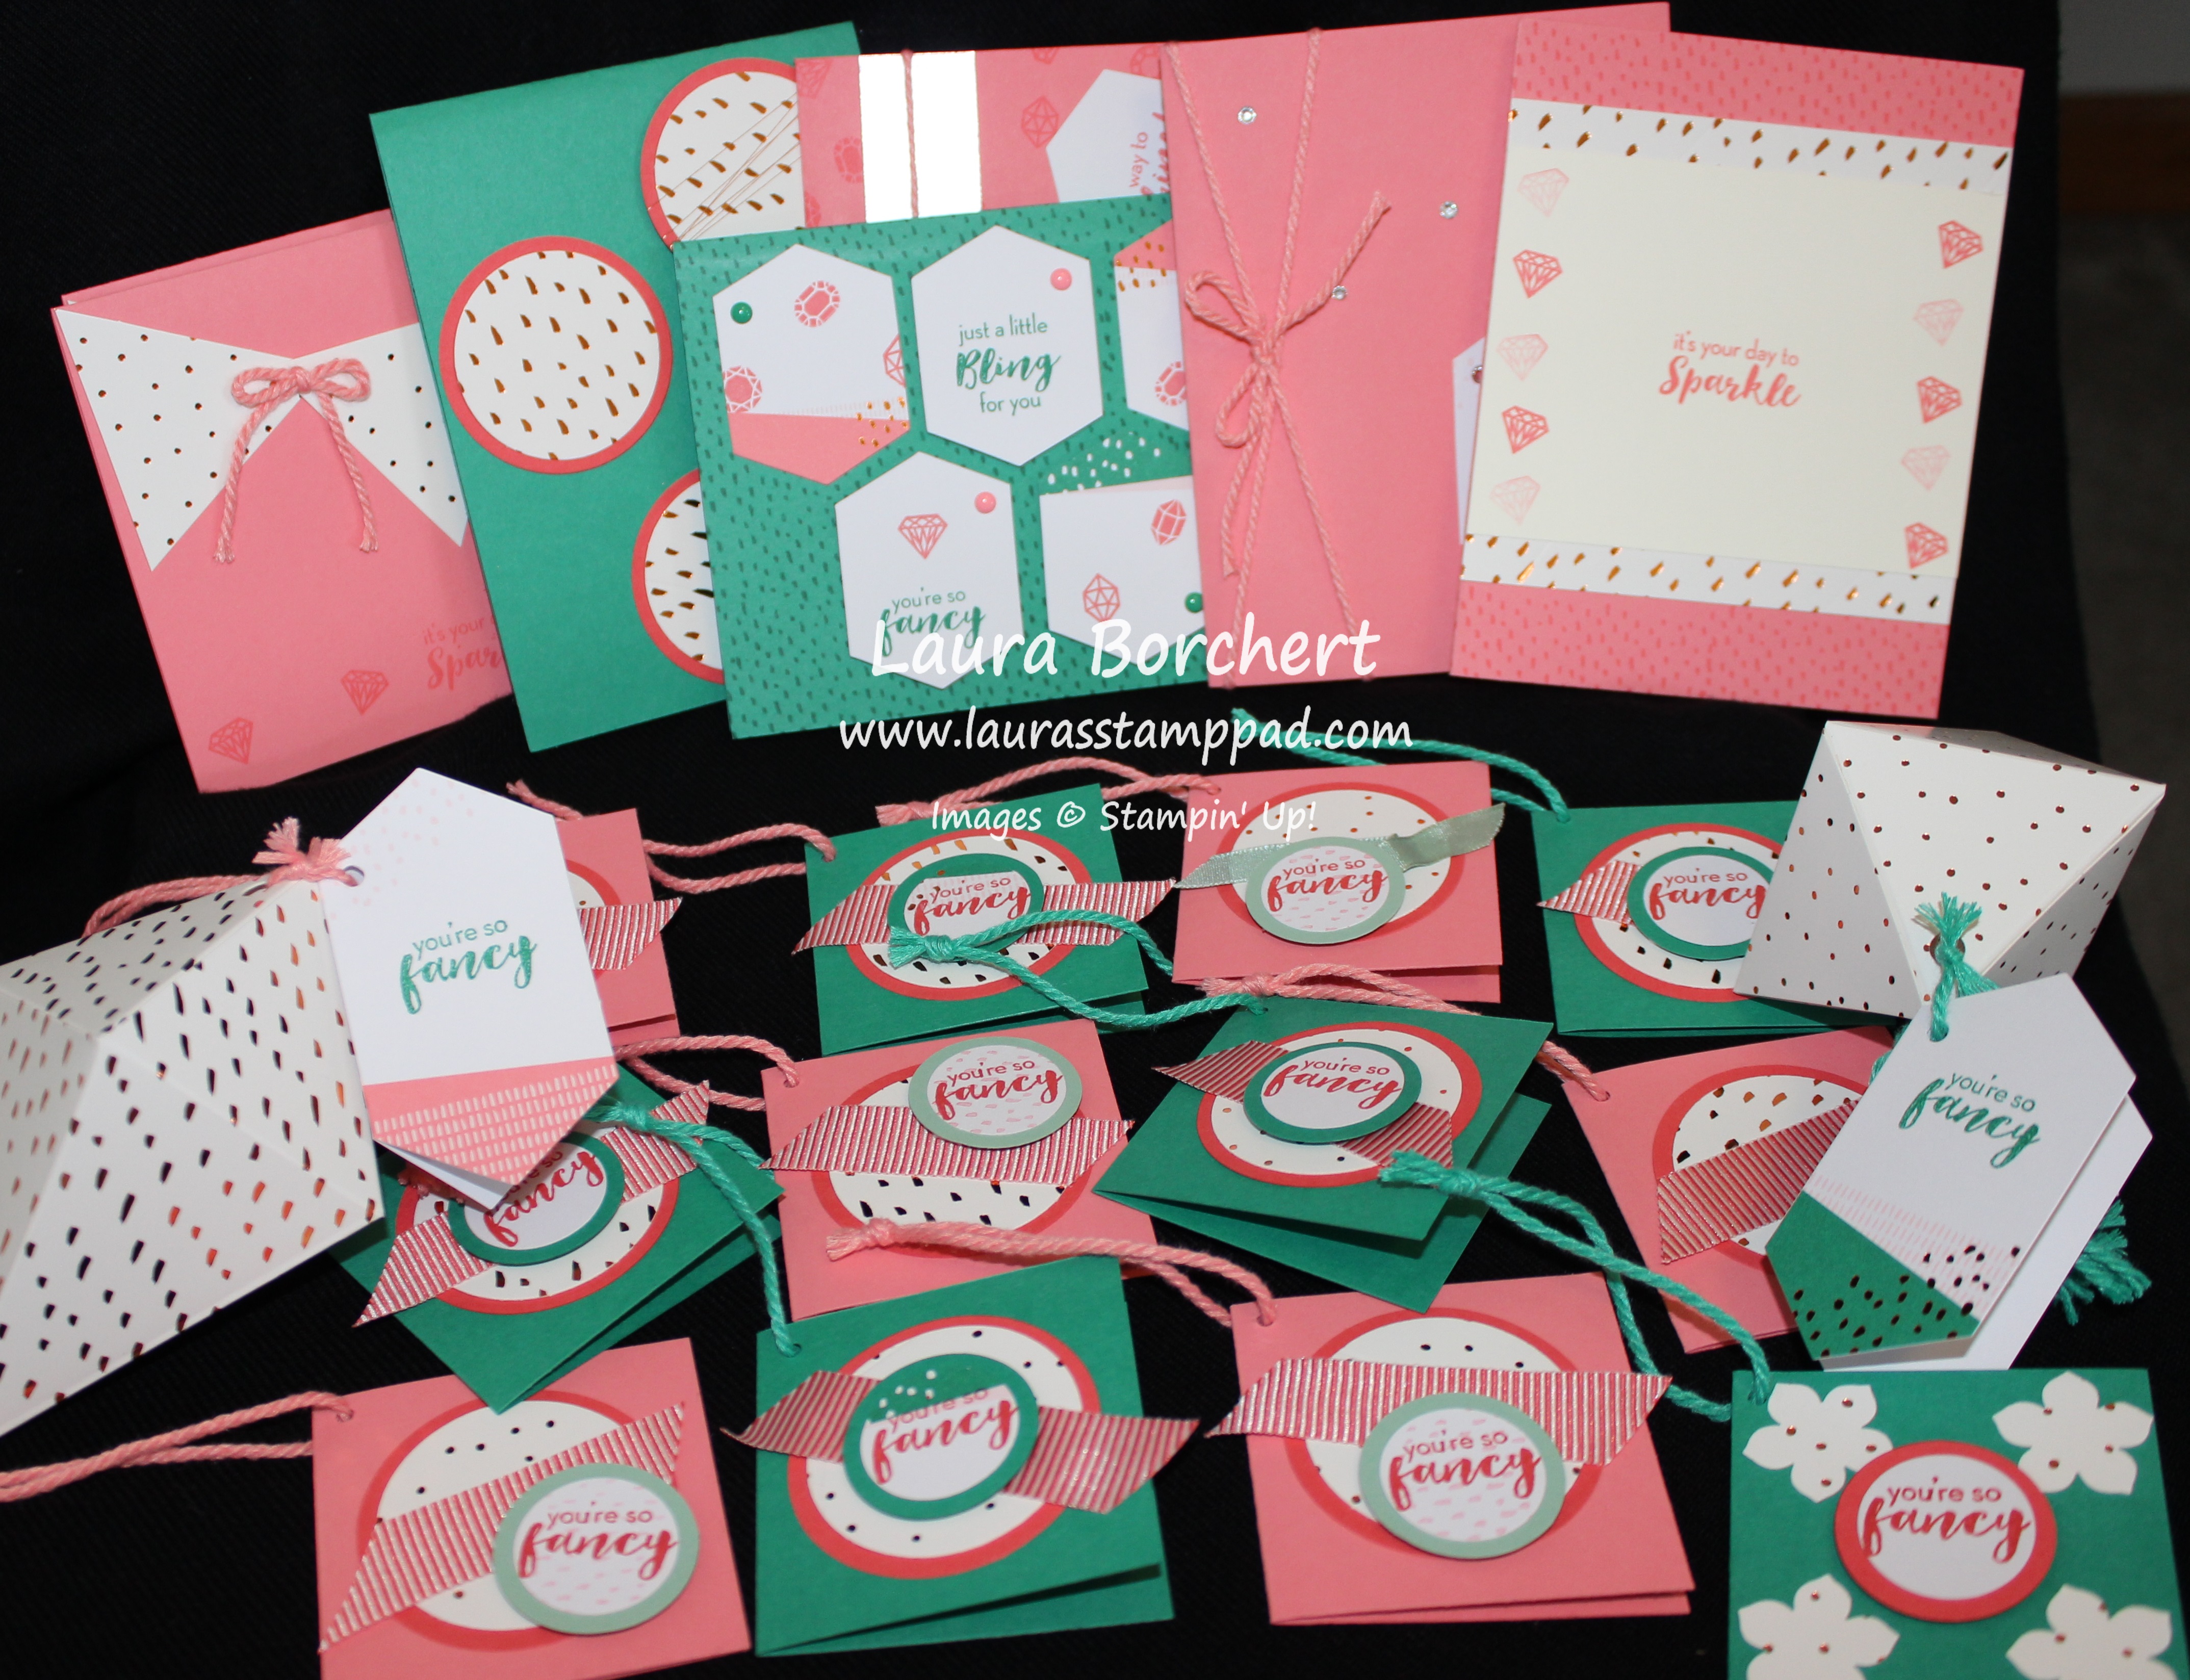
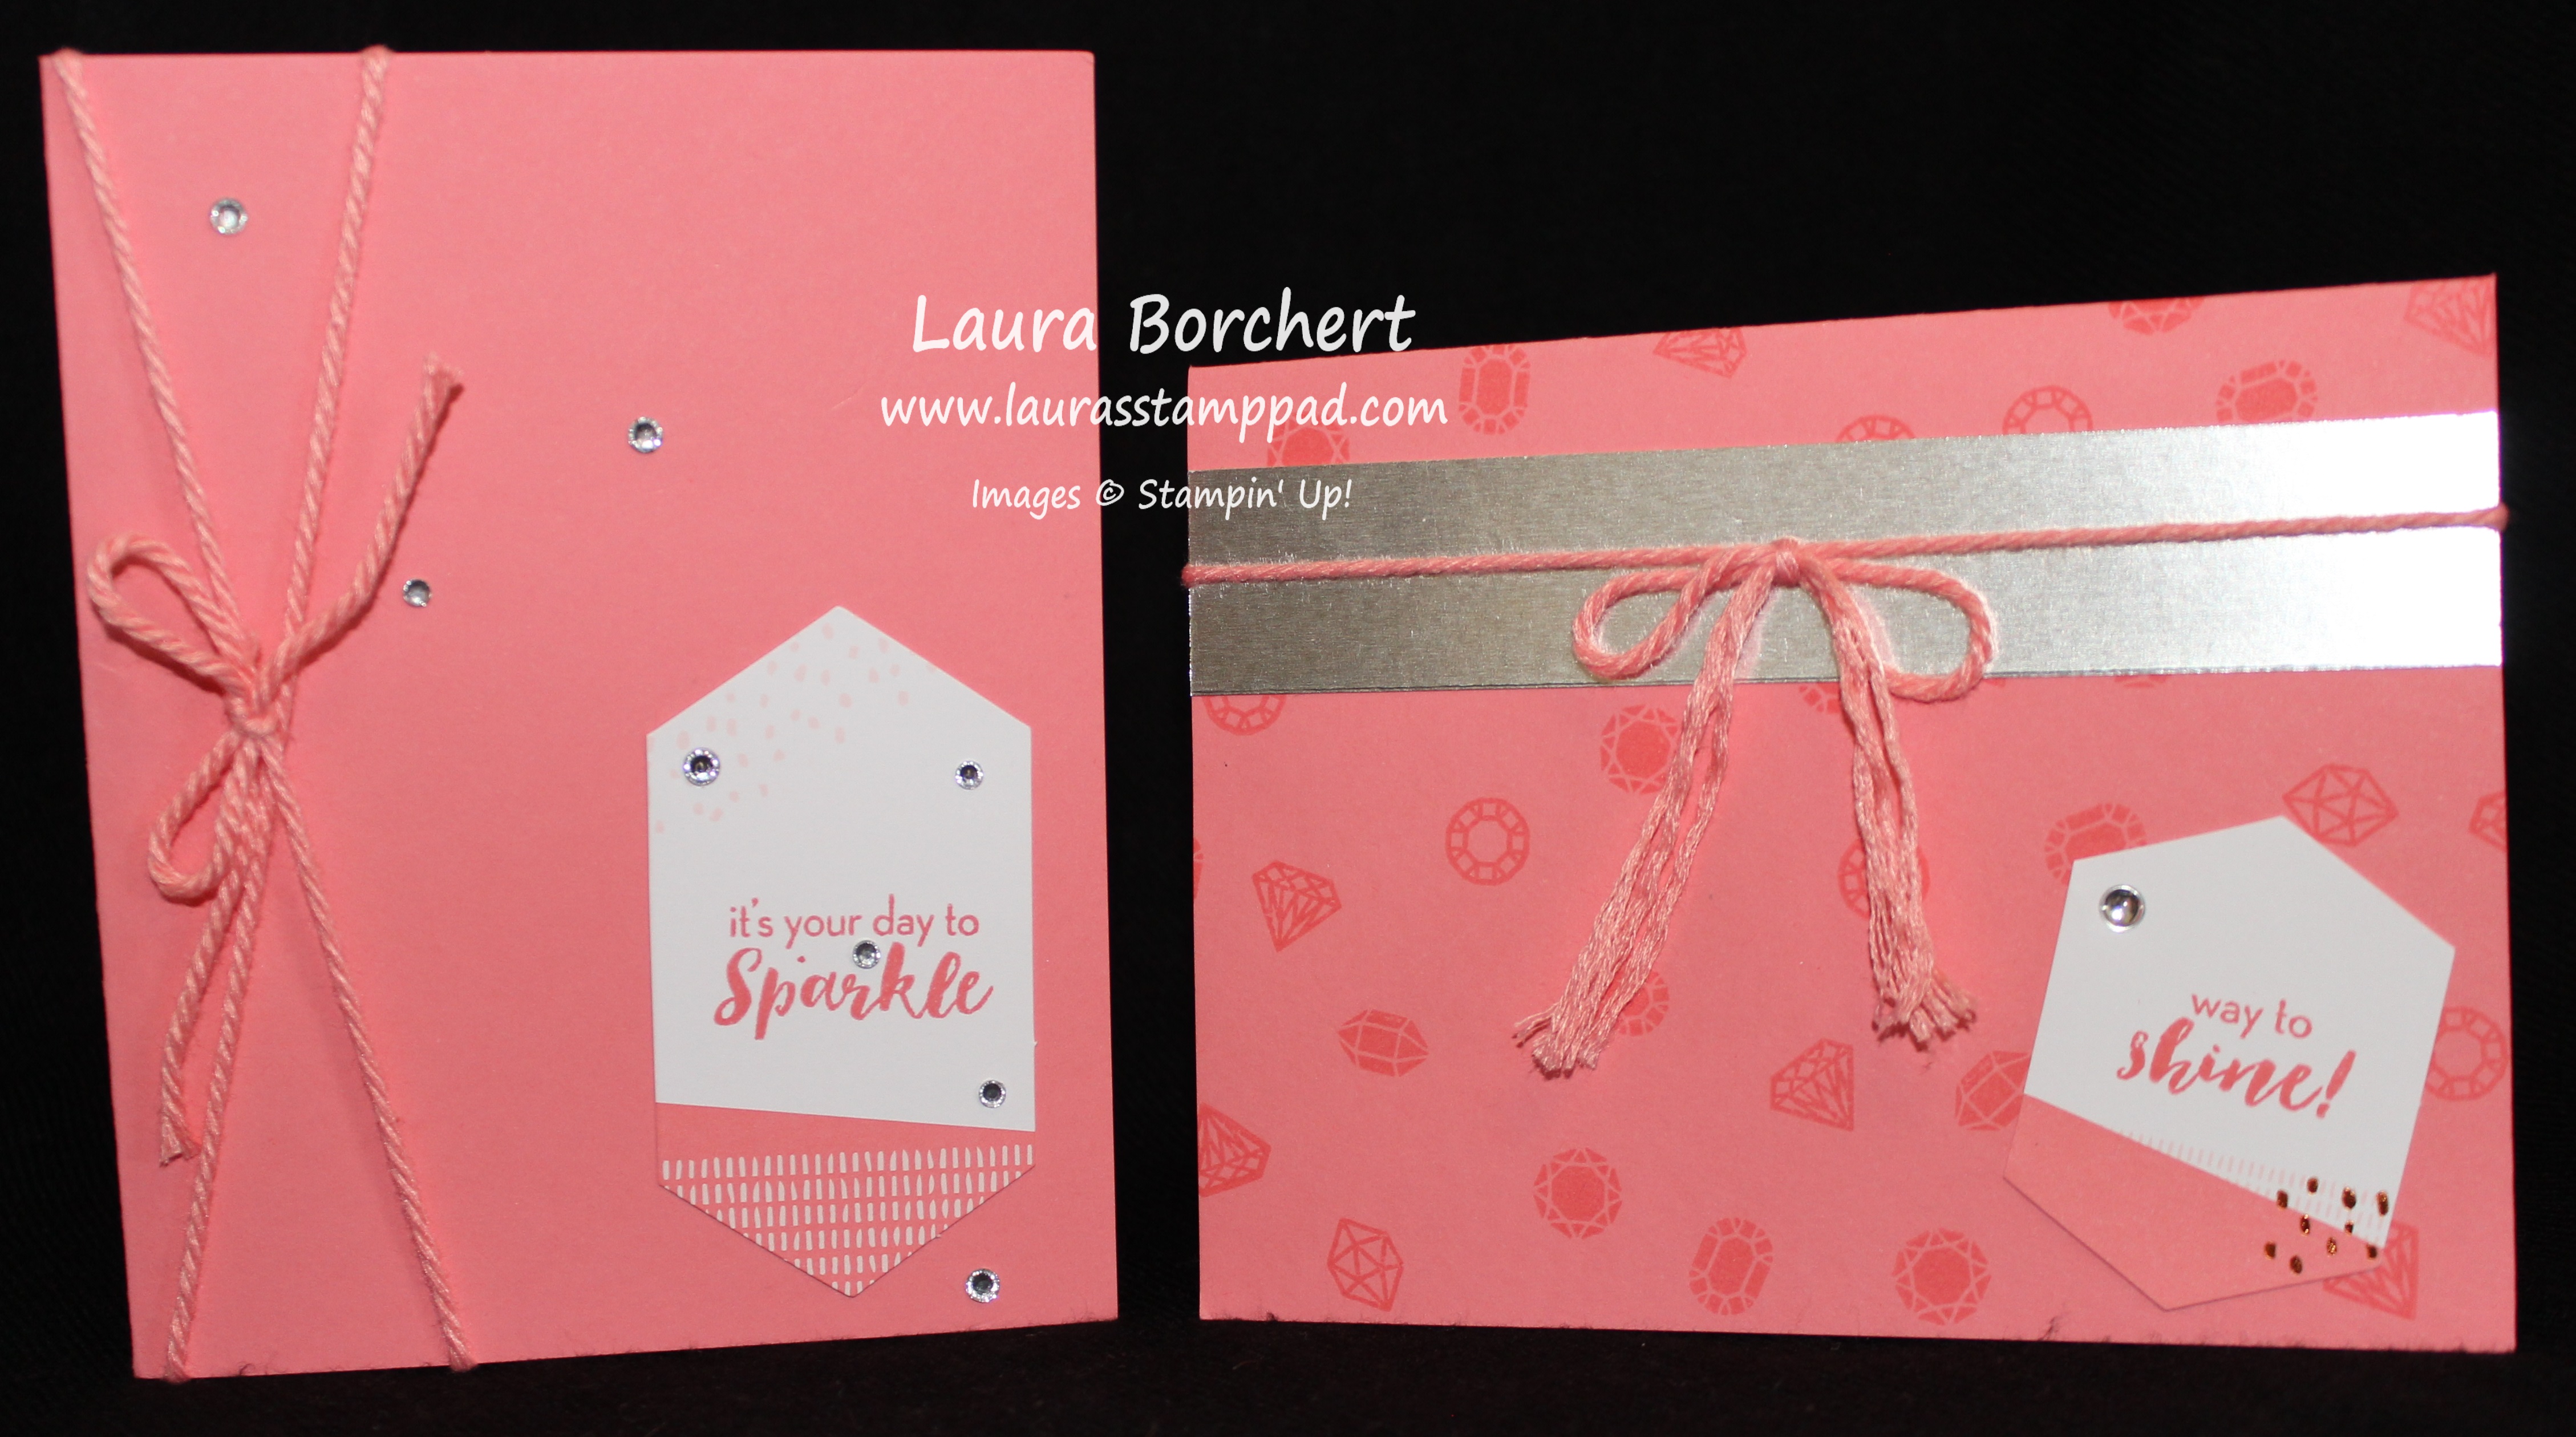
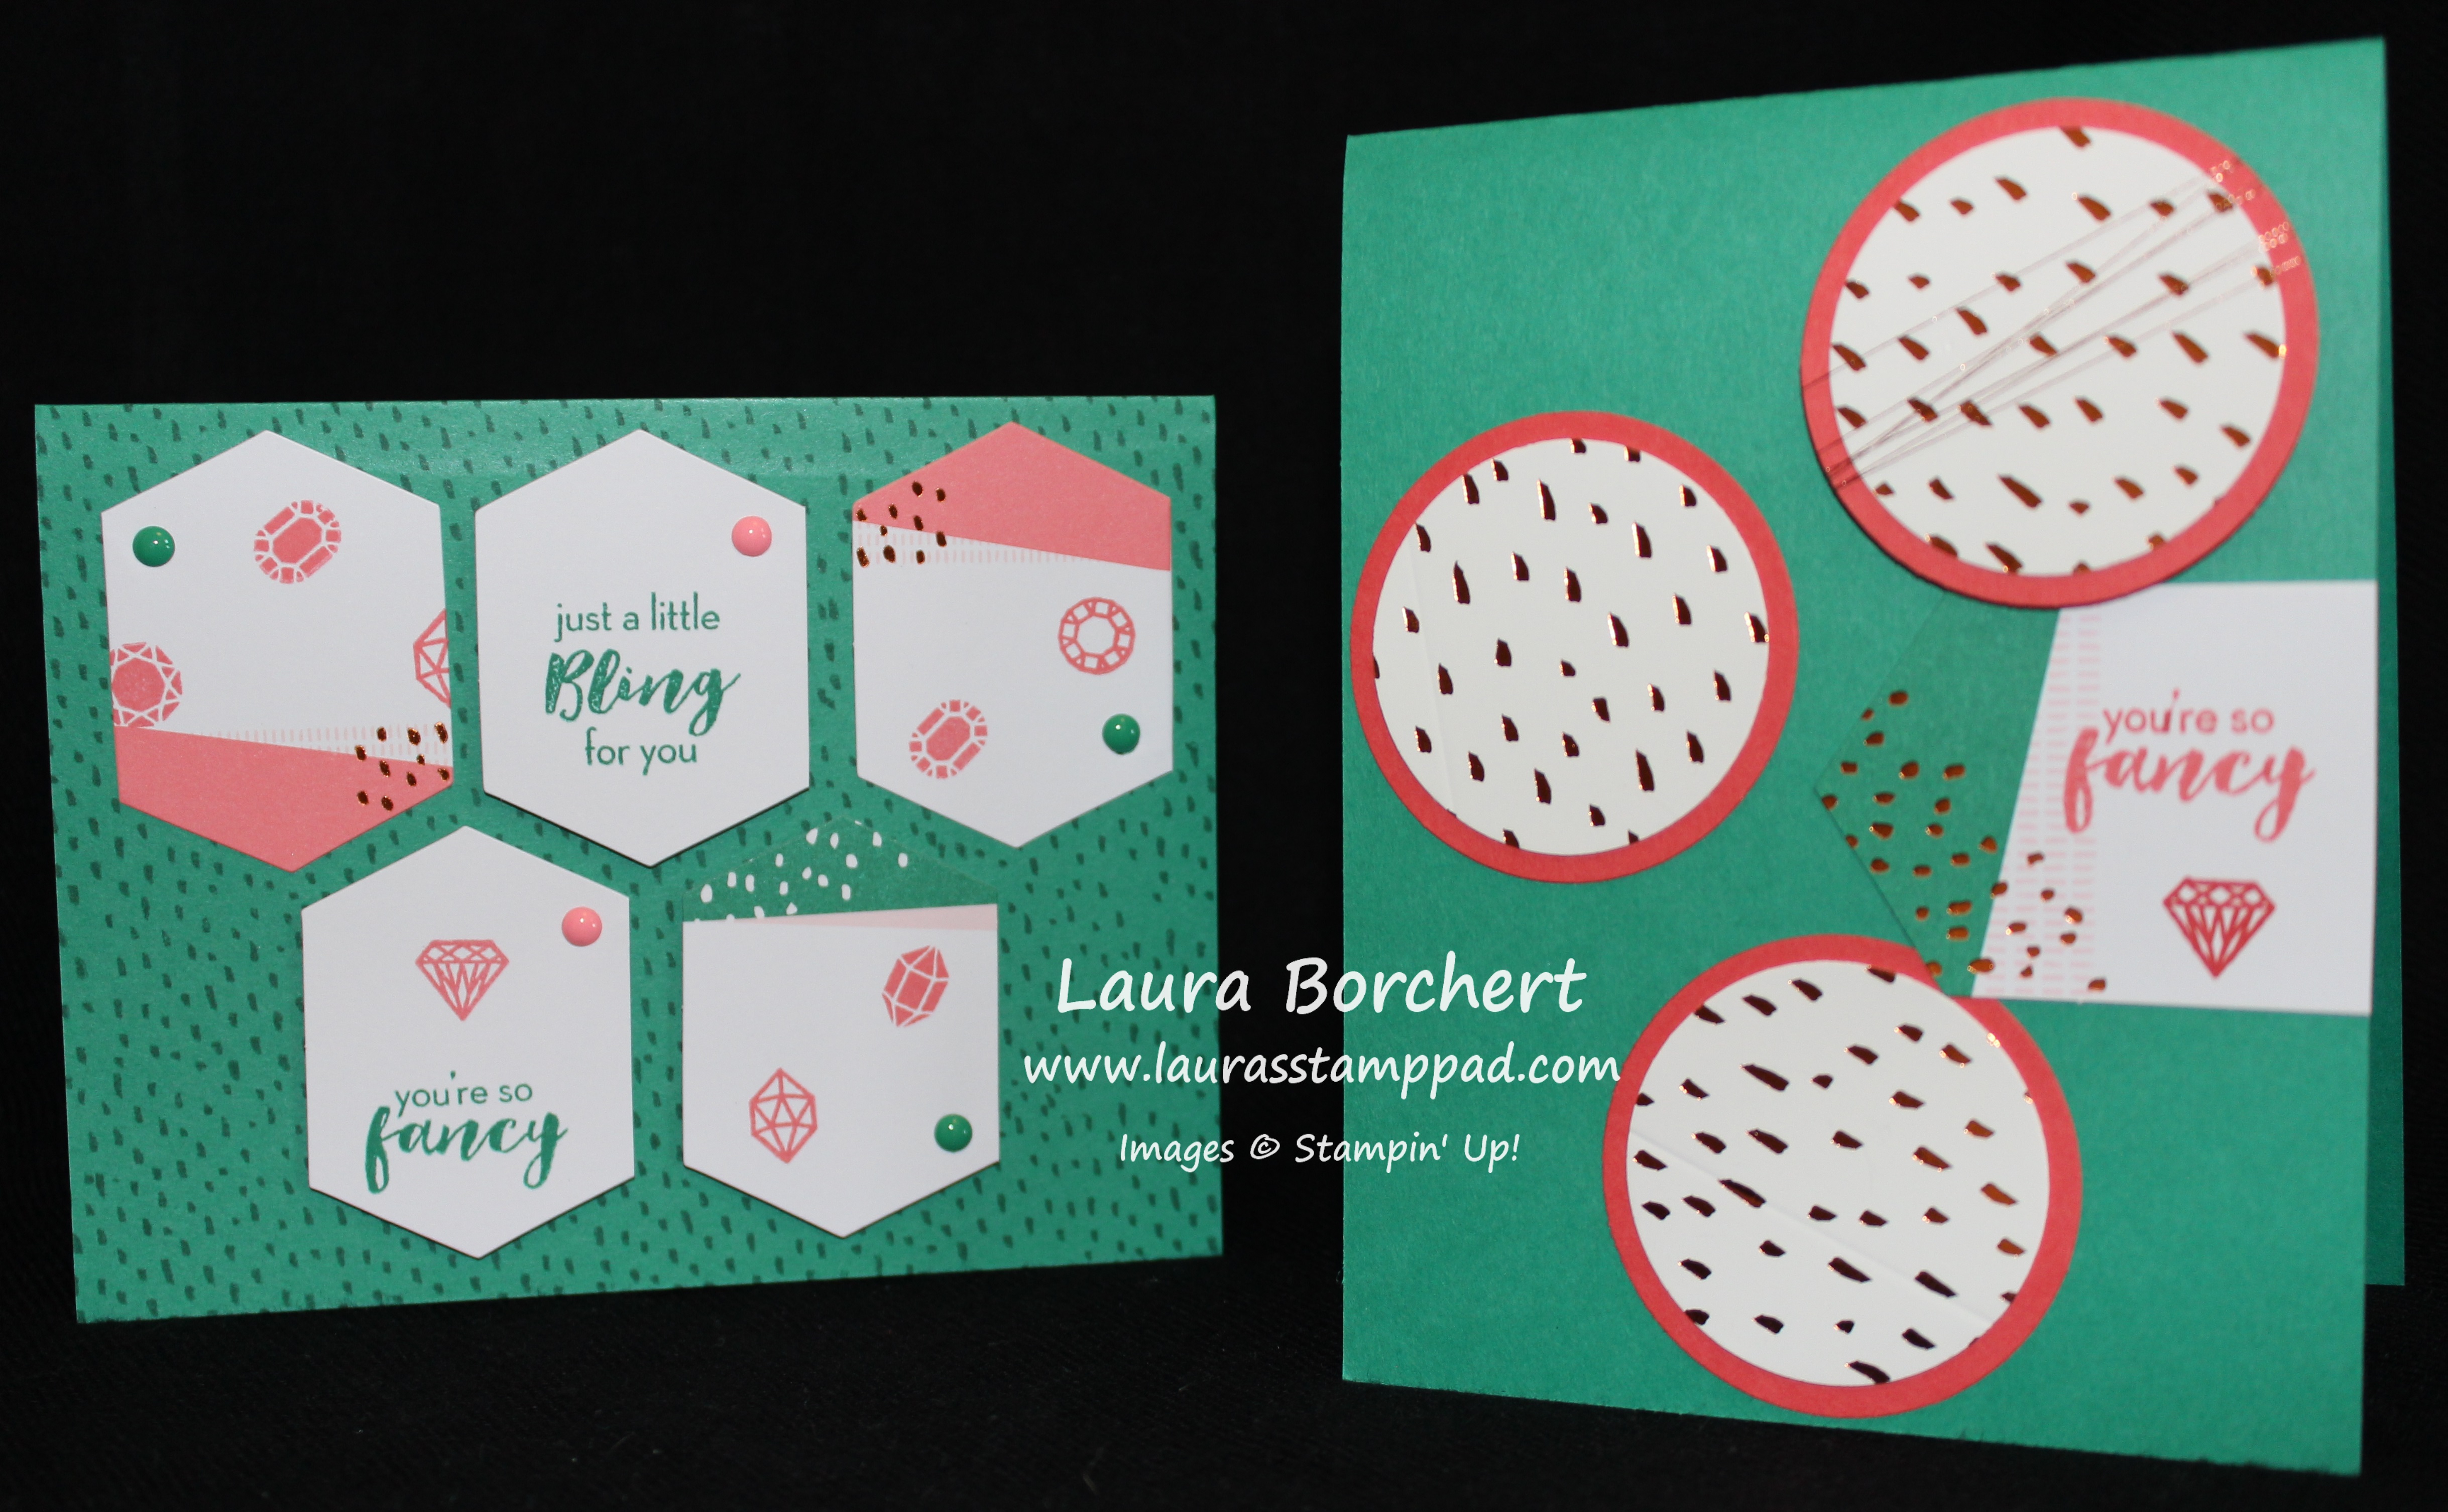
I created a total of 24 Cards using the supplies in the kit. I used Whisper White and Crushed Curry for my card bases and I used the Number of Years Stamp Set. I like how it had Birthday and Anniversary so I could use the numbers in the kit too! Also, I always need lots of those styles anyway! All of the patterned background came from the kit as well as the stickers and washi tape! The greeting pieces were cut from the leftover designer paper pieces. I just used the ones that had a white back and I cut off the design if there was a border.

I used the Window Sheet designs that were in the kit for all of these cards. Window Sheets can be tricky to use since the adhesive shows through them so I just used the Washi Tape provided to secure them down! Simple and fabulous!

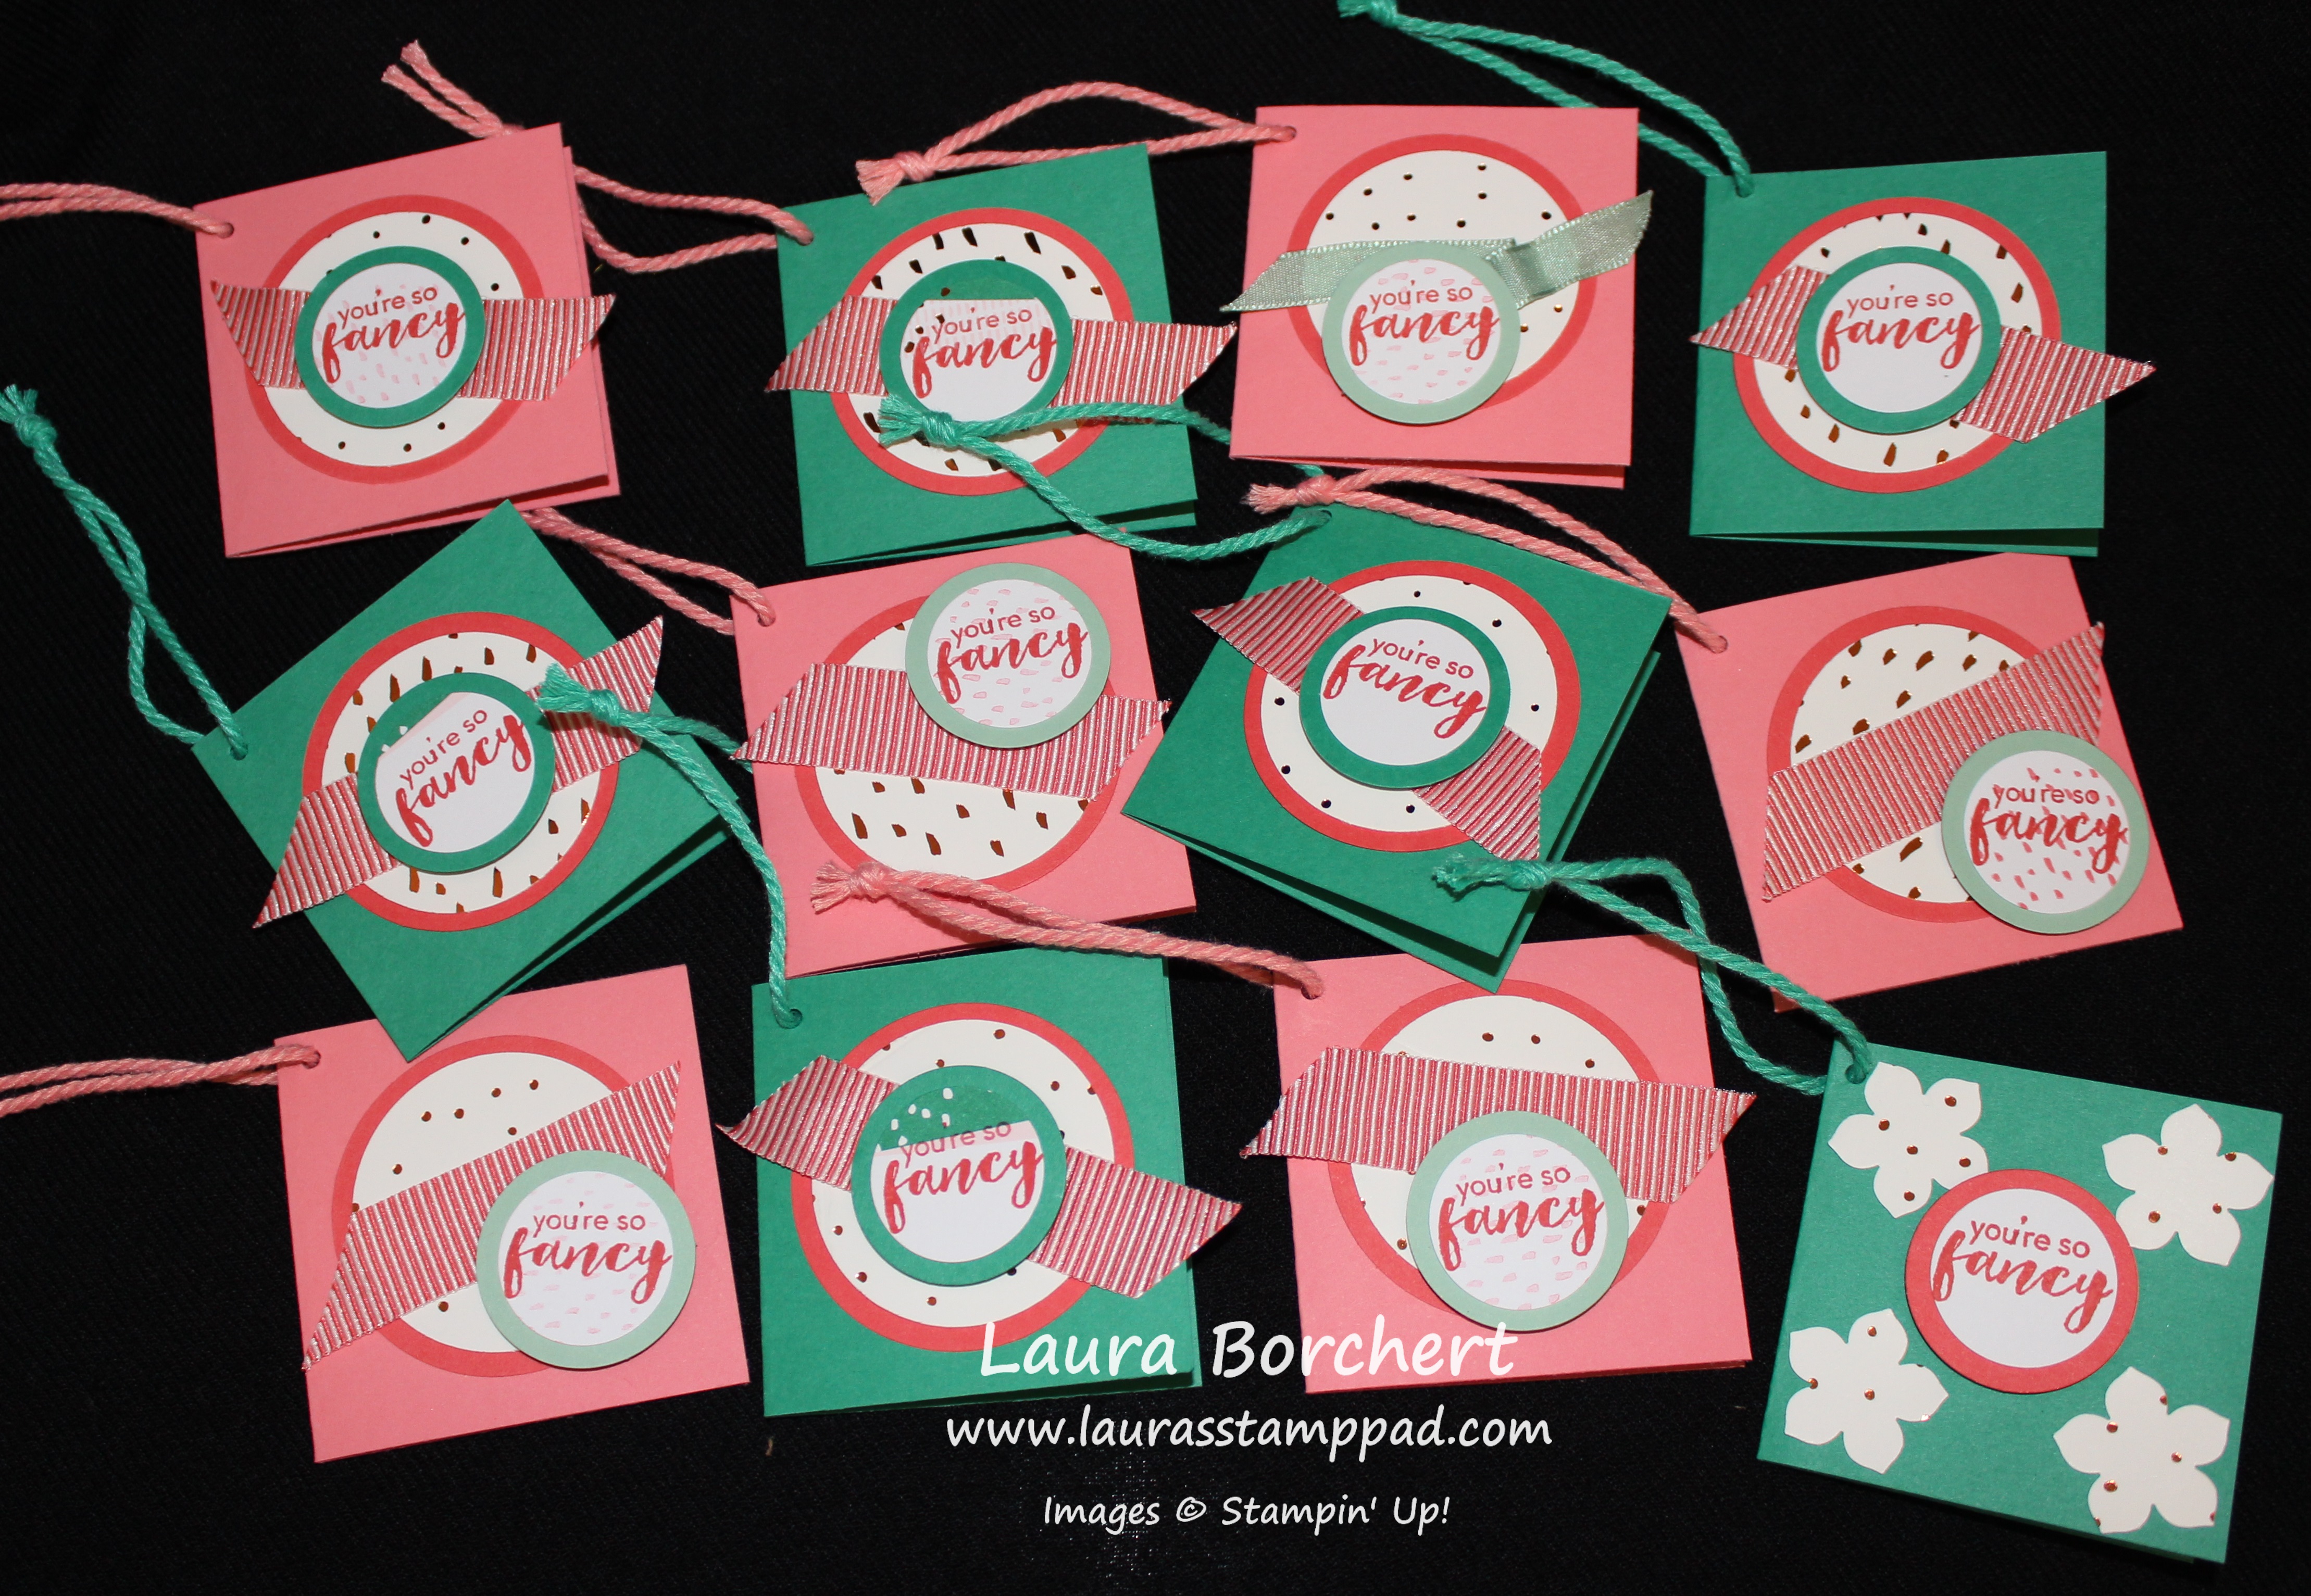
I used lots of stickers on these since there were so many in the kit. I went through my Birthday list to see the ages of upcoming birthdays. After I had all of those done, I did a few saying Happy 21st Birthday (again). I can give those cards to anyone! 😉

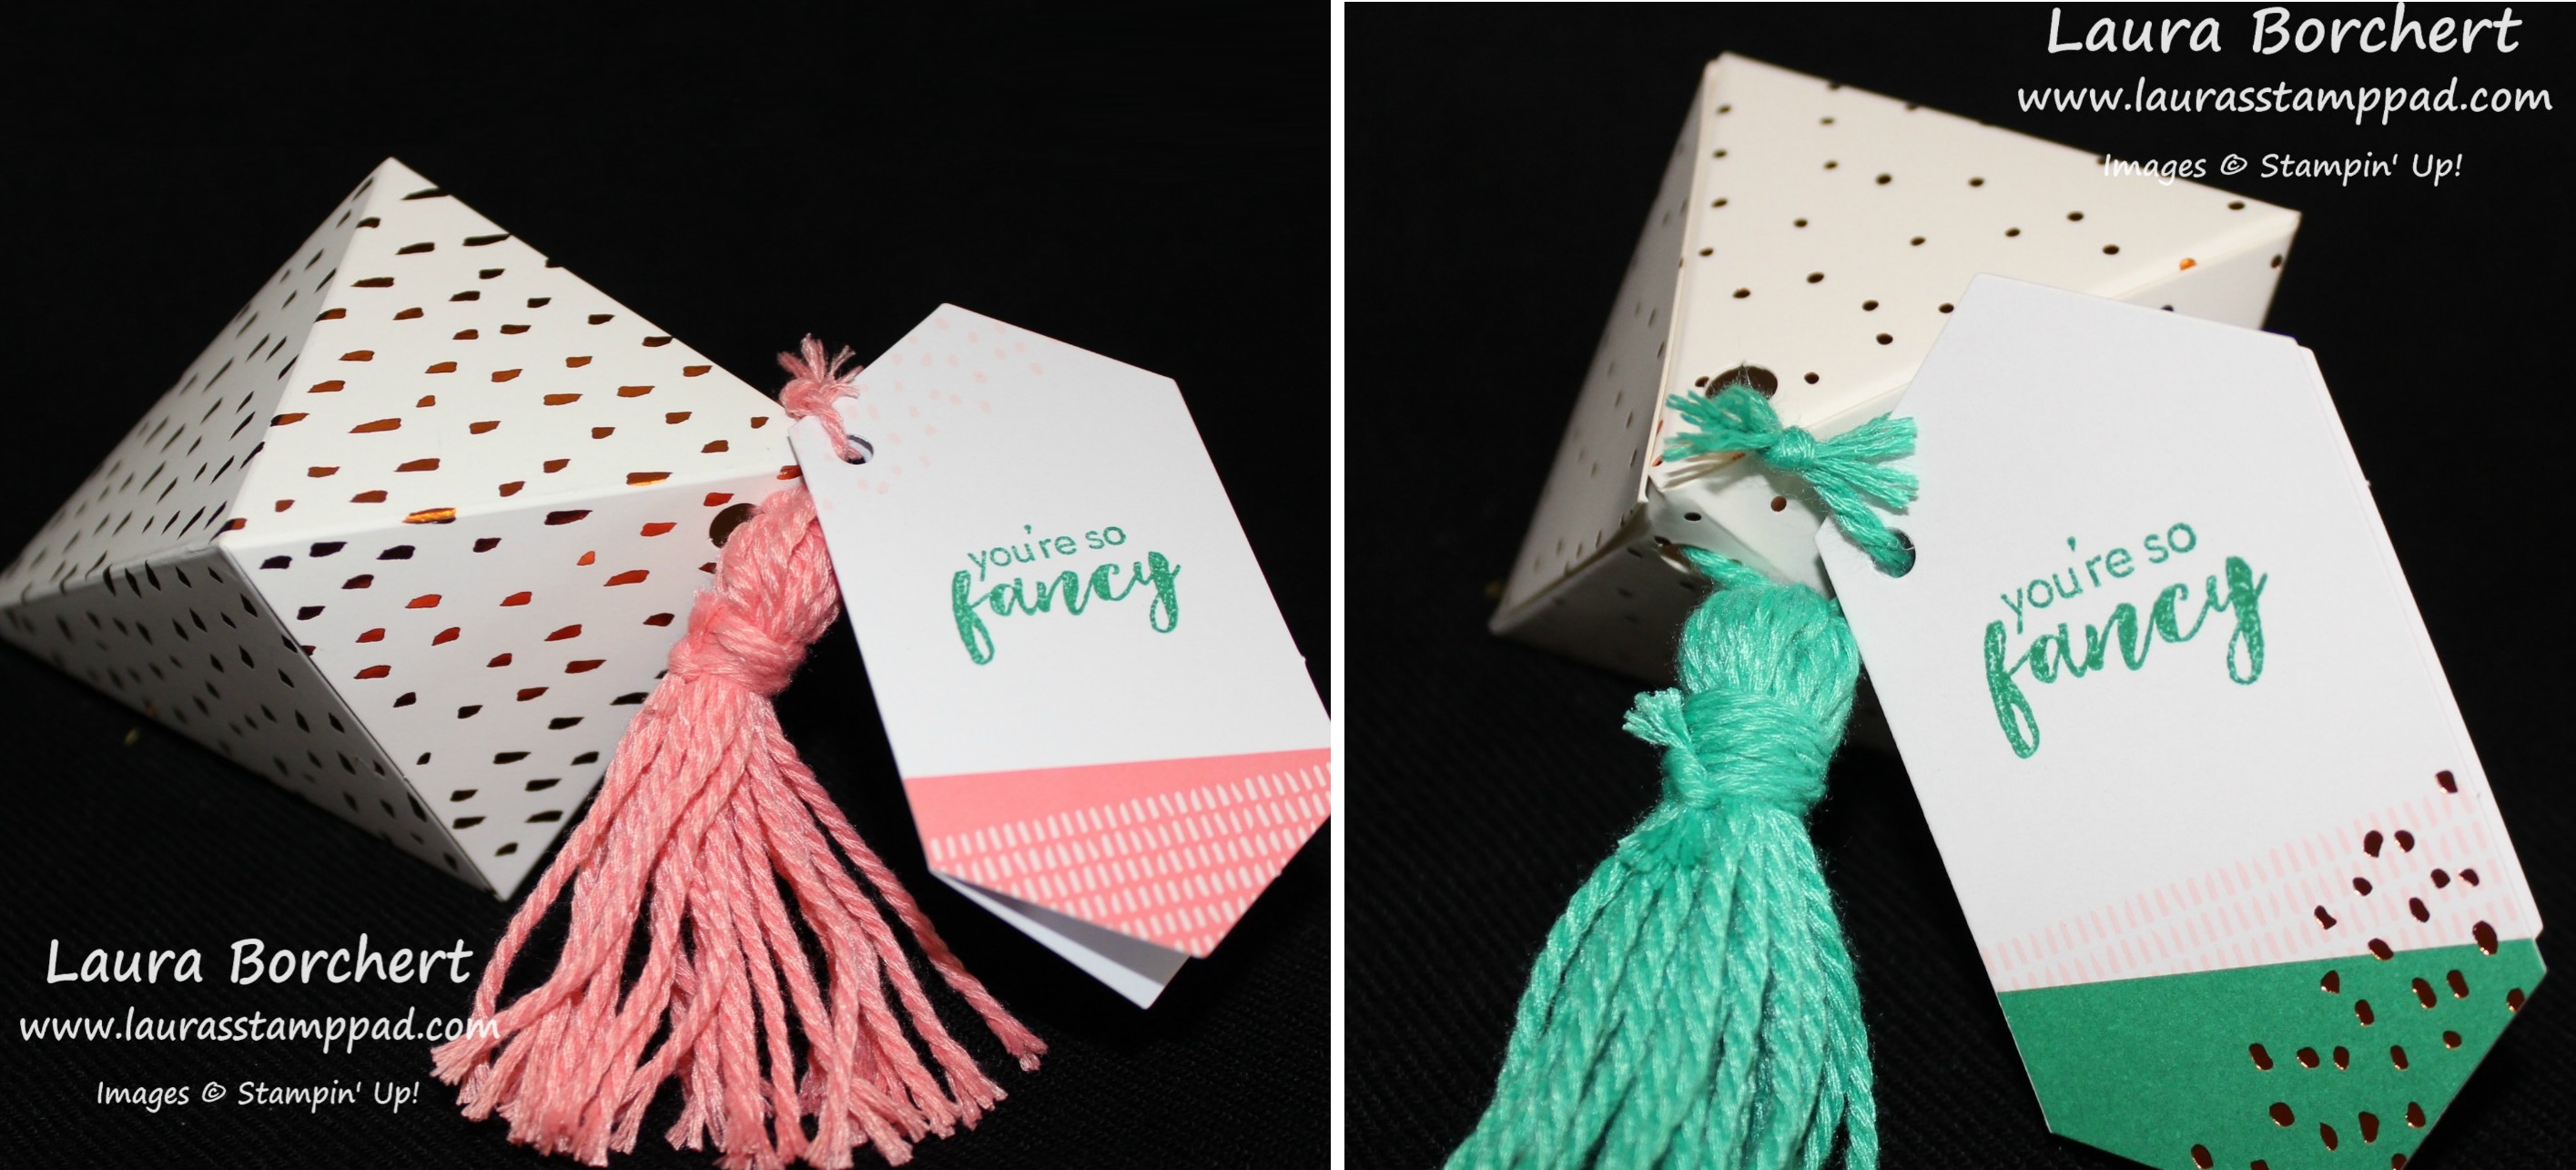
I love that gray flower/twig pattern and thought it was super elegant for Anniversary cards. I added a little Silver Ribbon to give it some texture. And while 24 cards is A LOT…..look at all of the leftover pieces.

So most of those scraps on the far left, I’ll probably toss but that is what I used for the greetings. There are still some numbers left and 3 Window Sheets which I’ll save for my memory keeping! The entire sheet of lines to journal on are still there too which I’ll save for memory keeping as well. 24 cards and all of these goodies! I just love all of the stuff that comes in a small little Paper Pumpkin Box!
Start your year off right with Paper Pumpkin. You can sign up to get the January Kit by January 10th. Click here to get started! Don’t forget that you can save with you purchase the Pre-Paid Subscription! Check those out here! Can’t wait to open our boxes together later this month!!!
Happy Stampin’
~Laura