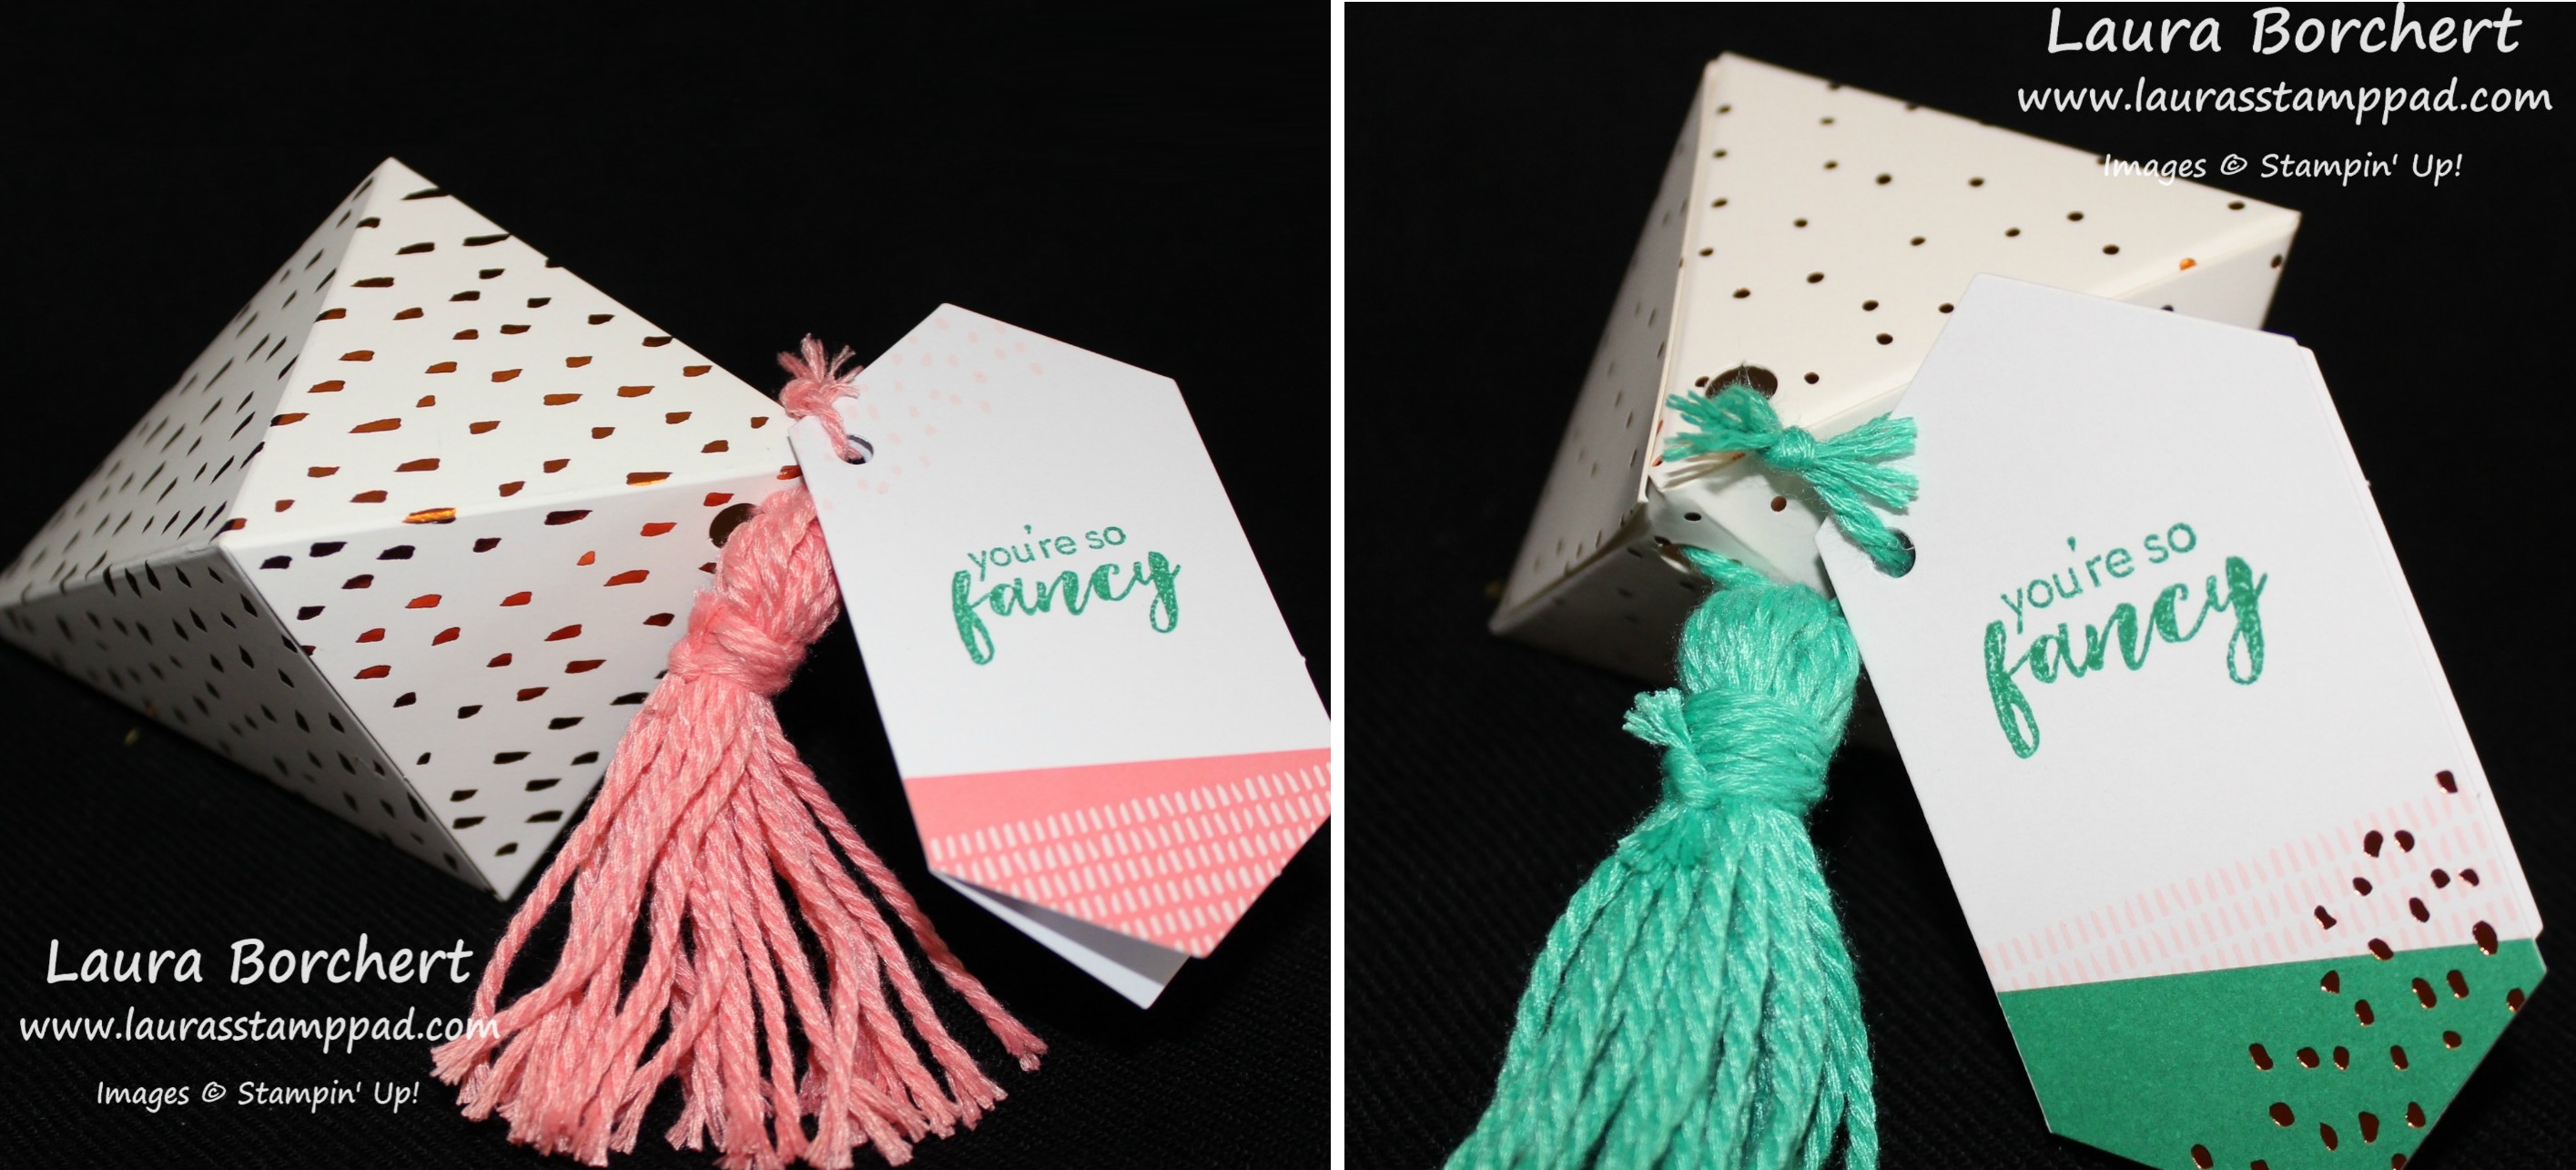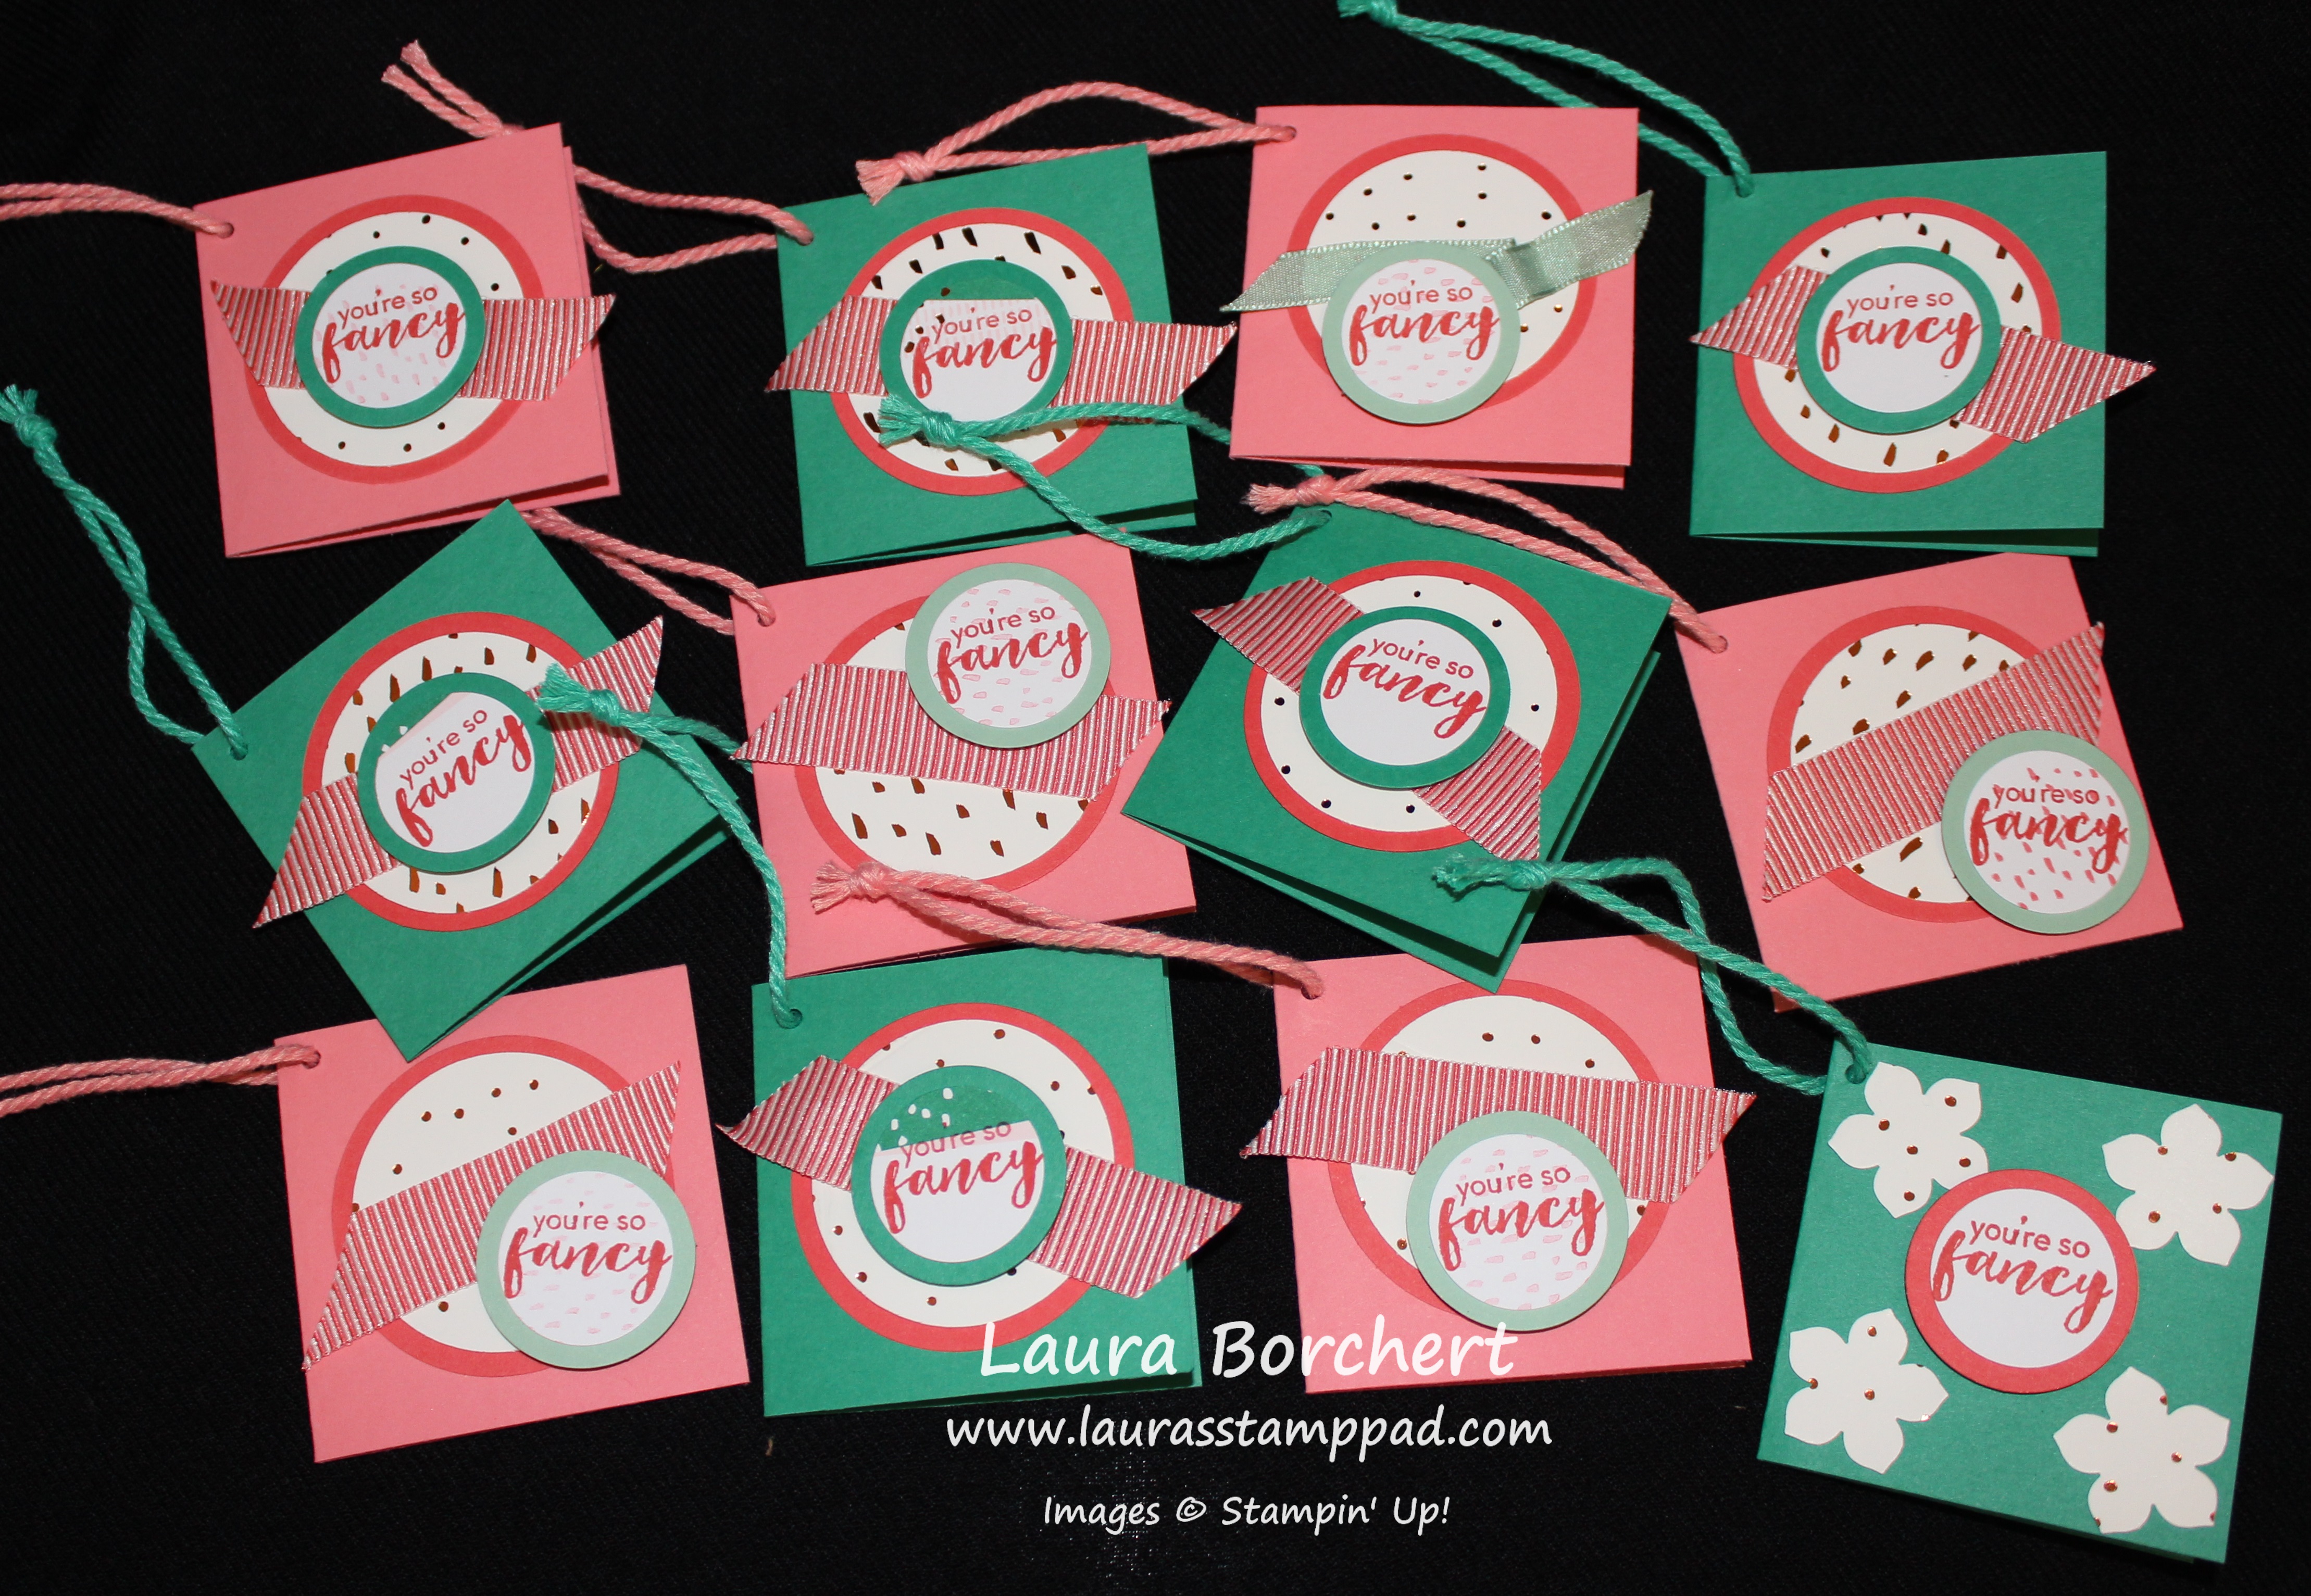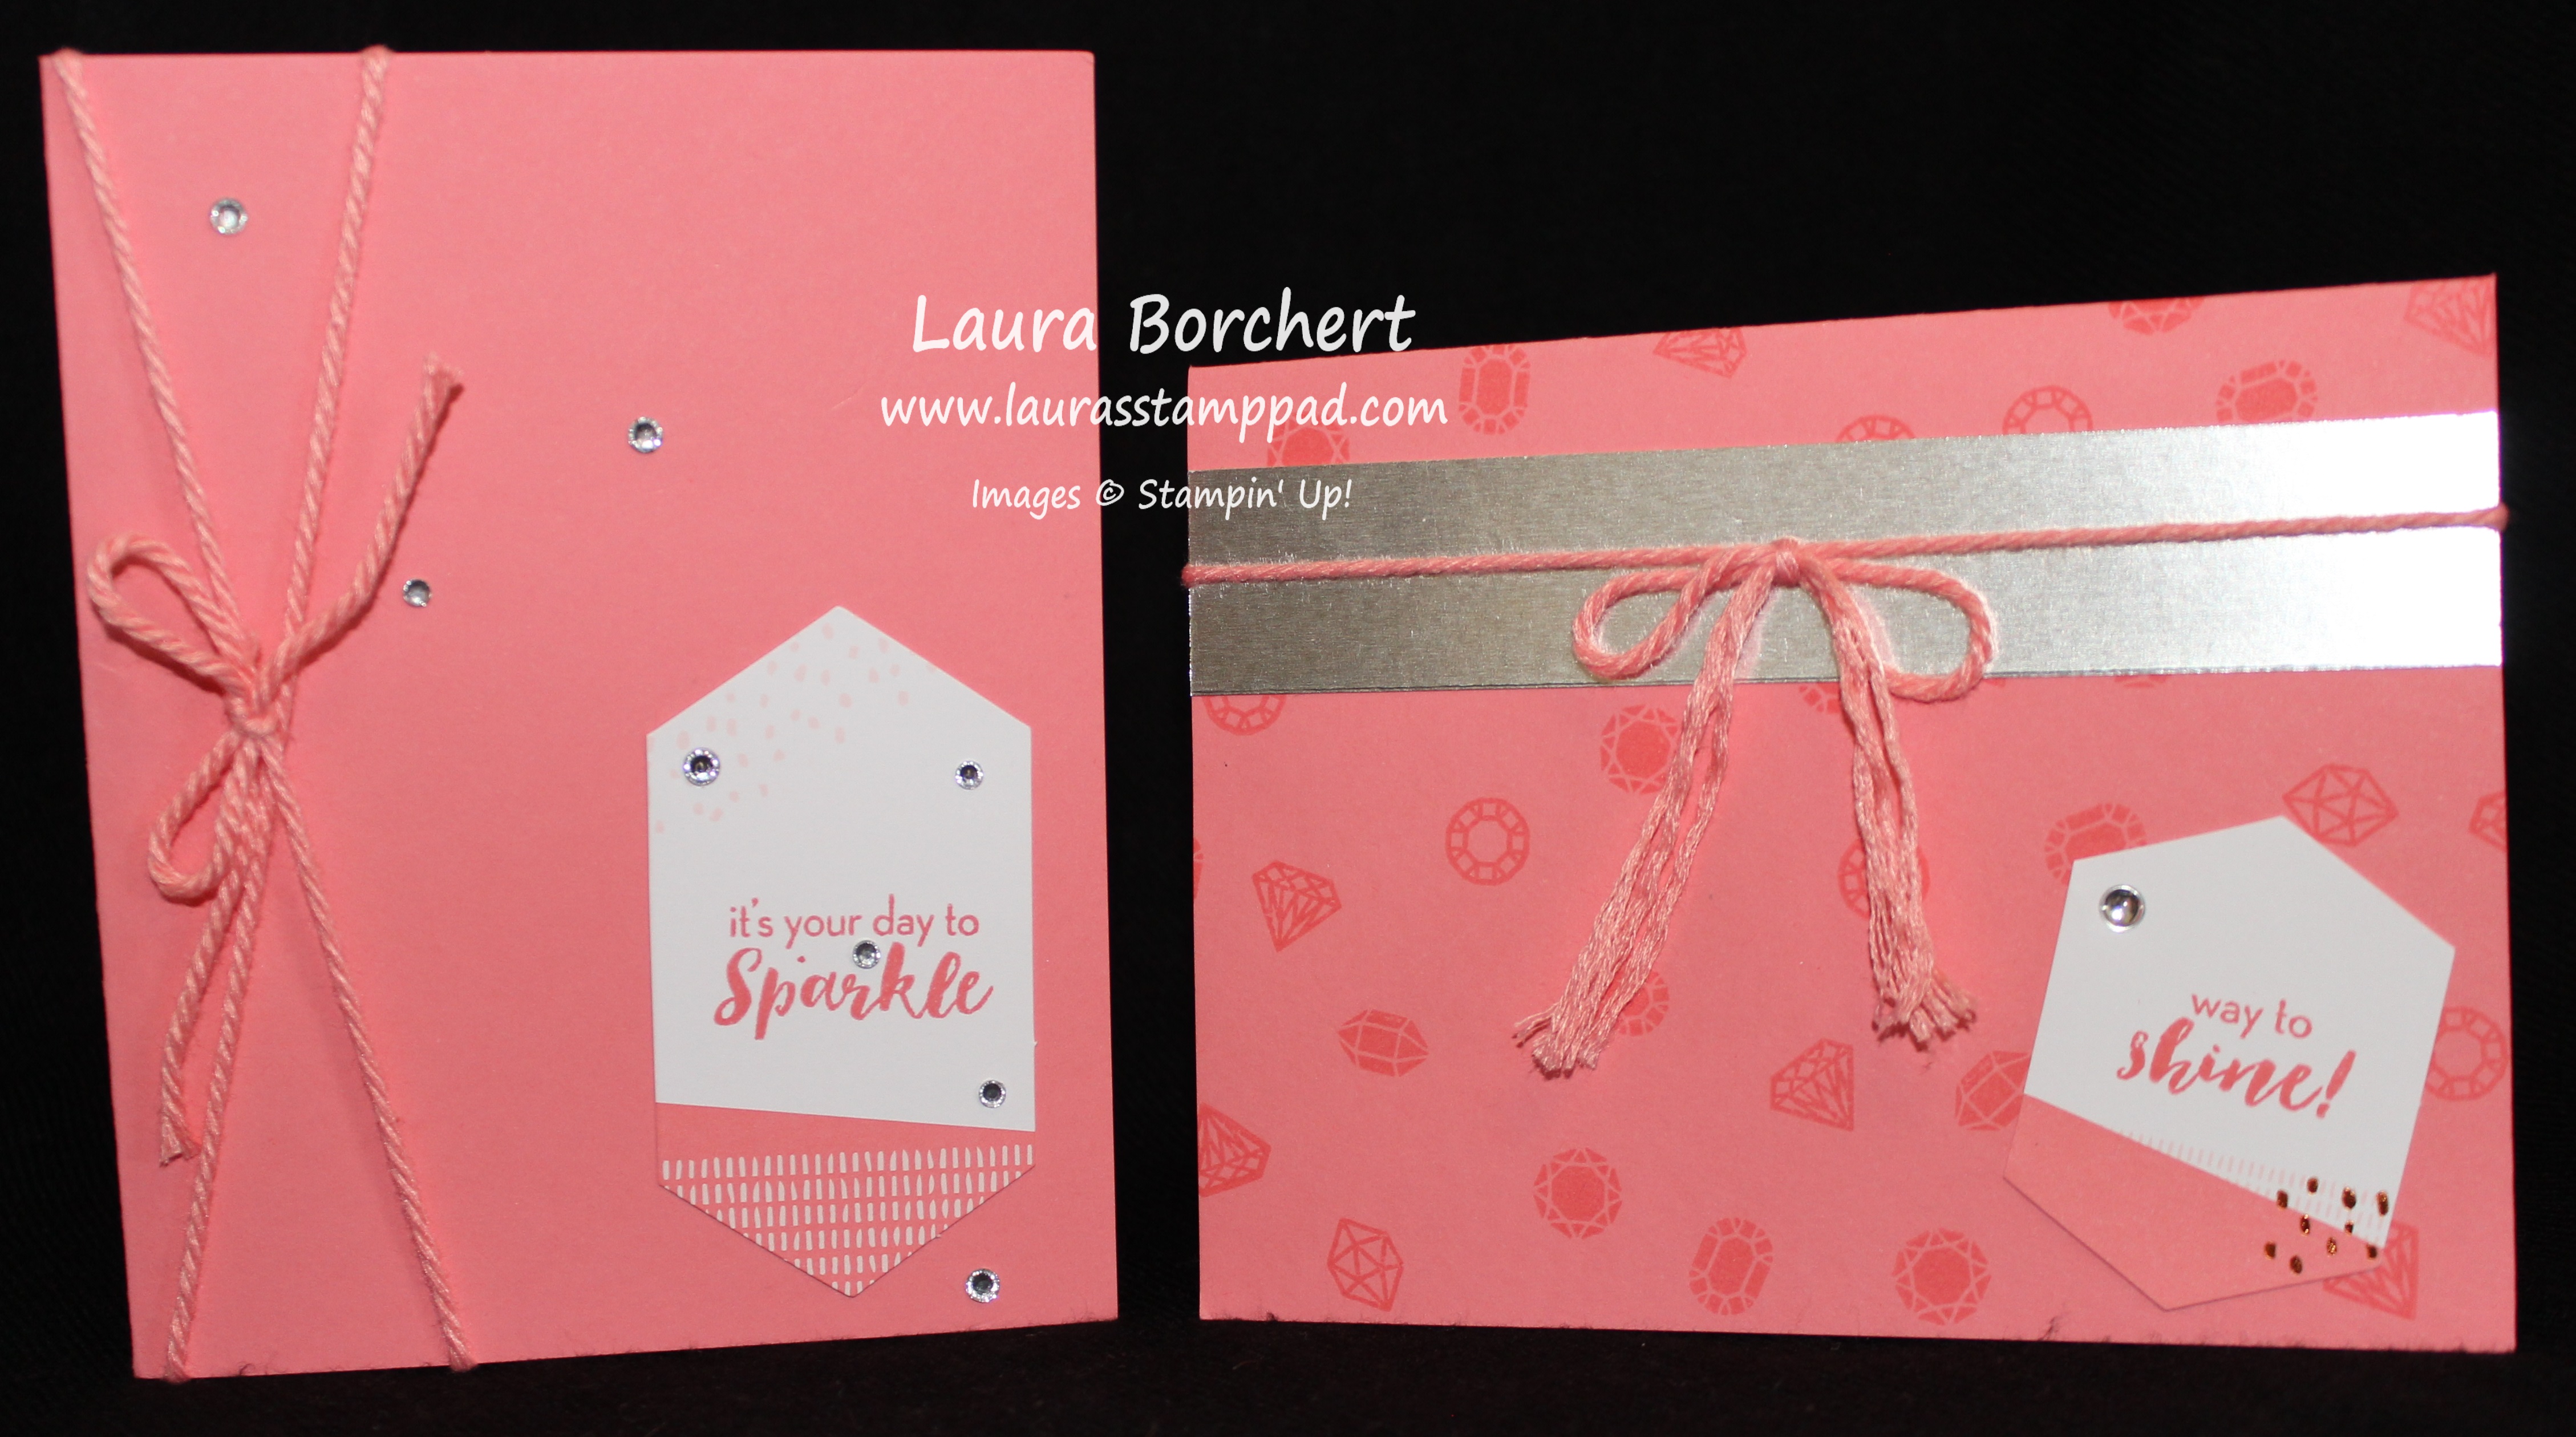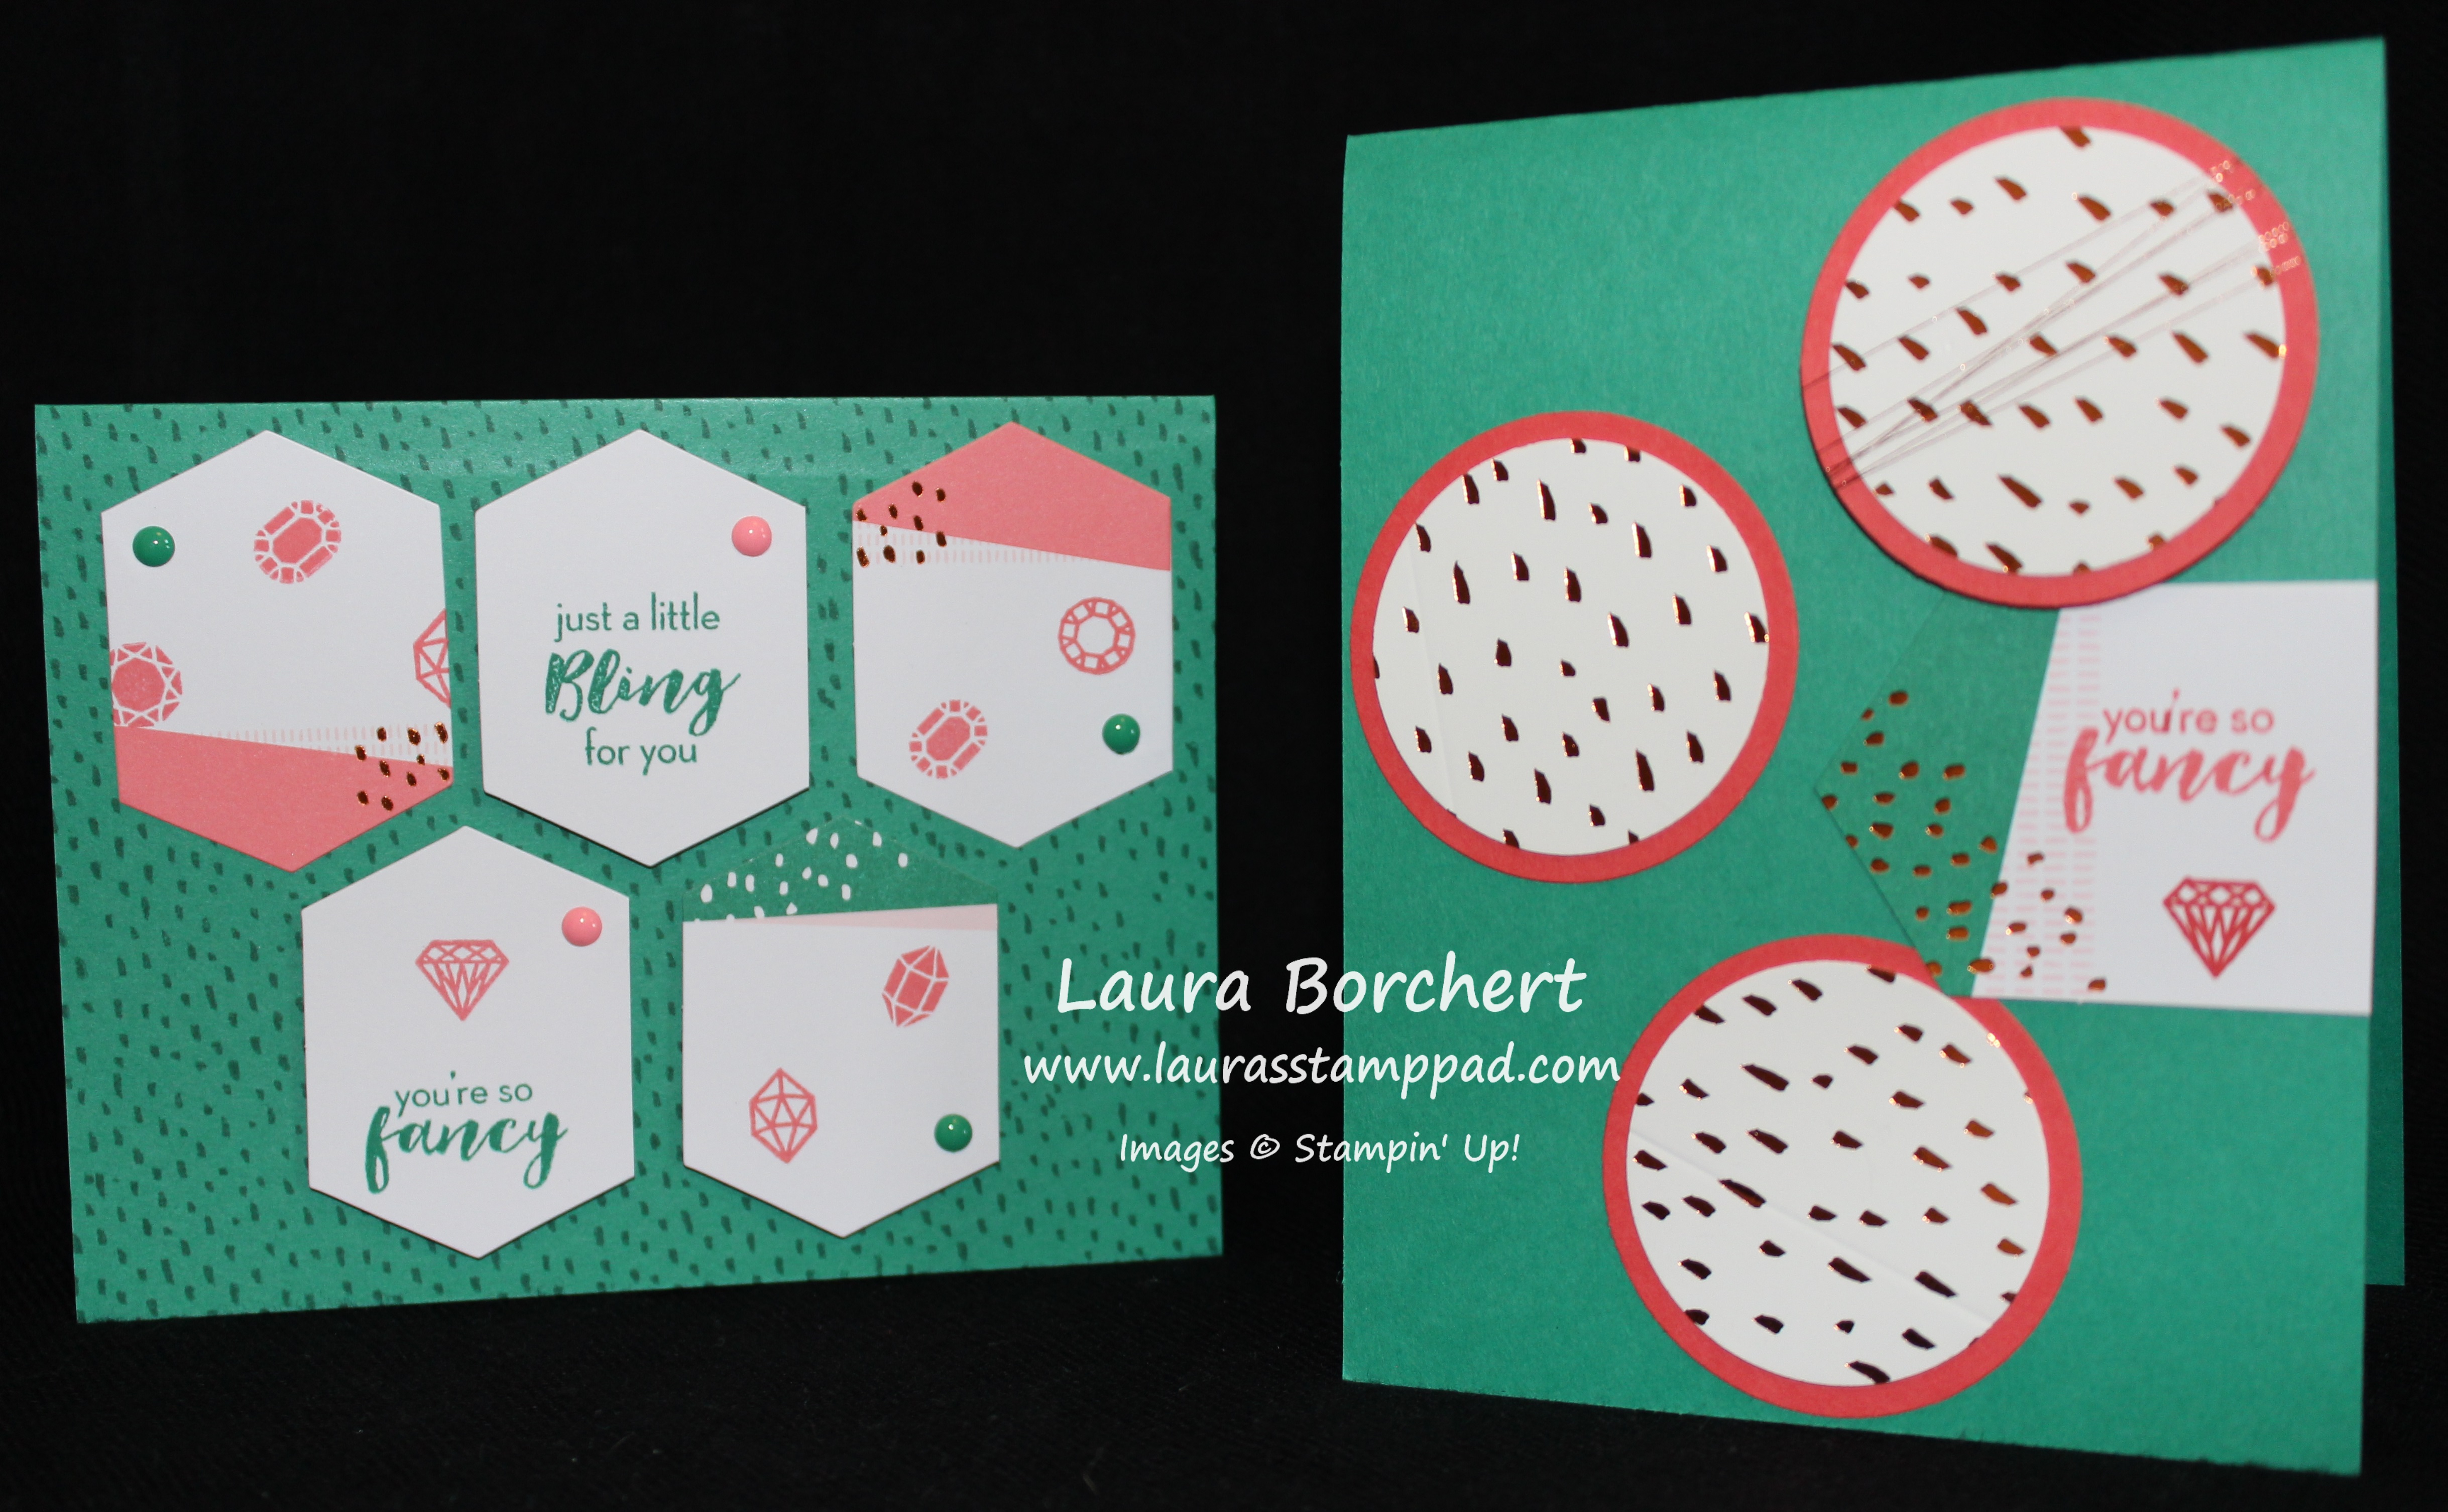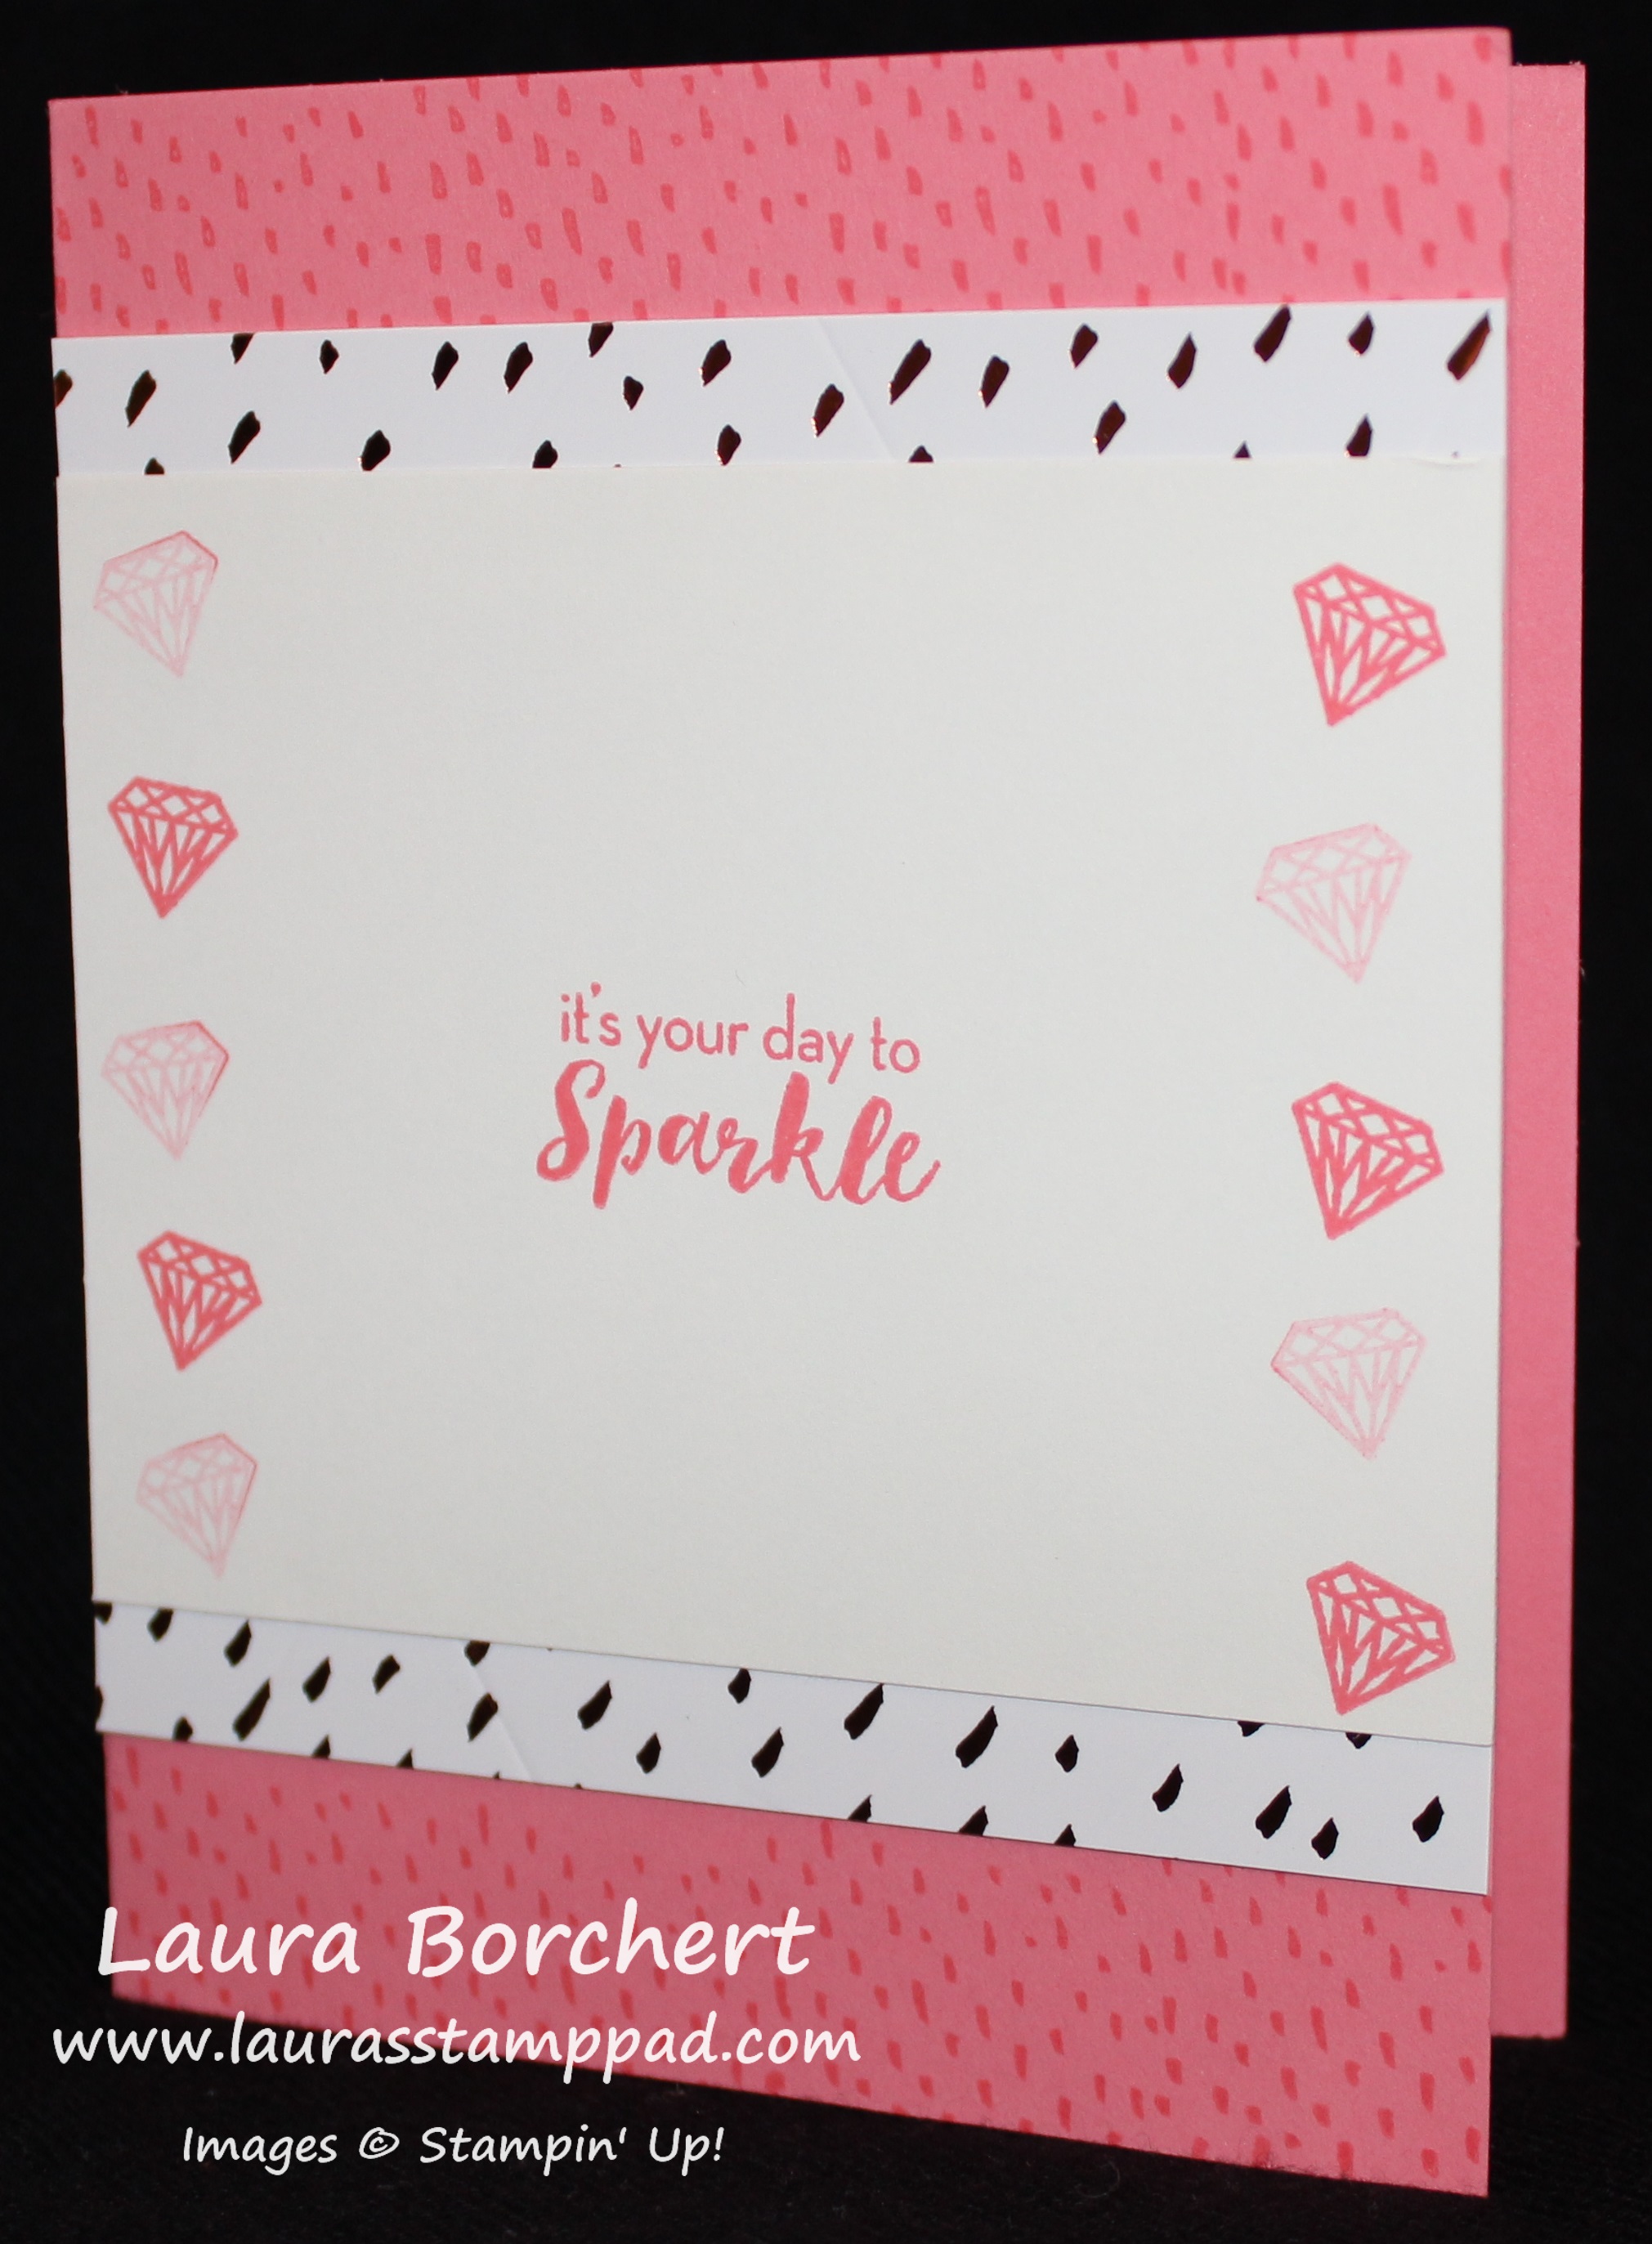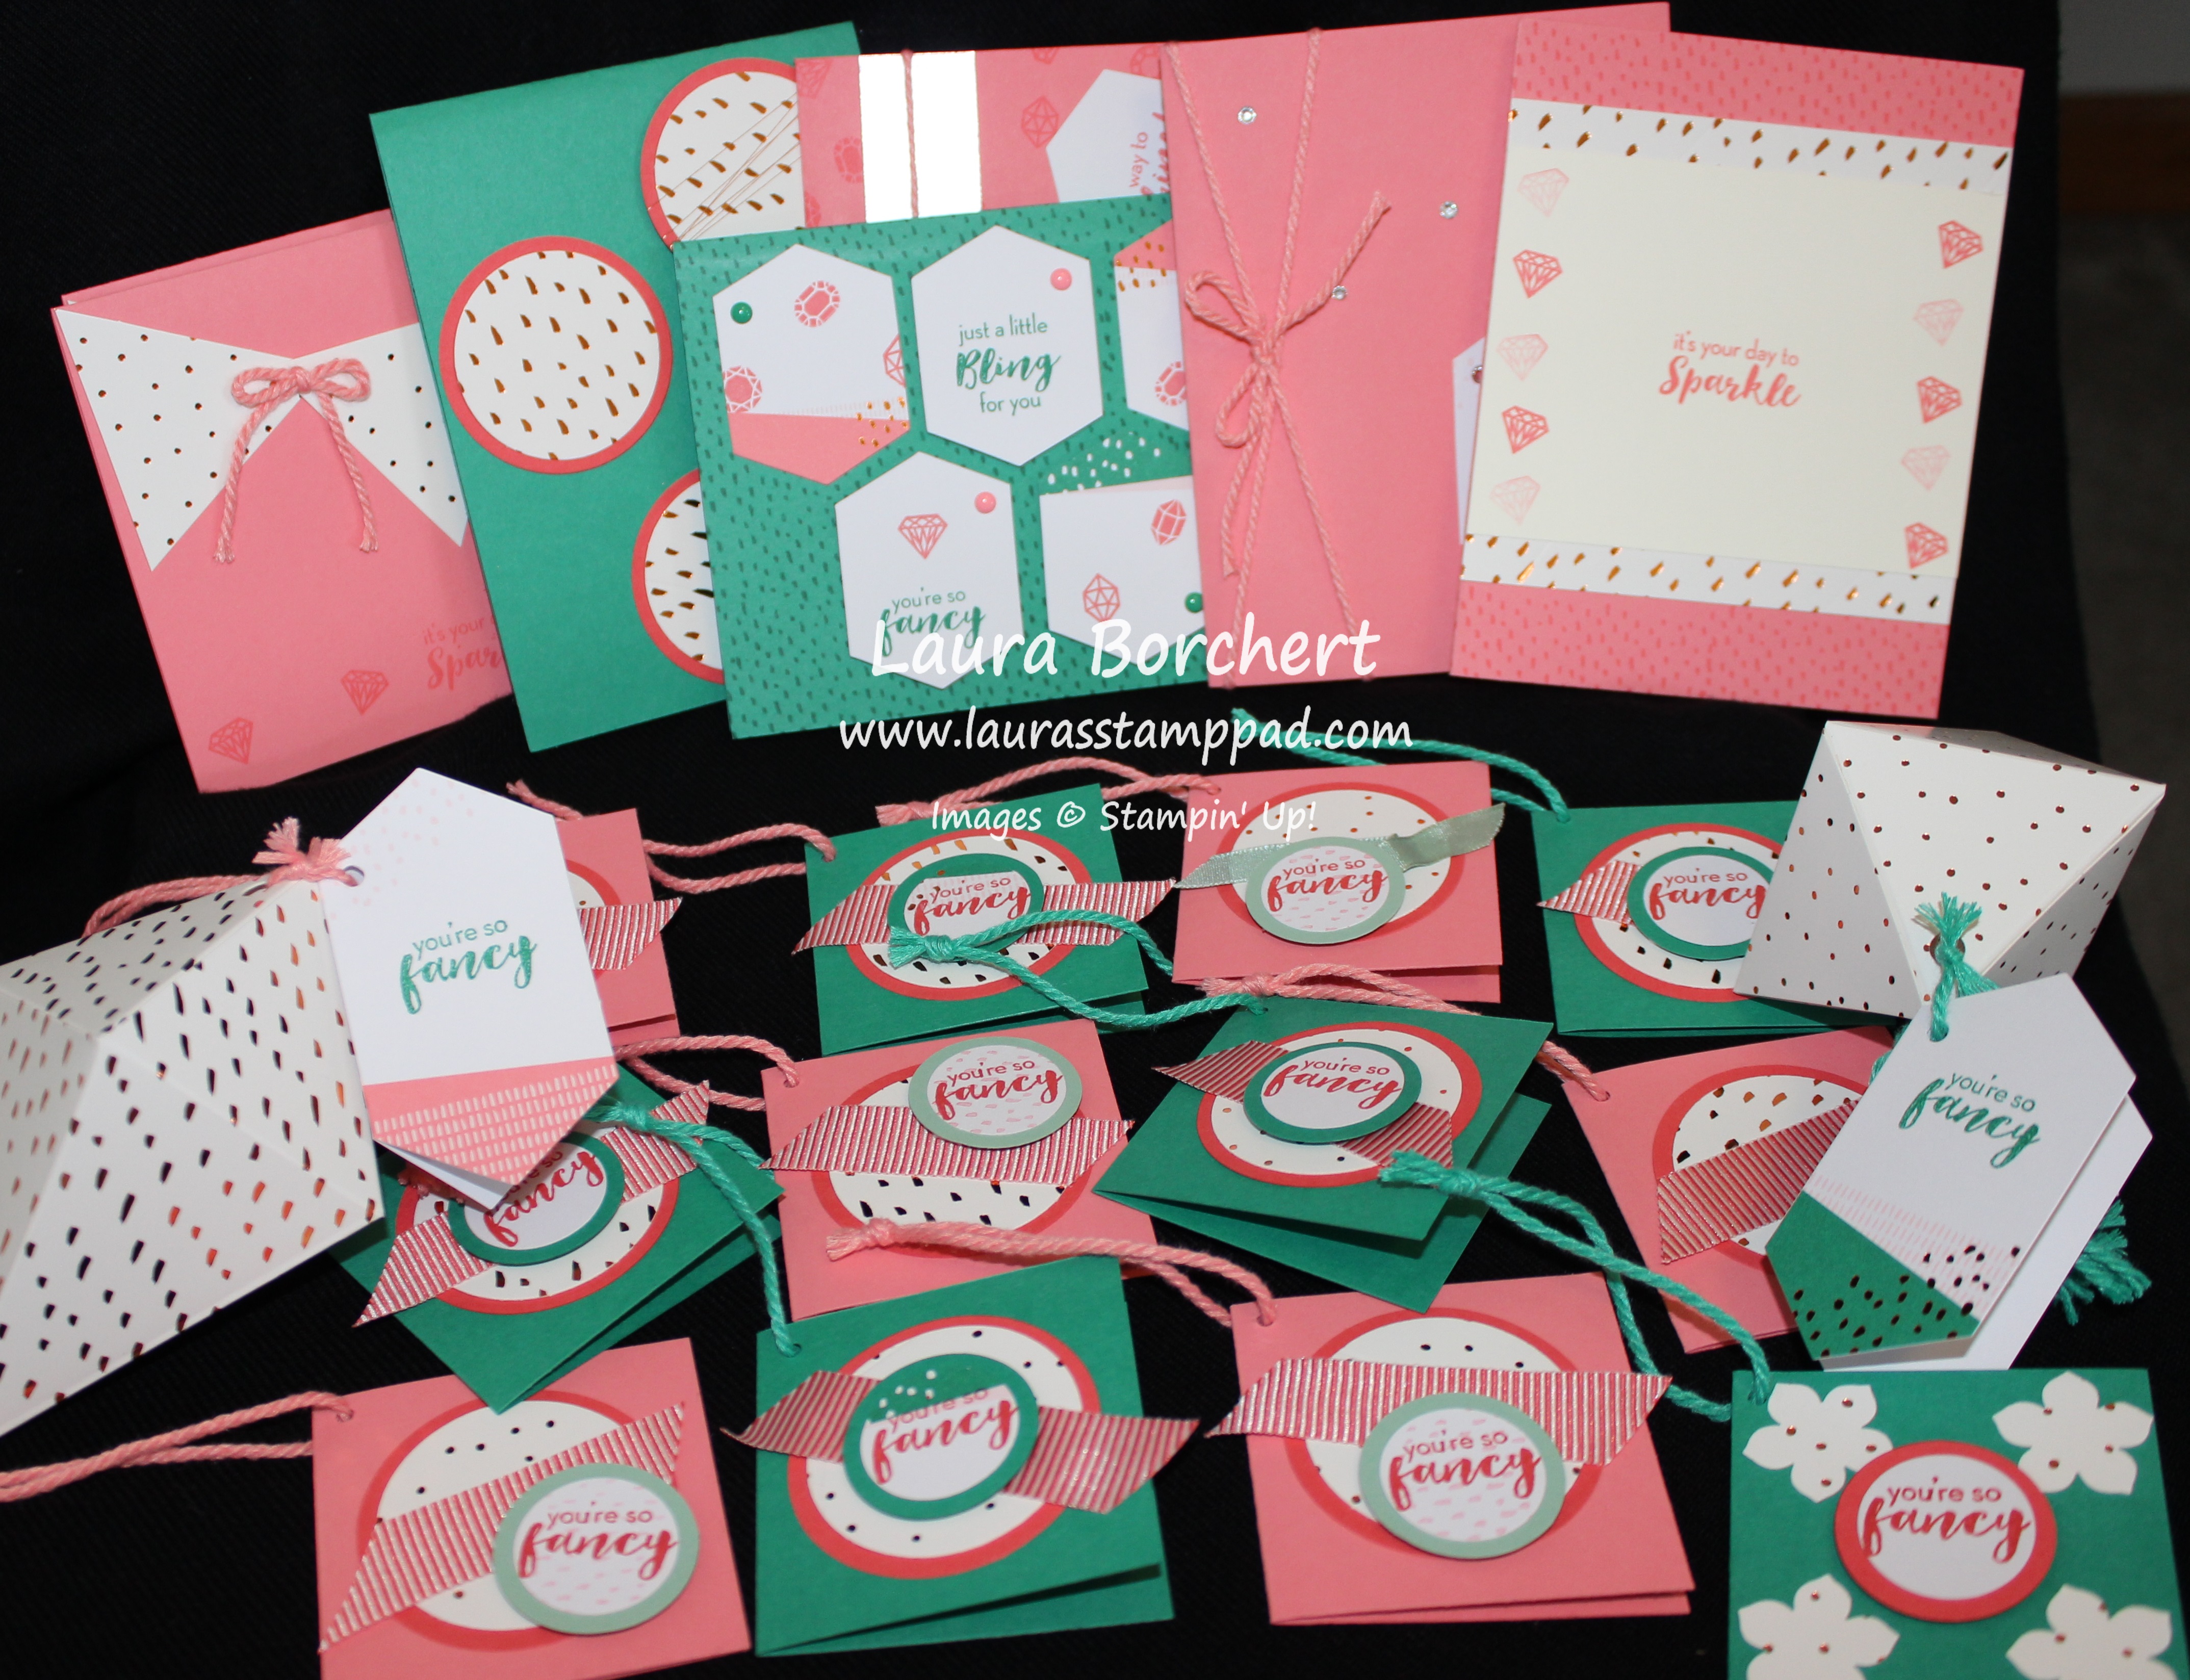
Have you always wondered what Paper Pumpkin is? Would you like to try it out for $5? Would you like stamps, ink, a clear block and a complete project with instructions for just $5? If you answered YES to any or all of these questions, then this offer is for you!!!
Stampin’ Up is offering New Paper Pumpkin Subscribers the June Kit for just $5.00 when you sign up between June 9th (5 p.m. MT) and June 10 (11:50 p.m. MT). Click here to get signed up and be sure to enter the Promo Code: ONEDAYDEAL
After you have entered the Promo Code, you will select Continue and fill out your information! Be sure to enter in my Demonstrator Information so you get a little gift from ME! 🙂 It is totally worth it for the stamps, ink, clear block and fabulous project inside with instructions! Don’t wait because this promo doesn’t last long – ends on Friday, June 10th at 11:50 p.m. MT.
I can’t wait to share the June Kit with all of you! If you would like to see past Paper Pumpkin Kits, click here!
Look at these amazing Man Cards??? You all know I struggle with Man Cards because I love Pink and Flowers and Bling. The May 2016 Paper Pumpkin Kit – Many Manly Occasions is perfect! The stamp set had lots of greetings for upcoming occasions like Father’s Day and Birthday. It also had lots of name stamps like Dad, Grandpa, Son, Brother, etc. Of course the timing was perfect with Father’s Day around the corner. I made enough of those for everyone and then I made the rest into Birthday cards!
All you had to do for these cards is add the Happy greeting which came in a scroll font and a block font and stamp the rest of the greeting (Father’s Day, Birthday, Name, decoration). I used the stars because they looked fun and manly. There was also a candle, arrow, cake, and hearts. These little images are perfect for the card or decorating the envelope. Once it is all stamped you can add the Pumpkin Pie corrugated background to the inside of the card. It was really easy to go and created a fun and textured look.
This is the block letter font for the Happy! You will also notice that there was 2 styles of the card base. One is like the above – rectangles with a straight greeting bar and the other is a diagonal greeting bar with triangles cut out!
The kit also came with Pool Party Epoxy Stars but I didn’t use them on these cards! I just liked them as is and so I thought I would save them for a different project!
Between my husband and I, we only have one Grandpa left. I always make sure to send cards for every occasion! 🙂
As always, these Paper Pumpkin Kits come with plenty of goodies. I was able to create these 2 cards with the leftovers. I added the Epoxy Stars to these. I even had to add some to the inside of the one card because I got an ink smudge in there. Opps! 🙂 Cute, simple and fabulous!
If you are a Paper Pumpkin Subscriber, you can purchase Refills of this kit to have lots of Man Cards! Click here to get some refills! If you would like to get the June Paper Pumpkin Kit, click here! You need to be signed up before June 10th!
I don’t play with my Paper Pumpkin Stamp Sets much after I do the kit….it’s kind of sad isn’t it???? These sets are super fun and I love using them for the kit but then they go in a box and I forget about them! 🙁 I saw a sample similar to this one and just HAD to pull that stamp set back out of the box! I love it!!!! You can do this in soooo many different color combinations!
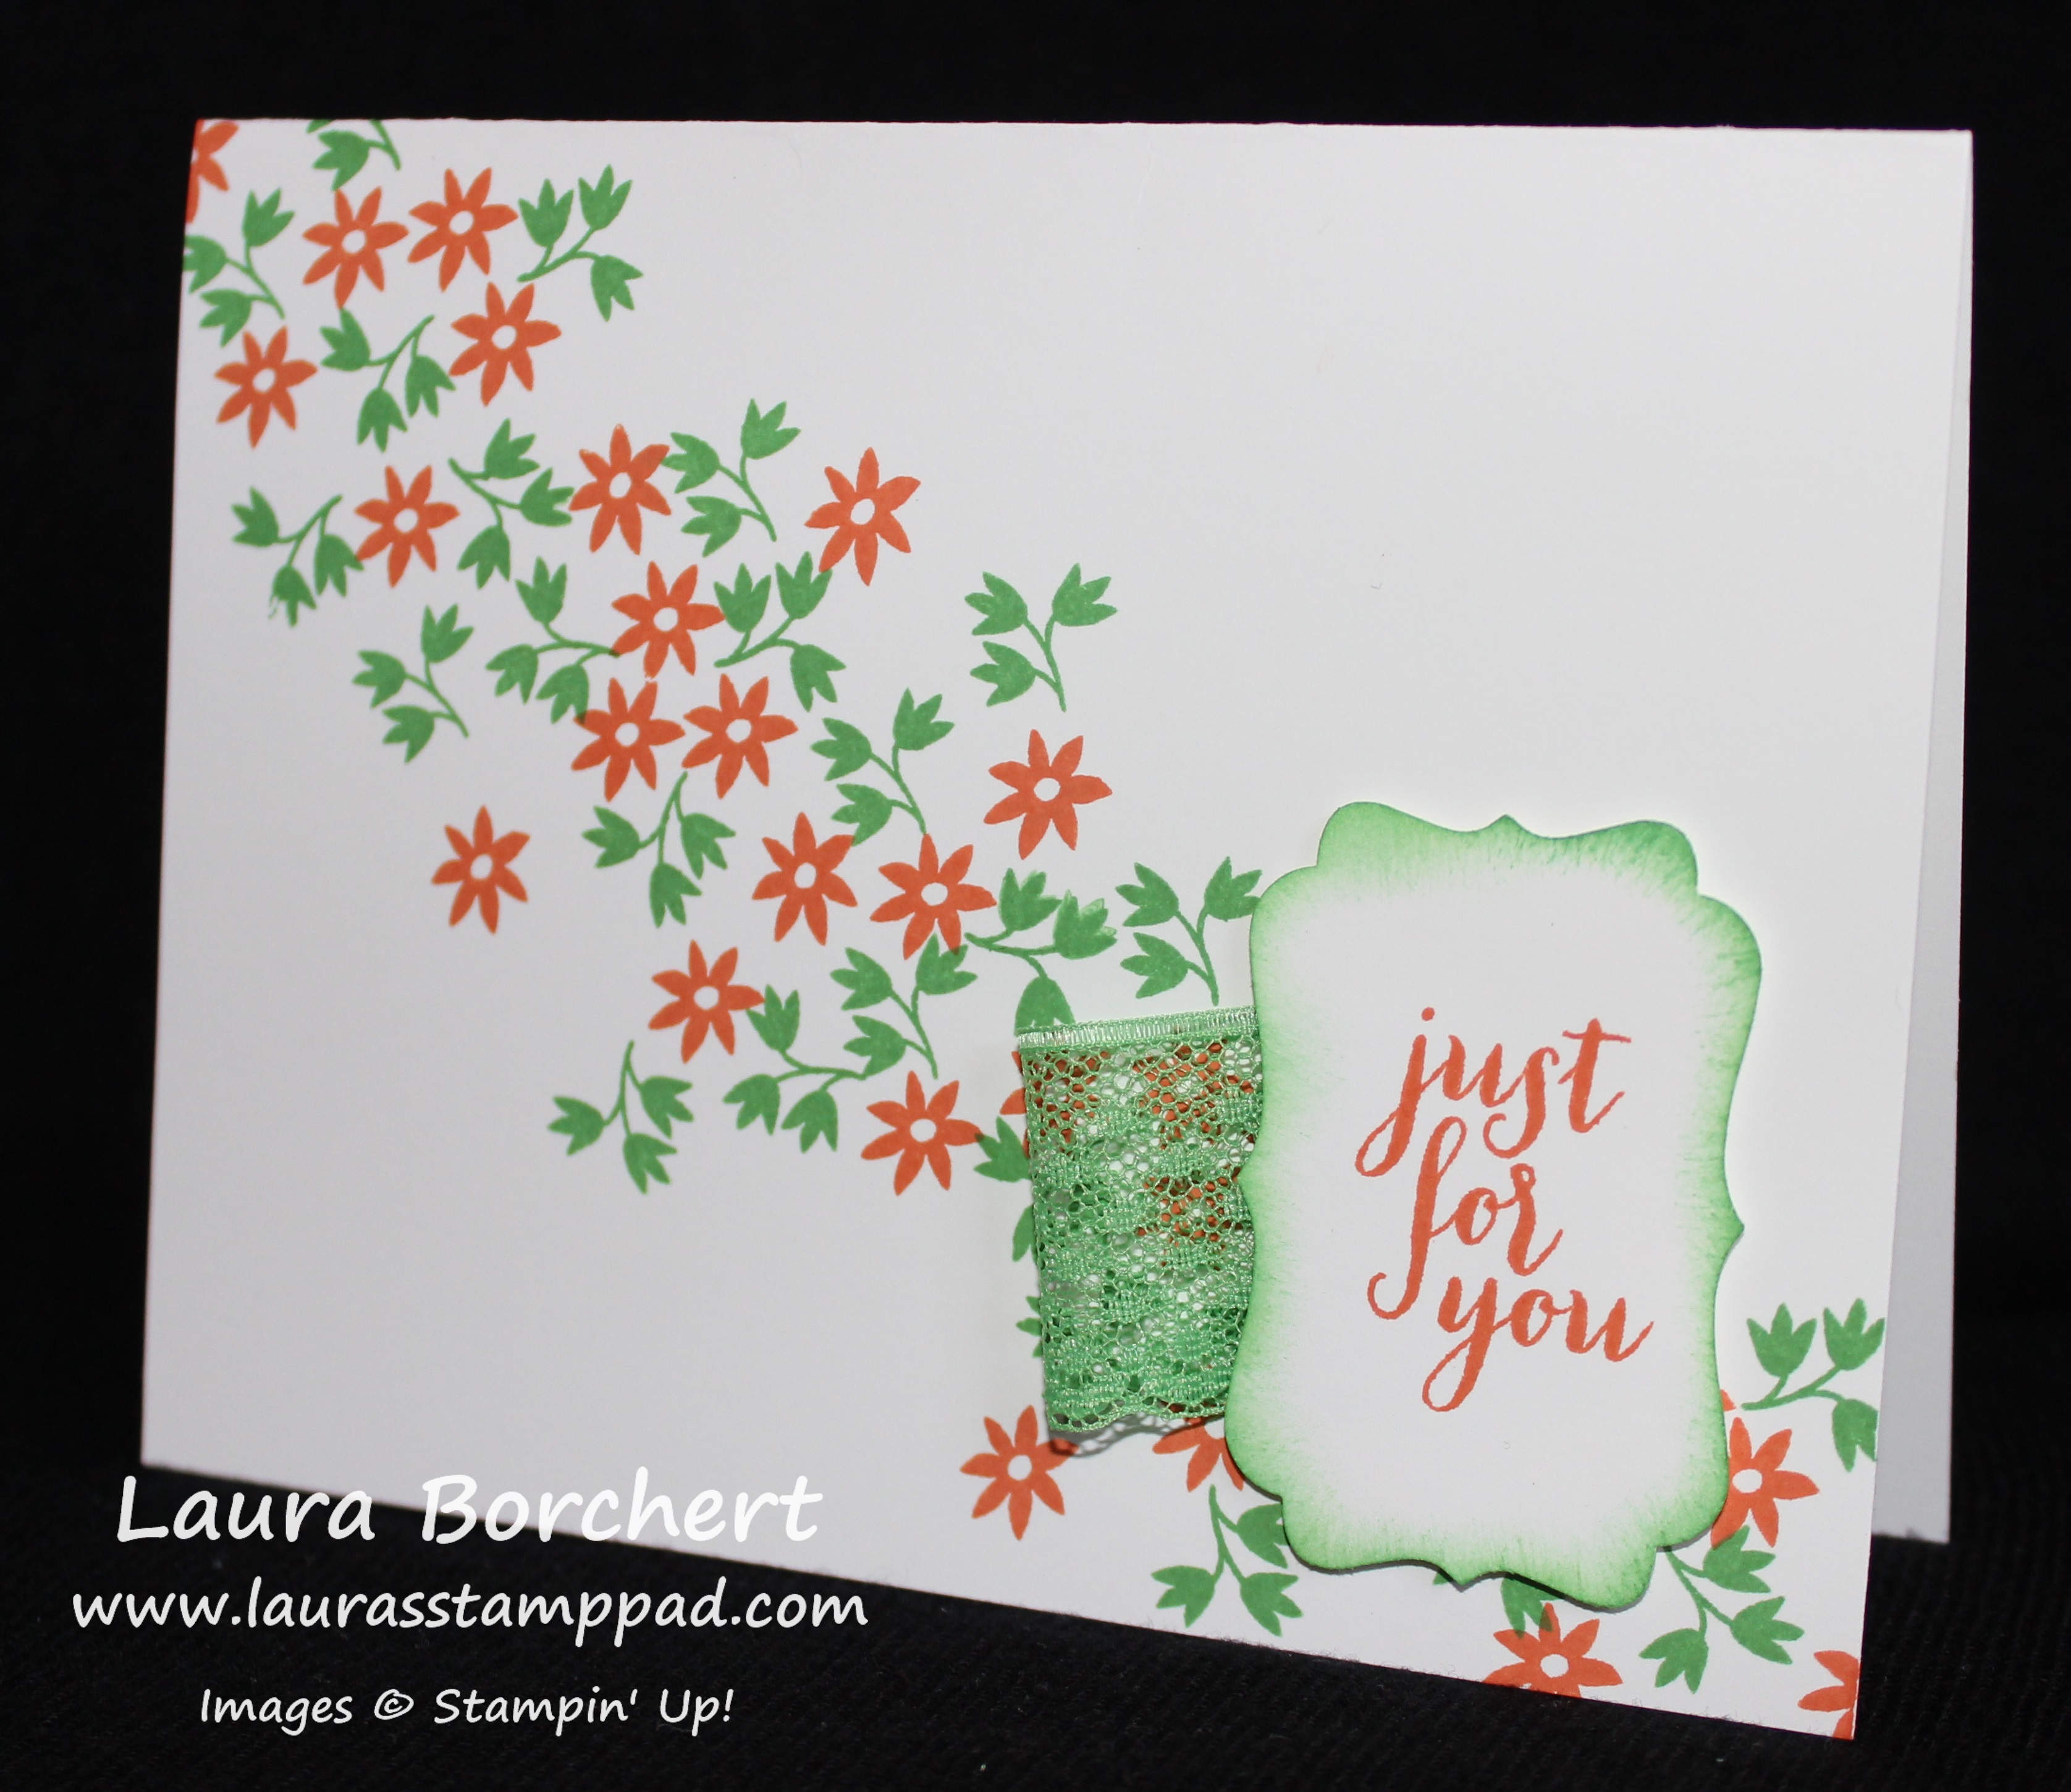
I started with a Whisper White card base and stamped the flower from the March Paper Pumpkin Kit in Tangerine Tango and the leaves in Cucumber Crush! I went across the card front diagonal and it totally looked like a twisted ribbon where it went wide every inch or so. The more I tried to fix it, the more it just looked the same only wider so I stopped. For the greeting, I used the same set and stamped it in Tangerine Tango. I punched it out with the Decorative Label Punch and the sponged the edges with Cucumber Crush and a Sponge Dauber! I wanted a little pop of color to off set the greeting. I added a little loop of Cucumber Crush Lace Trim behind the greeting and adhered it to the card with Stampin’ Dimensionals! Love it!
This card is quick and simple and fairly cheap to create since there aren’t any layers, not a lot of adhesive and scraps of ribbon and cardstock can be used for the greeting! You can change the colors to make the recipient’s favorite color!!! I can’t wait to try purple!
What color would you use to create this card? Let me know in the comments below! If you want to see more samples of Paper Pumpkin, click here! If you would like to get your own Paper Pumpkin Kit, click here to get signed up for the June Kit!
Happy Stampin’
~Laura
Be sure to check out the Retiring Items before they are gone at the end of May!
Here are all of the goodies from the April 2016 Paper Pumpkin Kit!!! Check out that Bonus Stamp Set!!! There are 18 images in that set and it’s greetings and flowers! SCREAM!!!! I love love love it! I was also super pumped about this wreath because I was in desperate need of a new wreath for the front door….it’s a little small but it works for me! 🙂
So my first worry with this kit was not having enough of the strips of leaves. I tend to get started wrapping them around and then getting about 3/4 done and running out. Let me tell you, there is no fear here! The leaves have adhesive on them already so it was super simple and I ended up having 10 or so strips left over when I was done! WOOT WOOT! I added the pretty flowers by folding them in half twice and adhering them on with the glue dots! Then I added the little chalkboard greeting and the ribbon. I realized (thanks to my downline) that I did the greeting wrong. The cord goes across the front and then you use the ends to knot it. Instead I looped the end into my ribbon loops and it was really long so I had to tie the ends together in the back to raise it up some. Ehh still works! 🙂 I love it!
After I tied the bow, I added a little loop of the ribbon on the back to hang it on my door hook! Isn’t it adorable???
Here is a photo on my door and here is another standing back father.
Is it too small? Be honest! Let me know in the comments below! I normally have a Stampin’ Up sign on the door as well so that my customers can easily find me for classes and all so that helps a little too!
After playing with this wreath, you could also buy a few refill kits and a larger foam wreath to create a bigger sized wreath. You could also use this wreath for in home decor like adding a pillar candle to the middle, hanging on the back of a chair at the dinner table, hanging on a door handle or along a staircase. Endless ideas with this adorable little wreath! I love it!!!
Be sure to get signed up for the May Paper Pumpkin Kit before May 10th. You can do so by clicking here! I can’t wait to see what this one will have…..any guesses? Graduation was last month. This month there was a Mother’s Day stamp so I’m going with Father’s Day/Man Cards! Leave your guesses in the comments below and I might give out a prize to all of the correct winner! 😉
Happy Stampin’
~Laura
Be sure to check out the Retiring Items before they are gone at the end of May!
Look at all of these beautiful cards!!!!! I am loving the color combination of Bermuda Bay and Cucumber Crush!! The Pocketful of Cheer – March 2016 Paper Pumpkin Kit arrived and I was super excited. You can see the reveal of the kit in this video! When it came time to make the kit, I realized I’m not really a big gift card giver so I don’t need that many. I do have some graduates this May that I will give giving either a gift card or cash and it would look super cute but what I really need is cards so that is what I made!
These 4 cards I created just like the instructions! I loved the look and enjoy just following along and not having to think when crafting sometimes. That is one of the reasons I love Paper Pumpkin!!! I don’t always have to come up with the ideas but I can mix it up if I want to! 🙂 I love the patterned paper with the flowers and the green pearls are super fabulous!!!
Then for my graduates, I created these little cards!!! I think the kit really meant for these cards to go with the other holders but I liked this better. I stamped the little note cards and adhered the pocket inside the envelope. How cool is that??? The envelope holds the card and the gift. It’s an all in one!!! LOVE IT!!! There were 4 of these!
Then I took all of the leftover pieces and some Whisper White cardstock and created tons of cards! How cute are these?!?!?! I stamped the flowers on the background and added some pieces. I cute the polka dot crumb cake piece from the other gift card holders. I used the Decorative Label Punch and Scallop Circle Punch for the greetings. Even the Cucumber Crush Baker’s Twine came in the kit!
Here are a few more that I created with the leftover pieces. After all of these everything was used up except 2 of the Crumb Cake Gift Cards Holders and 2 circle stickers. So I just created them into little pockets or gift card holders! The striped inside is super cool looking as well!
So from this 1 Paper Pumpkin Kit, I was able to get 13 Cards, 4 Gift Card Holders and Cards, and 2 Gift Card Holders. That is amazing!!! I only used my own Whisper White cardstock and Envelopes! I love it!!!
Be sure to sign up for the April Kit before April 10th because there is going to be a BONUS Stamp Set! That means 2 Stamp Sets, at least 1 ink spot, and the project inside for just $19.95 (plus tax, no shipping)!!! That is a steal!!! Click here to get started!
If you are a Paper Pumpkin Subscriber, you can purchase refill kits of this kit so you can make samples like mine or have more gift card holders on hand! Click here to get yours today!
I love Paper Pumpkin for so many reasons – the excitement and surprise, the put together kit that I don’t have to plan to create, and the simple and fabulous projects!!! You all know I LOVE flowers so I was super pumped when I opened this. (I even have a tag for Flowers here on my blog!) You can see all of my excitement about this kit in this video!
These cards were probably my favorite because I love all of the purple flowers. I did mix up the items a bit and added one of the orange flowers and one of the gold squiggles to this style. Simple and amazing!!!
These were super fun and I mix and matched the items for these cards with the splatter background and the triangle background. You can’t really see the backgrounds very much in these photos though.
All of the flowers has adhesive on the back so it was really simple to create these cards. The kit came with a HUGE sheet of adhesive dots that I used for the sequins. I actually added the greeting banners to the cards with Stampin’ Dimensionals. I couldn’t help myself.
Here is another angle so you can see the gold bling!
Of course the kits always has tons of extra goodies so I created these 3 cards with my own cardstock. You can see there are still tons of greeting banners, adhesive dots and sequins left. Some of the flowers on these cards I punched out from the flower sheets in the leftover corners. Twelve cards from one kit is super fabulous!!!
Paper Pumpkin turns 3 years old in March and Stampin’ Up! is celebrating! Be sure to get signed up before March 10th to get your Birthday Celebration March Paper Pumpkin Kit! Click here to sign up! Don’t forget about the Pre-Paid Subscriptions as well. Starting at the 3 month, you will earn Sale-A-Bration items!!! WOOT WOOT!
The January 2016 Paper Pumpkin Kit arrived and as always I was super excited to rip it open. You can check out my excitement here! It is called Cute Conversations and after playing with it, I totally get it. They are little conversation hearts. I love it! I will admit though when I first opened it and saw the banner and treat bags, I was a little skeptical. I didn’t really want to create a banner that would only be up for a week or two and I only needed a few treats….or so I thought. I started to play with the kit and create the treats like the instructions where you adhere two hearts together.
I didn’t really like the way they turned out. The opening was really small and the treats weren’t staying in. Also, if you put a few kisses in there, they will be spilling all over. So I put the candy in some cellophane bags, used the Mint Macaron Baker’s Twine to tie them up and added them to the hearts.
I needed treats for all of my nieces and nephews so I started with those. I put the candy into a Cellophane Bag. I stamped on the conversation heart with the stamps and Watermelon Wonder ink. I adhered the heart to the front of the bag and clipped a clothespin on with a little piece of sequins. On the little banners, I stamped To/From and wrote their names. I added adhesive to the back of it and adhered it to the left side. I love how they turned out!! I had so much fun making these, I made a few more that say You’re Sweet so I could pass them out to random people at the Post Office, Bank, Store and other places I go to. Why not share a little love?? 🙂
I had lots of the little banners left over and still some candy that I had to get packaged up before I ate it all. I wrapped the little banner on a cellophane bag and tied some ribbon on the top. Super cute and simple!!!
I wanted to create a few cards as well to send out for Valentine’s Day so here are my Conversation Heart Cards. I just added a few hearts and stamped. I added some of the loose sequins to the card with the Fine Tip Glue Pen! They are super cute and I love how they turned out. I still have some banner left and tons of ribbon and sequins. I love how these kits come with so much goodie!
If you would like to sign up for Paper Pumpkin and get the February Kit, be sure to do so before the 10th!!! Click here to sign up now! I can’t wait to see what it is. You can also purchase a Pre-Paid Subscription for 1,3,6, and 12 months. Starting at 3 months, you can earn Sale-A-Bration goodies! Woot Woot!
HAPPY NEW YEAR’S EVE!!!!! Here is to a great 2016!!! I thought I would share the December 2015 Paper Pumpkin Kit with you today since it is called One Great Year!!! Now you might be a little surprised as the photo above because this is the December Paper Pumpkin Kit on my Facebook Page…..
While I thought this little desk calendar was adorable (check that out here), I just don’t have a need for a desk calendar and so I thought I would create the kit into cards! I was able to get 15 greeting cards out of this kit with all of the supplies. I used my own cardstock for the card bases and an all occasion stamp set but the rest is all from the kit!!!
Here are all of the goodies – Soft Suede Ink Pad, Months Stamp Set which will be great for memory keeping and more, and lots of banners and decorated paper!!!
Here are a few of the cards I created. As you can see some of the cards look almost just like the calendar just without the month on there. I used the gold banners as banner and as strips of gold. I even used some of the calendar pieces on the inside of the cards to write on. I used Lost Lagoon, Blackberry Bliss, and Hello Honey for the card bases and since Blackberry Bliss is so dark, I wanted to place a piece inside to write the greeting on. It worked out perfectly!!! I greetings came from the Tin of Cards Stamp Set and Crazy About You Stamp Set.
As you can see I used the backs of the calendars for greetings and such. I used the banners and flowers as decorations. I was able to create 15 total cards from this kit AND I still had Stampin’ Dimensionals, ribbon, and some gold banners left over. Plus, I have the ink pad and stamp set to use for other projects too! I love Paper Pumpkin!!!
If you would like to try out Paper Pumpkin, you can do so by clicking here. You can subscribe for 1 month or endless months! Just cancel or skip a month any time you would like! It is just $19.95 plus tax each month! The stamps and ink alone are worth that much! Click here to get signed up before January 10th so you can join in the fun! If you would like to see some of the past kits, click here!
I know I probably sound like a broken record but I loved the November Paper Pumpkin! The Cherry Cobbler Pearls are AMAZING!!! I love how the kit included images (holly and mistletoe) that weren’t really in any of the stamp sets in the Holiday Mini Catalog! This means that these cards are totally different than all of the others I have created! AND if you don’t need Holiday Cards you could always make some great masculine cards with the Old Olive stripes and Crumb Cake card bases!
This kit came with 10 total cards – 5 Old Olive Stripes which I have pictured above! I decided not to do the cards exactly like the instructions. I mixed it up a little doing some side ways and both styles on the stripes! I preferred my holly berries to be clustered in groups of 3 rather than randomly placed as well! I used my Sponge Daubers on a few to accent the edges with a little bit of color too!
Here are the 5 Crumb Cake Cards! You can see I mixed them up in style as well! I used the backside of some of the squares for a stamped greeting rather than the patterned paper! It was so much fun! Also, aren’t those envelopes to die for??? LOVE THEM!!!
Here are a few up close looks at some of the styles!!!
After making the 10 cards, I had so many extra pieces that I was able to make these 4 cards as well! I cute 2 pieces of Whisper White cardstock in half. I added in a little bit of Merry Moments Designer Series Paper as well!
I can’t wait to see what the December Kit is going to be! I love the surprise of it all and the fact that it is wrapped all in tissue paper like a present. You can see my excitement opening the November Kit here! Be sure to Subscribe to my YouTube so that you don’t miss out on the December Reveal and other fabulous techniques! To sign up for your December Kit, click here!
Paper Pumpkin makes a great gift as well to those who are crafty and those that aren’t! All you need is scissors so no worries on wondering if the person will have the supplies to make the kit! Click here to purchase a Pre-Paid Subscription!
I have been having lots of fun with this little penguin! I have really loved him more than the snowmen which I’m kind of surprised! All of them from the Snow Place Stamp Set are all just so cute! You can get the coordinating Snow Friends Framelits as well. Purchase them together and you will save 15%! I did everything on this card on one layer because I was going for a simple look!
I started with a Cherry Cobbler card base and added a piece of Merry Moments Designer Series Paper Stack measuring 4″ x 5-1/4″! There are 24 pieces of this design in the stack so that makes making multiples much easier! I stamped the penguin from the Snow Place Stamp Set in Basic Black and colored in his feet and beak with a Pumpkin Pie marker! I stamped the little bow tie in Real Red. I used the Circle Framelits to cut out the penguin and create the Old Olive layer! I added this piece to the card with Stampin’ Dimensionals as well as the greeting! The greeting was from the November 2014 Paper Pumpkin Kit! I am doing a large class with lots of Holiday cards using many different sets so I dipped into a few of my Paper Pumpkin Stamps to make sure I had different greetings on each! The greeting was punched out with the Washi Label Punch! I brushed the edges with a Real Red Sponge Dauber to make it pop out more!
Which image do you prefer – the snowmen or the penguin?? Let me know in the comments below!